Introduction to Building WebApps in Vue.js

Original Source: http://inspiredm.com/introduction-building-webapps-vue-js/

Inspired Magazine
Inspired Magazine – creativity & inspiration daily

There are so many JavaScript frameworks in existence these days, it can be difficult to keep track of them all, and certainly it’s unlikely that anyone will master them in entirety. What it means for most of us is that we’ll need to be selective about which development frameworks we’re going to invest time into learning.

In this article, we’ll take a quick look at Vue.js, so you can decide for yourself if it’s likely to suit the kind of projects you tend to work on, and whether it seems like a good fit for you.

What is Vue.js?

Although it’s conventionally not capitalized, “Vue” is really an acronym for Visual Understanding Environment. Its main purpose is to make it easier to develop web applications by reducing code complexity. It has a lot in common with React.js, but the current version of Vue renders faster then React, and seems to be more efficient.

Is Vue difficult to learn?

If you’re already an experienced coder, you shouldn’t have much difficulty getting started with Vue, but it wouldn’t be right to describe it as a beginner language. You need to have some experience with HTML, CSS, and JavaScript to build anything practical with it.

The learning curve with Vue is a little less steep than with React, and it’s a lot less steep than with Angular. So what can be accurately stated is that Vue is relatively easy to learn in comparison to other popular development frameworks.

How does Vue help to achieve objectives?

It varies a bit depending on what your objective actually is, but  in general, you bind code blocks to HTML divs. This methodology makes it easier to introduce interactivity and dynamic content than with regular HTML, CSS and JavaScript.

On the other hand, you can’t really do more in Vue than you could by using the more conventional ways.  Using Vue is simply a matter of making things easier for you in the development phase, but it doesn’t have much effect on the end result, apart from minor performance impact due to loading the framework code.

Another advantage of Vue is that it provides modularity, meaning you can re-use components you develop in multiple projects.

Does Vue have any cool tricks up its sleeve?

It certainly does, and the best of these is built-in transition effects, which allow you to take control of what would otherwise be very code-intensive CSS and JavaScript structures using just a line or two of code. This saves you time and effort when creating your applications.

Another useful feature is native rendering for specific device types such as Android and iOS, so you can fine tune your applications for the devices they’re running on without a lot of extra work.

Getting started

As stated earlier, Vue is easy to learn, but it’s not a beginner’s language. You still need to know your way around inside a code block. If you have knowledge of HTML, CSS and JavaScript, the easy way to get started is by looking at an official Vue demo project.

The problem is that like most frameworks, the documentation is very lazy, and mainly dedicated to convincing you to use it. Much less attention is given in the documentation to explaining how everything works or why you do things a certain way. Virtually every official framework example ever created leaves out vital information that you have to poke around for hours to discover. That’s a flaw shared by Vue’s documentation and examples as well.

To make it easier to understand what you really need to do to re-create this project, these are the required steps:

1. Add a script referencing vue.js

For speed optimization, it’s best to include this after all your page content, but just before the closing body tag in the HTML source. You may also have other page resources loading in this section also, and the order of loading priority determines which order you should insert each resource.

Here is an example of including vue.js from a CDN:

And here is an example of including vue.js from a directory on your own server:

Without this reference to vue.js, nothing related to Vue can happen.

2. Add the Vue components into your HTML body

That’s what’s going on with this code:

For now it doesn’t make a lot of sense, but the Vue part is the empty “demo-grid” element, plus the addition of a “v-directive” to the query input (in this case it is “v-model”, which is used for binding Vue code to form inputs).

3. If the project requires a component template, add this to the HTML body

This section of code is unusual because it looks like regular HTML inside a script tag, which will confuse most HTML editing software (notice the indicator colors are wrong in some places).

4. Add the Vue instance

This should be one of the last things to appear on the page, because it’s performing  a dynamic rendering task. This provides some optimization benefits over adding it earlier in the page.

Line 46 specifies that the browser should look for a component on the page called “demo-grid”, and line 47 specifies that “#grid-template” should be used as the template for the component (this is the template code added at step 3 from line 9 to line 30).
A block from line 48 to line 52 defines the properties of the component.
Lines 53 to 62 define a function for sorting the data in the table.
Lines 63 to 85 define a function for filtering data (from results in the search query).
Lines 86 to 90 define a function for capitalizing the words in a data set.
Lines 91 to 97 define the method for sorting data.

5. Add in the launch code before the closing script tag

If you completed steps 1 to 4 and opened the file in the browser, all you would see is the search box and nothing more.  That’s because everything required to build the table has been defined but not created. So in step 5, we add the code that actually creates the table that was defined by all the previous steps.

Line 100 creates a new Vue object.
Line 101 specifies which element to bind the action to.
Lines 102 to 111 provide the object data that will be bound to the element.

Testing

Having defined and created the requisite object, you are now ready to test the result.  Prepare to be underwhelmed, because this is what you should see in the browser:

What’s going on? Why is it so boring?  It’s because there’s no styling applied. If we use the default styling from the JSFiddle example, the table would look like this:

Typing anything in the search box (not case-sensitive) will filter the results accordingly:

Clicking on a column header will allow you to change the order of display. For example, clicking on the “Power” column header will change the results to be displayed in order of power level.

Improving and adapting

Another issue with framework examples is that they usually don’t include much information to help somebody unfamiliar with the codebase to figure out how to apply in the field what they see in the example. Vue does a magnificent job compared to Bootstrap (which is notoriously under-informative),  but still leaves plenty of unanswered questions.

Here are a few changes we might make to this application to change how it looks and what it does:

Style the table as a Bootstrap striped table
Change the number of columns
Change the data to something completely different

1. Adding Bootstrap

2. Wrapping the element in a Bootstrap table

3. Adjusting the root element to use the Bootstrap layout model

4. Restyling the arrows

5. Modifying the data

6. Testing

Unfiltered & unsorted

Sorted by Directive (ascending)

Sorted by Used For (ascending)

Filtered for “conditional”

Filtered for “conditional” & sorted by Directive (ascending)

Final thoughts

Hopefully what was evident from these examples was that we built two applications with very different looks and content from a common slice of code. With Vue it is very easy to re-use your code across multiple projects, and potentially enjoy considerable time savings.

header image courtesy of Aleksandar Savic

This post Introduction to Building WebApps in Vue.js was written by Inspired Mag Team and first appearedon Inspired Magazine.

Meet the artist drawing millions of YouTube views

Original Source: http://feedproxy.google.com/~r/CreativeBloq/~3/UhQJaf22IfQ/meet-the-artist-drawing-millions-of-youtube-views

Ross Tran steps out of his Californian apartment. The sun shines in the sky above and a car idles on the road below. Holding a couple of large canvases, he climbs over a balcony, shimmies down a tree and speaks to camera: “Welcome to another episode of Ross Draws. It’s my graduation episode!”

Get Adobe Creative Cloud

He runs to the waiting car. Animated sparks fly. He throws his artwork through the open window, jumps into the driver’s seat and speeds away. The hand-written personalised number plate taped to the back of his Chevy reads: COLOR DODGE.

In just 20 seconds, we see why the 23-year-old artist’s videos have earned nearly two million views on his YouTube channel: the quick cuts, the playful tone, the breathless, almost hyperactive presenting style; whistle-stop tours of his art school, apartment and various locations around California; interviews with the smiley, unbelievably healthy-looking friends and teachers who populate those places…

 And, of course, the thing that underpins the channel’s success, Tran's art – bright, stylised, painterly, with tutorials explaining how to paint his work. What you’d never know by watching these videos is that the channel “came from a dark place.”

“A piece from my Astro Series. It’s a collection of portraits involving some kind of white garment and shapes as the influence.”
Personality is key

Tran is a recent graduate of Pasadena’s ArtCenter College of Design. He won his first concept artist job at the nearby West Studio when he was just 17. A couple of years later, he worked as lead character designer on his first feature film – creating Echo for the 2014 animated movie Earth to Echo. He now counts among his clients Disney, Samsung and Microsoft, and has since worked on the upcoming Halo Franchise and several more films.

How did he win so many big jobs at such a young age? “You have to personalise your portfolio so it represents what you really want to do,” he says. “For instance, if you love character design and want to get hired for it, make your portfolio and online presence character-based. I’ve seen a lot of people put too many types of work in their portfolio. It makes them look disposable. The last thing you want to be is a robot. Show the world who you are and what you want to do.”

“This was one of the few pieces I did in my year off art to pursue acting. I just loved to paint and felt the need to express myself artistically.”

He says some people may be familiar with his earlier work, but most of this success has come through Ross Draws, the YouTube channel that he started at the end of 2011.

“I actually grew up really shy,” he says, an image very different from the boisterous character he presents in his videos. “I had a lot of insecurities growing up. I think Ross Draws represents a side of myself that depicts transformation and self-growth. I consider myself an introvert, but one who’s learning extroverted skills.”

“This was from the third episode on my YouTube channel, drawing Nidalee from League. She’s one of my favourite characters and I had to draw her!”

Even after earning a place at the prestigious ArtCenter College of Design, Tran says he felt something was missing in his life. He was passionate about art, but also loved making people laugh. So he took a year off and pursued an acting career.

Tran juggled art school and auditions. He took extra classes in improv and scene study. The nearest he got to a big break was an audition for a pilot on the Fox network.

“My work has recently taken a more stylised, graphic approach, while still pertaining to my painterly roots.”

The small part called for a designer who freaks out a lot. “My perfect role!” Tran says. The producers of hit shows Psych and Scrubs were in the audition room and he made them laugh. They gave the part – which the script labelled “Asian Best Friend” – to a white person.

“I’m not sure the pilot even got picked up,” he says. “But it was a great experience. I also auditioned for a lot of commercials.”

“I always got tons of requests to draw my dog and found a perfect opportunity – to celebrate one year on YouTube.”
How to draw and paint – 95 pro tips and tutorials
Branching out on YouTube

“I grew up watching The PowerPuff Girls and wanted to do my take on it. I was bringing my love of graphics in the piece.”

A friend suggested he start a YouTube channel combining the two things: art and making people laugh. “I hesitated, thinking it wasn’t really my thing. Prior to the channel, I felt like I had no purpose. I was waking up and feeling really unmotivated to do anything. Uninspired, unwilling, defeated.

“Acting helped me to commit. Because, in acting, you have to commit 110 per cent or else no one will believe you, not even you. You can’t be in your head. Going on those auditions and to classes helped me to commit to the moment and just do it, no thinking. It’s a practice I’ve also taken into my art. If you have an idea, don’t be afraid to voice it.”

“This piece is quite special to me. People often mention that this was one of the first episodes/pieces they saw when they discovered me.”

When Tran reinvented himself as Ross Draws, it shook up his personal life and kickstarted his career. But the success of the YouTube channel brought new problems. “My schedule is different every week, every day,” he says. “Sometimes I feel I overload myself. I’m definitely what they call a night owl. I go to sleep anywhere from 2 to 5am. As my channel grows, so do my opportunities – conventions, signings, gigs – and it’s been harder to have a set schedule. It’s still currently a learning curve. But most of my week consists of editing my videos and painting.”

Growing up, Tran was into TV shows like Pokemon, Sailor Moon and Power Rangers – you can see those influences in his art and on his channel. He has a few key rules when making videos. Our attention span is getting shorter and shorter, he says, so he keeps footage under the six-minute mark. It’s also important to be yourself, connect with your audience and collaborate with other people. He’s made videos with artists he looks up to, like Dan LuVisi and Anthony Jones, but also collaborations with non-artists, such as Jimmy Wong and Yoshi Sudarso, who plays the Blue Ranger on the new Power Rangers show.

“This was another one that sat in my folder for about two years. I never knew how to finish it, but one day I opened it up and let the story breathe.”

The YouTube channel brought Tran new confidence, which was mirrored in his art. When he started at ArtCenter College of Design, he knew he was a capable painter but felt his work was too heavily influenced by his favourite artists. Then he painted a piece called Journey – a landmark in which he found his own voice and techniques.

Tran works with Premiere and After Effects for his videos, Photoshop and Lightroom for painting. Using all Adobe software helps him easily switch between apps. One website recently labelled him the “Master of Color Dodge.” The blend mode creates extra depth and makes colours really pop off the screen, an almost glowing effect that’s present in much of Tran's work.

“This has been sitting in my WIP folder for about three years. A lot of my pieces sit there until I can see the piece turn into something unique to me.”
It's not cheating

Tran hadn’t always used such techniques. “At a young age, I thought that using certain methods as cheating, only to realise now that it doesn’t matter. You can learn from anything, any method, anywhere. Have an open mind and you can absorb information easier and faster.”

After graduating college, Tran left the apartment that features in many of his YouTube videos. He now rents a house with friends, a place just outside Los Angeles. “We call it The Grind House,” he says. The Grind House? “It’s where we’re going to grind on our stuff for a year and decide what to do from there. There’s not much of an art scene in my area, but I love the motivational energy that the house has.”

“This piece was commissioned for the deviantART+Blizzard Campaign ‘21 Days of Overwatch’. It’s probably my best seller at my first convention, Anime Expo.”

“Motivational energy” is a perfect term. It’s in everything Tran says and does. You can still see his influences in his work. There’s a bit of Jaime Jones in there, some Craig Mullins and Claire Wending. But despite his youth, he has found a style, voice and motivational energy of his own – and, perhaps most importantly, a platform on which to share it. That’s the one piece of advice he’s keen to get across: do it your own way, on your own terms.

“My videos are funded by my amazing supporters on Patreon. I’m blessed to have fans who love what I do and who want the exclusive content that comes with each episode. Patreon is definitely a career option for artists.” Tran's endorsement of Patreon comes with a caveat, however: only launch when you’re ready. “I held off on making my page until I knew I had quality content for the people who supported me.

“There’s always a whimsical element to my work, either in the colours or the composition.”

“If you do what you love, numbers and finance shouldn’t matter,” Tran adds. “I have friends who absolutely love their studio jobs and want to be surrounded by people. I also had friends who quit those jobs, made a Patreon and earned less, but loved what they do.

“I think it’s about finding your own instrument and how to operate at your fullest potential. In today’s industry – and society – we too often compare ourselves to others, which fuels our inner self-critic. We’re all on our own journey at our own pace. We all have different inspirations, a different drive that propels us forward.”

This article was originally published in ImagineFX magazine issue 140.

Related articles:

10 sci-fi and fantasy art painting tipsHow to create a vivid fairy queenTips for developing exciting book cover character art

Pay What You Want: Microsoft Office Productivity Bundle

Original Source: http://feedproxy.google.com/~r/Designrfix/~3/60IEKriMnwA/pay-microsoft-office-productivity-bundle

Microsoft Office is a set of desktop applications that provide simple and efficient ways to present, manage, and organize information. Employees in most companies are expected to know how to write a report in Microsoft Word, create a presentation in Powerpoint, and analyze data in Excel. Although these are the most widely used programs of […]

The post Pay What You Want: Microsoft Office Productivity Bundle appeared first on designrfix.com.

Movavi Screen Capture Studio Review: Recording Online Videos is a Breeze

Original Source: http://inspiredm.com/movavi-screen-capture-studio-review-recording-online-videos-breeze/

Inspired Magazine
Inspired Magazine – creativity & inspiration daily

You wake up for work. The first item on your to-do list is to open up that social media webinar you’ve been looking forward to.

You’re fifteen minutes early and ready to learn about how you can turn your small business into a presence on Facebook. But then, the phone rings. Your kid got sick at school and now you need to come and pick him up. Wouldn’t it be nice to have a quick way to record that webinar for future viewing?

Quite a few versions of screen capture software exist. Some cost hundreds, or even thousands, of dollars. Others come as browser extensions or default software installed into your operating system. These tend to work for limited use, but you often run into problems like the amount of time you can capture, resolution difficulties and watered-down features in general.

The main disadvantage to not having a fully-functional screen capture tool is that you often would like to save these full videos for later, without the regular limitations.

For instance, a college professor or business professional might want to show off some relevant YouTube videos but they don’t get internet access in the classroom or at a conference. A company might want to share training courses online, but they’d rather have local files to give to new employees in one batch.

In addition, every single one of these people may want to take a video, grab a screen capture of it, then cut it down to a certain size. This helps with placing a quick video in a presentation, where the actual video online is far too long.

In fact, many university students are known for inserting shortened YouTube videos in their PowerPoint presentations.

In order to take advantage of this functionality, you need a tool like Movavi Screen Capture Studio. It offers a compact program with Windows and Mac versions. You can record online videos and save them to your computer after making edits.

Furthermore, the Movavi Screen Capture Studio doesn’t limit the type of video you record. It seems to open up possibilities for capturing and saving everything from Conan O’Brien clips to videos on the ESPN website.

Seeing as how quite a few people would find this tool helpful, I wanted to give it a spin to see how it performed.

What Can You Record with the Help of Movavi Screen Capture Studio?

TV Programs.
Live Streams.
Videos from YouTube.
Webinars.
Online video courses.
Video marketing materials.
Videos on social media.

Really, screen capture is entirely up to your imagination. Taking a video of a Netflix video is entirely possible for the entertainment junkies out there. There’s also no reason you can’t use Movavi for more professional videos. And, the most obvious use of a screen capture software is to develop your own videos for things like YouTube videos, courses and webinars.

But enough of that. Let’s take a look at my own experience.

Recording With Movavi – Ease of Use

The Movavi Screen Capture Studio downloads directly to your PC or Mac from the Movavi website. There’s no personal information you have to type in. It’s also not a demo version, so the basic functionality of Movavi Screen Capture Studio is there for you to enjoy.

Upon installing an opening Movavi Screen Capture, you see a box with options. It asks whether you’d like to do one of the following:

Record screen.
Take a screenshot.
Repeat last recording.
Look at the quick capture shortcuts.
Edit your captured files.

You can also find a compact mode for keeping the clutter down.

This review is only on the recording capabilities, but as you can see, Movavi provides several other functions for screenshots and editing.

But now it’s time to find a video I want to record and capture with Movavi. I decided to do so with a few types of videos so that I understand how well it performs. At first, I wanted to see how Netflix worked out. I started a TV show, began the screen capture, then waited for about five minutes. After stopping the capture, it brought me to a basic editing area.

Here are some of the options in this module:

Adjust the playback volume.
Save the current frame.
Save As.
Adjust the language.
Open the video in the more advanced Movavi Video Editor.
Share to YouTube.
Cut the video in its current position.

One of the main features involves cutting the video down. As mentioned above, a business person, student, teacher or a regular person might have a strong need for cutting out the rest of the video. Therefore, the user drags the cutting tool to the spots they want to save. Hit the Cut button, then everything else gets removed.

I also enjoy the Save to YouTube feature, since it’s a pain in the rear to download the video to your computer and go through the regular YouTube upload module. On the Upload to YouTube screen, you can change the title, description, tags and the Save To location. It even provides options to adjust the resolution, category and privacy.

I could definitely imagine using Movavi Screen Capture Studio in my professional life as well. Therefore, I went to a popular WordPress training module on Udemy and joined the course. This was a free course, but I imagine you’d have the same screen capture experience if you paid for videos on Udemy or Lynda. Regardless, the WordPress course recorded nicely and I was able to cut it down whenever I found something that dragged on.

My final test was with a simple YouTube video. What’s cool about Movavi Screen Capture Studio is that you can capture regardless of the size of the video. So, I completed the capture on the smaller YouTube screen, but the fullscreen view worked fine as well.

Get Started With Movavi Screen Capture Studio

Capturing videos like this is both legal and productive. Companies have been doing this for quite some time, and the average TV and movie buff would find this interesting as well. If you have any questions about this Movavi Screen Capture Studio review, or if you’ve tried out the software in the past, let us know in the comments section below.

This post Movavi Screen Capture Studio Review: Recording Online Videos is a Breeze was written by Inspired Mag Team and first appearedon Inspired Magazine.

How to Master Microcopy

Original Source: https://www.webdesignerdepot.com/2017/09/how-to-master-microcopy/

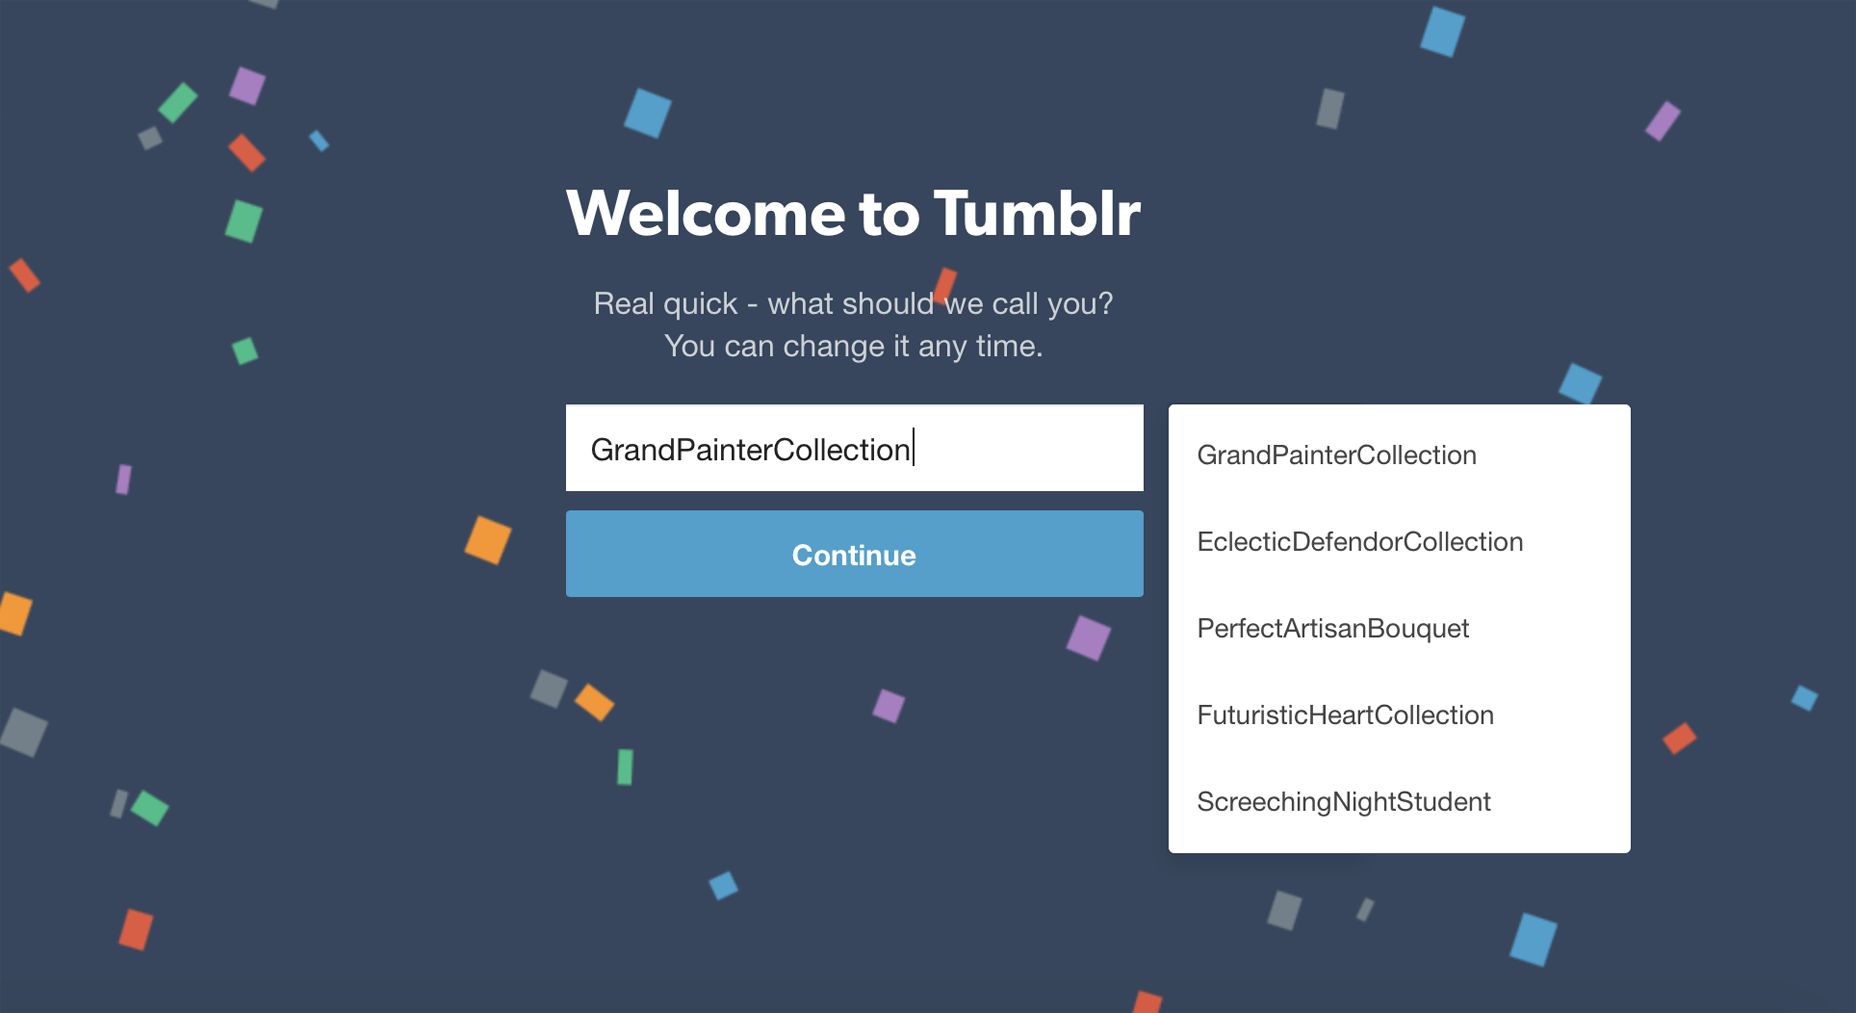
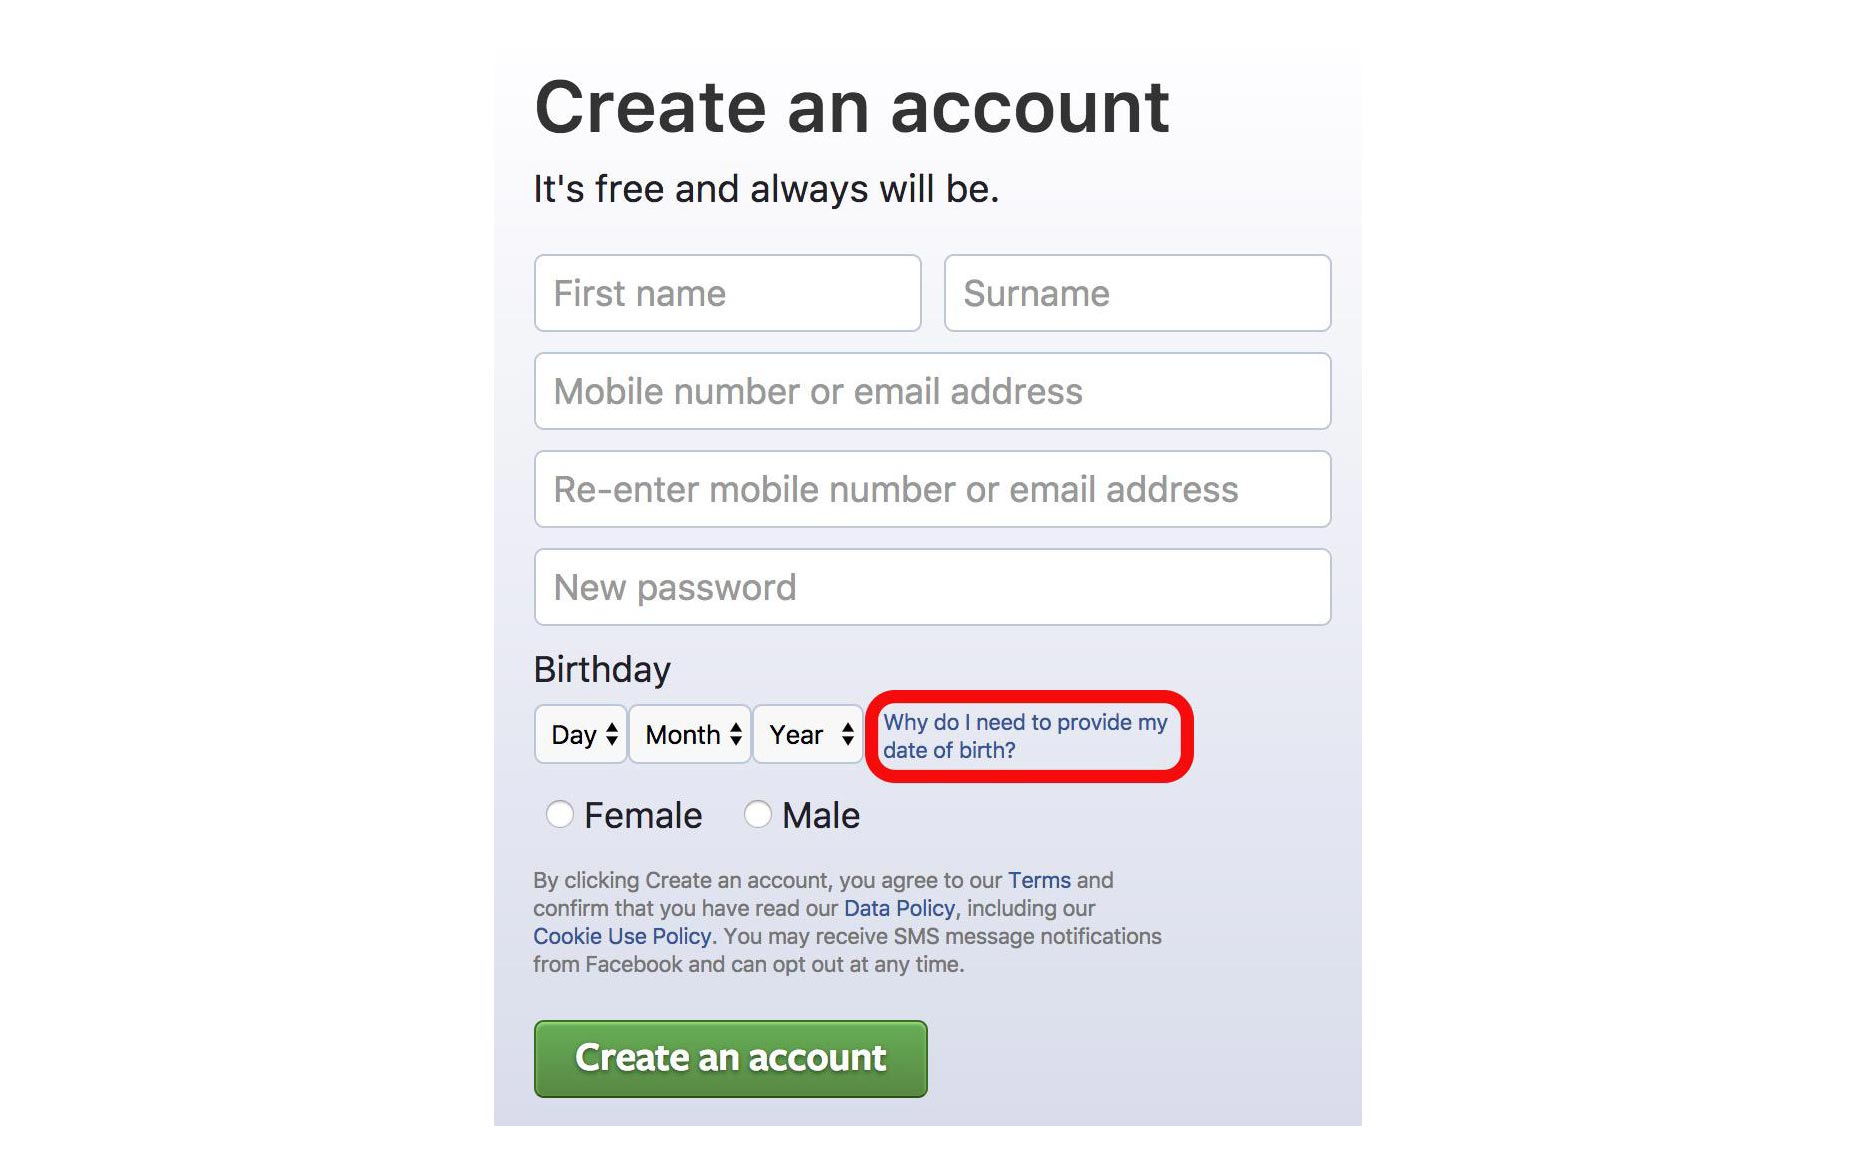
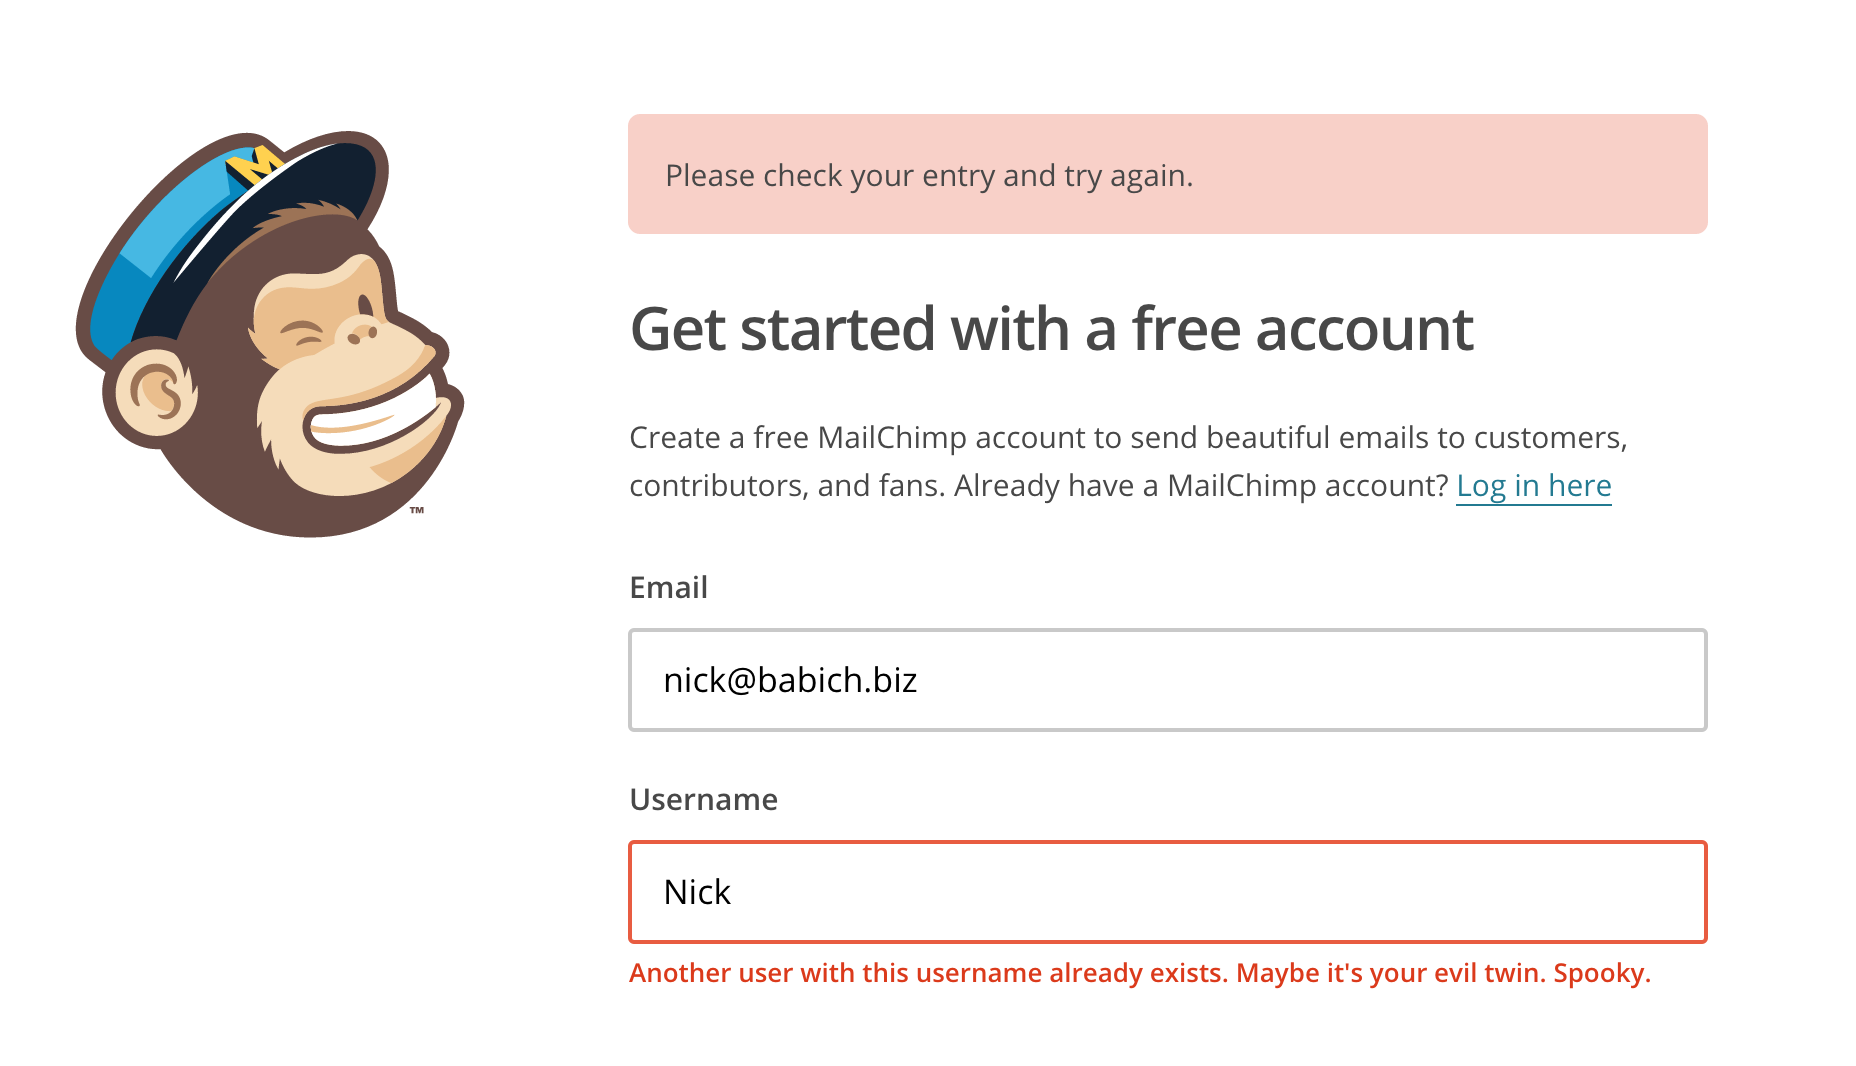
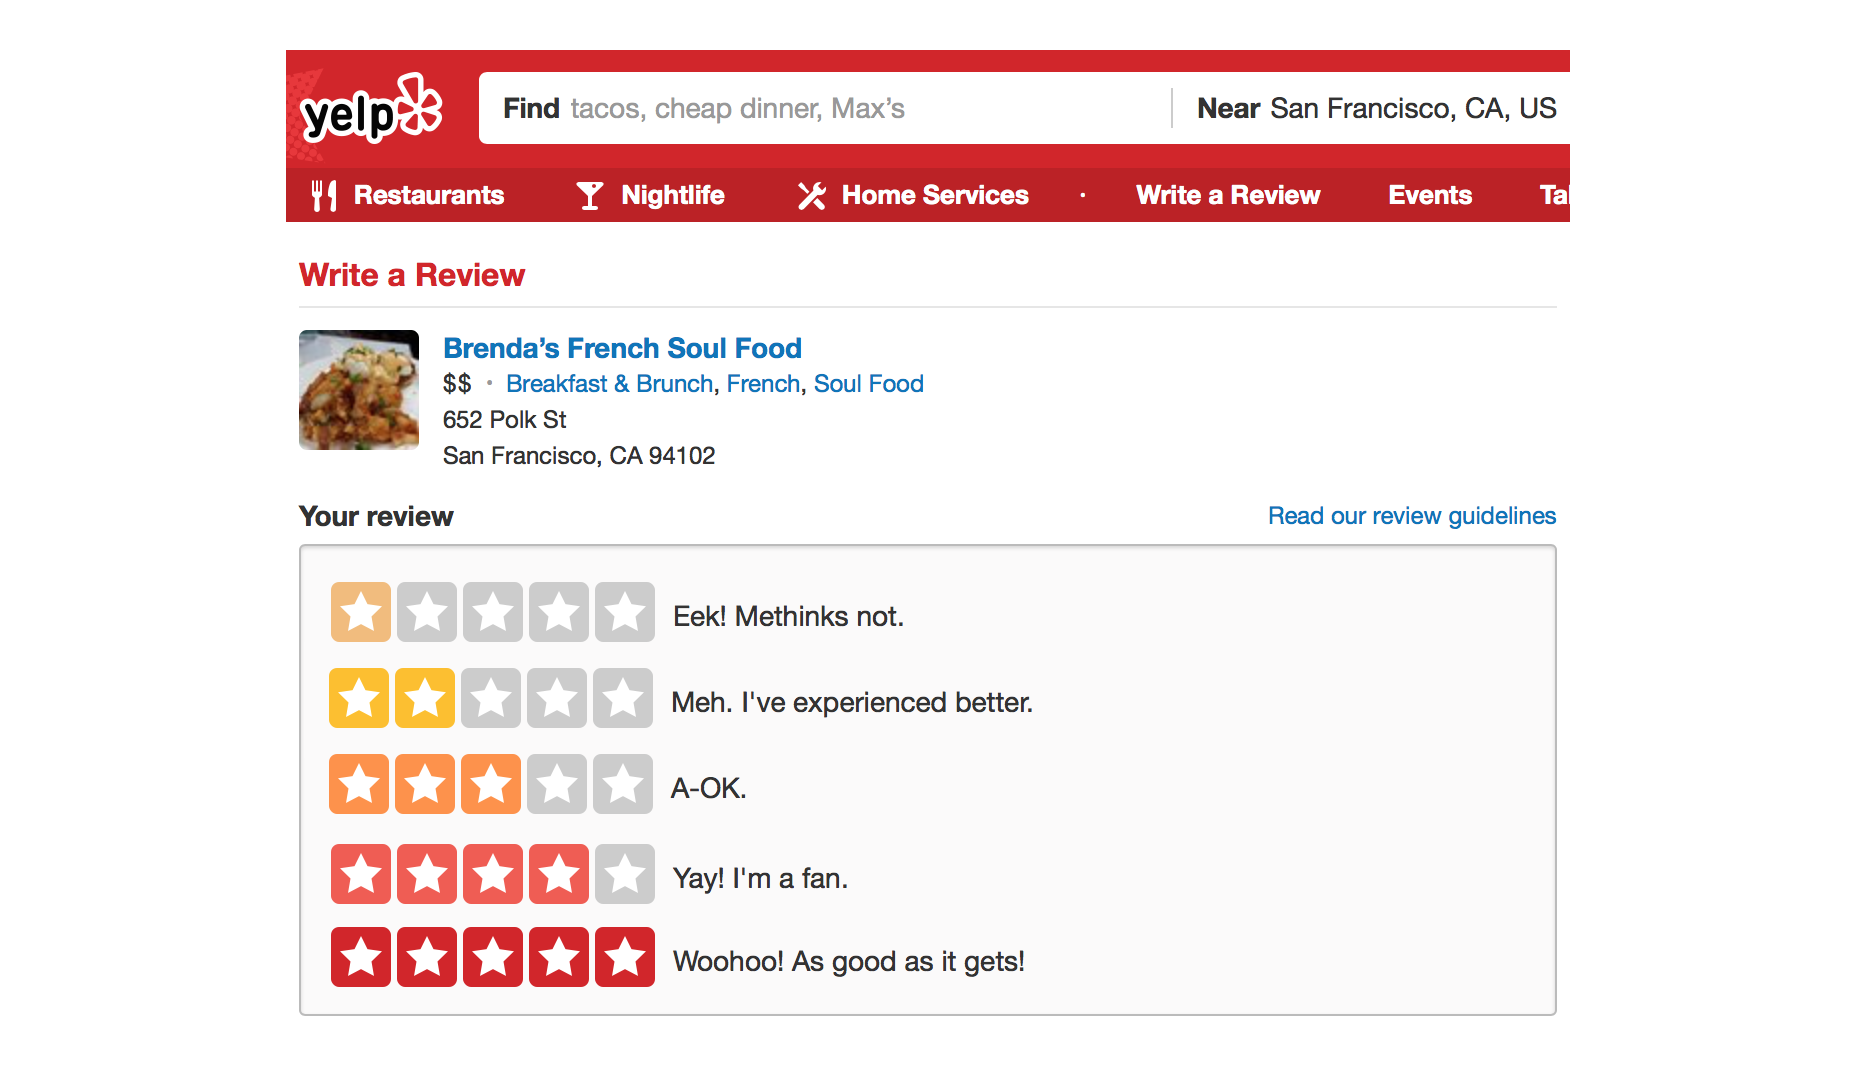
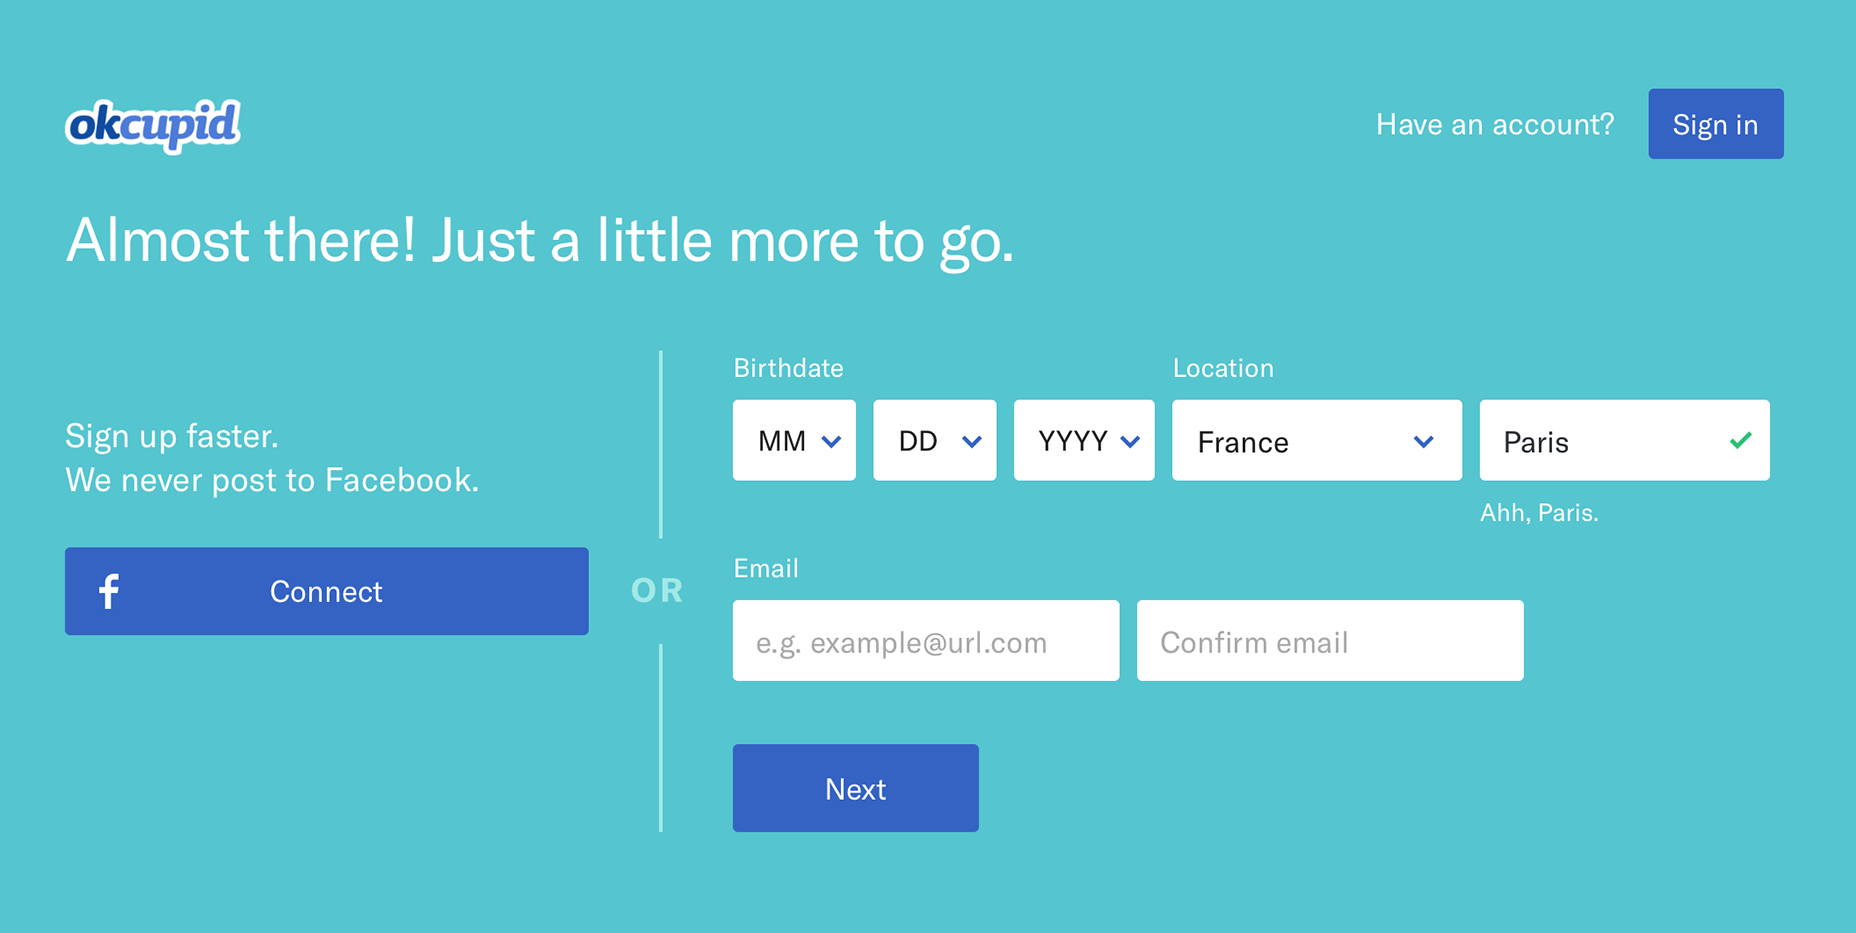
Microcopy  is the little bits of text that guide users through an experience. In apps and websites, microcopy includes things like button labels, hint text, and error messages. Often an afterthought that gets quickly added at the end of the development process, microcopy actually provides a really simple way to assist users as they interact with your product.

Microcopy is small yet powerful copy. Don’t judge it on its size, judge it on its effectiveness. In this article, we’ll see how microcopy can be used in all sorts of functional and delightful ways.

Microcopy is design

Design is about words. Words still form the backbone of communication on the web and in the apps, and microcopy should be a vital element of the design process from the very start.

When done right, effective microcopy increases conversions, improves the rate of task completion and delights users.

Alleviate the concerns of your users

Microcopy is extremely contextual. That’s why it’s so valuable. It answers a very specific question people have and speaks to their concerns right on the spot. You should anticipate user’s questions. User testing is a great way to find out what kind of questions users are asking.

For example, when users are about to sign up to Tumblr, they’re asked to choose a name for their blog. This seems like a big deal, because you’re going to define not just the username, but the URL at which you’ll be found by others. In order to reduce the stress of making a big decision that could affect the future of your blog, Tumblr reminds users that “You can change it any time”. Problem solved. No more worries about choosing the wrong sub-domain name.

Microcopy can be fundamental in reassuring your users at the point of subscribing or sharing details. When people add their emails or connect their Twitter accounts, say “we hate spam as much as you do.” Whilst ‘not to spam/auto-tweet’ might be taken for granted by good marketers when asking for email address/access to the social network account connections, the user is less than sure.

Microcopy from Timely covers all the potential user concerns in one tight little sentence.

We all know how frustrating it can be when you lose content while you’re in the middle of something. Autosave will help make sure that never happens. And microcopy should be used to reassure them that their data is safe.

Google Drive keeps you informed that your hard work is okay.

Users don’t like to give out personal information, especially if they feel it’s unnecessary. Explain to the user why you need their information, or outlining how you use (and protect) their data. For example, Facebook addresses all users concerns, head-on, in its signup box. Their form explains the service is free (forever), and if you’re nervous about giving your date of birth it deals with that too.

Use friendly and helpful copy in a moment of failure

How errors are communicated can have a huge impact on the way someone experiences your website or app. If you aren’t explicit about the error, your users are going to have a hard time figuring out how to fix it. Often overlooked, an ill-constructed error message can fill users with frustration. A well-crafted error message, on the other hand, can turn a moment of frustration into a moment of delight.

A short sprinkling of humour is often a great way to diffuse the frustration of an error.

Brings delight

Injecting delightful details into your designs is a great way to  break the barriers that exist between man and machine.

Users like to interact with other people. If your product sounds human, it’s easier for people to trust you.

Yelp shows the humans behind the brand and encourages people to open up and leave an honest review.

Microcopy can provide a nice opportunity to convey personality to your designs. Good microcopy can turn a routine task into something memorable.

Each time you visit Flickr, the site welcomes you in a different language, which adds a quirky, playful touch.

OkCupid compliments your city when creating a new account: “Ahh, Paris.”

The secret to writing amazing microcopy

Writing microcopy takes more than good writing skills. Just because microcopy is small, doesn’t mean it’s easy to implement. There are multiple factors that play a role in designing great microcopy. Here are a few tips to make a little bit of text pay off in a big way.

Avoid technical jargon

Every company has its own language, which often sneaks onto the website and in the app. Don’t let it happen. What works for you not necessary will work for your user. You need to convey technical information in simple terms.

Use your user’s dictionary

Use natural language and talk to your user like a person.  Don’t write the vocabulary from the top of your head. Instead, get to know the user: research and reuse the existing language of your audience.

Keep it short and helpful

Users don’t want to read long instructions on how to complete a single task. When implementing microcopy use simple unambiguous language and short sentences. It’s supposed to be micro-, not macrocopy.

Be careful with jokes

It’s not always appropriate to use humour in your microcopy. First, not everyone shares your sense of humor. What might sound good on the paper, but in fact can be regarded as uncaring or rude.

Is it really funny or just rude?

Second, it really depends on the context. For instance, a user losing a significant amount of work—then saying “Oops! We can’t seem to save your data” is entirely inappropriate.

Pair microcopy with a picture

Whether it’s a photo, illustration, or a simple picture can sometimes be the perfect pairing for your microcopy. They work together to create a feeling of delight that’s more magical than words or pictures alone. As Dr. Seuss once said:

Words and pictures are yin and yang. Married, they produce a progeny more interesting than either parent.

When you’re about to send out a campaign using Mailchimp, the accompanying animation shows how stressful it is.


30+ Professional Font Families – only $18!

Source

p img {display:inline-block; margin-right:10px;}
.alignleft {float:left;}
p.showcase {clear:both;}
body#browserfriendly p, body#podcast p, div#emailbody p{margin:0;}

Collective #346

Original Source: http://feedproxy.google.com/~r/tympanus/~3/rbNDZ_oLzG0/

C346_bugsnag

This content is sponsored via Syndicate Ads
Bugsnag: The Modern Way to Monitor JavaScript Errors

Capture all handled and unhandled errors, get instant reports, and know which errors are worth fixing. Debug apps in a fraction of the time vs. traditional tools.

Try it free

C346_gameroom

8bit gaming room /w Nintendo & GTA

An amazing game implementation by Petr Urbánek. Watch the 3-hour and 6-hour video tutorials, too.

Check it out

C346_twowaysgrid

Two ways to break CSS Grid and how to fix it

Dave Rupert found two interesting issues with CSS Grid.

Read it

C346_bulky

Free Font: Bulky

A cheerful hand-drawn typeface by Typemate with extended Cyrillic and Latin plus Open Type features.

Get it

C346_GridChallenge

The CSS Grid Challenge: Build A Template, Win Some Smashing Prizes!

Smashing Magazine invites you to a little contest to explore the possibilities and features of CSS Grid.

Check it out

C346_https

Switching Your Site to HTTPS on a Shoestring Budget

Christopher Schmitt’s step-by-step guide to switch to HTTPS in an affordable way.

Read it

C346_favanimation

How to create a favorite animation with anime-js

Mikael Ainalem shows how to create a complex animation with anime.

Read it out

C346_imgpro

react-imgpro

React-imgpro is a image processing component for React. It processes an image with filters supplied as props and returns a base64 image.

Check it out

C346_Everyshouldknow

Every Programmer Should Know

An opinionated collection of (mostly) technical things every software developer should know. By Alexey Migutsky.

Check it out

C346_emulator

Y86 Emulator

A JavaScript powered Y86 pipeline CPU emulator made by Shu Ding.

Check it out

C346_r2

r2

Mikeal Rogers implemented this new Node.js HTTP client library.

Check it out

C346_Gentler

A Gentler Introduction to Programming

An article by ‘Tosin Adesanya that captures what he teaches when he gets coaching requests.

Read it

C346_UI

Little UI details from @steveschoger, in HTML and CSS

Tyrell Rummage’s demo showcasing a collections of little tips from @steveschoger to improve your visual design skills.

Check it out

C346_Millennium

Free Font: Millennium

A modern blackletter typeface by Mcraft for Pixel Buddha.

Get it

C346_21

Alembic

A Sketch plugin that extracts a color palette from any layer that contains bitmap data. By Awkward.

Check it out

C346_Icondrop

Icondrop

Useful plugins for instantly accessing the large icon library of Iconscout.

Check it out

C346_TravelIcons

Travel Icons (EPS, SVG, PNG, AI)

In case you missed this little icon gem: a high-quality travel icon set by Agente.

Get it

C346_VirtualReality

A Guide To Virtual Reality For Web Developers

Ada Rose Edwards explores the current state of browsers in VR and the state of VR on the web via the WebVR APIs.

Read it

C346_Restool

RESTool – An open source UI tool for managing RESTful APIs

Daniel Sternlicht introduces RESTool, a tool that offers an out of the box UI that connects to your API with a simple configuration file.

Read it

C346_vuepwa

Production Ready Progressive Web Apps with vue-pwa-boilerplate

Jeff Posnick walks you through the process of getting started with the vue-pwa-boilerplate so that you can build your PWA on a solid foundation.

Watch it

C346_SketchLibraries

Sketch Libraries from Beta 47

A video by Sketch Together that introduces the magical new Libraries.

Watch it

C346_mathcha

Mathcha

An online mathematics editor for a fast way to write and share mathematics formula.

Check it out

C346_flame

Fluid Dynamic Solver

Lingjia Liu’s JavaScript implementation of “Real-Time Fluid Dynamics for Games”.

Check it out

C346_gridexperiment

Grid Experiment No. 1

A great grid demo by Jules Forrest.

Check it out

Collective #346 was written by Pedro Botelho and published on Codrops.

Collective #345

Original Source: http://feedproxy.google.com/~r/tympanus/~3/934usKP_vHg/

C345_wotw

Inspirational Website of the Week: Rich Brown

A fantastic web experience with incredible smoothness and an innovative design.

Get inspired

C345_HelloSign

This content is sponsored via Syndicate Ads
HelloSign API: The Industry’s Fastest eSignature API Integration

Squeaky clean documentation that gets you testing in seconds. Test the API for as long as you need to and sign up when you’re ready. 2X faster integration.

Try it free

C345_reqanimframe

Gain Motion Superpowers with requestAnimationFrame

Benjamin De Cock demystifies requestAnimationFrame for creating powerful animations.

Read it

C345_sketchlibraries

Sketch Libraries: How they work, and the crazy stuff you can do with them

Jon Moore introduces a new, powerful feature in Sketch: Sketch Libraries, which are Sketch documents that can be used globally.

Read it

C345_skeleton

Building Skeleton Screens with CSS Custom Properties

Max Böck shows how to use CSS Custom Properties to create awesome skeleton screens.

Read it

C345_pwa

Yes, That Web Project Should Be a PWA

Aaron Gustafson writes about how misinformation has convinced many designers and developers that PWAs aren’t appropriate for their projects and shows how actually every site should be a PWA.

Read it

C345_nowuikit

Now UI Kit

A responsive Bootstrap 4 UI kit by Invision and Creative Tim.

Get it

C345_freezetab

Freezetab

A bookmarks alternative with lots of great features that groups your tabs based on when you saved them.

Check it out

C345_concurrent

Concurrent JavaScript: It can work!

An article by Filip Pizlo from WebKit that considers what it would take to extend concurrency to the entire JavaScript heap.

Read it

C345_earth

How I built my earthin24 twitter bot

Ryan Seddon writes about how he created a space related Twitter bot.

Read it

C345_antidesign

Let’s talk about anti-design

Get to know what anti-design is all about in this article by Simon Obirek.

Check it out

C345_awesomevuejs

Awesome Vue.js

A curated list of awesome resources related to Vue.js.

Check it out

C345_http2

Managing CSS & JS in an HTTP/2 World

Trevor Davis’ guide on how to deliver CSS and JS on a website with HTTP/2.

Read it

C345_python

What the f*ck Python?

A collection of tricky Python snippets and examples.

Check it out

C345_semiotic

Semiotic

Semiotic is a React based framework optimized to enable effective communication through data visualization.

Check it out

C345_pagebloat

The average web page is 3MB. How much should we care?

In case you missed it: Tammy Everts’ updated analysis on the current state of page bloat.

Read it

C345_proximi

Proximi.io

A unified SDK and API to positioning, geofencing and triggering that allows to build apps that react to the physical world.

Check it out

C345_mathml

The Mathematics of Machine Learning

An article on the importance of Mathematics in Machine Learning by Wale Akinfaderin.

Read it

C345_draggable

Draggable Elements with RxJS

Read how to make DOM elements draggable with RxJS and Hammer in this article by Varun Vachhar.

Read it

C345_fastv8

Fast Properties in V8

Learn how V8 handles JavaScript properties internally in this article by Camillo Bruni.

Read it

C345_languagedatascience

Which Languages Should You Learn For Data Science?

An article by Peter Gleeson where he explains what to take into consideration when choosing a language for data science.

Read it

C345_grid

Here’s a Super Quick Way to Try out CSS Grid

Jen Simmons teaches some very basic things about CSS Grid, and gets you started with a 5-minute taste.

Read it

Collective #345 was written by Pedro Botelho and published on Codrops.

WordPress SEO Plugins: All in One SEO Pack vs. Yoast SEO

Original Source: http://feedproxy.google.com/~r/Designrfix/~3/NnffpWva2A4/wordpress-seo-plugins-seo-pack-yoast-seo

Anyone looking for WordPress SEO plugins will probably have heard that Yoast SEO and All in One SEO Pack are the best of the fold. But which one is better than the other? This article will highlight the most important attributes of both plugins and guide you towards deciding which works best depending on your […]

The post WordPress SEO Plugins: All in One SEO Pack vs. Yoast SEO appeared first on designrfix.com.

React vs Angular: An In-depth Comparison

Original Source: https://www.sitepoint.com/react-vs-angular/

Should I choose Angular, or React? Today’s bipolar landscape of JavaScript frameworks has left many of developers struggling to pick a side in this debate. Whether you’re a newcomer trying to figure out where to start, a freelancer picking a framework for your next project or an enterprise-grade architect planning a strategic vision for your company, you’re likely to benefit from having an educated view on this topic.

To save you some time, let me tell you something up front: this article won’t give a clear answer on which framework is better. But neither will hundreds of other articles with similar titles. I can’t tell you that because the answer depends on a wide range of factors which make a particular technology more or less suitable for your environment and use case.

Since we can’t answer the question directly, we’ll attempt something else. We’ll compare Angular (2+, not the old AngularJS) and React to demonstrate how you can approach the problem of comparing any two frameworks in a structured manner on your own and tailor it to your environment. You know, the old “teach a man to fish” approach. That way, when both are replaced by a BetterFramework.js in a year’s time, you will be able to re-create the same train of thought once more.

Where to Start?

Before you pick any tool you need to answer two simple questions: “Is this a good tool per se?” and “Will it work well for my use case?” None of them mean anything on their own, so you always need to keep both of them in mind. All right, the questions might not be that simple, so we’ll try to break them down into smaller ones.

Questions on the tool itself:

How mature is it and who’s behind it?
What kind of features does it have?
What architecture, development paradigms, and patterns does it employ?
What is the ecosystem around it?

Questions for self-reflection:

Will I and my colleagues be able to learn this tool with ease?
Does is fit well with my project?
What is the developer experience like?

Using this set of questions you can start your assessment of any tool and we’ll base our comparison of React and Angular on them as well.

There’s another thing we need to take into account. Strictly speaking, it’s not exactly fair to compare Angular to React, since Angular is a full-blown feature-rich framework, and React just a UI component library. To even the odds, we’ll talk about React in conjunction with some of the libraries often used with it.

Maturity

An important part of being a skilled developer is being able to keep the balance between established, time-proven approaches and evaluating new bleeding-edge tech. As a general rule, you should be careful when adopting tools which have not yet matured due to certain risks:

The tool might be buggy and unstable.
It might be unexpectedly abandoned by the vendor.
There might not be a large knowledge base or community available in case you need help.

Both React and Angular come from good families, so it seems that we can be confident in this regard.

React

React is developed and maintained by Facebook and used in their own products, including Instagram and WhatsApp. It has been around for roughly three and a half years now, so it’s not exactly new. It’s also one of the most popular projects on GitHub with about 60,000 stars at the time of writing. Sounds good to me.

Angular

Angular (version 2 and above) has been around less then React, but if you count in the history of its predecessor, AngularJS, the picture evens out. It’s maintained by Google and used in AdWords and Google Fiber. Since AdWords is one of the key projects in Google, it is clear they have made a big bet on it and is unlikely to disappear anytime soon.

Features

Like I mentioned earlier, Angular has more features out of the box than React. This can be both a good and a bad thing, depending on how you look at it.

Both frameworks share some key features in common: components, data binding, and platform-agnostic rendering.

Angular

Angular provides a lot of the features required for a modern web application out of the box. Some of the standard features are:

Dependency injection;
Templates, based on an extended version of HTML;
Routing, provided by @angular/router;
Ajax requests by @angular/http;
@angular/forms for building forms;
Component CSS encapsulation;
XSS protection;
Utilities for unit-testing components.

Having all of these features available out of the box is highly convenient when you don’t want to spend time picking the libraries yourself. However, it also means that you’re stuck with some of them, even if you don’t need them. And replacing them will usually require additional effort. For instance, we believe that for small projects having a DI system creates more overhead than benefit, considering it can be effectively replaced by imports.

React

With React, you’re starting off with a more minimalistic approach. If we’re looking at just React, here’s what we have:

No dependency injection;
Instead of classic templates it has JSX, an XML-like language built on top of JavaScript;
XSS protection;
Utilities for unit-testing components.

Not much. And this can be a good thing. It means that you have the freedom to choose whatever additional libraries to add based on your needs. The bad thing is that you actually have to make those choices yourself. Some of the popular libraries that are often used together with React are:

React-router for routing.
Fetch (or axios) for HTTP requests;
A wide variety of techniques for CSS encapsulation;
Enzyme for additional unit-testing utilities.

We’ve found the freedom of choosing your own libraries liberating. This gives us the ability to tailor our stack to particular requirements of each project and we didn’t find the cost of learning new libraries that high.

Languages, Paradigms, and Patterns

Taking a step back from the features of each framework, let’s see what kind higher-level concepts are popular with both frameworks.

React

There are several important things that come to mind when thinking about React: JSX, Flow, and Redux.

JSX

JSX is a controversial topic for many developers: some enjoy it, and others think that it’s a huge step back. Instead of following a classical approach of separating markup and logic, React decided to combine them within components using an XML-like language that allows you to write markup directly in your JavaScript code.

While the topic of mixing markup with JavaScript might be debatable, it has an indisputable benefit: static analysis. If you make an error in your JSX markup, the compiler will emit an error instead of continuing in silence. This helps by instantly catching typos and other silly errors. This is something we really miss in Angular.

Flow

Continue reading %React vs Angular: An In-depth Comparison%

Stockio Review: Stock Photos and More Without the Attribution and Costs

Original Source: http://inspiredm.com/stockio-review-stock-photos-without-attribution-costs/

Inspired Magazine
Inspired Magazine – creativity & inspiration daily

If you’re looking for a featured photo to match that perfect blog post, the process often takes much longer than you would expect.

Most bloggers have no interest, or money, to pay for stock photos, and most of the time you can find royalty-free images that don’t require attribution.

Unfortunately, there are a few main problems when it comes to finding royalty-free images that don’t require attribution:

Many search engines don’t have the proper tools to filter out photographs that aren’t legal to use.
Many times you stumble upon a free stock photography website only to find that you’re required to provide an attribution link on each photo.
There are so many photography sites that you often have to bookmark several of them to find the pictures you need.

It’s a tough process, but with the help of Stockio you should be able to make it much easier.

The Stockio free photo finder is much more than a collection of stock images.

It offers items like fonts, vectors, videos and icons. Therefore, a web designer, blogger or regular business person trying to make marketing materials can go to one location online to find everything.

The True Stockio Advantage

As a blogger and web designer myself, I find it pretty unfortunate when I locate an online asset (like a photo or vector) only to see that it requires attribution (or some sort of credit to the creator). Yes, attribution is great for sending more business to the designers and photographers of the world, but sometimes it simply doesn’t make sense to have a link below the photo. Take book covers, for example. It’d be pretty weird if a beginner blogger on a budget had an attribution link underneath their book cover.

It’s fine to have blog posts with image credits, but you can’t expect companies to place attribution on a slider image.

That’s why Stockio makes so much sense. It allows photographers and designers to find an audience, yet the people using their creations aren’t bogged down by the whole attribution thing.

Stockio encourages its users to credit things like photos and vectors, but it’s not required. Therefore, you can pick and choose for the situations it makes the most sense.

Now that you have a better idea of what Stockio offers, let’s take a look at the functionality of its website, along with the selection you can choose from.

Free Photos with Stockio

The free photos are the main focus on Stockio, so we’ll begin with that. Upon landing on the Stockio website, you’ll see a large Search bar for you to punch in any keyword you want. In addition to that, the website has several featured galleries for images, fonts and everything else on the site.

Let’s say, for example, I have a hardware store client that needs to start featuring some of its lawn maintenance products. We’re talking lawnmowers, fertilizers and sprinklers. Therefore, I want to search for photos that are tagged with the “lawn” keyword.

After doing that on Stockio, I saw a large collection of relevant images pop up. These lawn images are high-resolution, beautiful and ready to be used for marketing, blogging and social media materials.

After finding a photo I liked, the Stockio website brought me to the main page for that photo. What’s great about the image pages is that they’re not cluttered with tons of ads or other buttons that make you confused during the process. All the user sees is a Free Download button without any information about leaving attribution. These photos are available for both personal and commercial use, as long as you don’t go out and resell the actual photos. Depending on the photo, you’ll see some different sizes and formats, allowing you to keep the resolutions high and the formats the same.

Stockio Also Offers Free Fonts and Vectors

The free fonts come in all shapes and sizes, from gothic styles to more professional typography. Stockio eases the search process by presenting a wide assortment of categories. You click on the category that makes the most sense, then you’ll see a full gallery of the photos tagged with that category.

For instance, some of the categories on this page include:

Cartoon.
Fancy.
Retro.
Script.
Square.
Techno.
Trash.

The free vectors appear rather impressive as well. Stockio doesn’t seem to provide categories for the vectors, so you must go through the featured collection or make your search through the homepage.

As with the regular photos, vector files come in multiple forms. For example, this particular vector has both EPS and JPG files. You have the opportunity to select the file format that’s going to work best for your project. Once again, the attribution requirements are completely eliminated from the vector area, leaving you free to download at your own will.

Stockio Has Videos Too!

Quality free videos are hard to come by, so it’s refreshing to see that Stockio keeps a large selection of quality choices. For example, I received at least 20 or 30 great results when I punched in the keyword “lake.” It appears most of the videos come in standard mp4 format, but that’s just from looking at a few of the video downloads. In fact, the video pages are even easier to handle than the photos and vectors. With only one format, you only have to think about clicking that Free Download button.

Don’t Forget Your Icons

As a writer I don’t use icons at all. However, the web designer side of me likes to play around with icons when creating new websites and breaking up the monotony of text. Stockio provides a solid set of free icons. As you can see in the screenshot below, you can choose from icons of cats, houses, PSD files, computers and more. Before downloading, Stockio asks whether you’d like a PNG or SVG. Then, you’ll have to select the size if you go with a PNG.

Stockio is the Real Deal

I’ve said it before, but the free stock image business has seen it’s troubles. Most of the time you find a site riddled with ads or attribution requests, but Stockio has managed to avoid all that. Therefore, I’d recommend giving Stockio a try for your photo, vector, font, video and icon needs. You don’t have to sign up for a free trial or anything. Just start searching and downloading the items you need. Have fun!

This post Stockio Review: Stock Photos and More Without the Attribution and Costs was written by Inspired Mag Team and first appearedon Inspired Magazine.