What’s New for Designers, August 2019

Original Source: https://www.webdesignerdepot.com/2019/08/whats-new-for-designers-august-2019/

Some of the new tools in this month’s roundup are designed for productivity and getting ahead, from a tool that converts text to speech to a font that’s made for the winter holidays. That’s the whole point of new tools – to make our design lives that much easier. Here’s what’s new for designers this month.

Paaatterns

Paaatterns is a collection of vector patterns for backgrounds, fills, and anywhere you want an interesting design element. The patterns here are strong with bright colors and geo shapes. The collection is free to download and comes in multiple formats, including Sketch, Figma, XD, Illustrator as well as SVG and PNG.

Verby

Verby is a free text to speech tool that lets you create and download natural voices as MP3 files. The free version is even available for commercial use. This can be a valuable tool for websites or apps, online learning tools, video broadcasting, audiobook production, or communication accessibility. (There’s also a premium version with even more voice options.)

Dashblock

Dashblock uses a machine-learning model that can turn any website into an API. Go to a page, right-click on the data you want and save a custom API that you can query.

Rooki.design

Rooki.design is a magazine for design students and junior designers. It’s packed with features and resources to help rookies get acclimated into the design industry. Rooki.design is developed and managed by a student designer, Edoardo Rainoldi.

Gradient Magic

Gradient Magic is a huge gallery of CSS gradients in so many colors and styles that you might get lost browsing through all the combinations. Pick a style – standard, angular, stripes, checkered, burst – and color palette to get started. Then you can view and copy CSS for any selection you like.

Dynamic Charts

Dynamic Charts is a GitHub project that allows you to create animated charts and visualize data using React. Charts can use custom callbacks, labels, and allow you to run by command. There’s default styling that makes it easy to use, but you can go crazy with the design to make it your own.

Components AI

Components AI describes itself as an “experimental platform for exploring generative design systems.” It’s a neat concept that allows you to cycle through ideas and tweak designs until they are just right and then save and export for use.

Avant UI

Avant UI is a Bootstrap-based user interface kit that’s packed with sleek elements and animations. Everything is customizable, although the core design might be all you need. The UI kit includes almost every type of component you can imagine, including colors and gradients, buttons, inputs, dropdowns, alerts, tables, thumbnails, carosels, and more.

Tutorial: Phone Number Field Design Best Practices

It might be one of the most common fields in online forms, but do you ever stop to think about how phone number inputs work? Nick Babich has an excellent tutorial on how to best design these inputs for usability and efficiency. The tips include not splitting fields, using a country selector, and auto-formatting.

Money Vector Icons

Show me the money (icons)! This vector pack includes 50 icons that show currency, banks, and credit in three designed styles.

Stories Illustrations

Stories is an illustration kit with 11 vectors and characters that can tell a business story. The premium kit comes in AI and SVG format for easy use and manipulation.

Isometric

Isometric is a collection of free icon-style scenes that you can use in digital projects. Each illustration is an a true isometric style and SVG format featuring dozens of different designs.

jExcel v3

jExcel v3 is a tool to help you build spreadsheets online with columns, rows, and multiple data formats. From the developer: “jExcel is a lightweight vanilla javascript plugin to create amazing web-based interactive tables and spreadsheets compatible with Excel or any other spreadsheet software. You can create an online spreadsheet table from a JS array, JSON, CSV or XSLX files. You can copy from excel and paste straight to your jExcel spreadsheet and vice versa.”

Space Browser

Space Browser lets you organize all those unruly website tabs into smart folders that make it easy to go back to often used websites and track browsing history. You can also share and sync for collaboration with the tool.

Drama

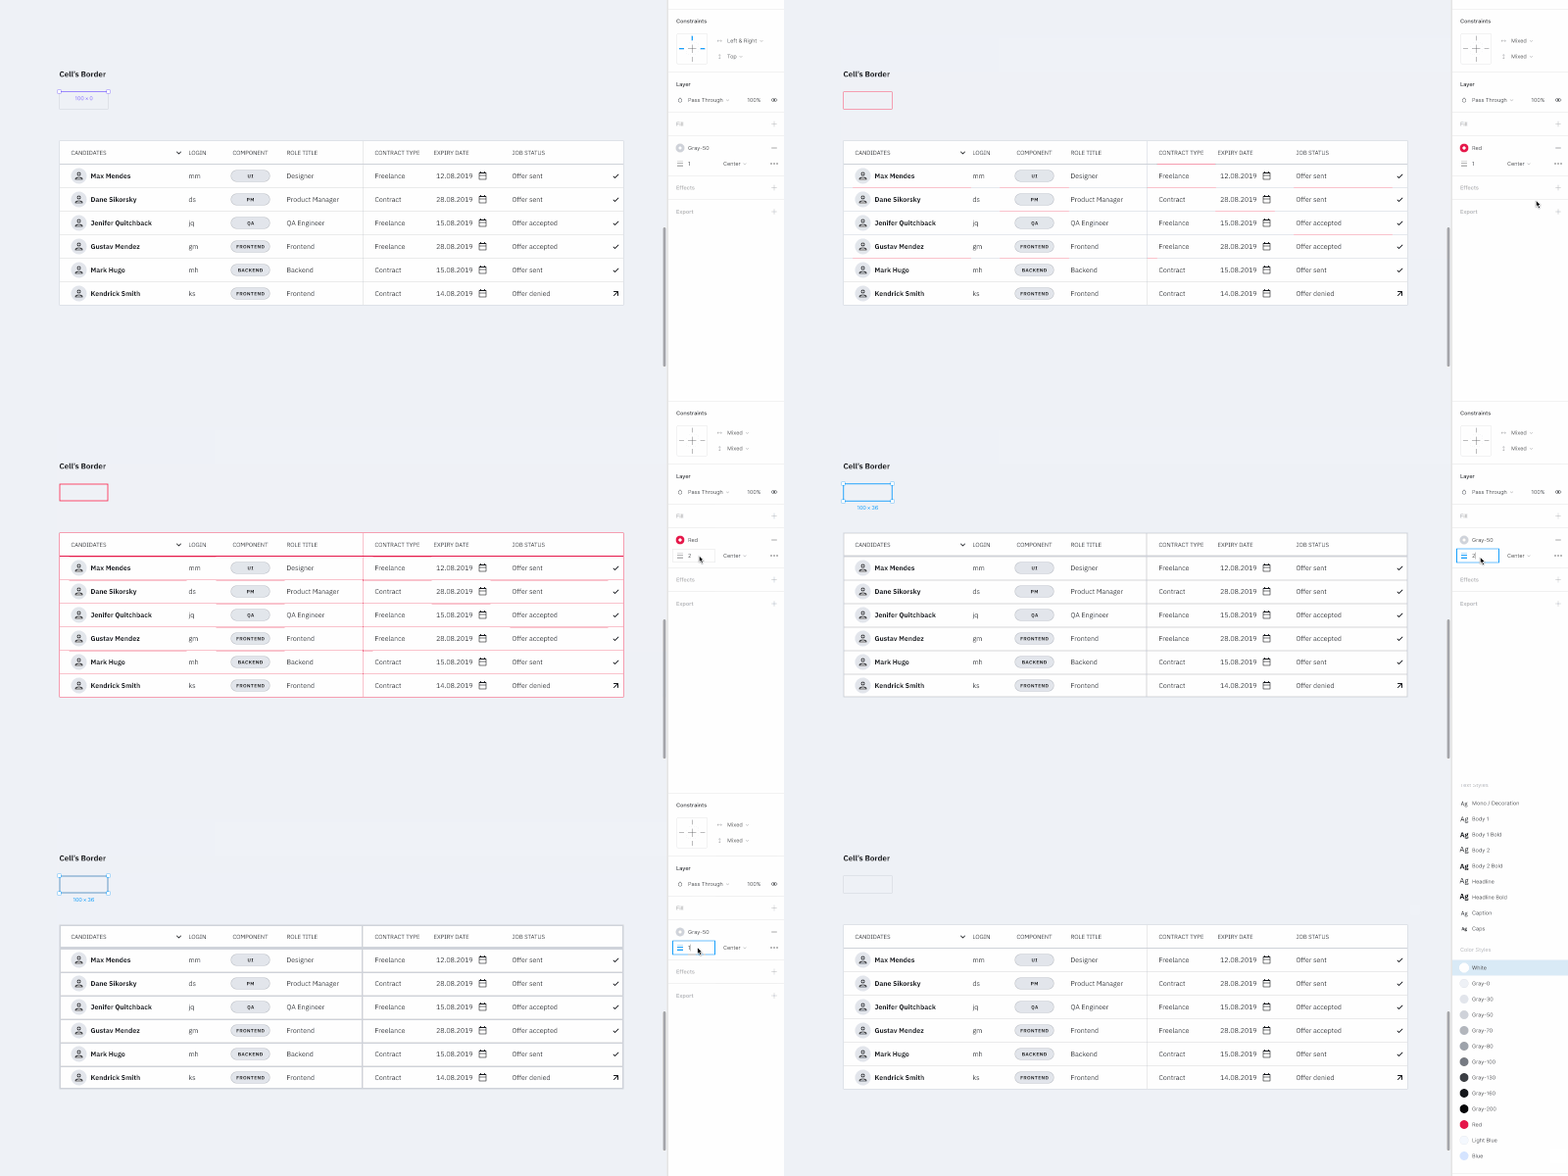
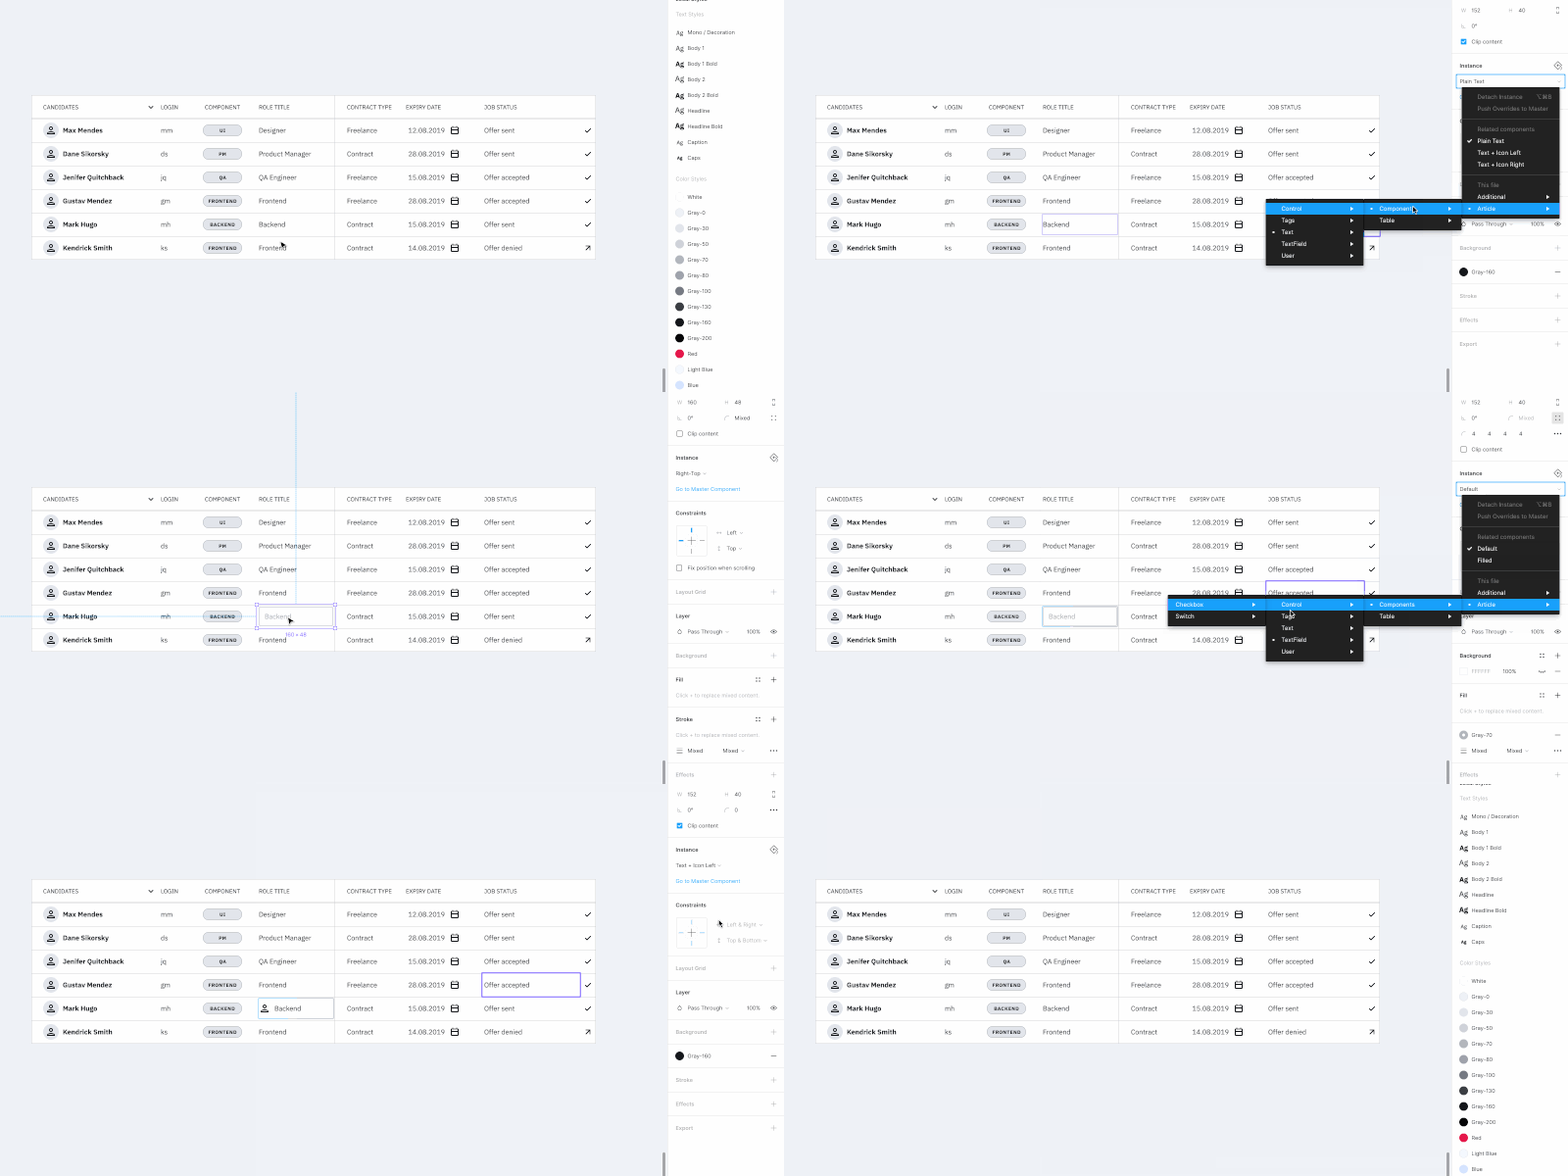
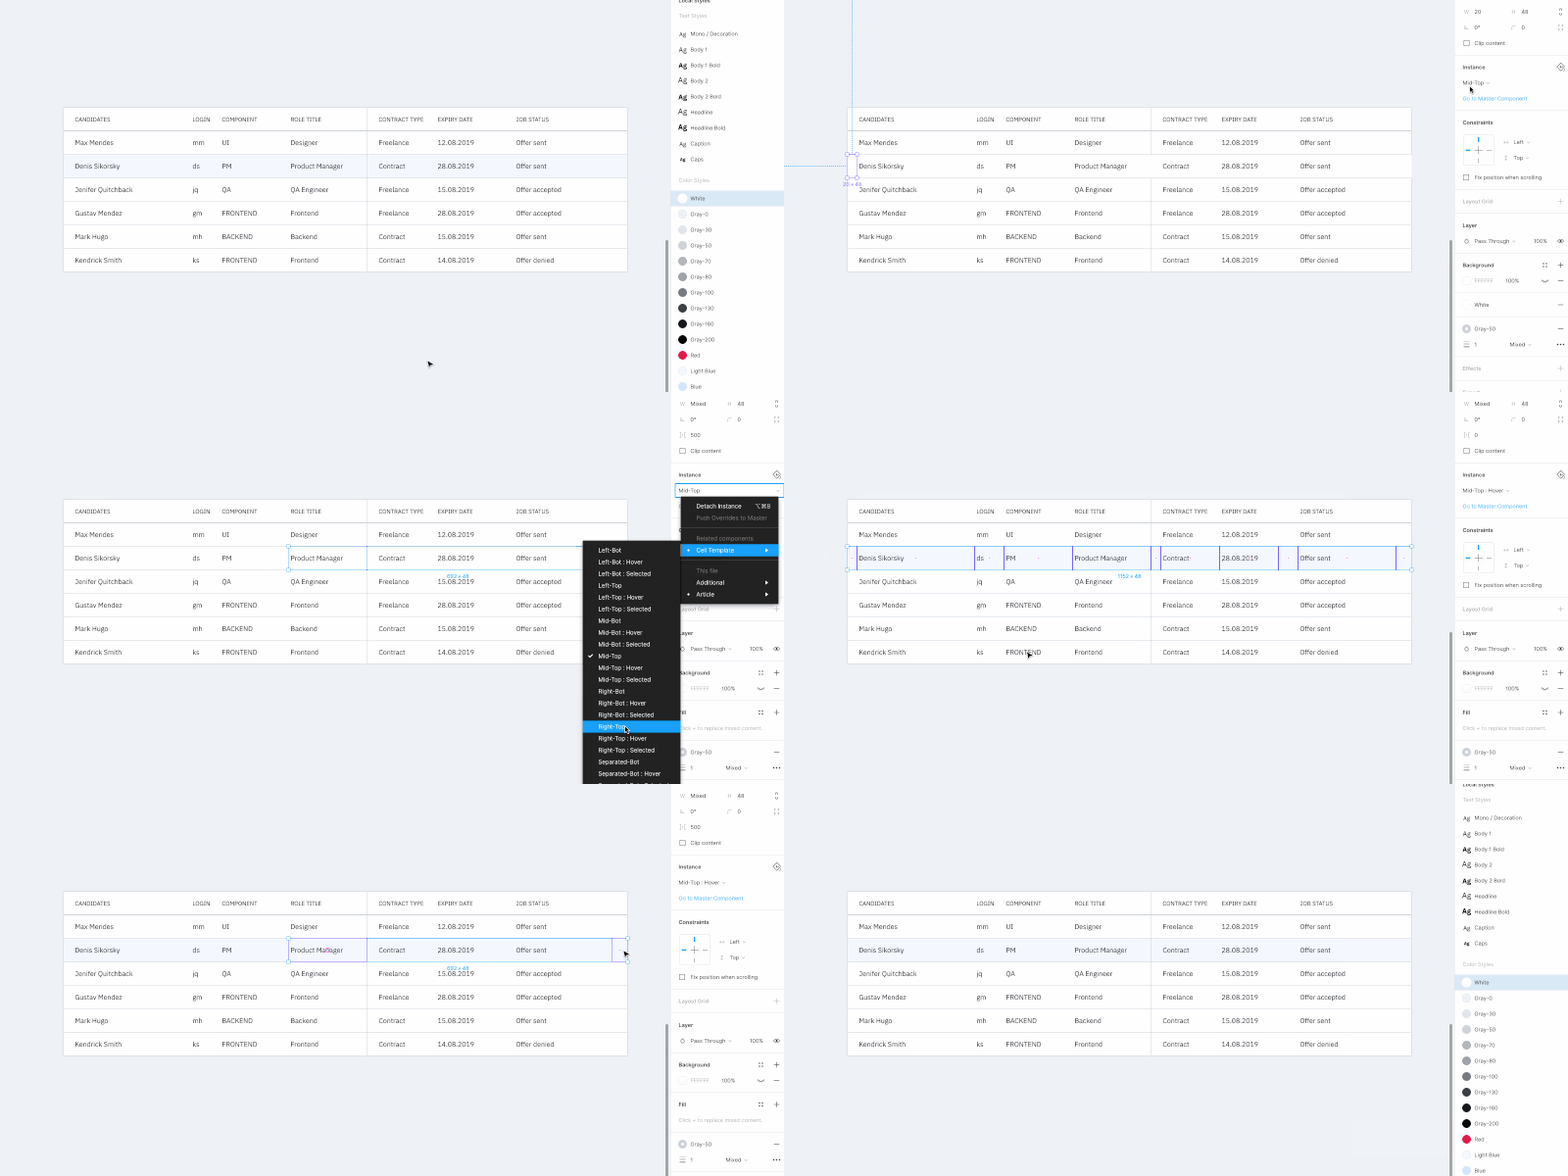
Drama is a Mac app that’s still in beta and designed to help you draw user interfaces, create prototype, and make animations all in one location.

Font Awesome Duotone

Font Awesome now has a duotone option for Pro users. The style includes two-color options for over 1,600 icons.

Cocomat Pro

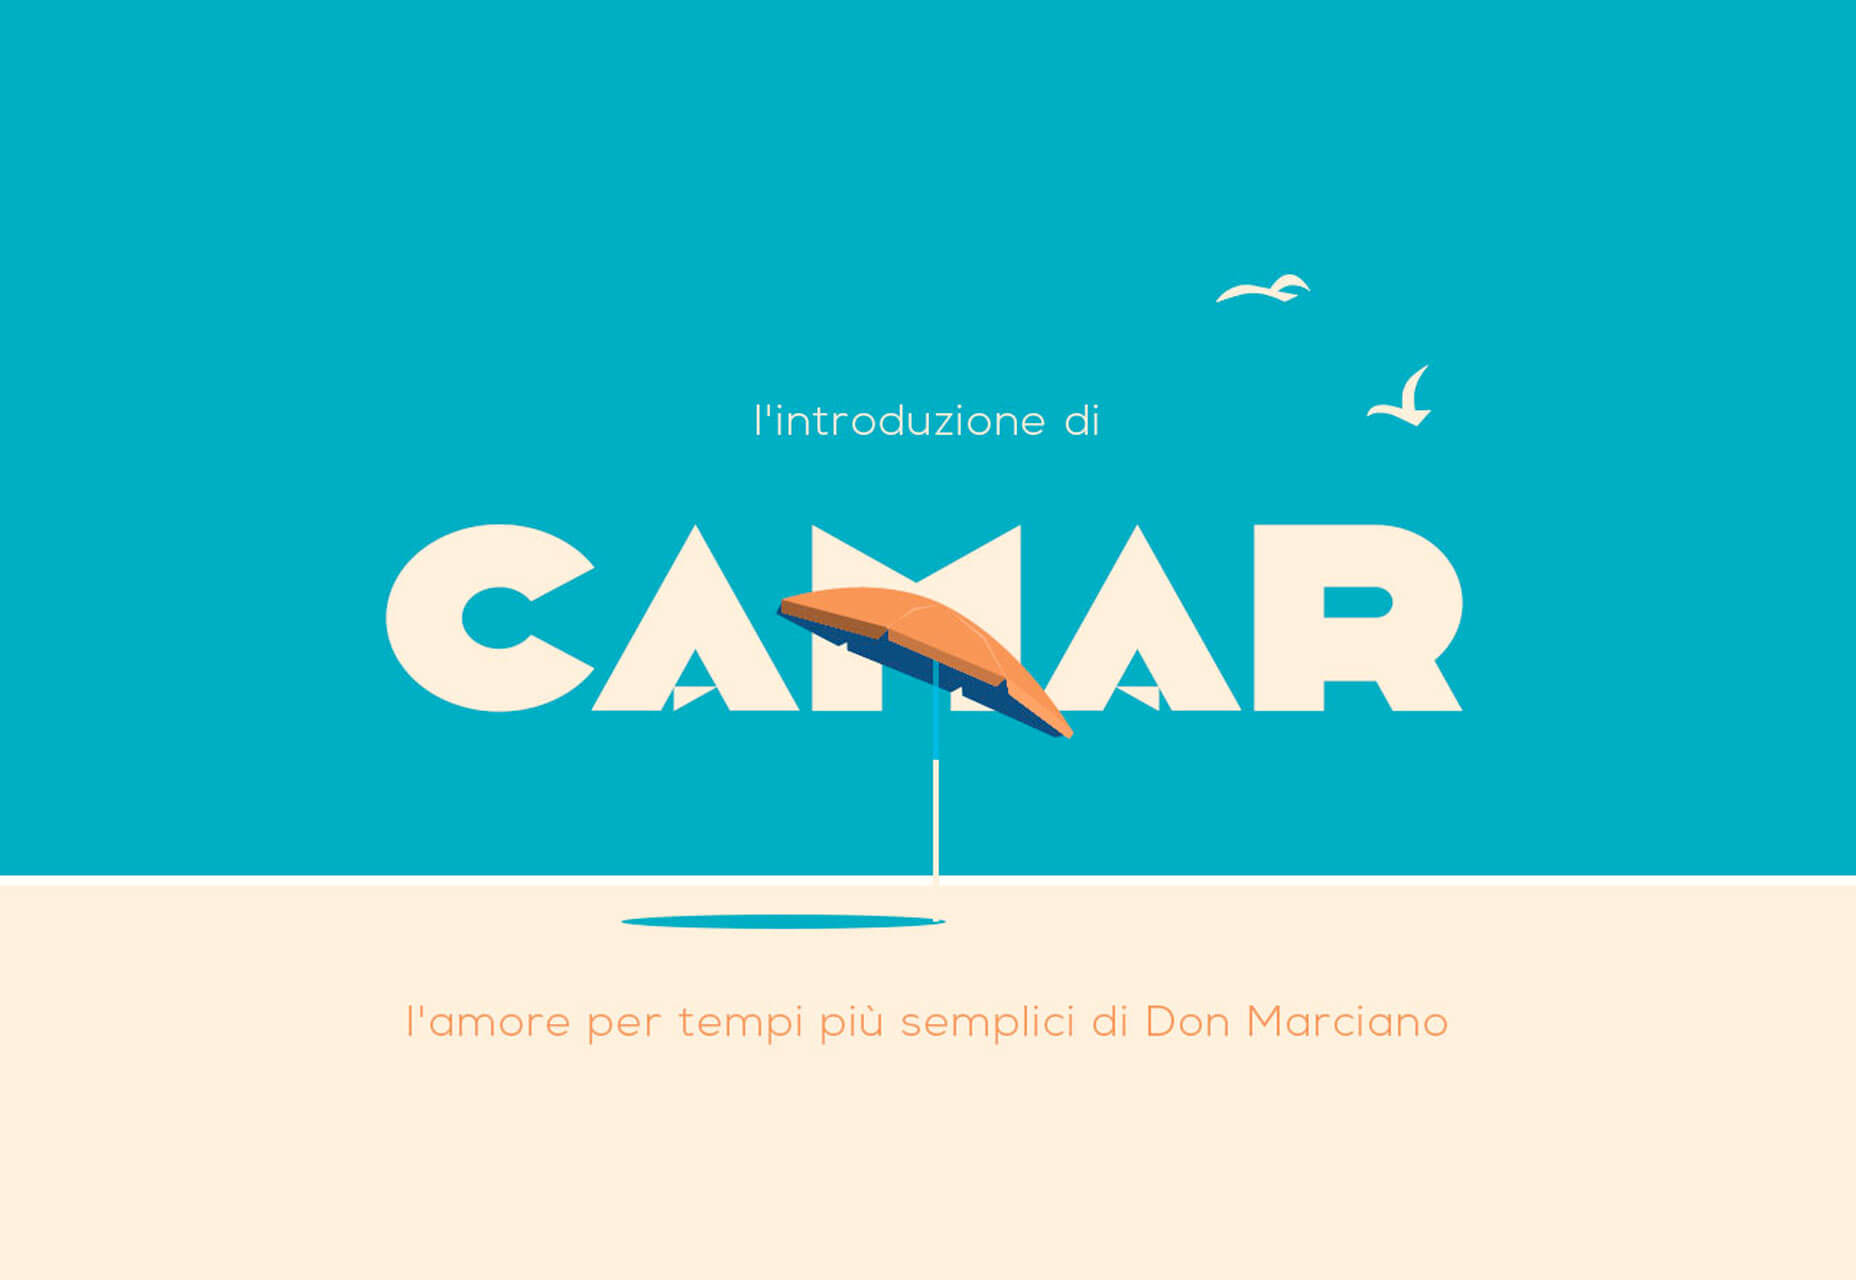
Cocomat Pro is a delightful grotesque style typeface with nice ligatures and interesting lines. The premium typeface includes a full family of styles and works for a variety of uses for almost all type elements.

Grinched 2.0

It’s never too early to start holiday planning. Save this font for those projects. Grinched 2.0 is a fun character-style typeface with a full character and number set.

Lansdowne Decorative Font

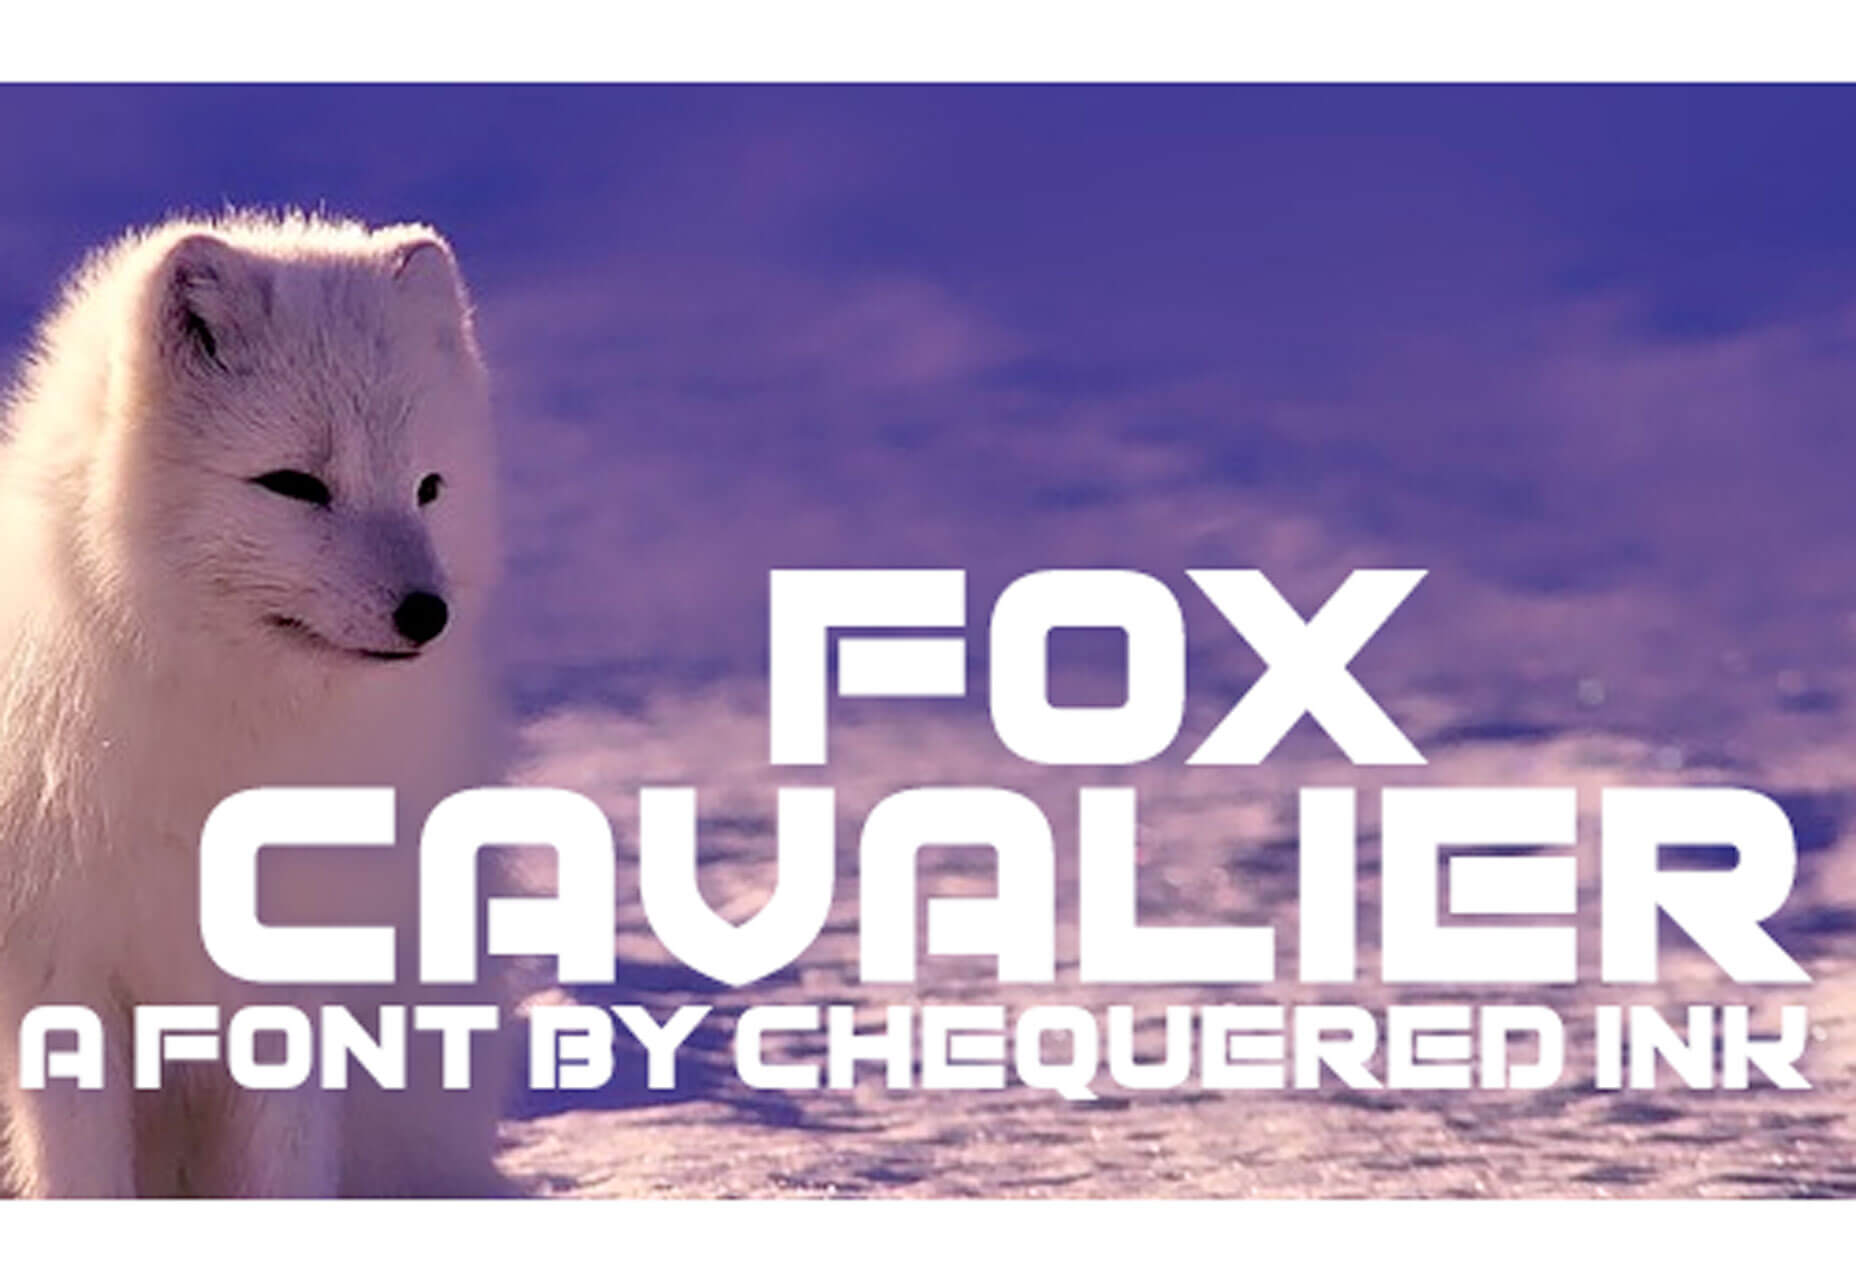
Lansdowne Decorative Font is just what you’d expect from the name. It includes all caps upper- and lowercase letters with tons of glyphs for personality in your typesetting. It has a vintage style that’s a fun option for light text and display use.

Mobstex

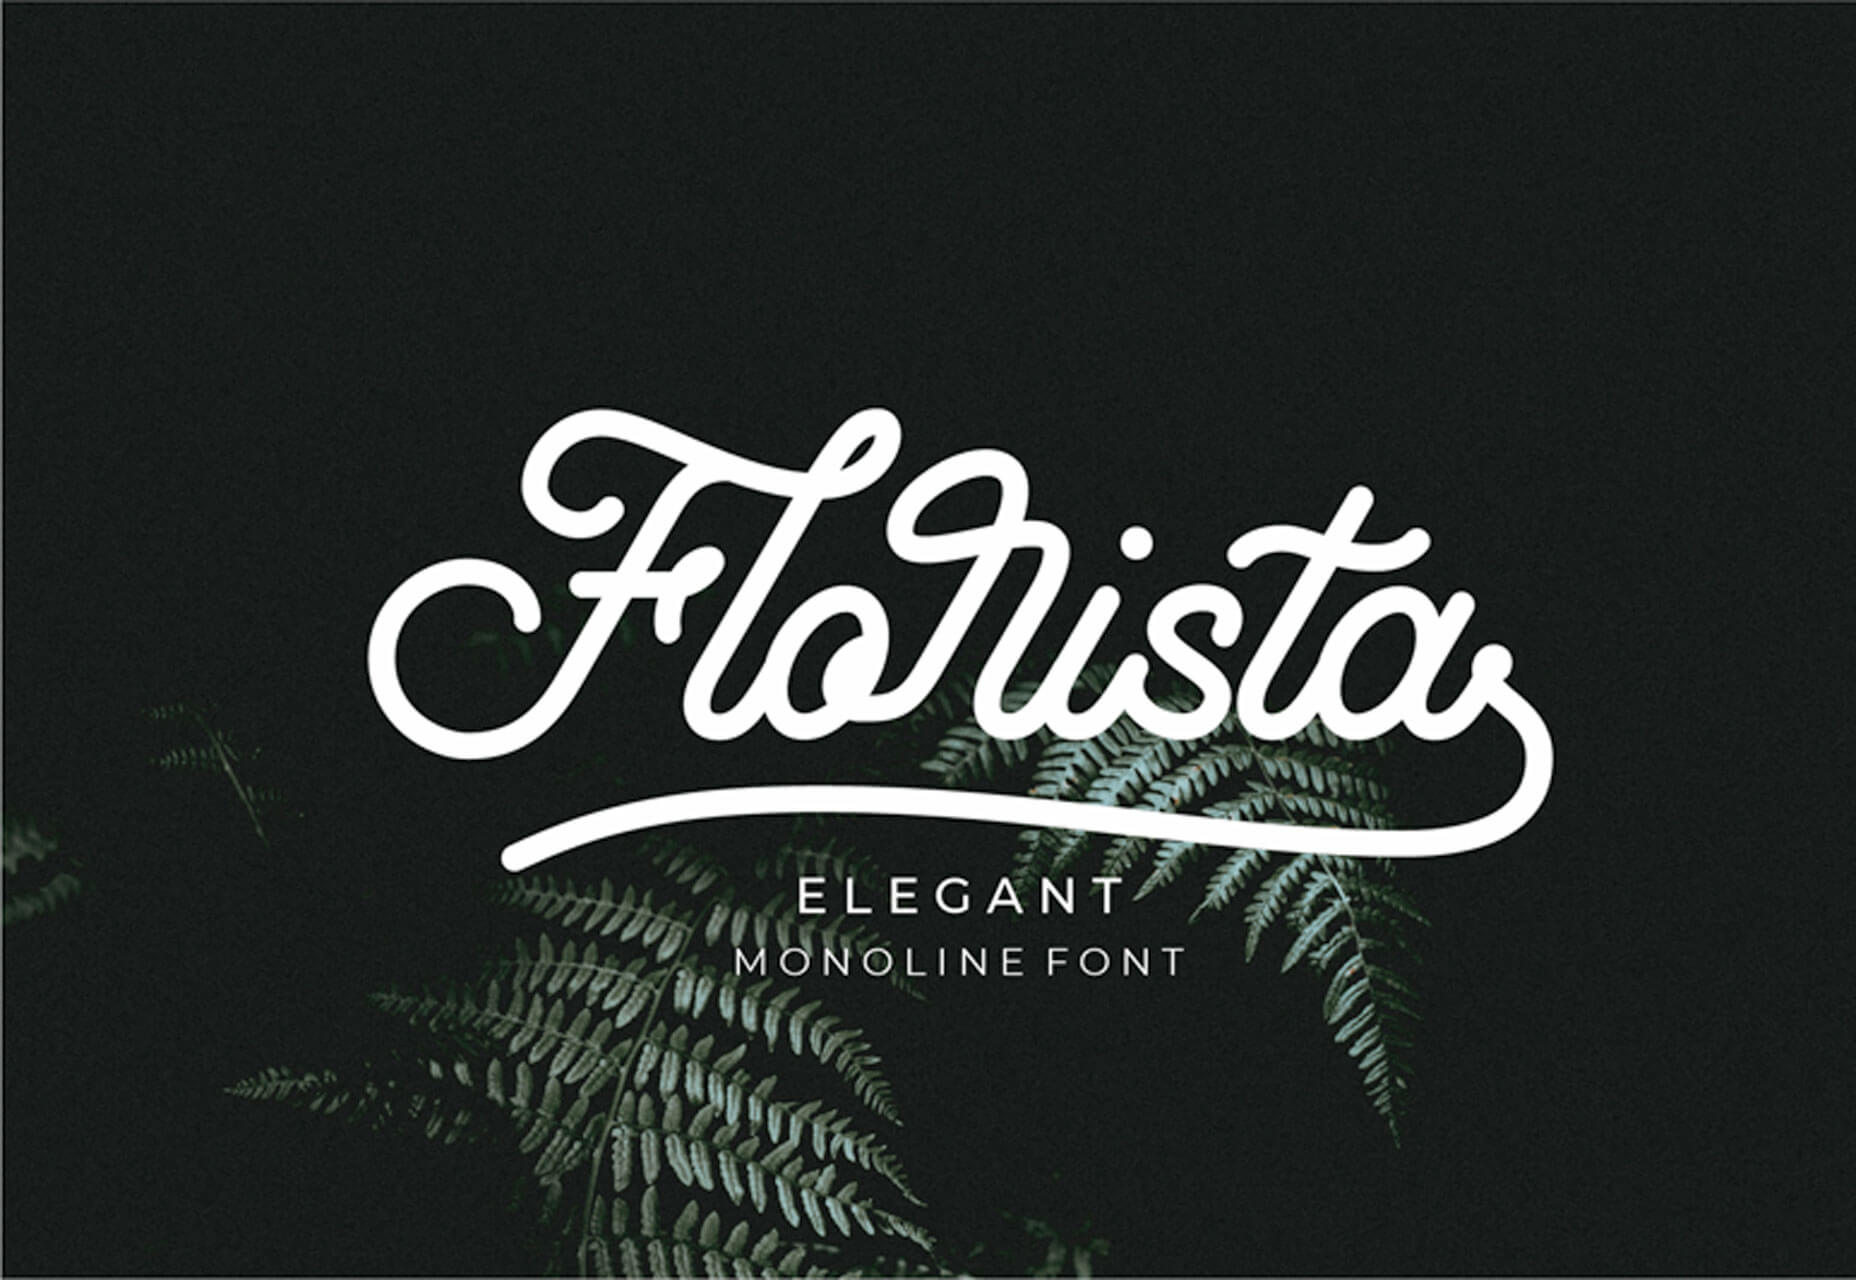
Mobstex is an uppercase handwriting style typeface with a light feel. The thin lines are somewhat elegant and provide visual interest.

Oliver

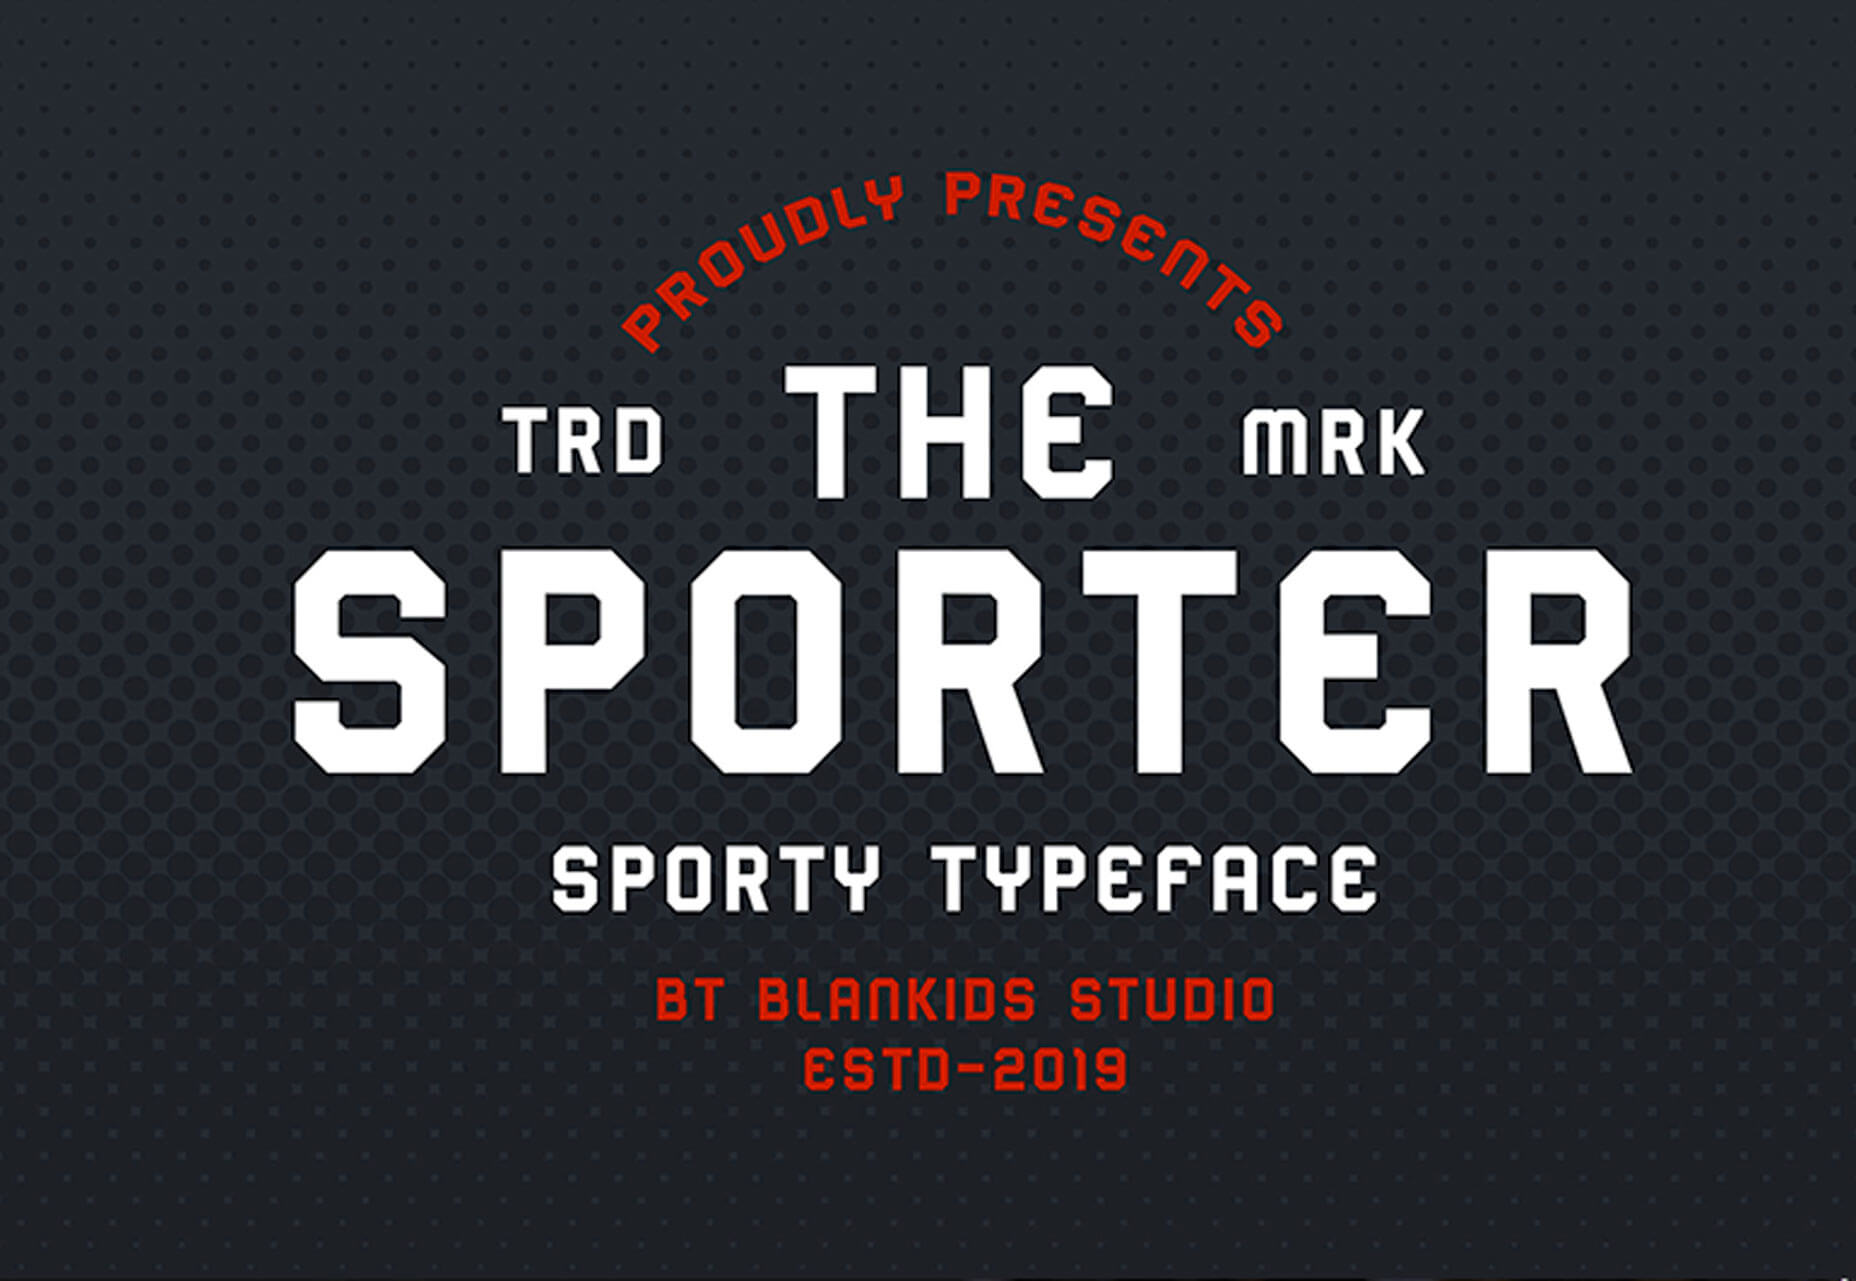
Oliver is a sans serif typeface featuring an uppercase character set in three weights. It could make a nice display option in light, regular, or bold.

Source

p img {display:inline-block; margin-right:10px;}
.alignleft {float:left;}
p.showcase {clear:both;}
body#browserfriendly p, body#podcast p, div#emailbody p{margin:0;}

What Can You Do With A Graphic Design Degree? 8 Career Paths To Consider

Original Source: http://feedproxy.google.com/~r/Designrfix/~3/MI0hbH3dBhU/graphic-design-degree

Technology surrounds us. We carry some of the most advanced and compact electronic devices with us in our pockets! We watch movies and television shows while we commute or wait in line. Indeed, we live in an age where media and technology exist in nearly perfect synchronicity, with people at its harmonious center.But the phones, […]

The post What Can You Do With A Graphic Design Degree? 8 Career Paths To Consider appeared first on designrfix.com.

Handling Unused CSS In SASS To Improve Performance

Original Source: https://www.smashingmagazine.com/2019/08/handling-unused-css-sass-performance/

Handling Unused CSS In SASS To Improve Performance

Handling Unused CSS In SASS To Improve Performance

Luke Harrison

2019-08-09T12:30:59+02:00
2019-08-09T17:37:05+00:00

In modern front-end development, developers should aim to write CSS which is scalable and maintainable. Otherwise, they risk losing control over specifics such as the cascade and selector specificity as the codebase grows and more developers contribute.

One way this can be achieved is through the use of methodologies such as Object-Oriented CSS (OOCSS), which rather than organizing CSS around page context, encourages separating structure (grid systems, spacing, widths, etc.) from decoration (fonts, brand, colors, etc.).

So CSS class names such as:

.blog-right-column
.latest_topics_list
.job-vacancy-ad

Are replaced with more reusable alternatives, which apply the same CSS styles, but aren’t tied to any particular context:

.col-md-4
.list-group
.card

This approach is commonly implemented with the help of a SASS framework such as Bootstrap, Foundation, or increasingly more often, a bespoke framework which can be shaped to better fit the project.

So now we’re using CSS classes cherry-picked from a framework of patterns, UI components and utility classes. The below example illustrates a common grid system built using Bootstrap, which stacks vertically, then once the md breakpoint is reached, switches to a 3 column layout.

<div class=”container”>
<div class=”row”>
<div class=”col-12 col-md-4″>Column 1</div>
<div class=”col-12 col-md-4″>Column 2</div>
<div class=”col-12 col-md-4″>Column 3</div>
</div>
</div>

Programmatically generated classes such as .col-12 and .col-md-4 are used here to create this pattern. But what about .col-1 through .col-11, .col-lg-4, .col-md-6 or .col-sm-12? These are all examples of classes which will be included in the compiled CSS stylesheet, downloaded and parsed by the browser, despite not being in use.

In this article, we’ll start by exploring the impact unused CSS can have on page load speeds. We’ll then touch upon some existing solution for removing it from stylesheets, following up with my own SASS oriented solution.

Measuring The Impact Of Unused CSS Classes

Whilst I adore Sheffield United, the mighty blades, their website’s CSS is bundled into a single 568kb minified file, which comes to 105kb even when gzipped. That seems like a lot.

This is Sheffield United’s website, my local Football team (that’s Soccer for you lot over in the colonies ??). (Large preview)

Shall we see how much of this CSS is actually used by on their homepage? A quick Google search reveals plenty of online tools up to the job, but I prefer to use the coverage tool in Chrome, which can be run straight from Chrome’s DevTools. Let’s give it a whirl.

The quickest way to access the coverage tool in Developer Tools is to use the keyboard shortcut Control+Shift+P or Command+Shift+P (Mac) to open the command menu. In it, type coverage, and select the ‘Show Coverage’ option. (Large preview)

The results show that only 30kb of CSS from the 568kb stylesheet is used by the homepage, with the remaining 538kb relating to the styles required for the rest of the website. This means a whopping 94.8% of the CSS is unused.

You can see timings like these for any asset in Chrome in Developer Tools via Network -> Click on your asset -> Timing tab. (Large preview)

CSS is part of a webpage’s critical rendering path, which involves all the different steps a browser must complete before it can begin page render. This makes CSS a render-blocking asset.

So with this in mind, when loading Sheffield United’s website using a good 3G connection, it takes a whole 1.15s before the CSS is downloaded and page rendering can begin. This is a problem.

Google has recognized this as well. When running a Lighthouse audit, online or via your browser, any potential load time and filesize savings which could be made by removing unused CSS are highlighted.

In Chrome (and Chromium Edge), you can right Google Lighthouse audits by clicking on the Audit tab in developer tools. (Large preview)

Existing Solutions

The goal is to determine which CSS classes aren’t required and remove them from the stylesheet. Existing solutions are available which attempt to automate this process. They can typically be used via a Node.js build script, or via task runners such as Gulp. These include:

UNCSS
PurifyCSS
PurgeCSS

These generally work in a similar way:

On bulld, the website is accessed via a headless browser (Eg: puppeteer) or DOM emulation (Eg: jsdom).
Based on the page’s HTML elements, any unused CSS is identified.
This is removed from the stylesheet, leaving only what is needed.

Whilst these automated tools are perfectly valid and I’ve used many of them across a number of commercial projects successfully, I’ve encountered a few drawbacks along the way which are worth sharing:

If class names contain special characters such as ‘@’ or ‘/’, these may not be recognized without writing some custom code. I use BEM-IT by Harry Roberts, which involves structuring class names with responsive suffixes like: u-width-6/12@lg, so I’ve hit this issue before.
If the website uses automated deployment, it can slow down the build process, especially if you have lots of pages and lots of CSS.
Knowledge about these tools needs to be shared across the team, otherwise there may be confusion and frustration when CSS is mysteriously absent in production stylesheets.
If your website has many 3rd party scripts running, sometimes when opened in a headless browser, these don’t play nicely and can cause errors with the filtering process. So typically you have to write custom code to exclude any 3rd party scripts when a headless browser is detected, which depending on your setup, may be tricky.
Generally, these kind of tools are complicated and introduce a lot of extra dependencies to the build process. As is the case with all 3rd party dependencies, this means relying on somebody else’s code.

With these points in mind, I posed myself a question:

Using just SASS, is it possible to better handle the SASS we compile so any unused CSS can be excluded, without resorting to just crudely deleting the source classes in the SASS outright?

Spoiler alert: The answer is yes. Here’s what I’ve come up with.

SASS Oriented Solution

The solution needs to provide a quick and easy way to cherry-pick what SASS ought to be compiled, whilst being simple enough that it doesn’t add any more complexity to the development process or prevent developers from taking advantage of things like programmatically generated CSS classes.

To get started, there’s a repo with build scripts and a few sample styles which you can clone from here.

Tip: If you get stuck, you can always cross-reference with the completed version on master branch.

cd into the repo, run npm install and then npm run build to compile any SASS into CSS as required. This should create a 55kb css file in the dist directory.

If you then open /dist/index.html in your web browser, you should see a fairly standard component, which on click expands to reveal some content. You can also view this here, where real network conditions will be applied, so you can run your own tests.

We’ll use this expander UI component as our test subject when developing the SASS-oriented solution for handling unused CSS. (Large preview)

Filtering At The Partials Level

In a typical SCSS setup, you’re likely going to have a single manifest file (eg: main.scss in the repo), or one per page (eg: index.scss, products.scss, contact.scss) where framework partials are imported. Following OOCSS principles, those imports may look something like this:

Example 1

/*
Undecorated design patterns
*/

@import ‘objects/box’;
@import ‘objects/container’;
@import ‘objects/layout’;

/*
UI components
*/

@import ‘components/button’;
@import ‘components/expander’;
@import ‘components/typography’;

/*
Highly specific helper classes
*/

@import ‘utilities/alignments’;
@import ‘utilities/widths’;

If any of these partials aren’t in use, then the natural way of filtering this unused CSS would be to just disable the import, which would prevent it from being compiled.

For example, if only using the expander component, the manifest would typically look like the below:

Example 2

/*
Undecorated design patterns
*/
// @import ‘objects/box’;
// @import ‘objects/container’;
// @import ‘objects/layout’;

/*
UI components
*/
// @import ‘components/button’;
@import ‘components/expander’;
// @import ‘components/typography’;

/*
Highly specific helper classes
*/
// @import ‘utilities/alignments’;
// @import ‘utilities/widths’;

However, as per OOCSS, we’re separating decoration from structure to allow for maximum reusability, so it’s possible the expander could require CSS from other objects, component or utility classes to render correctly. Unless the developer is aware of these relationships by inspecting the HTML, they may not know to import these partials, so not all of the required classes would be compiled.

In the repo, if you look at the expander’s HTML in dist/index.html, this appears to be the case. It uses styles from the box and layout objects, the typography component, and width and alignment utilities.

dist/index.html

<div class=”c-expander”>
<div class=”o-box o-box–spacing-small c-expander__trigger c-expander__header” tabindex=”0″>
<div class=”o-layout o-layout–fit u-flex-middle”>
<div class=”o-layout__item u-width-grow”>
<h2 class=”c-type-echo”>Toggle Expander</h2>
</div>
<div class=”o-layout__item u-width-shrink”>
<div class=”c-expander__header-icon”></div>
</div>
</div>
</div>
<div class=”c-expander__content”>
<div class=”o-box o-box–spacing-small”>
Lorum ipsum
<p class=”u-align-center”>
<button class=”c-expander__trigger c-button”>Close</button>
</p>
</div>
</div>
</div>

Let’s tackle this problem waiting to happen by making these relationships official within the SASS itself, so once a component is imported, any dependencies will also be imported automatically. This way, the developer no longer has the extra overhead of having to audit the HTML to learn what else they need to import.

Programmatic Imports Map

For this dependency system to work, rather than simply commenting in @import statements in the manifest file, SASS logic will need to dictate if partials will be compiled or not.

In src/scss/settings, create a new partial called _imports.scss, @import it in settings/_core.scss, and then create the following SCSS map:

src/scss/settings/_core.scss

@import ‘breakpoints’;
@import ‘spacing’;
@import ‘imports’;

src/scss/settings/_imports.scss

$imports: (
object: (
‘box’,
‘container’,
‘layout’
),
component: (
‘button’,
‘expander’,
‘typography’
),
utility: (
‘alignments’,
‘widths’
)
);

This map will have the same role as the import manifest back in example 1.

Example 4

$imports: (
object: (
//’box’,
//’container’,
//’layout’
),
component: (
//’button’,
‘expander’,
//’typography’
),
utility: (
//’alignments’,
//’widths’
)
);

It should behave like a standard set of @imports would, in that if certain partials are commented out (like the above), then that code shouldn’t be compiled on build.

But as we’re wanting to import dependencies automatically, we should also be able to ignore this map under the right circumstances.

Render Mixin

Let’s start to add some SASS logic. Create _render.scss in src/scss/tools, and then add its @import to tools/_core.scss.

In the file, create an empty mixin called render().

src/scss/tools/_render.scss

@mixin render() {

}

In the mixin, we need to write SASS which does the following:

render()
“Hey there $imports, fine weather isn’t it? Say, do you have the container object in your map?”
$imports
false
render()
“That’s a shame, looks like its won’t be compiled then. How about the button component?”
$imports
true
render()
“Nice! That’s the button being compiled then. Say hi to the wife for me.”

In SASS, this translates to the following:

src/scss/tools/_render.scss

@mixin render($name, $layer) {
@if(index(map-get($imports, $layer), $name)) {
@content;
}
}

Basically, check if the partial is included in the $imports variable, and if so, render it using SASS’s @content directive, which allows us to pass a content block into the mixin.

We would use it like so:

Example 5

@include render(‘button’, ‘component’) {
.c-button {
// styles et al
}

// any other class declarations
}

Before using this mixin, there’s a small improvement which we can make to it. The layer name (object, component, utility, etc.) is something we can safely predict, so we have an opportunity to streamline things a little.

Before the render mixin declaration, create a variable called $layer, and remove the identically named variable from the mixins parameters. Like so:

src/scss/tools/_render.scss

$layer: null !default;
@mixin render($name) {
@if(index(map-get($imports, $layer), $name)) {
@content;
}
}

Now, in the _core.scss partials where objects, components and utility @imports are located, redeclare these variables to the following values; representing the type of CSS classes being imported.

src/scss/objects/_core.scss

$layer: ‘object’;

@import ‘box’;
@import ‘container’;
@import ‘layout’;

src/scss/components/_core.scss

$layer: ‘component’;

@import ‘button’;
@import ‘expander’;
@import ‘typography’;

src/scss/utilities/_core.scss

$layer: ‘utility’;

@import ‘alignments’;
@import ‘widths’;

This way, when we use the render() mixin, all we have to do is declare the partial name.

Wrap the render() mixin around each object, component and utility class declaration, as per the below. This will give you one render mixin usage per partial.

For example:

src/scss/objects/_layout.scss

@include render(‘button’) {
.c-button {
// styles et al
}

// any other class declarations
}

src/scss/components/_button.scss

@include render(‘button’) {
.c-button {
// styles et al
}

// any other class declarations
}

Note: For utilities/_widths.scss, wrapping the render() function around the entire partial will error on compile, as in SASS you can’t nest mixin declarations within mixin calls. Instead, just wrap the render() mixin around the create-widths() calls, like below:

@include render(‘widths’) {

// GENERATE STANDARD WIDTHS
//———————————————————————

// Example: .u-width-1/3
@include create-widths($utility-widths-sets);

// GENERATE RESPONSIVE WIDTHS
//———————————————————————

// Create responsive variants using settings.breakpoints
// Changes width when breakpoint is hit
// Example: .u-width-1/3@md

@each $bp-name, $bp-value in $mq-breakpoints {
@include mq(#{$bp-name}) {
@include create-widths($utility-widths-sets, @, #{$bp-name});
}
}

// End render
}

With this in place, on build, only the partials referenced in $imports will be compiled.

Mix and match what components are commented out in $imports and run npm run build in the terminal to give it a try.

Dependencies Map

Now we’re programmatically importing partials, we can start to implement the dependency logic.

In src/scss/settings, create a new partial called _dependencies.scss, @import it in settings/_core.scss, but make sure it’s after _imports.scss. Then in it, create the following SCSS map:

src/scss/settings/_dependencies.scss

$dependencies: (
expander: (
object: (
‘box’,
‘layout’
),
component: (
‘button’,
‘typography’
),
utility: (
‘alignments’,
‘widths’
)
)
);

Here, we declare dependencies for the expander component as it requires styles from other partials to render correctly, as seen in dist/index.html.

Using this list, we can write logic which would mean these dependencies would always be compiled along with their dependent components, no matter the state of the $imports variable.

Below $dependencies, create a mixin called dependency-setup(). In here, we’ll do the following actions:

1. Loop through the dependencies map.

@mixin dependency-setup() {
@each $componentKey, $componentValue in $dependencies {

}
}

2. If the component can be found in $imports, loop through its list of dependencies.

@mixin dependency-setup() {
$components: map-get($imports, component);
@each $componentKey, $componentValue in $dependencies {
@if(index($components, $componentKey)) {
@each $layerKey, $layerValue in $componentValue {

}
}
}
}

3. If the dependency isn’t in $imports, add it.

@mixin dependency-setup() {
$components: map-get($imports, component);
@each $componentKey, $componentValue in $dependencies {
@if(index($components, $componentKey)) {
@each $layerKey, $layerValue in $componentValue {
@each $partKey, $partValue in $layerValue {
@if not index(map-get($imports, $layerKey), $partKey) {
$imports: map-merge($imports, (
$layerKey: append(map-get($imports, $layerKey), ‘#{$partKey}’)
)) !global;
}
}
}
}
}
}

Including the !global flag tells SASS to look for the $imports variable in the global scope, rather than the mixin’s local scope.

4. Then it’s just a matter of calling the mixin.

@mixin dependency-setup() {

}
@include dependency-setup();

So what we have now is an enhanced partial import system, where if a component is imported, a developer doesn’t then have to manually import each of its various dependency partials as well.

Configure the $imports variable so only the expander component is imported and then run npm run build. You should see in the compiled CSS the expander classes along with all of its dependencies.

However, this doesn’t really bring anything new to the table in terms of filtering out unused CSS, as the same amount of SASS is still being imported, programmatic or not. Let’s improve on this.

Improved Dependency Importing

A component may require only a single class from a dependency, so to then go on and import all of that dependency’s classes just leads to the same unnecessary bloat we’re trying to avoid.

We can refine the system to allow for more granular filtering on a class by class basis, to make sure components are compiled with only the dependency classes they require.

With most design patterns, decorated or not, there exists a minimum amount of classes which need to be present in the stylesheet for the pattern to display correctly.

For class names using an established naming convention such as BEM, typically the “Block” and “Element” named classes are required as a minimum, with “Modifiers” typically being optional.

Note: Utility classes wouldn’t typically follow the BEM route, as they’re isolated in nature due to their narrow focus.

For example, take a look at this media object, which is probably the most well-known example of object-oriented CSS:

<div class=”o-media o-media–spacing-small”>
<div class=”o-media__image”>
<img src=”url” alt=”Image”>
</div>
<div class=”o-media__text”>
Oh!
</div>
</div>

If a component has this set as a dependency, it makes sense to always compile .o-media, .o-media__image and .o-media__text, as that’s the minimum amount of CSS required to make the pattern work. However with .o-media–spacing-small being an optional modifier, it ought to only be compiled if we explicitly say so, as its usage may not be consistent across all media object instances.

We’ll modify the structure of the $dependencies map to allow us to import these optional classes, whilst including a way to import only the block and element in case no modifiers are required.

To get started, check the expander HTML in dist/index.html and make a note of any dependency classes in use. Record these in the $dependencies map, as per below:

src/scss/settings/_dependencies.scss

$dependencies: (
expander: (
object: (
box: (
‘o-box–spacing-small’
),
layout: (
‘o-layout–fit’
)
),
component: (
button: true,
typography: (
‘c-type-echo’,
)
),
utility: (
alignments: (
‘u-flex-middle’,
‘u-align-center’
),
widths: (
‘u-width-grow’,
‘u-width-shrink’
)
)
)
);

Where a value is set to true, we’ll translate this into “Only compile block and element level classes, no modifiers!”.

The next step involves creating a whitelist variable to store these classes, and any other (non-dependency) classes we wish to manually import. In /src/scss/settings/imports.scss, after $imports, create a new SASS list called $global-filter.

src/scss/settings/_imports.scss

$global-filter: ();

The basic premise behind $global-filter is that any classes stored here will be compiled on build as long as the partial they belong to is imported via $imports.

These class names could be added programmatically if they’re a component dependency, or could be added manually when the variable is declared, like in the example below:

Global filter example

$global-filter: (
‘o-box–spacing-regular@md’,
‘u-align-center’,
‘u-width-6/12@lg’
);

Next, we need to add a bit more logic to the @dependency-setup mixin, so any classes referenced in $dependencies are automatically added to our $global-filter whitelist.

Below this block:

src/scss/settings/_dependencies.scss

@if not index(map-get($imports, $layerKey), $partKey) {

}

…add the following snippet.

src/scss/settings/_dependencies.scss

@each $class in $partValue {
$global-filter: append($global-filter, ‘#{$class}’, ‘comma’) !global;
}

This loops through any dependency classes and adds them to the $global-filter whitelist.

At this point, if you add a @debug statement below the dependency-setup() mixin to print out the contents of $global-filter in the terminal:

@debug $global-filter;

…you should see something like this on build:

DEBUG: “o-box–spacing-small”, “o-layout–fit”, “c-box–rounded”, “true”, “true”, “u-flex-middle”, “u-align-center”, “u-width-grow”, “u-width-shrink”

Now we’ve got a class whitelist, we need to enforce this across all of the different object, component and utility partials.

Create a new partial called _filter.scss in src/scss/tools and add an @import to tools layer’s _core.scss file.

In this new partial, we’ll create a mixin called filter(). We’ll use this to apply logic which means classes will only be compiled if included in the $global-filter variable.

Starting off simple, create a mixin which accepts a single parameter — the $class which the filter controls. Next, if the $class is included in the $global-filter whitelist, allow it to be compiled.

src/scss/tools/_filter.scss

@mixin filter($class) {
@if(index($global-filter, $class)) {
@content;
}
}

In a partial, we would wrap the mixin around an optional class, like so:

@include filter(‘o-myobject–modifier’) {
.o-myobject–modifier {
color: yellow;
}
}

This means the .o-myobject–modifier class would only be compiled if its included in $global-filter, which can either be set directly, or indirectly through what’s set in $dependencies.

Go through the repo and apply the filter() mixin to all optional modifier classes across object and component layers. When handling the typography component or the utilities layer, as each class is independent from the next, it’d make sense to make them all optional, so we can then just enable classes as we need them.

Here’s a few examples:

src/scss/objects/_layout.scss

@include filter(‘o-layout__item–fit-height’) {
.o-layout__item–fit-height {
align-self: stretch;
}
}

src/scss/utilities/_alignments.scss

// Changes alignment when breakpoint is hit
// Example: .u-align-left@md
@each $bp-name, $bp-value in $mq-breakpoints {
@include mq(#{$bp-name}) {
@include filter(‘u-align-left@#{$bp-name}’) {
.u-align-left@#{$bp-name} {
text-align: left !important;
}
}

@include filter(‘u-align-center@#{$bp-name}’) {
.u-align-center@#{$bp-name} {
text-align: center !important;
}
}

@include filter(‘u-align-right@#{$bp-name}’) {
.u-align-right@#{$bp-name} {
text-align: right !important;
}
}
}
}

Note: When adding the responsive suffix classnames to the filter() mixin, you don’t have to escape the ‘@’ symbol with a ”.

During this process, whilst applying the filter() mixin to partials, you may (or may not) have noticed a few things.

Grouped Classes

Some classes in the codebase are grouped together and share the same styles, for example:

src/scss/objects/_box.scss

.o-box–spacing-disable-left,
.o-box–spacing-horizontal {
padding-left: 0;
}

As the filter only accepts a single class, it doesn’t account for the possibility that one style declaration block may be for more than one class.

To account for this, we’ll expand the filter() mixin so in addition to a single class, it’s able to accept a SASS arglist containing many classes. Like so:

src/scss/objects/_box.scss

@include filter(‘o-box–spacing-disable-left’, ‘o-box–spacing-horizontal’) {
.o-box–spacing-disable-left,
.o-box–spacing-horizontal {
padding-left: 0;
}
}

So we need to tell the filter() mixin that if either of these classes are in the $global-filter, you are allowed to compile the classes.

This will involve additional logic to type check the mixin’s $class argument, responding with a loop if an arglist is passed to check if each item is in the $global-filter variable.

src/scss/tools/_filter.scss

@mixin filter($class…) {
@if(type-of($class) == ‘arglist’) {
@each $item in $class {
@if(index($global-filter, $item)) {
@content;
}
}
}
@else if(index($global-filter, $class)) {
@content;
}
}

Then it’s just a matter of going back to the following partials to correctly apply the filter() mixin:

objects/_box.scss
objects/_layout.scss
utilities/_alignments.scss

At this point, go back to $imports and enable just the expander component. In the compiled stylesheet, besides the styles from the generic and elements layers, you should only see the following:

The block and element classes belonging to the expander component, but not its modifier.
The block and element classes belonging to the expander’s dependencies.
Any modifier classes belonging to the expander’s dependencies which are explicitly declared in the $dependencies variable.

Theoretically, if you decided you wanted to include more classes in the compiled stylesheet, such as the expander components modifier, it’s just a matter of adding it to the $global-filter variable at the point of declaration, or appending it at some other point in the codebase (As long as it’s before the point where the modifier itself is declared).

Enabling Everything

So we now have a pretty complete system, which lets you import objects, components and utilities down to the individual classes within these partials.

During development, for whatever reason, you may just want to enable everything in one go. To allow for this, we’ll create a new variable called $enable-all-classes, and then add in some additional logic so if this is set to true, everything is compiled no matter the state of the $imports and $global-filter variables.

First, declare the variable in our main manifest file:

src/scss/main.scss

$enable-all-classes: false;

@import ‘settings/core’;
@import ‘tools/core’;
@import ‘generic/core’;
@import ‘elements/core’;
@import ‘objects/core’;
@import ‘components/core’;
@import ‘utilities/core’;

Then we just need to make a few minor edits to our filter() and render() mixins to add some override logic for when the $enable-all-classes variable is set to true.

First up, the filter() mixin. Before any existing checks, we’ll add an @if statement to see if $enable-all-classes is set to true, and if so, render the @content, no questions asked.

src/scss/tools/_filter.scss

@mixin filter($class…) {
@if($enable-all-classes) {
@content;
}
@else if(type-of($class) == ‘arglist’) {
@each $item in $class {
@if(index($global-filter, $item)) {
@content;
}
}
}
@else if(index($global-filter, $class)) {
@content;
}
}

Next in the render() mixin, we just need to do a check to see if the $enable-all-classes variable is truthy, and if so, skip any further checks.

src/scss/tools/_render.scss

$layer: null !default;
@mixin render($name) {
@if($enable-all-classes or index(map-get($imports, $layer), $name)) {
@content;
}
}

So now, if you were to set the $enable-all-classes variable to true and rebuild, every optional class would be compiled, saving you quite a bit of time in the process.

Comparisons

To see what type of gains this technique is giving us, let’s run some comparisons and see what the filesize differences are.

To make sure the comparison is a fair one, we ought to add the box and container objects in $imports, and then add the box’s o-box–spacing-regular modifier to the $global-filter, like so:

src/scss/settings/_imports.scss

$imports: (
object: (
‘box’,
‘container’
// ‘layout’
),
component: (
// ‘button’,
‘expander’
// ‘typography’
),
utility: (
// ‘alignments’,
// ‘widths’
)
);

$global-filter: (
‘o-box–spacing-regular’
);

This makes sure styles for the expander’s parent elements are being compiled like they would be if there were no filtering taking place.

Original vs Filtered Stylesheets

Let’s compare the original stylesheet with all classes compiled, against the filtered stylesheet where only CSS required by the expander component has been compiled.

Standard

Stylesheet
Size (kb)
Size (gzip)

Original
54.6kb
6.98kb

Filtered
15.34kb (72% smaller)
4.91kb (29% smaller)

Original: https://webdevluke.github.io/handlingunusedcss/dist/index2.html
Filtered: https://webdevluke.github.io/handlingunusedcss/dist/index.html

You may think that the gzip percentage savings mean this isn’t worth the effort, as there’s not much difference between the original and filtered stylesheets.

It’s worth highlighting that gzip compression works better with larger and more repetitive files. Because the filtered stylesheet is the only proof-of-concept, and only contains CSS for the expander component, there isn’t as much to compress as there would be in a real-life project.

If we were to scale up each stylesheet by a factor of 10 to sizes more typical of a website’s CSS bundle size, the difference in gzip file sizes are much more impressive.

10x Size

Stylesheet
Size (kb)
Size (gzip)

Original (10x)
892.07kb
75.70kb

Filtered (10x)
209.45kb (77% smaller)
19.47kb (74% smaller)

Filtered Stylesheet vs UNCSS

Here’s a comparison between the filtered stylesheet and a stylesheet which has been run through the UNCSS tool.

Filtered vs UNCSS

Stylesheet
Size (kb)
Size (gzip)

Filtered
15.34kb
4.91kb

UNCSS
12.89kb (16% smaller)
4.25kb (13% smaller)

The UNCSS tool wins here marginally, as it’s filtering out CSS in the generic and elements directories.

It’s possible that on a real website, with a larger variety of HTML elements in use, the difference between the 2 methods would be negligible.

Wrapping Up

So we’ve seen how — using just SASS — you are able to gain more control over what CSS classes are being compiled on build. This reduces the amount of unused CSS in the final stylesheet and speeds up the critical rendering path.

At the start of the article, I listed some drawbacks of existing solutions such as UNCSS. It’s only fair to critique this SASS-oriented solution in the same way, so all the facts are on the table before you decide which approach is better for you:

Pros

No additional dependencies required, so you don’t have to rely on somebody else’s code.
Less build time required than Node.js based alternatives, as you don’t have to run headless browsers to audit your code. This is especially useful with continuous integration as you may be less likely to see a queue of builds.
Results in similar file size when compared to automated tools.
Out of the box, you have complete control over what code is being filtered, regardless of how those CSS classes are used in your code. With Node.js based alternatives, you often have to maintain a separate whitelist so CSS classes belonging to dynamically injected HTML aren’t filtered out.

Cons

The SASS-oriented solution is definitely more hands-on, in the sense that you have to keep on top of the $imports and $global-filter variables. Beyond the initial setup, the Node.js alternatives we’ve looked at are largely automated.
If you add CSS classes to $global-filter and then later remove them from your HTML, you need to remember to update the variable, otherwise you’ll be compiling CSS you don’t need. With large projects being worked on by multiple devs at any one time, this may not be easy to manage unless you properly plan for it.
I wouldn’t recommend bolting this system onto any existing CSS codebase, as you’d have to spend quite a bit of time piecing together dependencies and applying the render() mixin to a LOT of classes. It’s a system much easier to implement with new builds, where you don’t have existing code to contend with.

Hopefully you’ve found this as interesting to read as I’ve found it interesting to put together. If you have any suggestions, ideas to improve this approach, or want to point out some fatal flaw that I’ve missed entirely, be sure to post in the comments below.

Smashing Editorial
(dm, yk, il)

Top 20 Wedding Photographers and Their Masterpieces

Original Source: https://www.hongkiat.com/blog/top-wedding-photographer/

Like new born’s pictures or father-daughter photos, wedding photography captures one of the most emotional and memorable moments in one’s life. And that’s what makes them timeless…

Visit hongkiat.com for full content.

Free Website Templates for Online Stores

Original Source: http://feedproxy.google.com/~r/1stwebdesigner/~3/PRRA83WoGqk/

Online CMSes like WordPress, Shopify, and Joomla have popularized the use of templates and themes. With them, you can choose a look for your website and configure it without any knowledge of coding.

But did you know that you can also find HTML and Bootstrap templates that can be used on any website? What’s more, many of these templates are free. If you’re looking to start an online store and need a base to work off of, try one of these free eCommerce templates.

UNLIMITED DOWNLOADS: Email, admin, landing page & website templates

DOWNLOAD NOW

Fashion Hub

Example of Fashion Hub

Looking to make an elegant fashion boutique? Fashion Hub has everything you’ll need in this Bootstrap template. The homepage comes with a slider, service list, Instagram hub, and plenty of links pointing to your store. There’s also plenty of product pages, a blog, and even checkout/order screens.

eShopper

Example of eShopper


Made for all types of eCommerce websites, eShopper is a simple and clean design that comes with 11 pages. These include product listings, checkout pages, and a blog. This one’s a great all-purpose template with plenty of functionality and pages.

Sell Anything

Example of Sell Anything

With all the pages you’ll need to start building an online store, Sell Anything allows you to do just that. There’s a clean homepage with various product sliders, plenty of other pages you’ll need, and a topology page that shows you the various elements this template uses and explains how to use them to build your own pages.

Shop

Example of Shop

If you love elegant animations, you should try this HTML5 template. There’s plenty of scrolling animations, beautiful hover effects, and more in this stylish design. You get a few pages from this one, including a product, about, and services page. This one is perfect for a small shop that sells a few products.

Boighor

Example of Boighor

Light design and beautiful animations define this eCommerce design made just for online bookstores. But with such a nice design, you might want to repurpose this for any type of shop. The free version comes with twelve pages, while the pro version gives you a few extra pages and some variations on the available ones.

Toys Shop

Example of Toys Shop

With a bright and colorful design, this template is perfect for anyone selling toys or products for children. You get a product view and store page among many others, and the footer includes a Google Map and subscription form.

Darklook

Example of Darklook

Looking for something a little darker than all these bright, light designs? Darklook is great for technology and fashion shops. You’ll find cart, checkout, product detail, and blog post pages. The wide, large design puts a big emphasis on photography, so make sure you have high-res photos of your products to show off.

Shopper

Example of Shopper

This small template is great for medium to large shops of any kind. The simple three-color look is universally appealing, and it comes with a homepage, product list, product detail, contact, register, and cart page. This is enough to let you get your shop set up quickly.

Prezzie

Example of Prezzie

Last but not least is Prezzie, an extremely stylish and well-made template. With a built-in video slider header, gorgeous parallax effects, and a design that looks like it was custom made for you, you’ll quickly fall in love with this template.

Get Your Shop Running Quicker

HTML templates are so helpful because they save time, and they’re fairly easy to edit – even when you have limited knowledge of code. Often, it’s just a matter of replacing images and placeholder text, and you have a functioning website.

Of course, you’ll still need to add a payment gateway to your website, include product pages, and otherwise make your online store functional. But with one of these templates, you can skip the lengthy step of having to design and code a unique website, and start selling sooner.


Amazing Animated CSS Hover Effects

Original Source: http://feedproxy.google.com/~r/1stwebdesigner/~3/VQ7NnEiz5RY/

Have you ever visited a website and been stunned by a beautiful hover effect? Or have subtle UI animations left you feeling impressed with a site’s design? It may seem like a small detail, but hover animations can have a larger impact than you’d expect.

Good UI design means making interactive elements clear and visible, and hover effects can help you do just that. They look beautiful, and provide instant feedback when you hover over something that makes your UI easy to navigate.

These effects work particularly well in menu areas, but you can also use them on images, buttons, or other areas of your site too. These animations can leave a strong impression on people.

Today we’ve collected 17 awesome CSS hover effects, ranging from elegant menu and image hovers to more striking, unique animations. These are free for use under an MIT license, so try them on your site or use them as inspiration to create your own!

UNLIMITED DOWNLOADS: Email, admin, landing page & website templates

DOWNLOAD NOW

Rumble on Hover

See the Pen
Rumble on Hover by Kyle Foster (@hkfoster)
on CodePen.

Hover.css

See the Pen
Hover.css by vavik (@vavik96)
on CodePen.

Button on Hover Slide Effect

See the Pen
CSS Button On Hover Slide Effect by RazorX (@RazorXio)
on CodePen.

Shaking Shapes

See the Pen
Shaking Shapes by Laura Montgomery (@LauraMontgomery)
on CodePen.

Strikethrough Hover

See the Pen
Strikethrough hover by tsimenis (@tsimenis)
on CodePen.

Hover CSS3

See the Pen
Hover CSS3 by Berlin Eric (@eberlin)
on CodePen.

Image with Slide Up Title

See the Pen
#1107 – Image with slide up title on hover by LittleSnippets.net (@littlesnippets)
on CodePen.

Image and Title with Icons

See the Pen
#1193 – Image & title with icons on hover by LittleSnippets.net (@littlesnippets)
on CodePen.

Gradient Button Hover

See the Pen
Gradient Button Hover by Muhammed Erdem (@JavaScriptJunkie)
on CodePen.

Grow Hover Effect

See the Pen
CSS Grow Hover Effect by Adam Morgan (@AdamCCFC)
on CodePen.

Background Color Change on Hover

See the Pen
CSS Background Color Change on Hover by Ian Farb (@ianfarb)
on CodePen.

Fade Siblings on Hover

See the Pen
CSS-only Fade Siblings on Hover by Shaw (@shshaw)
on CodePen.

Pure CSS Blur Hover Effect

See the Pen
Pure CSS Blur Hover Effect by Matthew Craig (@mcraig218)
on CodePen.

Button Hover Effects

See the Pen
Button Hover Effects by Kyle Brumm (@kjbrum)
on CodePen.

Thumbnail Hover Effect

See the Pen
Pure CSS Thumbnail Hover Effect by Aysha Anggraini (@rrenula)
on CodePen.

Glitch Hover Effect

See the Pen
Glitch hover effect CSS by Kevin Konrad Henriquez (@kkhenriquez)
on CodePen.

Image Hover Effect

See the Pen
Pure CSS – Image Hover Effect by Bruno Beneducci (@brunobeneducci)
on CodePen.

Animate Your Website

When you’re designing a website, don’t neglect UI design. It’s one of the most important parts of a website’s look. And while other details like the layout of UI items, fonts, and colors will take up most of your focus, a well-placed hover animation can make a big difference.

Animations can also help define your brand and the tone of your website, along with help to complement its style. A distinctive glitchy hover effect could brand you as a technology company, or gradient animations would work well on upbeat, colorful websites.

Code on CodePen is free to use with their license, so try out one of these CSS hover effects for yourself. Or use these beautiful animations as inspiration as you make your own unique effects.


7 Top CSS Trends for 2019

Original Source: http://feedproxy.google.com/~r/1stwebdesigner/~3/WBsSMieFu3I/

As time goes on, web design is getting more innovative. Rather than just displaying information, websites are works of art, featuring complex animations, unique layouts, and micro-interactions. So many of these things are possible through CSS.

CSS gives style to normal, boring webpages, and enables everything that makes websites enjoyable to interact with. 2019 brings with it plenty of new horizons for web design, and these are the 7 CSS trends that will define the year.

UNLIMITED DOWNLOADS: Email, admin, landing page & website templates

DOWNLOAD NOW

CSS Grid
CSS Grid Generator

CSS Grid Generator

The prevailing standard for grid-based layouts has been Flexbox. In fact, at its height at the end of 2018, nearly 83% of page loads on Chrome used Flexbox. But a new contender has entered the ring.

That new contender is Grid. Still young and only seeing use on about 2.25% of page loads, it has still skyrocketed in popularity, only representing 0.25% of page loads at the start of 2018.

Grid is being hailed as better than Flexbox. Flexbox gives you control of vertical or horizontal alignment, but not both at once. Grid, on the other hand, does.

CSS experts attribute the lack of popularity to the fact that most major websites are not using it. After all, that data above is based on page views, not the raw number of pages that use Grid. It was only fairly recently that major sites adopted Flexbox, so it makes sense that they don’t want to make the switch just yet.

2019 will definitely see the growth of Grid, however, because it unlocks a degree of creative freedom that other options do not offer.

CSS Writing Mode

Example of CSS Writing Mode

Not all languages are written and read from left to right. For languages that go in other directions, you can use the writing-mode CSS property.

Flow text from top to bottom or from right to left and adjust the horizontal and vertical values. You can even display text sideways vertically, rotate the text for certain designs, and mix scripts.

Read up on CSS writing-mode »

Mobile Animations


Animations as a tool for engagement are increasingly popular. Websites will start to use more and more animated loading icons, page loads with limited design, etc. to keep the user’s attention.

An example of this from a popular website is YouTube. Open the YouTube mobile app and scroll through the videos. If you stop for a second, the video will autoplay with the sound off and show captions.

Animations are also used as indicators for an action or a task. Animated buttons and lists are becoming common too. Read all about using CSS animations here.

Popular Frameworks (Bulma, Tailwind, Bootstrap 4, etc.)

Foundation CSS Framework

CSS frameworks have been around for a while, but they’ve only been growing in popularity in recent years. If you need a primer on what a framework is, read this.

Awwwards defines a framework as:

“A framework is a standardized set of concepts, practices and criteria for dealing with a common type of problem, which can be used as a reference to help us approach and resolve new problems of a similar nature.”

As we move to a more mobile web, frameworks are adjusting to compensate. Styling and design are changing, animations and action are becoming more common, and a focus on simplicity and end user experience are more important than ever!

In 2019, many well designed frameworks are taking the lead and helping developers and designers to ship faster than ever. A few of the most notable frameworks being used around the web in 2019 are:

Foundation – Responsive, mobile-first framework and used as enterprise solution;
Bootstrap 4 – Bootstrap is one of the biggest CSS frameworks used worldwide, version 4 comes with new features for color schemes and utility classes;
Materialize – Popular framework focused on material design styles;

Read more about the top CSS frameworks for 2019 on Scotch.io.

Single Pages, Experimental Navigations

Carrd single page website builder.

With websites becoming almost as synonymous as having your own profile on social networks, more users are turning to simpler solutions and single page options to send traffic out to other locations.

Common examples include:

Linktree – Simple page with links to your socials, products, etc.;
Carrd – Simple, free, fully responsive one-page sites for pretty much anything;
About.me – More professional focused portfolio site, similar to LinkedIn but with room for creativity;
Instapage – Top landing page builder for businesses and startups;

These single page websites are being taken further with the creative use of CSS and styling to enhance the experience. The Next Web highlighted ‘large and experimental navigations’ as one of their ‘10 exciting web design trends you can’t hide from in 2019’. So why are people moving to these interesting layouts?

Because of action. With the focused large buttons and navigation, users immediately click to the desired location. Whether that be a shop, informational page with hours/details, or just a new video/song.

More and more websites are simply set up as directing points for companies, individuals, or groups to send traffic to and then distribute out. Musicians use Linktree and other services to share their new songs on all streaming platforms, and get a cut of the affiliate revenue in the meantime.

Variable Fonts

Google's 'Introduction to variable fonts on the web'.

Highlighted by Carrie Cousins for Designmodo’s ‘Top 17 Web Design and UI Trends for 2019’, variable fonts are defined as “a collection of master styles, with one central ‘default’ master (usually the Regular font style) and multiple registered “axes” which tie the central master to the other masters. For example, the Weight axis might connect a Light style master to the default style and through to the Bold style master. The individual styles that can be located along this axis are called “instances”.

What this means is that fonts are more responsive and seamless across devices and platforms. You can scale the width, sizing, and other aspects of the font more easily without jumping from font weight to font weight or switching fonts entirely.

Check out an example of the variable typeface ‘Amstelvar’ on GitHub. Also read the full analysis on variable fonts and how they will change the web from Google.

Scroll Snapping

'Practical CSS Scroll Snapping' from CSS Tricks.

Last, but not least, scroll snapping is a relatively new technique used for snapping users to certain scroll points. Rather than a fluid motion down the page or left to right, you can have the page scroll in increments. Popular uses of this are for swiping through products or details on a page, scrolling through a book/reading experience, and sliding down a page with incremental blocks of information.

CSS Tricks features a great guide on Practical CSS Scroll Snapping.

The guide features information on browser support, best practices, and the properties you should use to ensure your scroll snapping works as intended.

Want to see how scroll snapping works? Check out these examples on Webkit.

The Present and Future of CSS

There you have it. These are 7 of the top trends and developments for CSS in 2019. What is your favorite trend?


How to Create Web Animations with Anime.js

Original Source: https://www.sitepoint.com/get-started-anime-js/?utm_source=rss

There are many JavaScript animation libraries out there, but Anime.js is one of the best. It’s easy to use, has a small and simple API, and offers everything you could want from a modern animation engine. The library has a small file size and supports all modern browsers, including IE/Edge 11+.

The only thing that could stop you from using Anime.js right away is its minimal, zen-like documentation. I like the compact, structured, elegant approach it takes, but I think that a more detailed explanation would be helpful. I’ll try to fix this issue in this tutorial.

Getting Started With Anime.js

To get started, download and include the anime.js file in your HTML page:

<script src=”path/to/anime.min.js”></script>

Alternatively, you can use the latest version of the library hosted on a CDN:

<script src=”https://cdn.jsdelivr.net/npm/animejs@3.0.1/lib/anime.min.js”></script>

Now, to create an animation, we use the anime() function, which takes an object as an argument. In that object, we describe all the animation details.

let myAnimation = anime({
/* describe the animation details */
});

There are several kinds of properties used to describe the animation. They are grouped into four distinct categories:

Targets – this includes a reference to the element(s) we want to animate. It could be a CSS selector (div, #square, .rectangle), DOM node or node list, or plain JavaScript object. There is also an option to use a mix of the above in an array.
Properties – this includes all properties and attributes that can be animated when dealing with CSS, JavaScript objects, DOM, and SVG.
Property Parameters – this includes property-related parameters like duration, delay, easing, etc.
Animation Parameters – this includes animation-related parameters like direction, loop, etc.

Let’s now see how this applies in practice. Consider the following example:

let animation = anime({
targets: ‘div’,
// Properties
translateX: 100,
borderRadius: 50,
// Property Parameters
duration: 2000,
easing: ‘linear’,
// Animation Parameters
direction: ‘alternate’
});

See the Pen
AnimeJS: Basic Example by SitePoint (@SitePoint)
on CodePen.

Note: I’m not going to cover the HTML and CSS sections of the code in the tutorial. These tend to be easy to grasp without additional explanation. You can find and explore the HTML and CSS in the embedded pens that follow each example.

In the above example:

We select the green square (the styled div).
We move it 100 pixels to the left while transforming it into a circle.
We set all this to happen smoothly in two seconds (linear means that no easing will be applied to the animation).
By setting the direction property to alternate, we instruct the div element to go back to its initial position and shape after animation completion. Anime.js does that by playing the animation in reverse order.

You may notice that I don’t use any units when specifying property values. That’s because if the original value has a unit, it is automatically added to the animated value. So, we can safely omit the units. But if we want to use a specific unit we must add it intentionally.

Let’s create something more meaningful.

Creating a Pendulum Animation

In this example, we will create a pendulum animation. After we “draw” a pendulum using our HTML and CSS skills, it’s time to bring it to life:

let animation = anime({
targets: ‘#rod’,
rotate: [60, -60], // from 60 to -60 degrees
duration: 3000,
easing: ‘easeInOutSine’,
direction: ‘alternate’,
loop: true
});

See the Pen
AnimeJS: Pendulum Animation by SitePoint (@SitePoint)
on CodePen.

In this animation, we use the so-called from-to value type, which defines a range of movement for the animation. In our case, the rod of the pendulum is rotated from 60 to -60 degrees. We also use easeInOutSine easing to simulate the natural motion of pendulum which slows down at peaks and gets faster at the bottom. We use the alternate option again to move the pendulum in both directions and set the loop parameter to true to repeat the movement endlessly.

Well done. Let’s move to the next example.

Creating a Battery Charge Animation

In this example, we want to create an animated icon of a charging battery, similar to the icons on our smartphones. This is easily doable with a bit of HTML and CSS. Here is the code for the animation:

The post How to Create Web Animations with Anime.js appeared first on SitePoint.

A Look at Why Web Projects Stall

Original Source: http://feedproxy.google.com/~r/1stwebdesigner/~3/HaqUEuEEABE/

There’s nothing quite like the feeling of booking a new project. You immediately start thinking of it’s potential to boost your portfolio and your bank account (you may have even received a nice down payment).

And there’s often a great level of excitement from your client as well. They just can’t wait to get started and want to have things up and running as soon as possible. This is just fine with you, as you love crossing items off of your to-do list.

So, everybody’s just raring to go, right? Perhaps they are, for a little while. But over time, all of that initial elation fades away – along with any signs of progress. All of the sudden, you find yourself in the middle of a stalled project.

Why did this happen? And what can you do about it? We have some ideas! Let’s explore the common ways a project can slow to a crawl (or worse) and some ways to jumpstart it back to life.

A Wakeup Call

There is always a high level of optimism at the very beginning of a project. And clients usually have a lot of big ideas, too.

But when it’s time to actually do the work, reality sets in. What sounded like a piece of cake in meetings turns out to be more difficult than initially thought. This is a common theme when working with clients.

However, it’s not just the degree of difficulty that gets in the way. Time, or lack of it, can also play a major role. Clients who are already swamped with work may just not have an opportunity to get together content and other promised assets.

The result is that the website you were supposed to build in six weeks is past due, and it’s because you don’t have what you need to finish the job.

A wall clock.

The Domino Effect

For web designers, this situation is frustrating on several levels. First, it can have a negative impact on your schedule. If you blocked off a certain amount of time to finish a project, you might be left waiting around with nothing to do. And once it finally does start to move forward again, it could clash with other work you have to get done.

Along with a reshuffled schedule, a stalled project can also hurt you financially. When you’re counting being paid for your work at a specific time and it doesn’t happen – that can really hinder your ability to pay the bills.

Plus, this can also put a heavy strain on the relationship you have with your client. There’s a certain level of mutual trust and cooperation that is needed to ensure a positive end result. In some instances, you may feel like your client isn’t holding up their end of the bargain, thus throwing your life into disarray. This, as much as anything, can make it difficult to move forward (even after you finally receive those product photos).

In short, a whole lot of trouble can come out of a stalled project. And the worst part is that, from a designer’s perspective, it can sometimes seem completely unnecessary.

Toy blocks scattered on a floor.

How to Keep the Ball Rolling

While you can’t necessarily avoid every instance of a stalled project, there are some things you can do to help try and keep things moving forward. Among them:

Establish Benchmarks

Having a mutually agreed-upon schedule of project benchmarks can be just the incentive a client needs to get things done. This is something you can discuss before things start and include in your contract. If the project is rather large, you might even consider adding some level of financial penalties for missed deadlines.

However, this may be easier said than done. It’s advisable to speak with a legal professional when adding this type of language to a contract as it could backfire on you. Not only that, but some clients may balk at the terms.

Offer to Help

Not all delays are due to negligence or being too busy. Sometimes, a client may be a bit overwhelmed by the process of putting together materials for their website. They may not know where to begin or are just unsure about asking for help.

So, if things don’t appear to be moving along as you expected, reach out and offer your assistance. Check in and see if they have any questions or need some advice. You might find that, by being proactive, you can restart progress.

Break Down the Process

Another reason a client might feel overwhelmed is that they think everything needs to be taken care of at once. But for most projects this just isn’t the case.

One solution may be found in more clearly communicating the design process. Inform your clients about the steps involved and what you need to complete each one. A more iterative process might just lead to fewer fits and starts.

Person walking up a flight of stairs.

Keeping a Watchful Eye

One of the less talked-about parts of a web designer’s job is that of project management. It is so often up to us to keep things running smoothly. Although, instead of making sure employees stay on task, we’re usually focusing on clients.

This is difficult, as we can’t really control what our clients do (or don’t do). Therefore, our best weapon is communication. If we don’t lead by spelling out our processes and their requirements, the project will most likely stall at some point.

Using some or all of the tips above can help you keep clients in the loop. While they don’t guarantee success, they do put all of the expectations out in the open. This way, if your client still doesn’t deliver, it’s on them. At the very least, you can say that you made the effort to keep the project moving forward.


Image Trail Effects

Original Source: http://feedproxy.google.com/~r/tympanus/~3/100PMCI_uB4/

Today we’d like to share a fun mouse interaction effect with you that we found on the VLNC Studio website. The idea is to follow the mouse and show a trail of random images. It’s a kind of brutalist effect and there are various possibilities when it comes to showing and hiding the images. So we compiled a set of demos that explores different animations.

The animations are powered by TweenMax.

Attention: Note that the demos are experimental and that we use modern CSS properties that might not be supported in older browsers.

The main idea is to show the images quickly so that a trail forms along the movement of the mouse.

ImageTrailEffects_01

While there’s different ways to show the images, there’s also lots of room to play with the effects that make them disappear.

ImageTrailEffects_02

Demo 3 shows how we can make the images “drop” when they disappear:

ImageTrailEffects_03

We can also add a bit of a squeeze, too:

ImageTrailEffects_04

The last demo explores setting the size of the image to be fullscreen and restricting the movement to the sides only:

ImageTrailEffects_05

This effect is inspired by Ricky Michiels website.

Here’s a short GIF that shows the effect of demo 2 where we scale the images up and fade them out:

ImageTrailEffects.2019-08-07 11_22_55

We hope you enjoy these demos and find them useful.

References and Credits

TweenMax by Greensock
imagesLoaded by Dave DeSandro
Images from Unsplash.com

Image Trail Effects was written by Mary Lou and published on Codrops.