Creating A Startup with Digital Marketing Tactics

Original Source: http://feedproxy.google.com/~r/Designrfix/~3/MURyH8w01os/creating-a-startup-with-digital-marketing-tactics

When a text message arrives on your phone about the upcoming sale at your favorite store or an e-mail about a contest with a raffle of your favorite product pops up in your inbox, and when you buy a product in a store because your favorite blogger advertised it, the excitement you feel isn’t accidental. […]

The post Creating A Startup with Digital Marketing Tactics appeared first on designrfix.com.

Master Adobe CC with this bundle

Original Source: http://feedproxy.google.com/~r/CreativeBloq/~3/Oc8eL2-osBI/master-adobe-cc-with-this-bundle

If you've ever dreamed of launching your design career, listen up! The entire Adobe Creative Cloud can be yours with the Pay What You Want: Adobe CC A-Z Lifetime Bundle. And at a pay what you want price, you just pay what you're willing – if it's less than the average price, you'll still be going away with something, but if you beat the average price, you'll take home the entire bundle.

You can become a pro in all things Adobe with this handy bundle. Master tricky software like Photoshop once and for all – a non-negotiable if you want a career in design. Even if you've never opened up Photoshop, Adobe Photoshop CC: Your Complete Beginner's Guide will transform you into a pro.

Get Adobe Creative Cloud here

You'll also pick up the necessary skills for Adobe Illustrator CC with Adobe Illustrator CC: Essentials Training, Adobe Illustrator CC 2018 Master Class and Adobe Illustrator CC: Advanced Training. There are also courses in Adobe Premiere Pro CC, Adobe InDesign CC and Adobe Premiere Pro Video Editing.

Become skilled in the Adobe Creative Cloud with this bundle, available at a pay what you want price here.

Related articles:

The 18 best Adobe Illustrator pluginsVoice prototyping added to Adobe XDTop-class Photoshop tutorials to try

The best graphic design tools in March 2019

Original Source: http://feedproxy.google.com/~r/CreativeBloq/~3/FnF2deJJxRg/the-best-graphic-design-tools-in-march-2019

This month’s round-up of the best new graphic design tools showcases a new flagship smartphone released to huge fanfare alongside a slick, slimline stylus quietly slipped out by Wacom. The two tech launches are widely different in approach, but both products offer designers exciting new creative possibilities.

As usual, we’ve also curated the best new books and brushes for streamlining your creative process: you'll find some brilliant new resources below, for all fields of interest. Read on for this month’s best new tools for graphic designers.

And if you'd like a comprehensive look at the more standard tools every creative should own, then don't miss our ultimate guide to graphic design tools.

Samsung Galaxy S10 product shot

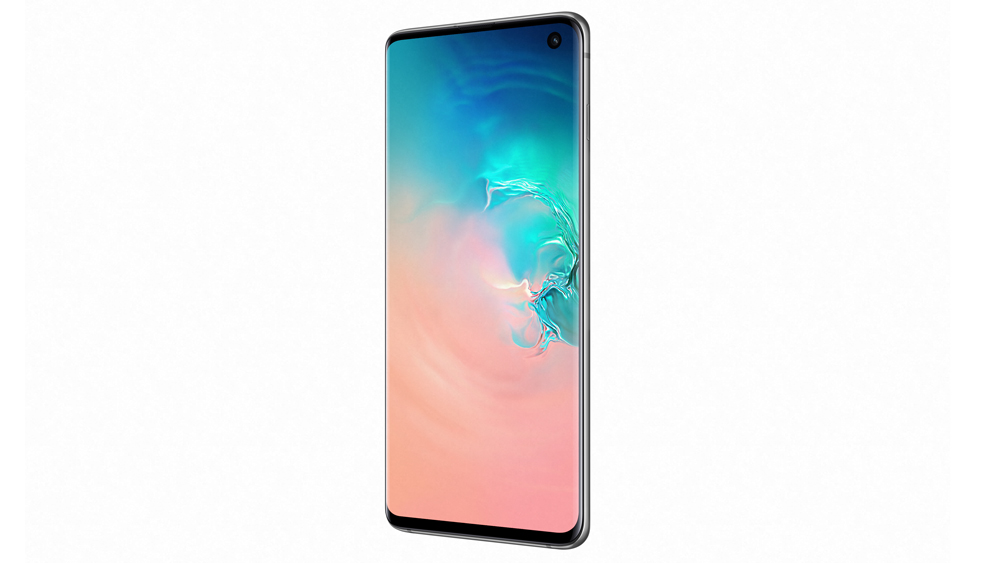
Boasting a vibrant and bright 6.1-inch Infinity Display, faster Wi-Fi 6 and HDR10+, and a triple-lens rear camera that takes ultra-wide photos, Samsung’s latest flagship takes the single hallmark features of other handsets and crams them into one innovative phone. 

The new Samsung Galaxy S10 camera phone might just be a game-changer for creatives. There’s more screen real estate to play with, and it’s been crowned the most colour accurate smartphone display ever by leading display authority DisplayMate – so if you’re working on the go (aided by the all-day battery), your creative apps will thank you. 

Meanwhile, that triple rear camera gives you a 12MP regular lens, 12MP optically zoomed telephoto lens and a brand new 16MP ultra-wide lens (plus a single 10MP camera with dual auto-focuses on the front). As you’d expect, it isn’t cheap. But this is easily Samsung’s best-ever smartphone, and we want one. 

The best Samsung Galaxy S10 deals

Now You See It book cover

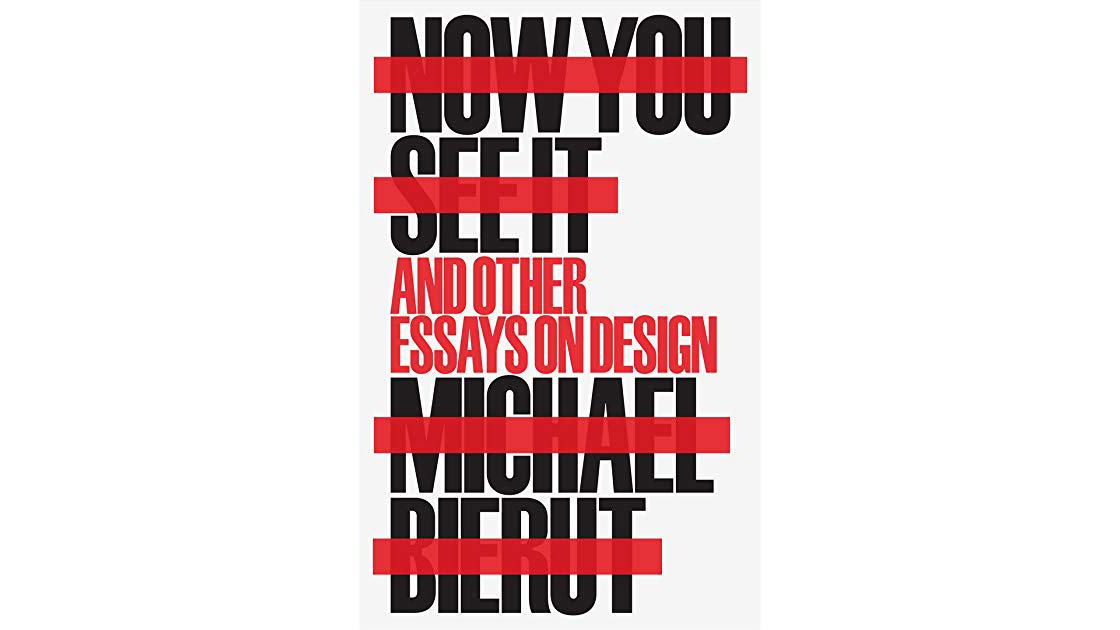
A new Kindle version of Pentagram partner Michael Beirut’s 2017 Now You See It has been released this month. The book is a follow-up to his best-selling Seventy-Nine Short Essays on Design, and offers a collection of over 50 engrossing bite-sized articles written by Beirut over the last decade. Covering everything from design history, practice and process to baseball, pop culture and design hoaxes – as well as celebrating leading design figures like Alan Fletcher, Massimo Vignelli and more – Now You See It is a deep, insightful and often humorous depiction of how design shapes our world. “Like a mentor in a book” is how one reader describes it. If you liked Beirut’s How To, you’ll like this too. 

For more great reads on design, don't miss our graphic design books roundup.

Buy Now You See It from Amazon for $34.36 / £18.52

Wacom Pro Pen slim stylus in its holder

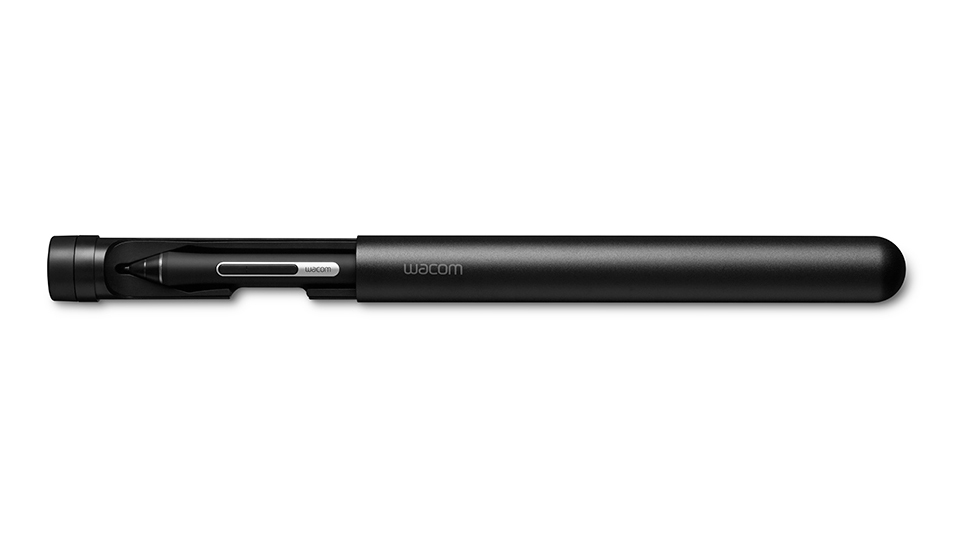
Japanese drawing tablet giant Wacom has quietly released a new version of its Pro Pen stylus, with a thinner form factor that’s more akin to the Apple Pencil. Like the Pro Pen, it has 8,192 levels of pressure senility, tilt-response and – says Wacom – it’s virtually lag-free. Right now, it’s only officially available in the US, but we’ll let you know as soon as it’s on sale in the UK too.

Buy the Wacom Pro Pen Slim stylus from Amazon for $79.90

iPad showing a chalk lettering composition

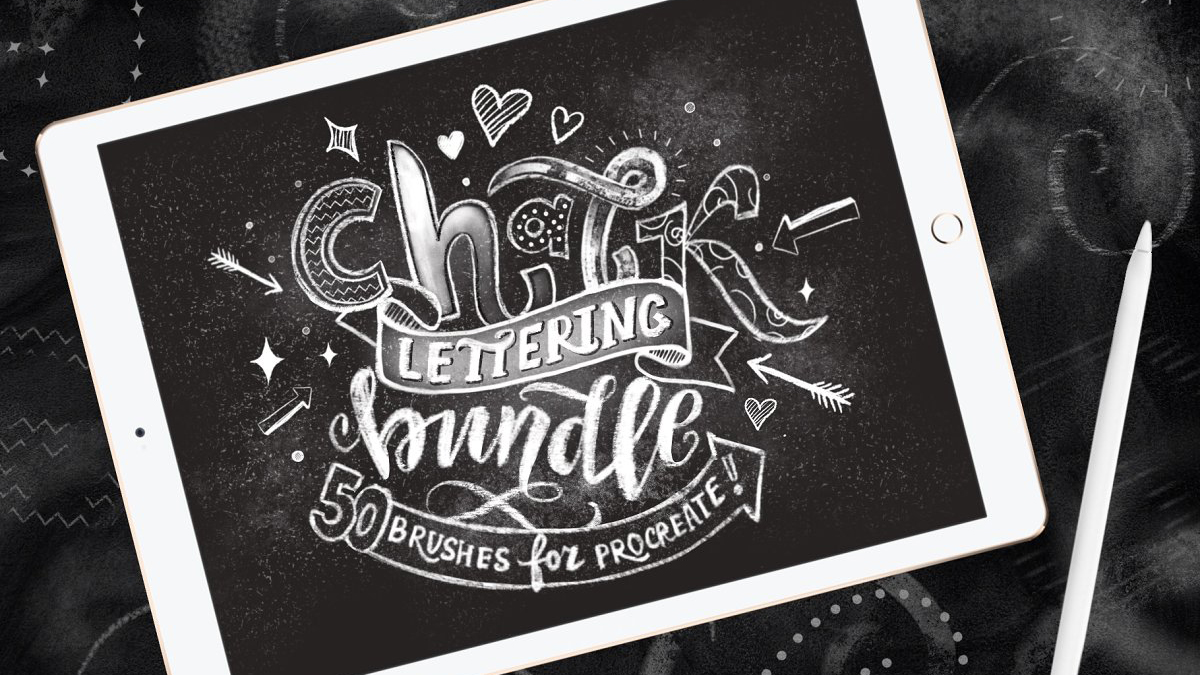
The Procreate Chalk Lettering Bundle contains 50 Procreate brushes to help you create realistic-looking chalk effects and lettering. Inside are eight lettering chalk brushes, six half effect brushes, one script brush, five pattern brushes, nine grids and more – everything you need to add authentic chalk effects to your designs. Bear in mind that these are Procreate brushes – they won’t work in Photoshop or other apps.  

Buy the Procreate Chalk Lettering Bundle for $15

The Fundamentals of Typography, 2 edition, book cover

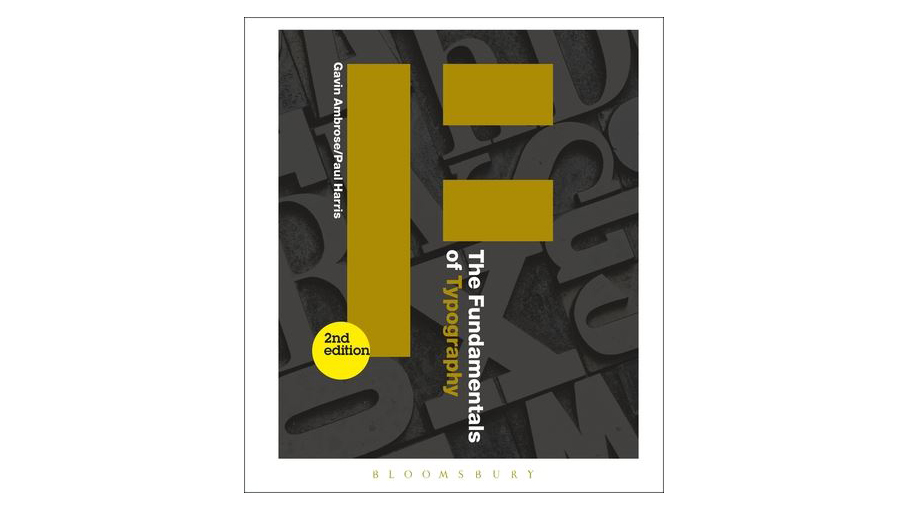
Authors Gavin Ambrose and Paul Harris introduce the core principles of typographic theory and practice in the second edition of The Fundamentals of Typography. Packed with new case studies from leading design studios and thought-provoking exercises, the book offers insight into the use of type both past and present, inspiring typographers and designers to push their practice further in print and online – and it speculates on the future too. It’s a useful addition to any new designer’s bookshelf. 

Buy The Fundamentals of Typography, 2nd edition for $33.49 ($36.95) / £28.27

Hand-drawn llama illustrating the different brushes in the Essential Hand Drawn Brush pack

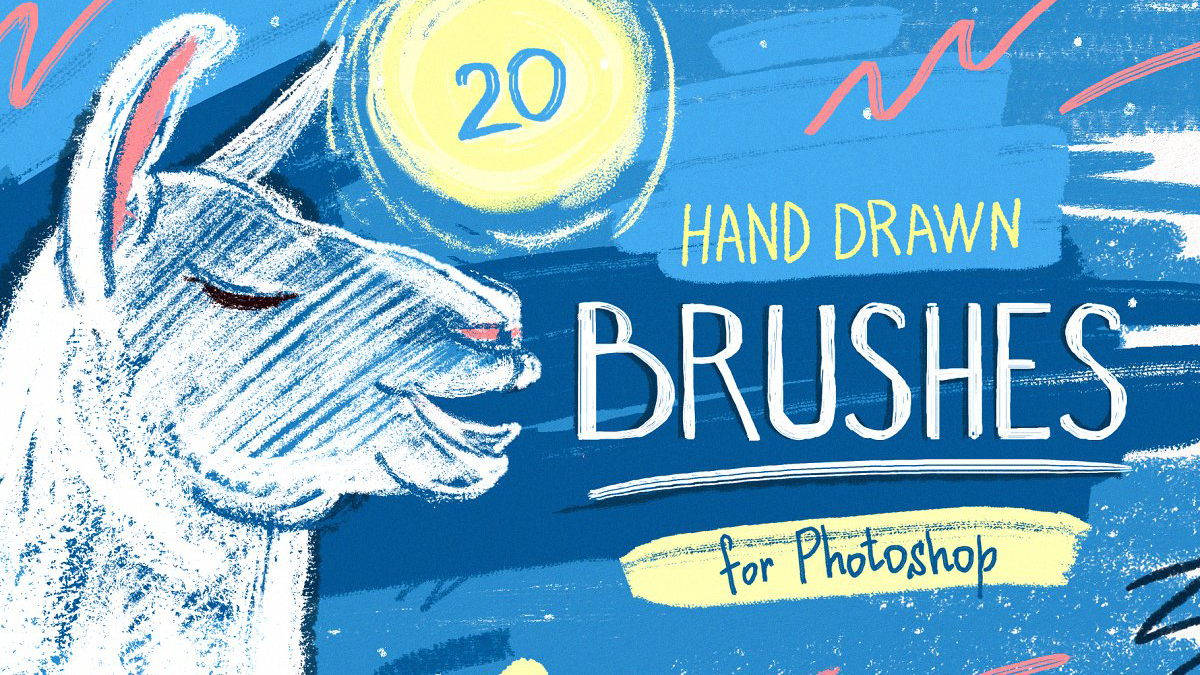
There are 20 hand-drawn Photoshop brushes in this pack from Pixelbuddha. Including everything from pencil and pastel textures, sponge and splatter marks through to lettering brushes, strict lining and more, this versatile bundle aims to have you covered whether you’re creating illustration work, editorial, commercial images, social media posts or more.

Buy the Essential Hand-Drawn Photoshop Brushes for $12

Walter Gropius: Visionary Founder of the Bauhaus

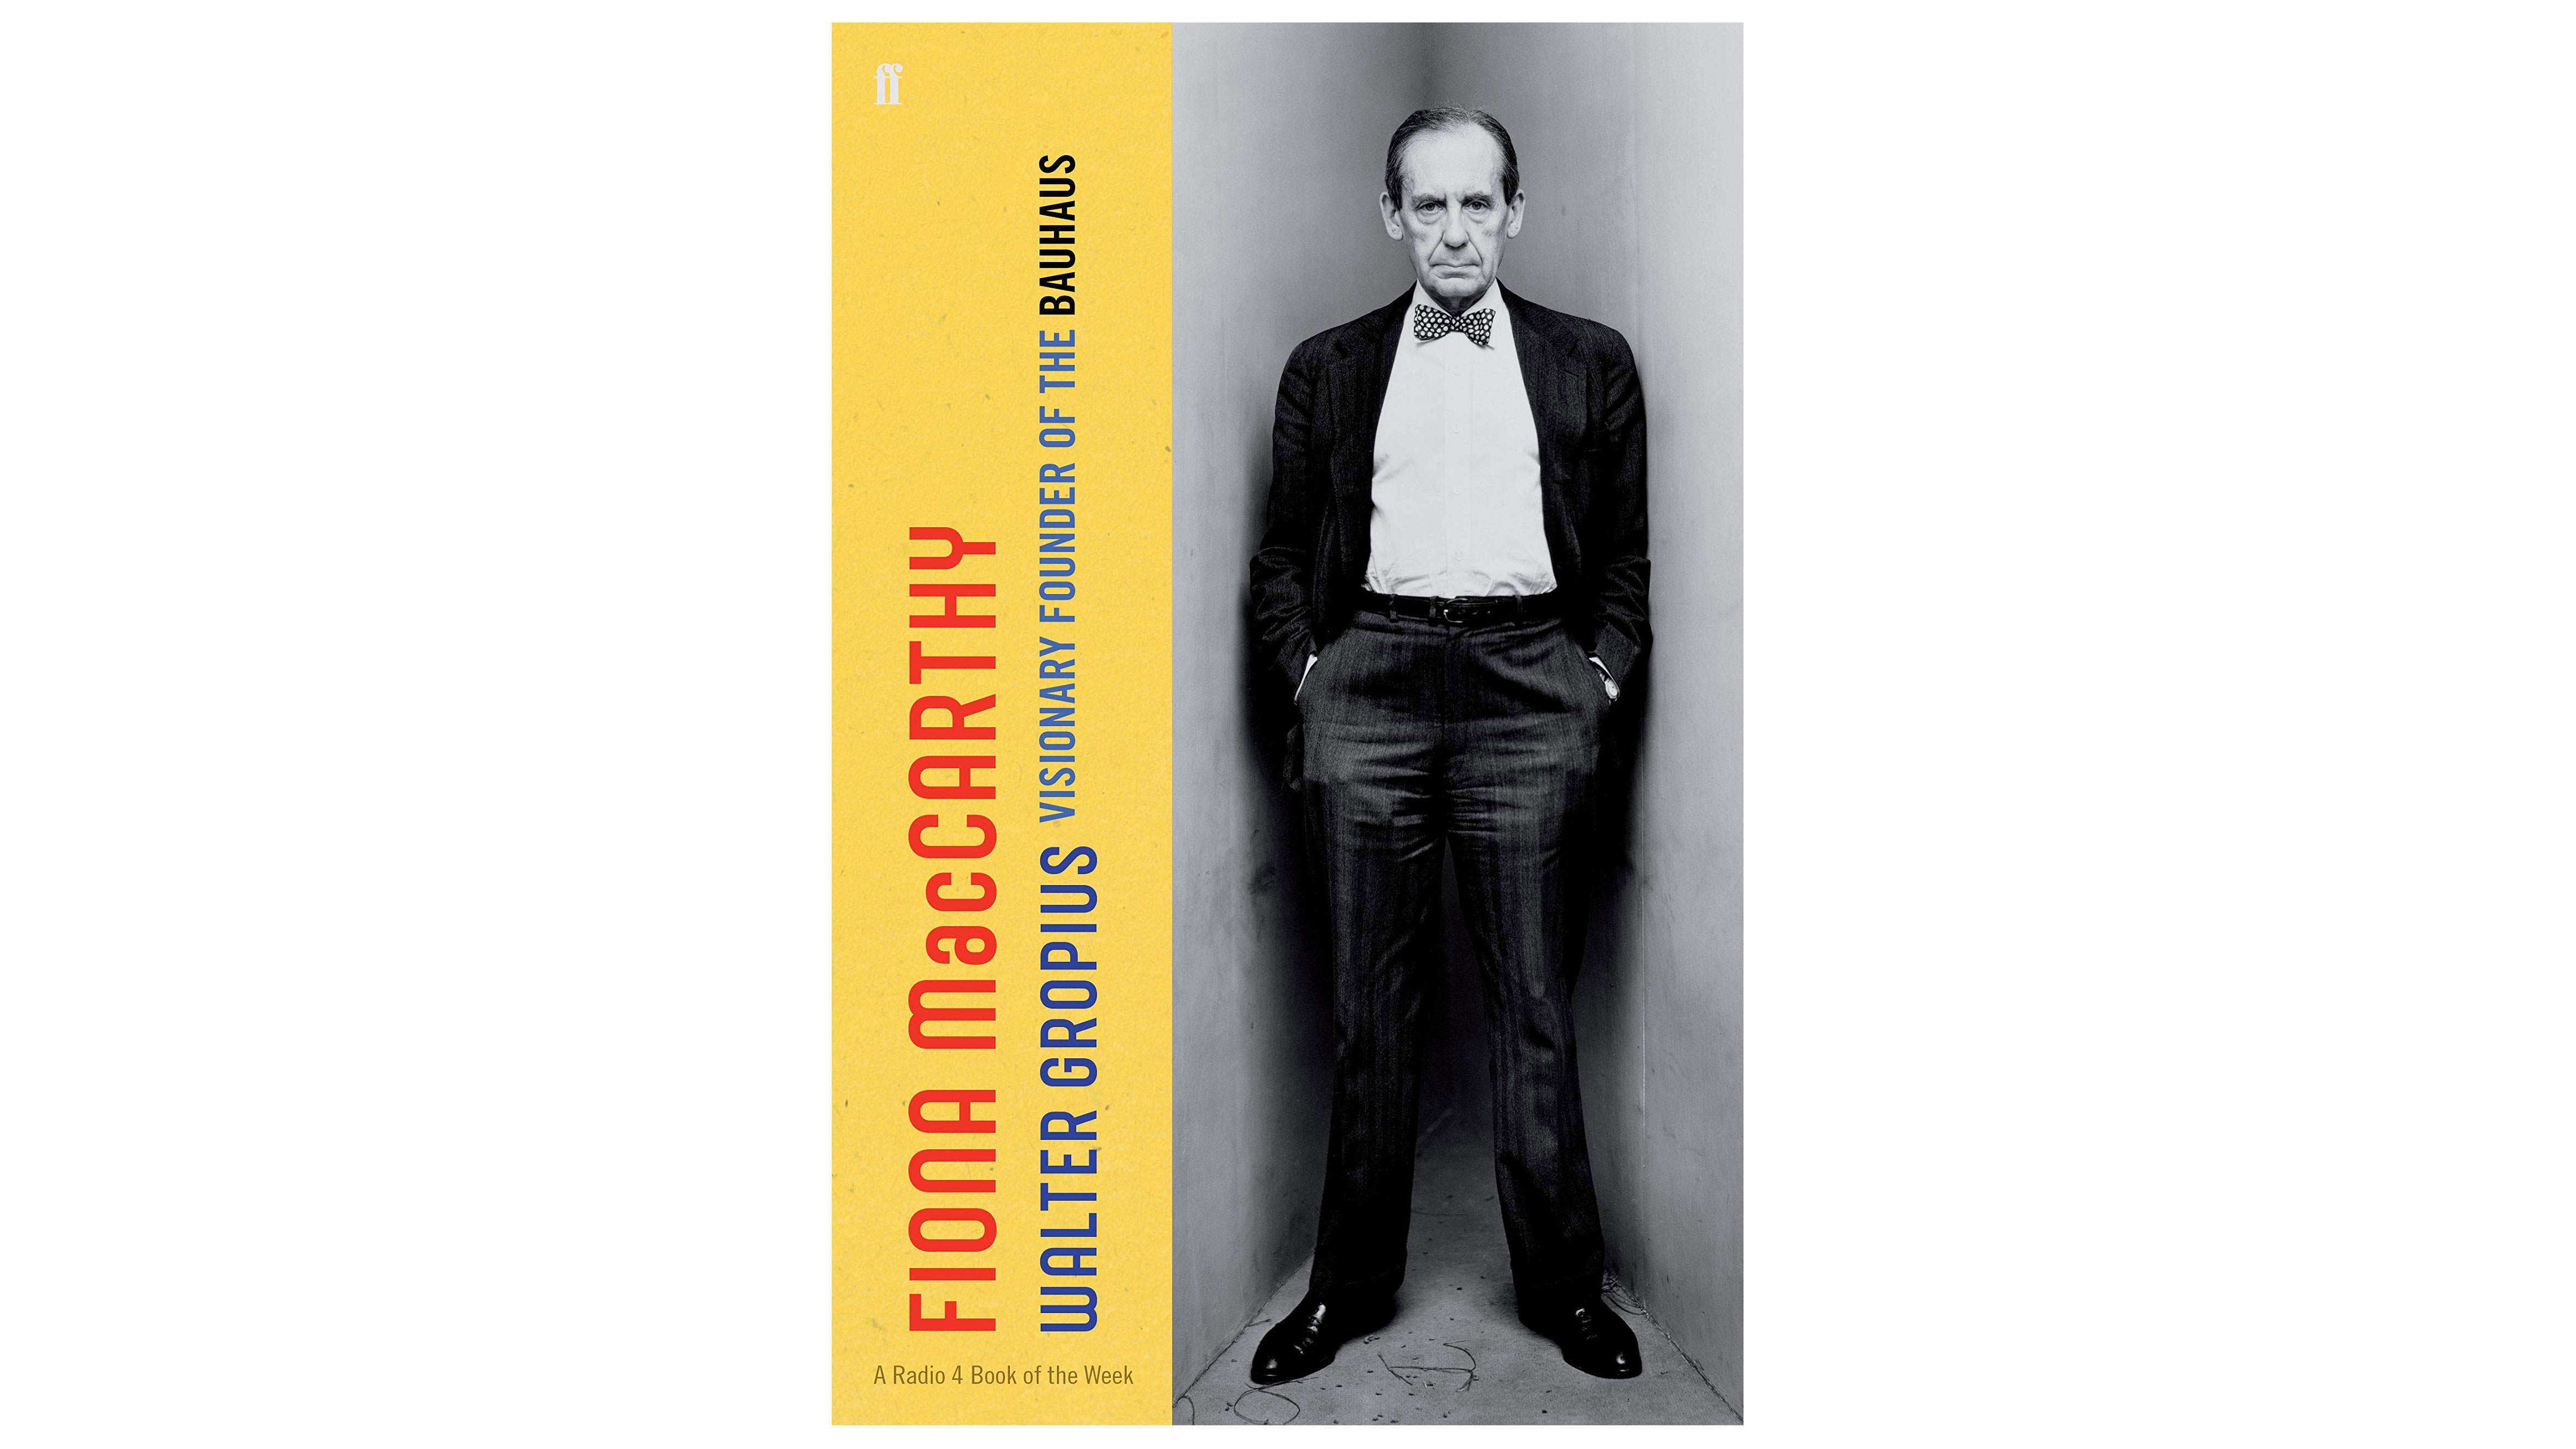
The charismatic and controversial founder of the Bauhaus – Walter Gropius – was at the centre of European modern art and design from 1910 to 1930, until Hitler made his situation untenable. In this riveting biography, Fiona MacCarthy draws on new research to re-evaluate Gropius's work and life, while exploring his intellectual and emotional life. Moving, vivid and described as a masterpiece by commentators, this long-awaited biography argues that Gropius’ visionary ideas still influence the way we live, work and think today.   

Buy Walter Gropius from Amazon for $25.57 / £19.25 (£30.00)

The Liner Brush Pack cover image

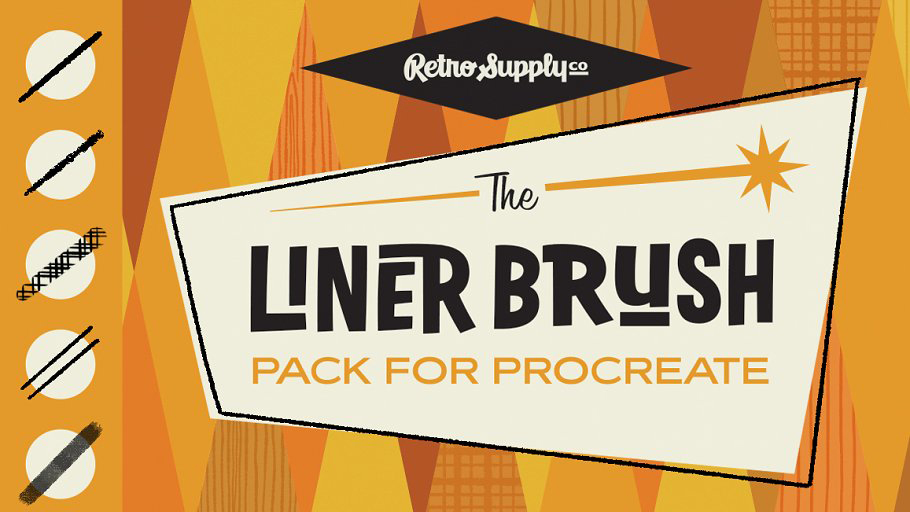
This premium collection of 15 mid century-inspired Procreate brushes has been designed to make creating realistic pen and ink line art a breeze. It includes classic and dribbly inkers, pencils, charcoal, chalk, fillers, washes and more to give your illustrations energy, movement and that magical mid-century hand-drawn feel. A must-have for Procreate artists interested in mid-century illustration.

Buy The Liner Brush Pack for Procreate for $15 

Read more:

The best laptops for graphic design10 of the best 4K monitors for designersThe best external hard drives for creatives

The best laptop cooling pads in 2019

Original Source: http://feedproxy.google.com/~r/CreativeBloq/~3/v1zgbdD8KFc/best-laptop-cooling-pad

The best laptop cooling pads might seem like an easy find, but search results reveal a surprising amount of choice. Why? For artists and designers using these devices for long periods of time, a laptop cooling pad is essential. Cooling a laptop allows the processors to push harder and perform better, without crashing. The challenge is finding the best cooling pad for your device, which means considering size, number of fans, power, noise, portability and more. Confused? Fret not, we've got you covered. Scroll down for our pick of the best laptop cooling pads available right now. 

First, let's take a look at the different specs you'll be dealing with. Size is a big issue. You don't want to buy a pad that's not large enough for your laptop as it won't cool it enough to offer any real benefit. Number of fans presents a similar issue, although this is more a question of power efficiency – some single-fan units can still push out a lot of cooling power. Noise is a big factor for anybody that thinks a whirring pad is going to get on their nerves (especially if this is for movie binging stints without headphones). Portability is a must for anyone using their laptop on the go, so keep that in mind when comparing size to power.

Our current favourite laptop cooling pad, which incorporates all of the above, is the Cooling Master NotePal X3. It's affordable, powerful, good looking and even comes with LED lighting – all that plus it's easy to buy from most countries via major retailers, meaning you get that peace of mind too. But while that's our pick, you might need something more specific for your needs. Read on to find the best for you.

The best laptops for graphic design

Cooler Master NotePal X3

The Cooler Master NotePal X3 is a beast of a cooling pad that is capable of chilling laptops up to 17-inches in size. This is done using a single, giant 200mm fan that is able to spin at up to an impressive 850 RPM. That speed can be controlled using a physical scroll wheel found on the side of the pad – this allows you to find the balance between noise and chilling efficiency. The LED lighting can also be controlled here allowing you to turn it off if you need. The pad is charged via USB but does offer a pass-through port meaning you can charge your phone while using this excellent cooling pad at the same time.

Tree New Bee TNB-F003

The Tree New Bee TNB-F003 cooling pad is a highly affordable way to get an active platform that cools your laptop. This unit features dual fans and handy clips that pop up to hold the laptop in place even when propped up on the legs at an angle. Made from ABS plastic and metal, the mesh layer is strong, grippy and able to transmit the air freely for the best cooling effect on the laptop, which can be up to 15.6-inches in size. 

Tree New Bee TNB-K0025

The Tree New Bee TNB-K0025 cooling pad is a high-end option for those that want the best without pricing being and issue. While the mesh metallic top layer will draw away heat, the four fans circulate cooling air to the laptop that can be between 15.6 and 17-inches. There are also two anti-slip pads, dual legs to prop the laptop up, dual USB ports and fan speed controls. All that makes this ideal for designers that want to keeping pushing their laptops' limits without the worry of a crash due to overheating.

TeckNet Quiet Laptop Cooling Pad

The TeckNet Quiet Laptop Cooling Pad offers a whopping five fans that work at up to 1,200 RPM yet do so very quietly. The result is a super chilled laptop that can be run to its limits, for watching or editing a 4K and HDR movie, say, all while the fans remain quiet enough to avoid affecting the experience. The dual USB allows for power while still offering space to charge a device. Also the ergonomic design allows for two angles, with grips for stability – meaning maximum viewing comfort, again, ideal for movie viewing sessions.

Cooler Master Eergostand III

The Cooler Master Ergostand III is a laptop cooling pad designed for adjustability, making it ideal for designers that need to move their laptop for the best viewing angle. The super large 230mm fan is ultra silent and works in conjunction with a six-angled stand. Everything comes apart for easy cleaning to ensure maximum airflow and cooling efficiency. The four port USB hub makes charging other devices easy and everything is easily accessible, further enhancing this pad's ability to go easy on your neck and back.

Deepcool N9

The Deepcool N9 isn't the slimmest cooling pad you can buy, but it is the best slimline option for the features we think you're going to need. Not only will this support laptops up to 17-inches with its metallic and grippy two anti-slip baffle platform, but it'll cool them powerfully with its speed-adjustable 180mm fan. You can enjoy four USB ports and six angle options for ideal viewing. All that is crammed into a unit that's slim enough to take anywhere, making it ideal for pros on the move that don't want to scrimp on power or settle for anything but the perfect viewing angle.

TopMate C5

The TopMate C5 laptop cooling pad is the best for gamers who want maximum power out of their machine and maximum cooling to keep it from crashing under the strain. Thanks to a whopping 2,500 RPM from the five fans, which somehow still remain relatively quiet, this cooling pad is ideal for high-powered gaming laptops specifically. The downside? It won't manage larger 17-inch laptops, but for up to 15.6-inch devices it offers multiple angles and kickers to hold the laptop in place. A dual USB hub allows for device charging and there's also a blue LED light so you know when that quiet fan system is active. 

Game Lab Vortex E-Sport LED Cooling Pad

The Game Lab Vortex E-Sport LED Cooling Pad offers a great combination of affordability and power that makes this a top option for gamers that want to get a powerful cooling pad on a budget. You get four fans capable of an impressive 1,400 RPM, all while staying quiet, as well as LED lighting. The brightness and power of all that can be controlled using a scroll wheel. Stands allow you to prop this cooling pad up for perfect viewing angles while ABS legs hold the laptop in place on the heat dissipating metallic mesh plate. Ideal for gamers, designers and general users alike.

Read more:

The best laptop bags: top laptop backpacks, sleeves and casesThe best video editing software for designersThe best computer for graphic design

CorelDRAW for Mac finally arrives

Original Source: http://feedproxy.google.com/~r/CreativeBloq/~3/EmcxFqDNhKo/new-coreldraw

Earlier this week, Corel launched the new and improved version of its graphic design package, CorelDRAW Graphics Suite 2019. As well as boasting new features, CorelDRAW is now also available on macOS once again.

Long-time followers of Corel might remember that the graphics suite used to be available on macOS before it was put to rest way back in 2001. Now it's been specially rebuilt and retooled by Corel to provide a "true native Mac experience" that stands shoulder-to-shoulder with the previously Windows-exclusive release.

On top of this, Corel has also rolled out a slimmed-down version of the suite called CorelDRAW.app. This alternative version of the vector art app is designed to be accessible from any web browser and aims to make it easier for creators to work on and share projects while out and about. 

This all indicates that Corel is upping its game as it fights to compete with the likes of Serif and Adobe (see our list of the best alternatives to Photoshop here).

Work in progress illustration on CorelDRAW of a series of bearded man heads

Work on assets while on the go with CorelDRAW.app

With this new release, you can fire up CorelDRAW Graphics Suite 2019 on macOS and find an interface that has been built to support Mac elements such as Dark Mode and the Touch Bar.

"CorelDRAW has built its reputation as a leading graphics suite that's focused on professional results, output, and ease of use," says senior director of products at CorelDRAW and Productivity, John Falsetto.

"When it comes to delivering outstanding projects every time, designers deserve real choice. With 2019, we're bringing the power of CorelDRAW in a truly native experience to the Mac, delivering the high-end tools professionals need."

The CorelDRAW.app is the standout new feature accompanying the macOS launch. With this web-accessible version of the suite, users will be able to access files saved to the cloud as well as resave to .cdr. This is a convenient way to share assets, especially vector images, with clients and colleagues.

We’re bringing the power of CorelDRAW in a truly native experience to the Mac

John Falsetto

Other new features include the pixel workflow, which sharpens blurry images for use on the web. Illustrators managing lots of objects will find their workflow streamlined thank to the Object Docker interface, which makes it quick and easy to select assets. When paired with the new text-search function, the Objects menu can also allow creators to search by certain criteria, such as colour fill and line type.

Topping off the release is the non-destructive effects stack. This feature makes it possible to apply a series of effects to an object, all of which can be tweaked without affecting the object in question.

Screenshot of eyes being colour-corrected in CorelDRAW

Search by colour fill with the new Object menu search.

If you're interested in buying CorelDRAW Graphics Suite 2019, it's available for both Windows and macOS for $499/ £599.99. Windows users who've already got a previous version of the software can upgrade for $199/ £299.99. A free trial is also available for designers looking to try before they buy.

Related articles:

Corel Painter 2019 reviewStep-by-step: How to mimic oil paint in Corel PainterCreate portrait art in Corel Painter

Create an Automated Scoreboard that Senses Your Score with a Raspberry Pi

Original Source: https://www.sitepoint.com/create-an-automated-scoreboard-that-senses-your-score-with-a-raspberry-pi/

Patrick Catanzariti using his mini-basketball loop with scoreboard

On an impulse just before Christmas, I bought myself an NBA “over-the-door” mini basketball hoop. I wasn’t sure what I’d do with it, but having a basketball hoop for my office seemed like a good move. In the end I decided to experiment and bring some connectivity to it by hooking it up to a Raspberry Pi to give it a scoreboard display. Here’s how that went, with step-by-step instructions if you’d like to try to adapt and improve upon it!

This tutorial isn’t intended to be used as a step-by-step “do exactly as I did” style guide — my hope is that you’ll take this concept and use it for all sorts of other ideas. Add a virtual scoreboard that counts how often people come into your office. Or go with a different sport (maybe a mini soccer goal tracker?). Or use an entirely different sensor but track hits on it visually with a Raspberry Pi! There are so many potential applications of this technique. Try stuff and let me know how you go!

What You’ll Need

In order to be able to follow along and make something similar, here’s a list of the parts I used (or their equivalent for the things I had around my lab already):

Raspberry Pi 3 B+ — I used an older version of this from 2015, if you’re going to buy one, get a newer version like this!
A MicroSD card with NOOBS — if you are looking to install this yourself and have an SD card ready to go Raspberry Pi foundation have a guide on how to do so here.
Spalding NBA Slam Jam Over-The-Door Mini Basketball Hoop — This is the mini basketball hoop I used. You could use a different one — especially if its net works better!
Raspberry Pi 3.3190G 7″ Touchscreen Display — This is my favourite display for the Raspberry Pi, it is a touchscreen, so you can interact with the UI without needing to connect up a mouse.
RS Raspberry Pi 7-Inch LCD Touch Screen Case, Black — To make the display look a bit nicer when all together with the Pi, I have my Pi in this black case.
HC-SR04 Ultrasonic Distance Measuring Sensor Module — I had a spare cheap clone HC-SR04 sensor around, but I’d recommend buying a good quality one. My one has occasional odd readings and is a bit temperamental.

One thing to note — if you don’t have a 7 inch display for your Pi, you could display the score on a nearby computer monitor too. Any device on your local network with a web browser and a screen would work!

The Code

Want to skip to downloading the code? It’s available on GitHub here.

What I put together

I hung my new basketball hoop up on a door with an ultrasonic sensor attached to the hoop to track when a ball goes into the hoop. Underneath is a Raspberry Pi powered scoreboard — I’d actually recommend finding longer cables so you can connect it outside of basketball falling range.

Patrick Catanzariti using his mini-basketball loop with scoreboard

Me testing out my connected scoreboard — with a customised Suns themed interface!

I’ll go over why everything is as it is below — along with some suggestions for those who might want to improve upon this base!

Languages we’ll be using

JavaScript – In order to follow along, you’ll need a knowledge of the basics, but we won’t have lines upon lines of code, things are actually pretty simple in the JS side of things.
Node.js – A basic knowledge of how to run npm and Node is needed to run our scoreboard server.

Setting up our Raspberry Pi

If you are completely new to the Raspberry Pi and haven’t set anything up yet, never fear! There are many guides out there for setting things up and it’s nice and straightforward. The Raspberry Pi foundation have a step by step guide for installing the Raspbian operating system using the NOOBS operating system manager. You’ll want to make sure the operating system is running before you get onto any of the other steps.

Touchscreen setup

I put together my connected scoreboard using a Raspberry Pi 3 with touchscreen. My touchscreen and case were already put together and screwed down tight as I’ve used this Pi 3 before for other projects, however if you are starting from scratch — it isn’t too hard to connect up. Newer shipments (like mine) actually have a bunch of it already assembled, with the adapter board already screwed onto the LCD screen, if that’s the case, half the steps are already complete! Instructions on how to assemble the screen are available online:

Official instructions — these are the instructions which come with the screen in case you lose them!
The Pi Hut have their own tutorial — they explain the details of the process too.
ZDNet’s look at the touch display with case — they’ve got a good amount of detail and tips for setting up the screen and case to use in various situations.

Case setup

When it comes to putting the case around the LCD screen and Raspberry Pi, that process is also quite easy with the case I have. I already had mine together, however the general steps for this are:

Make sure you’ve already got your microUSB card inside the Raspberry Pi and are happy with how it’s running! Annoyingly with a lot of cases, you can’t get the card out once the case is in place. My case linked above is one of those… so make sure the card is all good before you lose access to it!
Place the Pi with screen into place inside the case
Arrange the ribbon cables and cables coming from the GPIO so they aren’t in the way
Make sure the holes for your USB ports and such are on the correct side of the bulkier part of the case and line up nicely.
Once everything is lined up nicely, screw in the four screws to put it all together!
Turn it on! If you find that the screen comes up upside down, don’t worry, it’s a side effect of the case manufacturers lining up the power to come out of the top. When I mounted my scoreboard though, I mounted it with the power coming out of the bottom, so this wasn’t an issue for me. If it is an issue for you:

Run sudo nano /boot/config.txt to open the config for the Pi
Then add lcd_rotate=2 to the end, this will rotate the screen around.
Press Ctrl X and the Ctrl Y to save your changes.
Restart your Pi and when it loads back up it should be the right way around!

Running Node.js on our Raspberry Pi

Conveniently, Raspbian has Node installed by default! However, it is a rather old version of Node. You can check which version is installed on your Pi by opening up the Terminal and typing in:

node -v

I’ve got version 8.15.0 installed on my Pi. You can upgrade by running the following commands:

sudo su –
apt-get remove nodered -y
apt-get remove nodejs nodejs-legacy -y
apt-get remove npm -y
curl -sL https://deb.nodesource.com/setup_5.x | sudo bash –
apt-get install nodejs -y

After running all of those, if you type in that version command again, you should see a better version:

node -v

You can also check npm is installed correctly by running:

npm -v

With node running on our device, we’re ready to get a scoreboard Node server running!

The post Create an Automated Scoreboard that Senses Your Score with a Raspberry Pi appeared first on SitePoint.

Awesome Demos Roundup #2

Original Source: http://feedproxy.google.com/~r/tympanus/~3/0pJS76vcsx4/

In our second Awesome Demos Roundup we are featuring some great experiments including pure CSS goodness and WebGL wonders. Play evolution with Matthew Main’s “Kiss The Sky” or swing the racket in Jon Slater’s “CSS Only Tennis Game”. But above all, we hope you get inspired with this little selection.

Enjoy!

Morphed Sphere

Morphed-Sphere

Shooting Star

Shooting-Star

Bubbles (CodePen Circles Challenge)

bubbles

Randomly generated Pure CSS menu icons w/ markup and SCSS

Randomly-generated-Pure-CSS-menu-icons

Blob study

blobstudy

Loader turbulence

Loader-turbulence

Particles

Particles
Check out this tweet.

Blobby hill

blobby-hill

Portal

Portal

Our new land [SVG]

our-new-land-[SVG]

Polygon Surface

Polygon-Surface

WebGL Wonderland #5

WebGL-Wonderland-#5

Kiss The Sky

Kiss-The-Sky

WebGL Wonderland #7

WebGL-Wonderland-#7

Displacement Scroll

Displacement-Scroll

Trippy polygons

Trippy-polygons

CurveBall

CurveBall

CSS Scroll Snap: How Do I Look In This?

CSS-Scroll-Snap–How-Do-I-Look-In-This-

Waterfall

Waterfall

Physarum #5

physarum-#5

View the Github repo.

CSS Only Tennis Game

CSS-Only-Tennis-Game

Awesome Demos Roundup #2 was written by Mary Lou and published on Codrops.

Best Examples Of Editorial Designs To Inspire Your Creativity

Original Source: http://feedproxy.google.com/~r/Designrfix/~3/9VhzWEiw4E4/editorial-designs

You may have never realized it, but editorial designs combine the way information is presented in magazines, nooks, and newspapers in such a way to catch your eye.Designing these mediums has become increasingly difficult and challenging as we have moved towards a more digital age. With that in mind, editorial designs have been adapted to […]

The post Best Examples Of Editorial Designs To Inspire Your Creativity appeared first on designrfix.com.

Stay Productive with These Web Apps

Original Source: http://feedproxy.google.com/~r/1stwebdesigner/~3/vaMIOPsk3VY/

When you’re a freelancer, it’s not always easy to stay on task. Without a real boss looming over your shoulder, you might find yourself posting on social media and watching YouTube videos five hours before the deadline hits. Even when you’re doing your dream job, motivation can be hard to find.

Luckily, you don’t have to do it alone. There are a variety of web apps out there designed to smooth out this process and make it easier to work consistently. These browser-based tools could be a godsend, so let’s take a look at the best productivity apps designed for freelancers.

StayFocusd and LeechBlock

StayFocusd and LeechBlock

Whether you prefer Chrome (StayFocused) or Firefox (LeechBlock), the premise here is the same: Start blocking those sites notorious for sucking away your time! If you find yourself wasting hours on social media when you’re supposed to be working, it’s time to shut those sites off by force.

Both extensions are highly customizable and allow you to block sites at certain times of day, when you’ve spent a certain amount of time on them, and so on.

Trello

Trello

Sometimes you can get the greatest boost to productivity simply by staying organized. Trello allows you to create “boards” for each of your projects, further creating individual cards within them. You can even add checklists, categories and other little tools to each card. It’s designed for teams, but it’s also great for keeping those personal projects organized.

TickTick

TickTick

For many, nothing is more satisfying than ticking off boxes on a checklist. The multi-device app comes with all the basics of a checklist app and more. From reminders and scheduling to priorities and tags (and turning emails into tasks). You can even work with your team on a checklist.

Focus Booster

Focus Booster

Focus Booster uses the pomodoro technique to keep you focused but fresh, with mini-timers that allow you to work in sessions with frequent breaks in between. If you struggle to stay focused after an extended time, this technique is perfect for you. You can download Focus Booster, use it on the web, or install the mobile app.

Habitica

Habitica

If you love video games, Habitica might be for you. “Gamify your life” by turning your tasks into quests, and get showered with gold and XP when you do something productive. Then use it to customize your avatar. There are no rules – just set up your tasks, set the difficulty and get rewarded.

RescueTime

RescueTime

Where have all those hours gone? RescueTime runs in the background, tracking what apps you’re using and the websites you spend your time on, then compiles it into a report. It can be eye-opening to realize how long you spend being unproductive. But once you know, you can take steps to stop wasting so much time on certain websites.

Basecamp

Basecamp

If your whole team is having trouble with focus, Basecamp might be the solution. The app allows you to assign tasks to people, communicate effectively with everyone, and organize all your tools and files in one place. There’s much more to it, but that’s the basics. No more communicating and sharing files through email chains, or wasting time explaining things over and over again.

Brain.fm

Brain.fm

This is an interesting one. Brain.fm uses AI-composed music to help you relax, sleep, or more importantly, focus. It does this by stimulating your brain in ways that their scientists believe can help boost attention. It’s definitely worth a try!

Don’t Fall Behind!

After spending your whole corporate life being told what to do, self-discipline isn’t a skill you’ll pick up right away. Don’t feel bad if you’re struggling, or if you simply need that small extra incentive to focus. These apps were designed to help people like you, so make use of them!


Offline WordPress Editor For Mac – MarsEdit

Original Source: https://www.hongkiat.com/blog/offline-wordpress-editor-marsedit/

A quick look at MarsEdit and its helpful features.

The post Offline WordPress Editor For Mac – MarsEdit appeared first on Hongkiat.

Visit hongkiat.com for full content.