10 Newsletter Layouts With Free Source Code

Original Source: http://feedproxy.google.com/~r/1stwebdesigner/~3/MUQbtsdKsoU/

Designing a newsletter can be tough. Not only do you need knowledge and understanding of how users/readers expect content to be delivered to them, you also have the headache of making the layout compatible with all of the many emails clients.

It helps if you study the layouts of existing newsletters to get an understanding of how the code and layouts work. That’s why I’ve curated 10 of the best newsletter designs that are fully responsive and up-to-date with modern coding standards.

If you’re planning to launch your own newsletter, these designs should be great inspiration for you.

SeatGeek

With a single column design and large typography, I love the way the SeatGeek email uses icons and simple graphics to grab your attention.

The large typography also takes up a high percentage of the page making it very easy to read. Shorter paragraphs, larger text, and a clear CTA at the bottom of the page all increase usability.

For a simple verification email this does the job well.

PlayStation

If you’re looking for a more complex design, Sony’s Battlefield 1 release offers some nice ideas.

Most of this newsletter relies on images to replicate the official Sony PlayStation website. This is great for building brand awareness and trust, but this also feels a bit light on information since it doesn’t tell the reader what to do or what the message means.

Still, it has a really smooth design and it shows how much quality graphics play a role in email layouts.

Social Print Studio

Email verification messages don’t need to be complex. But you should feel okay adding some details about the website/list the user just signed up to.

This email by Social Print Studio is primarily a verification message, but it also includes points about the site and what new users can expect from using it. This even includes a ‘shop’ CTA leading directly to the site where readers can order prints of their Instagram photos.

An excellent example of coaxing users back onto the site while also increasing signup verifications.

Archant

Here’s a real interesting email newsletter with an update preferences message from Archant (online publisher).

The goal is to connect with users who may have subscription settings that are either too strict (blocking all contact) or too lenient (receiving too many emails). It’s a cool way to connect with existing subscribers and ideally get them signed up to more lists.

WistiaFest 2017

Event newsletters like this one are usually pretty simple. They only have a few goals: share information about the event and encourage subscribers to buy their ticket early.

This newsletter has all of that in spades with CTAs to check out the event’s speakers and to sign up for a ticket. The layout also follows a single one-column design which usually works best for emails.

Lists for events also don’t go out regularly, so it’s crucial to include the logo near the very top of the page. This way subscribers know exactly what the message is about since their last message was probably 12 months before.

Sprout Social Webinar

The Sprout Social newsletters are fantastically well-designed and their codebase is phenomenal. Take a look at this simple design promoting an upcoming webinar.

It’s pretty short and uses graphs to draw attention. It also uses bulleted lists with icons to help sell the webinar as bullet points are much easier to read than paragraphs.

Plus, the big green CTA is well above the fold and pushes their webinar schedule. You can replace many of these elements with your own and see fantastic results.

Sprout Social IG Scheduling

Another example from Sprout Social is this promo email covering their Instagram scheduling feature.

One difference with this layout is the alternating two-column features grid. It uses square icons placed alongside square info-boxes with clear visuals. A great concept and it blends in nicely with the overall design.

If you’re looking for a basic template to study and possibly recreate you should check out the Sprout Social emails. Considering all factors like visuals, copy, and page structure, Sprout Social do email marketing right

Moo Design

From business cards to custom stickers, this promo newsletter really sells the product well. You can learn a lot by studying how other websites promote their content, and this Moo newsletter is a terrific example.

Product photos show how these items could be used and you can also learn a lot from the email’s style and flair.

It feels colorful and fun with a light sense of humor. This tells readers how these products feel and why you might want to visit Moo.

The newsletter uses a two-column product feature with blocks of images and text. An excellent way to grab attention and increase conversions.

Under Armor

The Under Armor brand is very popular in the fitness community. They have tons of great products and their newsletter design sells their items well.

Notice how many unique photographs are used in this design. With some products, it just makes sense to add photos more than text. Block elements with photos and CTAs work well for Under Armor’s newsletter and this is usually a good strategy for all physical goods.

Runtastic

Product feature lists are also great for promoting mobile apps and digital software. This Runtastic email relies on app screenshots and small flat-styled icons to grab your attention.

The goal of this newsletter is to encourage clickthroughs and get new users digging deeper into features. It’s an entire suite of programs and tracking tools so it can take time to learn everything.

But with a great follow-up email you can provide just enough info to get people curious and wanting to learn more.

These are just some of the best newsletter designs I’ve found but there are dozens more out there. And regardless of what you’re promoting or why you need a newsletter, these designs will help you plan usable layouts with clean source code to boot.

Refreshed Visual Identity and Motion Graphics for SPORTV

Original Source: http://feedproxy.google.com/~r/abduzeedo/~3/773RgqUqLSs/refreshed-visual-identity-and-motion-graphics-sportv

Refreshed Visual Identity and Motion Graphics for SPORTV

Refreshed Visual Identity and Motion Graphics for SPORTV

abduzeedo
Jun 28, 2018

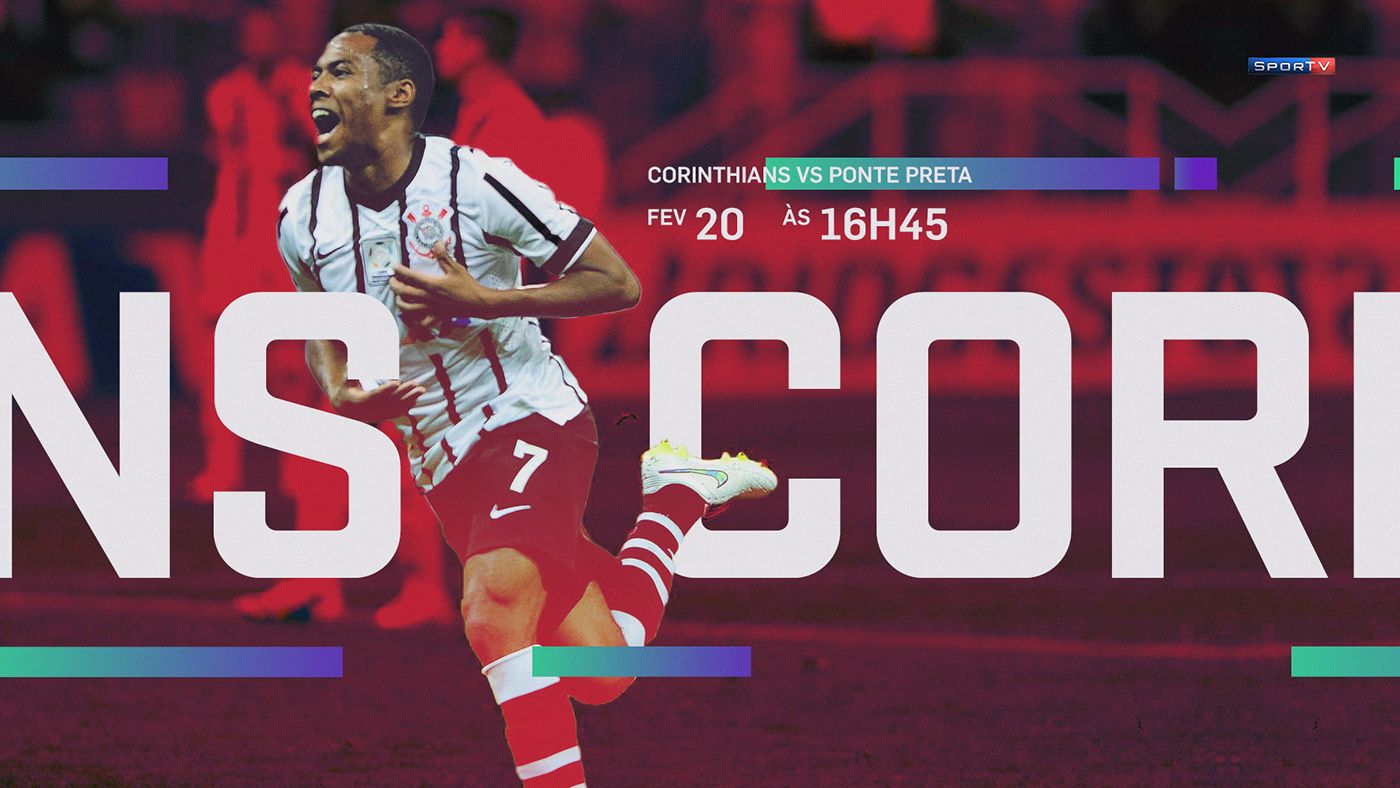
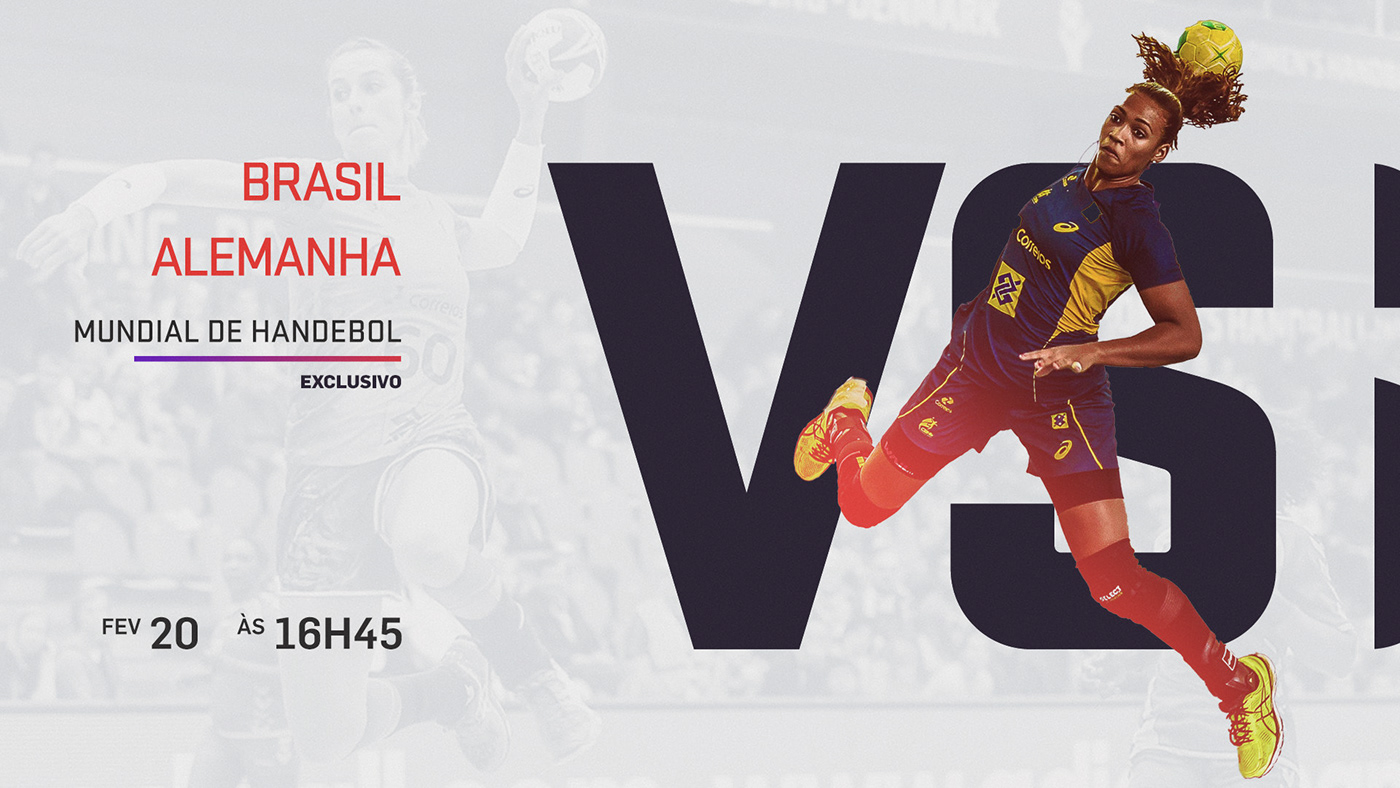
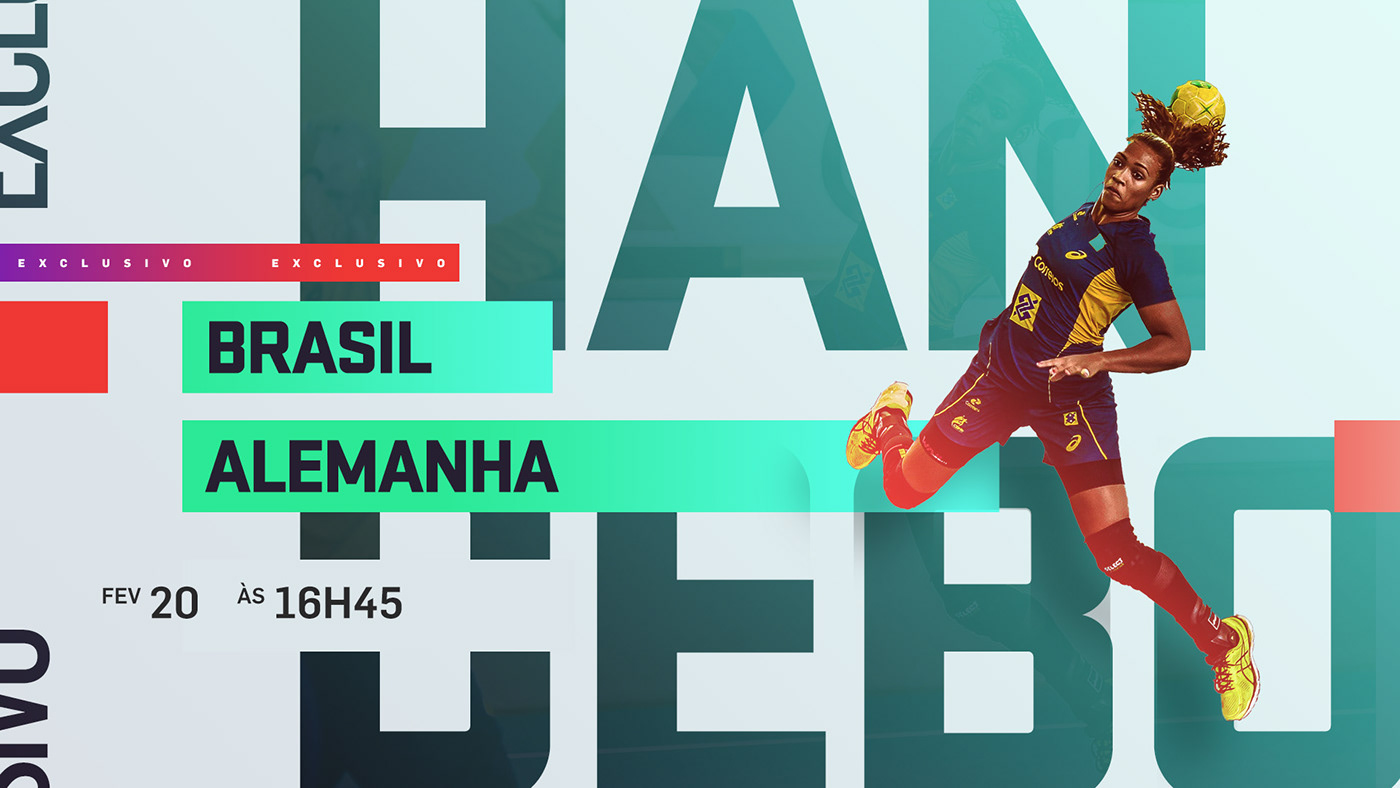
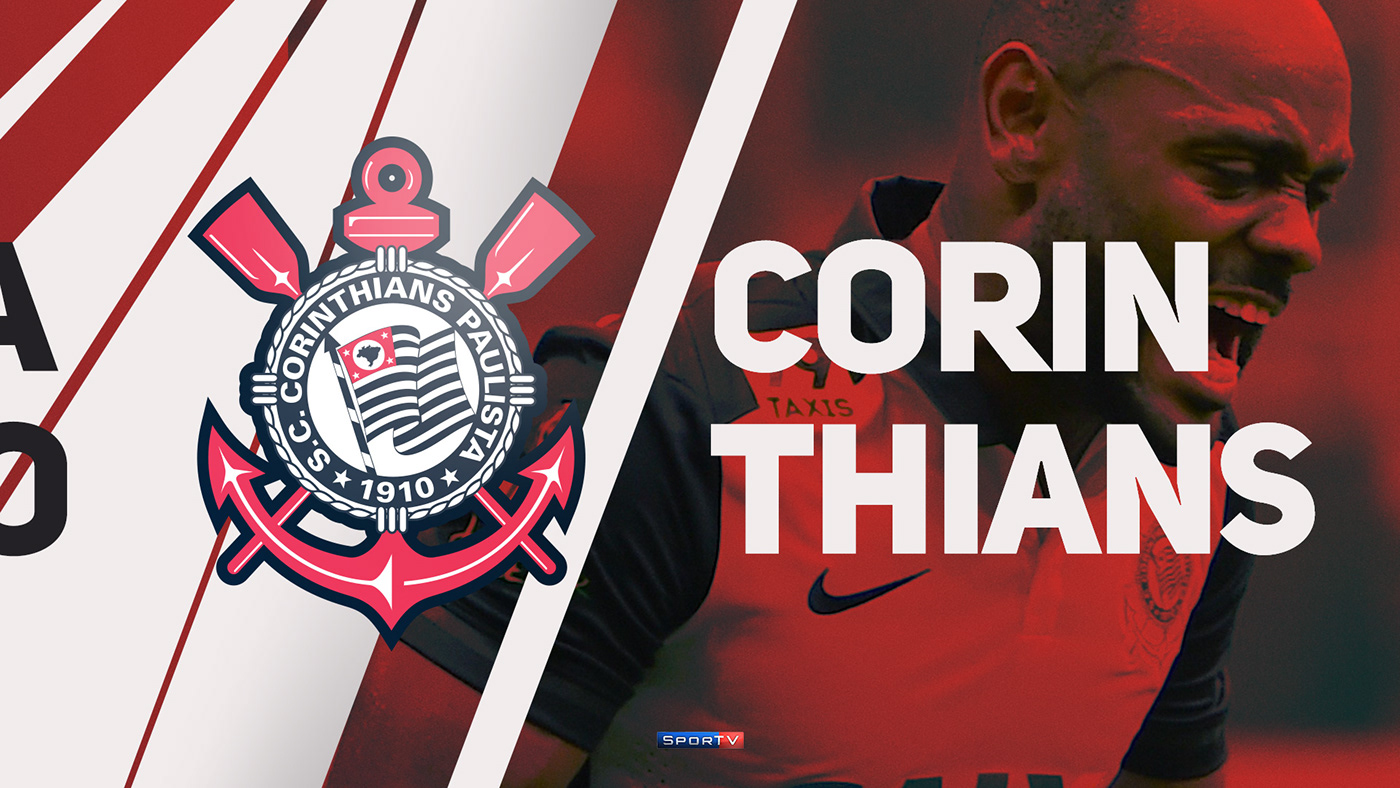
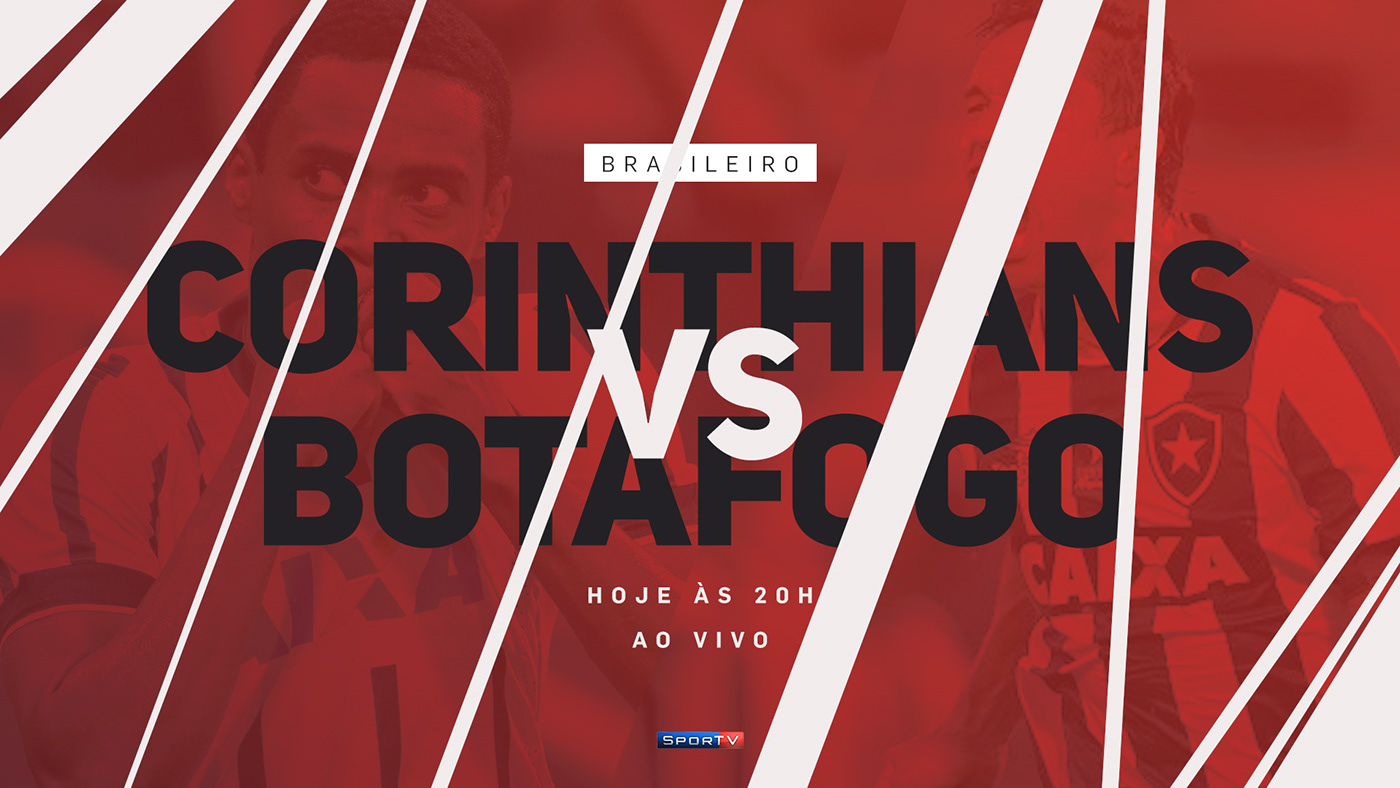
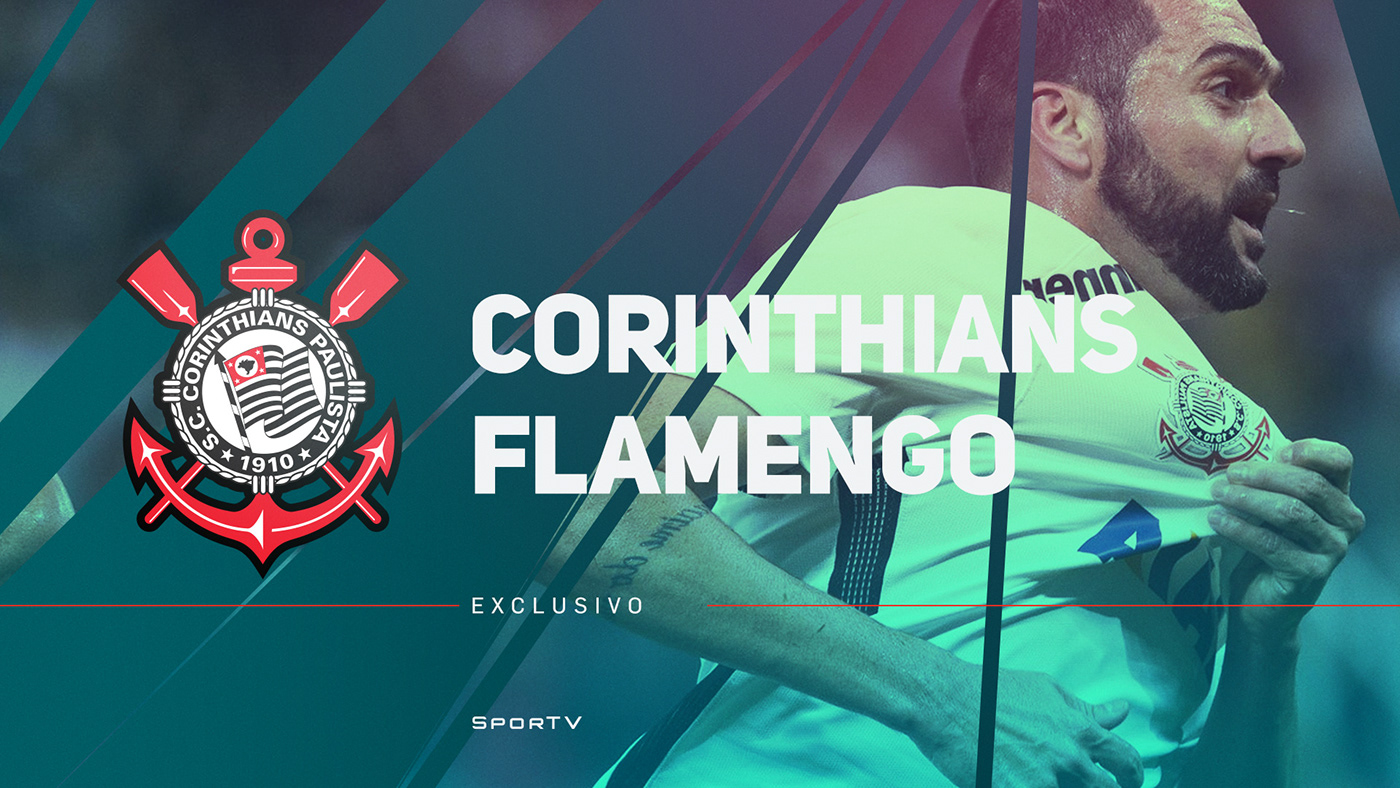
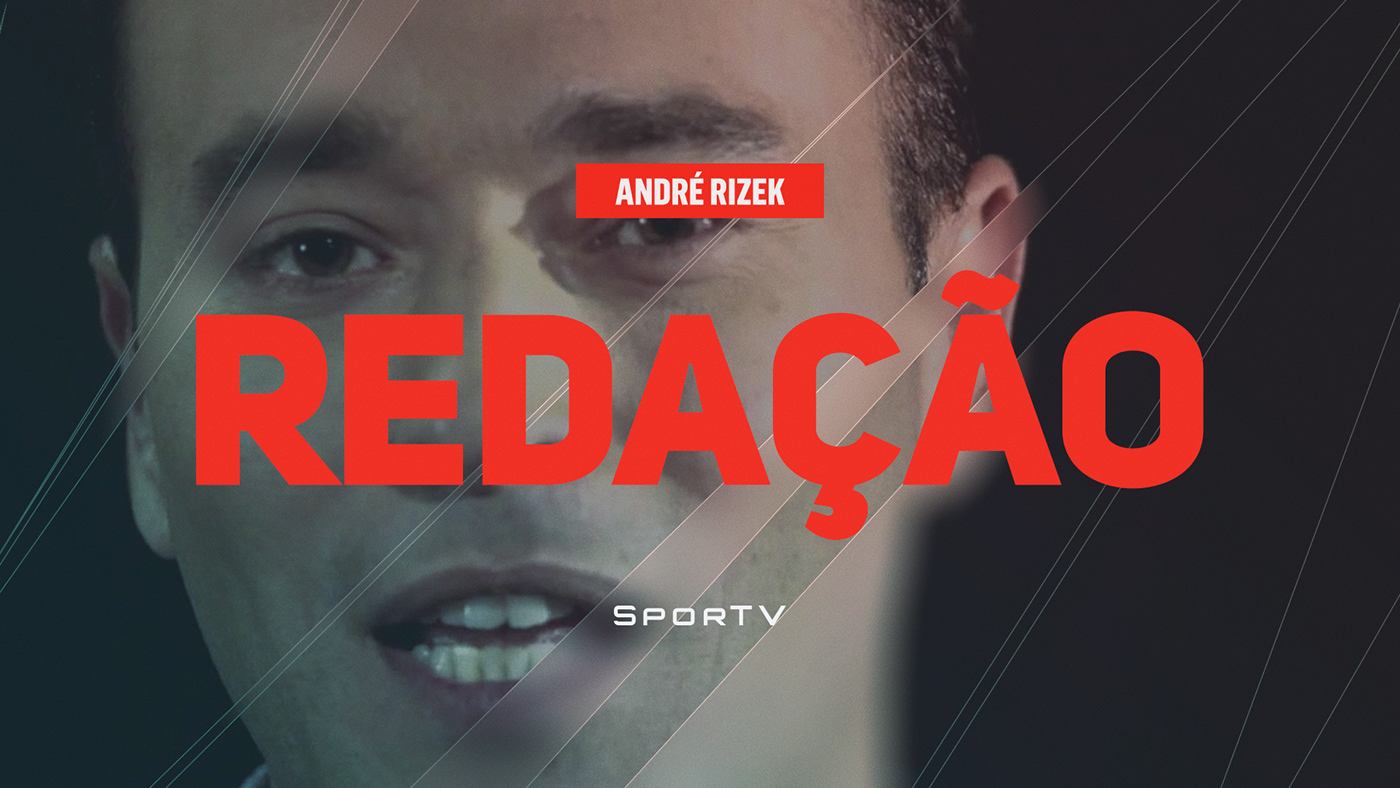
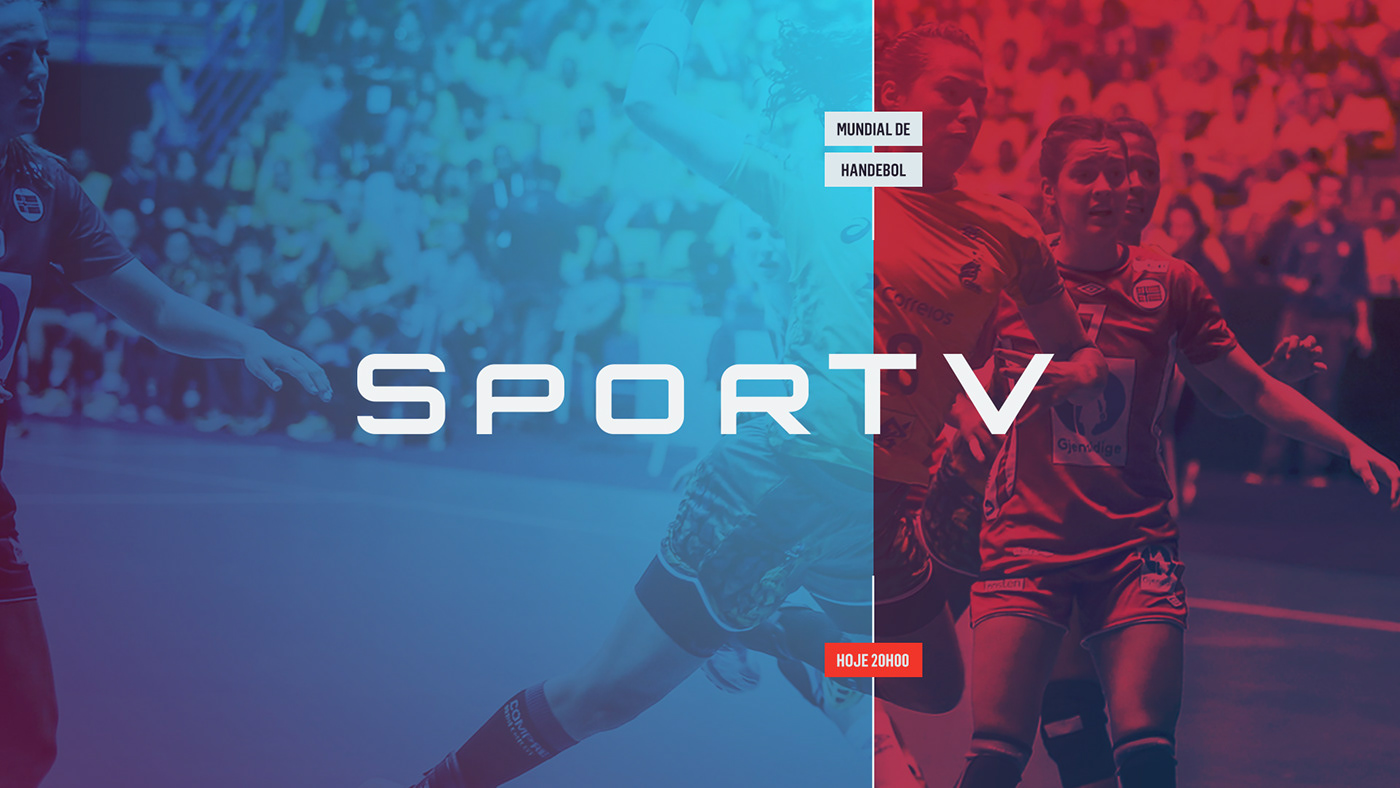
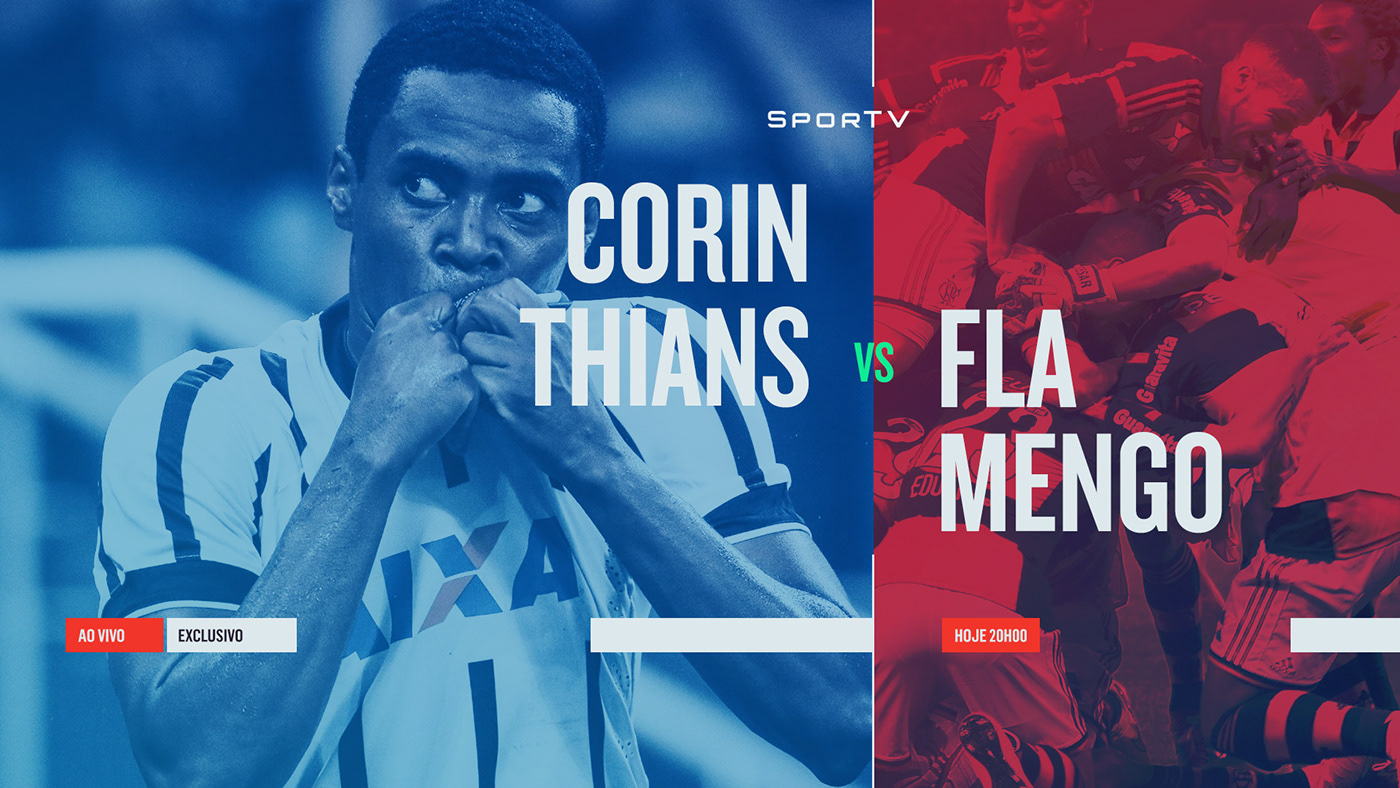
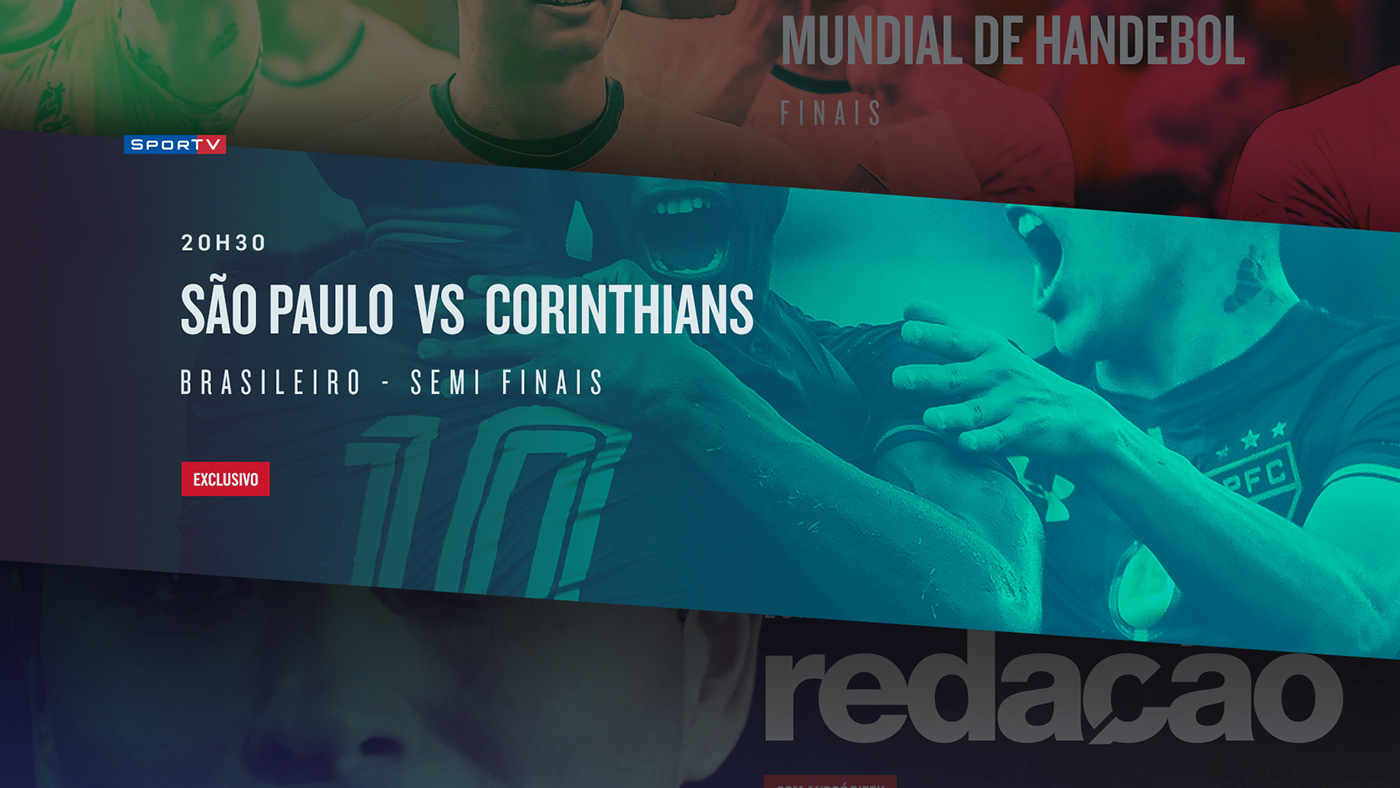
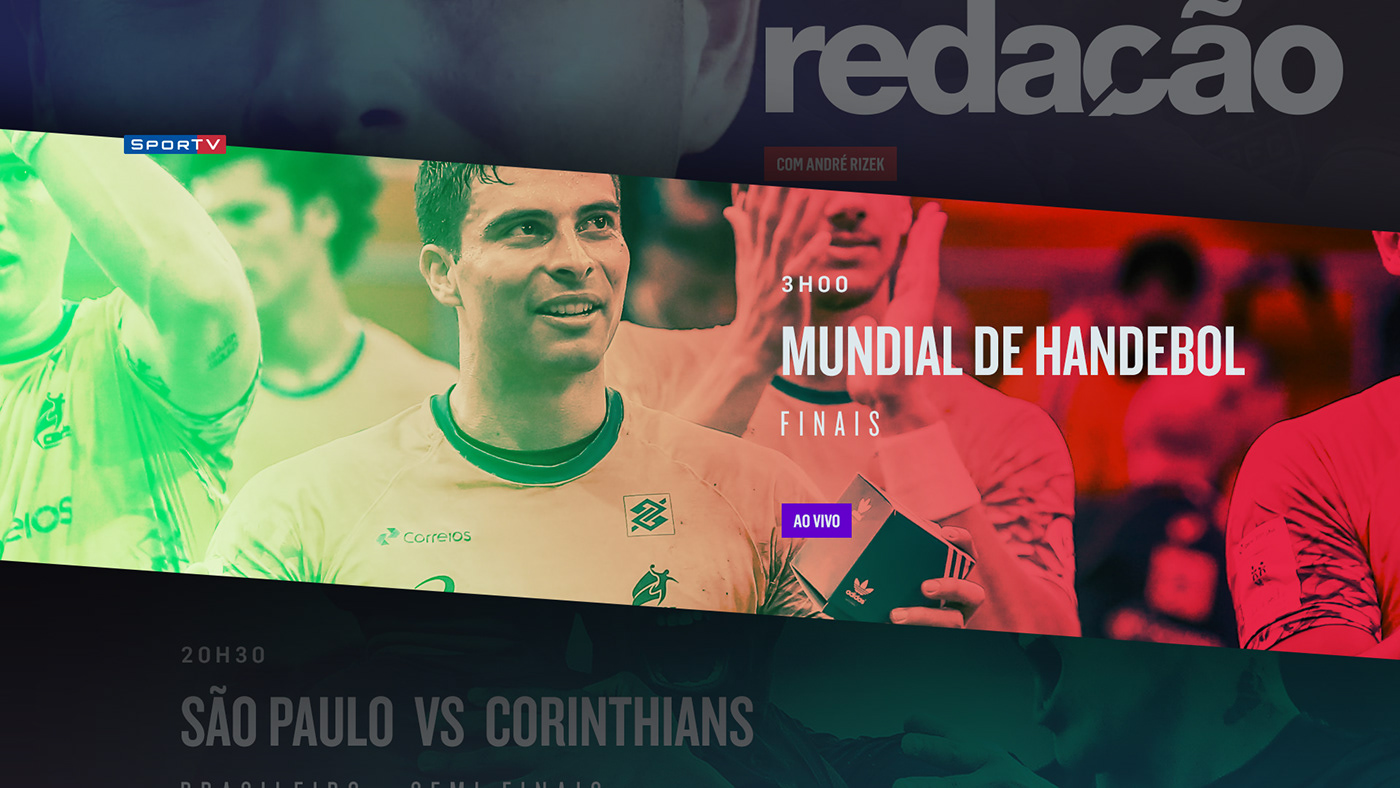
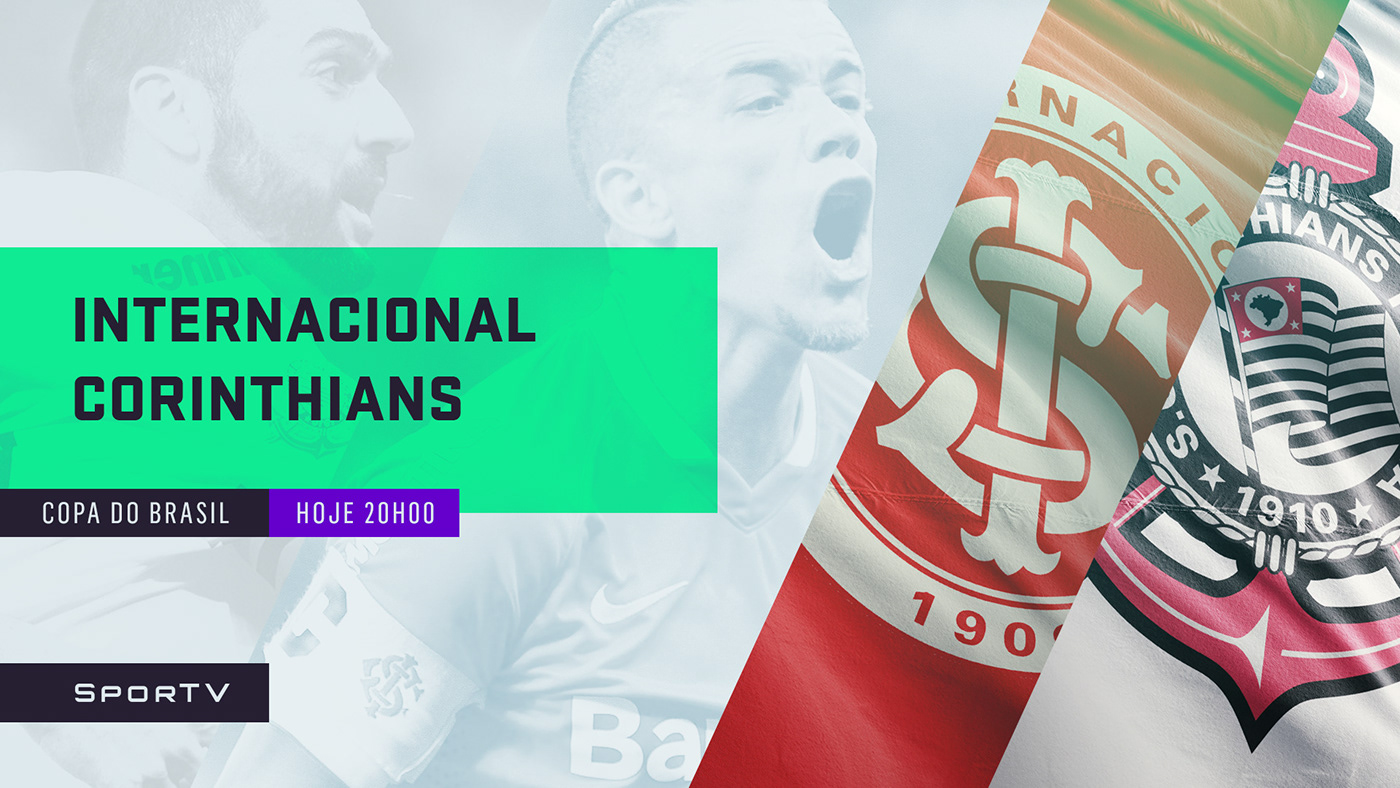
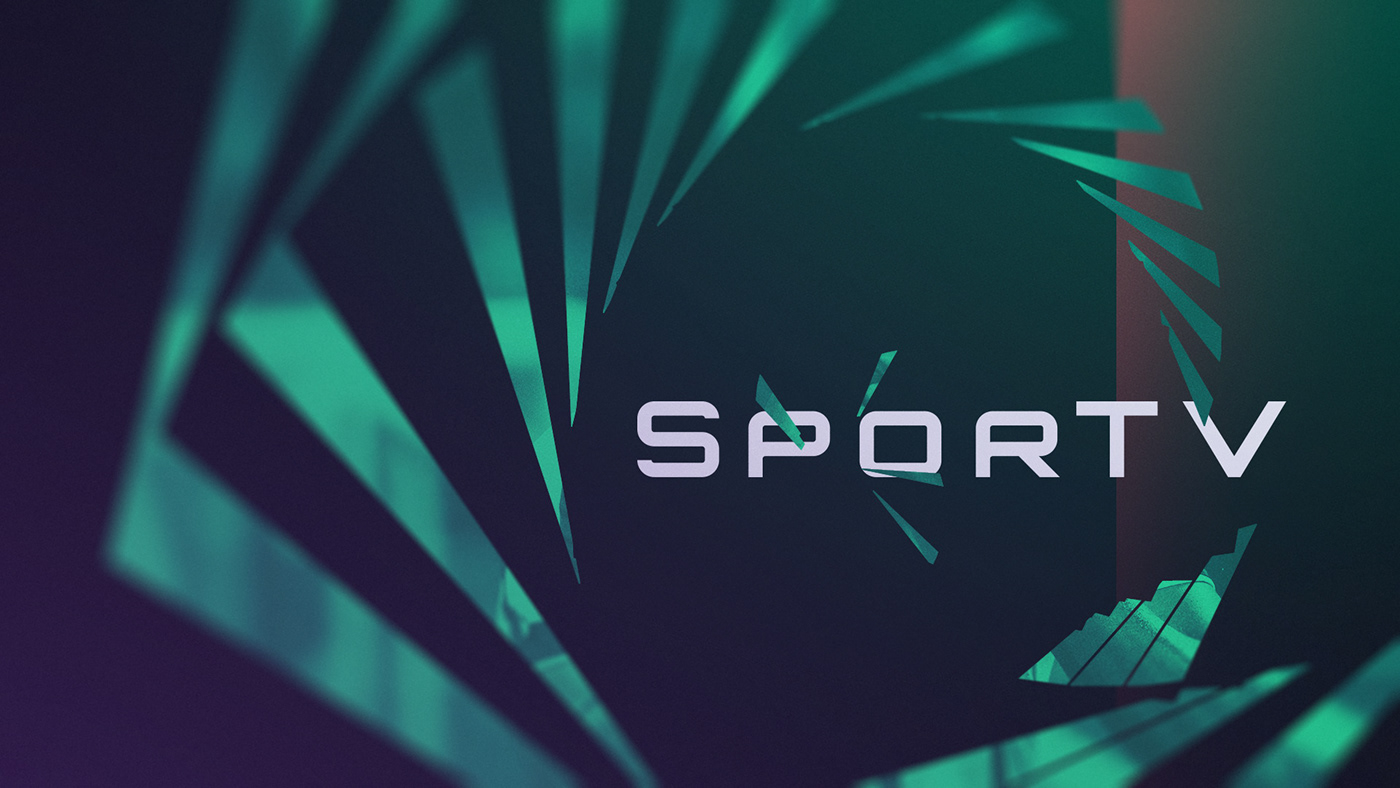
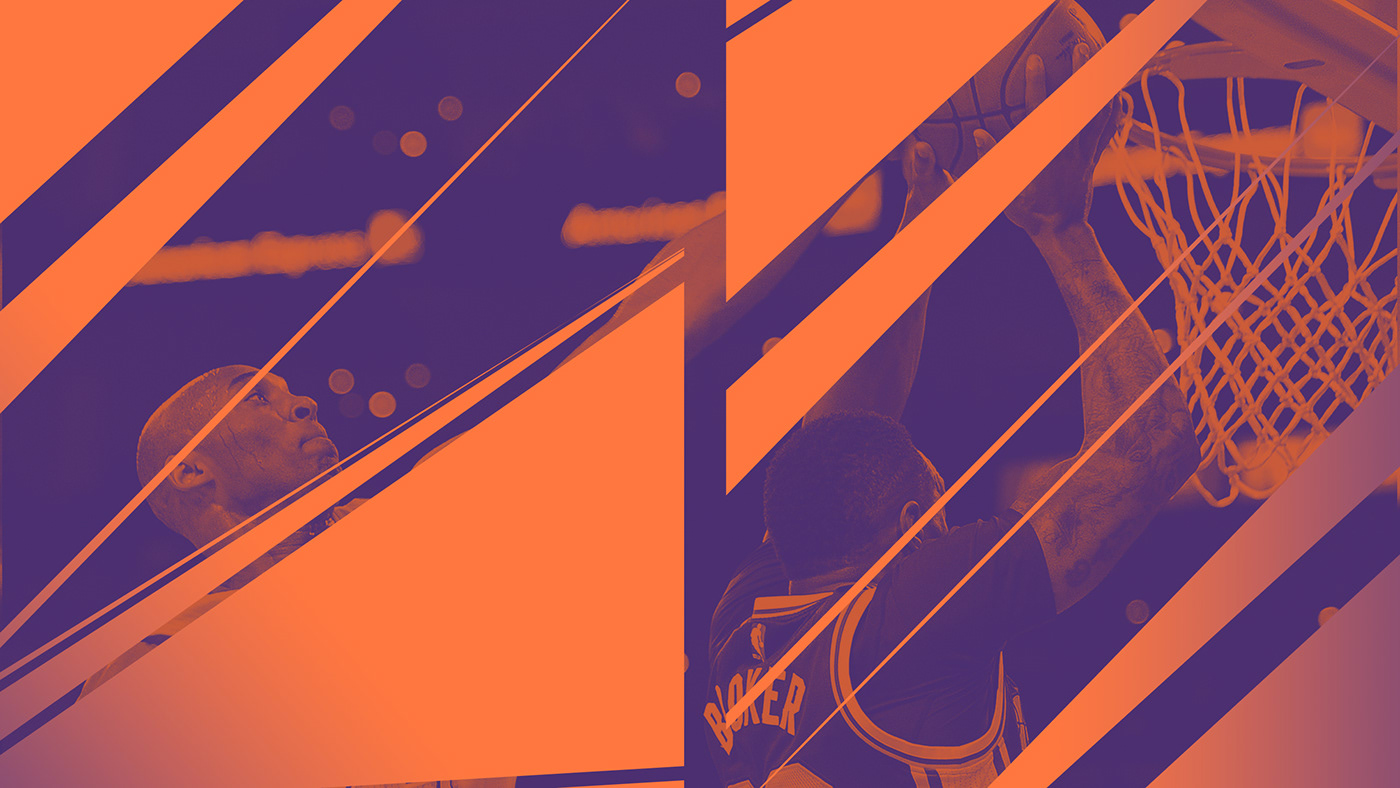
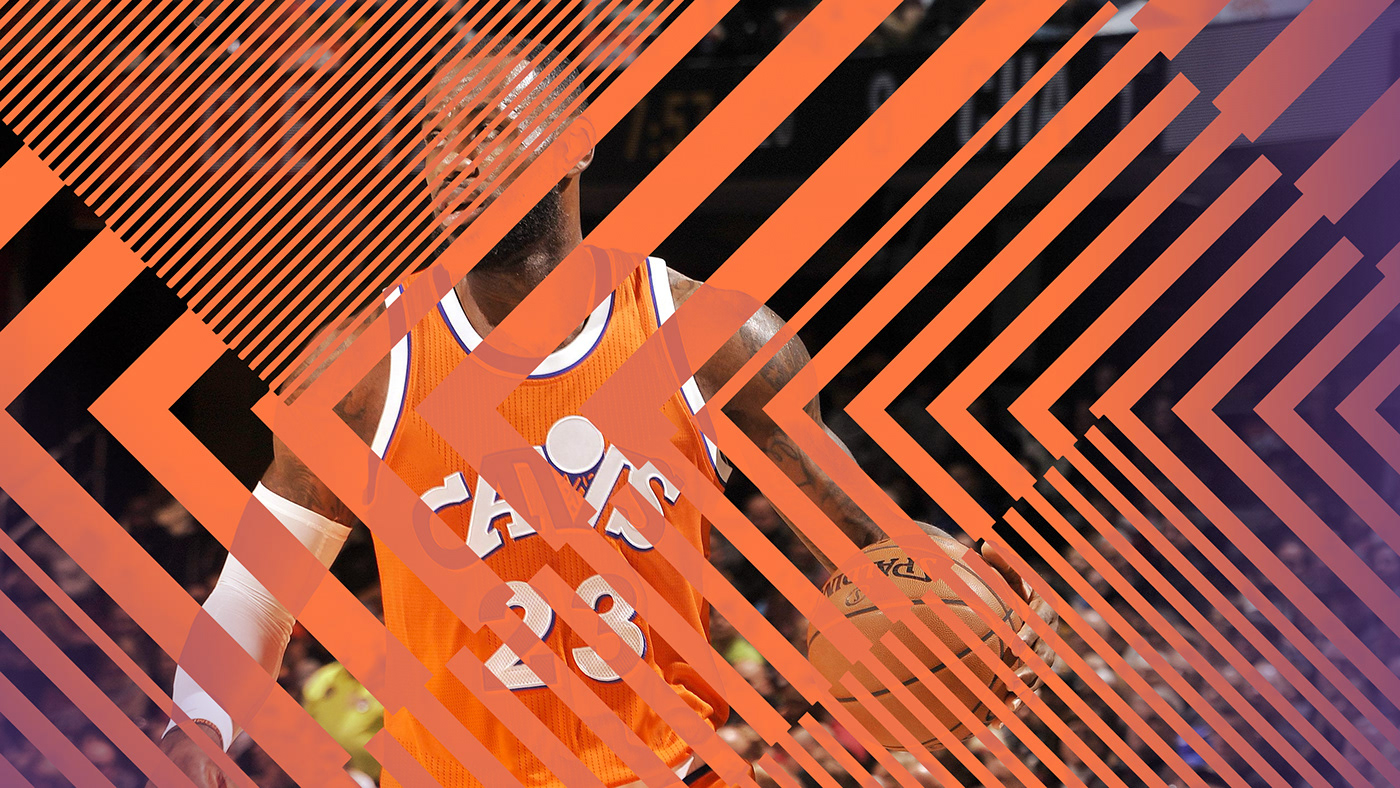
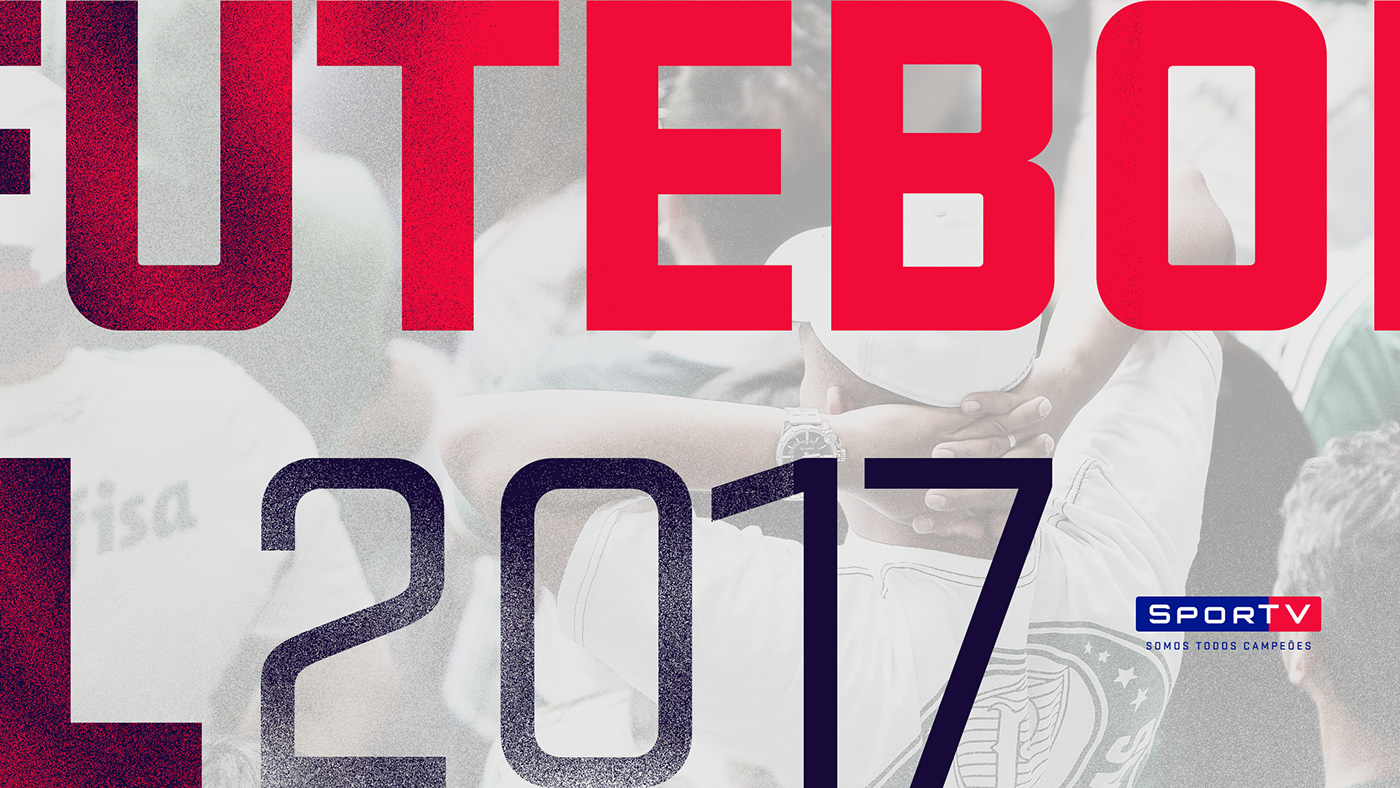
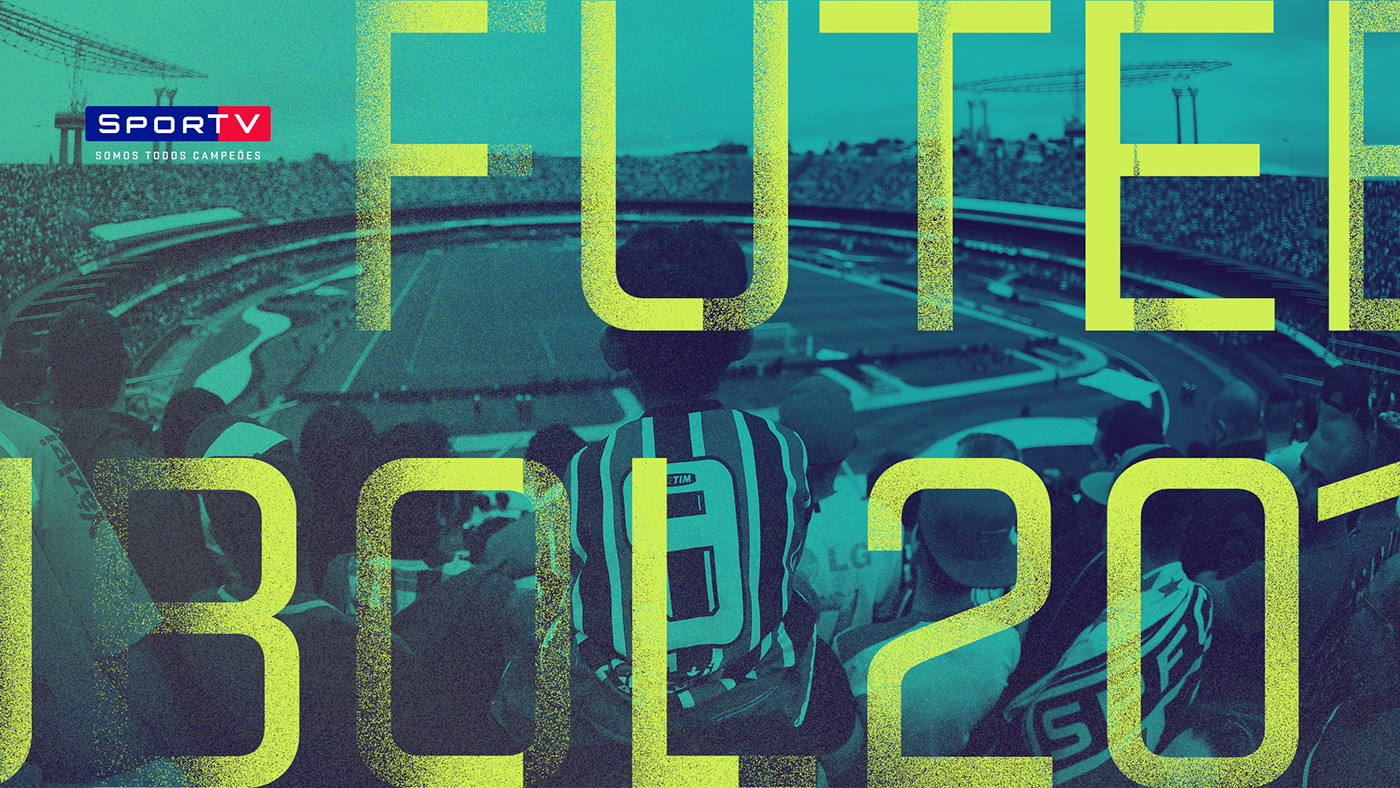
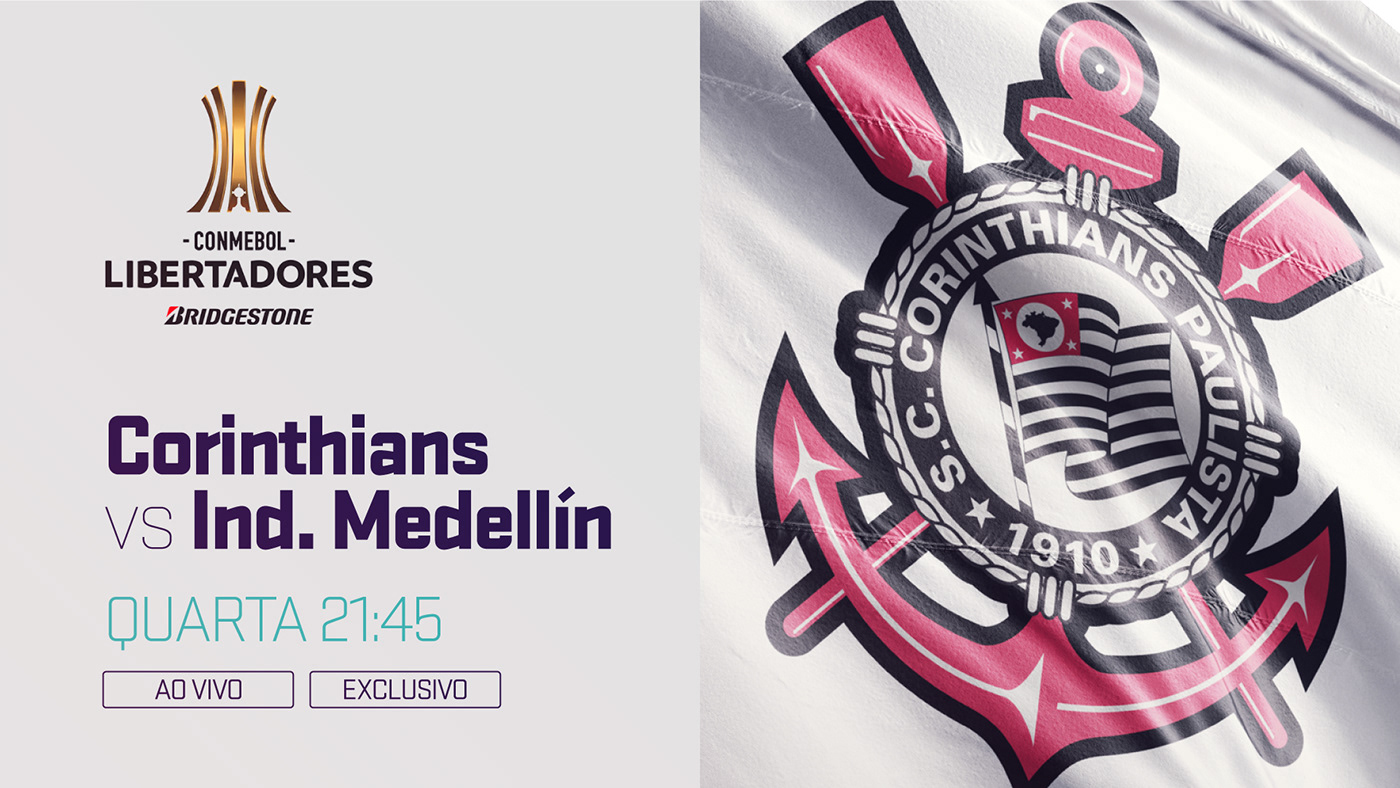
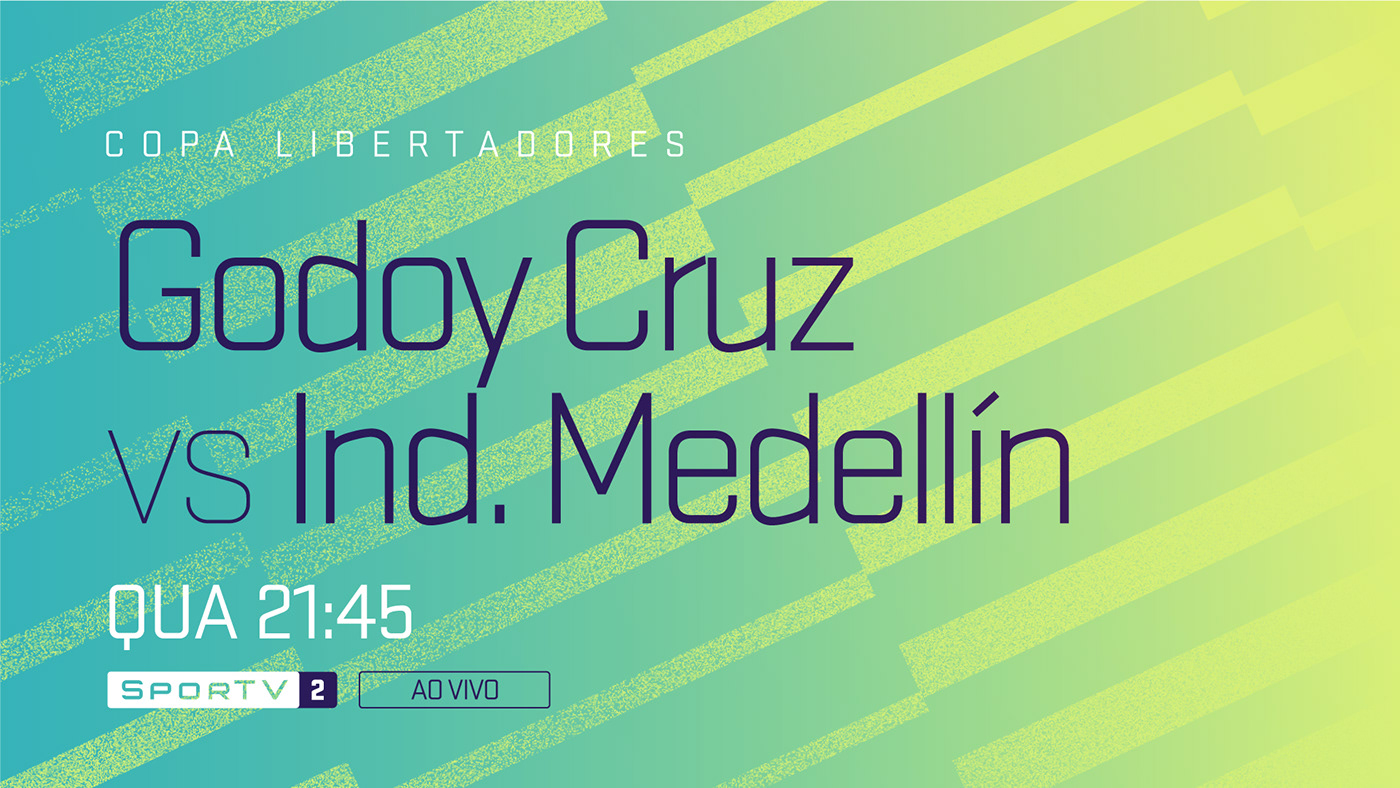
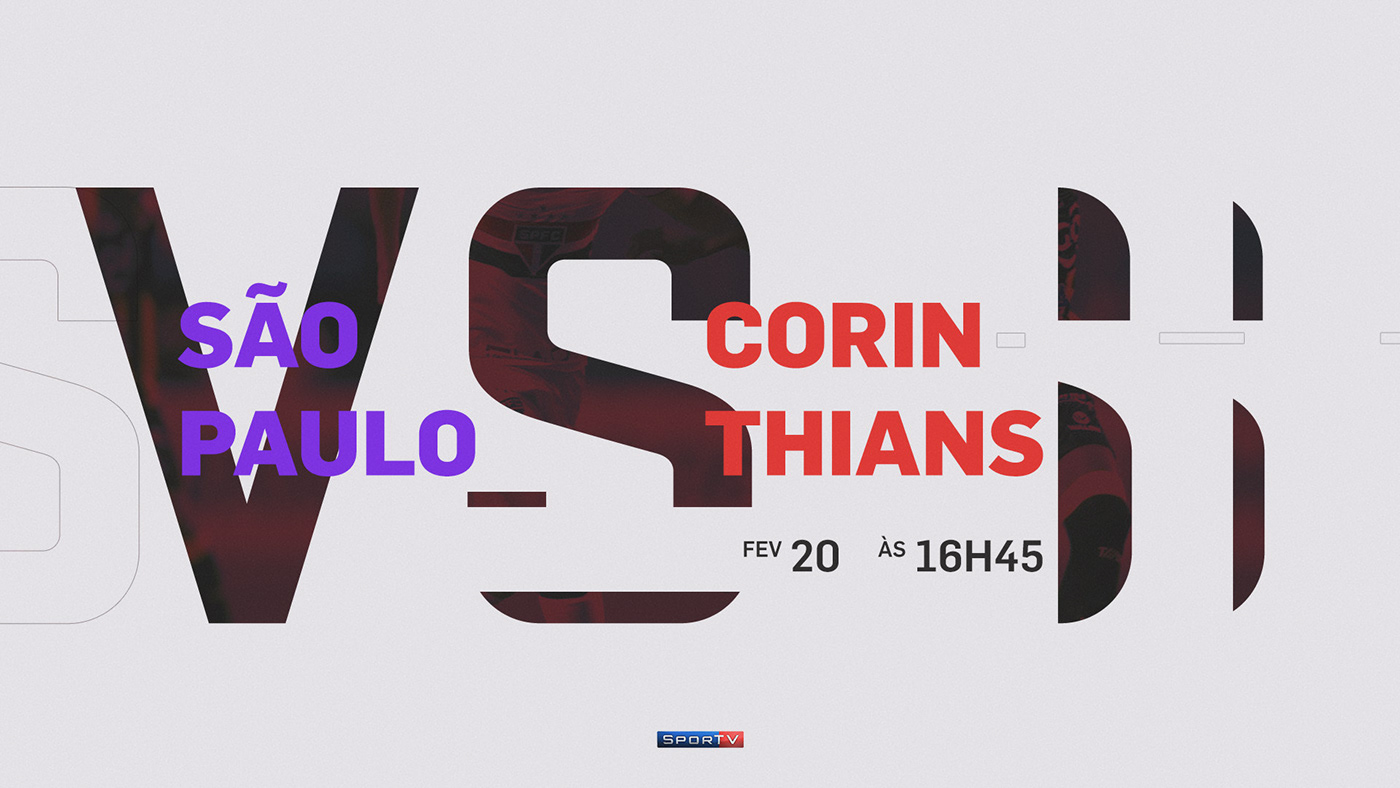
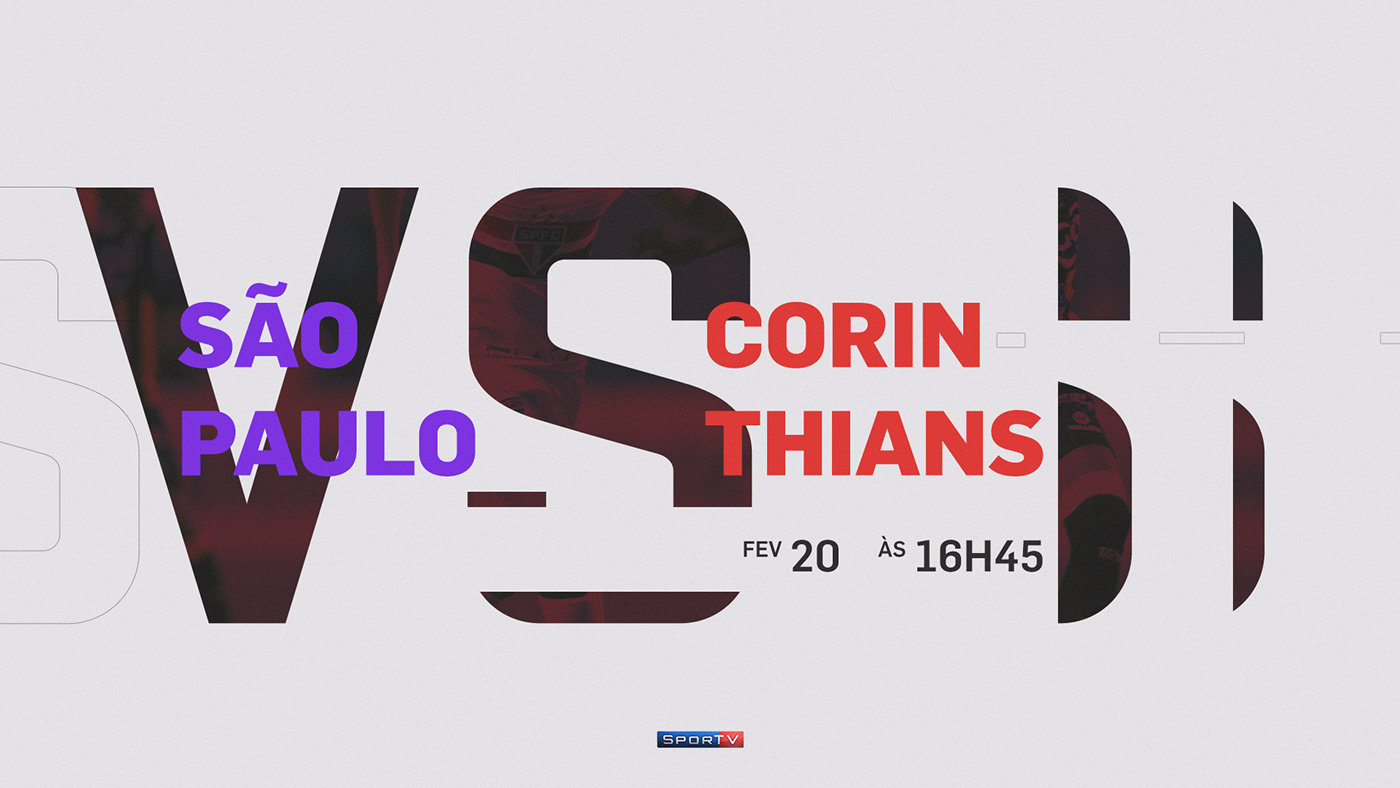
BEELD Motion invited Danilo Gusmão Silveira to help them create a new visual Identity for SPORTV, one of the most prominent Sports Channels in South America. They experimented with several different graphic styles and forms to find a new image for the channel. The result is simply beautiful. The move from the old style which was very 3D with some chrome and other old style broadcast design style is very welcome. I used to watch the SPORTV channel and I can say that this looks much more modern and professional. I especially love the end to end solution which includes typography, grid system, pattern, textures and of course motion.

For more information make sure to check www.danilosilveira.com

Visual Identity

After working in several composition, type and color tests we’ve chosen one direction to go through and we’ve started building grids that support the ID and the all content. The grid was built as an extension from the logo, expanding its form, creating blocks that support the image and content. 

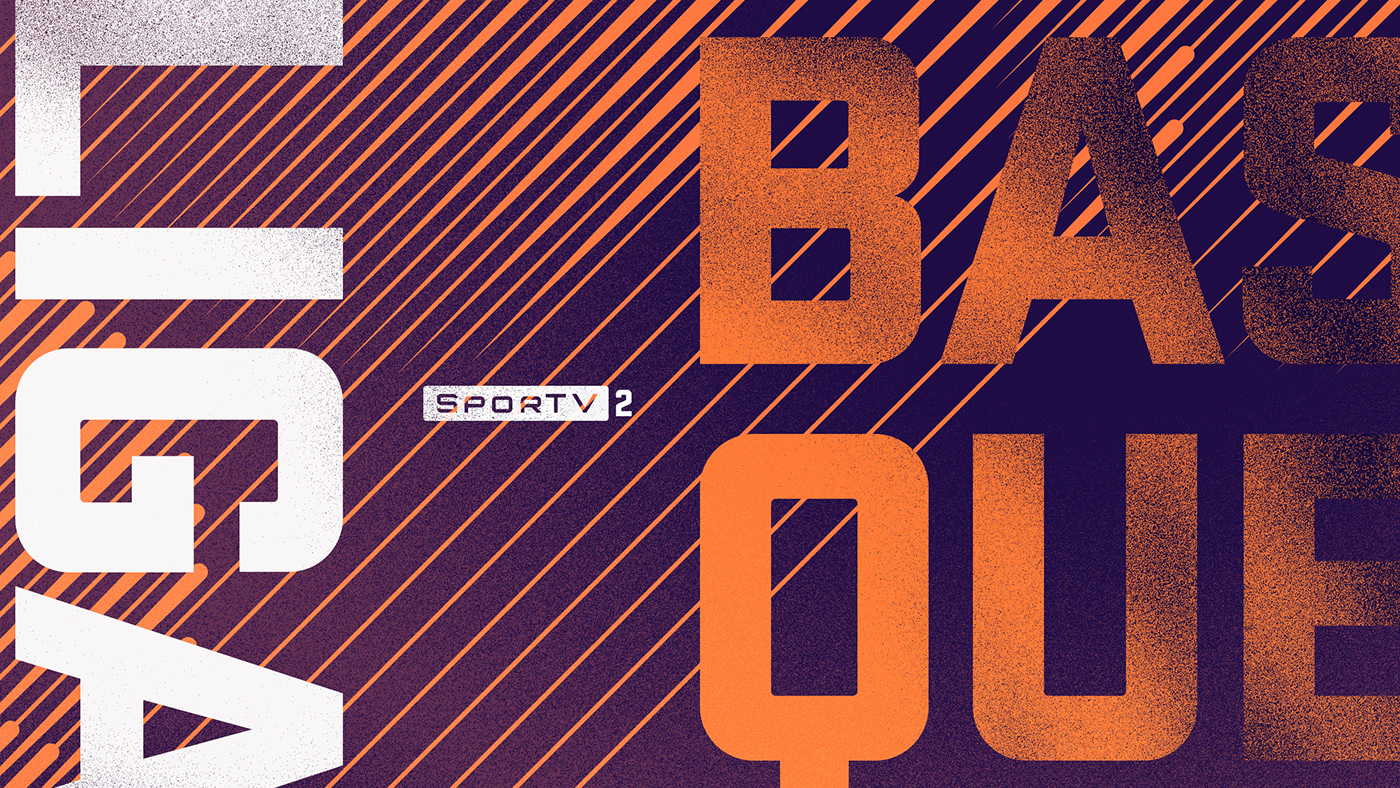
Grid system

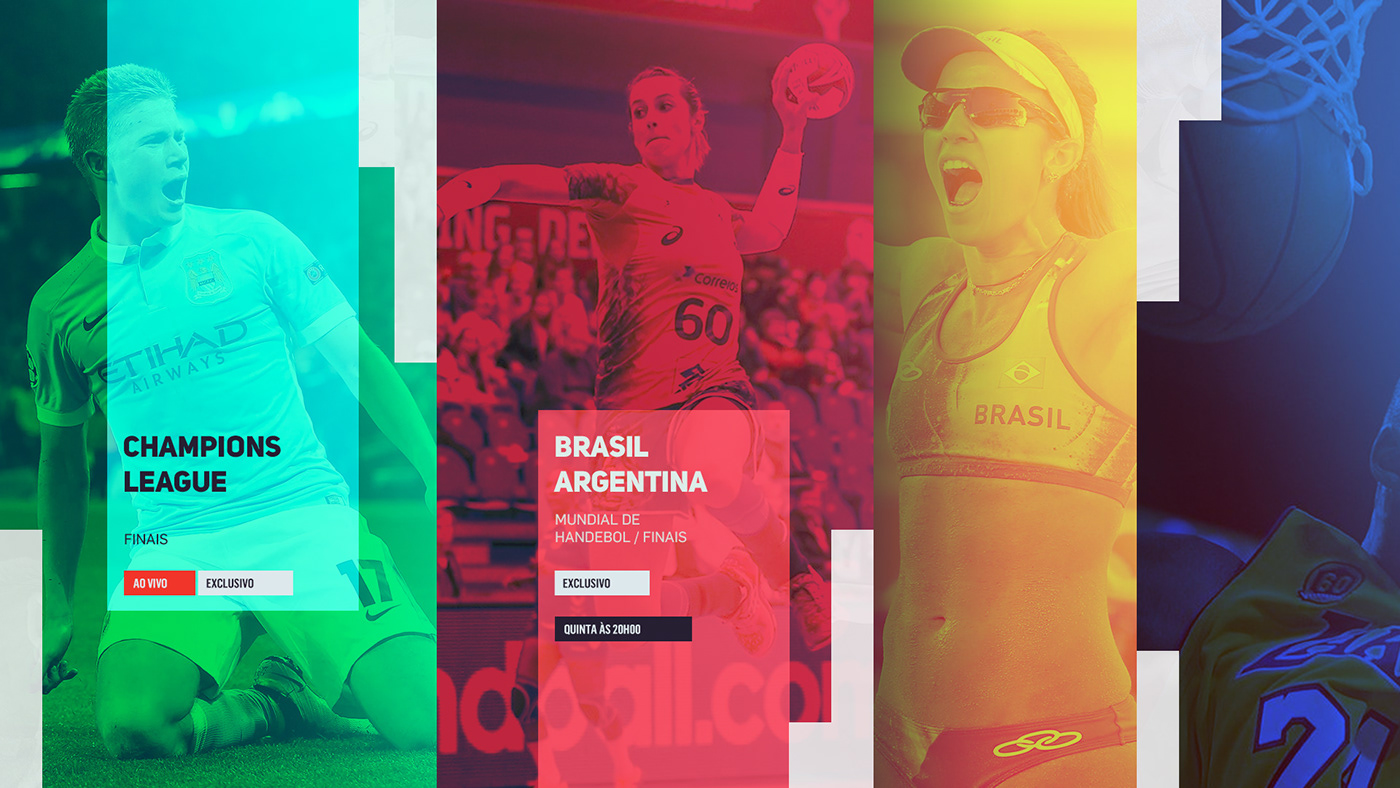
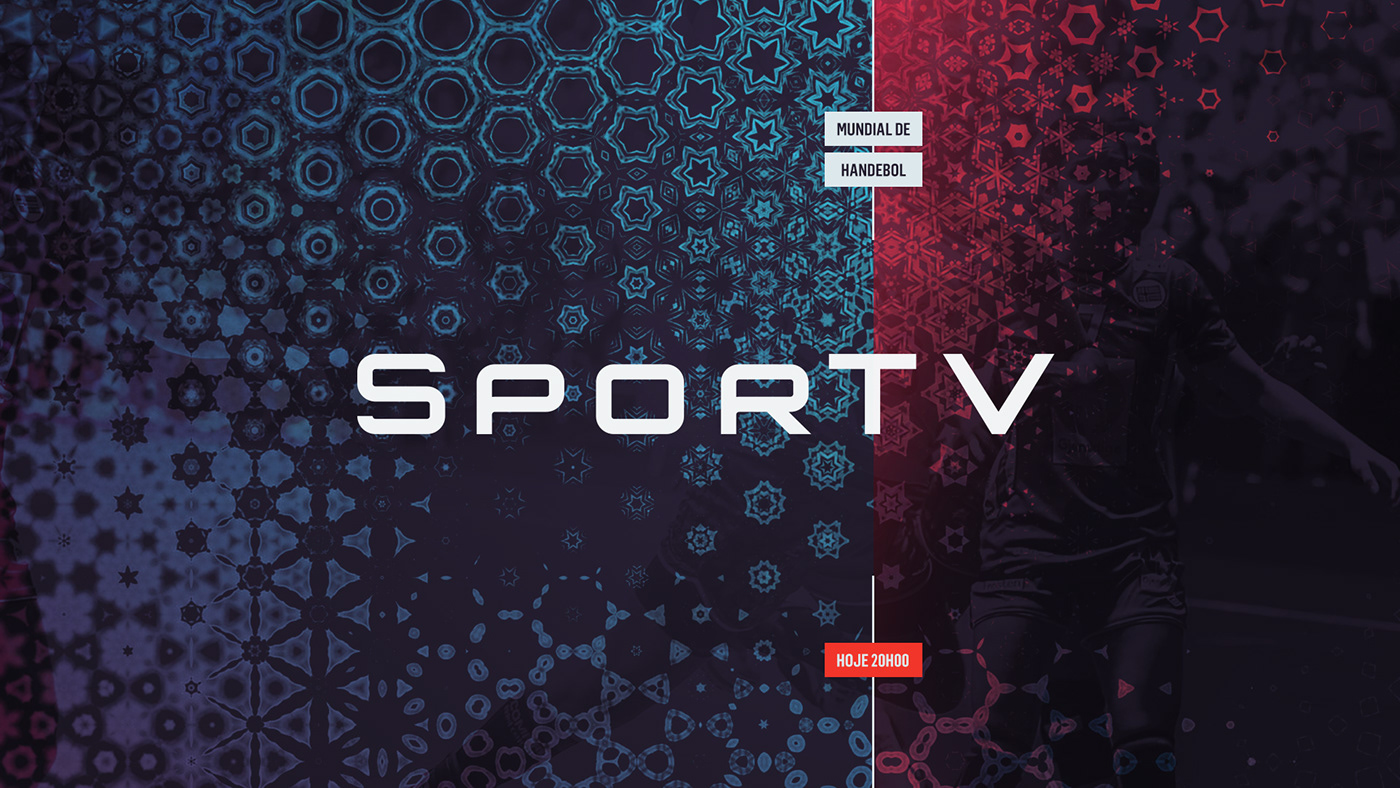
We have also created a large gallery of patterns, textures, and color palette that gives personality to each segment of the channel. 

Patterns, textures, and color palette

Here are the final frames we have delivered for the channel so they could produce all the rest of the ID.

Motion Graphics

REEL and Motion Graphics videos made by Diego Galluzo e Julio Marcello. Video made by SPORTV speaking a little bit more about the creative process and introducing the new brand. 

branding


Find User Interface Design Inspiration with UIDB

Original Source: https://www.hongkiat.com/blog/examples-of-interface-design-uidb/

Free inspiration gallery with different types of UI element including logins, pricing tables or dashboards etc.

The post Find User Interface Design Inspiration with UIDB appeared first on Hongkiat.

Visit hongkiat.com for full content.

Overcoming The Illusion of Per Project Profitability

Original Source: http://feedproxy.google.com/~r/1stwebdesigner/~3/YFIeZbujxqI/

The illusion of per-project profitability can be a tough mindset nut to crack. I’ll talk with digital agency owners that say things like, “I have a 70% profit margin!” What they are telling me is that they have a seventy percent gross profit margin. They sell a project for $10k and pay some offshore team $3k to deliver it.

What they fail to consider is their business’s fixed costs – or their competitive wage – into the equation. The reason these numbers are significant is that they happen every month, regardless of how many projects you bring in. Your mortgage doesn’t care how fat your per-project margins are, just that you have their dough every month, relentlessly for 360 months.

I can’t tell you how many times I have heard someone say how profitable his or her work is, only to discover that his or her business is unprofitable. I will hammer this point until all agency owners understand it, or you decide to punch me in the face.

How This Works

The math to figure this out is simple. The problem I find when consulting with most digital agency owners, especially those with agencies less than a million dollars a year, is that they don’t pay themselves a fixed wage. They pay themselves whatever is left over at the end of the week or month (or they charge those plane tickets for their upcoming vacation to their business credit card because their personal account is broke – I speak from experience).

To figure out profitability, I always ask an agency owner to tell me what they should get paid every month. Thinking about their salary makes the math I’m about to show them more painful, but alas, more realistic. Let’s take a virtual agency of one as a baseline example. They sell $10,000 projects here and there, and the owner (should) makes a $60k per year salary with another thousand in fixed costs for hosting, internet and the like.

That scenario looks something like this:

 
Month 1
Month 2
Month 3

Revenue
$10,000
$0
$10,000

COGS/Labor
$4,000
$0
$4,000

Gross Margin
$6,000
$0
$6,000

Fixed Op Ex
$6,000
$6,000
$6,000

Net Profit
$0
-$6,000
$0

This business is now $6,000 in the hole. Since the owner isn’t paying themselves a fixed wage, they don’t pay themselves that second month and might still hold the illusion that the business is ok, they just are putting in sweat equity or something.

No, the business is not ok, and you’re not ok.

Wake Up Now

Before I showed this digital agency owner this math on the back of a napkin, they had proclaimed to me that their work was indeed profitable. My response is, “who cares, you’re not getting paid, and the business is redlining!”

At this point, I usually ask something like:

“How does it feel to know what’s going on in your business?”

Which gets a response of varying degrees of:

“It makes me depressed.”

Good. An unprofitable business makes me depressed too. However, now we know. And the more we know about what is going on, the more clear we are on the actual issues at hand. We can solve problems with better solutions than just not paying us.

“Deciding not to pay yourself to solve a business problem should be the last solution on the table. Not the go to each month because you are avoiding hard decisions.”

When people realize this injustice they are putting on themselves, I want them to go to bed fuming. I want them to think, “How have I let this happen?!”

We can put that energy and frustration to good use.

Channeling the Energy

If we run with the above example, we could make two relatively simple changes to this business and see lasting benefits.

The first would be a small update to their pricing model. I’m not talking about getting all hardcore by doubling their prices (which wouldn’t be wrong, but probably a bit reckless). In my head, I would be targeting at least a 15% net margin after paying themselves a wage. Since this example uses nice round numbers, month one and three operate at a 0% margin, so we can raise prices by 15% with everything else holding true we’d have the target margin.

The second would be to hammer into their head that they need to sell a $10k project EVERY month. If they told me that they didn’t get that many leads, then we’d solve that problem. If they said to me that they couldn’t deliver that much work, then we’d solve that problem. With enough time maybe we’d solve both problems.

With those two changes, here is how their situation changes:

 
Month 1
Month 2
Month 3

Revenue
$11,500
$11,500
$11,500

COGS/Labor
$4,000
$4,000
$4,000

Gross Margin
$7,500
$7,500
$7,500

Fixed Op Ex
$6,000
$6,000
$6,000

Net Profit
$1,500
$1,500
$1,500

Now we have true profit! The magic of pricing and volume.

Your Marching Orders

Getting clear on this issue in your business requires you to get clear on your financial numbers. I have been (unpleasantly) surprised at how many agency owners are not clear on this. This issue doesn’t affect the small shops as I illustrated in my example. I’ve worked with agencies with over $100k in monthly revenue that were unprofitable (but were convinced that shouldn’t be so because of the per-project illusion!).

The other thing that I demand of people is that they set a baseline salary for themselves and any other owner. The more this number equals a competitive wage for the position you fill in your business the more accurate our net margin number will be.

It’s just too easy for an agency owner to vary their pay and push this issue under the rug. Maybe it’s because we get beat around by our clients so much that we don’t think our salary is that important.

When in fact, it’s the MOST IMPORTANT NUMBER when running a business. When an airplane is going down, you put your oxygen mask on first. Then you take care of those around you. If your pay fluctuates, you lose respect for yourself. Your peers or spouse will think your business is not dependable. These views will seep into your mindset.

If you don’t pay yourself regularly, the chances of you going out of business go up significantly. Set a target wage. Get clear on your fixed monthly expenses. Make sure you track your company’s monthly performance.

How much margin you make on an individual project matters. Putting that number in the context of your month-to-month profit and loss statement is more important. I’d rather hear you say, “I have a 15% profit margin!” and for that to be real business profit margin after paying yourself a competitive wage than some 70% blasphemy.

If you don’t know this stuff, stop what you are doing, and figure it out RIGHT NOW. That client can wait. Your future depends on it.


15 Essential Twitch Tips & Tricks You Should Know

Original Source: https://www.hongkiat.com/blog/essential-twitch-tips-tricks/

Helpful tips and features that help you make the most of Twitch’s game-streaming service.

The post 15 Essential Twitch Tips & Tricks You Should Know appeared first on Hongkiat.

Visit hongkiat.com for full content.

Fresh New Brand Identity for Sweet Films

Original Source: http://feedproxy.google.com/~r/abduzeedo/~3/iDjb__0FbhY/fresh-new-brand-identity-sweet-films

Fresh New Brand Identity for Sweet Films

Fresh New Brand Identity for Sweet Films

abduzeedo
Jun 26, 2018


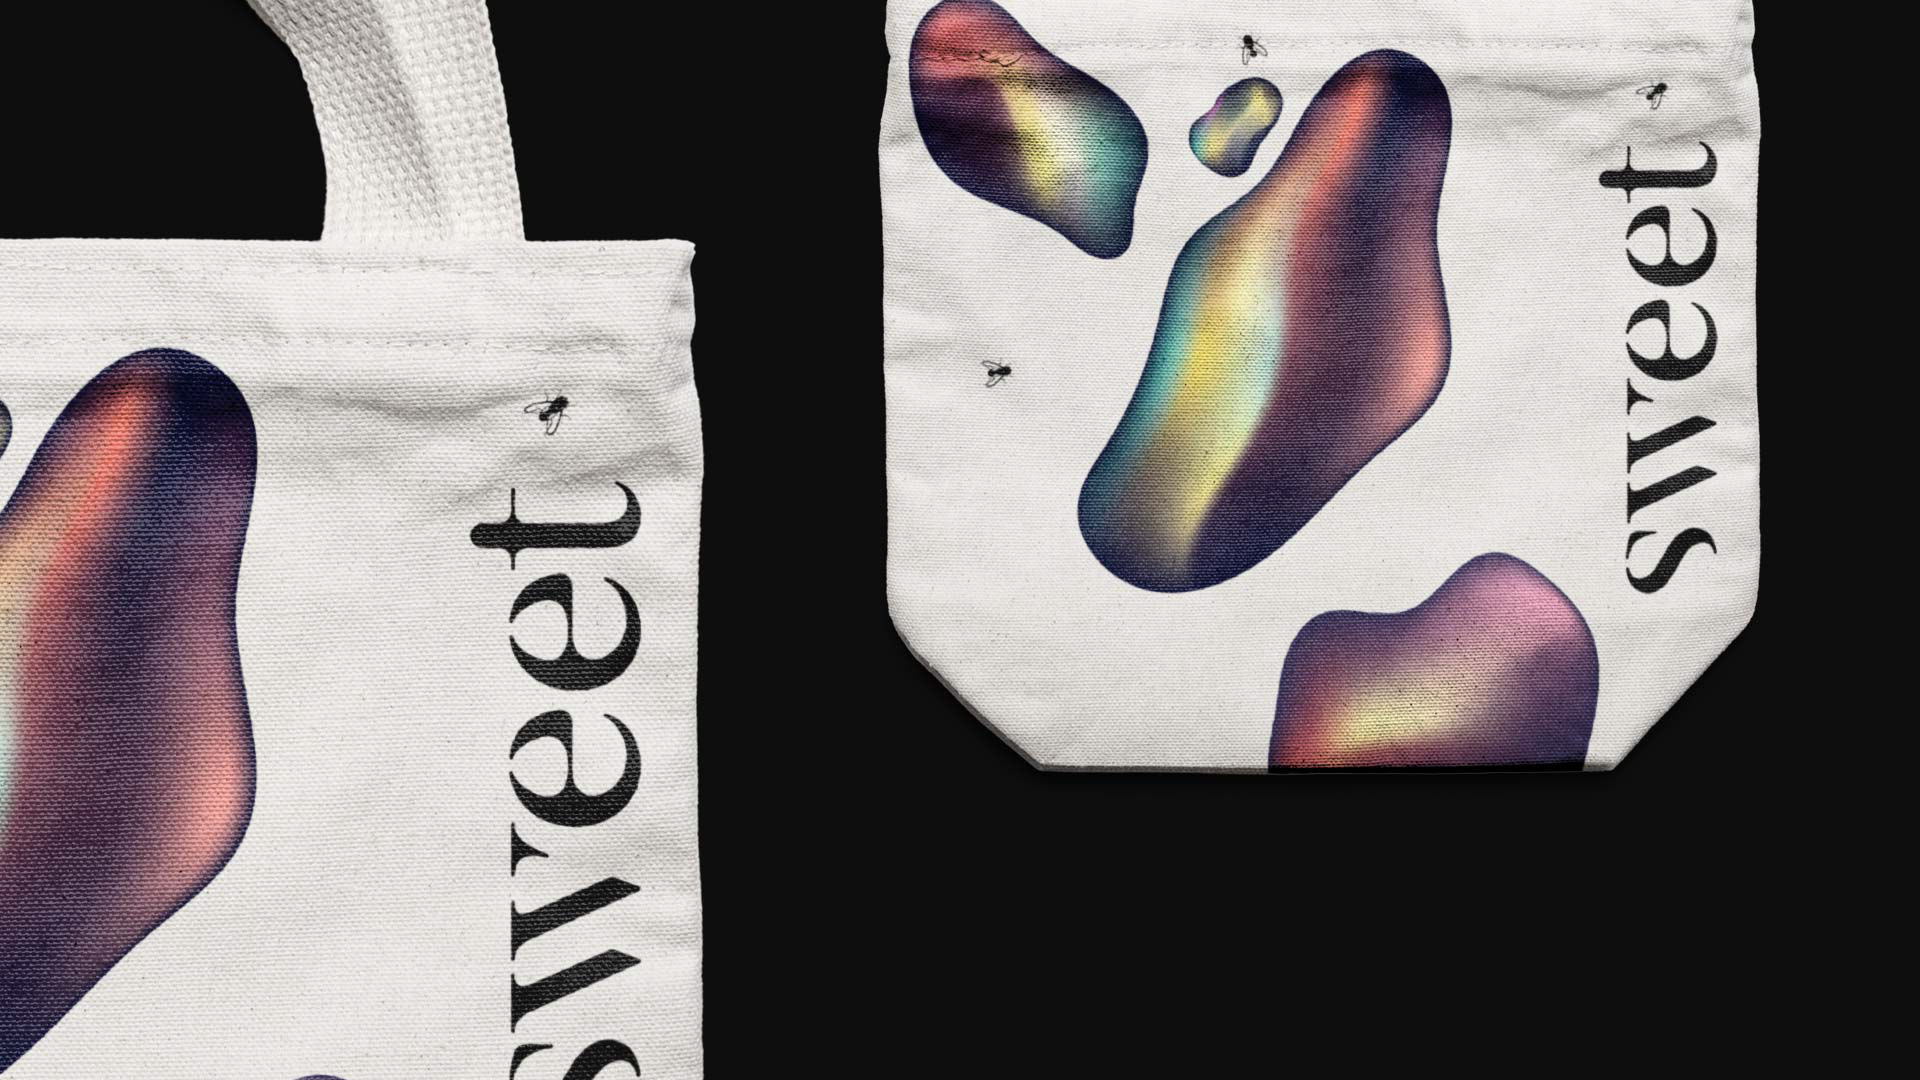
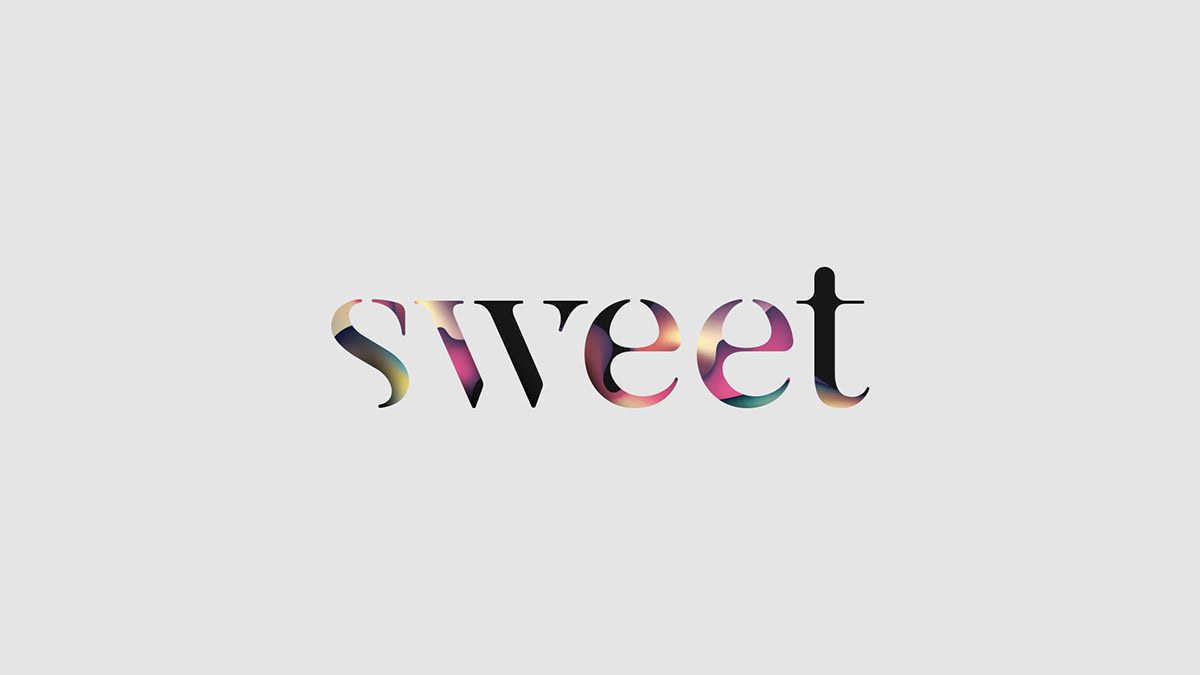
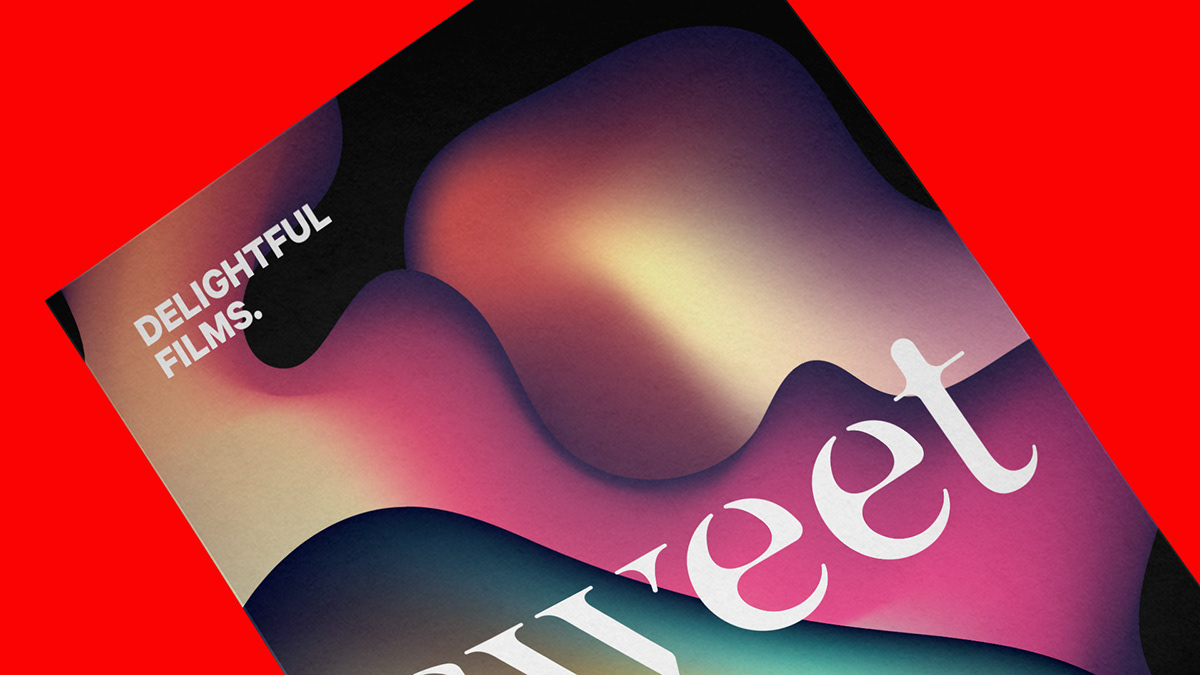
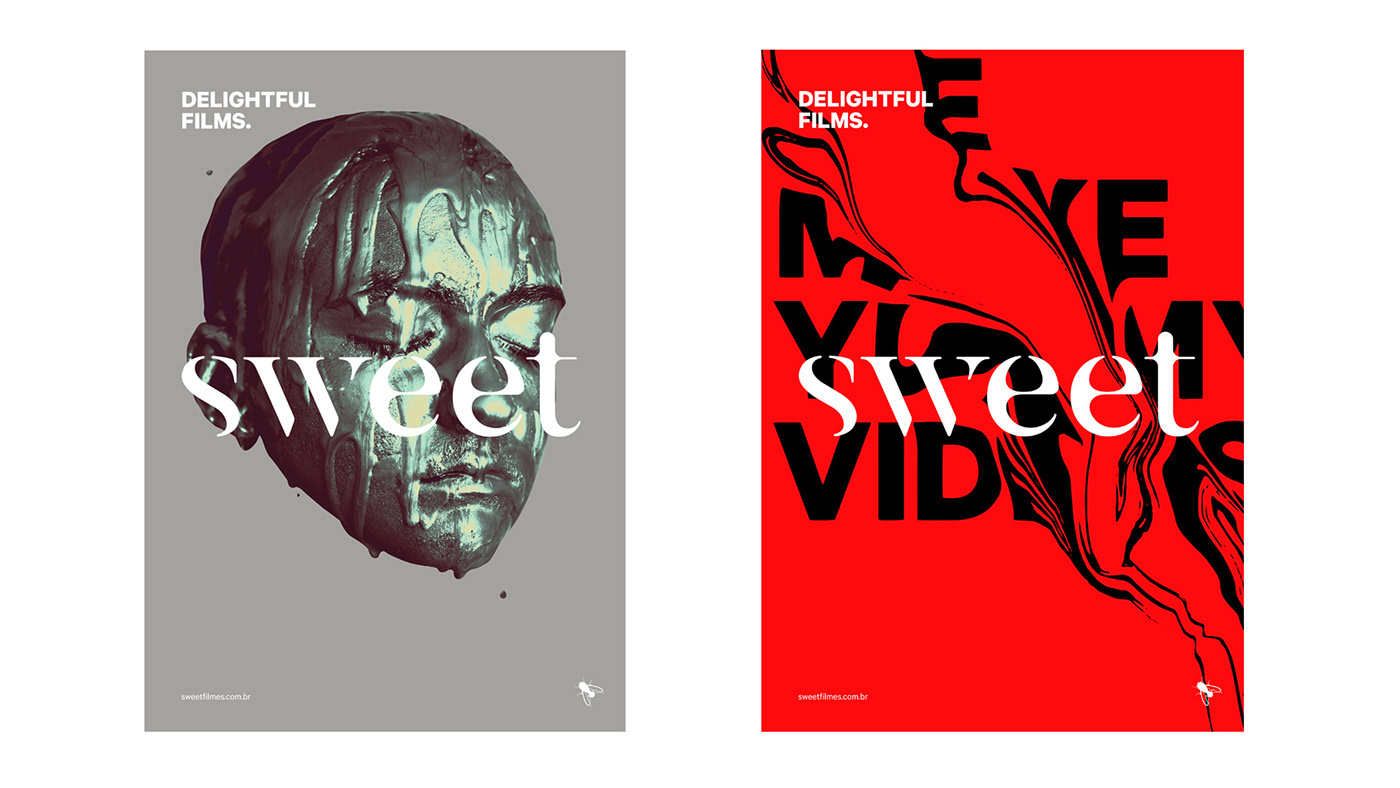
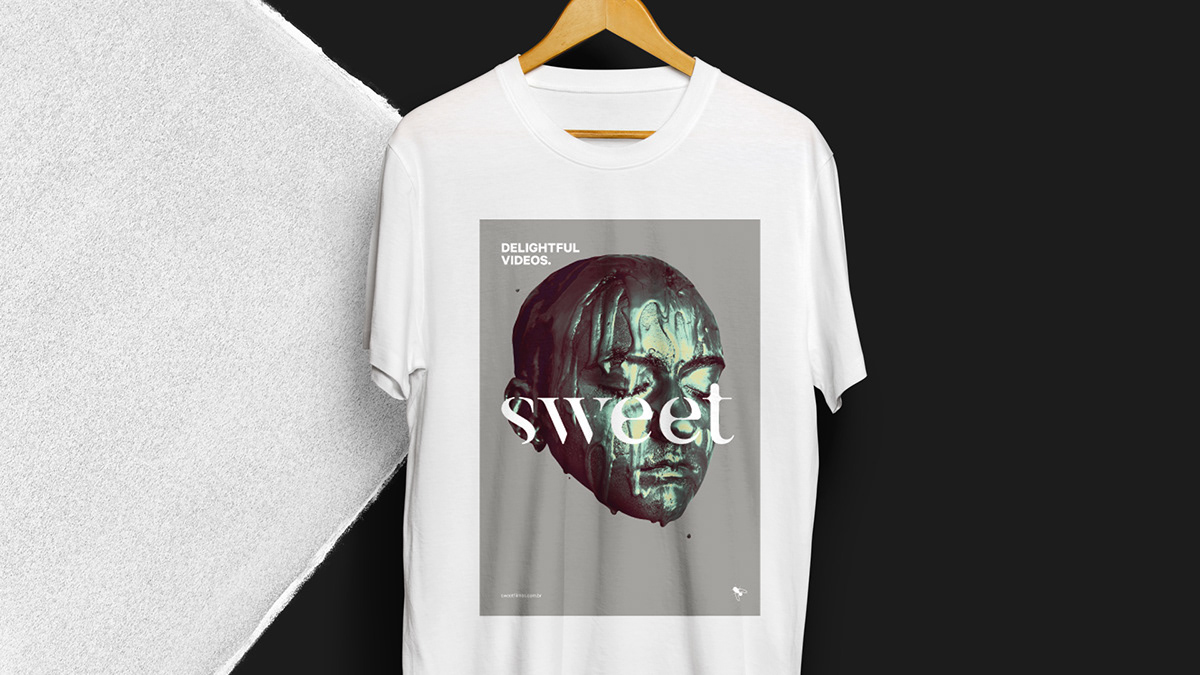
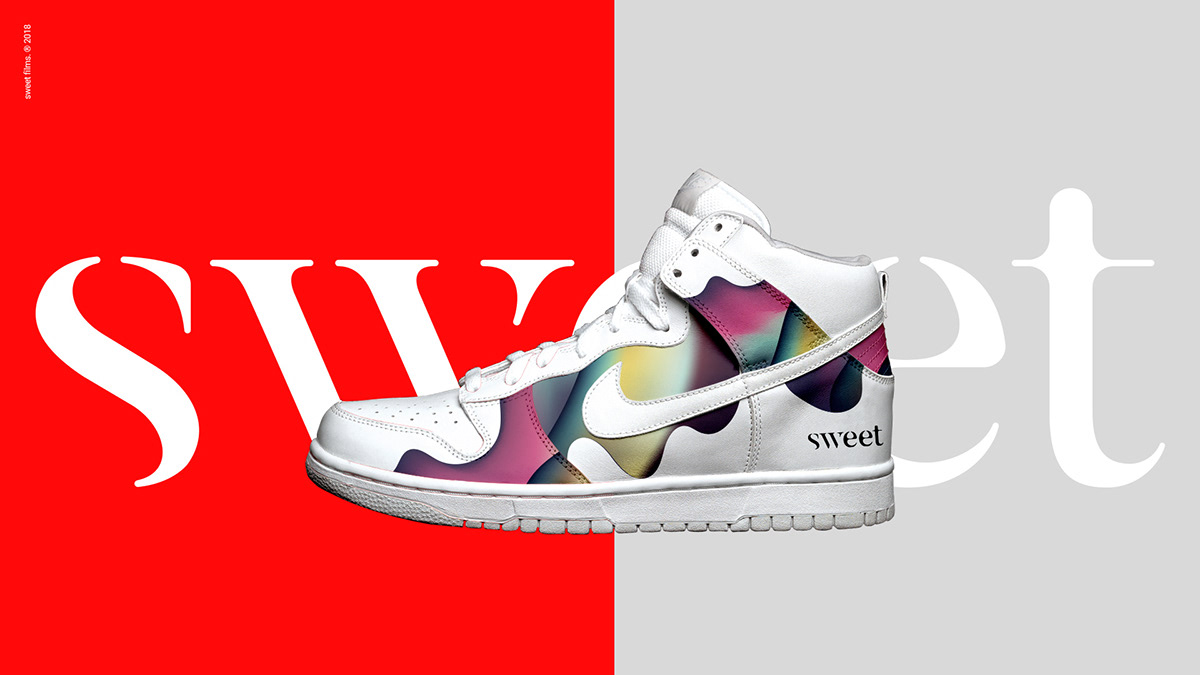
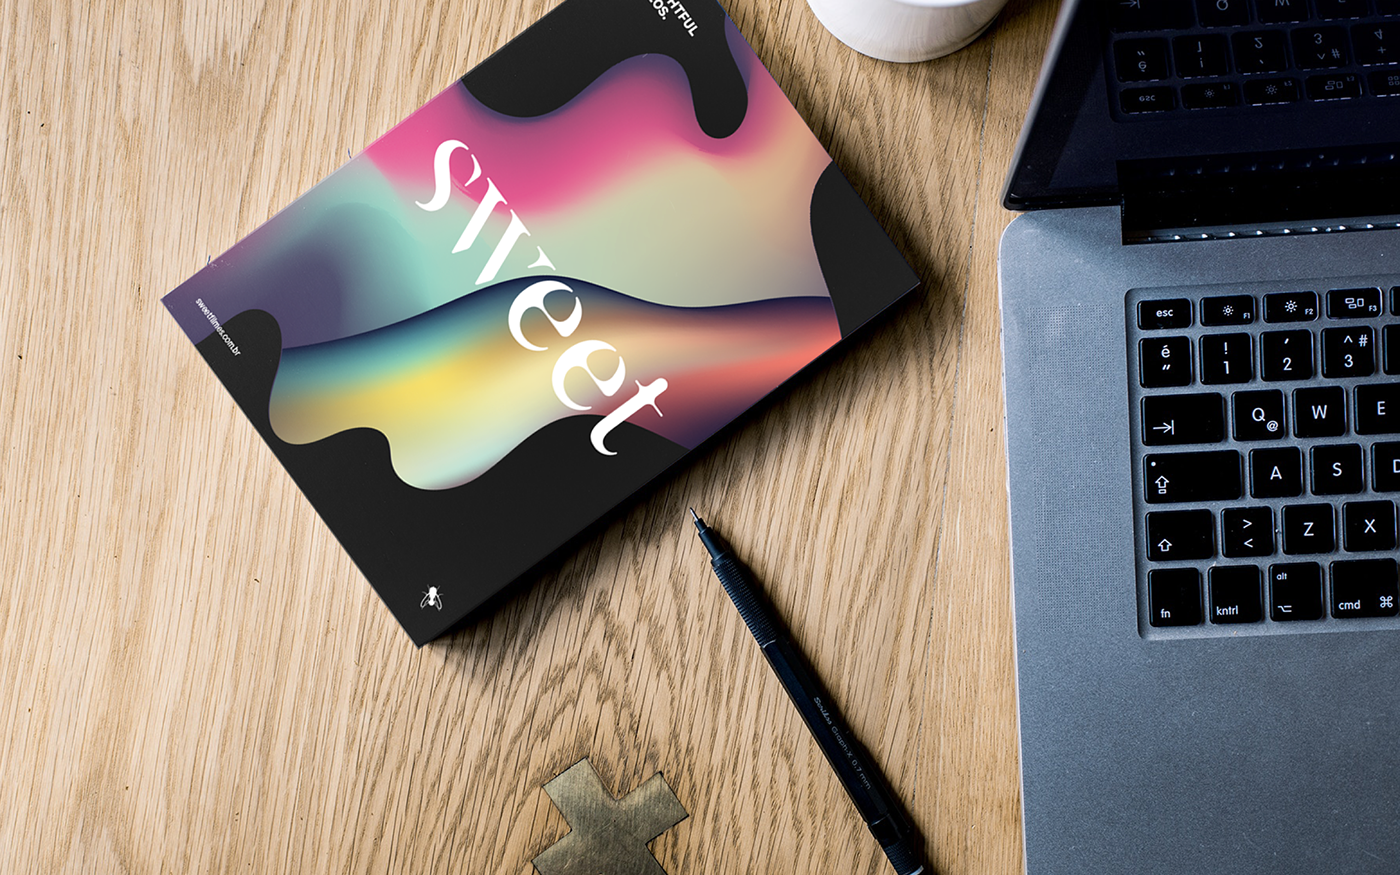
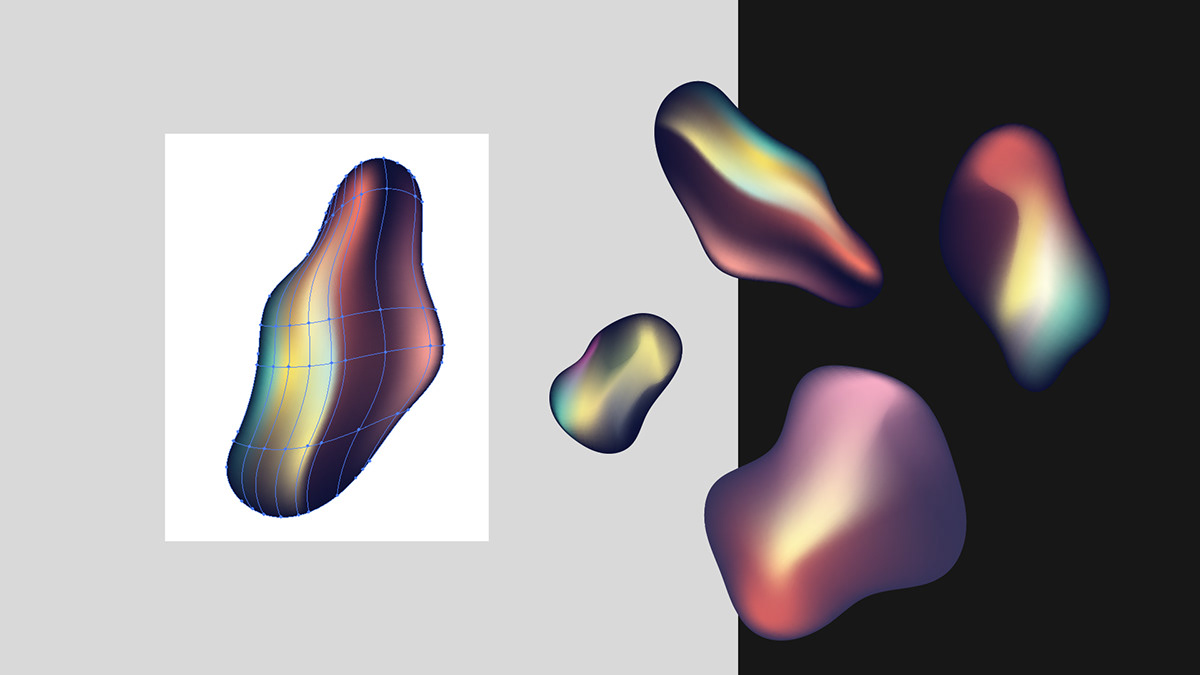
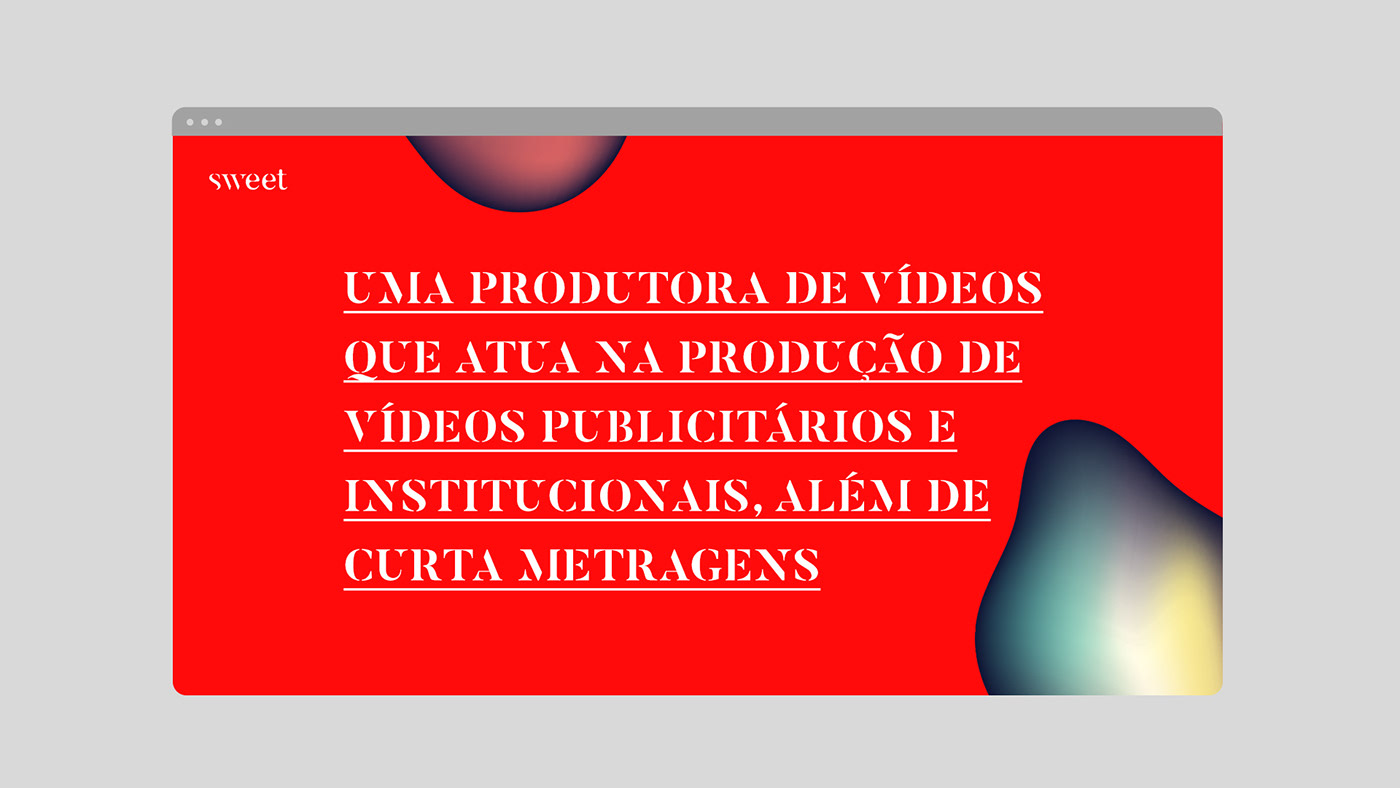
Elvis Benício and Diego Bolgioni were invited to create a new brand identity for Sweet Films. The goal of this rebranding was to adapt to the new strategic position and vision of the studio and communicate the message to the market. Sweet Films is a Brazilian boutique studio specialized in video production for advertisements. The design solution that they created included dynamic visual elements made up of fresh components and a new typeface.

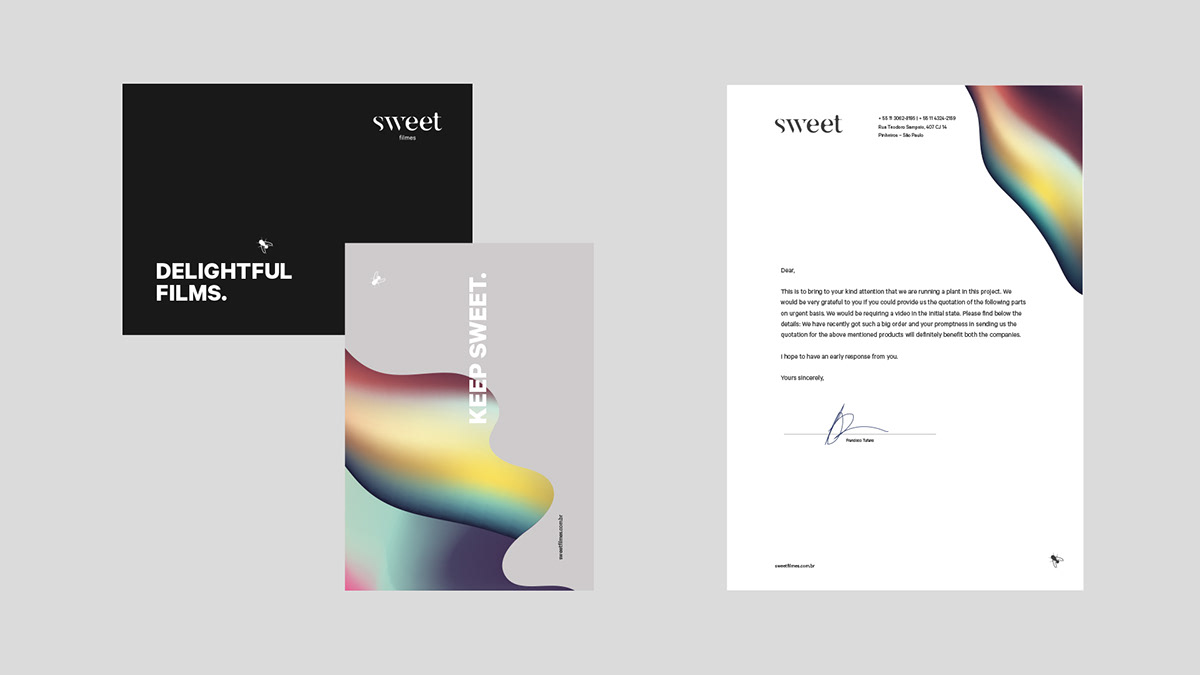
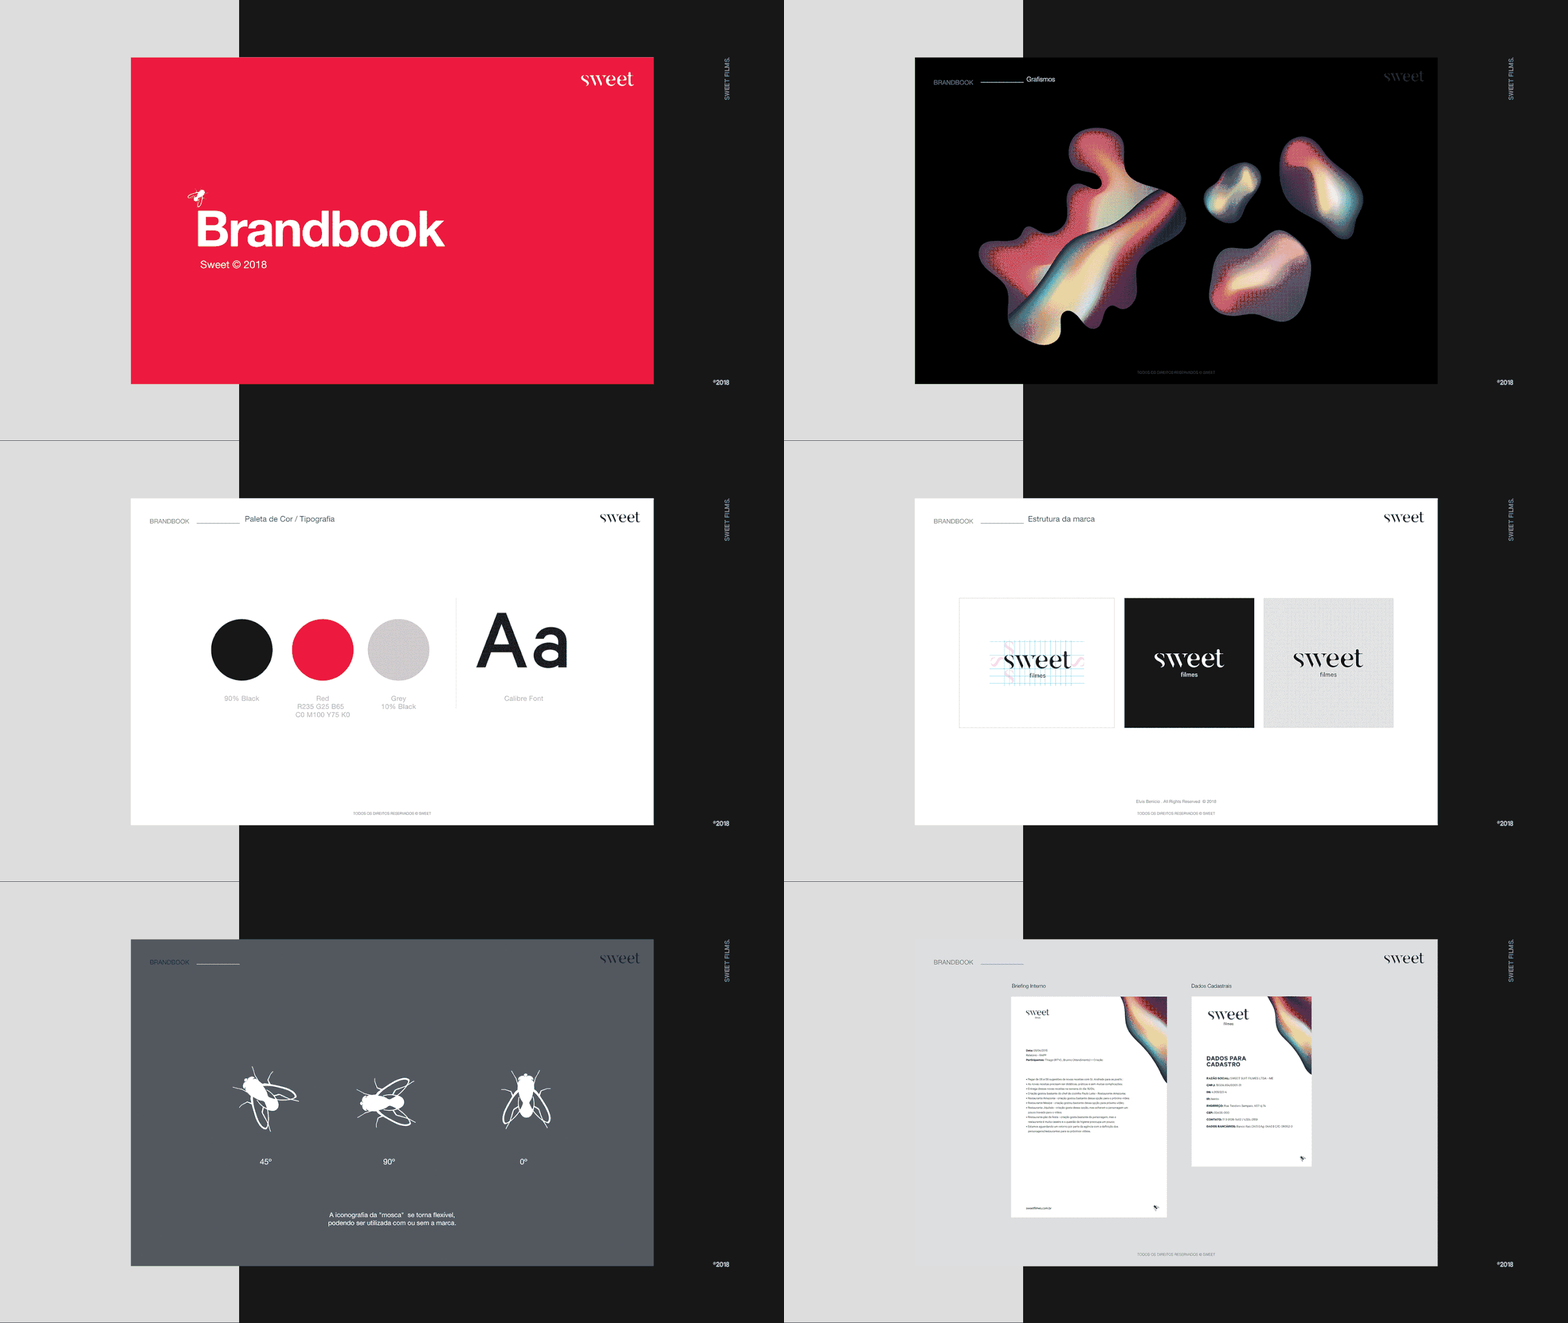
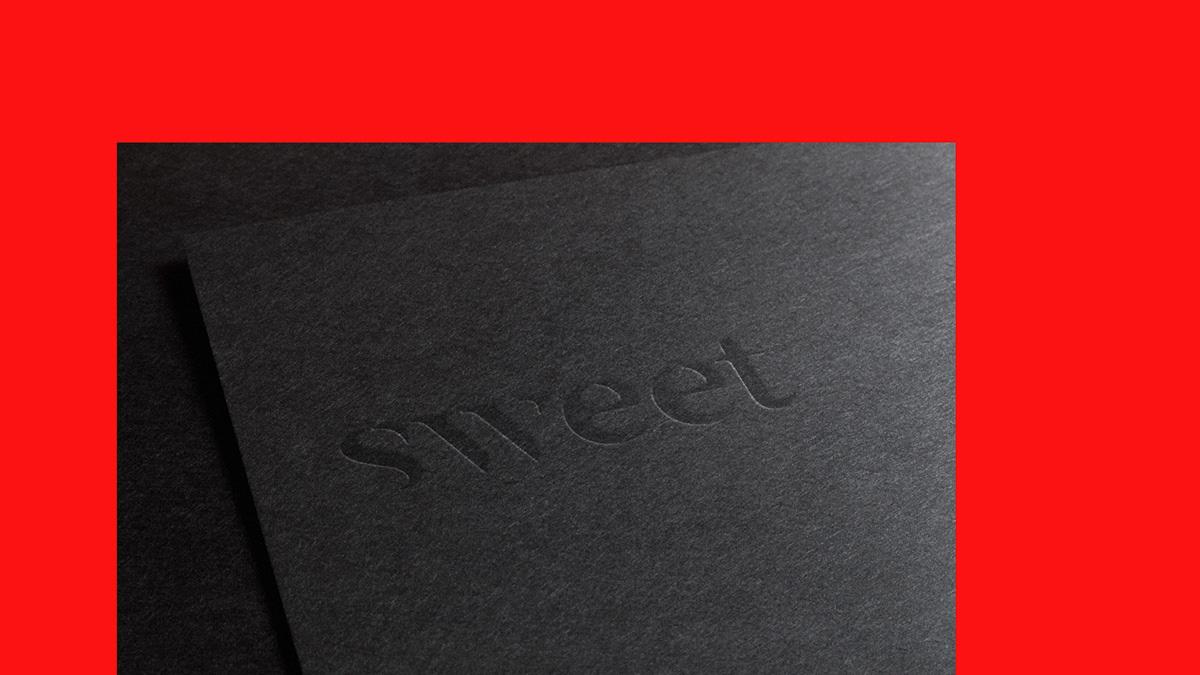
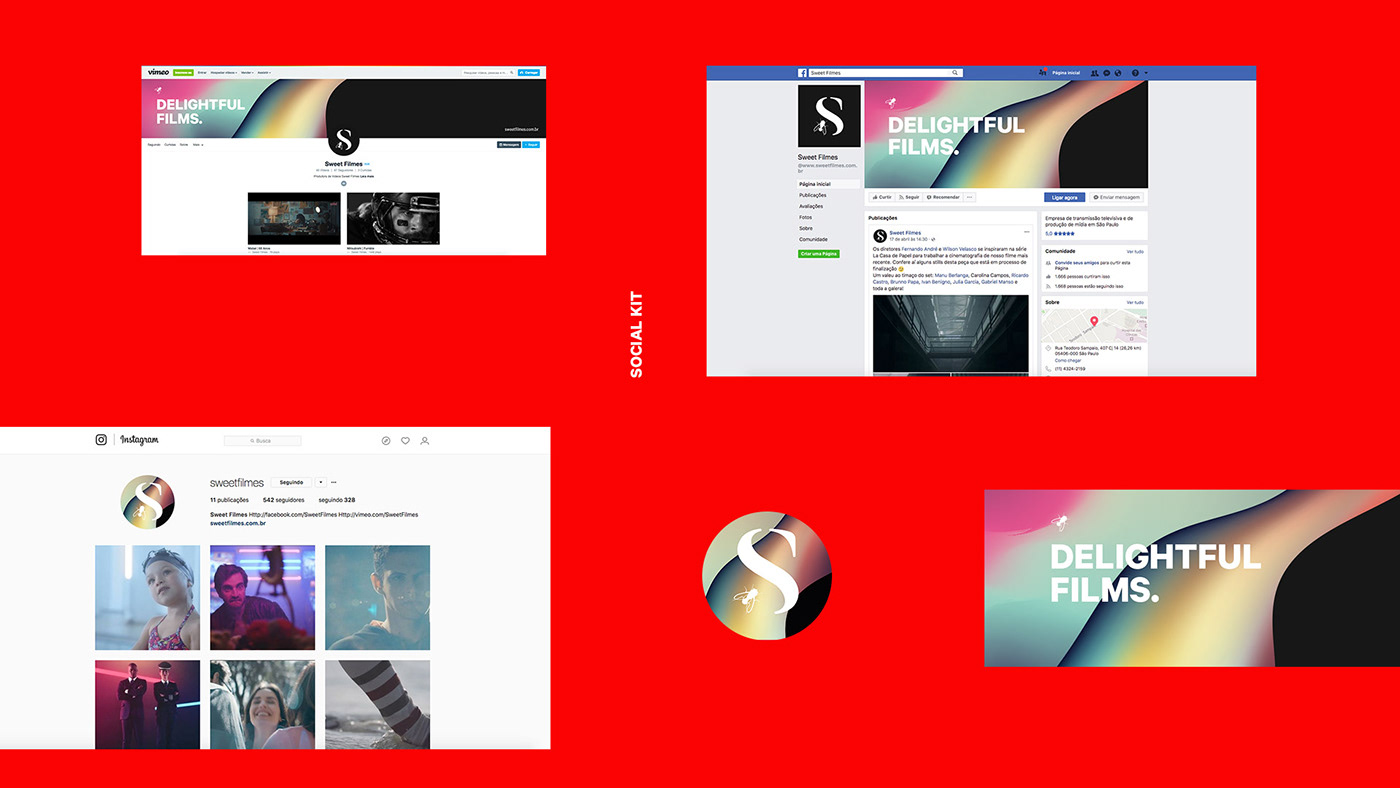
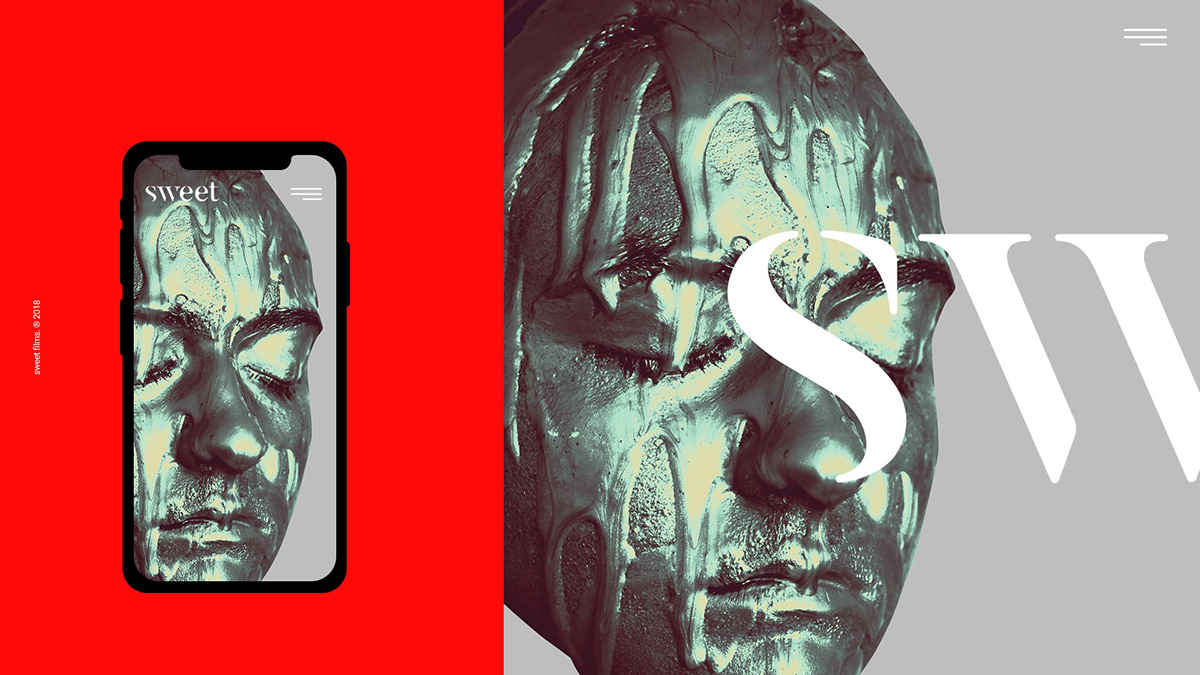
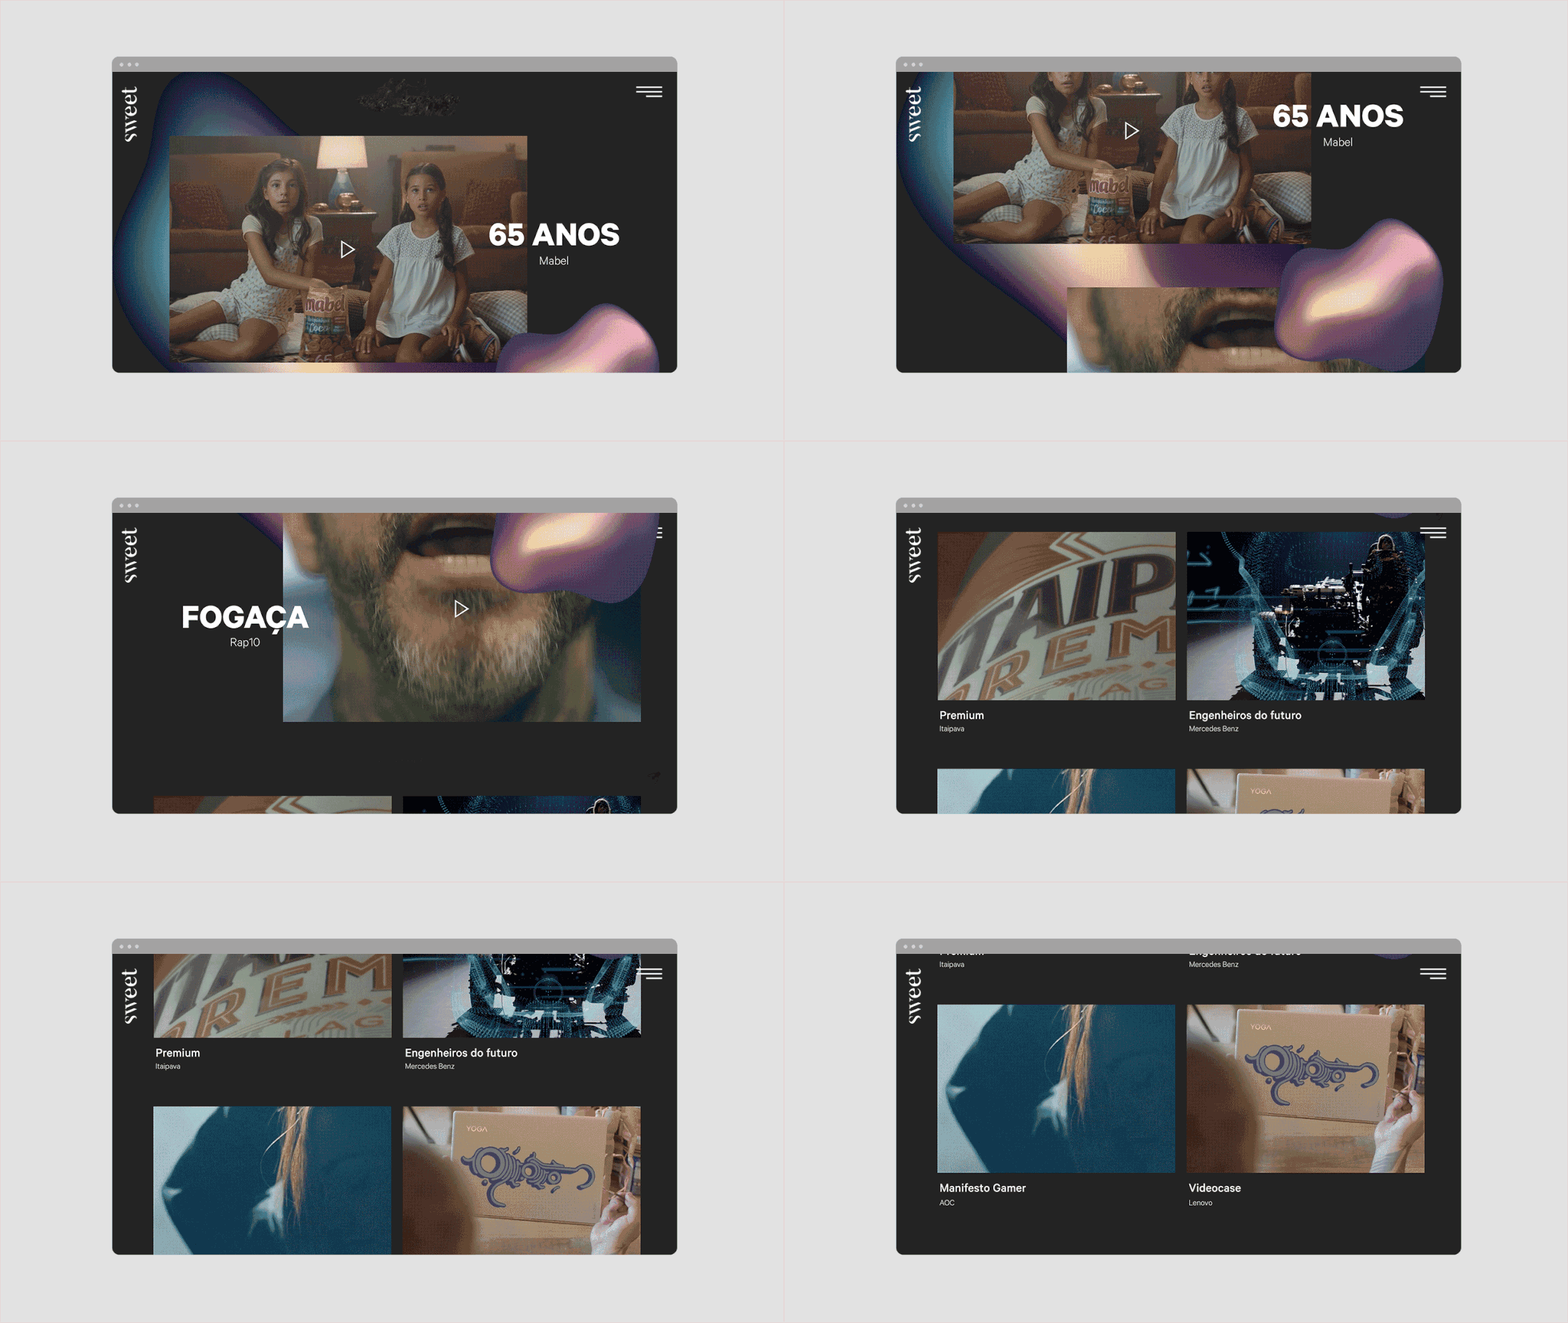
The final deliverables included a visual identity guideline book, website (UI/UX), stationery and animated signature.

Credits
Motion graphic: Rafael Fernandes /
Graphic Design: Elvis Benicio, Diego Bolgioni
Brand identity

Concept.

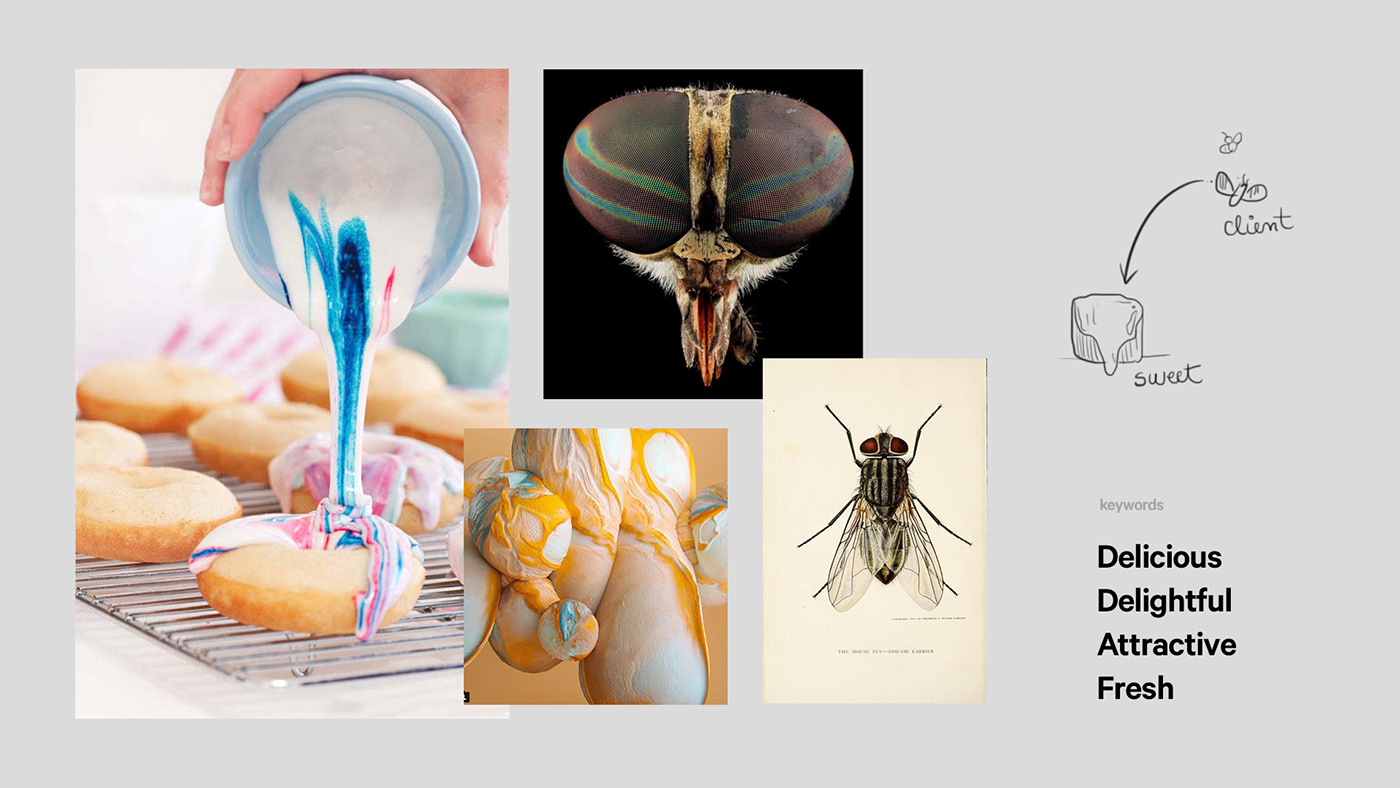
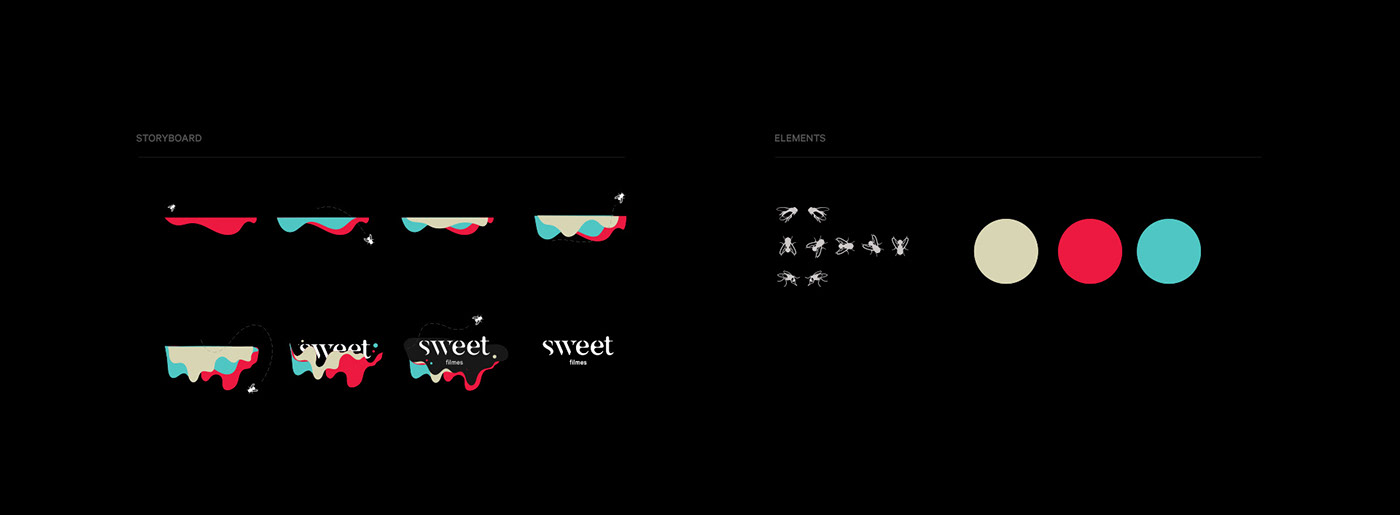
After going through many possible ideas about shapes and graphic concept Diego and Elvis realized that it could be interesting to build a metaphorical connection with a fly (as a client) and something that looks yummy (sweet). From this starting point, everything pumped up in their minds and the process began to be playful, upbeat and consistent. The project was approved with success by the client without any changes. (all in!)

Stationery.

Social kit

Visual elements

Website

Signature

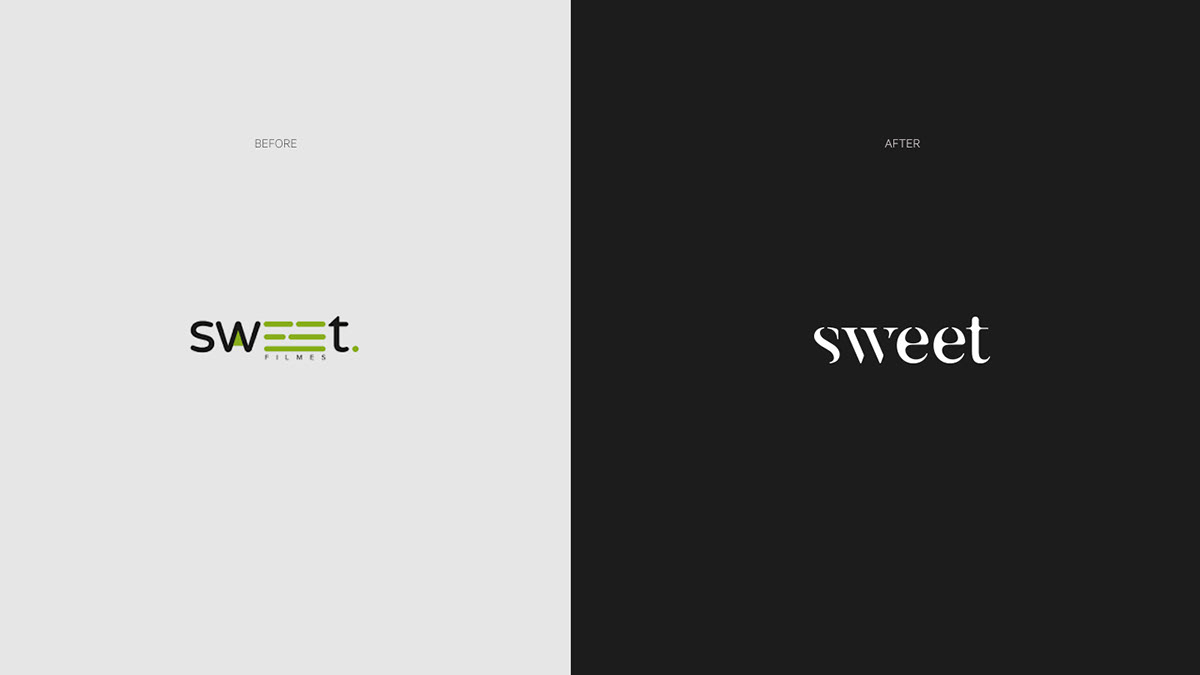
Before / after

branding


The best 4K monitors for designers 2018

Original Source: http://feedproxy.google.com/~r/CreativeBloq/~3/lvE42f_tulQ/best-monitor

Choosing the best 4K monitor for creative work when you're a designer can be difficult and time consuming. You'll want to make sure that you get a 4K monitor that does your artwork justice.

You also need one that can keep up with the rest of your hardware. After all, you might be armed with a great laptop for graphic design or a brilliant video editing computer – not to mention a top-class Creative Cloud subscription, but if you're not seeing the right colours on your screen, don't have enough inputs or simply have the wrong size monitor, it doesn't matter how good you are: your work will suffer.

This guide will help you choose the best monitor for you, no matter what creative discipline you work in. (Make sure you pick up a quality monitor calibrator as well.)

As you'd expect, all the monitors here are 4K or above, making them an excellent choice for creative professionals and serious hobbyists alike. 

Also read: The best cheap 4K monitor deals of 2018
What is 4K resolution?

4K, also known as Ultra HD, refers to the high-definition resolution 3840 x 2160 pixels, which is four times the 1920 x 1080 pixels found in a full HD TV. 

Read on for our pick of the very best 4K monitors out there for designers, artists and creative professionals. 

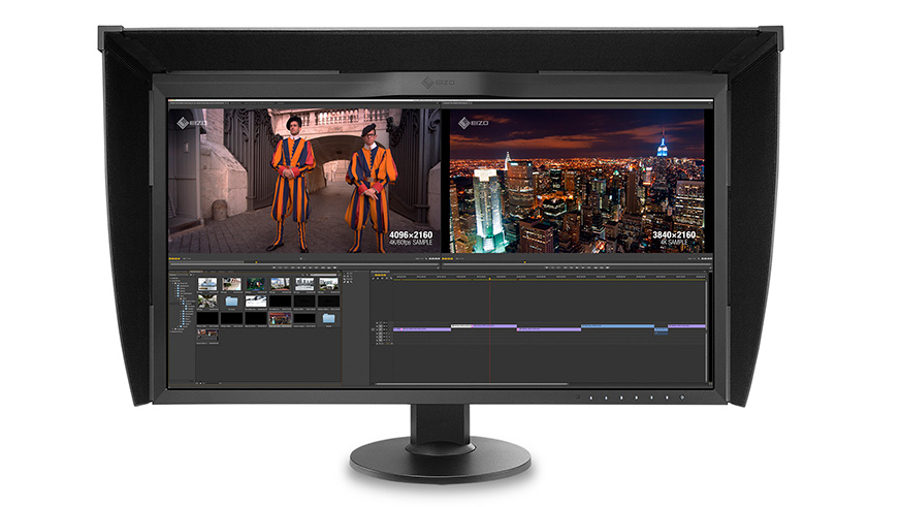
The best and most accurate picture quality carries a high price tag. Eizo displays are a familiar sight in professional photography and video production studios. The 31-inch ColorEdge CG318-4K continues this tradition, with not just full sRGB coverage, but 99% of the Adobe RGB spectrum and 98% DCI-P3. It fully supports 10-bit colour, taken from a 16-bit look-up table.

Unlike other 4K monitors, the CG318-4K has a 4096 x 2160 resolution. This reflects the different, slightly taller 4K standard used in digital video production, compared with the 3840 x 2160 resolution used in most computer displays. 

All of these features come together to produce a jaw-dropping image, making your creative work shine. Oh, and there's a built-in calibration tool to constantly keep the colours as accurate as possible, which pops across the screen every time it's powered on, along with a bundled monitor hood.

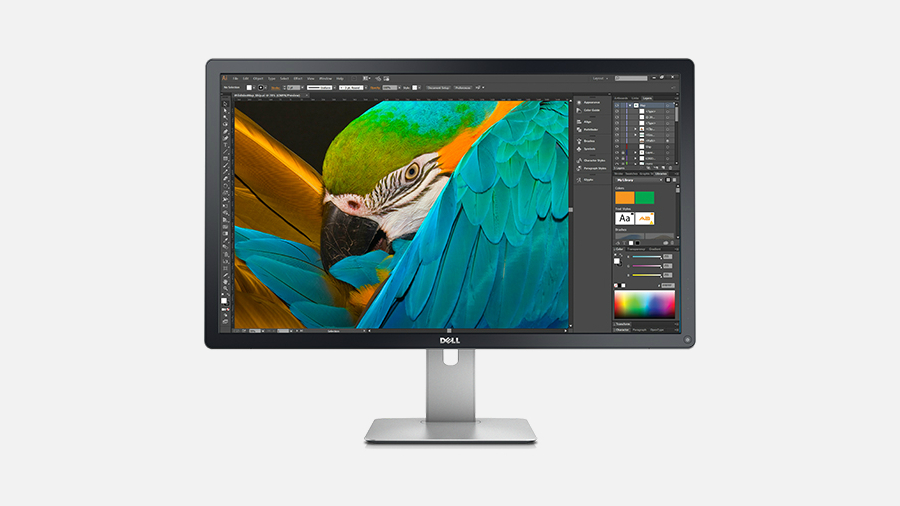
Dell's top-end 31.5-inch 4K display packs in a lot of professional-grade features for superb colour accuracy. But while it costs a lot less than Eizo's offering, it's still a pricey prospect, as expected of a large high-end 4K monitor.

Dell's top-end 4K display now covers the DCI-P3 colour spectrum. It has a specification that almost rivals Eizo's monster CG318-4K, as it hits 99% Adobe RGB coverage and 87% DCI-P3, delivering great picture quality.

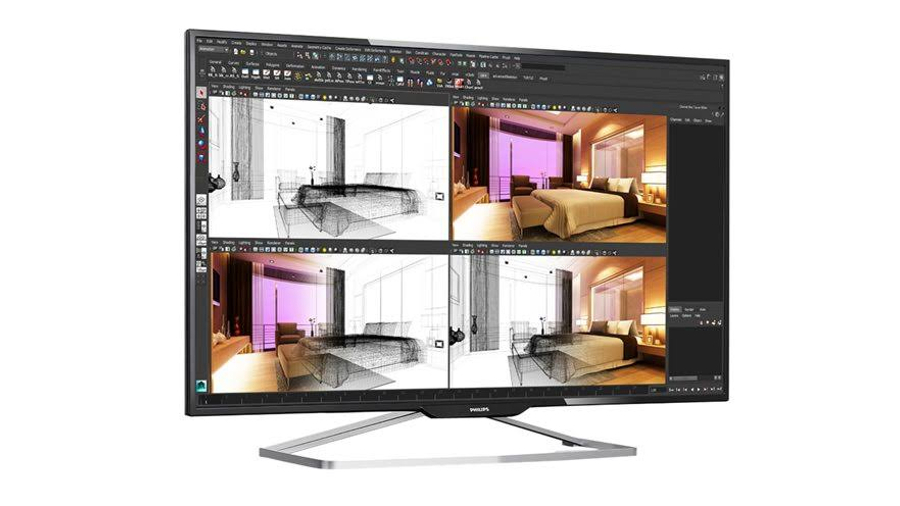
This is an incredible display – but do you really want a 40-inch panel? Based on VA-IPS panel technology, it offers extremely good contrast, with 300 cd/m2 brightness.

Its menu is controlled with a small joystick at the back and it also offers a four-way picture-in-picture (PIP) mode, allowing you to allocate a quarter of the screen to each video input.

On such a large 4K screen, each connected device will have its own 1920 x 1080 screen area – perfect for seeing your designs in Illustrator or working on your 3D art on one machine while looking up reference images on another device on the same screen, for example.

Acer S277HK

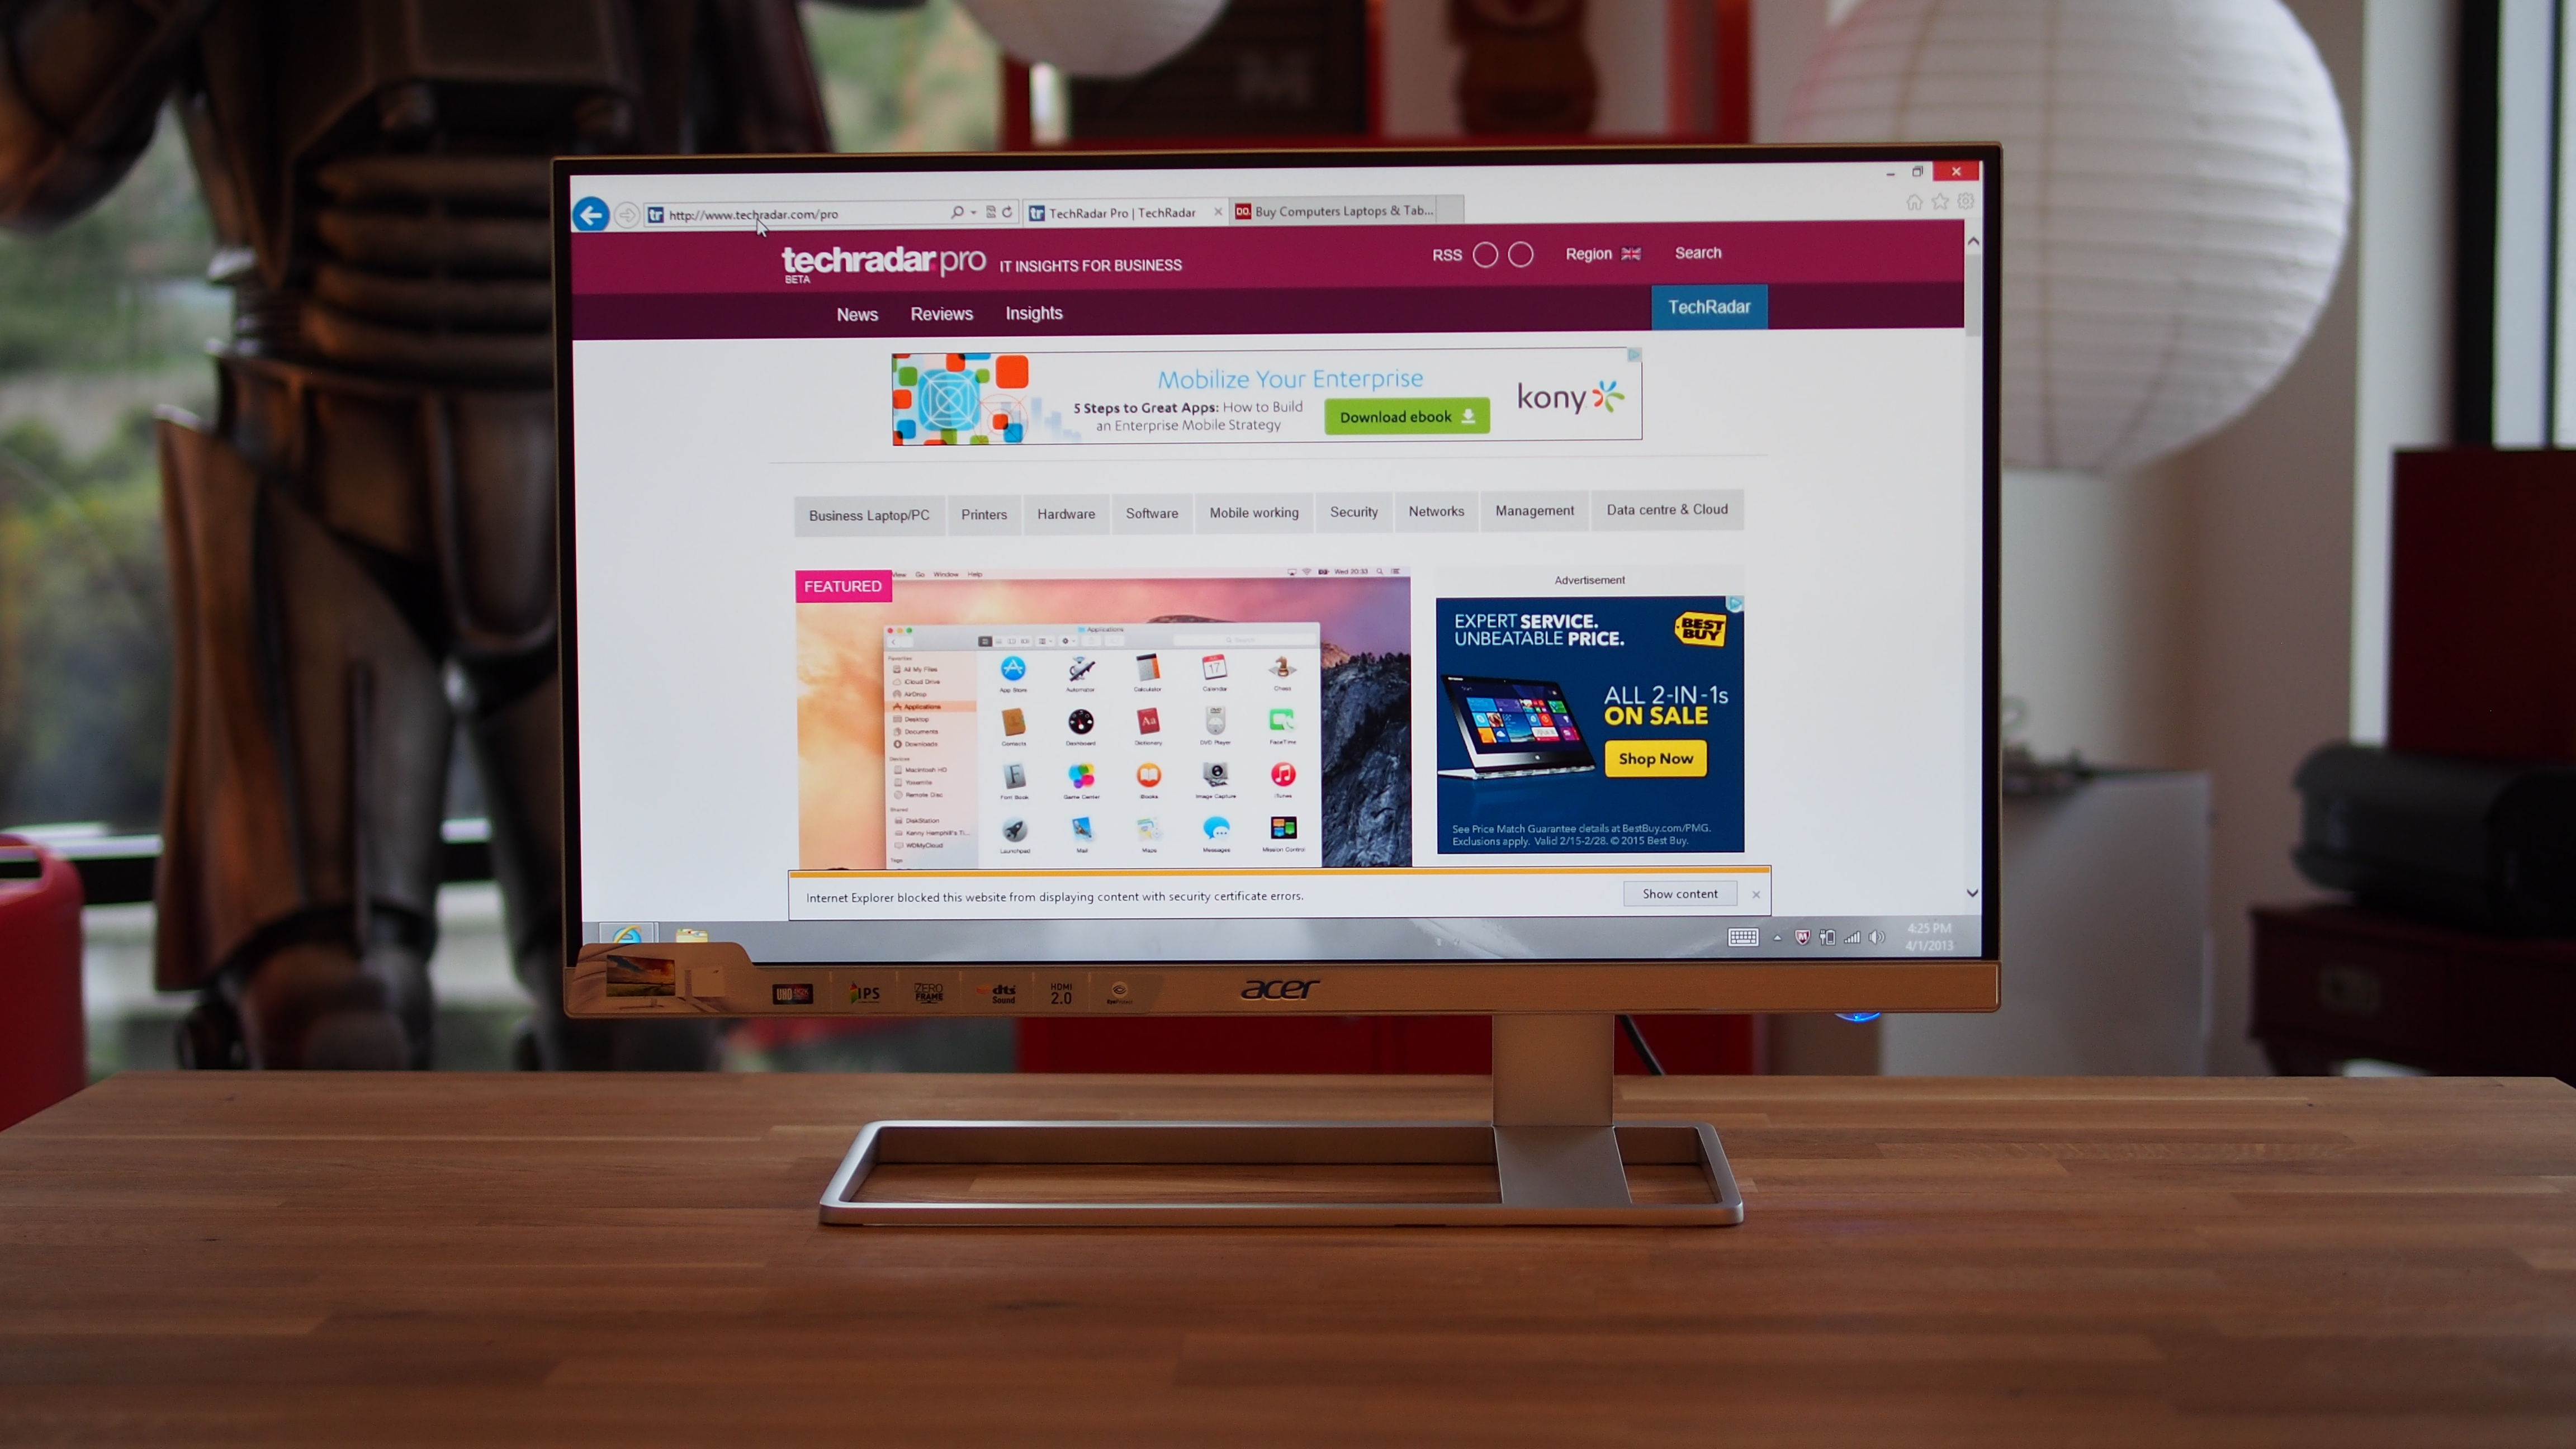
If you're after a mid-range 4K monitor that ups the image quality and provides plenty of features, without costing an exorbitant amount, then the Acer’s S277HK is the best mid-range 4K monitor out there. With a 1,000,000,000:1 contrast ratio, a colour gamut of 1.07 billion and a resolution of 3,840 x 2,160, the Acer S277HK excels at image quality. And while the minimalist design might not have a lot to shout about, some will appreciate its pared-down looks. 

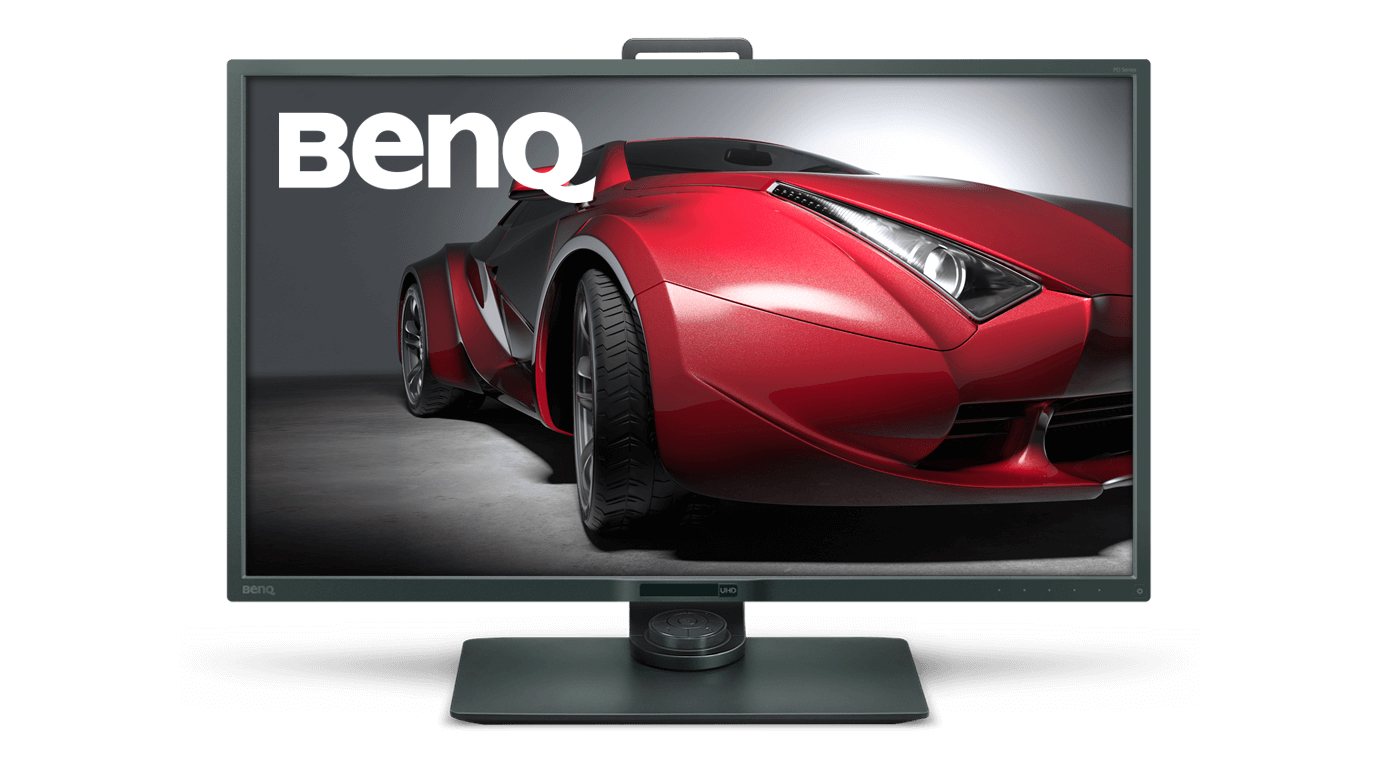
The BenQ PD3200U's screen size and resolution makes it a great choice for designers and creators. The screen is a hefty 32-inches, which makes working with 4K images and videos much more comfortable. 3D designers will be grateful for the inclusion of a CAD/CAM mode, and everyone else will appreciate the factory-calibrated colour accuracy and Rec. 709 adherence. It's a pricey monitor, but for many designers, this will be well worth the money.

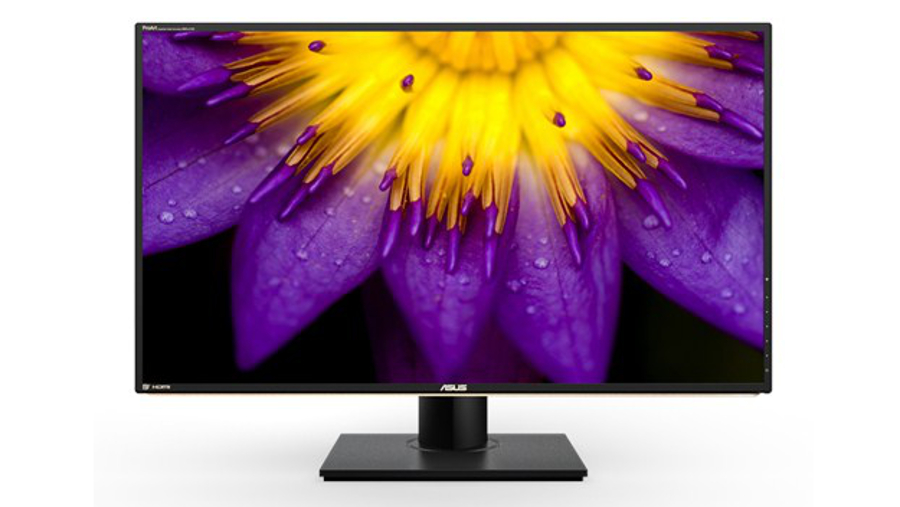
Asus' Pro Art line competes with professional colour-accurate screens. It's got loads of inputs, with three HDMI ports – including one HDMI 2.0 port capable of the full 60Hz needed for smooth 4K –  and two DisplayPort inputs.

The Asus PA329Q is the upgraded version of of the company's flagship 4K professional display, with a 10-bit IPS panel that now supports a 16-bit colour look-up table and quoted 100% Adobe RGB coverage, with support for the DCI-P3 colour spectrum as well.

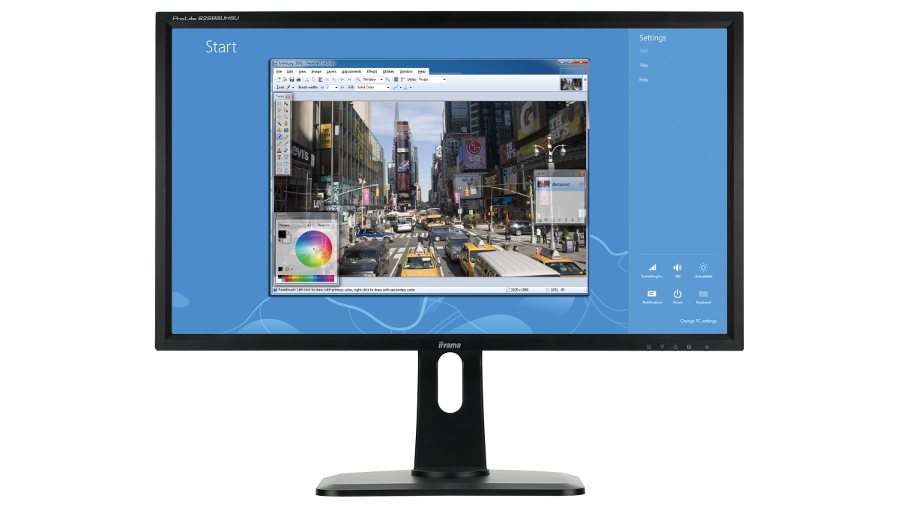
Iiyama's 28-inch B2888UHSU is a lot more reasonably priced than many of the options we've presented in this buying guide. It uses a TN panel with a 1ms response time, and although the viewing angles aren't quite as wide as you'll find with an IPS display, there are plenty of small extras that make the B2888UHSU a really good buy.

It has plenty of inputs, too, plus a fully adjustable stand, and a picture-in-picture mode, so you can use two devices simultaneously with this monitor.

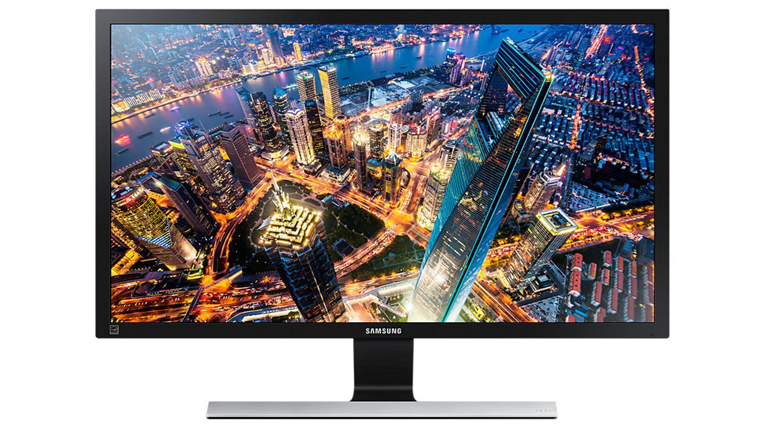
The U28E590D is a slick 28-inch 4K monitor with a beautiful design and a whopping 8.3 billion pixels. DisplayPort 1.2 gives you fluid 60Hz 4K, while everything is detailed and clear thanks to a brightness of 370cd/m. Picture settings can be tweaked using the on-screen menu, or you can sit back and enable its Dynamic Contrast mode to do the heavy lifting.

There's also very smart port placement, so you won't have to bend around the back to connect any cables or peripherals.

Related articles:

The best laptops for video editing 2018Typography 55 best free fonts for designersThe best cheap laptop deals for creatives

Triple Panel Reveal Slideshow

Original Source: http://feedproxy.google.com/~r/tympanus/~3/qynS_pAghHk/

Today we’d like to show you a little slideshow design with a “triple panel” layout. The infinite slideshow shows a preview of the next and previous slide on both sides of the page. When navigating we use a reveal effect for all three images and animate the titles. The animations are powered by TweenMax.

RevealSlideshow_featured

The demo is kindly sponsored by monday.com: The visual project management tool for designers. If you would like to sponsor one of our demos, find out more here.

Attention: Note that we use modern CSS properties that might not be supported in older browsers.

The image slideshow has two lateral previews and a main image in the center. When hovering over the “Explore” link, the main image will zoom in a bit:

RevealSlideshow_01

When navigating, we animate a reveal element that covers each image. Depending on which direction we are navigating, we make the revealer appear from bottom or from the top. All title elements have an animation except for the “Explore” link.

RevealSlideshow

We hope you enjoy this demo and find it useful!

References and Credits

Images from Unsplash.com
TweenMax by Greensock
imagesLoaded by Dave DeSandro
Building icon designed by Freepik

Triple Panel Reveal Slideshow was written by Mary Lou and published on Codrops.

Create an Effective Plan for Your Website’s Design

Original Source: http://feedproxy.google.com/~r/1stwebdesigner/~3/gouEHNayjHU/

When designing your own website, it typically requires you to craft a detailed plan for creating it and oftentimes finding people to assist with the project. Sometimes the website design takes no more than a week, but most of the time it takes longer. What’s more is that all websites require testing and some kind of maintenance after the design is done.

Websites are becoming simpler and easier to construct, but you still don’t want to cut any corners along the way. That’s why we’ve compiled a list of steps for you to effectively plan your website’s design.

Create a Plan with Goals

Your plan involves figuring out the purpose of your website. Do you want more sales? Email subscribers? Donations?

After that, you need to set up some goals for that plan. How many sales are you trying to get per month? Is there a certain number of visitors you would like to see every month? Combined with a good analytics program (like Google Analytics), you should be able to check in on all of this information.

Person illustrating a business plan

Assign Roles for that Plan

You often won’t be working on the website design alone. You might need a web developer, along with someone who can write content, like blog posts and webpage details. The same goes for a logo designer and a CSS professional who takes your customizations to the next level.

Once you decide on the professionals needed, outline the roles and make sure everyone knows what others are doing.

Create a Budget Based on the Plan and Roles

It’s good to set your team before establishing a budget, since the web design professionals can help recommend the best value in items like hosting, graphic design, content management systems and more. It doesn’t matter the size of your organization. A budget needs to be put in place to see your expenses and how you plan on paying for those expenses.

Coins and Clock

Develop a Strategy for Content

Without a content strategy, websites tend to not get updated. These types of sites display old, stale information that people don’t care about. Therefore, you should put together a strategy for content such as blog posts, slideshows, documents, videos and pictures. Are you going to post all of these content items starting at day one? Or is it a better idea to make a schedule and share things like videos and blog posts over the course of the year?

Draw Out the Structure of the Website and Make a Mockup

Think about which web pages you’ll use to form your website. For instance, you may have pages like About Us, Contact Us, Portfolio or an Online Shop.

Once you have the list of webpages, generate a mockup, or visual representation of your website, to show to other people in your organization. This is essentially the first draft of the site, which can be developed in Photoshop or many other mockup or wireframe programs online. Most of the time it’s best to have a designer complete the mockup, but sometimes you can do it yourself with pen and paper.

Website Mockup

Design It

From simple navigation to a quality company logo, the process of designing is best accomplished with an experienced web designer. Even if you only hire a consultant or use online resources to design your site, take your time with this process and prepare for lots of testing.

Test the Design Multiple Times

Consistent testing solves many problems and guarantees that the mistakes are minimized. For example, one of your testers might find that the website doesn’t show up properly on Internet Explorer. Another tester may discover that a few of your navigational buttons lead to broken links. Having a solid testing plan ensures that your website is ready to show to both customers and the search engines.

Person typing on a laptop

Maintain, Maintain, Maintain

You may have someone in your organization to maintain the website, or you might want to hire a freelancer to do this. Regardless, maintenance keeps your website secure, up-to-date, clean and fresh with content.

It’s important to assign someone to post new content on your website. It’s also necessary to update your CMS and plugins. In addition, you’ll want to configure a system that backs up your content and secures the site into the future.

Now You’re Ready to Effectively Plan Your Website’s Design

Now that you have the knowledge to plan your website, get started with your outline and think about the people who will undertake every task. If you have any questions about effectively planning your website’s design, let us know in the comments.


How to rescue a logo that has been saved as a bitmap

Original Source: https://inspiredm.com/how-to-rescue-a-logo-that-has-been-saved-as-a-bitmap/

Every designer at some point will encounter the client who brings in a blurry, pixelated JPEG copy of their logo (the only copy they have) and requests for changes to the logo.

Redesigning the logo entirely from scratch is one option, but it can be hard work, as you’ll have to figure out exactly how the original designer achieved the result. This isn’t always so difficult with simple logos, but it’s definitely an issue with logos that have non-standard fonts or very complex artifacts.

As a designer, you know that clients should always have a vector copy of their logo with transparency in the background, but clients don’t know that. They also don’t always know how terrible it looks when a logo is recycled for different purposes using anything other than the vector copy.

Clients also may not understand about the necessity of their logo to contrast with whatever background it is placed on. You can help them with this kind of thing, but first you’ll need to rescue that logo from Bitmap Hell, and bring it in to the glorious paradise of Vector Heaven.

The following is a method that will help you do this.

Start a new vector project.

Many vector graphics applications let you import a file directly from the file manager, but this is not the best way to do this job. If the imported image is the background layer, it can be difficult to delete it in some vector applications.

To save difficulty, it is better to start a brand new project, and discard unwanted layers later.

Create a transparent layer called “background”.

Most of the time you’ll just need to rename the background layer, but if the background layer is not automatically set to transparent, then you should create a new fully transparent background layer and delete the original one. This is to be completely certain your image does not have a background color behind it.

Lock the background layer.

Having gone to all the trouble of creating a proper transparent background, you don’t want to accidentally mess it up. Locking the layer prevents you from changing or moving the layer.

Create a layer above background called “import”.

This is where we’ll import our original logo to. This step might not be needed if your software automatically creates a new layer for imported images. Renaming the layer to “import” will help you to identify it more easily than if the full path name of the imported file is used for the layer name.

Import your logo file to the import layer.

This is the most obvious step. As stated above, your software might put this on it’s own layer. If that happens, just delete the “import” layer and then rename the layer your software just created.

If you are asked if you want to embed or link to the image, choose the embed option (this is fine, because you’re going to delete this layer later anyway).

Resize the image to fit the import layer.

This step is necessary to make sure parts of the logo won’t be cropped out of the image when you save it. What you see is not always what you get when it comes to vector illustrations.

After resizing, you won’t have all that empty page space around the image any more (this is important for when you export the file, because the whole page is exported, not just the image you create).

Lock the import layer.

Now we need to lock the import layer so that we don’t make any accidental changes to the original image. You also won’t want to accidentally move the layer, and locking it prevents that.

Create a transparent layer above import called “trace”.

This is the layer we’ll be working in. You can create additional trace layers (trace1, trace2, etc) for a very complex logo with a lot of different parts.

Carefully trace over the logo.

This is the part of the job you’re going to hate, but it’s obviously the most important one. It’s where the magic happens. If you’re working in multiple trace layers, remember to lock each layer as you leave it.

Sounds like way too much work? A possible way to save time and effort is to use an “edge detect” filter or color matching filter to detect the parts of the logo that need tracing, and copy these to a new layer. The problem with this quicker way of doing things is that it’s not always reliable or accurate.

While tracing, you’ll need to zoom in very tight. The image will be difficult to look at due to pixelation. Try to work out which pixels are “true” and which are “false”. Avoid tracing false pixels.

Lock the trace layer(s).

When you have finished the trace completely, make sure all trace layers are locked, so there is no danger of the work you’ve just done being wasted.

Delete the import layer.

We don’t need the import layer any more because it has done its job. Deleting it makes your image less cluttered.

Flatten the image.

This is an optional step, but again the idea is to make the image less cluttered by reducing everything to a single layer. That may not always be what you want, so think carefully before committing to this action.

For logos with multiple trace layers, you may find it useful to preserve each layer so you can modify individual logo parts more easily in the future.

Save the file.

You wouldn’t want all that work to go to waste, so save the file. Actually it’s best practice to make incremental saves as you work, but it’s not always easy to remember to do it.

Export to other formats if requested.

Now you have the saved new copy of the logo, you can export it to whatever other formats the client needed. If they’re requesting a jpeg, bitmap, or other file type that doesn’t support background transparency, make sure you know the color of the background the logo is going to be placed on.

You also should ensure the client knows the importance of contrast. If the logo is being placed on a background that does not contrast with it appropriately, you should make a copy of your vector modified for better contrast with the desired background color, and you can again export it to other formats as requested by the client.

header image courtesy of Domestic Society Design Co.

The post How to rescue a logo that has been saved as a bitmap appeared first on Inspired Magazine.