How to Quickly and Easily Remove a Background in Photoshop
Original Source: https://www.sitepoint.com/how-to-quickly-easily-remove-a-background-in-photoshop/?utm_source=rss

This article on how to remove a background in Photoshop remains one of our most popular posts and was updated in 2019 for Adobe Photoshop 2020.
Photoshop offers many different techniques for removing a background from an image. For simple backgrounds, using the standard magic wand tool to select and delete the background may well be more than adequate. For more complicated backgrounds, you might use the Background Eraser tool.
The Background Eraser Tool
The Background Eraser tool samples the color at the center of the brush and then deletes pixels of a similar color as you “paint”. The tool isn’t too difficult to get the hang of. Let me show you how it works.
Remove a Background, Step 1: Open your Image
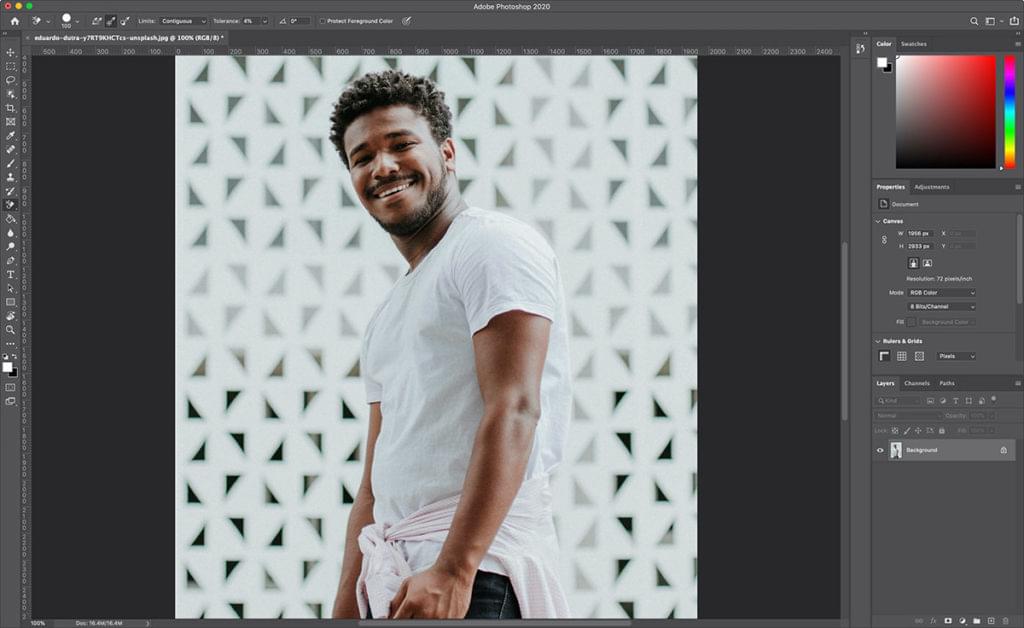
Start by grabbing an image that you want to remove the background from. I’ll be using the image below, as it features areas that range from easy removal through to more challenging spots. I snagged this one for free from Unsplash.

Now let’s open it in Photoshop.
Remove a Background, Step 2: Select Background Eraser
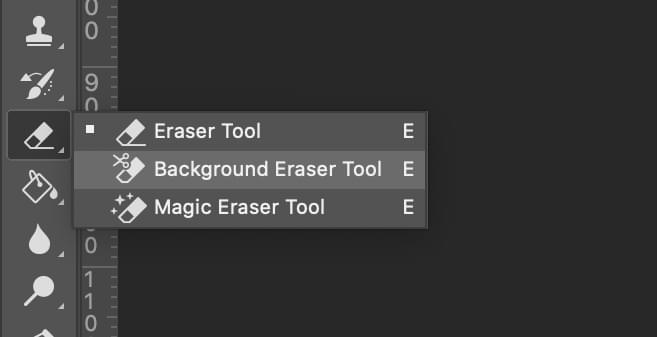
Select the Background Eraser tool from the Photoshop toolbox. It may be hidden beneath the Eraser tool. If it is, simply click and hold the Eraser tool to reveal it. Alternatively, you can press Shift + E to cycle through all the eraser tools to get to the Background Eraser. If you had the default Eraser tool selected, press Shift + E twice to select the Background Eraser Tool.
Remove a Background, Step 3: Tune Your Tool Settings
On the tool options bar at the top of the screen, select a round, hard brush. The most appropriate brush size will vary depending on the image you’re working on. Use the square bracket key ([ or ]) for quickly scaling your brush size.

Alternatively, you can right-click your mouse anywhere on the artboard to change the size and hardness of your brush too.
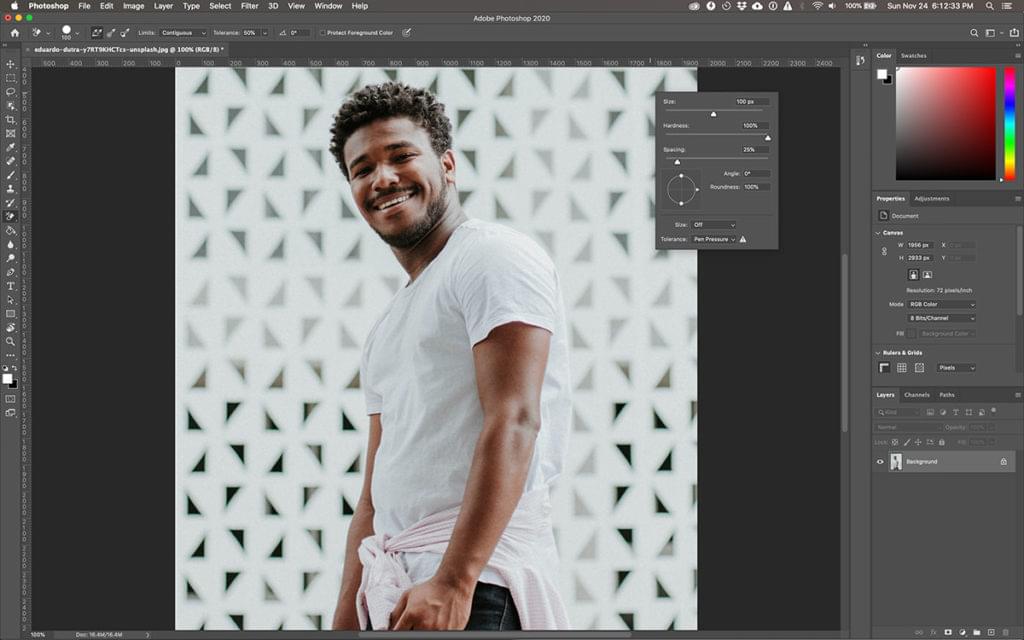
Next, on the tool options bar, make sure Sampling is set to Continuous (it’s the first of the three icons), the Limits to Find Edges* and the *Tolerance has a range of 20-25%.

Note: a lower tolerance means the eraser will pick up on fewer color variations. While a higher tolerance expands the range of colors your eraser will select.
Remove a Background, Step 4: Begin Erasing
Bring your brush over your background and begin to erase. You should see a brush-sized circle with small crosshairs in the center. The crosshairs show the “hotspot” and delete that color wherever it appears inside the brush area. It also performs smart color extraction at the edges of any foreground objects to remove “color halos” that might otherwise be visible if the foreground object is overlaid onto another background.
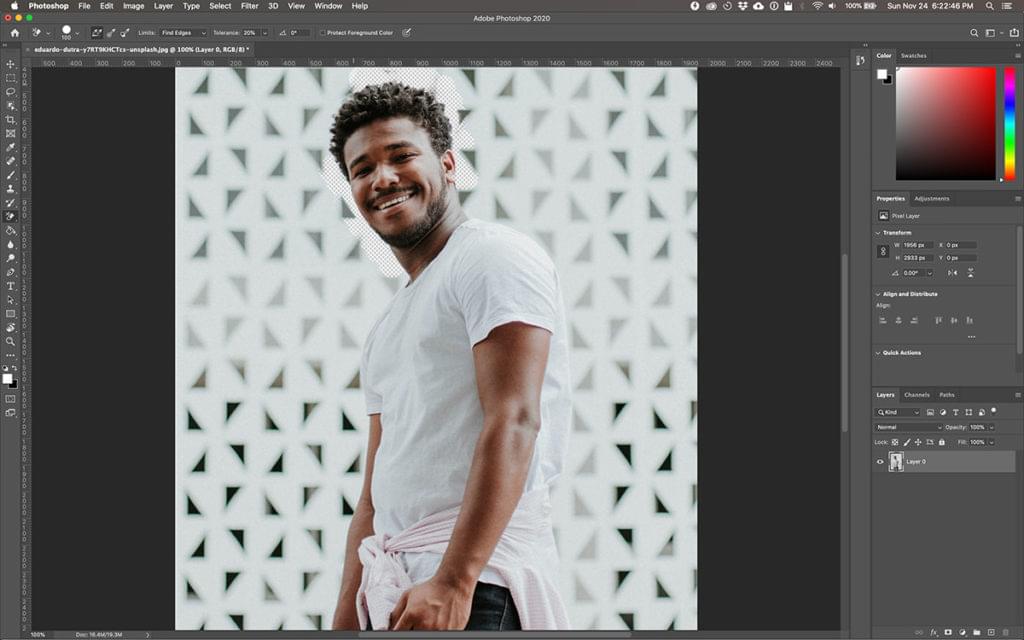
When erasing, zoom up your work area and try to keep the crosshairs from overlapping on the edge of your foreground. It’s likely that you’ll need to reduce the size of the brush in some places to ensure that you don’t accidentally erase part of your foreground subject.
The post How to Quickly and Easily Remove a Background in Photoshop appeared first on SitePoint.


Leave a Reply
Want to join the discussion?Feel free to contribute!