Original Source: https://smashingmagazine.com/2025/07/desktop-wallpaper-calendars-august-2025/
Everybody loves a beautiful wallpaper to freshen up their desktops and home screens, right? To cater for new and unique designs on a regular basis, we started our monthly wallpapers series more than 14 years ago, and from the very beginning to today, artists and designers from across the globe have accepted the challenge and submitted their artworks. This month is no exception, of course.
In this post, you’ll find desktop wallpapers for August 2025, along with a selection of timeless designs from our archives that are bound to make your August extra colorful. A big thank you to everyone who tickled their creativity and shared their wallpapers with us this month — this post wouldn’t exist without your kind support!
Now, if you’re feeling inspired after browsing this collection, why not submit a wallpaper to get featured in one of our upcoming posts? Fire up your favorite design tool, grab your camera or pen and paper, and tell the story you want to tell. We can’t wait to see what you’ll come up with! Happy August!
You can click on every image to see a larger preview.
We respect and carefully consider the ideas and motivation behind each and every artist’s work. This is why we give all artists the full freedom to explore their creativity and express emotions and experience through their works. This is also why the themes of the wallpapers weren’t anyhow influenced by us but rather designed from scratch by the artists themselves.
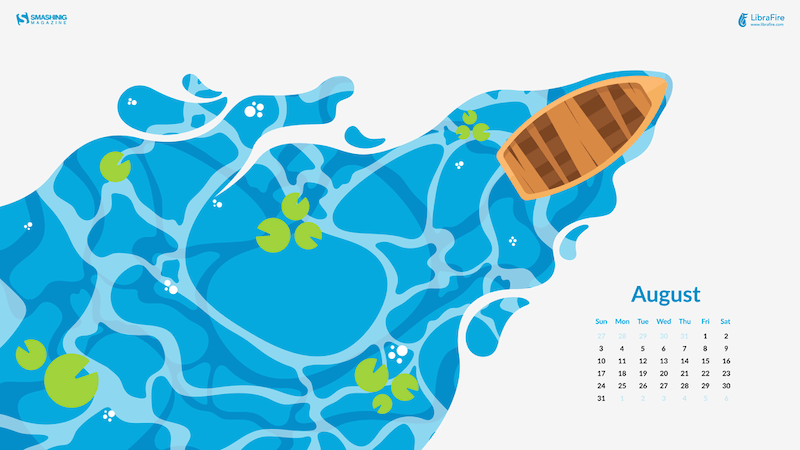
August Afloat
“Set sail into a serene summer moment with this bright and breezy wallpaper. A wooden boat drifts gently across wavy blue waters dotted with lily pads, capturing the stillness and simplicity of late August days.” — Designed by Libra Fire from Serbia.
preview
with calendar: 320×480, 640×480, 800×480, 800×600, 1024×768, 1024×1024, 1152×864, 1280×720, 1280×800, 1280×960, 1280×1024, 1400×1050, 1440×900, 1600×1200, 1680×1050, 1680×1200, 1920×1080, 1920×1200, 1920×1440, 2560×1440
without calendar: 320×480, 640×480, 800×480, 800×600, 1024×768, 1024×1024, 1152×864, 1280×720, 1280×800, 1280×960, 1280×1024, 1400×1050, 1440×900, 1600×1200, 1680×1050, 1680×1200, 1920×1080, 1920×1200, 1920×1440, 2560×1440
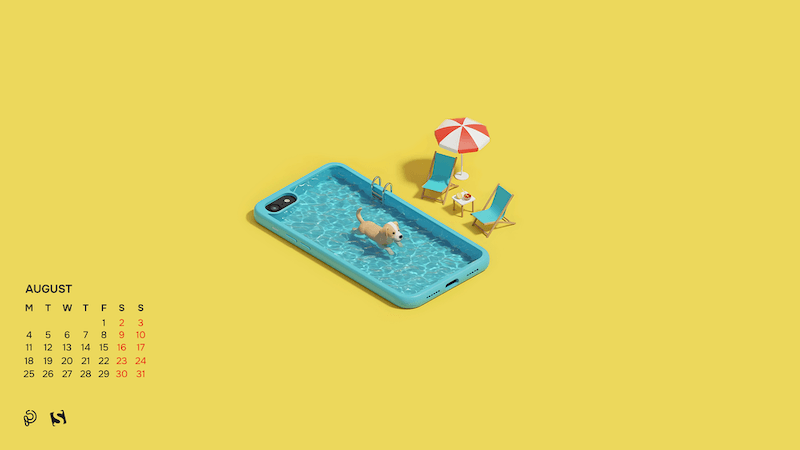
Dive Into Summer Mode
“When your phone becomes a pool and your pup’s living the dream — it’s a playful reminder that sometimes the best escapes are simple: unplug, slow down, soak in the sunshine, and let your imagination do the swimming.” — Designed by PopArt Studio from Serbia.
preview
with calendar: 320×480, 640×480, 800×480, 800×600, 1024×768, 1024×1024, 1152×864, 1280×720, 1280×800, 1280×960, 1280×1024, 1400×1050, 1440×900, 1600×1200, 1680×1050, 1680×1200, 1920×1080, 1920×1200, 1920×1440, 2560×1440
without calendar: 320×480, 640×480, 800×480, 800×600, 1024×768, 1024×1024, 1152×864, 1280×720, 1280×800, 1280×960, 1280×1024, 1400×1050, 1440×900, 1600×1200, 1680×1050, 1680×1200, 1920×1080, 1920×1200, 1920×1440, 2560×1440
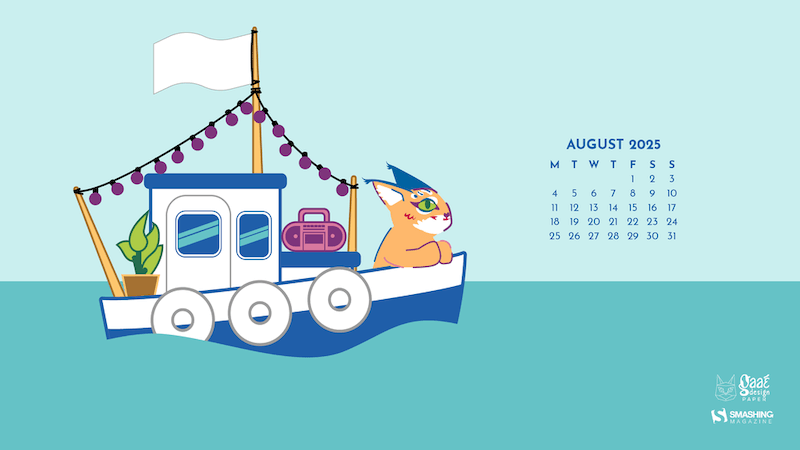
Sea Shanties And Ears In The Wind
“August is like a boat cruise swaying with the rhythm of sea shanties. Our mascot really likes to have its muzzle caressed by the salty sea wind and getting its ears warmed by the summer sun.” — Designed by Caroline Boire from France.
preview
with calendar: 320×480, 640×480, 800×480, 800×600, 1024×768, 1024×1024, 1152×864, 1280×720, 1280×800, 1280×960, 1280×1024, 1400×1050, 1440×900, 1600×1200, 1680×1050, 1680×1200, 1920×1080, 1920×1200, 1920×1440, 2560×1440
without calendar: 320×480, 640×480, 800×480, 800×600, 1024×768, 1024×1024, 1152×864, 1280×720, 1280×800, 1280×960, 1280×1024, 1400×1050, 1440×900, 1600×1200, 1680×1050, 1680×1200, 1920×1080, 1920×1200, 1920×1440, 2560×1440
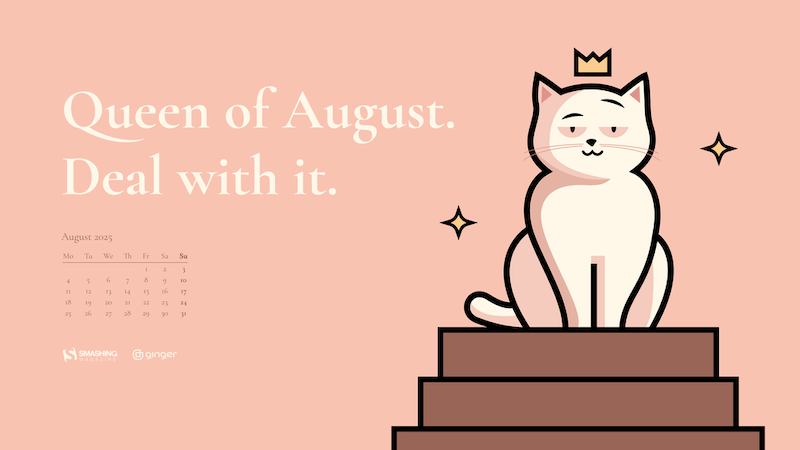
Queen Of August
“August 8 is International Cat Day, so of course the month belongs to her majesty. Confident, calm, and totally in charge. Just like every cat ever.” — Designed by Ginger IT Solutions from Serbia.
preview
with calendar: 320×480, 640×480, 800×480, 800×600, 1024×768, 1024×1024, 1152×864, 1280×720, 1280×800, 1280×960, 1280×1024, 1400×1050, 1440×900, 1600×1200, 1680×1050, 1680×1200, 1920×1080, 1920×1200, 1920×1440, 2560×1440
without calendar: 320×480, 640×480, 800×480, 800×600, 1024×768, 1024×1024, 1152×864, 1280×720, 1280×800, 1280×960, 1280×1024, 1400×1050, 1440×900, 1600×1200, 1680×1050, 1680×1200, 1920×1080, 1920×1200, 1920×1440, 2560×1440
Happiness Happens In August
“Many people find August one of the happiest months of the year because of holidays. You can spend days sunbathing, swimming, birdwatching, listening to their joyful chirping, and indulging in sheer summer bliss. August 8th is also known as the Happiness Happens Day, so make it worthwhile.” — Designed by PopArt Studio from Serbia.

preview
without calendar: 320×480, 640×480, 800×480, 800×600, 1024×768, 1024×1024, 1152×864, 1280×720, 1280×800, 1280×960, 1280×1024, 1366×768, 1400×1050, 1440×900, 1600×1200, 1680×1050, 1680×1200, 1920×1080, 1920×1200, 1920×1440, 2560×1440
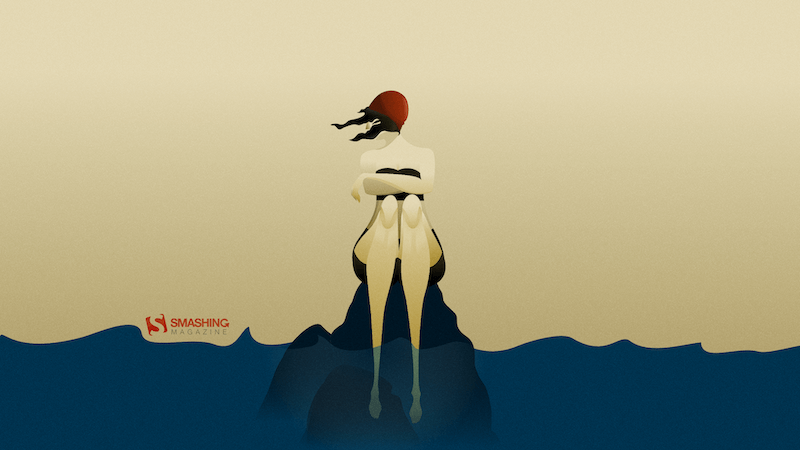
Nostalgia
“August, the final breath of summer, brings with it a wistful nostalgia for a season not yet past.” — Designed by Ami Totorean from Romania.
preview
without calendar: 1440×900, 1600×1200, 1680×1050, 1680×1200, 1920×1080, 1920×1200, 1920×1440, 2560×1440
Relax In Bora Bora
“As we have taken a liking to diving through the coral reefs, we’ll also spend August diving and took the leap to Bora Bora. There we enjoy the sea and nature and above all, we rest to gain strength for the new course that is to come.” — Designed by Veronica Valenzuela from Spain.

preview
without calendar: 640×480, 800×480, 1024×768, 1280×720, 1280×800, 1440×900, 1600×1200, 1920×1080, 1920×1440, 2560×1440
Banana!
Designed by Ricardo Gimenes from Spain.

preview
without calendar: 640×480, 800×480, 800×600, 1024×768, 1024×1024, 1152×864, 1280×720, 1280×800, 1280×960, 1280×1024, 1366×768, 1400×1050, 1440×900, 1600×1200, 1680×1050, 1680×1200, 1920×1080, 1920×1200, 1920×1440, 2560×1440, 3840×2160
Summer Day
Designed by Kasturi Palmal from India.

preview
without calendar: 800×600, 1280×1024, 1600×1200, 1680×1200, 1920×1080, 1920×1200, 1920×1440, 2560×1440
Retro Road Trip
“As the sun dips below the horizon, casting a warm glow upon the open road, the retro van finds a resting place for the night. A campsite bathed in moonlight or a cozy motel straight from a postcard become havens where weary travelers can rest, rejuvenate, and prepare for the adventures that await with the dawn of a new day.” — Designed by PopArt Studio from Serbia.

preview
without calendar: 320×480, 640×480, 800×480, 800×600, 1024×768, 1024×1024, 1152×864, 1280×720, 1280×800, 1280×960, 1280×1024, 1400×1050, 1440×900, 1600×1200, 1680×1050, 1680×1200, 1920×1080, 1920×1200, 1920×1440, 2560×1440
Spooky Campfire Stories
Designed by Ricardo Gimenes from Spain.

preview
without calendar: 640×480, 800×480, 800×600, 1024×768, 1024×1024, 1152×864, 1280×720, 1280×800, 1280×960, 1280×1024, 1366×768, 1400×1050, 1440×900, 1600×1200, 1680×1050, 1680×1200, 1920×1080, 1920×1200, 1920×1440, 2560×1440, 3840×2160
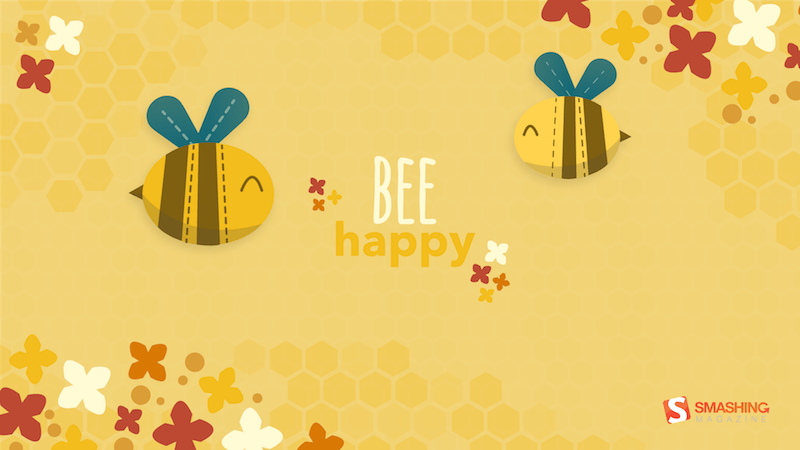
Bee Happy!
“August means that fall is just around the corner, so I designed this wallpaper to remind everyone to ‘bee happy’ even though summer is almost over. Sweeter things are ahead!” — Designed by Emily Haines from the United States.
preview
without calendar: 640×480, 800×600, 1280×720, 1280×800, 1280×960, 1366×768, 1400×1050, 1440×900, 1600×1200, 1680×1050, 1680×1200, 1920×1080, 1920×1200, 1920×1440, 2560×1440
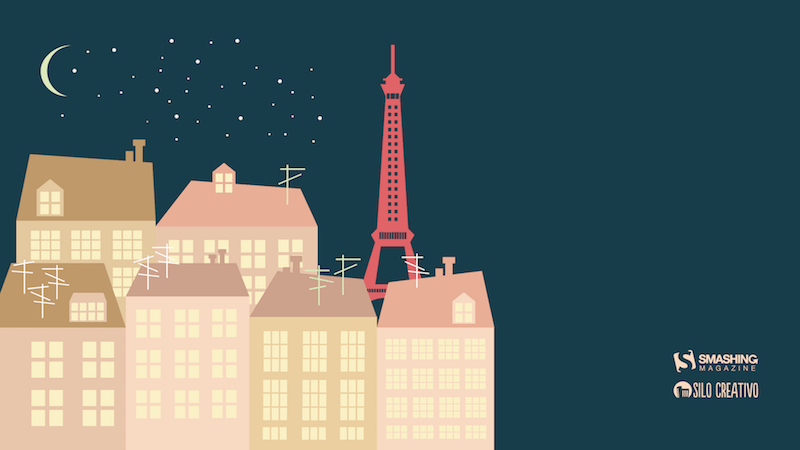
Oh La La… Paris’ Night
“I like the Paris night! All is very bright!” — Designed by Verónica Valenzuela from Spain.
preview
without calendar: 800×480, 1024×768, 1152×864, 1280×800, 1280×960, 1440×900, 1680×1200, 1920×1080, 2560×1440
Cowabunga
Designed by Ricardo Gimenes from Spain.
preview
without calendar: 640×480, 800×480, 800×600, 1024×768, 1024×1024, 1152×864, 1280×720, 1280×800, 1280×960, 1280×1024, 1366×768, 1400×1050, 1440×900, 1600×1200, 1680×1050, 1680×1200, 1920×1080, 1920×1200, 1920×1440, 2560×1440, 3840×2160
Childhood Memories
Designed by Francesco Paratici from Australia.
preview
without calendar: 320×480, 1024×768, 1024×1024, 1280×800, 1280×1024, 1366×768, 1440×900, 1680×1050, 1920×1080, 1920×1200, 2560×1440
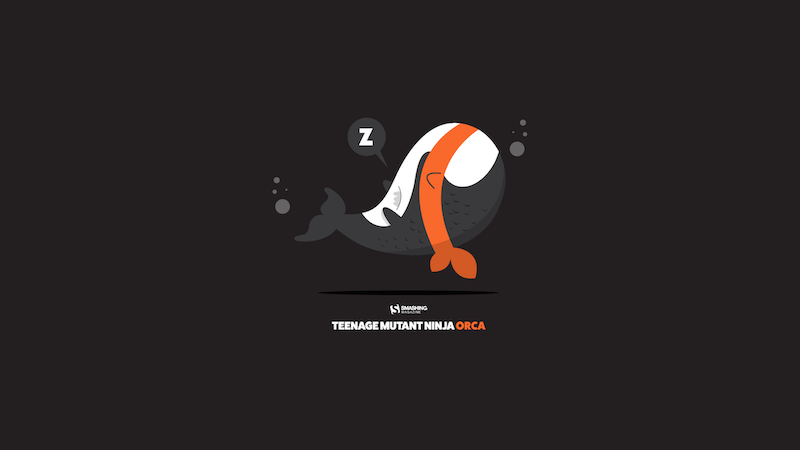
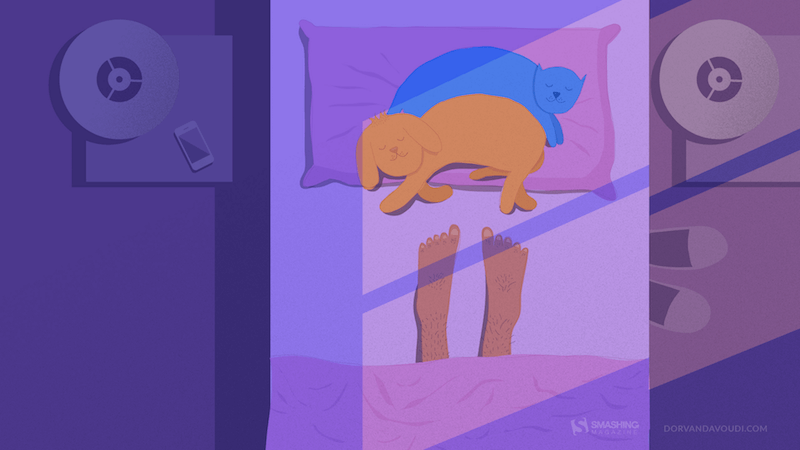
Summer Nap
Designed by Dorvan Davoudi from Canada.
preview
without calendar: 800×480, 800×600, 1152×864, 1280×720, 1280×800, 1280×960, 1280×1024, 1366×768, 1400×1050, 1440×900, 1600×1200, 1680×1050, 1680×1200, 1920×1080, 1920×1200, 1920×1440, 2560×1440
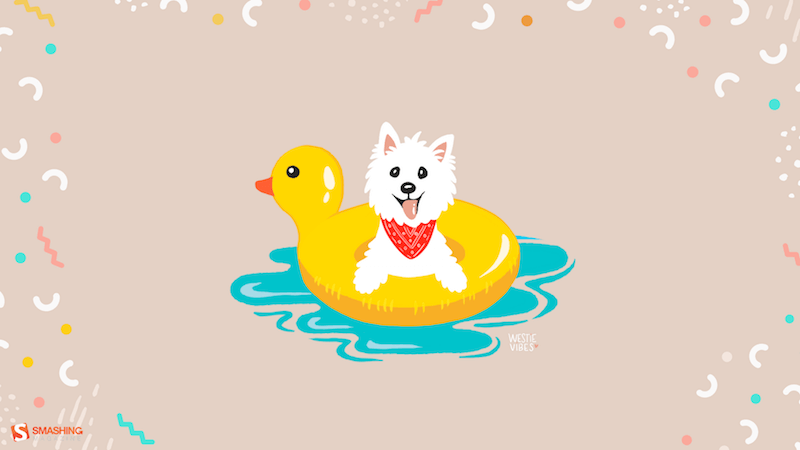
Live In The Moment
“My dog Sami inspired me for this one. He lives in the moment and enjoys every second with a big smile on his face. I wish we could learn to enjoy life like he does! Happy August everyone!” — Designed by Westie Vibes from Portugal.
preview
without calendar: 320×480, 1024×1024, 1080×1920, 1680×1200, 1920×1080, 2560×1440
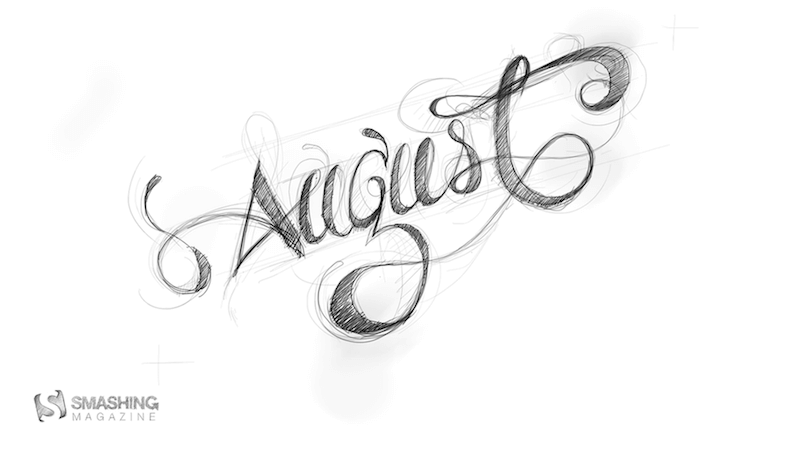
Handwritten August
“I love typography handwritten style.” — Designed by Chalermkiat Oncharoen from Thailand.
preview
without calendar: 320×480, 640×480, 800×480, 800×600, 1024×768, 1024×1024, 1152×864, 1280×720, 1280×800, 1280×960, 1280×1024, 1400×1050, 1440×900, 1600×1200, 1680×1050, 1680×1200, 1920×1080, 1920×1200, 1920×1440, 2560×1440
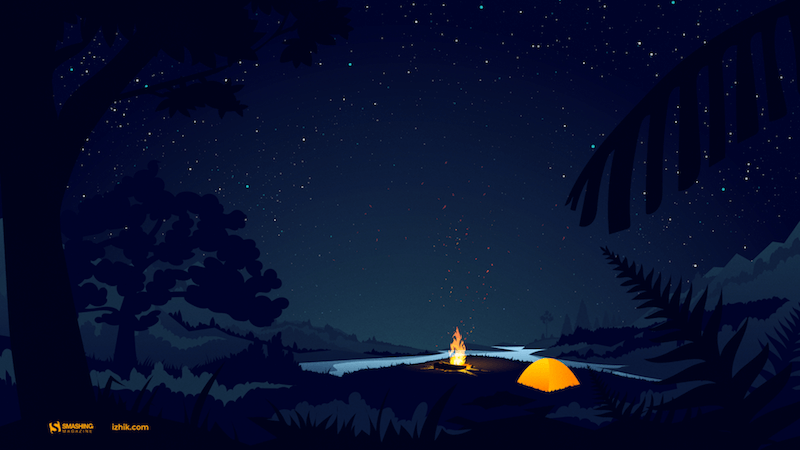
Psst, It’s Camping Time…
“August is one of my favorite months, when the nights are long and deep and crackling fire makes you think of many things at once and nothing at all at the same time. It’s about heat and cold which allow you to touch the eternity for a few moments.” — Designed by Igor Izhik from Canada.
preview
without calendar: 1024×768, 1024×1024, 1280×720, 1280×800, 1280×960, 1280×1024, 1400×1050, 1440×900, 1600×1200, 1680×1050, 1680×1200, 1920×1080, 1920×1200, 1920×1440, 2560×1440
Hello Again
“In Melbourne it is the last month of quite a cool winter so we are looking forward to some warmer days to come.” — Designed by Tazi from Australia.
preview
without calendar: 320×480, 640×480, 800×600, 1024×768, 1152×864, 1280×720, 1280×960, 1600×1200, 1920×1080, 1920×1440, 2560×1440
Coffee Break Time
Designed by Ricardo Gimenes from Spain.
preview
without calendar: 320×480, 640×480, 800×480, 800×600, 1024×768, 1024×1024, 1152×864, 1280×720, 1280×800, 1280×960, 1280×1024, 1366×768, 1400×1050, 1440×900, 1600×1200, 1680×1050, 1680×1200, 1920×1080, 1920×1200, 1920×1440, 2560×1440
Subtle August Chamomiles
“Our designers wanted to create something summery, but not very colorful, something more subtle. The first thing that came to mind was chamomile because there are a lot of them in Ukraine and their smell is associated with a summer field.” — Designed by MasterBundles from Ukraine.

preview
without calendar: 320×480, 640×480, 800×480, 800×600, 1024×768, 1024×1024, 1152×864, 1280×720, 1280×800, 1280×960, 1280×1024, 1366×768, 1400×1050, 1440×900, 1600×1200, 1680×1050, 1680×1200, 1920×1080, 1920×1200, 1920×1440, 2560×1440
Party Night Under The Stars
“August… it’s time for a party and summer vacation — sea, moon, stars, music… and magical vibrant colors.” — Designed by Teodora Vasileva from Bulgaria.
preview
without calendar: 640×480, 800×480, 800×600, 1024×768, 1280×720, 1280×960, 1280×1024, 1400×1050, 1680×1050, 1680×1200, 1920×1080, 1920×1200, 1920×1440, 2560×1440
A Bloom Of Jellyfish
“I love going to aquariums – the colors, patterns, and array of blue hues attract the nature lover in me while still appeasing my design eye. One of the highlights is always the jellyfish tanks. They usually have some kind of light show in them, which makes the jellyfish fade from an intense magenta to a deep purple — and it literally tickles me pink. We discovered that the collective noun for jellyfish is a bloom and, well, it was love-at-first-collective-noun all over again. I’ve used some intense colors to warm up your desktop and hopefully transport you into the depths of your own aquarium.” — Designed by Wonderland Collective from South Africa.

preview
without calendar: 320×480, 800×600, 1024×768, 1280×960, 1680×1050, 1920×1200, 2560×1440
Colorful Summer
“‘Always keep mint on your windowsill in August, to ensure that the buzzing flies will stay outside where they belong. Don’t think summer is over, even when roses droop and turn brown and the stars shift position in the sky. Never presume August is a safe or reliable time of the year.’ (Alice Hoffman)” — Designed by Lívi from Hungary.
preview
without calendar: 800×480, 1024×768, 1280×720, 1280×1024, 1400×1050, 1680×1050, 1680×1200, 1920×1200, 2560×1440, 3475×4633
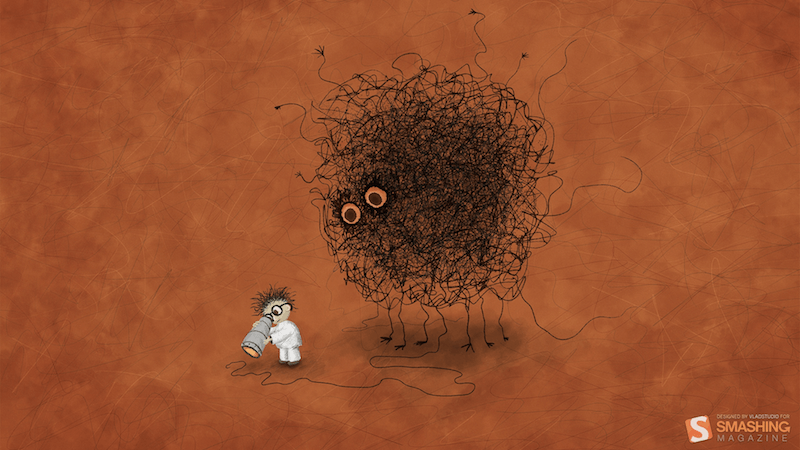
Searching For Higgs Boson
Designed by Vlad Gerasimov from Georgia.
preview
without calendar: 800×600, 960×600, 1024×768, 1152×864, 1229×768, 1280×800, 1280×960, 1280×1024, 1400×1050, 1440×900, 1440×900, 1440×960, 1600×1200, 1600×1200, 1680×1050, 1728×1080, 1920×1200, 1920×1440, 2304×1440, 2560×1600
Freak Show Vol. 1
Designed by Ricardo Gimenes from Spain.

preview
without calendar: 640×480, 800×480, 800×600, 1024×768, 1024×1024, 1152×864, 1280×720, 1280×800, 1280×960, 1280×1024, 1366×768, 1400×1050, 1440×900, 1600×1200, 1680×1050, 1680×1200, 1920×1080, 1920×1200, 1920×1440, 2560×1440, 3840×2160
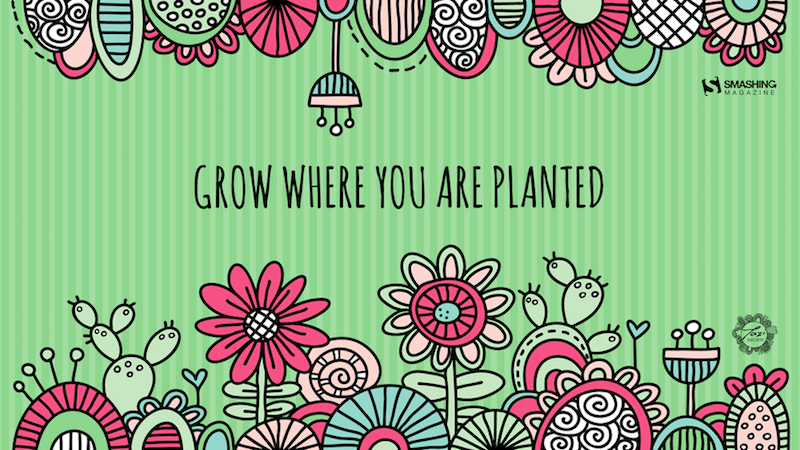
Grow Where You Are Planted
“Every experience is a building block on your own life journey, so try to make the most of where you are in life and get the most out of each day.” — Designed by Tazi Design from Australia.
preview
without calendar: 320×480, 640×480, 800×600, 1024×768, 1152×864, 1280×720, 1280×960, 1600×1200, 1920×1080, 1920×1440, 2560×1440
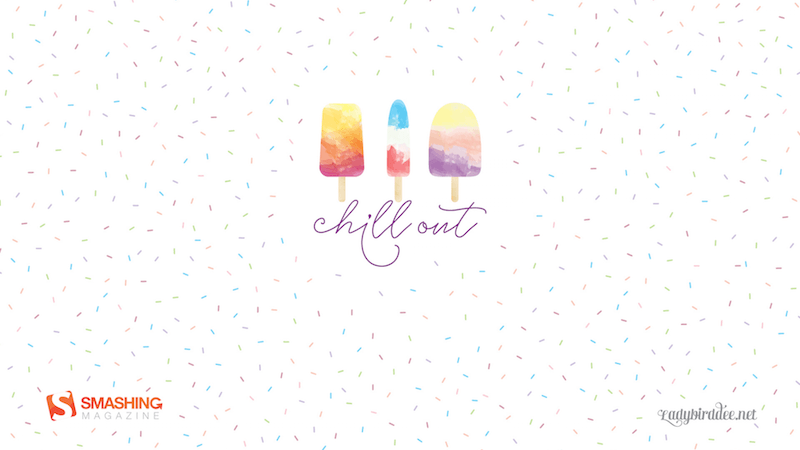
Chill Out
“Summer is in full swing and Chicago is feeling the heat! Take some time to chill out!” — Designed by Denise Johnson from Chicago.
preview
without calendar: 1024×768, 1280×800, 1280×1024, 1440×900, 1600×1200, 1920×1200
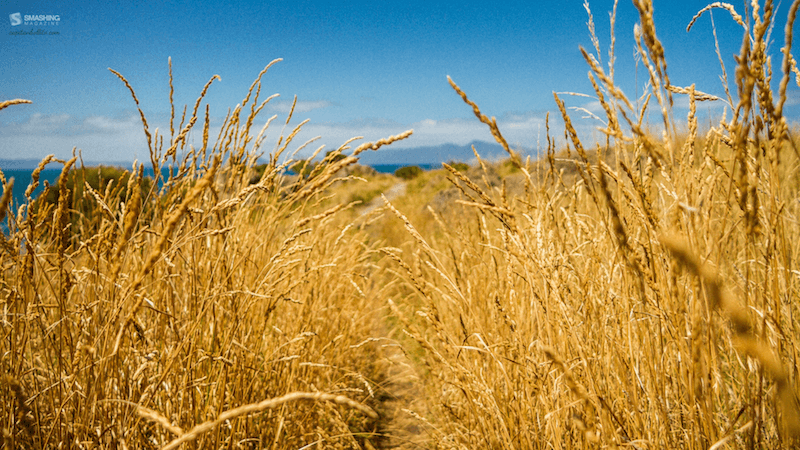
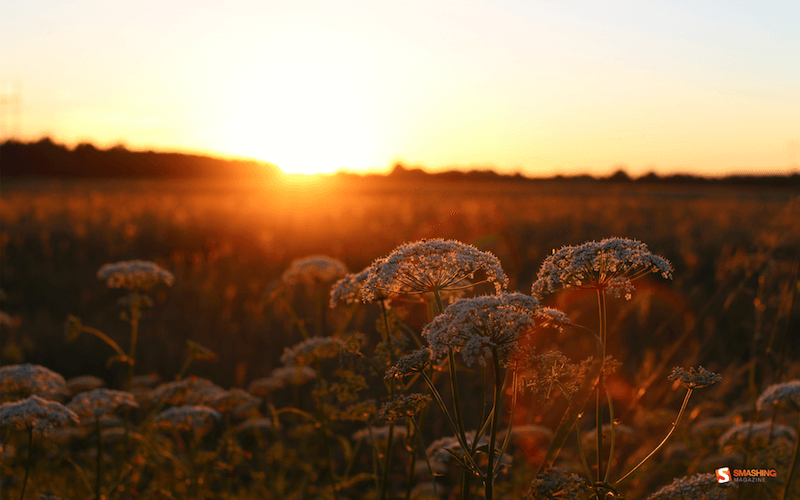
Estonian Summer Sun
“This is a moment from Southern Estonia that shows amazing summer nights.” Designed by Erkki Pung from Estonia.
preview
without calendar: 320×480, 1024×1024, 1280×800, 1440×900, 1920×1200