Contrado Print on Demand Review: The Complete Guide for 2024
Original Source: https://ecommerce-platforms.com/articles/contrado-review
In today’s Contrado review, I’ll be taking a behind-the-scenes look at one of the top print-on-demand alternatives to Printify and Printful for UK sellers.
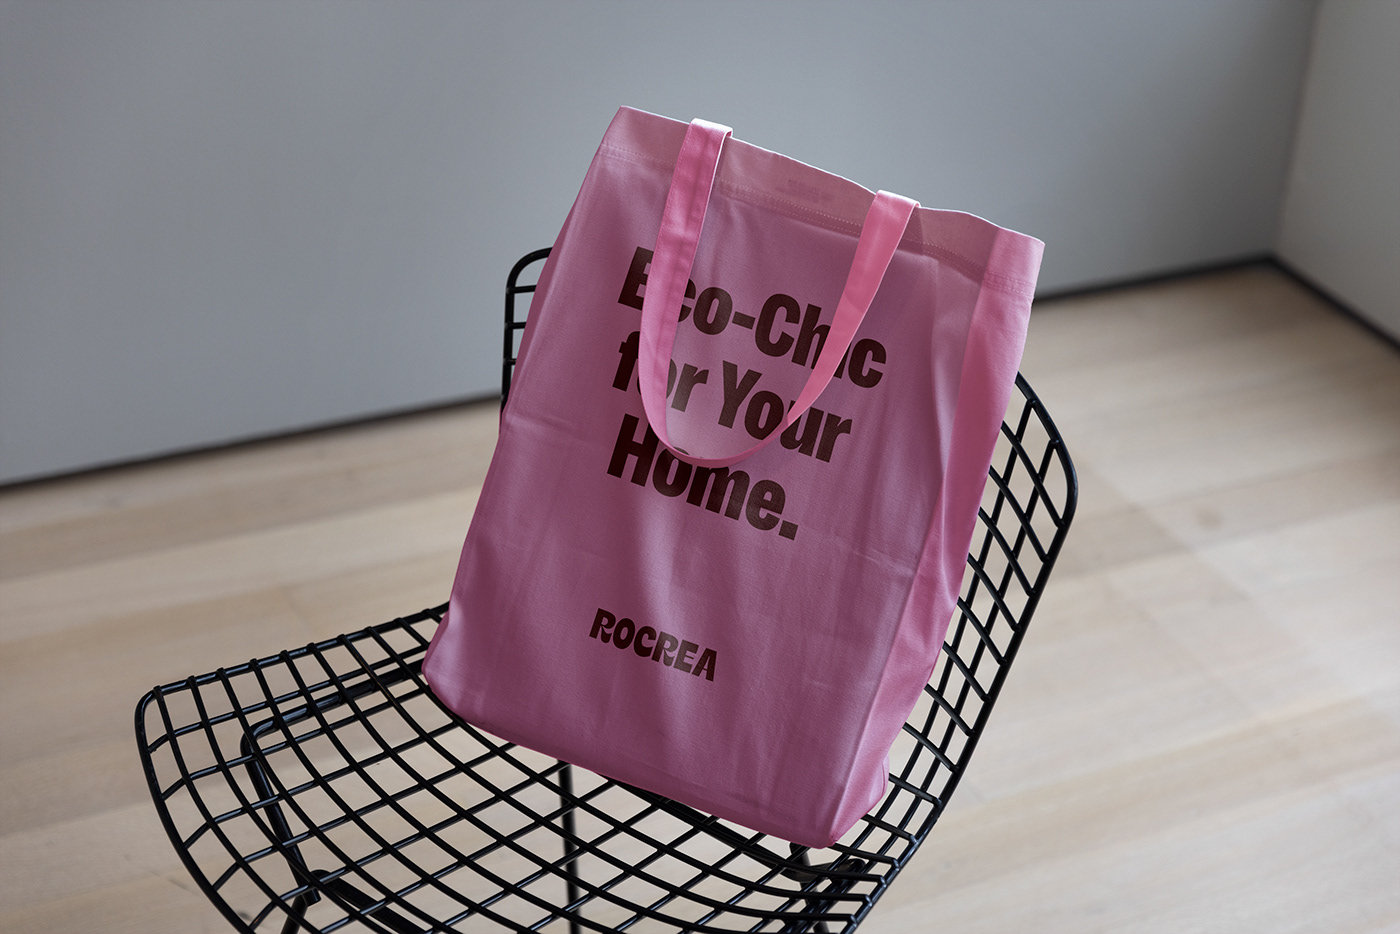
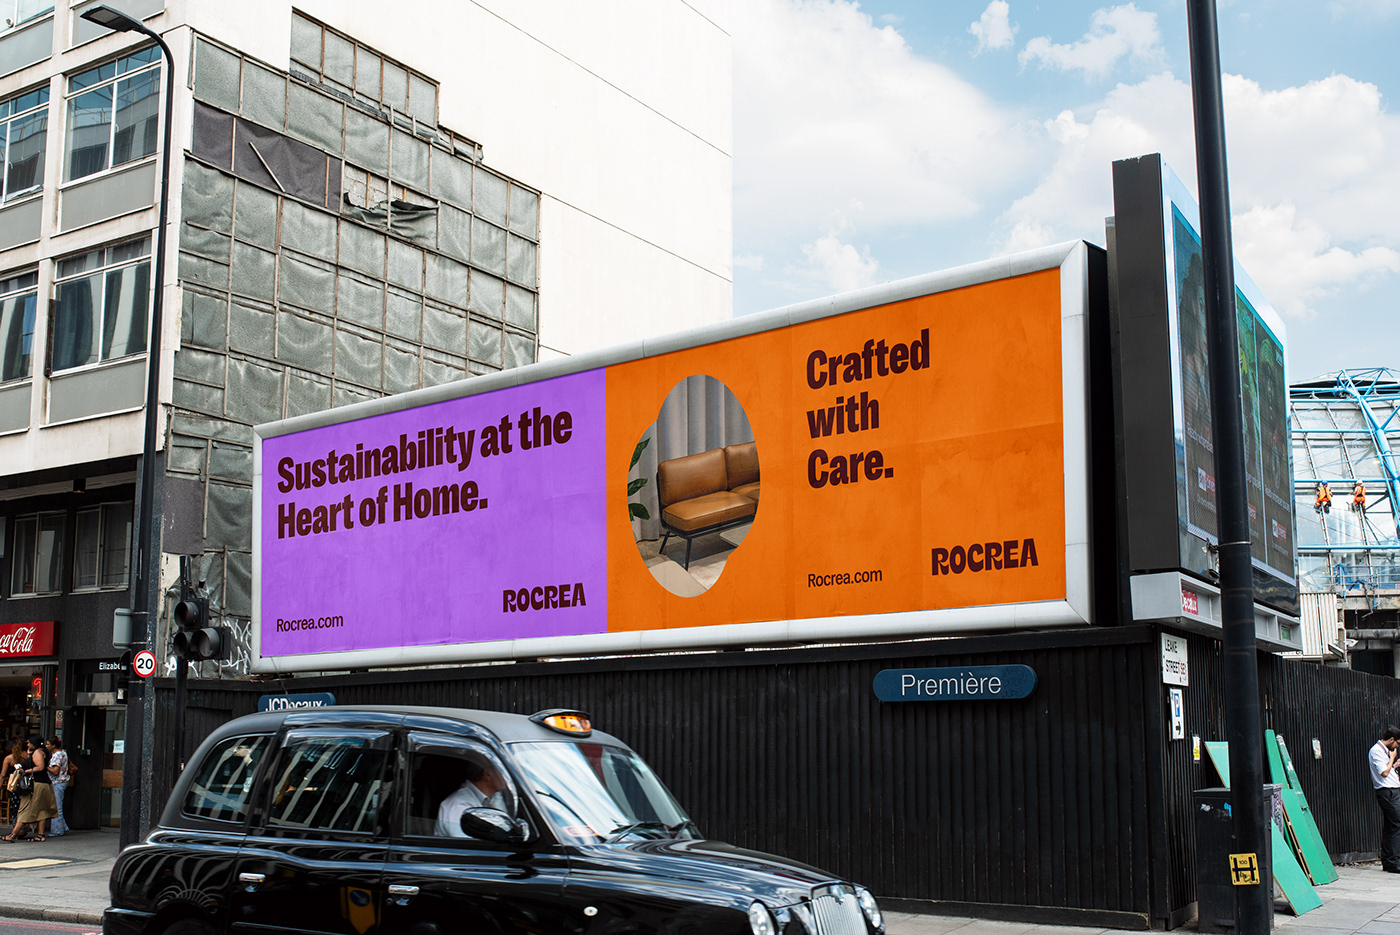
Contrado is a fantastic solution for creative entrepreneurs and individuals who need help designing unique fabrics, clothing, accessories, and even home and wall art.
Alongside offering rapid production times of just 1-2 days, Contrado also produces sustainable and ethical goods, that align with the priorities of today’s consumers.
Here, I’ll guide you through what you can accomplish with Contrado as a print-on-demand business, the pricing for its products and services, and more.
Quick Verdict
I consider Contrado to be an excellent print on demand solution for creators in the UK. It offers more than 450 products to choose from, an easy-to-use design tool, and exceptional high-quality fabrics.
Plus, it promises rapid production and delivery times, making it easy to delight your customers. The biggest downside is its limited integrations with ecommerce platforms.
What is Contrado and How Does it Work?
Contrado is a print on demand company that allows creators to design custom fabrics, home products, clothing, and accessories, and outsource production and fulfillment to their UK-based team.
Like most POD companies, Contrado doesn’t impose any minimum order quantities on creators. All products are produced “on demand” when your customer places an order.
Currently, Contrado has more than 450 products to choose from, including sustainable and eco-friendly items, and it offers access to an excellent, easy-to-use design tool. It can also offer rapid production and fulfillment times, getting some products to customers in around 5 business days.
With Contrado, you don’t have to pay a monthly fee or even sign up for an account to use the service. You can simply choose the product you want to customize from the company’s collection, and click “start design” to begin customizing your product.
Notably, although Contrado is based in the UK, it does offer worldwide delivery to a range of countries, including the USA. Plus, there’s an “artist marketplace”, where users can list their products alongside other items from independent creators. This means you don’t necessarily need to create your own store to start selling.
How Much Does it Cost?
Contrado doesn’t charge any monthly fees to creators. You don’t even need to sign up for an account to start creating products. All you pay for is the base price of your item, any customization costs, and the shipping fees (if you’re not charging those to your customers).
From what I could see, Contrado’s prices are a little higher than what you might expect from most print on demand companies. I think the reason for this is that Contrado specializes in “all over print”, which means you get more “premium” looking items.
The price of a t-shirt, for instance, starts at around $38.95, although Contrado does regularly offer discounts on some of its products. Additionally, there are volume and wholesale discounts available, as well as the option to get 20% off if you’re a student.
Delivery prices also vary depending on where you are in the world. If you’re based in the UK, prices start at £2.49 for tracked, standard shipping (1-3 days). There’s also the option for next-day delivery, Saturday deliveries, and click and collect.
If your customers are in the US, however, standard delivery starts at $9.95 (2-4 days), or you can upgrade to express delivery for $15.94.
Design Tools and Features
Creating a custom product with Contrado is pretty straightforward. All you need to do is visit the website, and click on the item you want to customize. Virtually all of Contrado’s products are sustainably printed, and can include a custom label for branding.
Once you click the “Start Design” button on the product page, you’ll automatically be taken to Contrado’s simple design tool. You can choose the fit of your product, packaging options, design options, thread colors, and even add your own label:
There’s also some handy design tools, including a library of clip art and pattern options to choose from. Once you’ve chosen your design, you can experiment with text and placement, then preview your design and add it to your cart.
Notably, there’s not much of a “mockup generator” available here. You can see a 360-degree image of your product, but you can’t see it in “lifestyle” photos like you’d be able to with something like Printful.
Once you’ve completed your design, you can add it to your shopping bag, and choose your delivery options. It’s as simple as that.
Alongside simple design tools, Contrado also offers access to a few extra features, such as:
Standard and express delivery options.
Custom packaging and label printing
A profit calculator to help you choose the right product prices
Product Options and Quality
In terms of product options, Contrado offers around 450 products to customize. There’s even the option to print your own fabrics if you want to create products from scratch yourself. With fabric printing, you also have a range of printing methods to choose from, such as reactive printing, pigment printing, and sublimation printing.
You can also design custom labels, swatch packs and color charts, leather and card swing tags, transfer paper designs, and more. Some of the popular products offered by Contrado include:
Wall art and wallpaper (framed prints, canvas prints, and metal prints)
Kitchen and dining products (cookware, glassware, kitchen accessories)
Home furnishings (bedding, blankets, rugs, curtains, and stationery)
Women’s clothing (Tops, t-shirts, dresses, footwear, swimwear, and more)
Men’s clothing (T-shirts, jackets, footwear, sportswear, and button-up shirts)
Kid’s accessories (Baby sleeping bags, blankets, teddy bears, and bids)
Women’s accessories (purses, wallets, leather bags, socks, and scarves)
Men’s accessories (Ties, wallets, suitcases, pocket squares, cufflinks)
Contrado actually offers a wide selection of unique products you won’t find from more print on demand vendors, making it an excellent way to differentiate yourself in the growing market. However, the prices for those products are pretty high.
From what I can tell, Contrado uses exceptional high-quality materials, and sustainable inks for all of its products. It also has excellent reviews for crisp, clean, and beautiful prints.
However, there’s no option to order a discounted sample of your products, which makes it difficult to verify the quality for yourself.
Contrado Selling Options and Integrations
Unfortunately, I couldn’t find many ways to actually connect your Contrado products to third-party marketplaces and ecommerce platforms. The only integration I could find was one for Shopify, which allows you to automatically add the products from your Contrado account to Shopify, and use the solution for automated dropshipping.
Outside of using Shopify with Contrado, the only way to order and sell products is to purchase them through Contrado directly and ship them straight to your customer. This means you’ll need to place every order manually, which can be time consuming as your business starts to scale.
Notably, however, you can purchase products wholesale, or in bulk, for a discount, so there is an option to purchase more products yourself, store them and ship them to your customers manually, but this might not be an appealing choice for those who want the simplicity of the standard print on demand experience.
Alternatively, you can always use the Contrado marketplace to showcase your products alongside other creators, but this does mean you’ll have to compete for attention against other sellers.
Contrado Customer Support
Like most print on demand vendors, Contrado offers a few options for customer support. First, there’s a basic help center where you can find some information about connecting Contrado to Shopify, managing products, and automating certain aspects of your POD business.
You can also connect with the team directly through their live chat feature, check your order status on the website, and reach out via phone, between the hours of 6pm to 2:30am EST.
Unfortunately, there’s no 24/7 support option, which might be a problem, particularly if you’re located outside of the UK, where the opening hours are a little unusual. Still, if you do manage to catch the team online, then you should expect an answer to your questions pretty quickly.
Pros and Cons
Pros:
Easy to use and intuitive design tools
Wide range of unique product options
Exceptional printing and production quality
Lots of printing options
Plenty of branding solutions (such as custom labels)
Rapid fulfillment and delivery times
Cons:
Expensive pricing for most products
Shipping options can vary outside of the UK
Limited customer support outside of the UK
Not many integration options
Contrado Review: The Verdict
Ultimately, I think Contrado is an excellent solution or print on demand sellers in the UK that want access to high-quality and unique products, produced and delivered rapidly to customers. It also has excellent design tools and resources that make it easy to launch your POD brand.
However, it does have some downsides, such as expensive product pricing, and limited integrations with platforms outside of Shopify.
If you’re located outside of the UK, or you want to sell your products on a range of different channels, I’d recommend considering options like Printful or Printify instead. Those companies can also offer slightly cheaper products, although it’s worth noting that the product quality for any POD provider can vary.
The post Contrado Print on Demand Review: The Complete Guide for 2024 appeared first on Ecommerce Platforms.