Original Source: http://feedproxy.google.com/~r/CreativeBloq/~3/5viPRuctSck/tools-every-graphic-designer-should-have-6133208
In this guide, we've rounded up the hardware, software and other graphic design tools that will help creatives of all levels work more effectively. Whether you're starting from scratch or looking to upgrade a specific piece of equipment, our recommendations will help you pick the best option.
Reliably equipment doesn't have to be expensive (take a look at our guide to the best free graphic design software if your budget it particularly tight), but here we've hand-picked the very best kit that money can buy. We wouldn't hesitate to recommend each item to our own friends and colleagues. Some might be a big investment, but all will be worthwhile in the long run.
We've split the products here into four sections: hardware (covering everything from workstations to extra storage); creative software; creative tools (think sketchpads and Pantone books); and home office items. You'll find our list of essential graphic design books elsewhere on the site.
Here are 16 must-have graphic design tools for starters…
01. Laptop
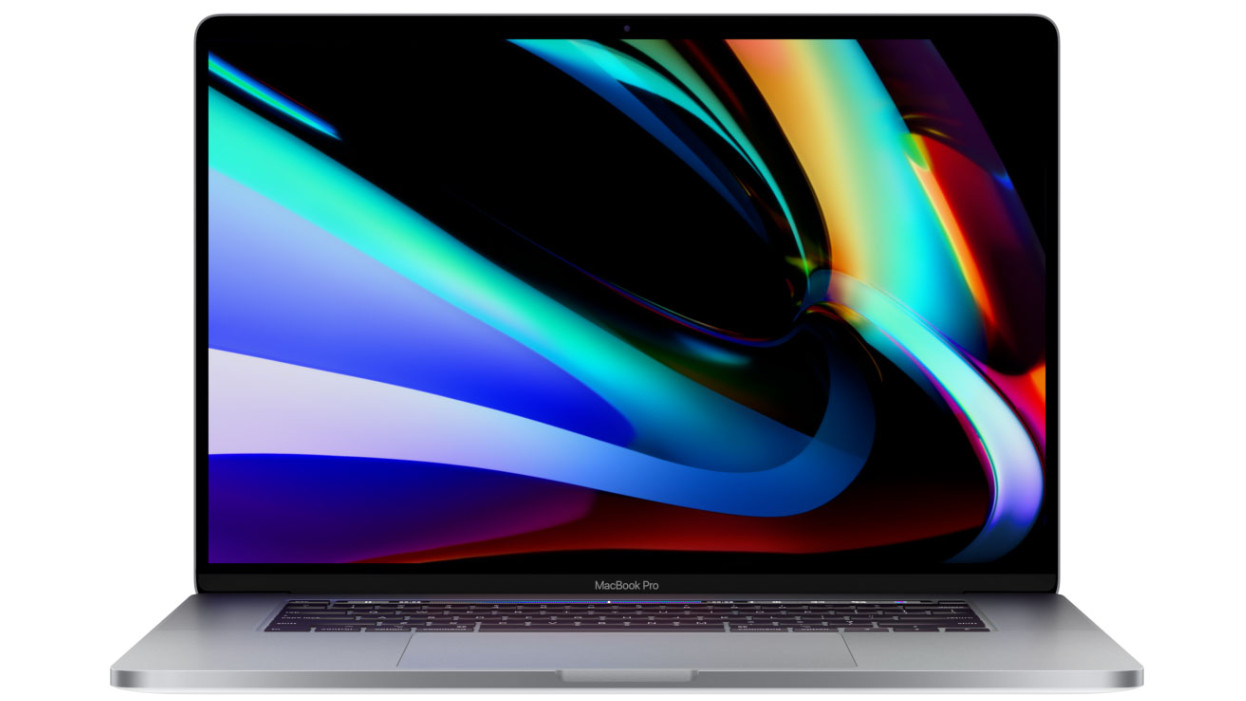
Apple's most powerful laptop to date, the 16-inch MacBook Pro is the perfect tool for graphic designers, whether you're working on the move or at home.
When creating the new MacBook Pro, Apple's stated aim was to give fans "more of what they love", and it did exactly that. The most obvious feature is the new, larger screen, which is ideally suited to design work. It's also improved the keyboard; gone are the troublesome Butterfly switches that plagued earlier models, replaced with more responsive scissor switches, as found on the Magic Keyboard.
Battery life is exceptional too, which is particularly impressive considering this laptop's powerful components. It can be configured with up to 64GB RAM (a first for a MacBook) and up to 8TB storage so you don't need to rely on an external hard drive.
Of course, all this doesn't come cheap, and the highest specifications command particularly high prices, but if you're looking for a laptop that'll keep performing flawlessly for years and will never hold you back, this is an excellent investment.
Also read: The best laptops for graphic design
02. Desktop

A desktop powerhouse created with professionals in mind, the iMac Pro remains the gold standard for graphic designers. It features a true 5K Retina display, and can be configured with an astonishing 256GB RAM, an 18-core Intel Xeon W processor and Radeon Pro Vega 64X graphics with 16GB of HBM2 memory.
As with the MacBook Pro above, this kind of power comes at a price, but for resource-intensive work like rendering 3D models, video editing and animation, the cost will be well worth the time saved.
Despite some serious upgrades under the hood, Apple has maintained the iMac Pro's signature look, with a chassis that's just 5mm thick and weighs a mere 700G, keeping your desk clear and clutter-free.
We've yet to get our hands on the new (and even more powerful) Mac Pro, but until then, this is the best desktop machine a graphic designer can buy.
Also read: The best desktops for graphic design
03. Monitor calibrator
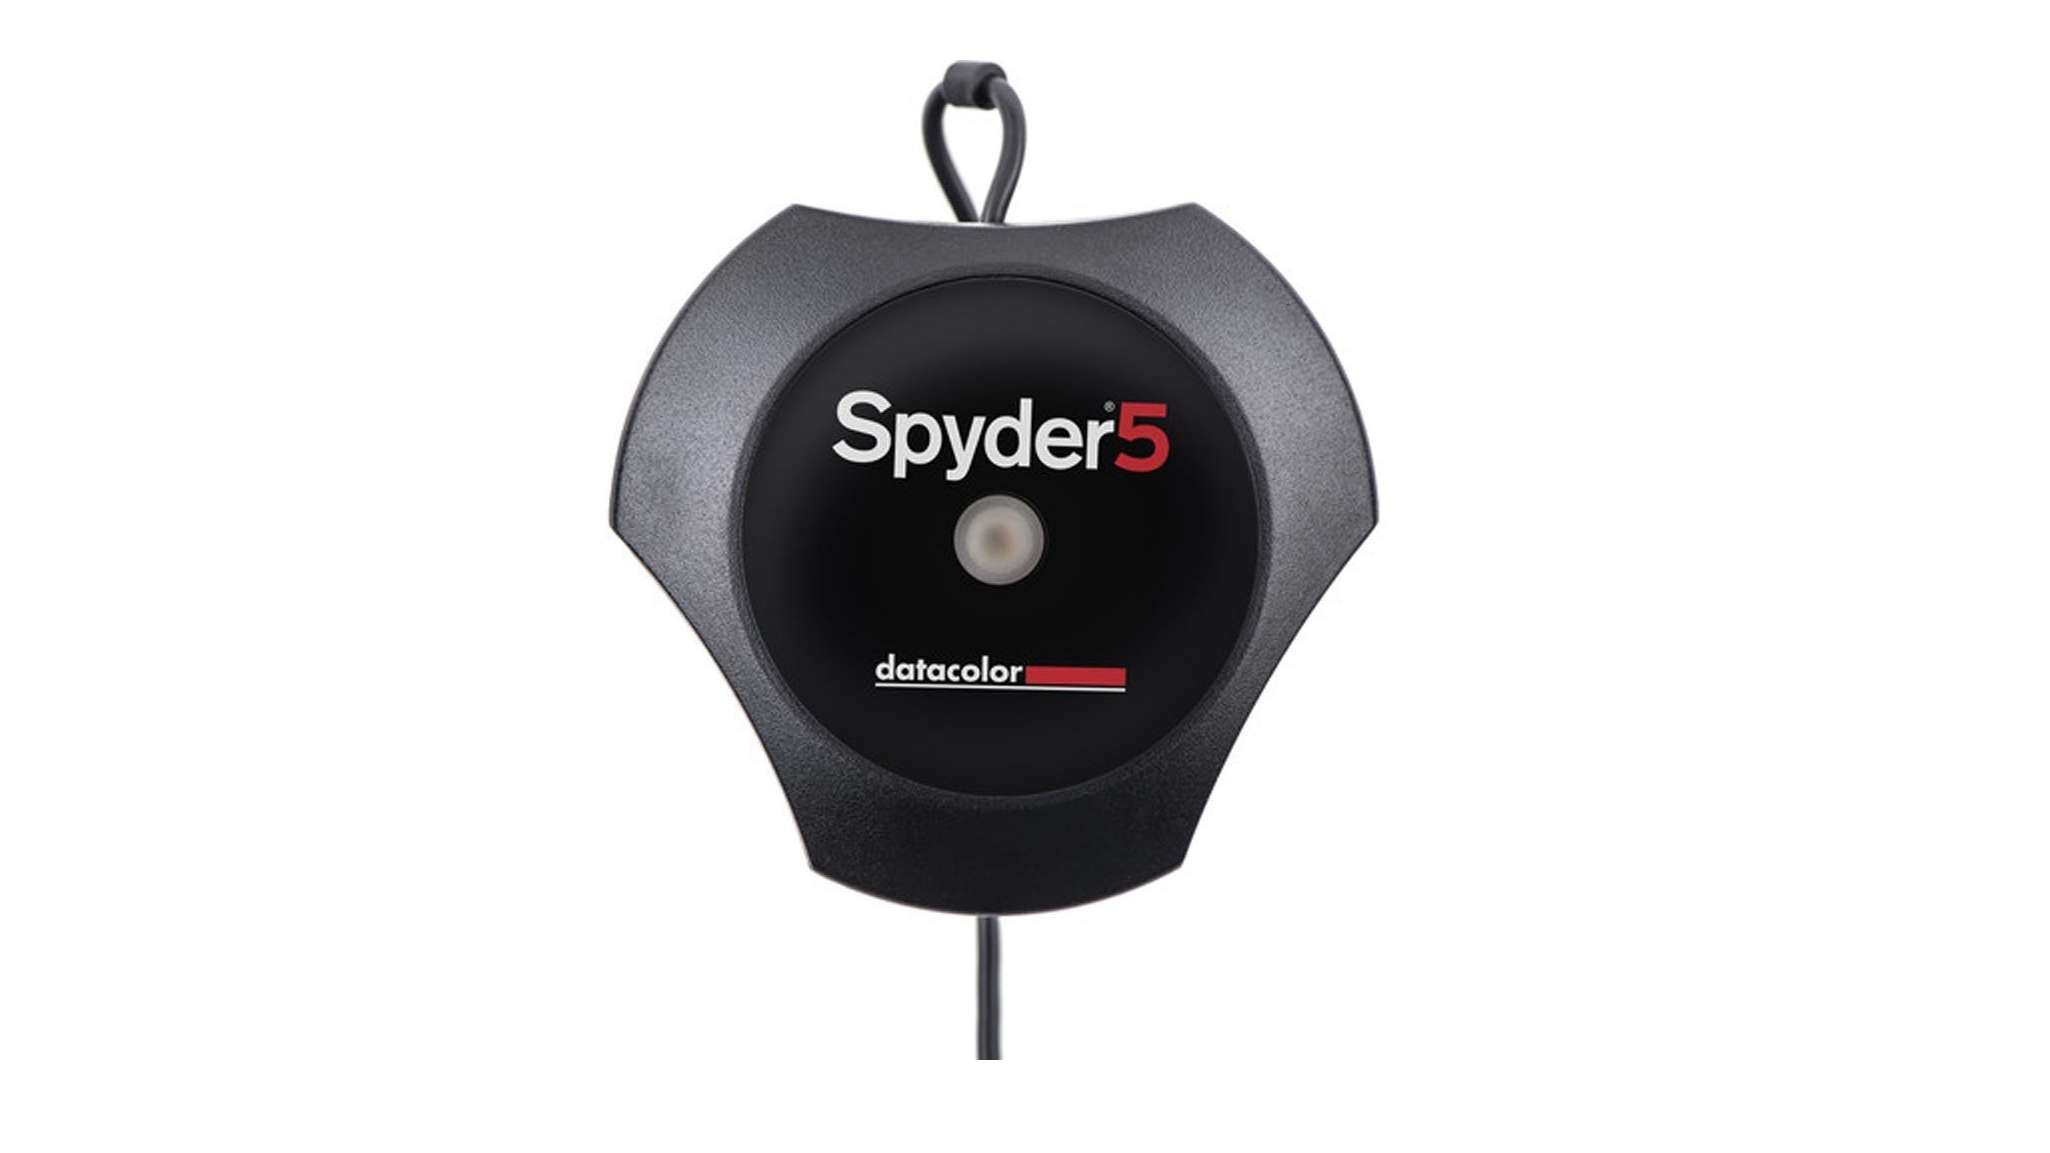
A properly calibrated monitor is essential for making sure your screen displays colours as accurately as possible. Windows and macOS both include their own calibration tools, but for the best results you can't beat a hardware calibrator like the superb Datacolor Spyder5ELITE.
This calibrator is a particularly choice if you need to calibrate several displays to a single target configuration, whether they're laptops, desktop monitors or a mix. It features both wizard and expert settings for different levels of experience.
You also get a 90-day trial of the Adobe Creative Cloud Photography Plan thrown in, so you can put your newly calibrated screens to work.
Also read: The best monitor calibrators for creatives
04. Reliable hard drive

The Western Digital My Passport Ultra is a neat external drive that gives you up to 5TB for your most important files. The optional WD SmartWare Pro software (available for Windows and macOS) lets you easily configure automatic backups, so you never need to worry about losing a client's work.
The My Passport Ultra is fast too, with impressive read and write speeds for quick transfers (essential for large image and video files). This is made possible by its USB-C connectivity, though it comes with a USB 3.1 adaptor for older devices too (albeit at slower rates).
At just 231g, it's ideal for carrying on the move, and fits neatly into a backpack, satchel or pocket in its own cloth carry bag.
Also read: The best external hard drives
05. Graphics tablet and stylus

Only a couple of years ago, the name Wacom was synonymous with graphics tablets for professionals, but the iPad Pro and Apple Pencil have now stolen the crown – particularly for designers who struggle to justify a tool that's tied to their desk. The iPad Pro is a superb device for digital drawing, but does far more besides.
Whether you opt for the 11-inch or 12.9-inch model, the latest iPad Pro borrows the nearly bezel-free design of recent iPhones, giving you an expanse of smooth glass to work on. Apple's Smart Keyboard transforms it into a powerful laptop, and the new Apple Pencil makes it even more versatile.
Apple has dropped the Lightning connector in favour a magnetic function, so the Pencil now snaps smartly onto the top of a new iPad Pro for pairing, charging and storage. What's more, gesture support has also been added, allowing you to switch between app tools with a quick double tap, for example.
We're likely to see a new iPad Pro later in 2020, with even more impressive specifications, but either of the current models is an excellent choice for digital drawing, wherever you happen to be.
Of course, some designers and artists will prefer the precise pressure sensitivity and control you can only get with a dedicated graphics tablet. If you're among them, the Wacom Cintiq 22 is our tablet of choice, providing a great balance of screen, size, ergonomics and value. If your budget will stretch a little further, the Wacom Intuos Pro is an even more powerful option, and is available in a choice of sizes (with prices to match).
Also read: The best drawing and graphics tablets
06. Top-end smartphone

The iPhone 11 Pro Max might be the most sought-after flagship phone of 2020, but our handset of choice is the Samsung Galaxy S10 Plus. The Snapdragon 855 processor makes it one of the fastest Android phones around, but there's a lot more here for designers to take note of.
The S10 Plus is slightly larger than the regular S10, giving you a full 6.4 inches of Super AMOLED screen to work with. Colour reproduction is excellent, and there's impressive dynamic range.
The trio of rear-facing cameras (for normal, telephoto and wide-angle photos) are superb, too. The main camera's dual-aperture lens captures sharp images, even in low light, and the wide-angle lens captures a 123-degree field of view. Even Google can't match that. Videos benefit from image stabilisation, and this is the first Samsung phone able to record video in HDR.
The battery will last a whole day in typical conditions, and you can even use the S10 Plus to charge other devices wirelessly.
Also read: The best smartphones for designers
07. Studio camera

The Nikon D5300 is an ideal DSLR if you're looking for something that will perform well and provide many years of reliable service. Together with a versatile lens kit, it'll help you achieve great shots without breaking the bank.
This is definitely an entry-level DSLR, and can't record video in 4K, but its still images are super crisp (partly due to the absence of an anti-aliasing filter) and the new EXPEED 4 processing engine means noise is well controlled, even in dark images.
The camera's chassis is made from a single piece of polycarbonate, meaning there are fewer joints, seams and potential weak points. It's also unusually light, making it easier to carry when you need to leave the studio. It's a shame there's no touchscreen, so you'll have to navigate the camera's many menus using physical buttons, but the interface is pretty straightforward and shouldn't present much of a barrier to you achieving professional quality images.
Also read: The best cameras for creatives
08. High-res monitor

Unlike many ultra-wide monitors, the Asus Designo Curve MX38VC is designed with creatives rather than gamers in mind and eschews flashy design for a smart frameless look and practical features. Of course, the main attraction here is the huge 38-inch panel, which gives you masses of workspace without the need for multiple monitors.
It's designed to be kind to your eyes, too, minimising glare and flicker to help avoid strain and discomfort when you're putting in long hours. It doesn't offer the fastest refresh rates around, but the viewing angles are excellent and its unusual height means it doesn't feel as compressed as some ultra-wide monitors.
Its connectivity is excellent, with DisplayPort, USB-C and two HDMI connections at your disposal, plus Bluetooth. It even features a built-in Qi wireless charger, so you can simply set your phone down underneath your screen and pick it up later, fully powered up.
Also read: The best monitors right now
Back to top
09. Creative software
Adobe’s Creative Cloud is the industry standard for design professionals
Adobe Creative Cloud is the industry standard for design professionals – the range and depth in its suite of tools is unrivalled by any other company. But it comes at a cost, and even if you can snap it up during one of Adobe's occasional sales, an all-apps subscription represents a big investment.
Still, you get Photoshop, Illustrator, InDesign, After Effects and loads more. If you’re looking to be truly multi-disciplined and regularly share a workflow with other designers, go for it. But if your work revolves purely around vector design and photo-editing/manipulation, it's not the only choice.
Affinity Designer and Affinity Photo are both excellent tools from Serif – even topping Photoshop and Illustrator in some areas – and cost around £50 each, outright, with free updates. Superb file compatibility means you can collaborate with Photoshop and Illustrator users too. You could also check out these 6 amazing free Adobe CC alternatives.
If you own an iPad, the newly released Adobe Fresco is well worth considering, It aims to recreate the feeling of drawing and painting with traditional media on a tablet, and has been created with professional designers and artists in mind (though it's also accessible enough to pick up quickly).
10. Antivirus software

It's all too easy to fall victim to a virus or malware. You don't even need to be doing anything particularly risky; simply opening a PDF that appears to be a client invoice could be enough to infect your computer, encrypting or deleting your extremely valuable work. If you've made regular backups, this could be extremely frustrating; if you haven't, it could be catastrophic.
Bitdefender Antivirus Plus 2020 is a full security suite that can protect up to 10 devices, including Windows PCs, Macs and Android phones. It provides real-time protection from viruses and malware, plus phishing attempts (when a person tries to trick you into entering usernames, passwords and financial details into a fake website). Even if it hasn't come across a particular threat before, the software can identify suspicious programs based on their behaviour and quarantine them before they have the chance to cause harm.
Bitdefender Antivirus Plus 2020 also comes with a super-secure browser specifically for online banking and shopping, to help keep your card and account details secure. There's also a file shredder if you need to delete any confidential information from a client so it can't be recovered.
Bitdefender often runs special offers, so if you're lucky you'll be able to save a considerable amount off the regular asking price, which is great value already.
Also read: The best antivirus software for designers
11. VPN software
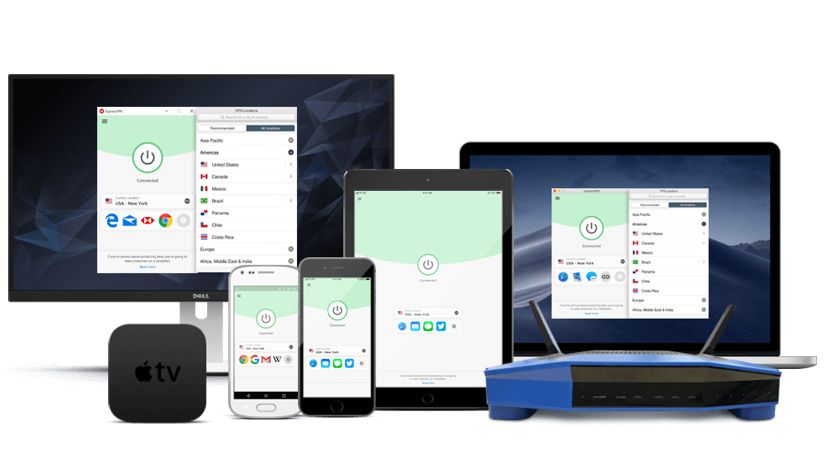
A VPN can be essential if you're travelling, and not just for countries like China where tools like Google Docs are blocked by a national firewall. ExpressVPN will also protect you when you're using public Wi-Fi hotspots in cafes and shared workspaces, preventing any would-be crooks from snooping on your online activity.
It does this by using an encrypted connection to redirect your web traffic through one of 160 servers, spread throughout 94 countries. If that sounds intimidating, don't worry; ExpressVPN's interface makes it all easy to use and understand, and if you do happen to get stuck there's live support available 24/7.
It doesn't just work with laptop and desktop computers, either; there are mobile apps for your smartphone and tablet too, and you can even install ExpressVPN on many routers to secure every device on your home Wi-Fi network.
Unlike many VPN services, ExpressVPN also gives a 30-day money-back guarantee, so you won't be left out of pocked if you discover it's not the right service for you.
Also read: The best VPN deals
12. Productivity software
In 2020, Google Docs is much more than a web-based version of classic productivity suites like Microsoft Office, and has come along in bounds and strides since it first appeared as a free service.
Apart from making your documents, spreadsheets and slides accessible from any browser (as well as supremely easy to collaborate on with other users), the online suite employs an intuitive interface that even integrates Google's vast search features when you need them.
There's a range of quality templates ready for you to use, plus third-party add-ins available that offer features you'd normally find in Microsoft Office, like mail merge and a more advanced equation editor. You can also use Google Translate to convert one of your documents into another language. And if you want more collaboration features, you can always plump for the subscription-based version of Google Docs, now called G Suite.
Back to top
13. Quality sketchbook or notebook
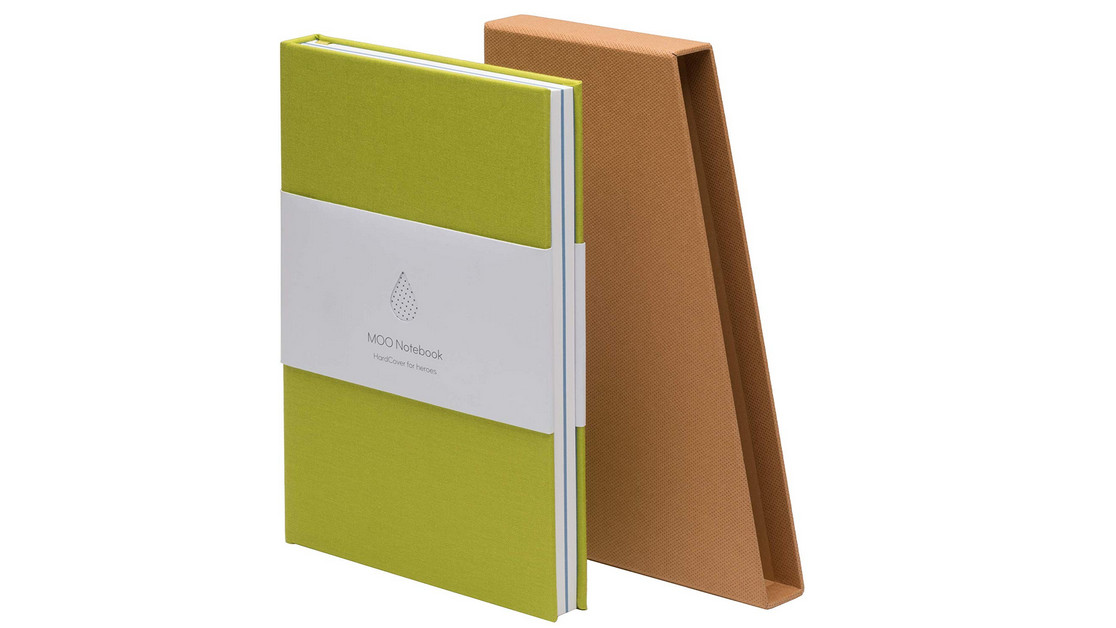
MOO is a brand best known for its made-to-order business cards, but it also produces some of the best notebooks for designers. It might sound unlikely but the MOO Hardcover Notebook was created by the company's in-house designers, and their expertise really shows. It features non-glare ruled paper, plus 16 sheets of shaded paper in the middle for sketches, and can be laid completely flat on your desk for easier working.
If you need an unruled notebook, a Moleskine Classic is still impossible to beat. It comes in a huge variety of shapes, styles and paper types, but whichever one you opt for, the quality is consistently excellent. The company also makes some of the world's best sketchbooks, including the Moleskine Art Collection Sketchbook. Its paper has enough tooth for most dry media while still being pleasantly smooth, and its price is very reasonable for 240-page pad.
14. Pantone swatch book
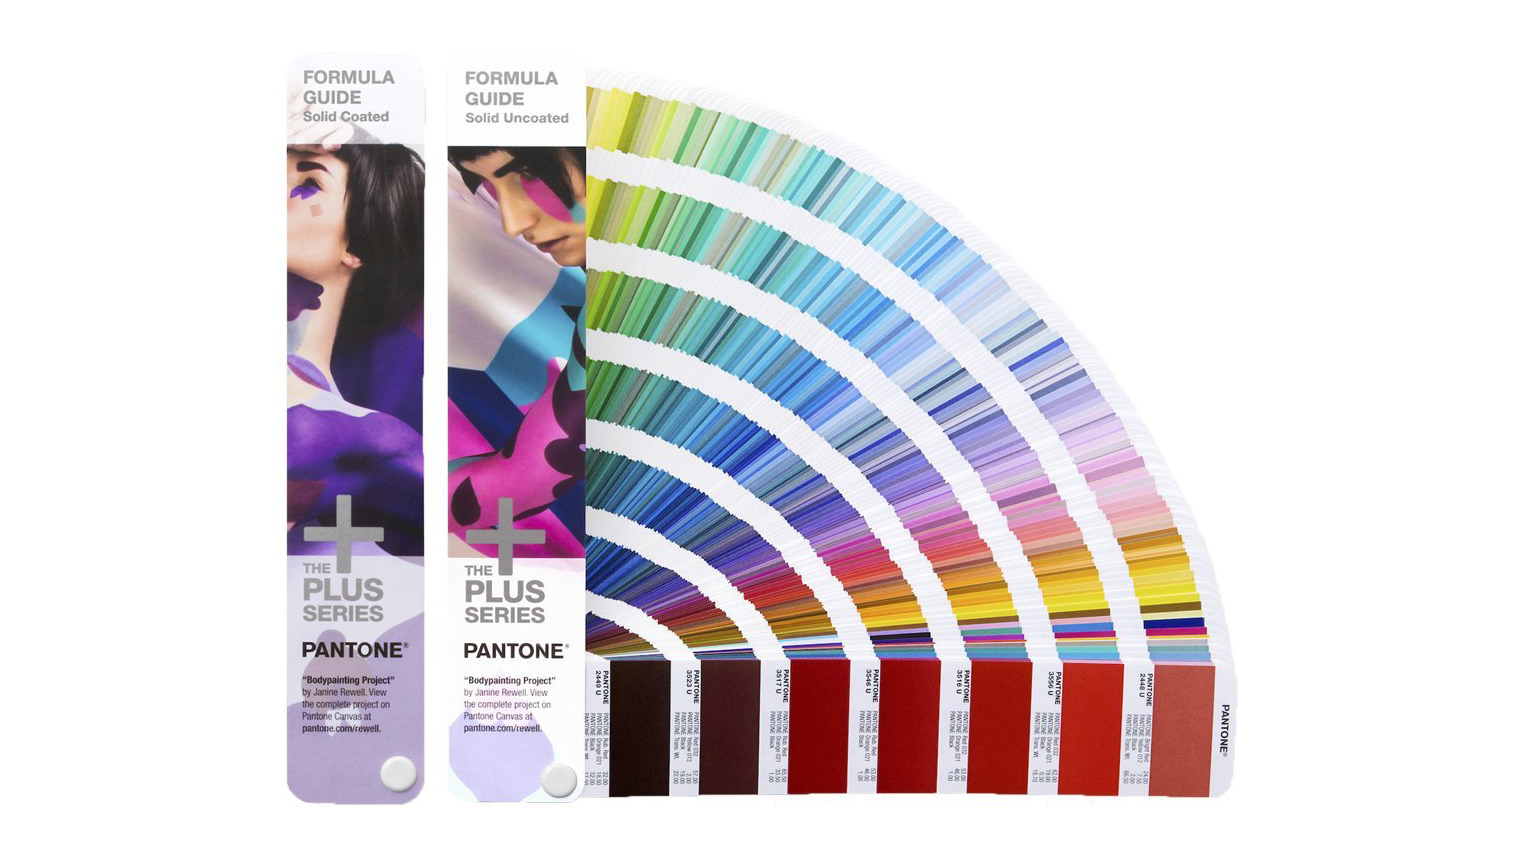
When you're working in print, you need to know exactly how spot colours are going to look. The only way to do that is to invest in a Pantone swatch book, and while they aren't cheap, they are invaluable.
Before making a purchase, consider exactly which swatches you actually need. Neons and metallics are particularly hard to simulate on-screen, so dedicated swatch books for these are a good choice. Alternatively, a five-part Pantone Plus Solid Guide Set will cost you £288/$329, and will cover both.
For more versatile day-to-day use, the Pantone Plus Color Bridge Set presents the spectrum of spot-colours alongside their closest CMYK match – ideal where your client’s budget doesn’t stretch to a fifth colour for a certain job. Books of Pantone 'chips' are also available, which are great to pin to printers' proofs to ensure everyone's on the same page, colour-wise.
If you specialise in quality print and packaging work, and spot colours are a significant part of your daily workflow, it may be worth investing in the full-blown Pantone Reference Library for your studio to have the entire range at your fingertips, complete with fetching display stand. But you'll be paying £1,179/$1,620 for the privilege, so make sure you really need it.
Back to top
15. Variable desk

A standing desk can encourage you to be less sedentary, help reduce back pain and even decrease your risk of illness. With the Flytta 2 you have the option to switch between sitting and standing whenever you want, and adjust the level of the work surface to suit your height.
There's no need to fiddle with crank handles; the desk is raised and lowered smoothly by a pair of powerful motors, and can store your preferred height settings for quick access in future. Collision detection helps you avoid bumped knees, and the 120kg lift capacity means even heavy desktop computers won't be a problem.
16. Ergonomic chair

If there's one item that's really worth investing in, it's a high quality chair, and the Herman Miller Mirra 2 is our number one choice for keeping you comfortably supported all day. It's a little more affordable than the iconic Aeron chair, and features 10 different adjustment systems so you can customise it for the perfect sitting position.
The posture support is superb, helping you avoid back problems down the line, and alleviating any issues you may already have. The mesh design also helps regulate temperature, so there's no risk of getting hot and sweaty while working at your desk all day.
Back to top
Read more:
The best computer for graphic design10 productivity tools you can't be withoutThe best travel laptops right now



 In our increasingly global world, people travel by airplane…a lot. With rapid turnaround times, unpredictable weather, and unexpected delays, airlines both domestic and international frequently adjust their flight schedules to keep us moving.
