Stylish composition with mixing circles in Photoshop
Original Source: https://abduzeedo.com/stylish-composition-mixing-circles-photoshop
Stylish composition with mixing circles in Photoshop

abduzeedo1120—22
For this Photoshop tutorial I will show you how to create a super stylish image using circles and gradients with Layer Styles. Then we will add some little effects with blur and noises and that’s it. I promise you, it’s quite simple and a lot of fun. By the way, you can do this tutorial in Figma, Illustrator, Pixelmator, pretty much any tool you are familiar with that has gradients.
Step 1
Create a new document and with the Paint Bucket Tool “G”, fill the background layer with black (#000000).

Step 2
With the Ellipse Tool “U”, create a circle in your canvas.

Step 3
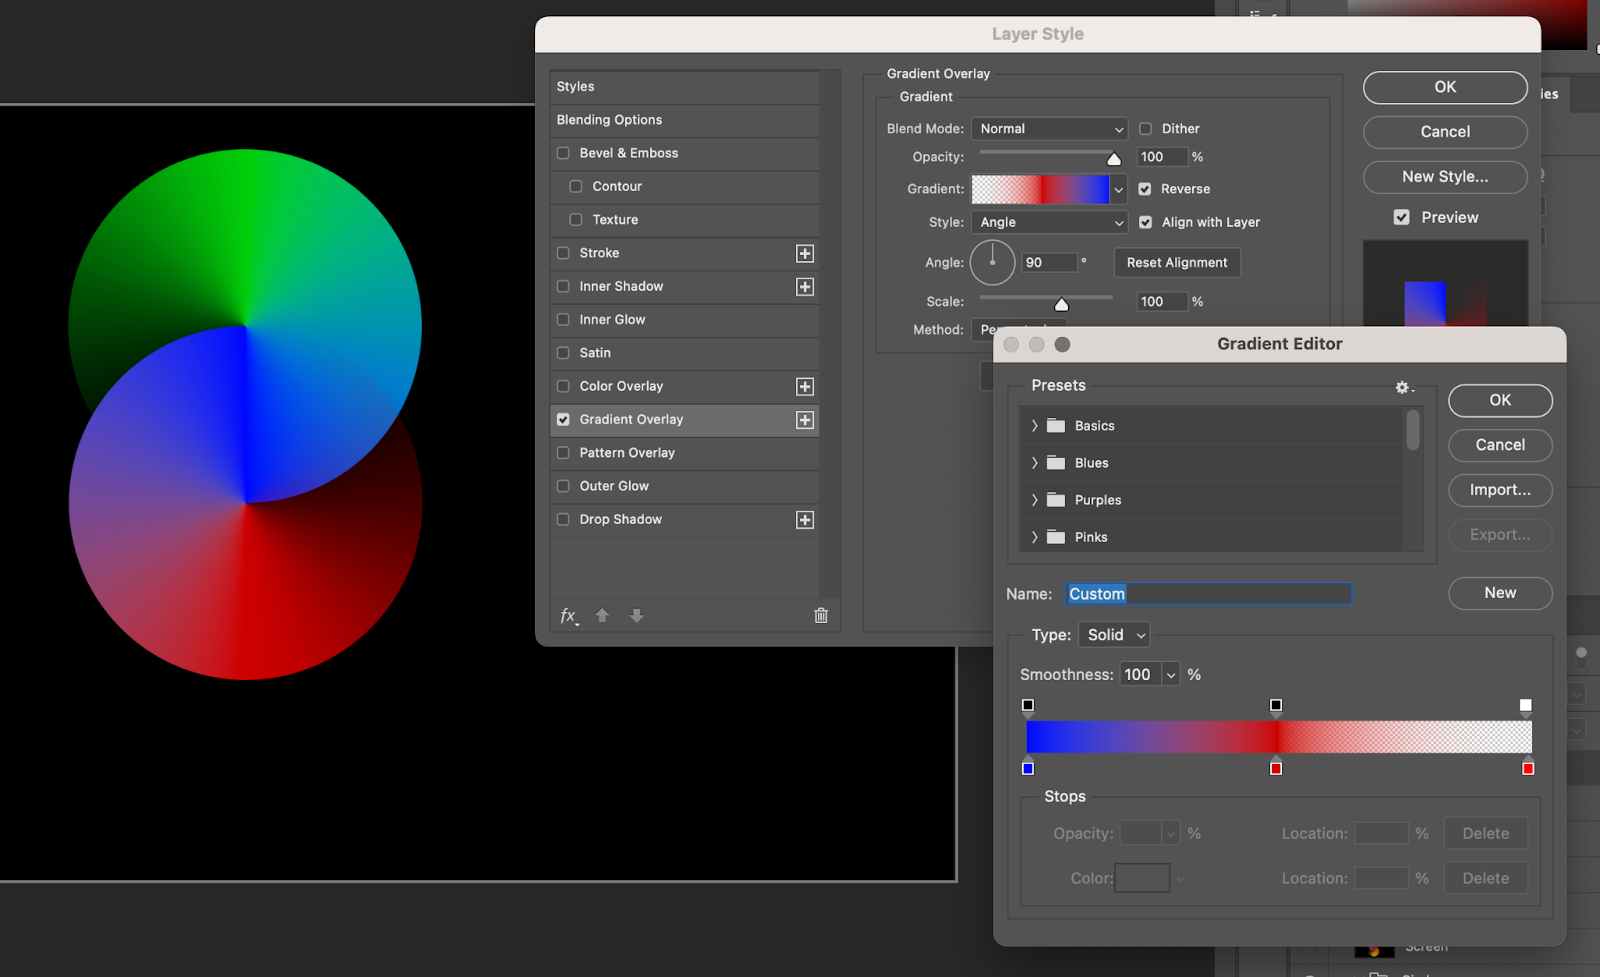
Now let’s use Layer Styles to add a gradient:
First change the Fill Opacity to 0;
Then in Gradient Overlay use Angle for the Style;
Use 3 Stops for the Gradient. For my first circle the first stop is Blue with 100% Opacity, the second stop is Green with 100% Opacity at 50% location, and the last stop is the same green but this time with 0% Opacity;
Change the Angle to -90 degrees.

Step 4
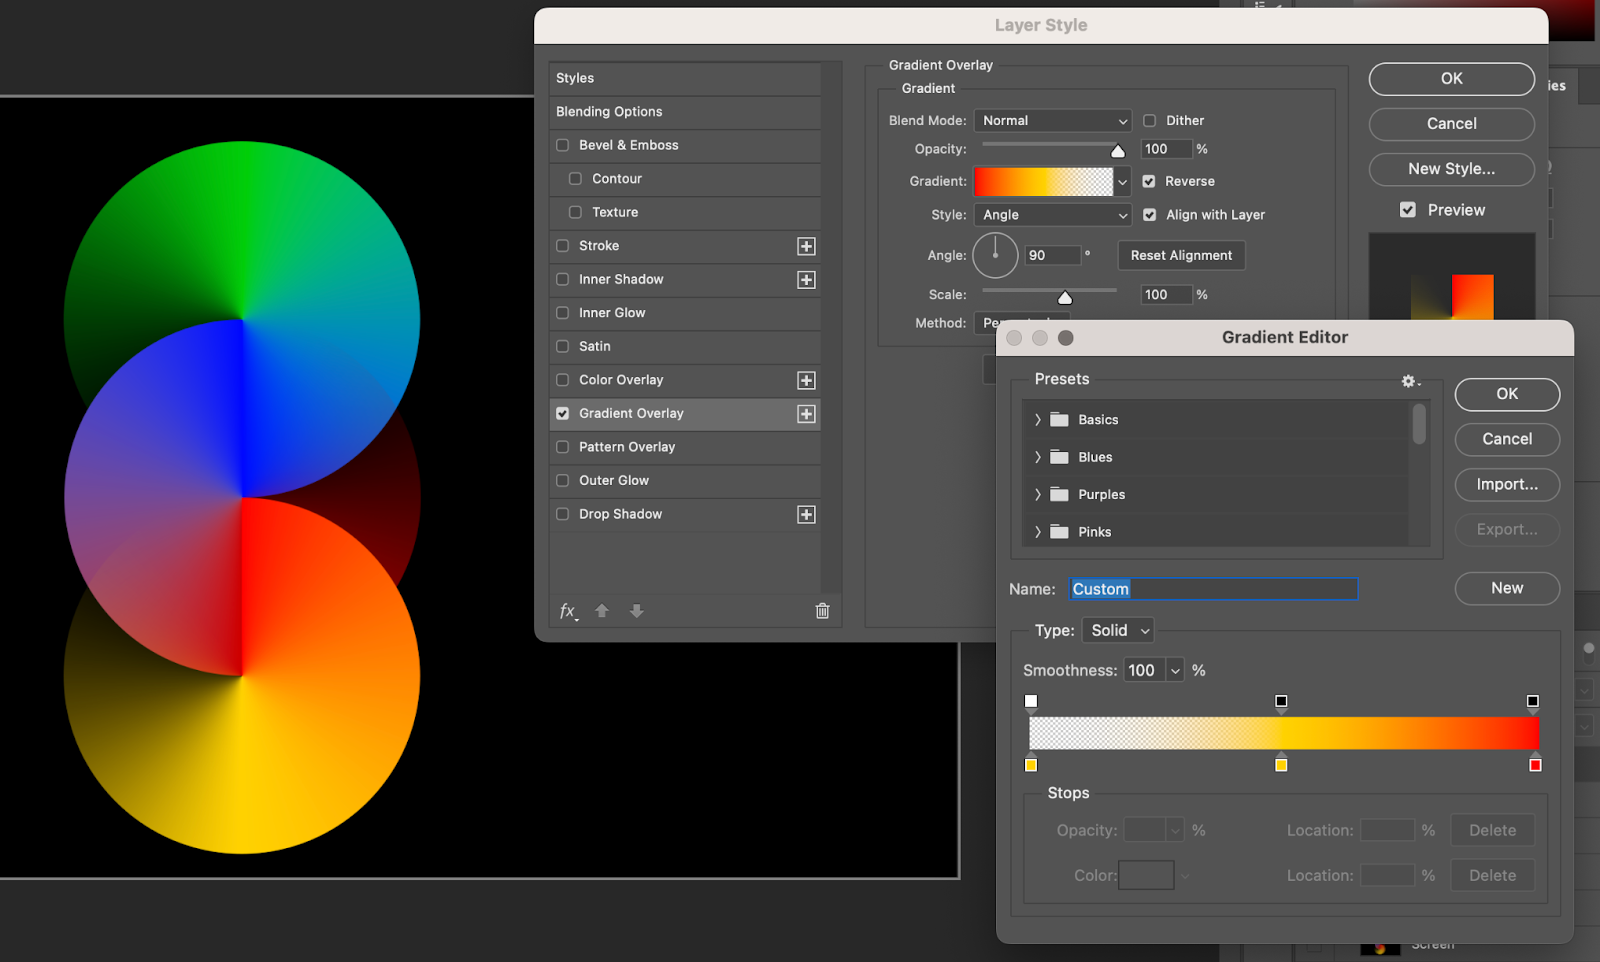
Duplicate the circle and move it down. Then change the gradient colors. For this one I used the same blue for the beginning, then replaced the green for red. Also change the angle to 90 degrees now. That will flip the gradient.
Step 5
Repeat the same process and move the third circle down. This time use yellow first, then yellow in the middle and red in the end. The end will be 100% Opacity while the first yellow will be 0% opacity. Keep the 90 degrees for the angle.
Step 6
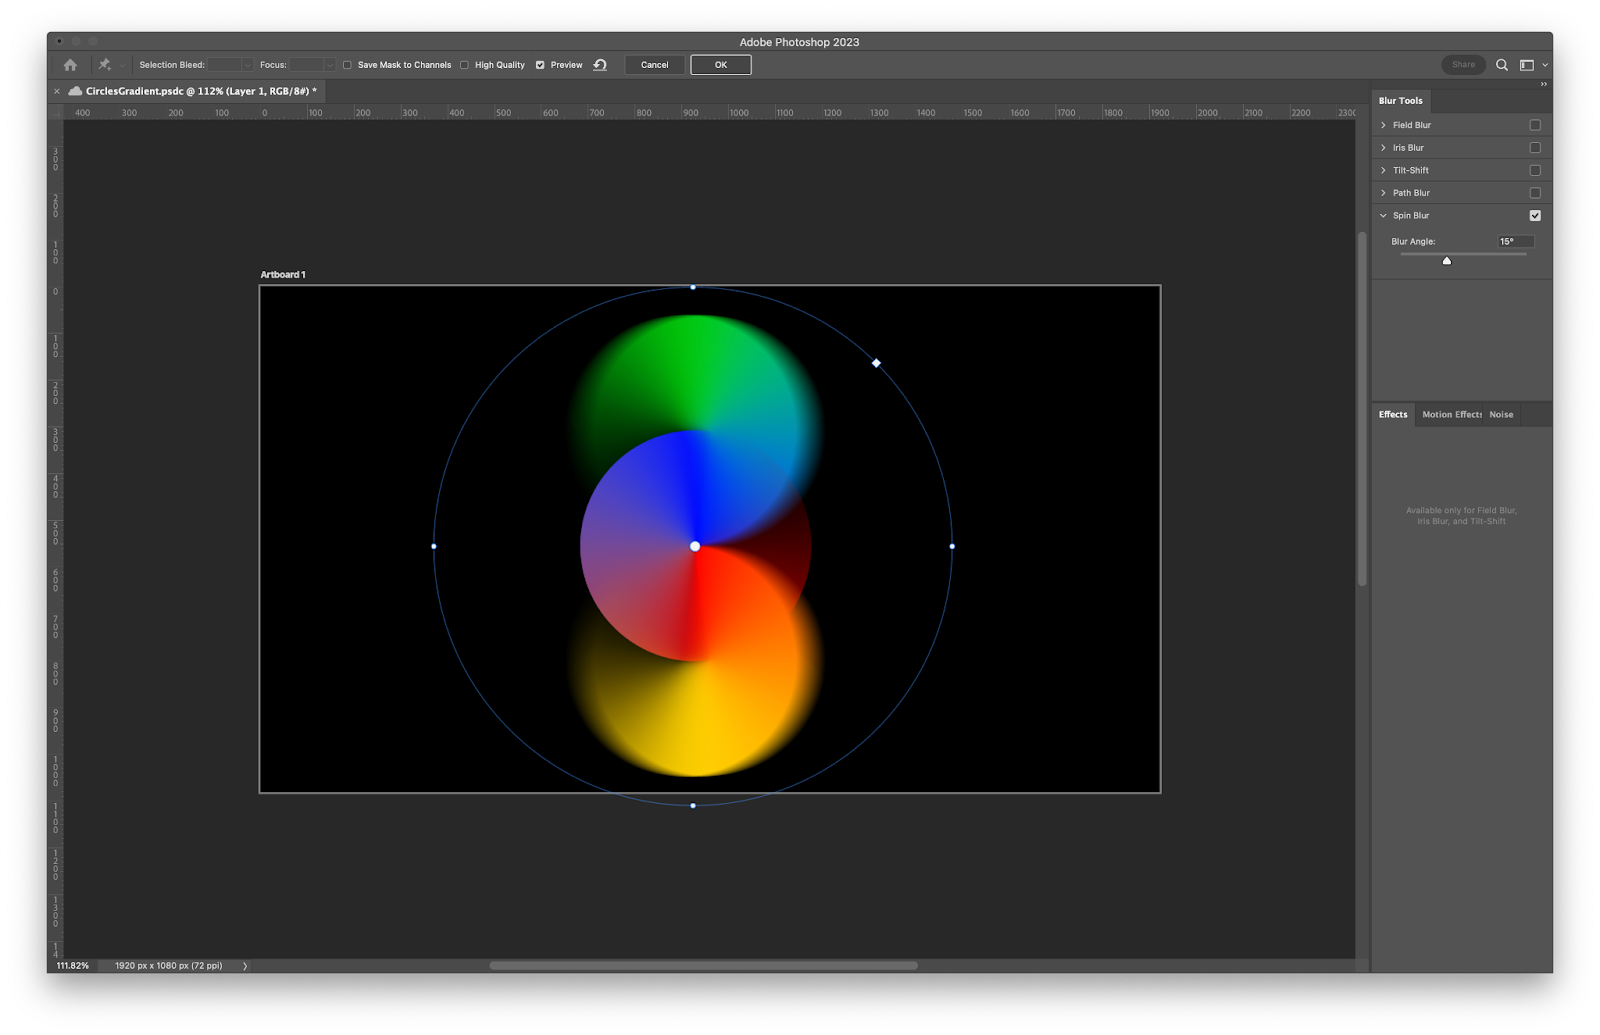
Create a layer with all the other layers merged by clicking Command+Option+Shift+5.
Apply a Tilt-Shift Blur (Filter>Blur Gallery>Tilt-Shift) to this layer.. Tweak with the values based on your taste. It doesn’t matter that much. After that change the Blend Mode to Screen.
Step 7
Duplicate this layer and change the Blend Mode to Overlay.
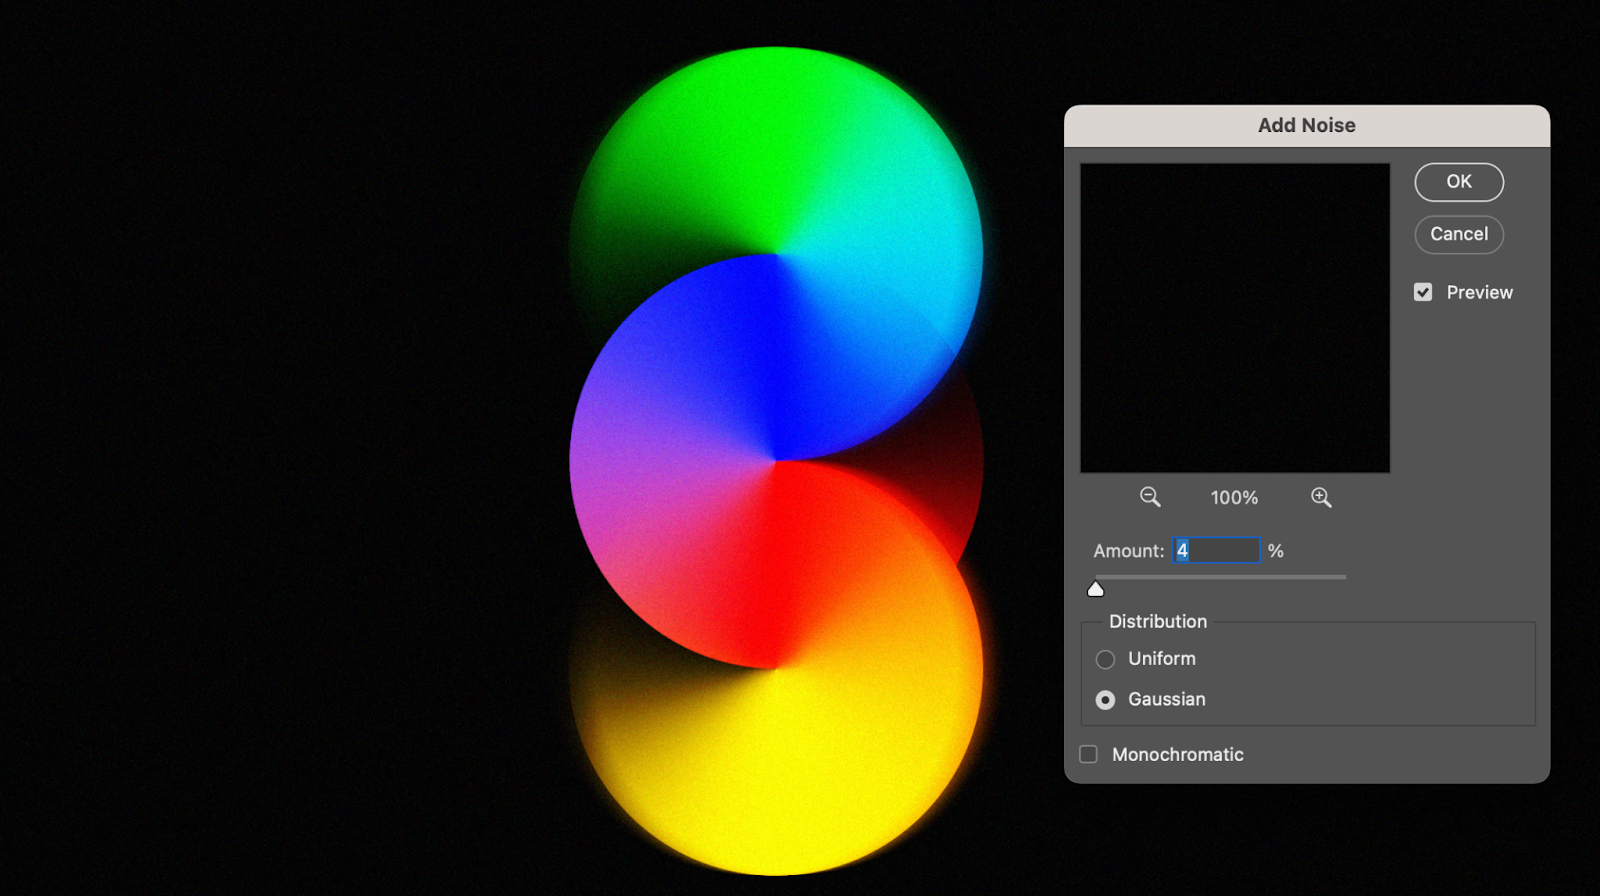
Step 8
Create a layer with all the other layers merged by clicking Command+Option+Shift+5. After that add some noise by going to Filters>Add Noise.
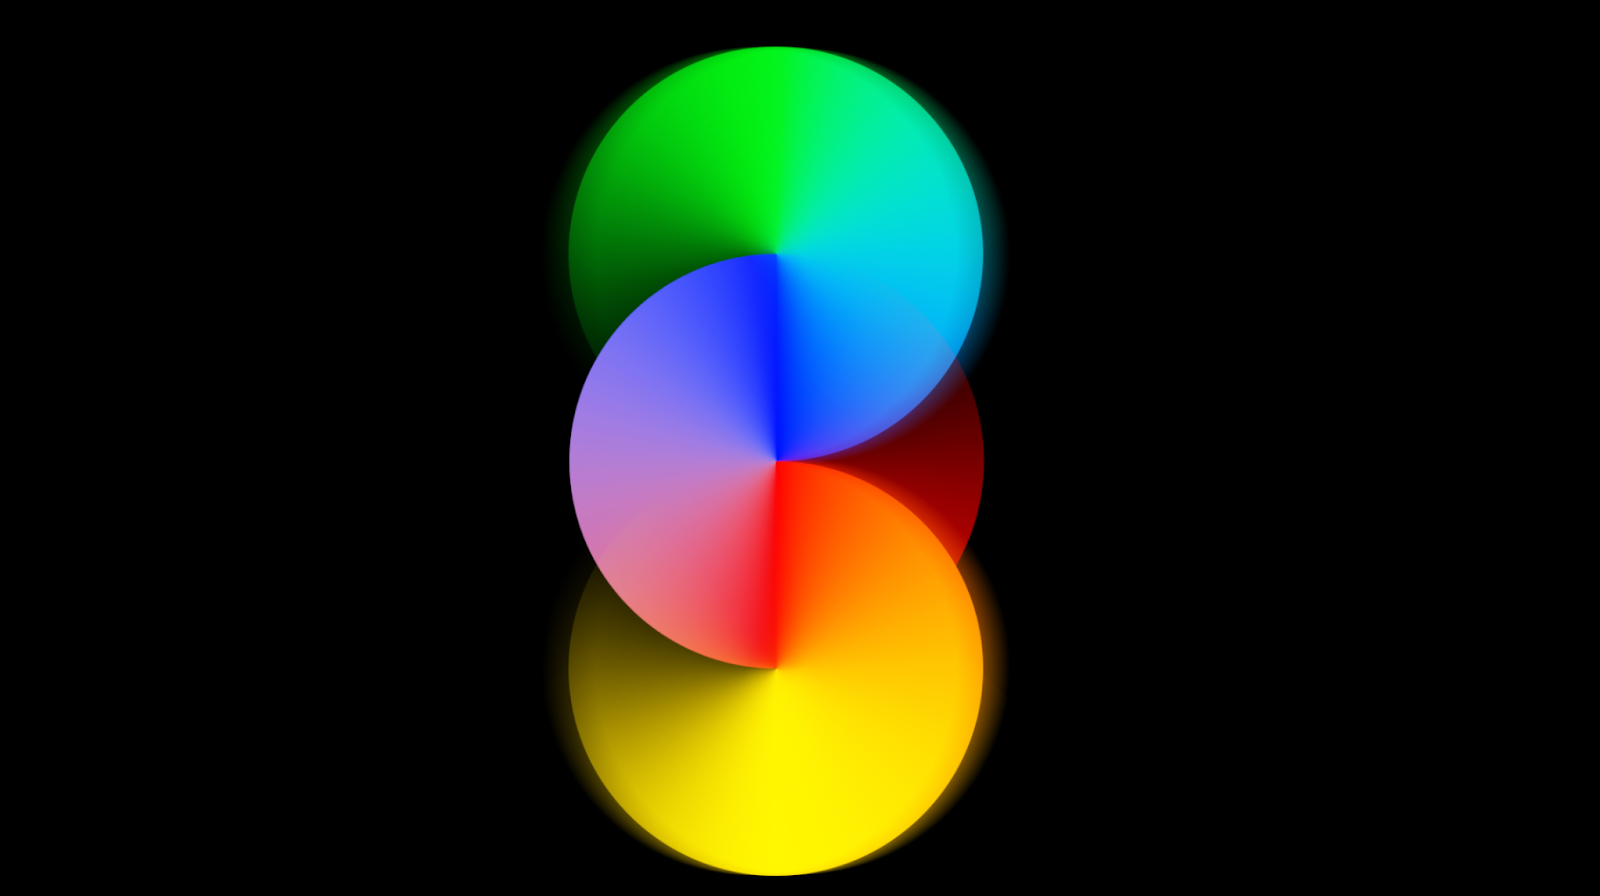
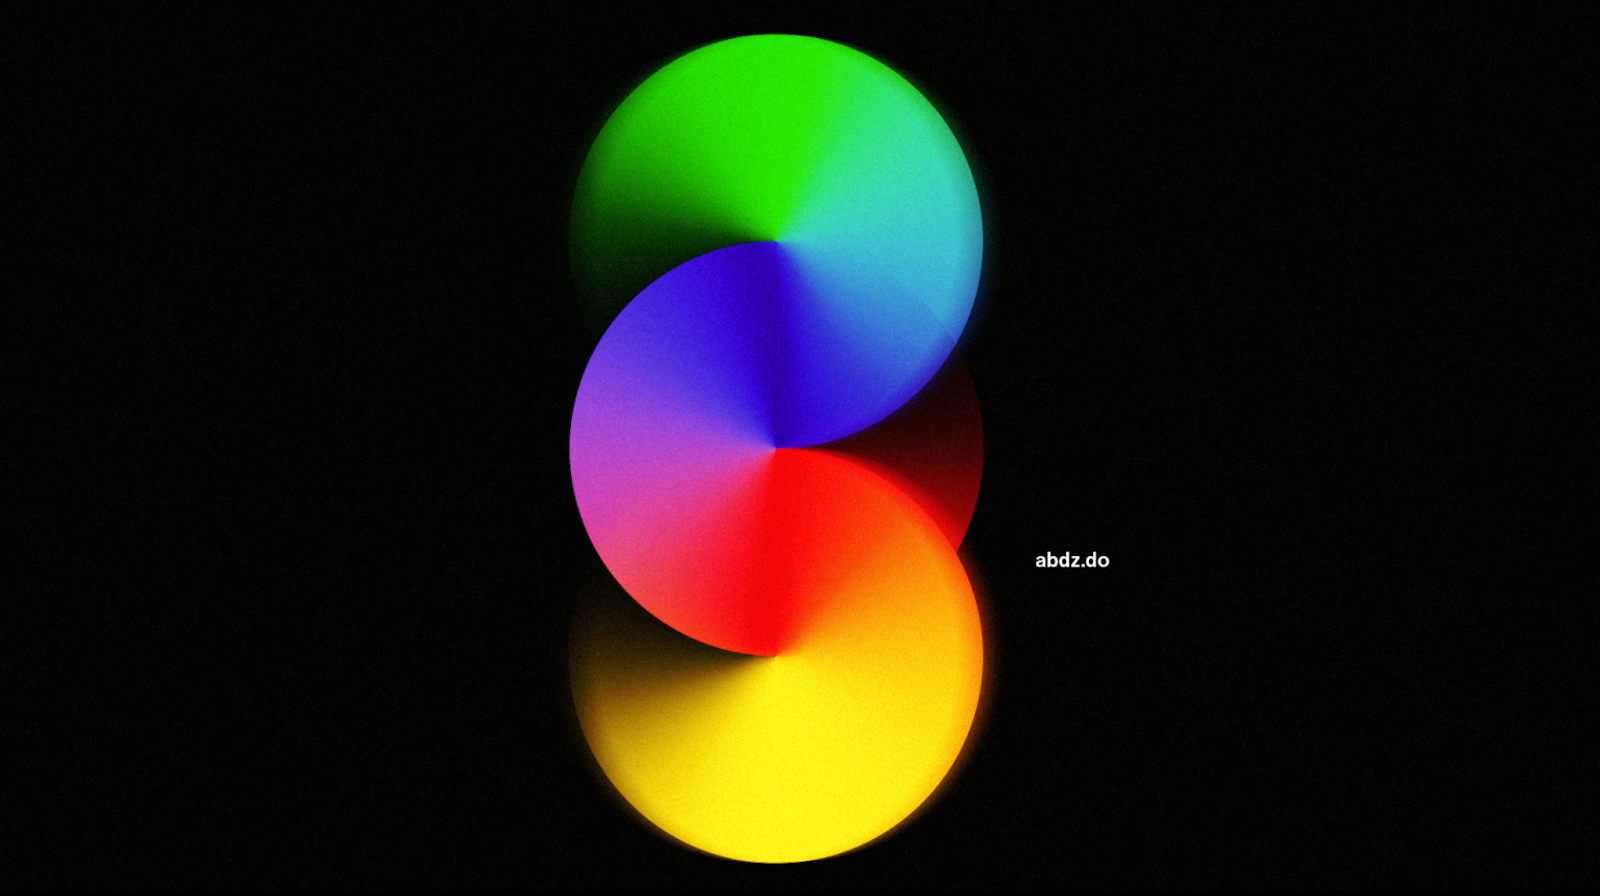
Conclusion
Add your logo and you can add a Photo Filter to change the colors a bit, but the design is over. You can try different angles or more circles. Now it’s up to you.
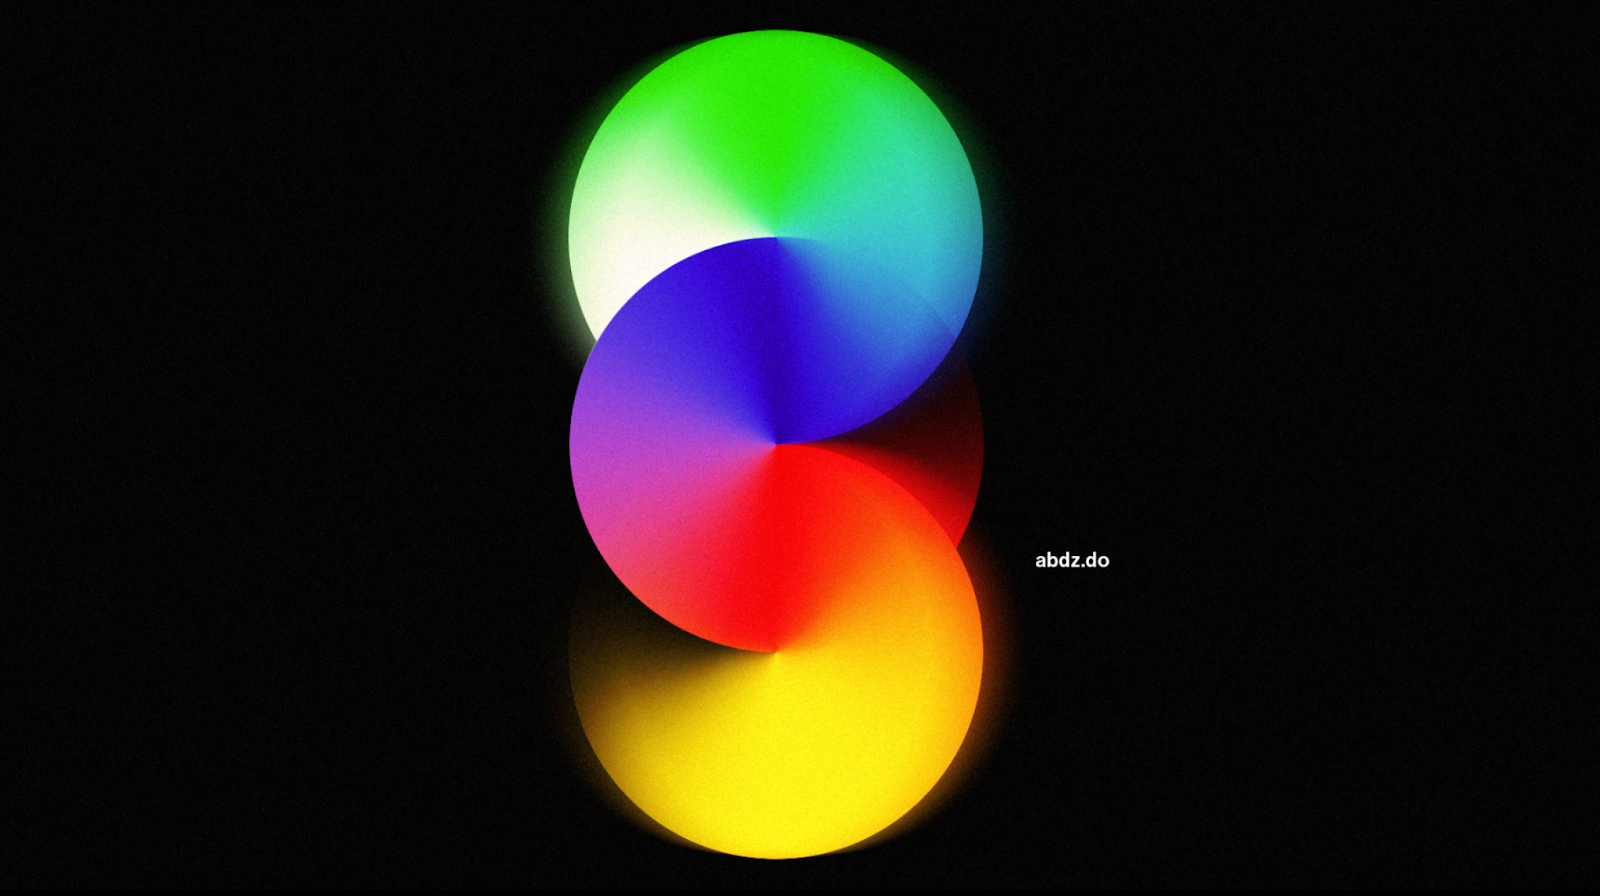
Variation keeping the white background by keeping the fill opacity to 100% for the top circle
Download Photoshop file
Buy on


Leave a Reply
Want to join the discussion?Feel free to contribute!