Paint an expressive still life in acrylics
Original Source: http://feedproxy.google.com/~r/CreativeBloq/~3/o_71n5BvdB0/paint-an-expressive-still-life-in-acrylics
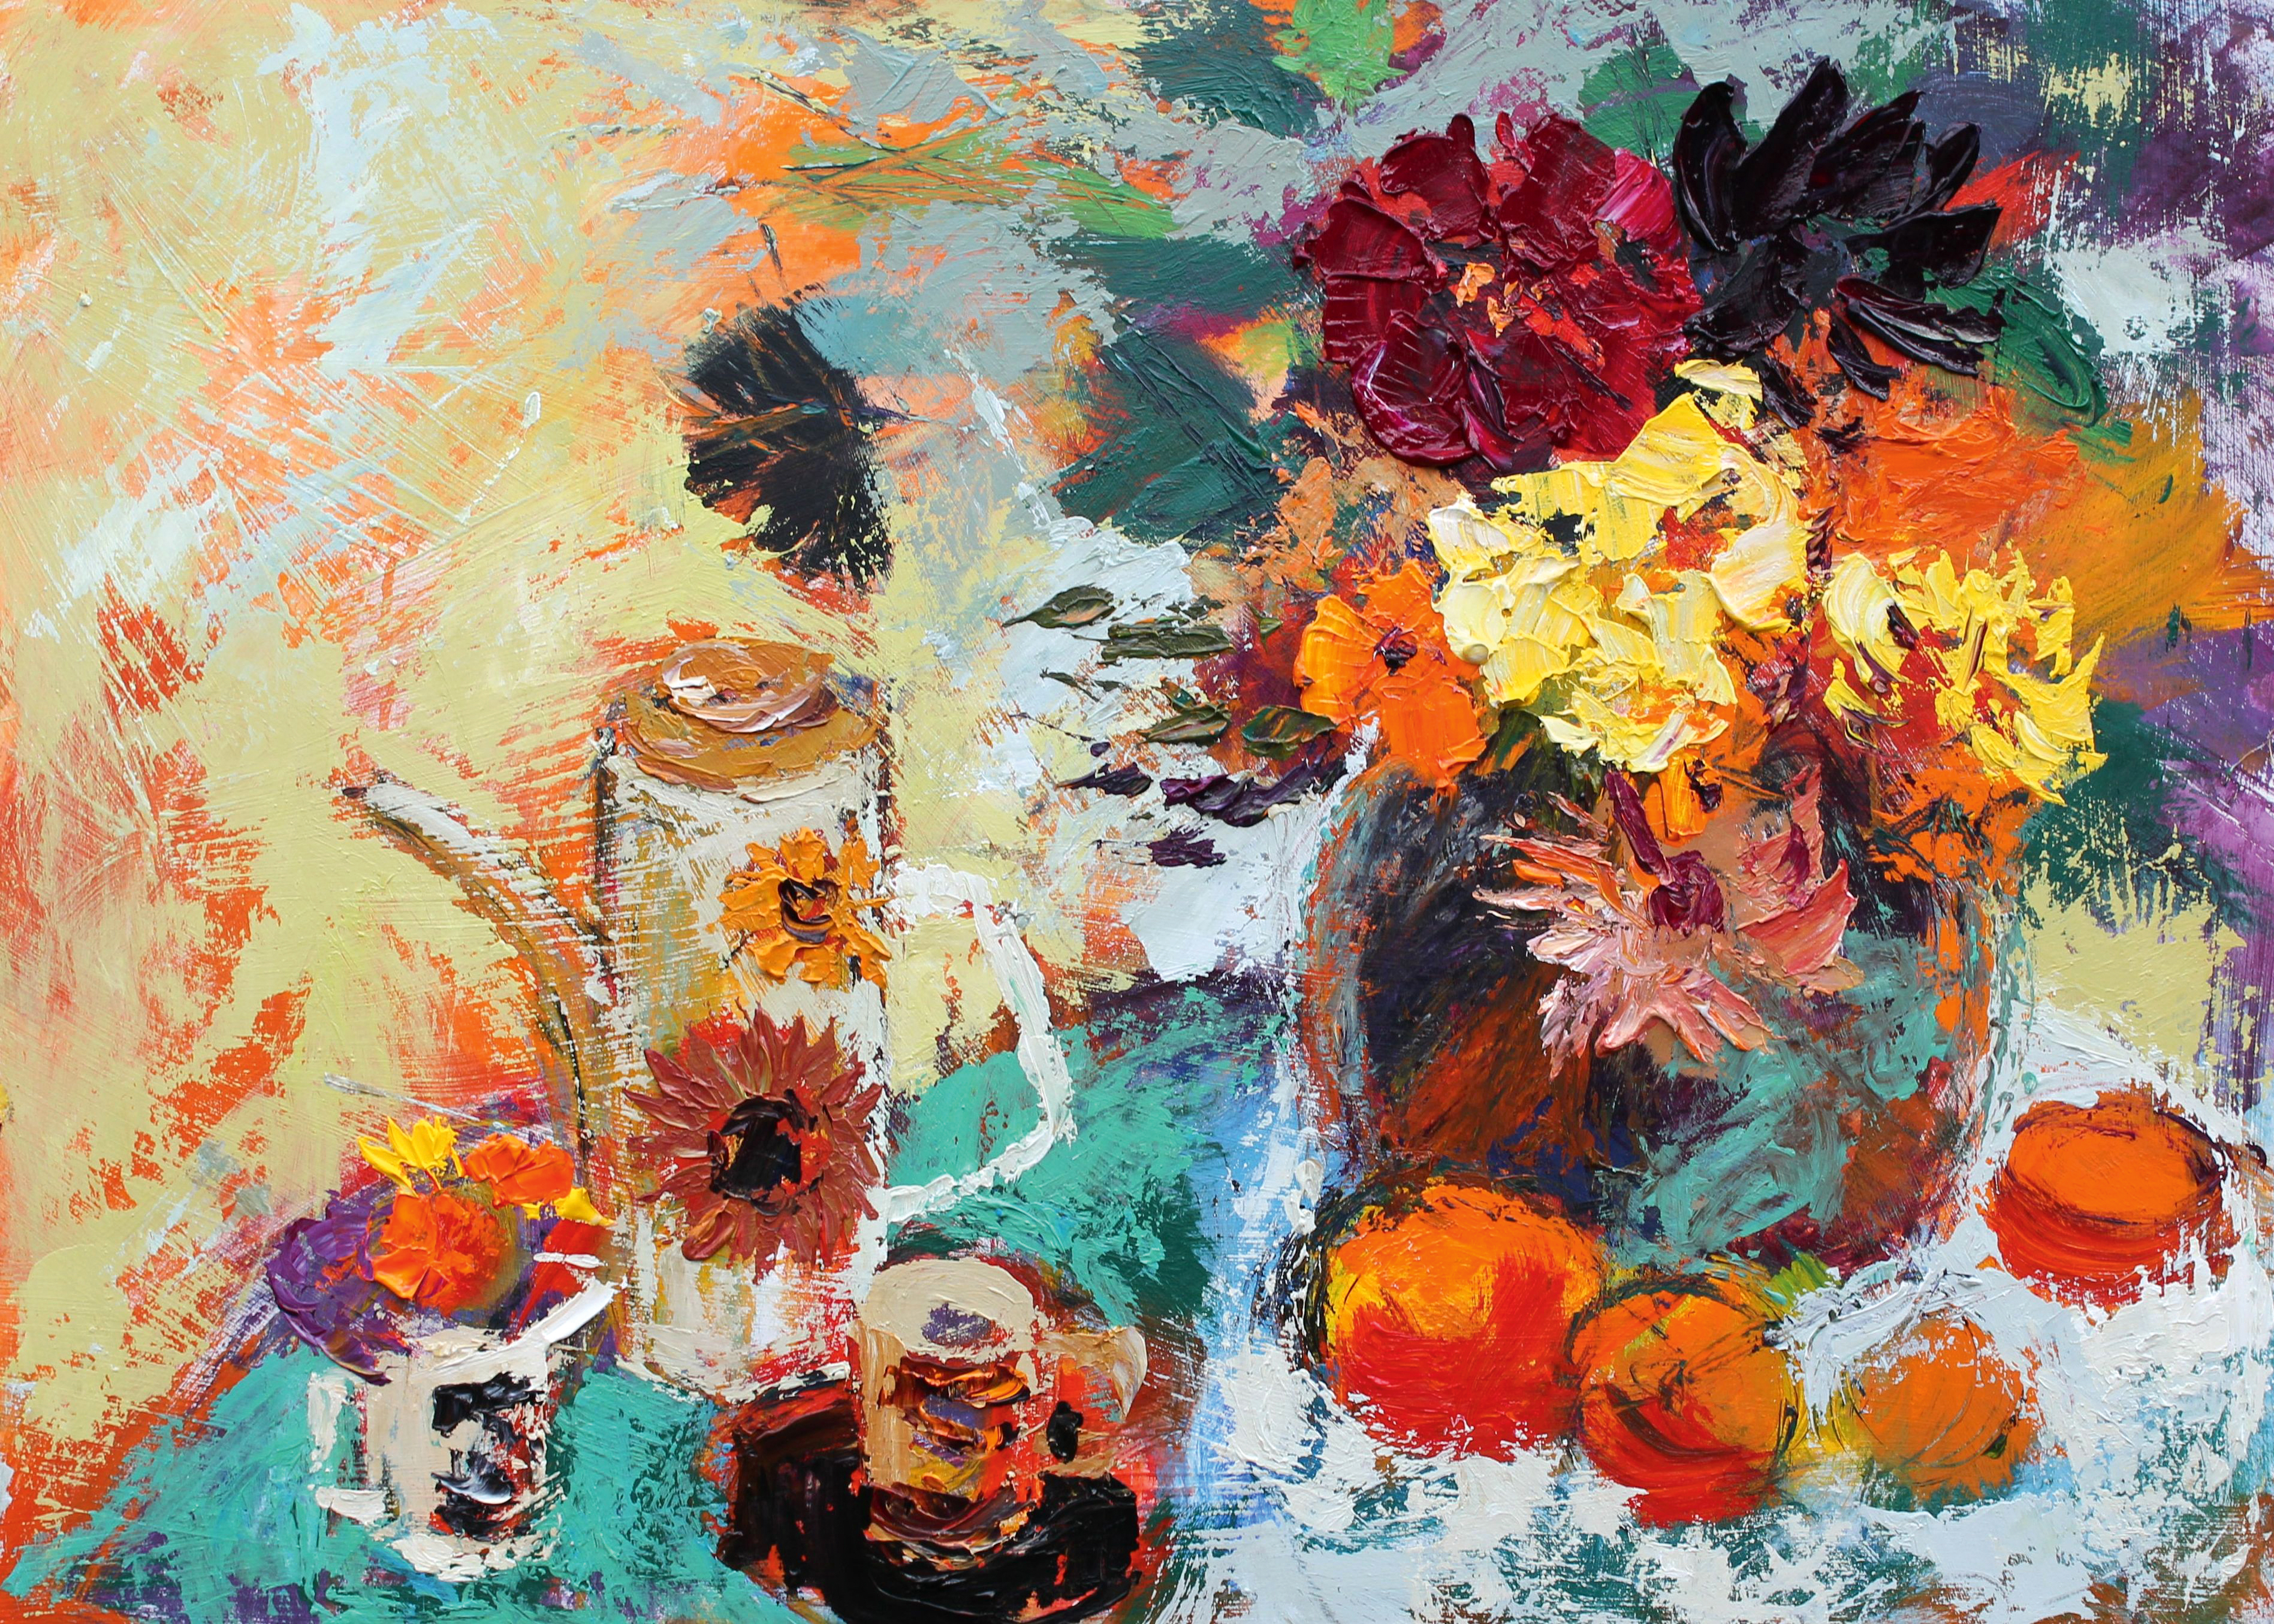
Still life isn’t everybody’s cup of tea – it takes a certain set of painting techniques – but for me it's always been a favourite. I like having complete control over the colours and style of the setup, the objects, drapes and the way they all work together.
Flowers from the garden are a must, and in this painting the retro coffee pot and cups really set the colour and tone. I take my time to get the setup just right. I am aiming for a very relaxed painting, without lots of detail but hopefully with lots of life and energy.
First, I create an underpainting using vibrant and sometimes contrasting colour. I build the painting in layers. Working at speed firstly with a large brush and then a palette knife I capture the mood with expressive marks, vibrant colour and texture.
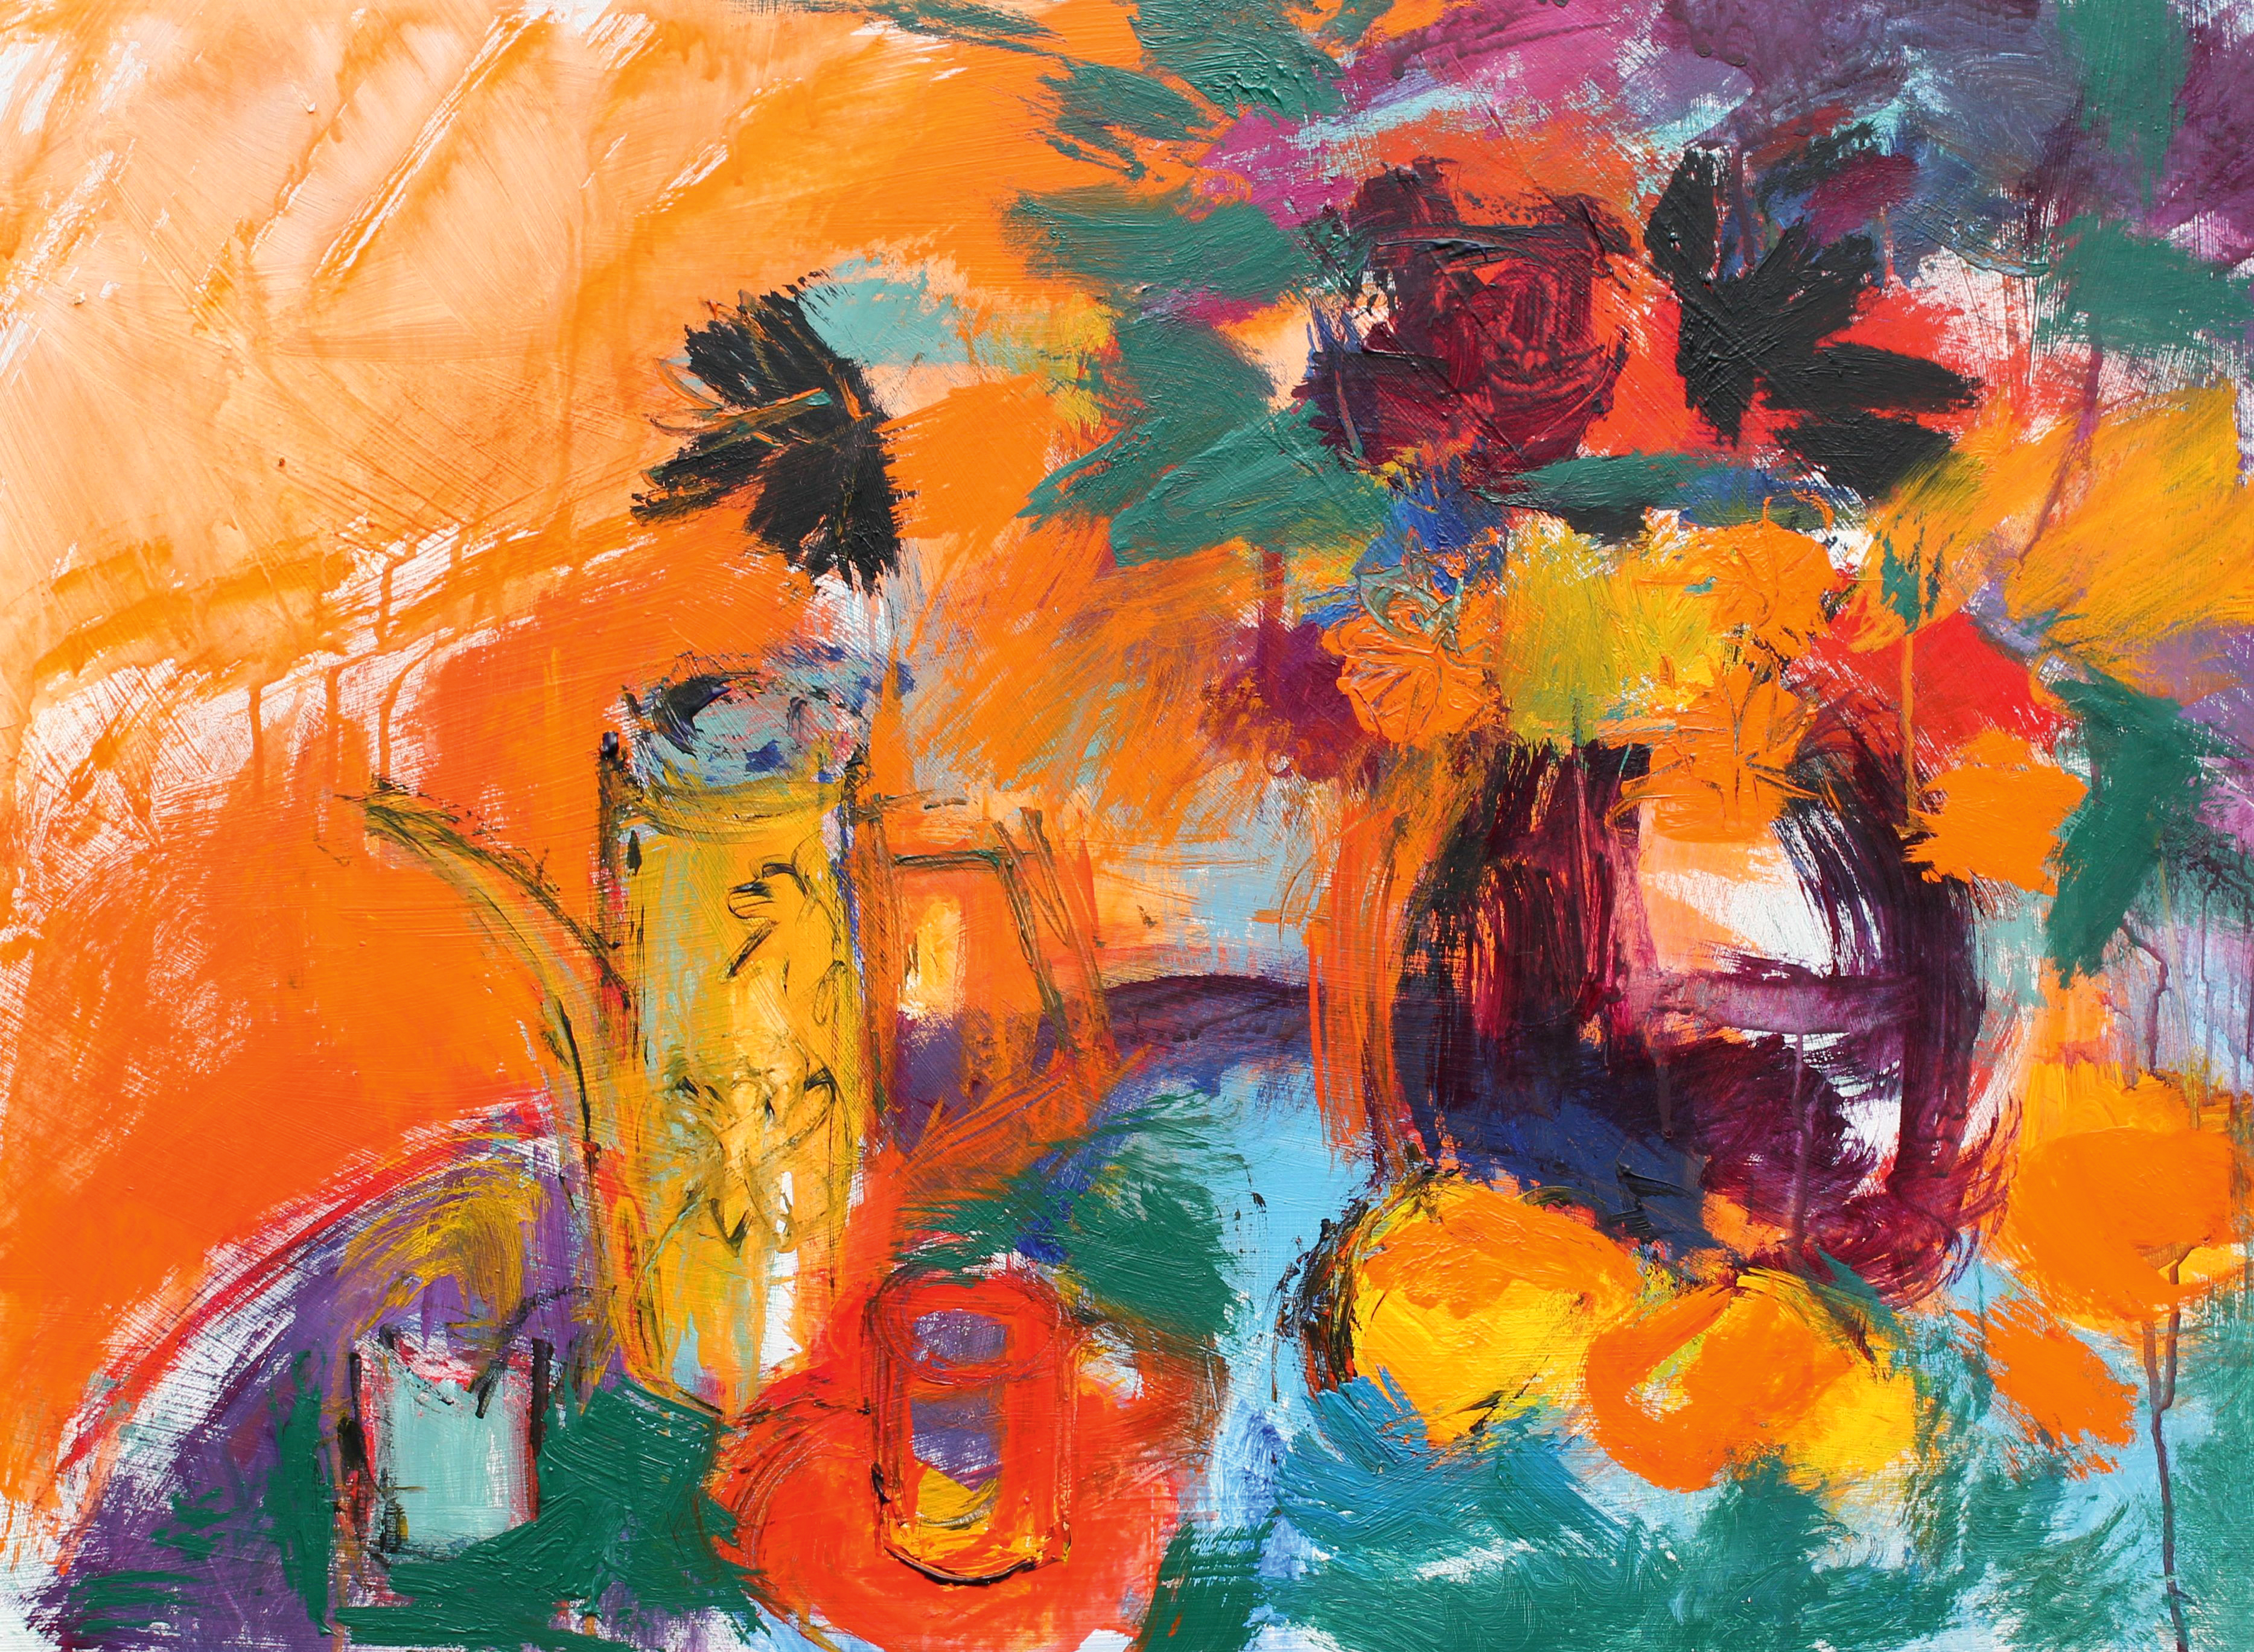
01. Start bold
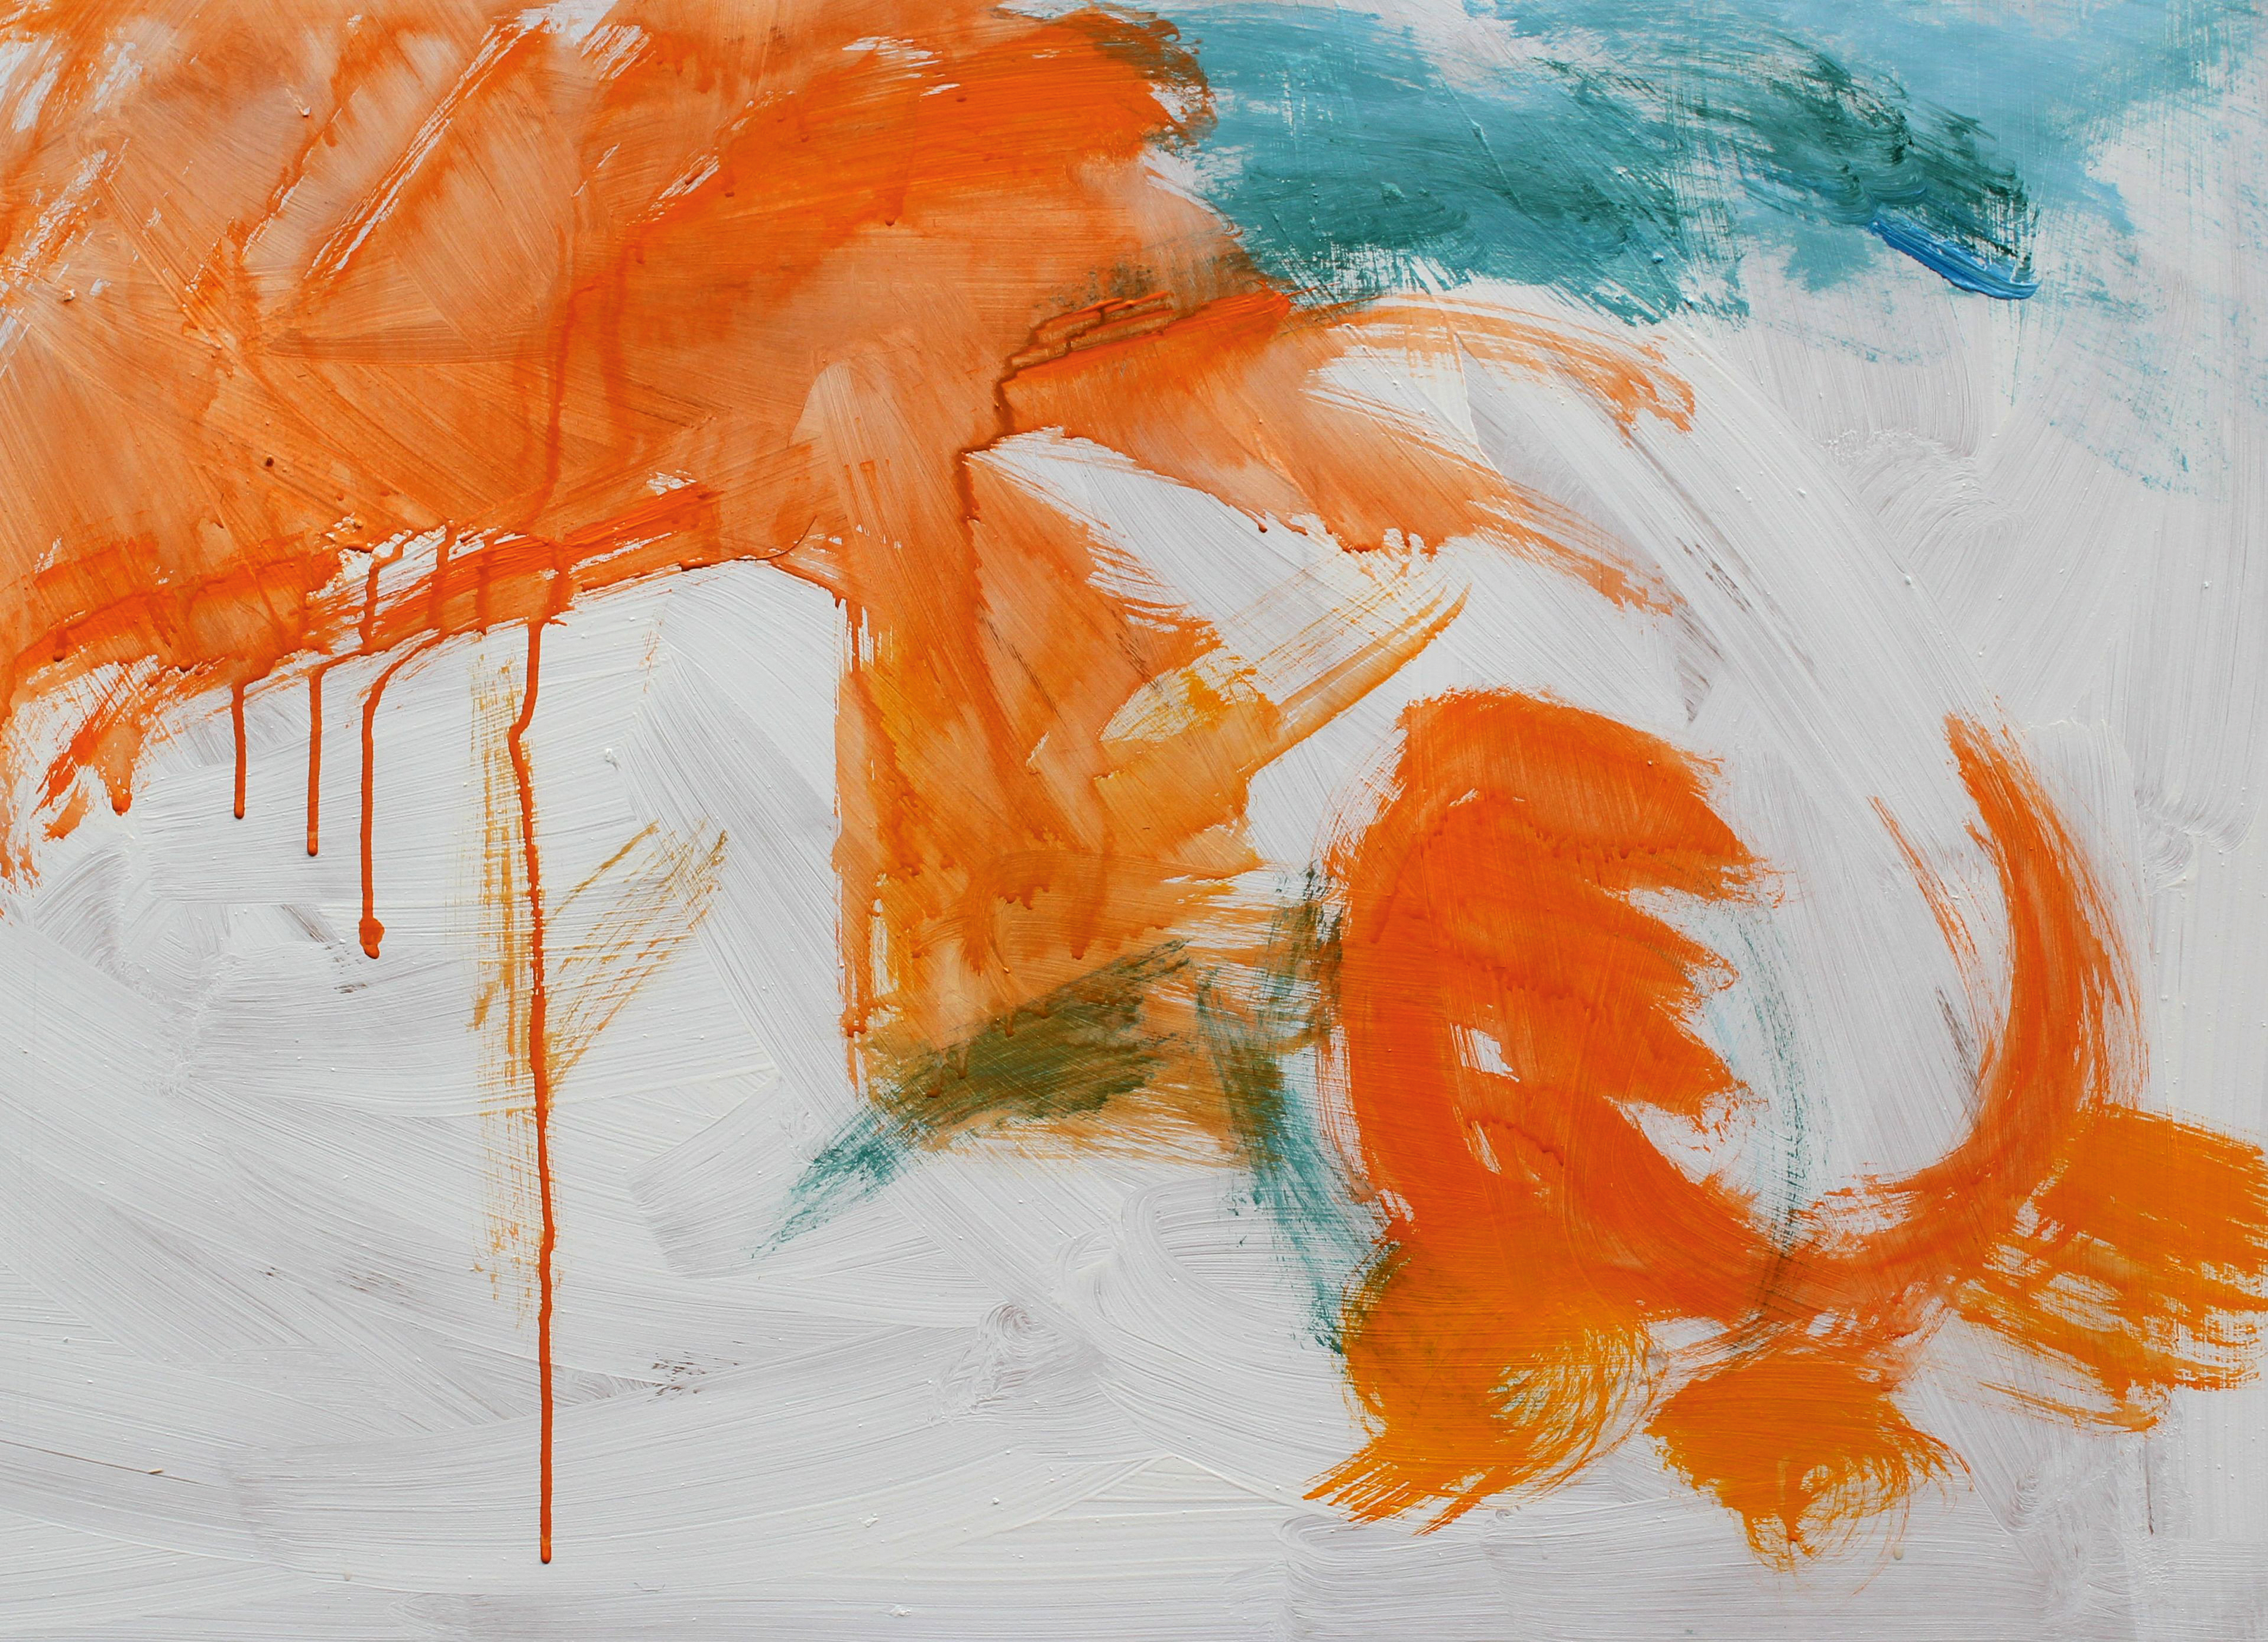
A base layer can be very rough
Using a decorator's brush, I start the painting with some bold colour. This is the underpainting – the first layer of paint that will provide a colourful base over which to work later on. I am not worried about drips and don’t want any detail, just lots of vibrant colour.
02. Find the composition

A simple viewfinder can nail down the composition
In these early stages, I am using a viewfinder – a piece of card with a window cut out to the same shape as my board. I can shut one eye and look through to see the composition. This is very helpful as I start to draw in the objects with the brush.
03. Look for shapes
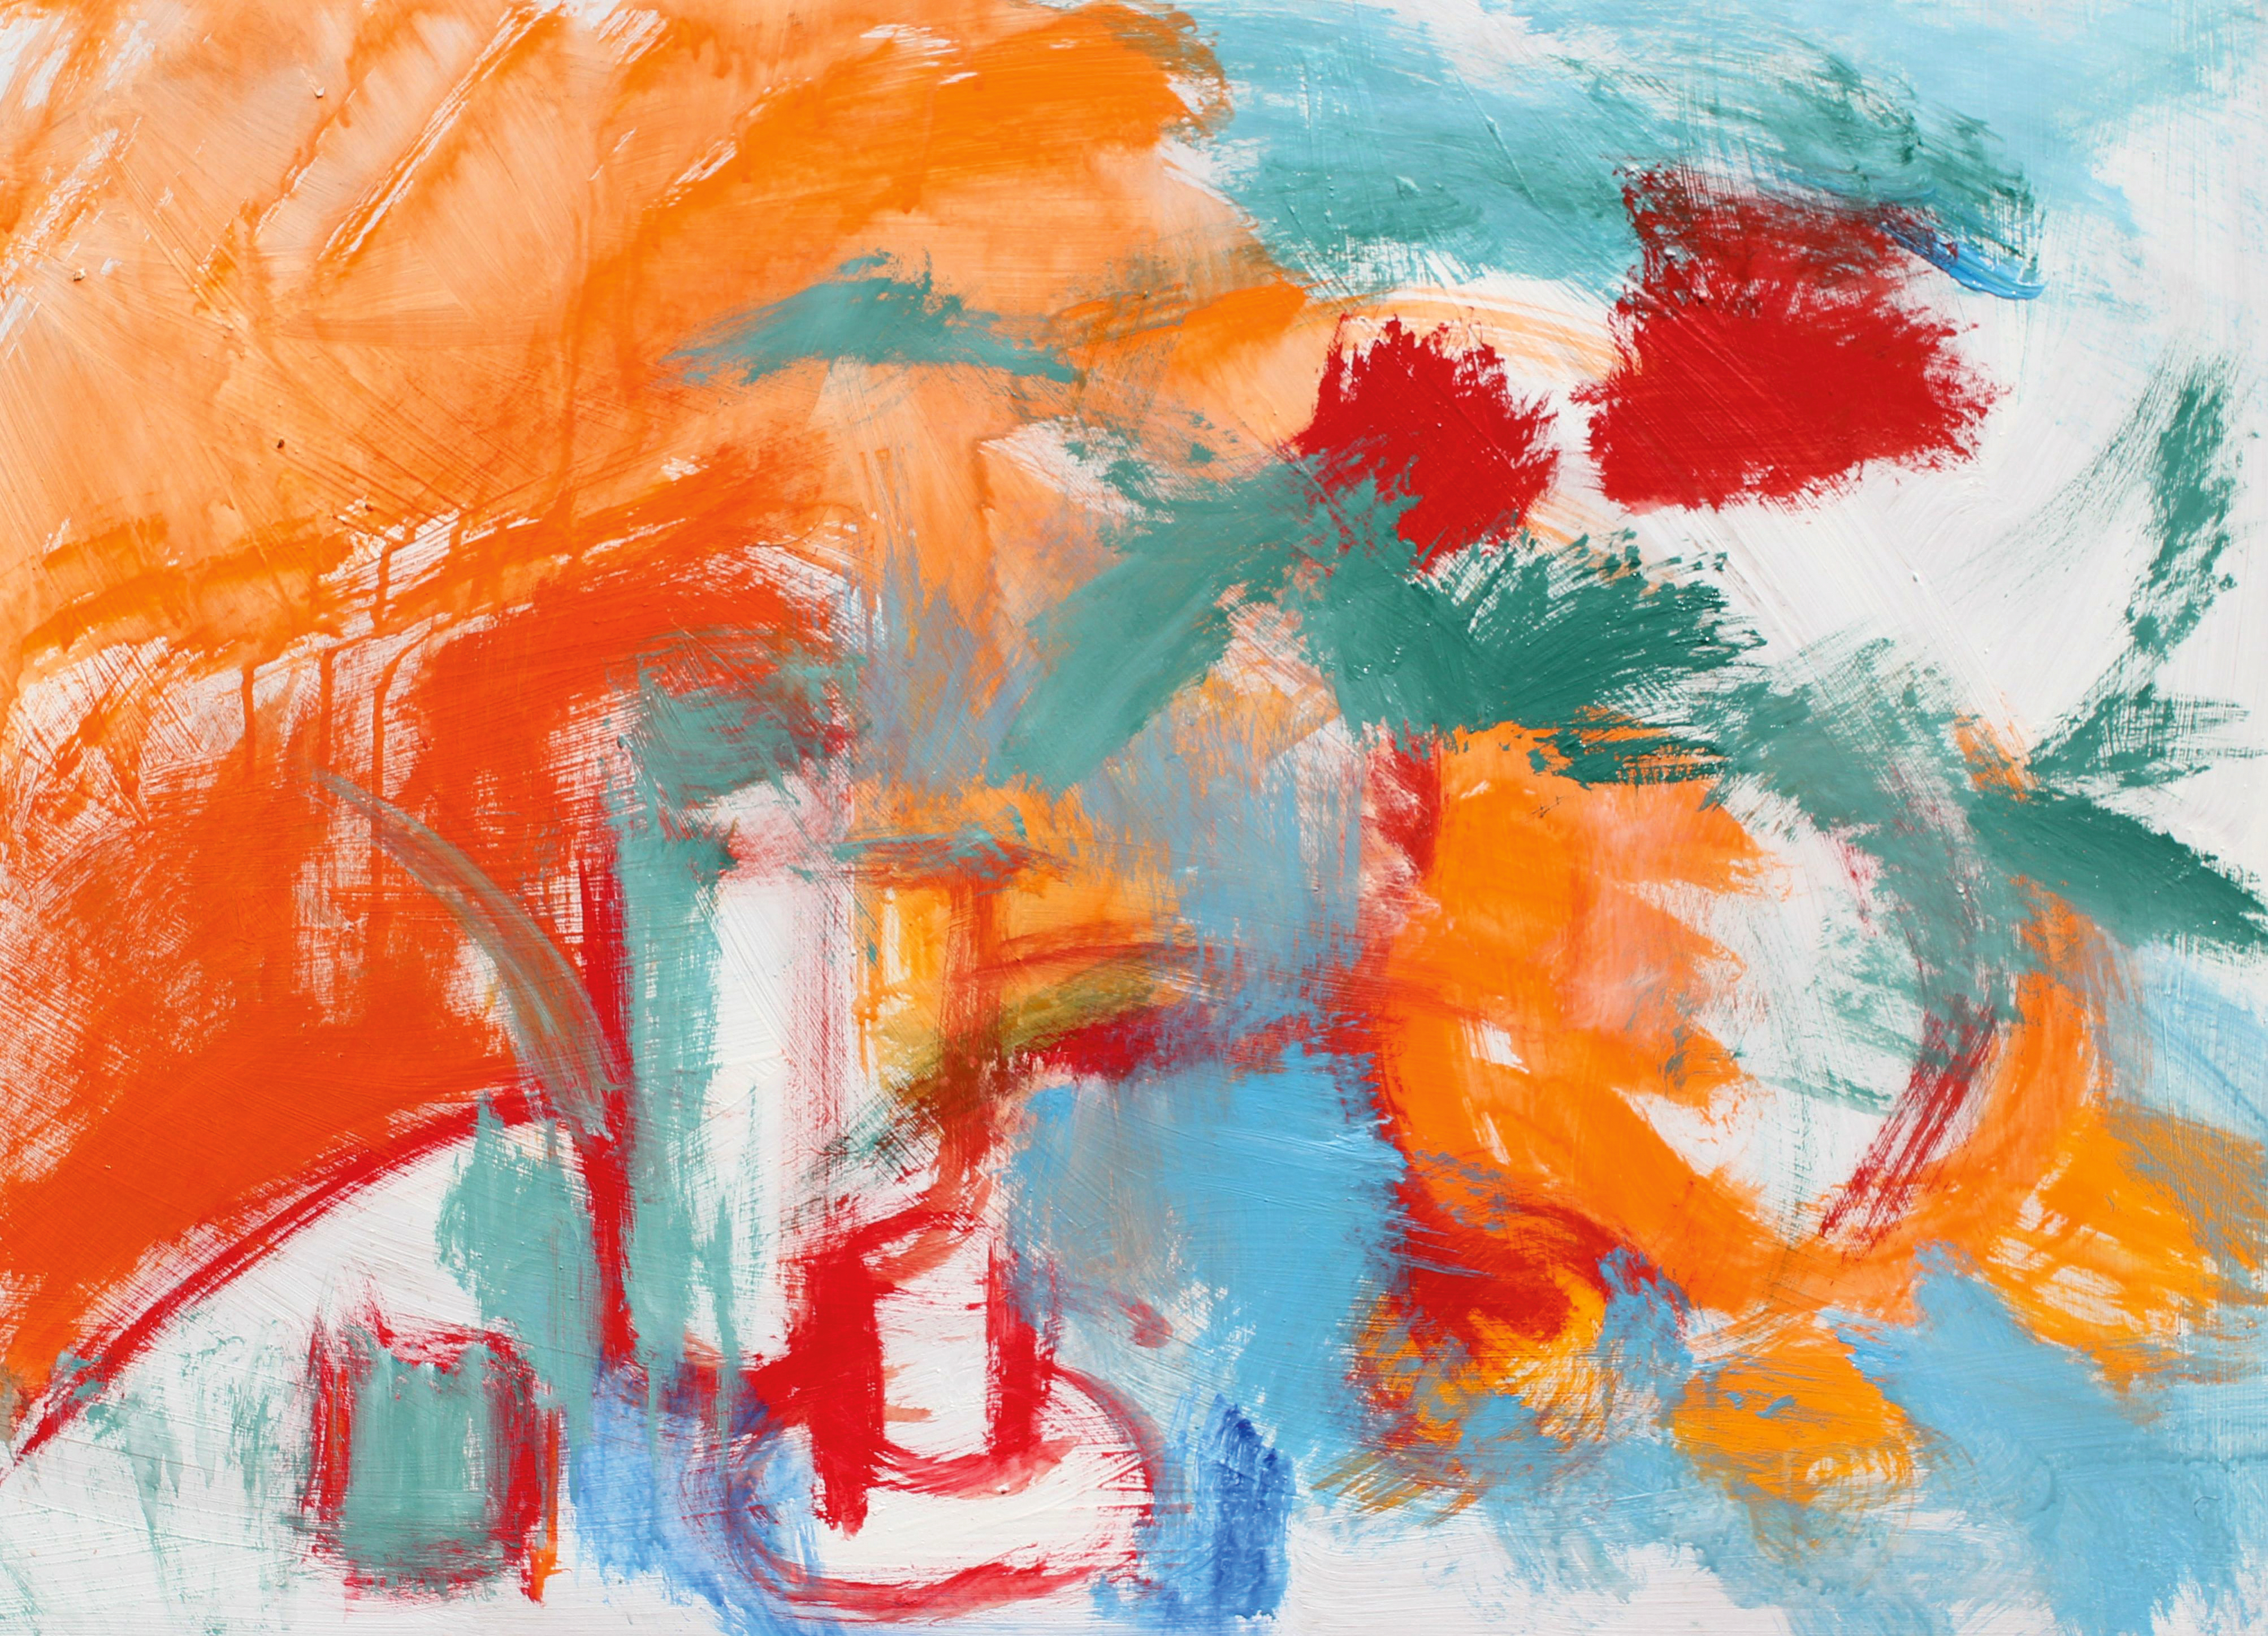
Don’t forget to focus on negative space
As I apply the vibrant colour, I am looking for shapes. Not just the shapes of the objects themselves, but the spaces between them – the negative shapes. Just a few simple marks help me to plot the composition. I am keeping it all very free and working over the whole board.
04. Cover up
Build the whole board up at the same time
The white of the board is nearly all covered now and the colours are rich. As the darker tones are added, the objects are becoming more obvious. I am gradually working over the whole board, trying not to concentrate on any details, just the basic shapes. The flowers are simplified blocks of colour.
05. Keep it sketchy
Details can be carved out of thick paint
I'm using the paint thickly now and it is still wet as I draw into it with the end of an old brush. This creates a textural surface as I pick out some sketchy detail in the coffee pot. This is still the underpainting and I’m excited to see the gorgeous colour and texture coming together.
06. Add more colour
Bold colours are blocked in with a broad brush
Going back in with the broad brush, I add more colour on the tabletop and among the flowers. There is a white cloth on the table in my setup, but at the moment in the painting it is green and blue. The white will be added later. Using the end of an old brush, I scratch in to the flowers.
07. Coffee break
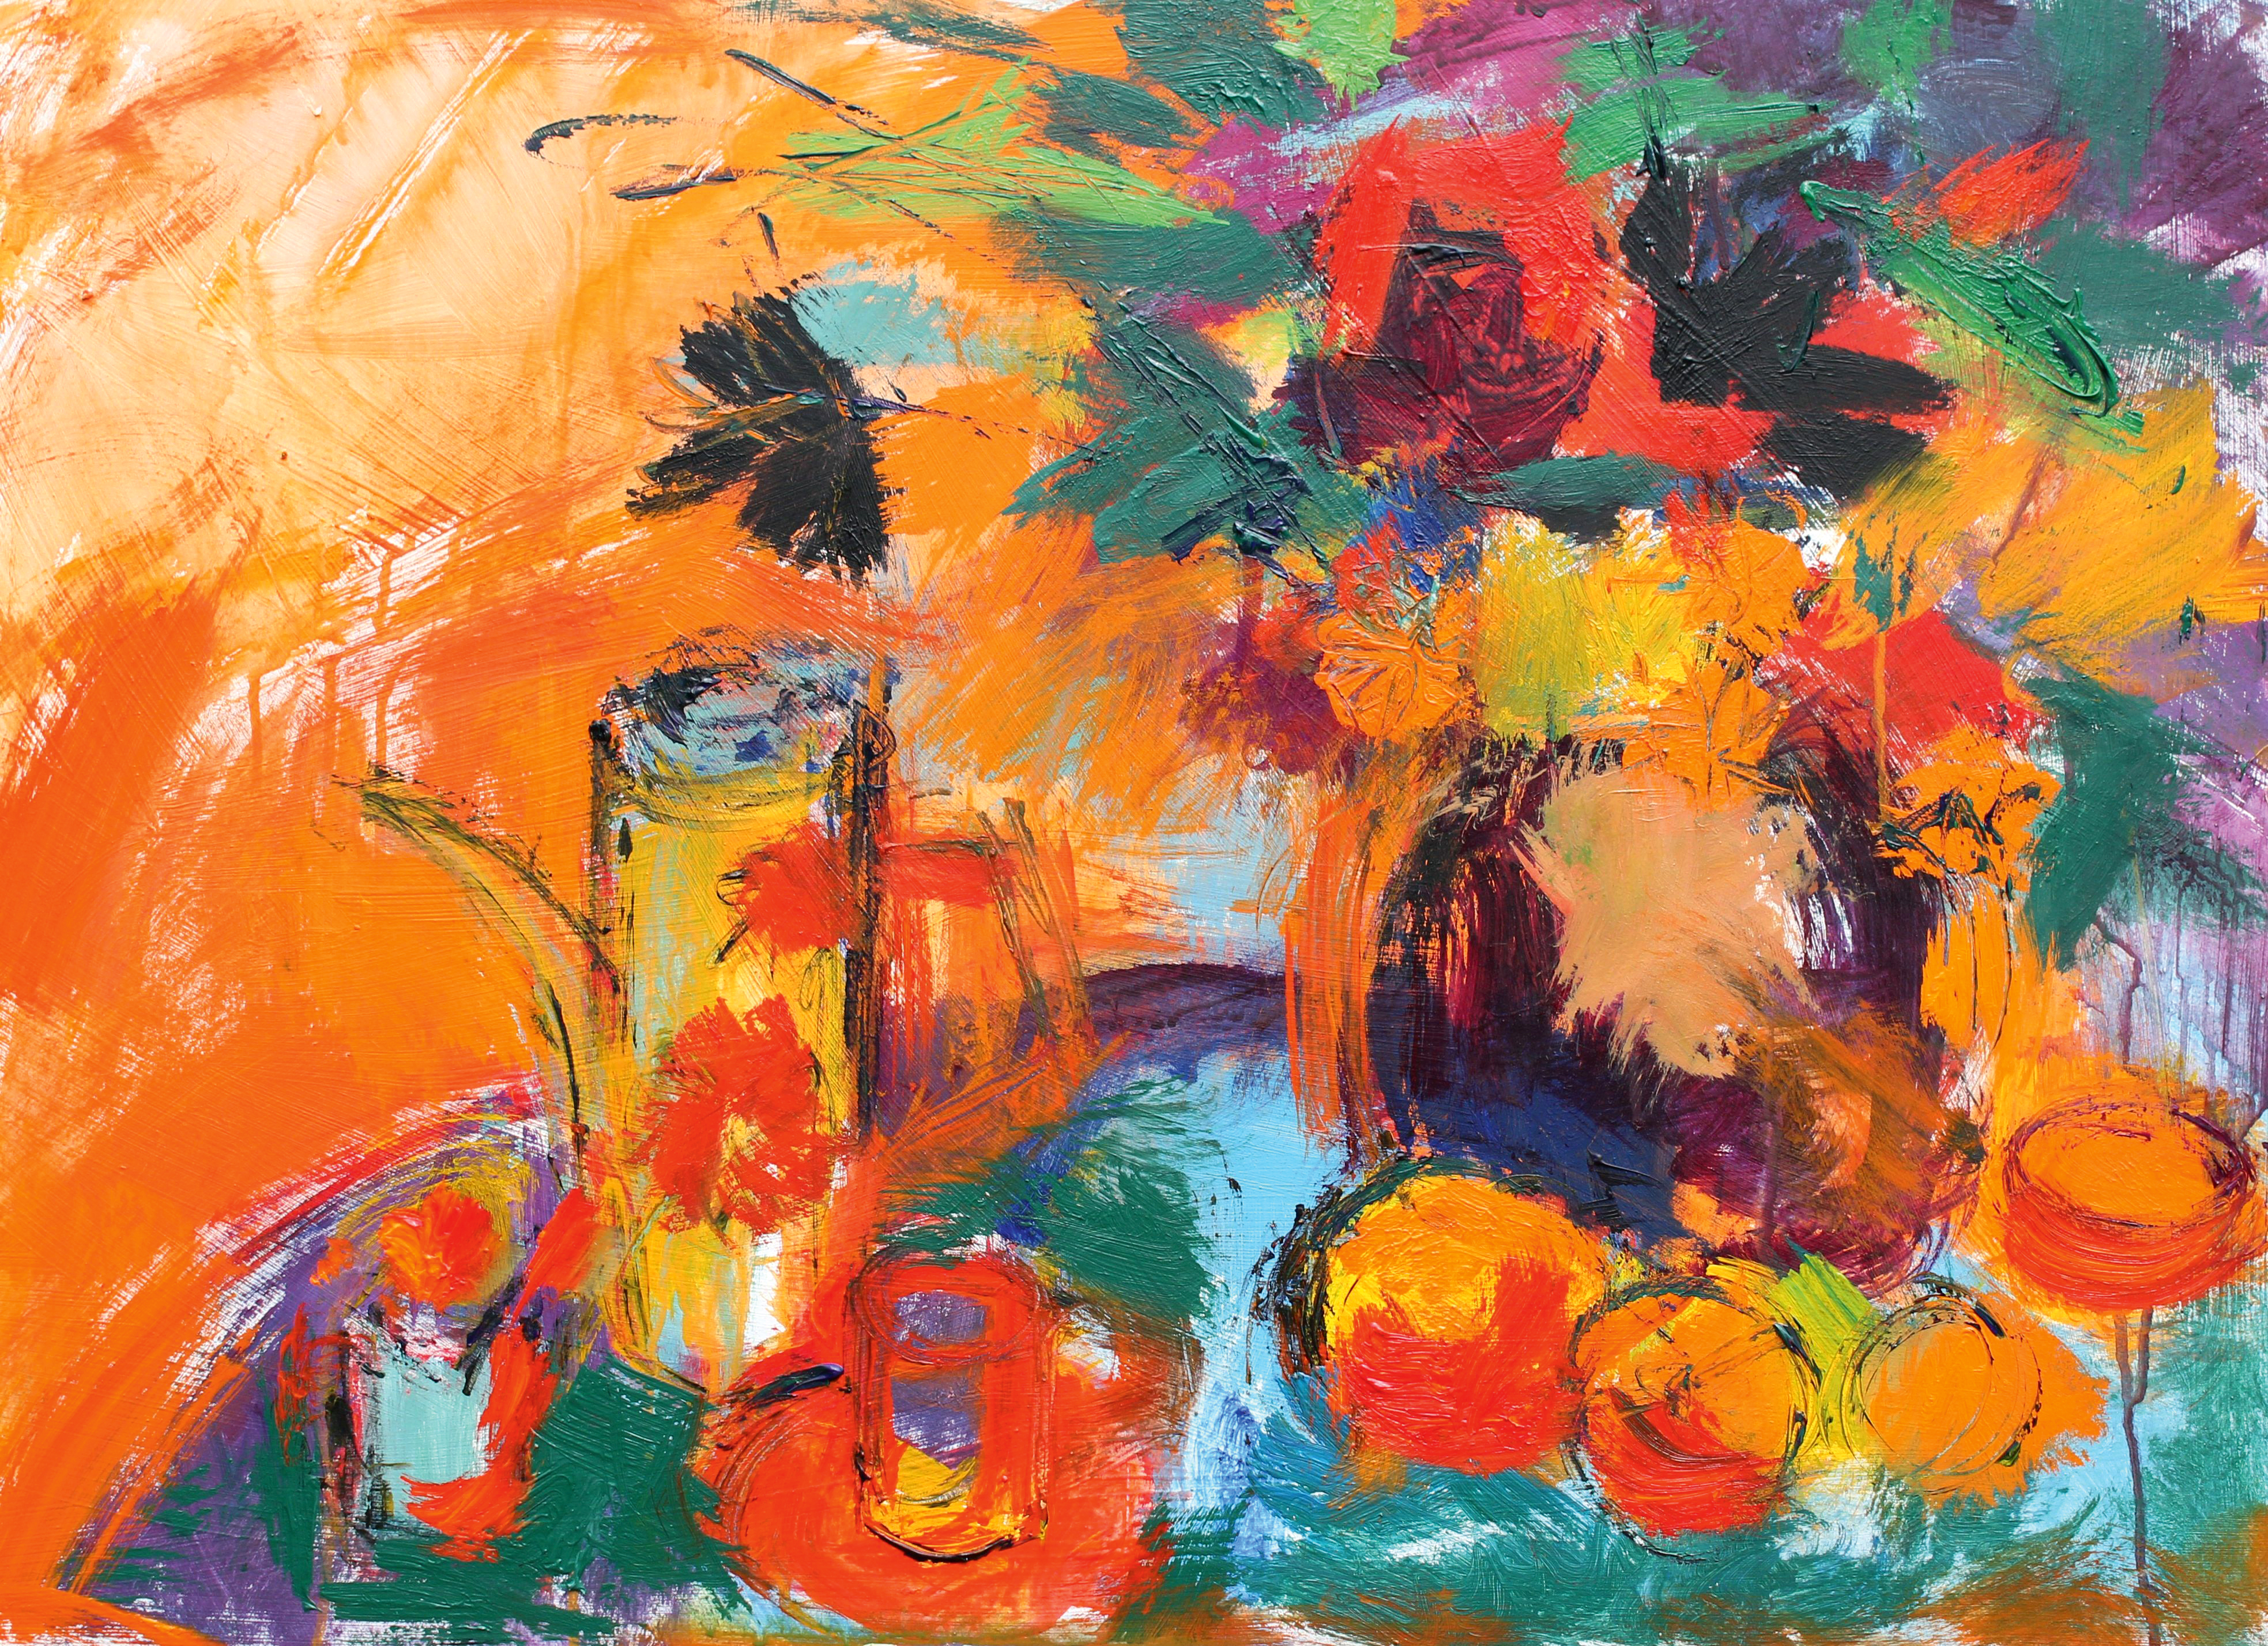
Once the underpainting’s done it’s time for a pause
At this stage I am finishing the underpainting. I give a little more definition to the coffee pot and fruit and add some more foliage. Keeping the painting very free and sketchy, I have created a colourful textural surface and the basic elements of the composition are there. It's time for a cuppa before I switch to my palette knife.
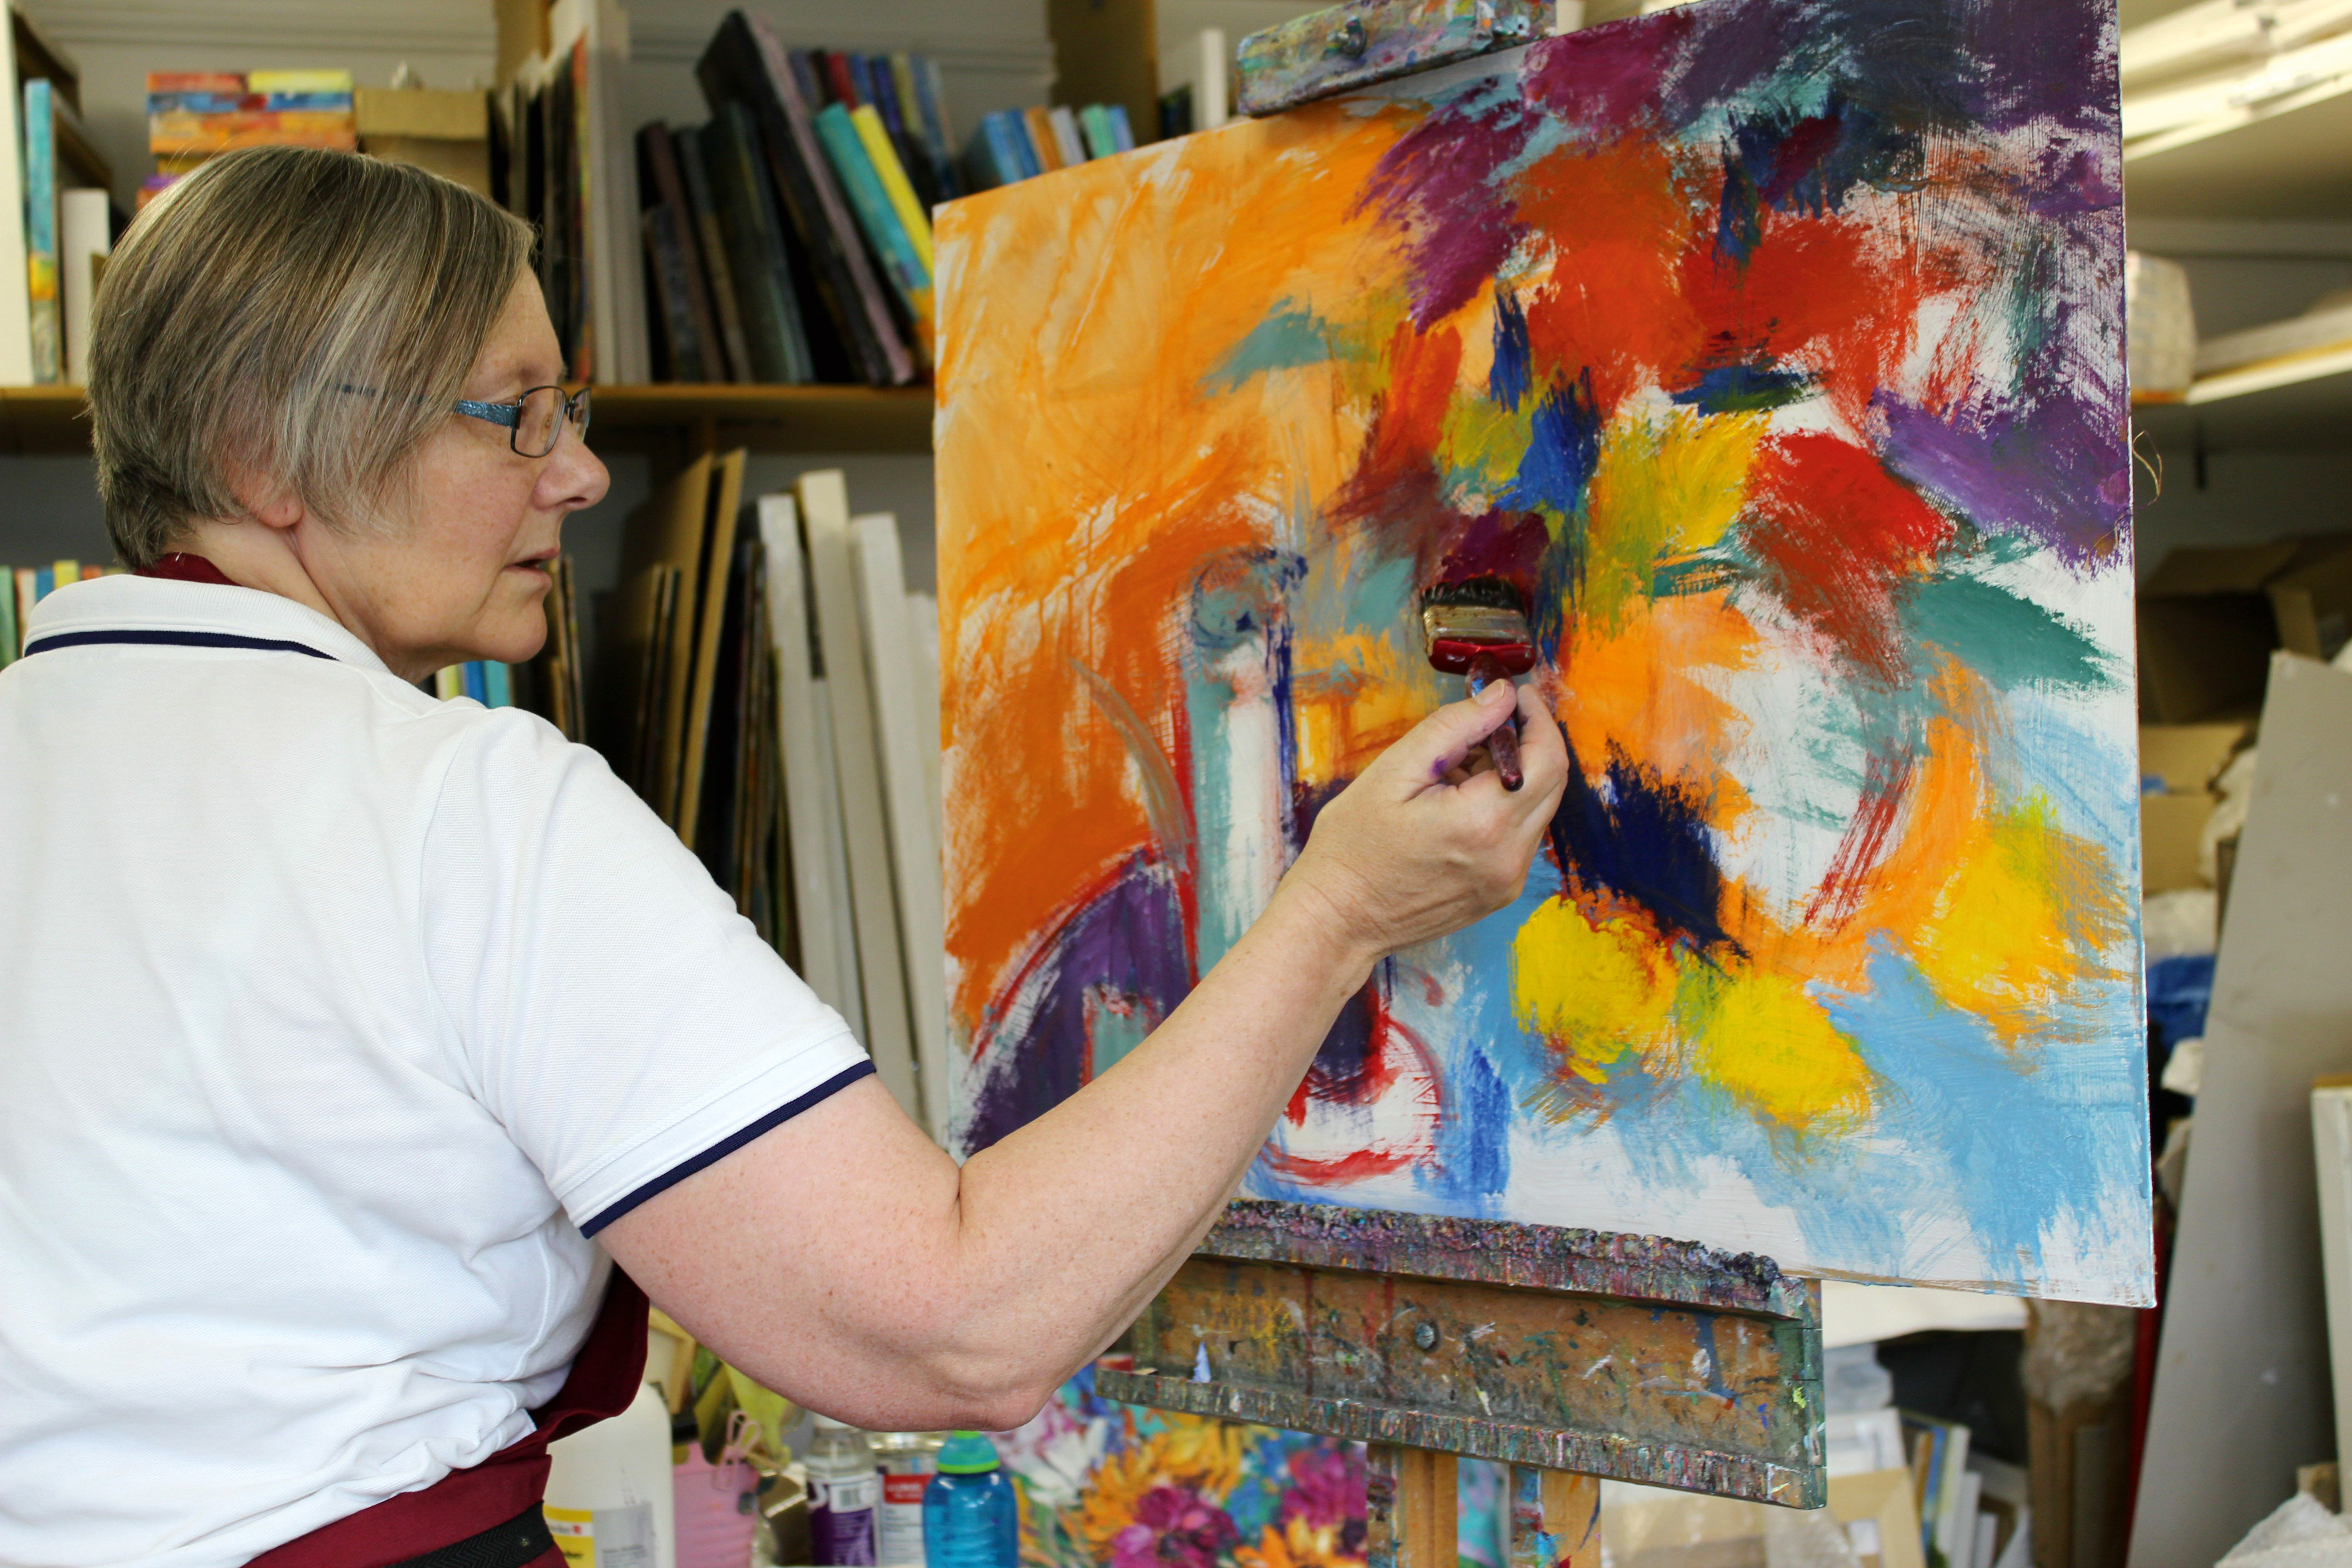
08. Use a palette knife
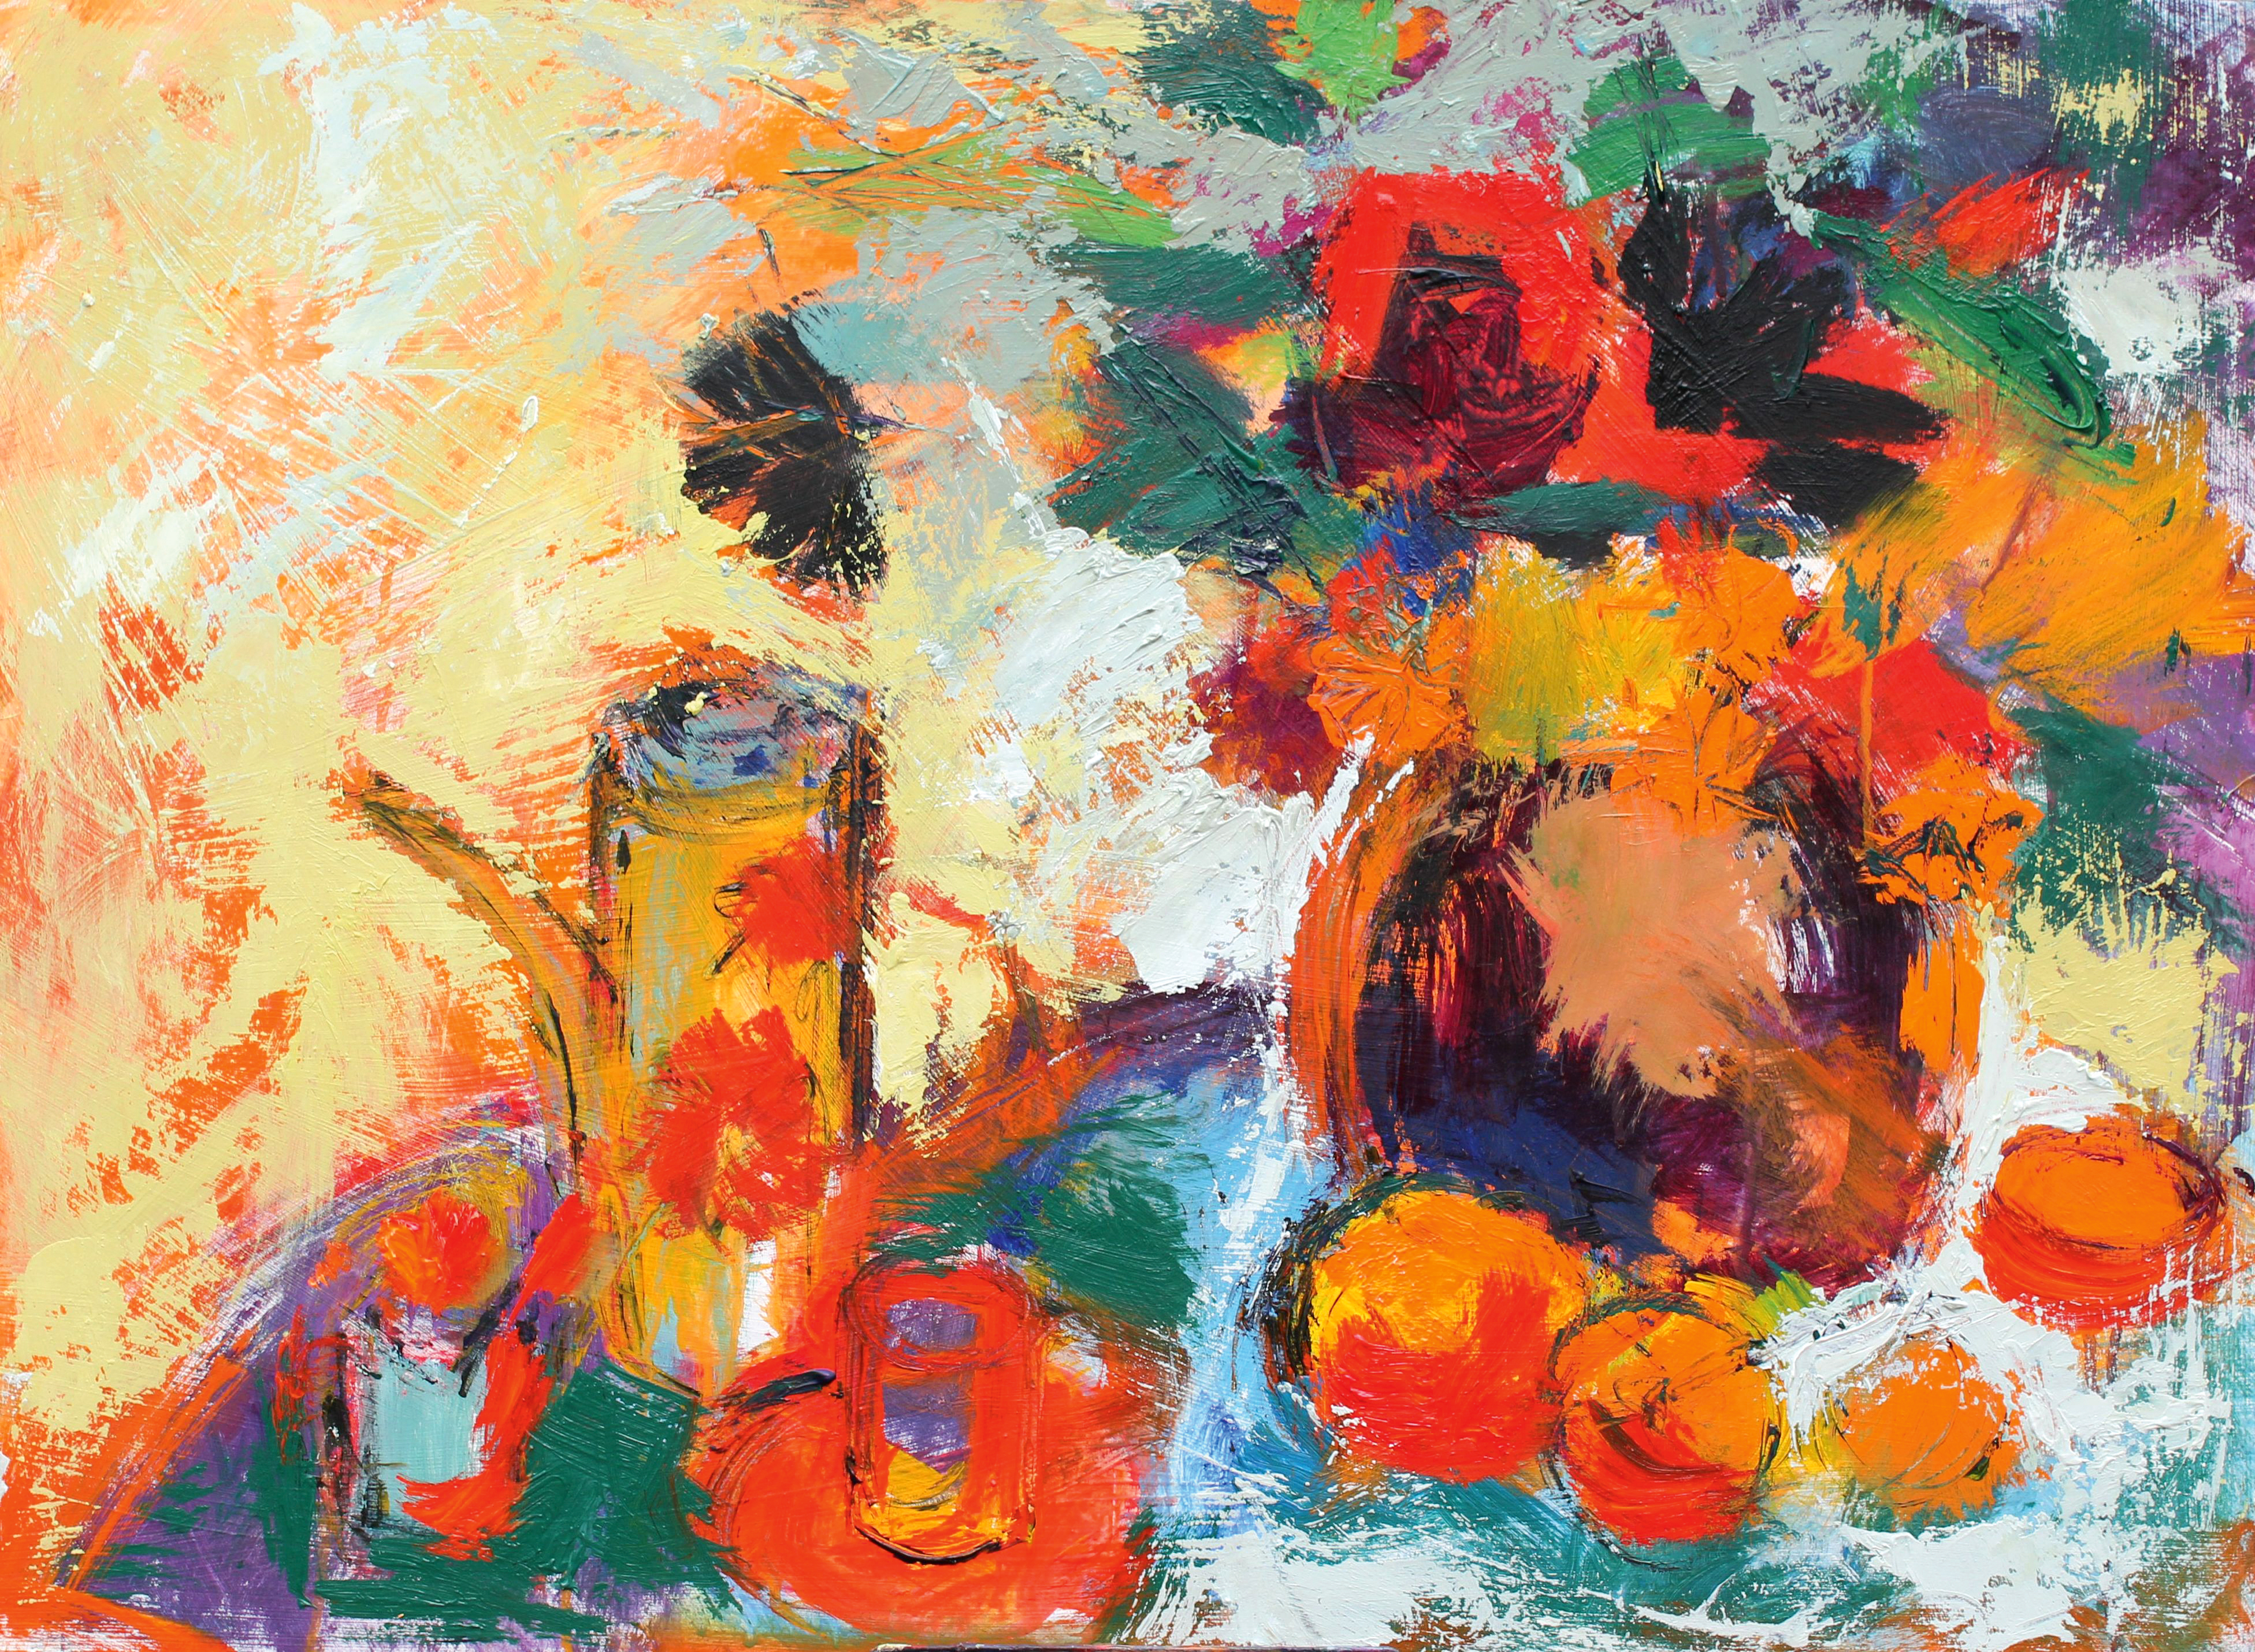
Pale colours are scraped on with a palette knife
Using a palette knife to apply the paint, the background drape is now a soft green, with a little of the orange showing through. The cloth is now white. The palette knife with thick paint picks up the texture of the underpainting. Using it lightly, I leave some of the vibrant colours to show through.
09. Add a little detail
Working with a knife keeps the composition loose
With the knife I can continue to work freely without getting bogged down with too much detail. I’m still looking for the negative shapes as I paint around the objects, and the green on the table helps the coffee pot and cups stand out. I add a little detail to the objects but keep it simple.
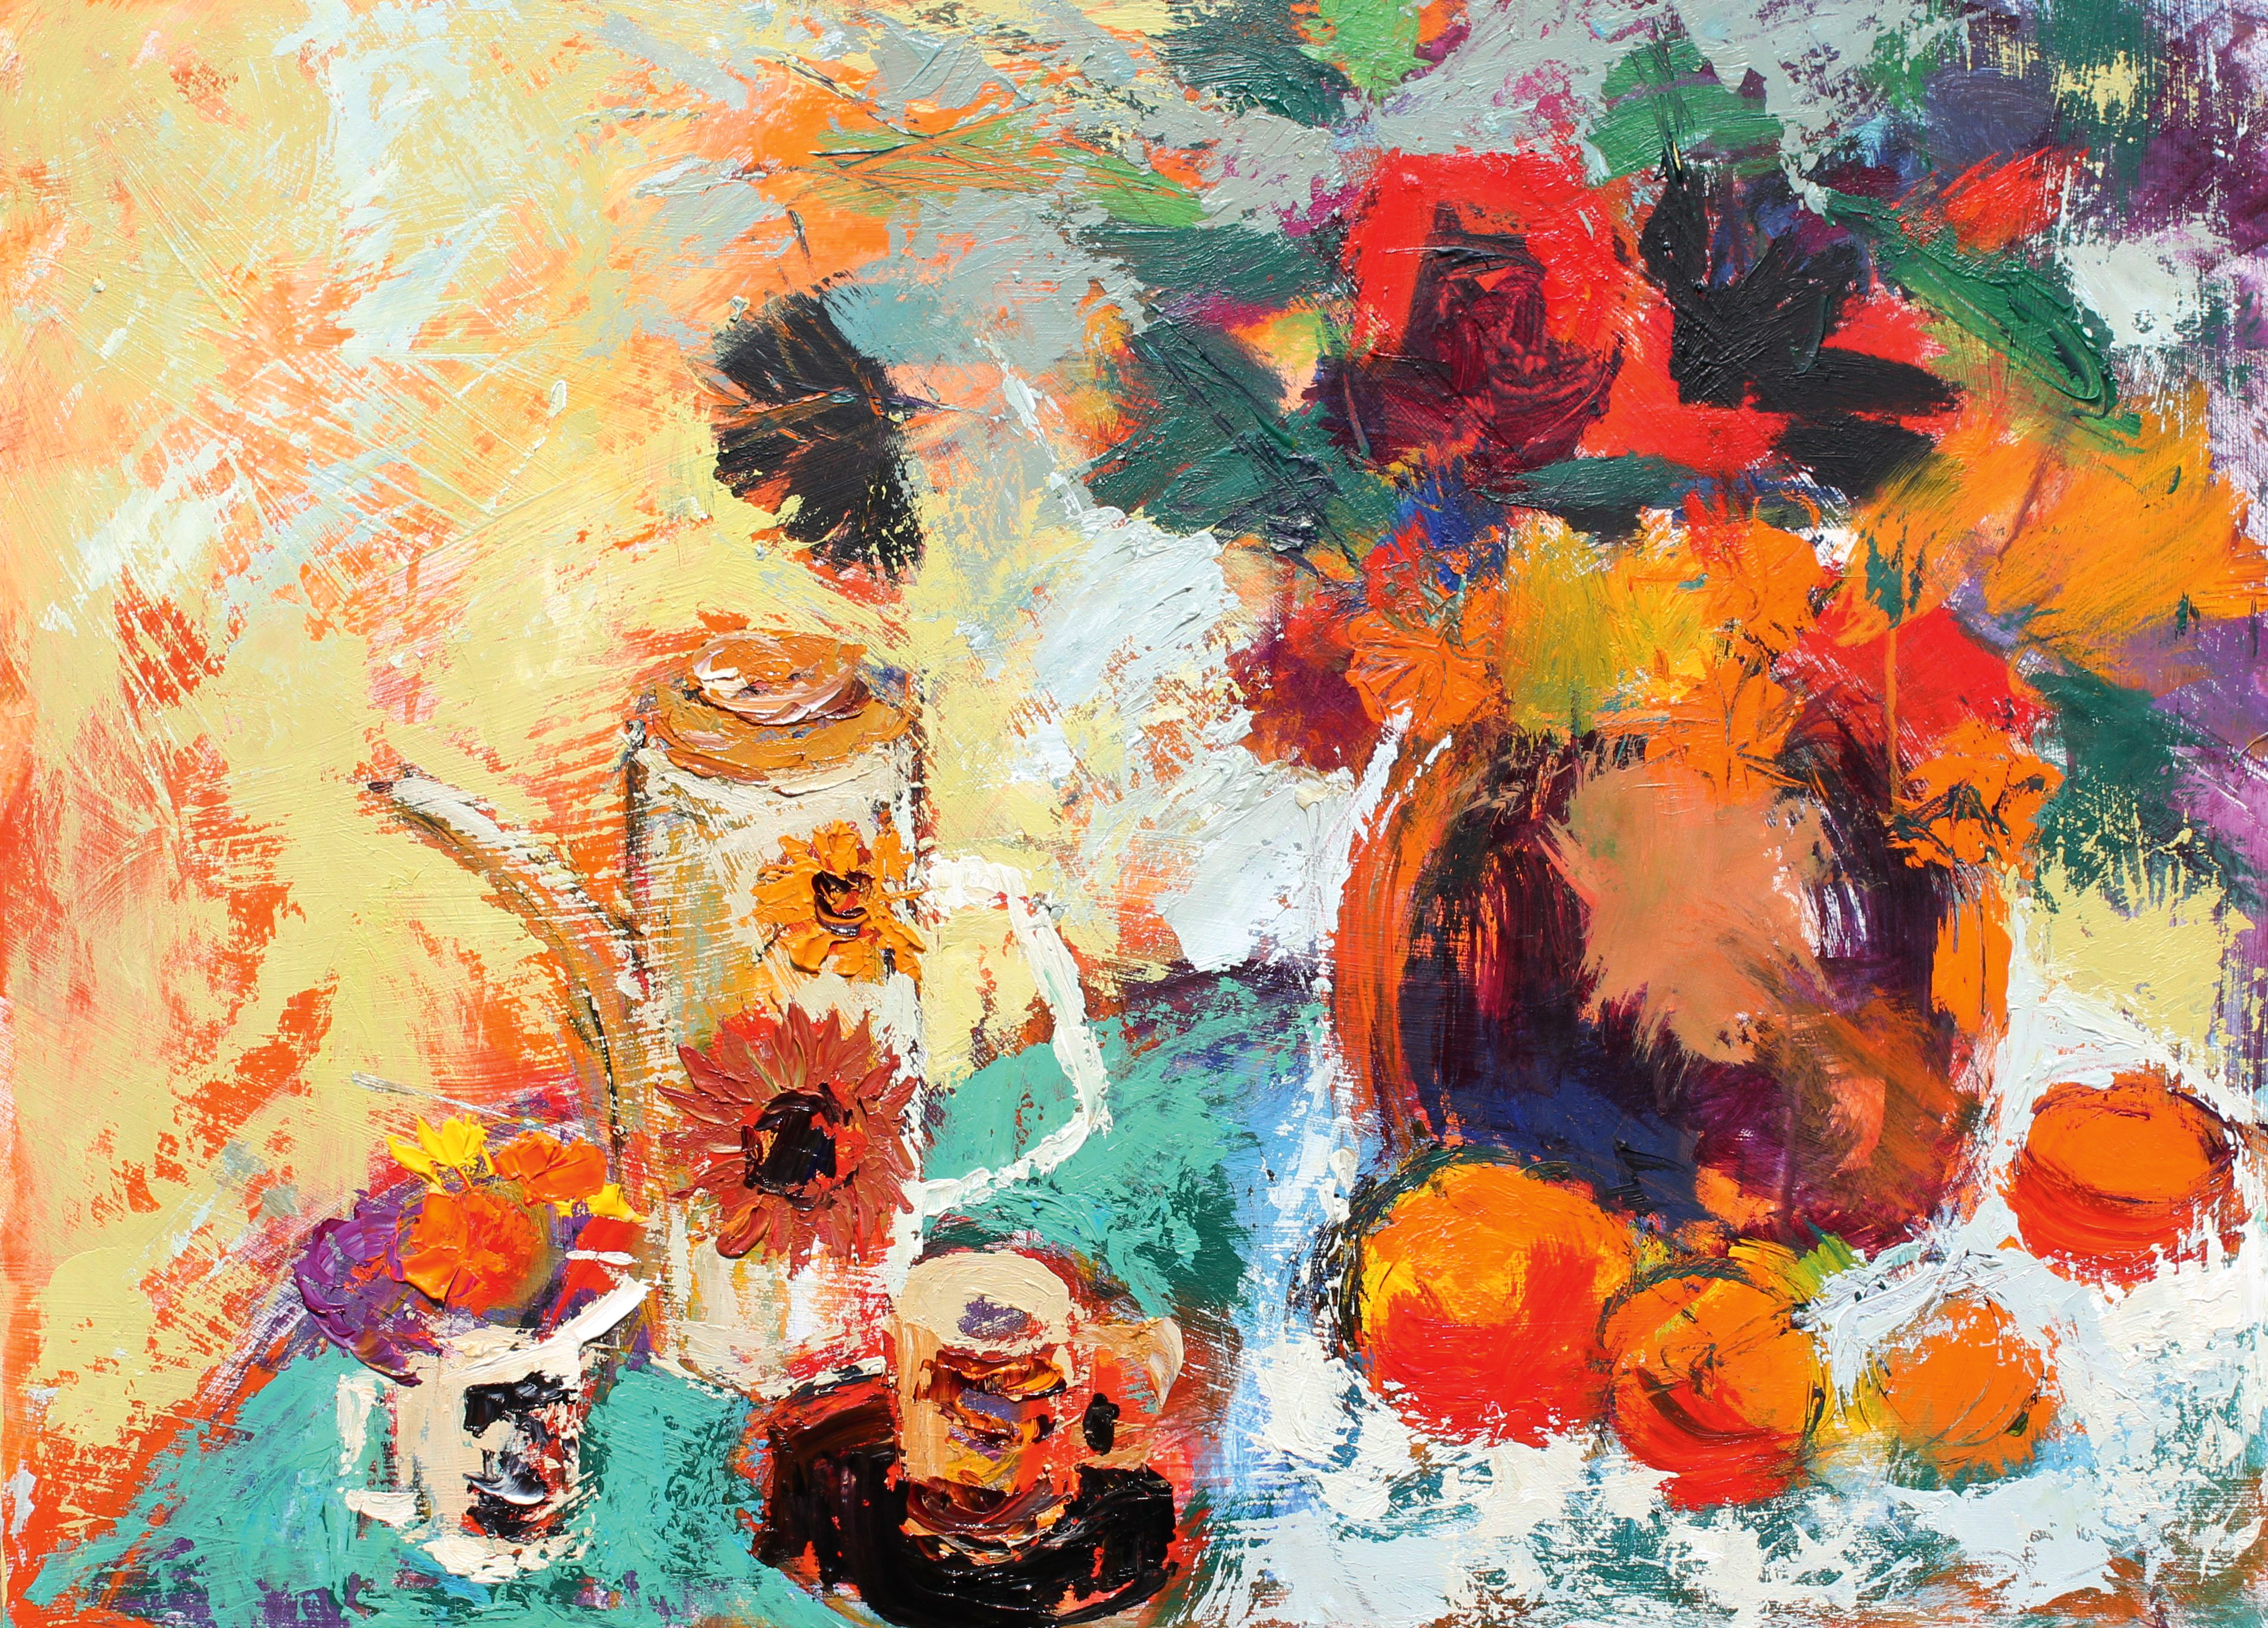
10. Keep it clean
Contrasting tones help the colours to pop
The dark tones of the vase help the light and vibrant flowers to stand out. I paint the flowers with the palette knife, making sure I keep it clean. I paint directly and at speed, keeping the colours fresh and the marks clean. I use the shape of the knife to describe the shape of the petals.
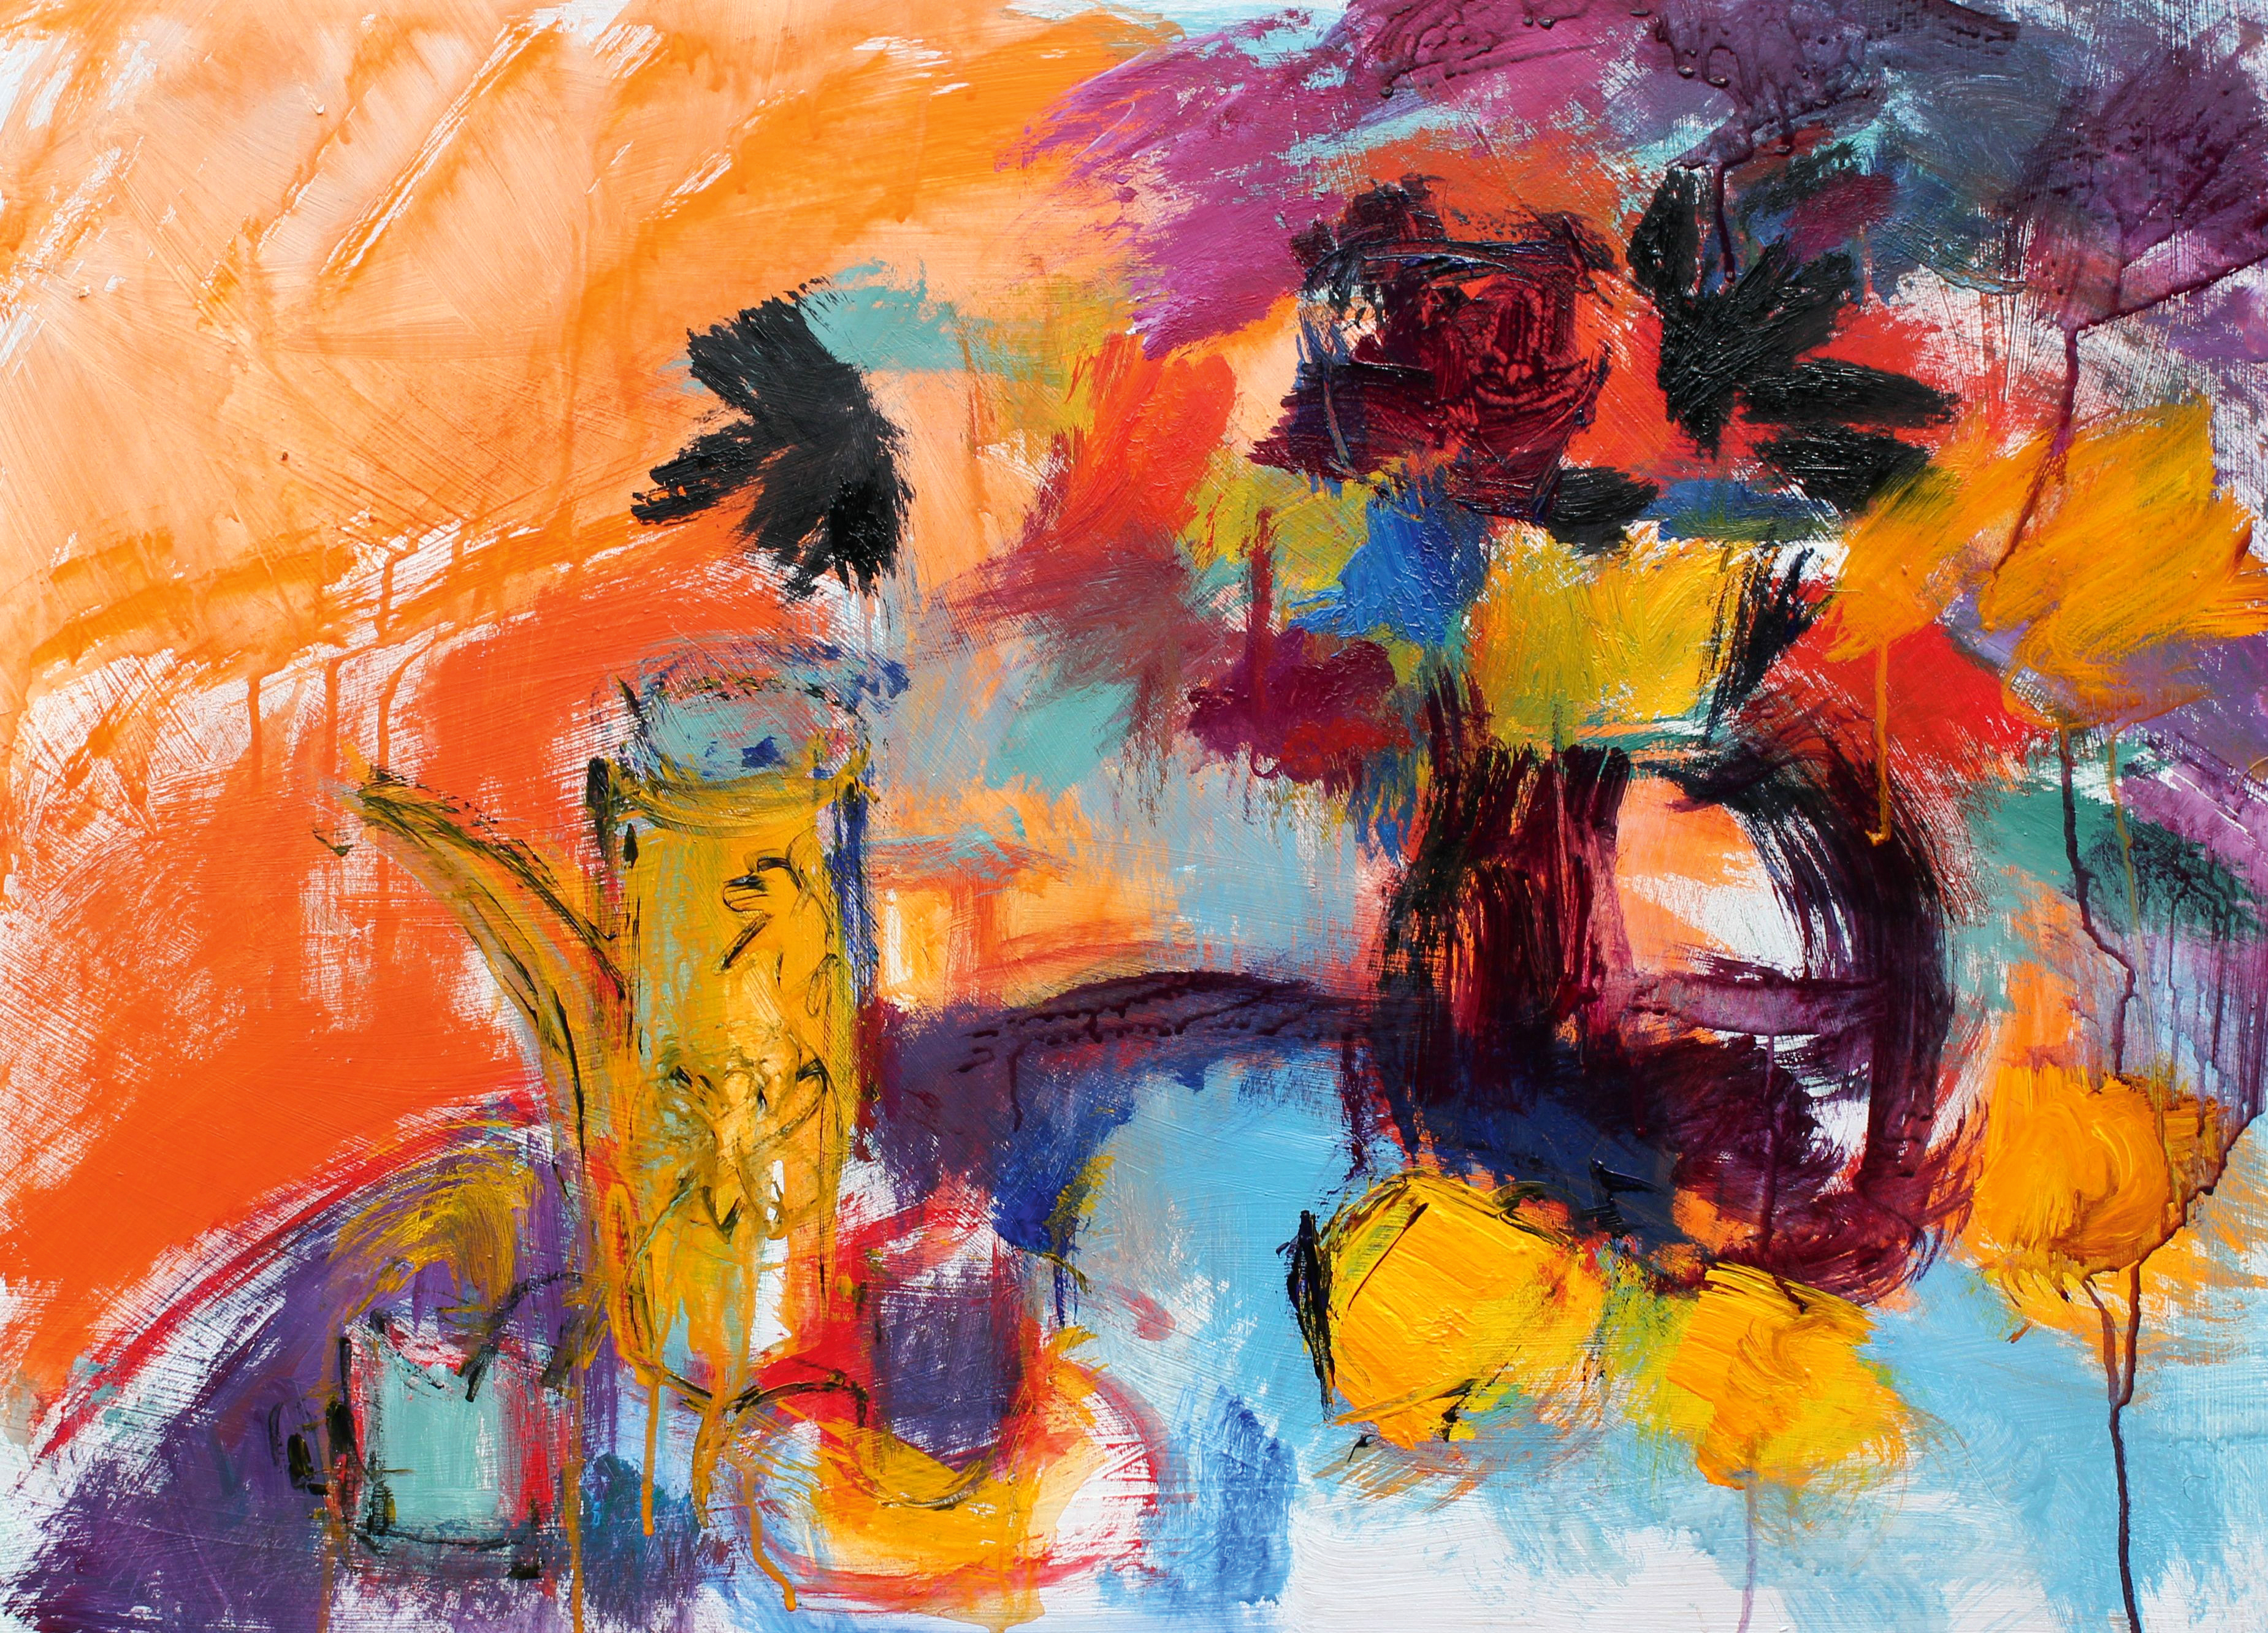
11. Know when to stop
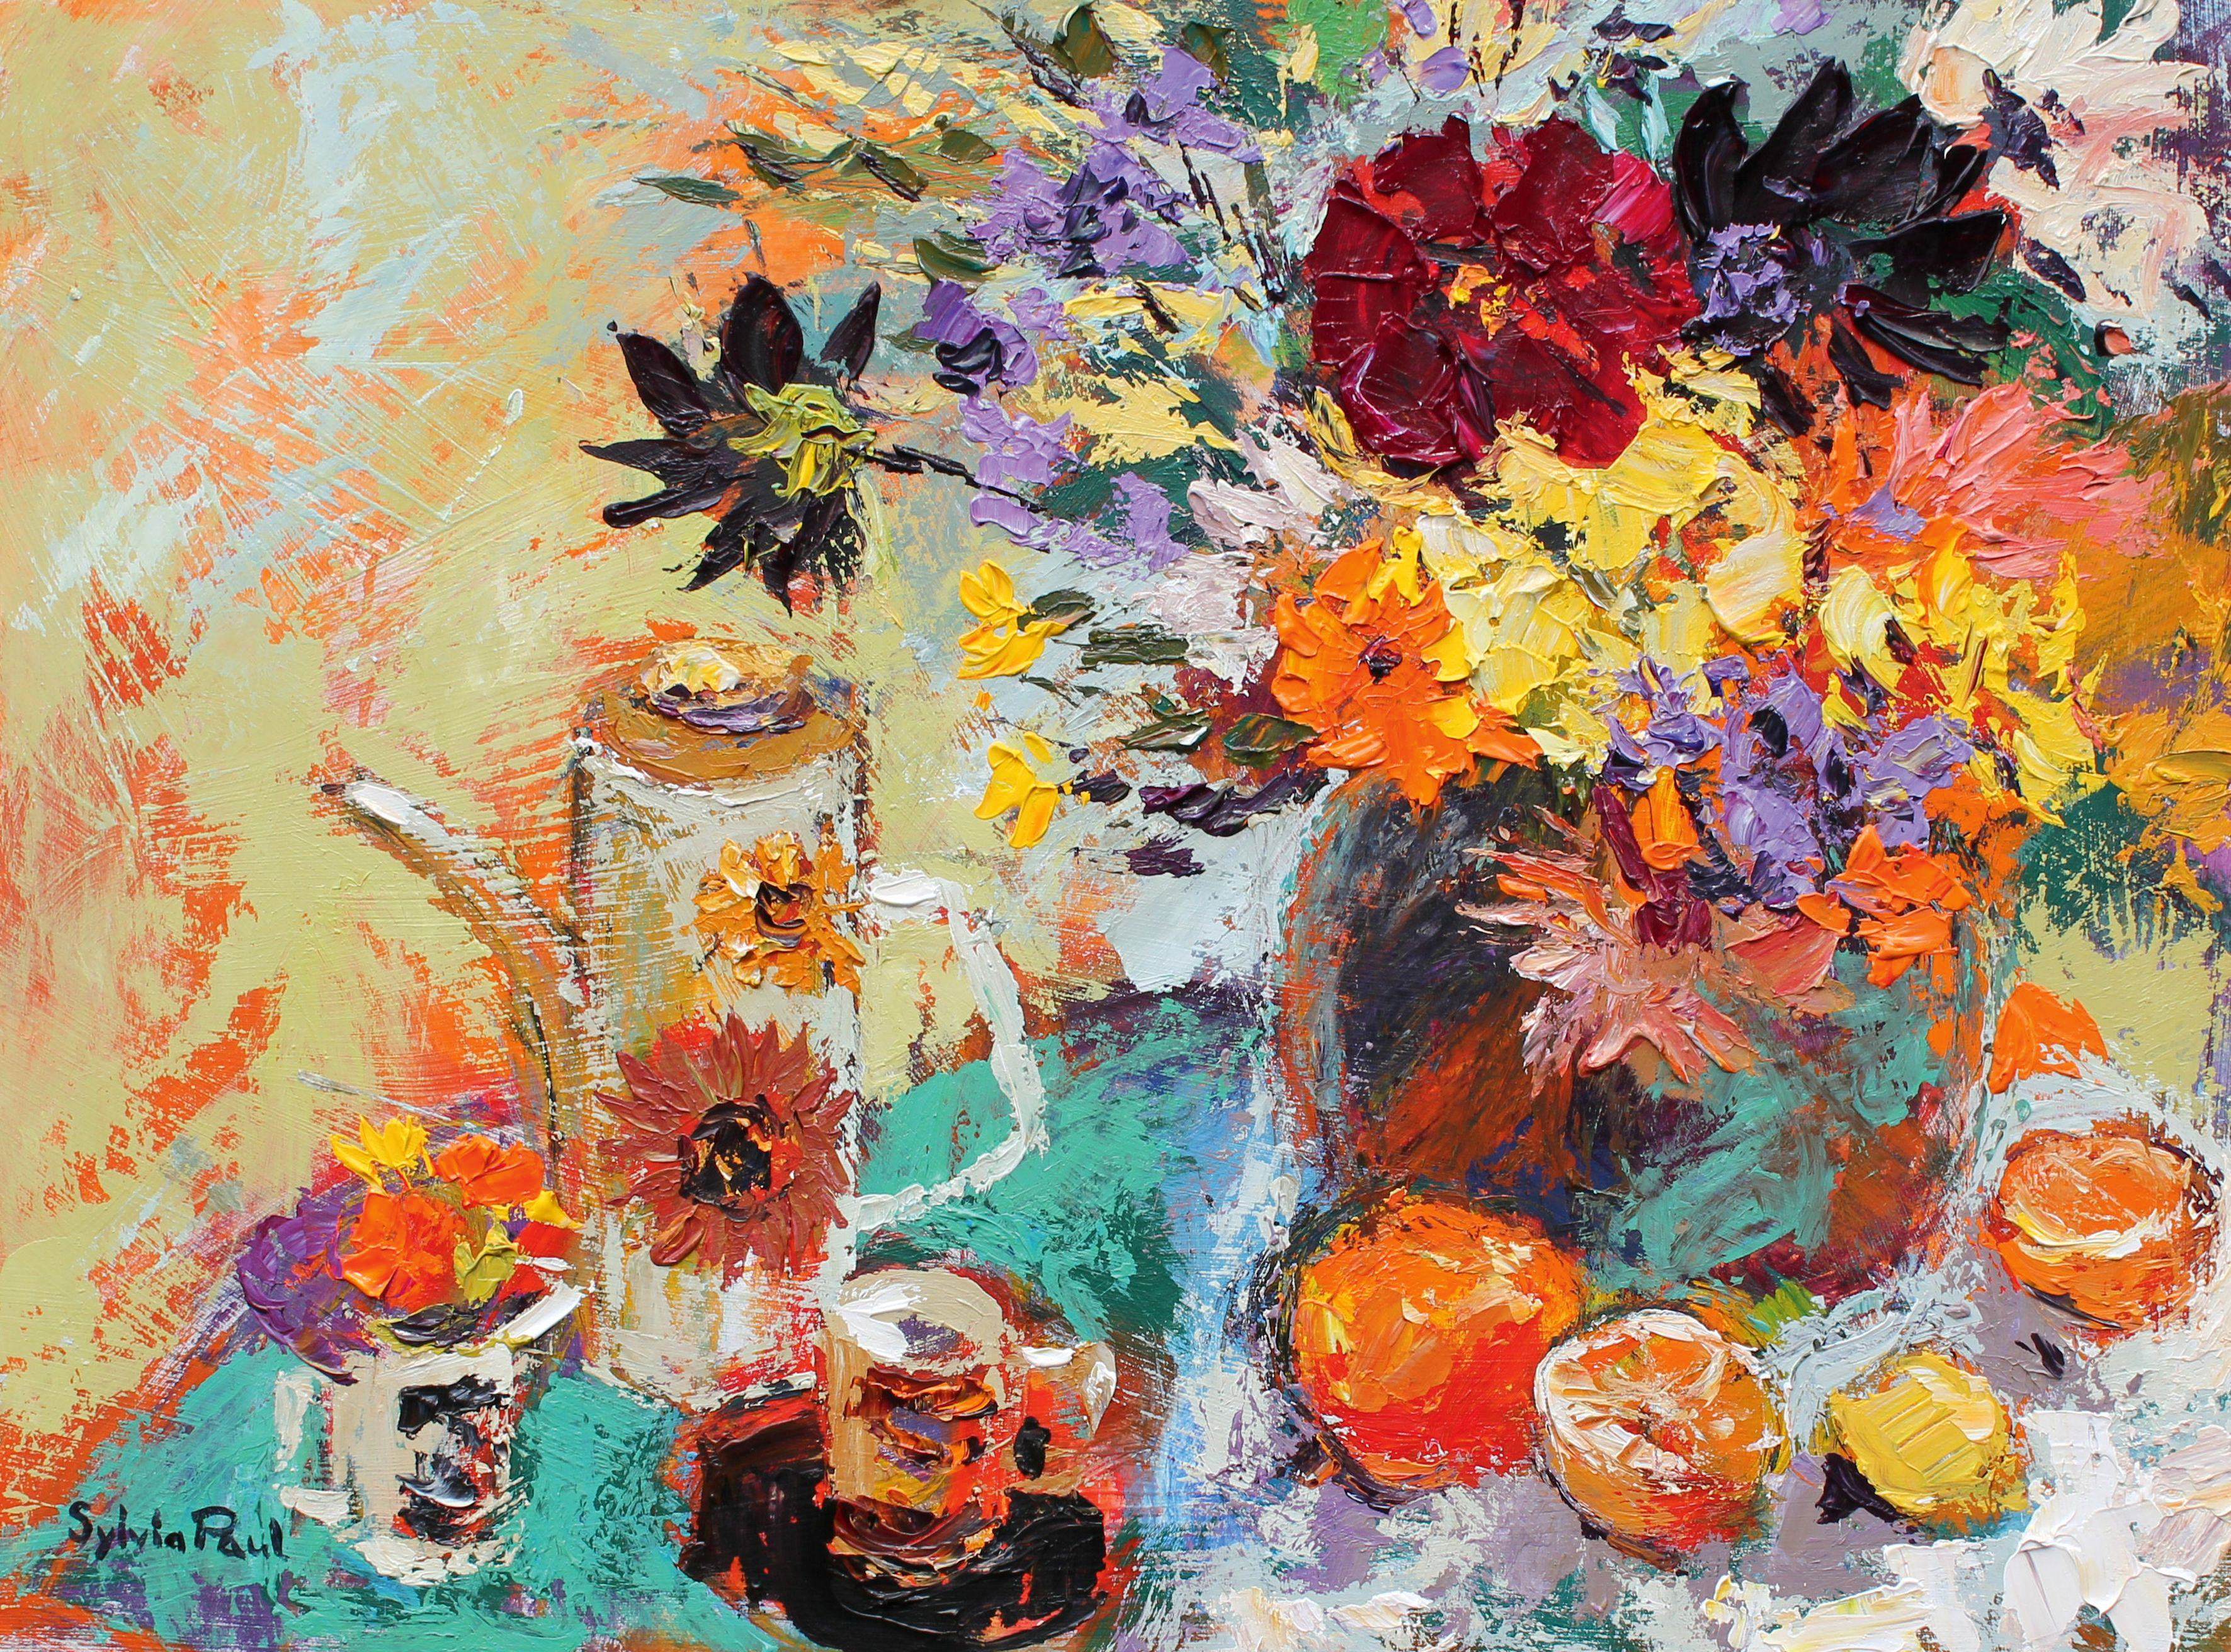
Be careful not to over-work the painting
It can be hard to know when a painting is finished. I remind myself of what I wanted to achieve. I wanted to capture a mood with expressive marks, vibrant colour and texture – I wasn’t aiming for detail or precision. There comes a point when to carry on working on a painting would ruin the vitality and muddy the colour.
This article was originally published in issue 13 of best-selling magazine Paint & Draw, offering tips and inspiration for artists everywhere.
Related articles:
Sharpen your still life painting skills4 important tips for painting a still life sceneStill life photography: 30 beautiful examples


Leave a Reply
Want to join the discussion?Feel free to contribute!