How to Build a WordPress Theme from Scratch: Final Steps
Original Source: https://www.sitepoint.com/build-wordpress-theme-from-scratch-final/
In this article, we’ll complete our foray into building a WordPress theme from scratch, focusing on refining our templates, adding meta information, post thumbnails, sidebars, user-friendly controls and more.
This is the third, and last part of the WordPress series on building a WordPress theme. Part 1 introduced WordPress theming, and in part 2 we built a basic theme. We utilized the Clean Blog template by StartBootstrap to add style to our WordPress theme. The code we’ve written so far is available on GitHub.
We have added single.php, page.php, archive.php and index.php templates so far, but we left the task of finalizing it for this part of the task. We introduced functions.php — a file that WordPress uses to automatically include functionalities particular to our theme, and we added functions to it. We added a dynamic header function to our header.php, and we separated that functionality into our functions.php. Ideally, this should be organized into a separate file — possibly in an inc folder inside our theme — to keep things clean.
In part 2, we also introduced partials — footer.php and header.php.
Refining the Templates
In the previous article, we separated our <body> tag — the opening one — into header.php, and we added <?php body_class(); ?> to it. This adds some semantic classes to the body that tell us whether we are on a page, post, whether we’re logged in, or not, and so on — enabling us to style different elements of our website depending on pages visited, and other things.
If we visit the home page and open the browser console to inspect these classes, we’ll see that we lack the current template information among these classes:
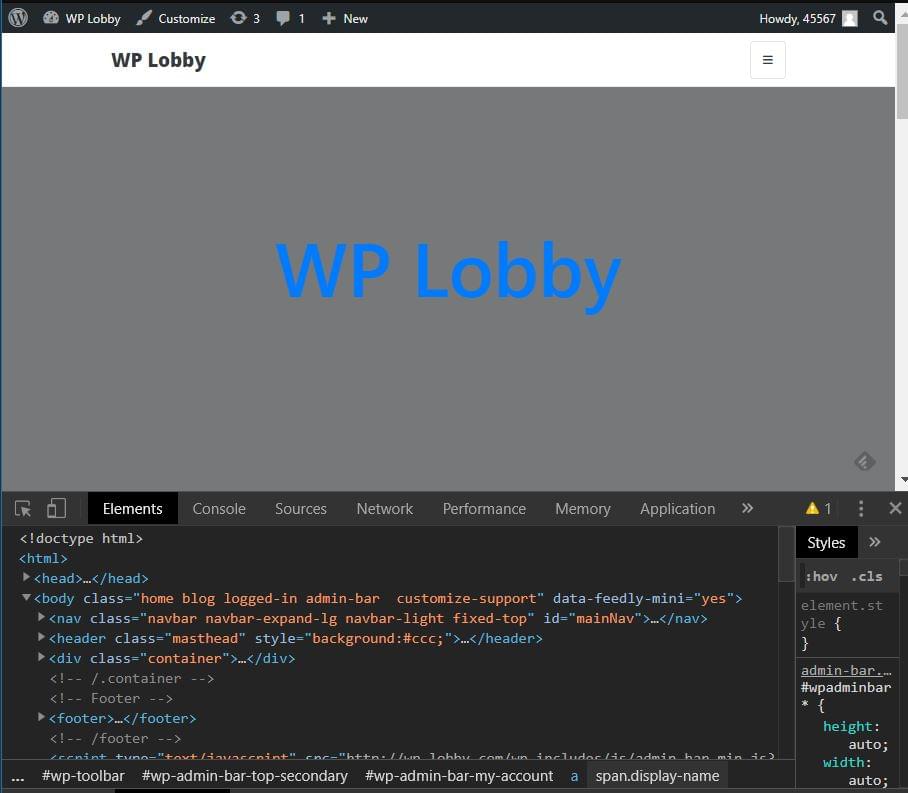
To be able to change the things WordPress displays, we need to know what file is being used. In our case, index.php is used as a default fallback template. This infographic shows the hierarchy of templates used. It can come very handy when overriding or creating themes.
In the previous article, we started refining the archive.php loop, adding meta information and post thumbnails to outputed articles. We’ll separate that loop into a separate file, include it in archive.php and index.php, and finish refining it.
Firstly, we’ll replace the content in both files between while and endwhile with a single line that requests the partial file, so index.php will look something like this:
<?php
/**
* @package Botega_Scratch_Theme
*/
get_header(); ?>
<?php
if ( have_posts() ) : while ( have_posts() ): the_post();
get_template_part( ‘partials/content’, get_post_type() );
endwhile;
endif;
?>
<?php get_footer(); ?>
Once we’ve done that, we’ll place the content we have replaced in archive.php into the partials/content.php file:
<div <?php post_class( ‘post-preview’ ); ?> id=”post-<?php the_ID(); ?>”>
<header class=”entry-header”>
<?php
if ( is_singular() ) :
the_title( ‘<h1 class=”entry-title”>’, ‘</h1>’ );
else :
the_title( ‘<h2 class=”entry-title”><a href=”‘ . esc_url( get_permalink() ) . ‘” rel=”bookmark”>’, ‘</a></h2>’ );
endif;
if ( ‘post’ === get_post_type() ) :
?>
<div class=”entry-meta”>
<?php
bsimple_posted_on();
bsimple_posted_by();
?>
</div><!– .entry-meta –>
<?php endif; ?>
</header><!– .entry-header –>
<a class=”post-thumbnail” href=”<?php the_permalink(); ?>” aria-hidden=”true” tabindex=”-1″>
<?php
the_post_thumbnail( ‘post-thumbnail’, array(
) );
?>
</a>
<?php the_excerpt(); ?>
</div>
Once we upload these changes to the server, we’ll see that our front page now, in each post in the post list, has meta information — date and author links:
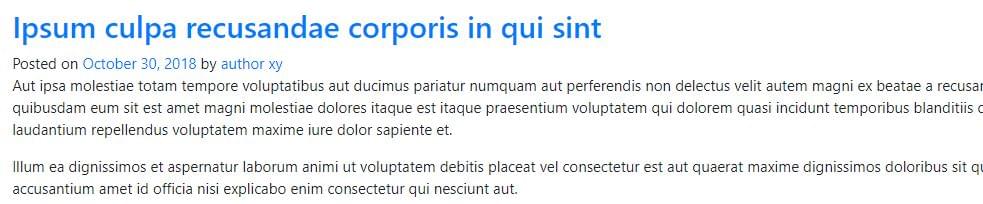
This means that our partial works.
Posts Thumbnails
We can see that none of our fake posts have any images in general, and no featured images specifically. If we go to the WordPress dashboard and try to add the featured image to our post/page, we’ll see that there’s no file upload field in the rightmost sidebar. (For those unfamiliar with WordPress, more about this feature can be read here.)
Post thumbnails aren’t enabled by default in WordPress themes. It’s a feature that needs to be turned on specifically in new themes. Most themes have it enabled.
To do this, we include add_theme_support( ‘post-thumbnails’ ); line to our functions.php.
Now thumbnails are enabled.
Now we can empty our WordPress installation of all the content by using the wp-cli command wp site empty –allow-root (or we can do it manually from the WordPress dashboard), and repopulate it with FakerPress. It should fill posts and pages with featured images it grabs from the Internet. (We’ll need to recreate the Top Menu like before, and assign pages and posts to it.)
One tip: if we’re building themes for sale, or generally themes that will be released to a wider audience, we may want to use theme unit test data provided by Automattic, as it may provide content for testing a wider scope of cases and theme details.
We can specify image sizes to FakerPress, but it will in all likelihood still result in a messy look.
When we build a theme, one of the techniques used to achieve a polished, standardized look is to specify thumbnail sizes. These are standard sizes WordPress will resize all uploaded image to fit. We’ll use the WordPress add_image_size() function to add several image sizes that our theme will use:
add_image_size( ‘list-thumb-1’, 730, 400, true);
add_image_size( ‘small-list-thumb-1’, 400, 200, true);
add_image_size( ‘small-list-thumb-2’, 300, 200, true);
add_image_size( ‘small-list-thumb-3’, 220, 140, true);
Then we’ll output any of the formatted images by using the_post_thumbnail() in our content.php:
<a class=”post-thumbnail” href=”<?php the_permalink(); ?>” aria-hidden=”true” tabindex=”-1″>
<?php
the_post_thumbnail( ‘small-list-thumb-1’);
?>
</a>
To achieve a nicely formatted excerpt in our archive or blog list, we’ll increase font size, but to do this, we’ll reduce the number of words outputted by the_excerpt():
# functions.php
function custom_excerpt_length( $length ) {
return 40;
}
add_filter( ‘excerpt_length’, ‘custom_excerpt_length’, 999 );
To be able to float image (thumbnail we just mentioned) and excerpt, we add the following to the parent element selector in our css:
.home .post-preview.post {
overflow: hidden;
}
(We don’t cover here the smaller styling adjustments that aren’t crucial to the theme itself.)
Now, we can increase our font size, and have the excerpt float around the image, by floating the image (along with the a parent element):
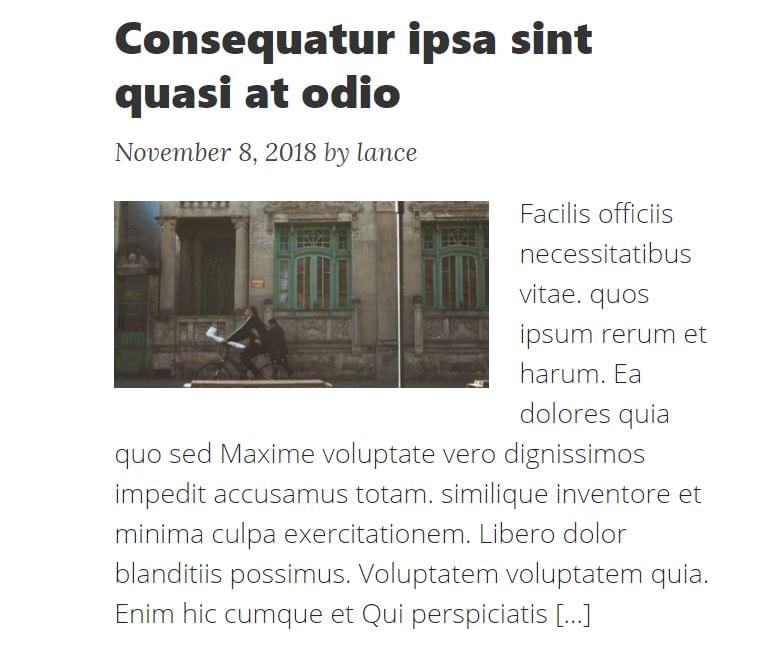
We’ll also use post_thumbnails later, on single posts/pages.
Theme Sidebars
Theme Sidebars are widgetized areas in the theme. They need to be registered in the WordPress system so that we can place different widgets to these areas. Once we do that, we print — or output — these widgets in our template files.
We’ll register a number of sidebars in our theme, which can be seen in the GitHub repository of the theme. We do this by adding the following code to our functions.php:
// Register custom sidebars
function sidebar_register() {
$args = array(
‘name’ => __( ‘home_header’, ‘bsimple’ ),
‘description’ => __( ‘home_header’, ‘bsimple’ ),
‘id’ => ‘h_h’,
‘class’ => ‘home_header’,
‘before_widget’ => ‘ <div class=”dyn-sidebar side sidebar”>’,
‘after_widget’ => ‘</div>’,
‘before_title’ => ‘<h2 class=”widgettitle”>’,
‘after_title’ => ‘</h2>’,
);
register_sidebar($args);
$args = array(
‘name’ => __( ‘archive_sidebar_1’, ‘bsimple’ ),
‘description’ => __( ‘Archive Sidebar no 1’, ‘bsimple’ ),
‘id’ => ‘a_s_1’,
‘class’ => ‘archive_sidebar_1’,
‘before_widget’ => ‘ <div class=”dyn-sidebar side sidebar”>’,
‘after_widget’ => ‘</div>’,
‘before_title’ => ‘<h2 class=”widgettitle”>’,
‘after_title’ => ‘</h2>’,
);
register_sidebar($args);
$args = array(
‘name’ => __( ‘bottom_center_sidebar’, ‘bsimple’ ),
‘description’ => __( ‘Bottom Center Sidebar’, ‘bsimple’ ),
‘id’ => ‘b_c_s’,
‘class’ => ‘bottom_center_sidebar’,
‘before_widget’ => ‘<div id=”bottom-center-sidebar”>’,
‘after_widget’ => ‘</div>’,
‘before_title’ => ‘<h2 class=”widgettitle”>’,
‘after_title’ => ‘</h2>’,
);
register_sidebar($args);
}
add_action( ‘widgets_init’, ‘sidebar_register’ );
Here, we show how to register two sidebars. Further details on the register_sidebar() function can be found at wordpress.org.
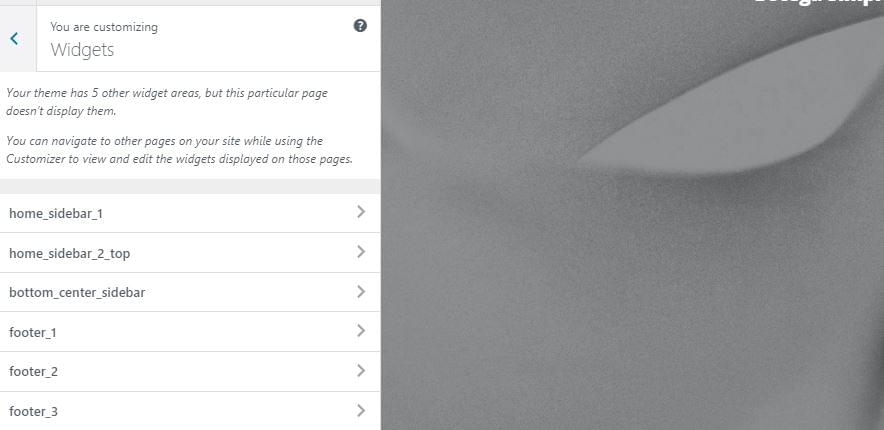
We register eleven sidebars, but we don’t need to output all of these in all page templates or website locations. If they’re outputed in the currently customized page, they’re accessible in the Customizer under widgets:
Here’s an example of actual output of the sidebar or widget area in the footer.php — which means it can be displayed globally:
<?php if ( is_active_sidebar( ‘b_c_s’ ) ) : ?>
<div class=”row b_c_s”><div class=”col-lg-8 mx-auto top-widget col-md-10 “>
<?php get_sidebar( ‘BottomCenterSidebar’ ); ?>
</div></div>
<?php endif; ?>
Here we use a sidebar ID we used in the register_sidebar function for the bottom_center_sidebar above.
We also conditioned the width of the central content container on the home page dependent on whether there are sidebars with active widgets ( is_active_sidebar()):
# index.php
<div class=”row”>
<?php if ( (is_home() && is_active_sidebar( ‘h_s_1’ )) || (is_archive() && is_active_sidebar( ‘archive_sidebar_1’ )) ) { ?>
<div class=”col-lg-7 col-md-9″>
<?php } else { ?>
<div class=”col-lg-12 col-md-10 mx-auto”>
<?php } ?>
<?php
if ( have_posts() ) : while ( have_posts() ): the_post();
get_template_part( ‘partials/content’, get_post_type() );
endwhile;
endif;
?>
</div>
<?php if ( (is_home() && is_active_sidebar( ‘h_s_1’ )) || (is_archive() && is_active_sidebar( ‘archive_sidebar_1’ )) ) { ?>
<div class=”col-lg-4 offset-lg-1 col-md-10 col-sm-12 arch- sidebar-side-cont”>
<?php }
if ( is_home() ) :
get_sidebar( ‘HomeSidebar1’ );
elseif ( is_archive() ) :
get_sidebar( ‘ArchiveSidebar1’ );
endif;
?>
<?php if ( (is_home() && is_active_sidebar( ‘h_s_1’ )) || (is_archive() && is_active_sidebar( ‘archive_sidebar_1’ )) ) { ?>
</div>
<?php } ?>
</div>
We output Bootstrap classes dependent on these conditions, making sure the theme won’t look empty if we omit setting up widgets for pages such as home.
After we fill these widget areas with widgets and images, this is what we get:
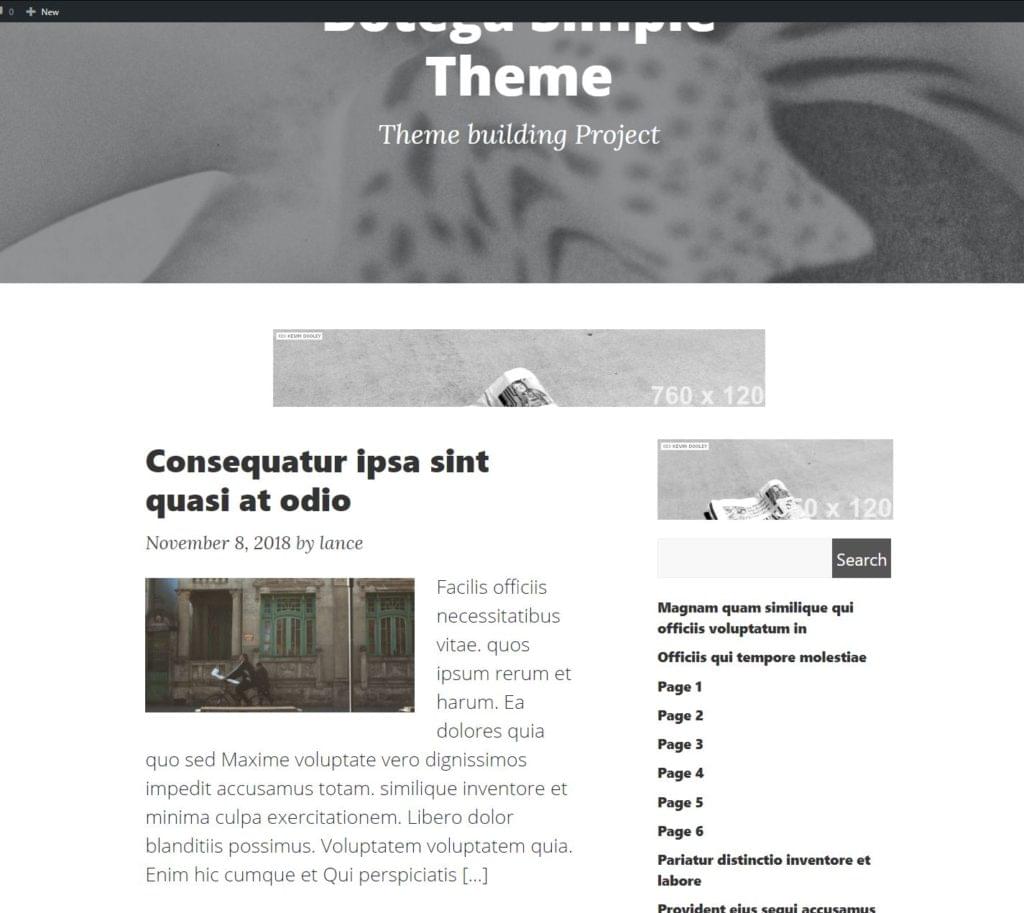
Theme is shaping up nicely. Readers will, of course, adapt the styling to their liking.
The post How to Build a WordPress Theme from Scratch: Final Steps appeared first on SitePoint.


Leave a Reply
Want to join the discussion?Feel free to contribute!