Original Source: https://inspiredm.com/yootheme-pro-review-powerful-theme-and-page-builder-for-wordpress-and-joomla/
Meta: This YOOtheme review focuses on YOOtheme Pro features, functionalities and the corresponding pricing, plus overall efficacy.
For now, forget about all the fancy sales language you know. Or your products’ amazing and exceptional features. There’s only one thing that will make your traffic stay immediately they land on your site.
Yes, you’re dead right. It all comes down to your web design.
And the numbers are astonishing. Basically, 94% of your traffic would not trust a site with poor design. Chances are, they’ll just leave to engage other businesses with better-designed sites.
That’s why I’ve always been extremely keen about the themes and templates I adopt for my sites, especially if they come from third-party providers.
Speaking of which, WordPress users have always been lucky when it comes to this. We have a wide range of options to choose from, including dedicated theme providers, and page-builders that also come with their own set of professionally-designed themes.
And you know what? The providers are not having it easy. Each additional tool means increased competition. So, of course, they have to keep reinventing themselves to provide better, well-optimized themes, layouts, and templates to survive.
Now, I’ve followed a couple of promising services through this journey, and I have to admit that YOOtheme has outstandingly improved its themes quite substantially over the years.
While I knew that the solution was in for the long haul, I never, not even once, predicted that they would ultimately go for the long ball.
Let’s face it. YOOtheme Pro caught many of us by surprise. Because although they are closely tied, themes and page building are two utterly different ballgames.
But guess what? That’s exactly what makes this move exceptionally intriguing. According to their team, YOOtheme Pro is the most powerful theme and page builder for WordPress and Joomla. They are not playing around here. They mean business.
So, let’s see how much of that they can actually deliver. This YOOtheme review focuses on YOOtheme Pro features, functionalities and the corresponding pricing, plus overall efficacy.
How good is it, really?
But first, let’s see what YOOtheme is all about.
YOOtheme Reviews: Overview
YOOtheme Pro might be new. But the company has been around for quite some time. For longer than a decade, to be precise.
Joomla and WordPress themes plus plugins might have been their principal focus all along. But you’d be mistaken to assume that that’s pretty much all they’ve been doing.
That said, have you ever heard of Ulkit? It’s basically an open source front-end framework for web interface development.
If not, what about Pagekit? That’s another open source solution, which is essentially a modern intuitive CMS.
Well, YOOtheme is also the brains behind these two projects. Both of them created from their Hamburg, Germany headquarters. Quite a number of remarkable solutions to their name, to say the least.
In retrospect, the first move was made back in 2007 by Steffan and Sascha, in one of their basements. YOOtheme has since grown exponentially, to host more than 150,000 customers. Ulkit has also managed to attract an admirably extensive fan-base, going by the half a million sites it has helped build.
The experts and creatives at YOOtheme continue striving to develop what they call “most cutting-edge web software”. Hence the introduction of YOOtheme Pro to further empower users on WordPress and Joomla.
So, how about assessing just how powerful it actually is?
Well, let’s dive in.
YOOtheme Pro Reviews: Features
Page Builder
Let’s start off at the top. With what is considered the core offering on YOOtheme Pro.
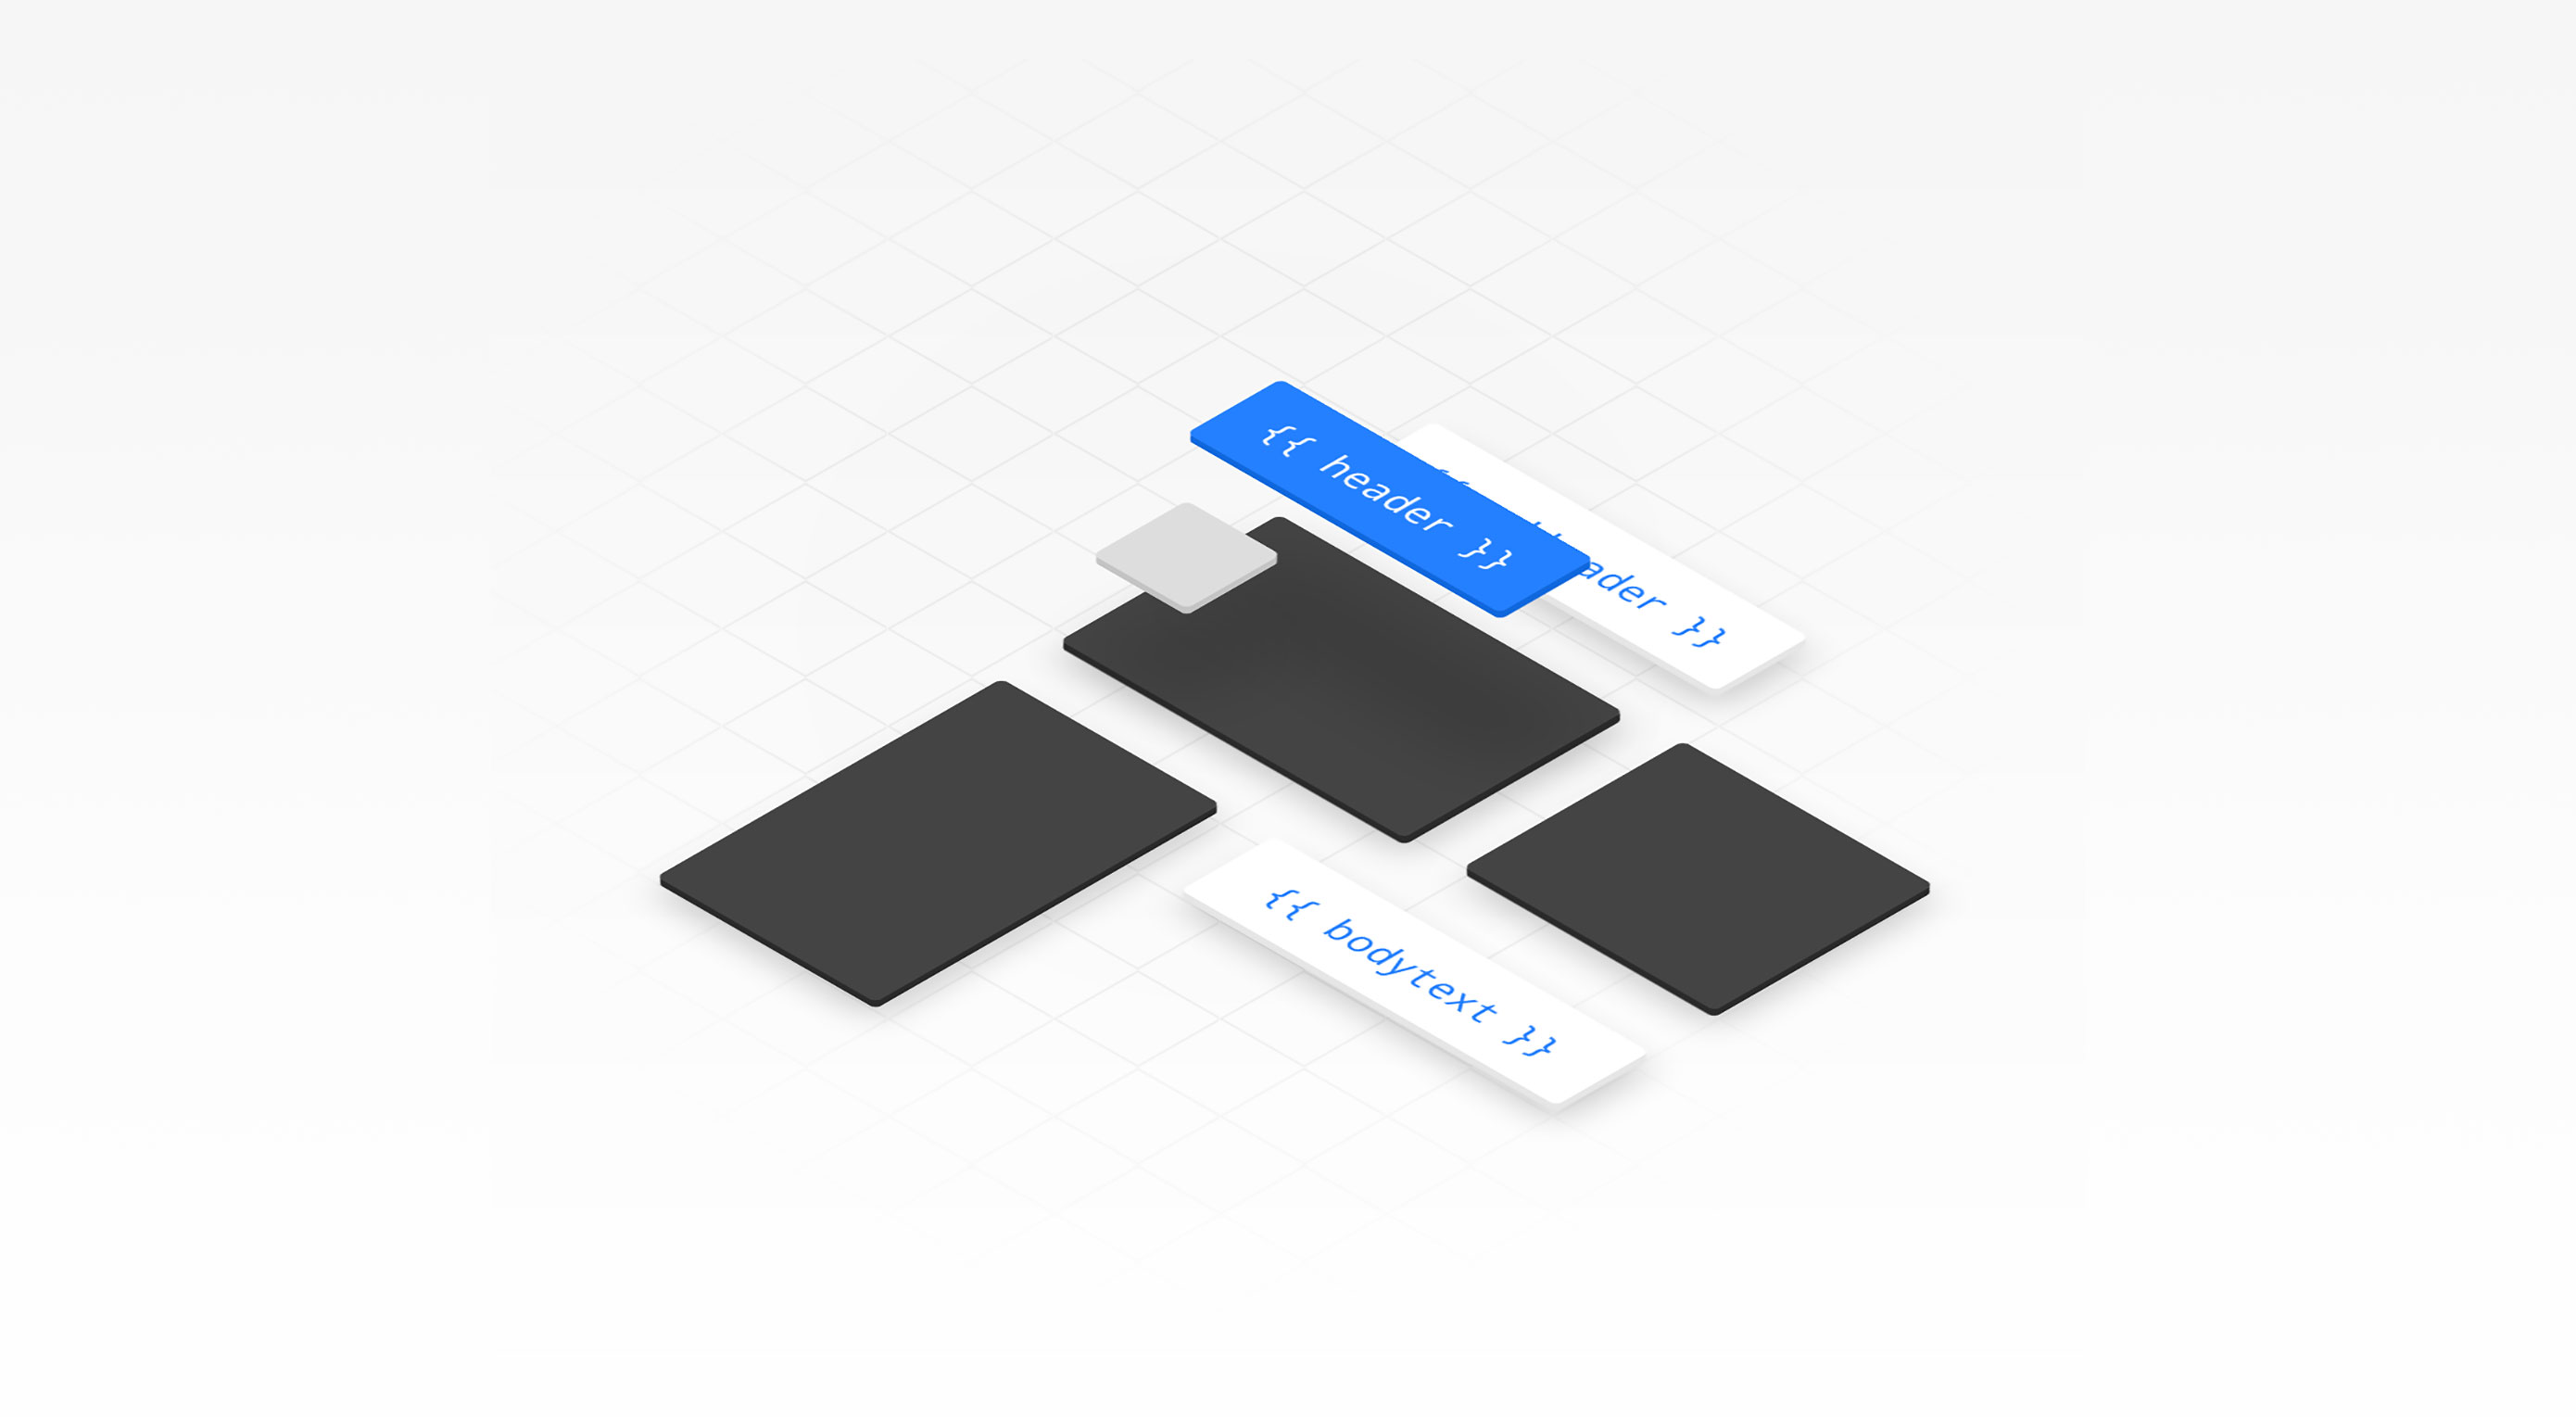
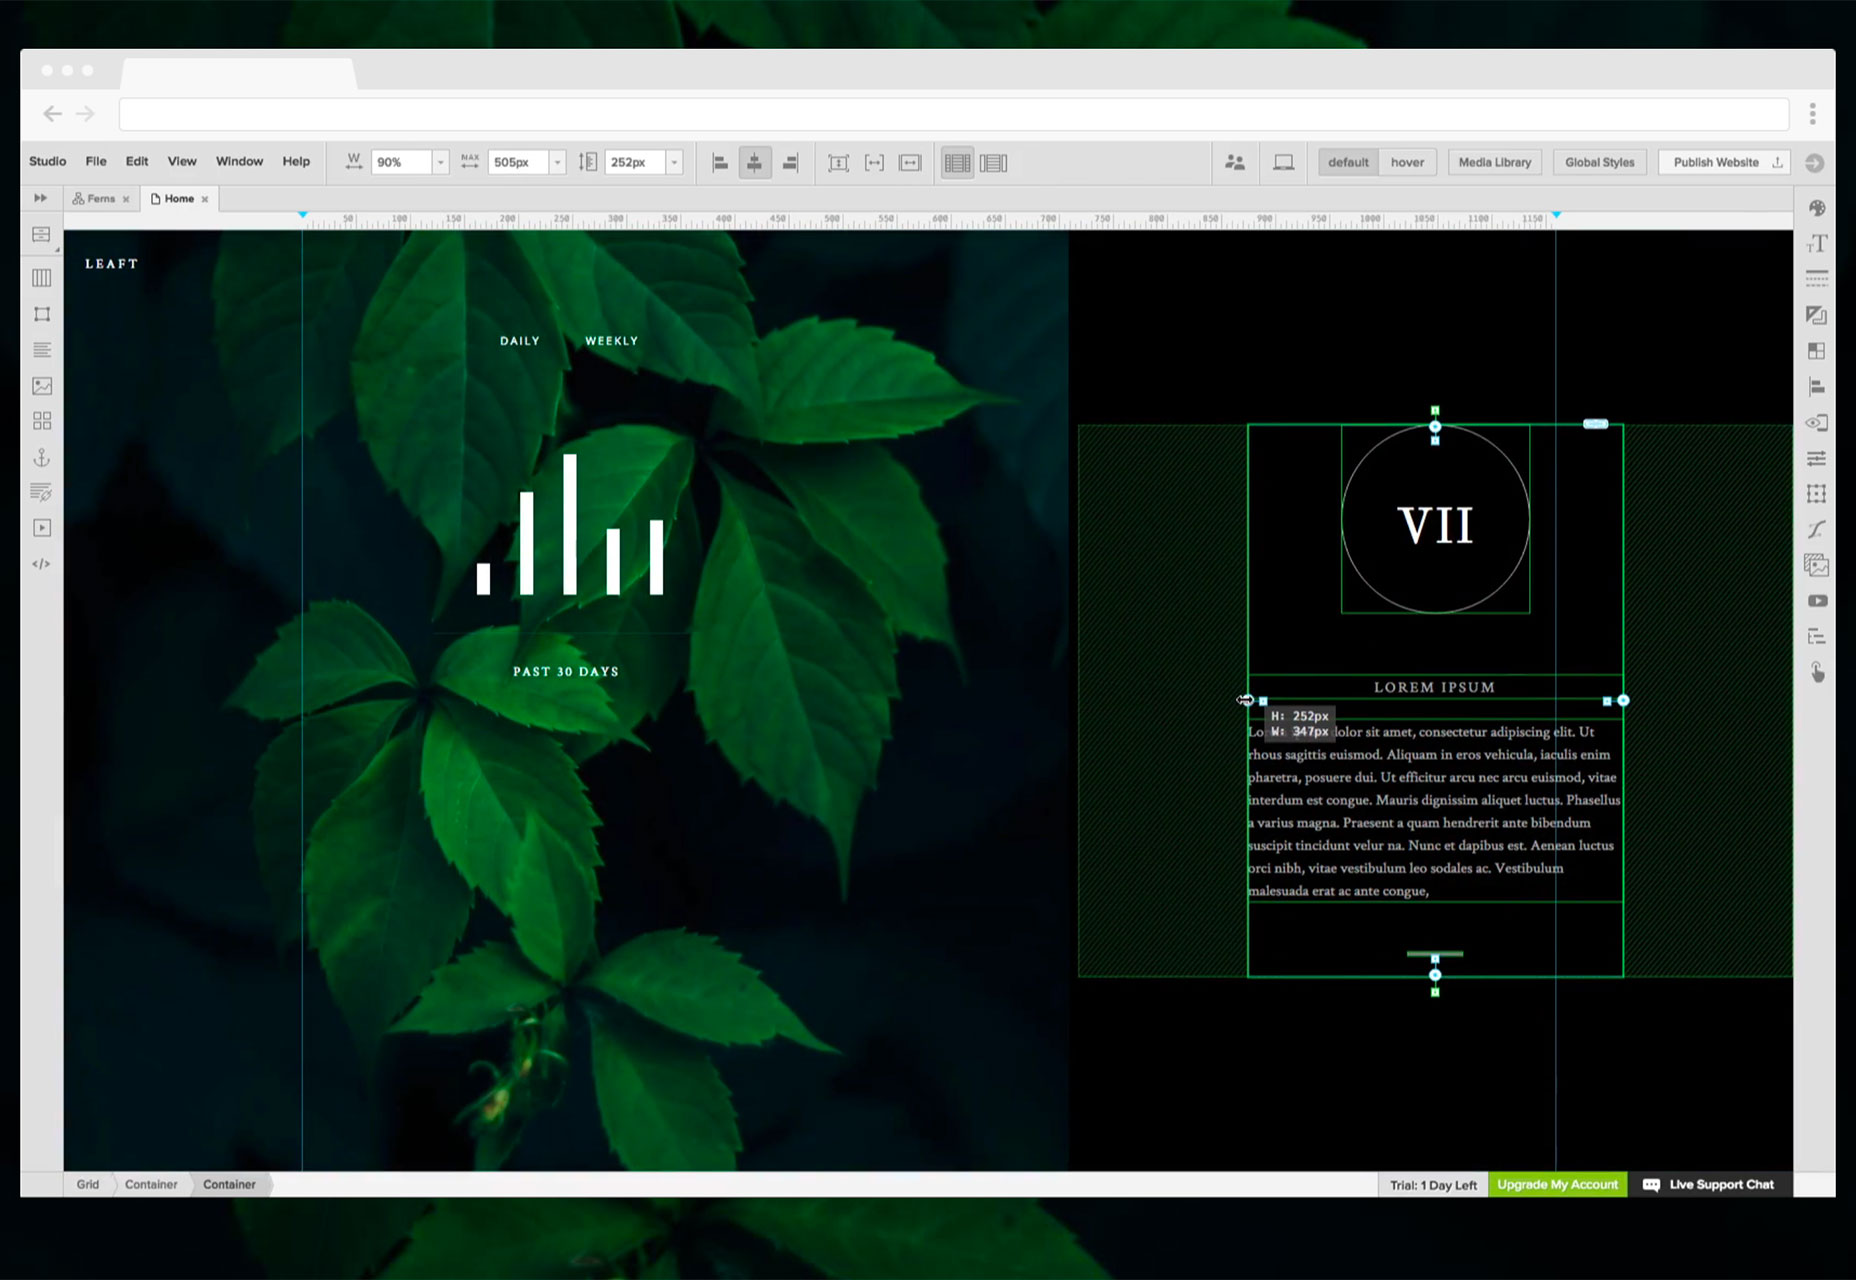
To keep everything simple and intuitive, the page builder is built around the well-known drag-and-drop functionality. This makes the whole design interface clean and pleasantly ideal for both developers and inexperienced builders.
The subsequent editing process is equally straightforward. You can systematically structure your pages into grids, rows, and columns to create an attractive layout that visitors can easily follow through.
I’m particularly fond of the masonry effect option, which allows users to establish neat layouts with multiple columns. The resultant gap-free system even looks great on pages with varying grid cell lengths.
If you find this a bit too monotonous, you can throw in the parallax effect to come up with an extensively dynamic page outlook.
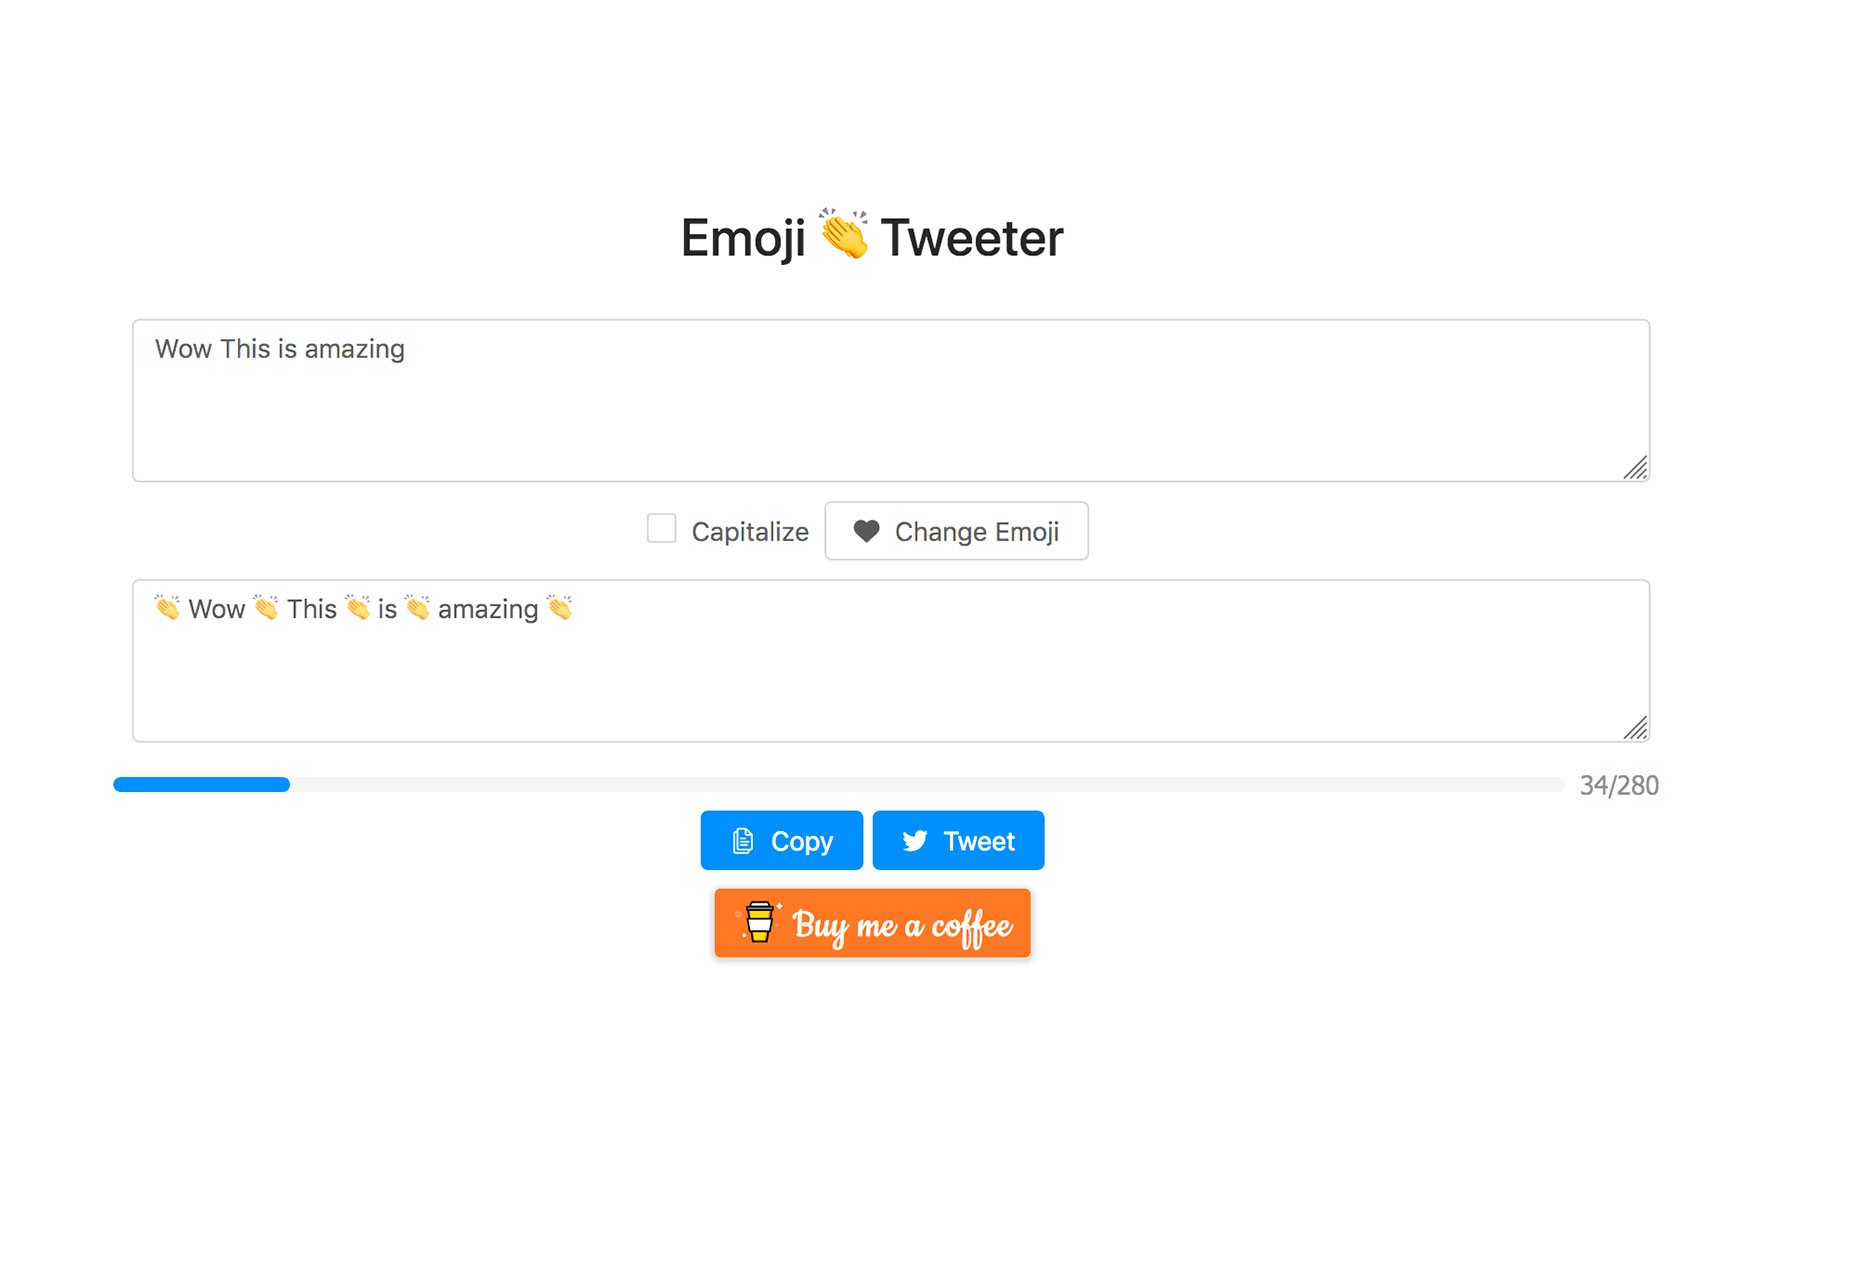
When you’re done with the general structure, you can shift to edit the finer details that ultimately determine a page’s functions and features. For this, thankfully, YOOtheme Pro provides not just the basic element options like “Image” and “Heading”, but also advanced ones like “Slideshow”.

The slideshow element, for instance, offers five different systems of animations, optimized for both PC and mobile. Plus, you can embed both videos and images to achieve a distinctively refreshing and modern website.
And guess what? Using all these tools doesn’t require any coding experience. You can have a website in just minutes without hiring a developer.
But, don’t get me wrong. While it’s possible to create a page in a couple of minutes, you should be extremely careful with the whole process. A perfect, well-optimized page is best created when you put your mind to it, thinking through all the possible options.
In the layout library, for example, it’s advisable to analyze all the premium layouts to select the most suitable one. Well, of course, this is easier said than done since YOOtheme has engaged a team of professional to churn out attractive and trendy templates. You’ll possibly be spoilt for choice here since most of them look like they can fit perfectly on any website.

To help you sort through the entire heap, YOOtheme Pro allows you to filter by topic. Consequently, you’ll be able to conveniently select a layout that suits your preferences and business needs. And changing the general outlook of your WordPress site is as simple as a single click.
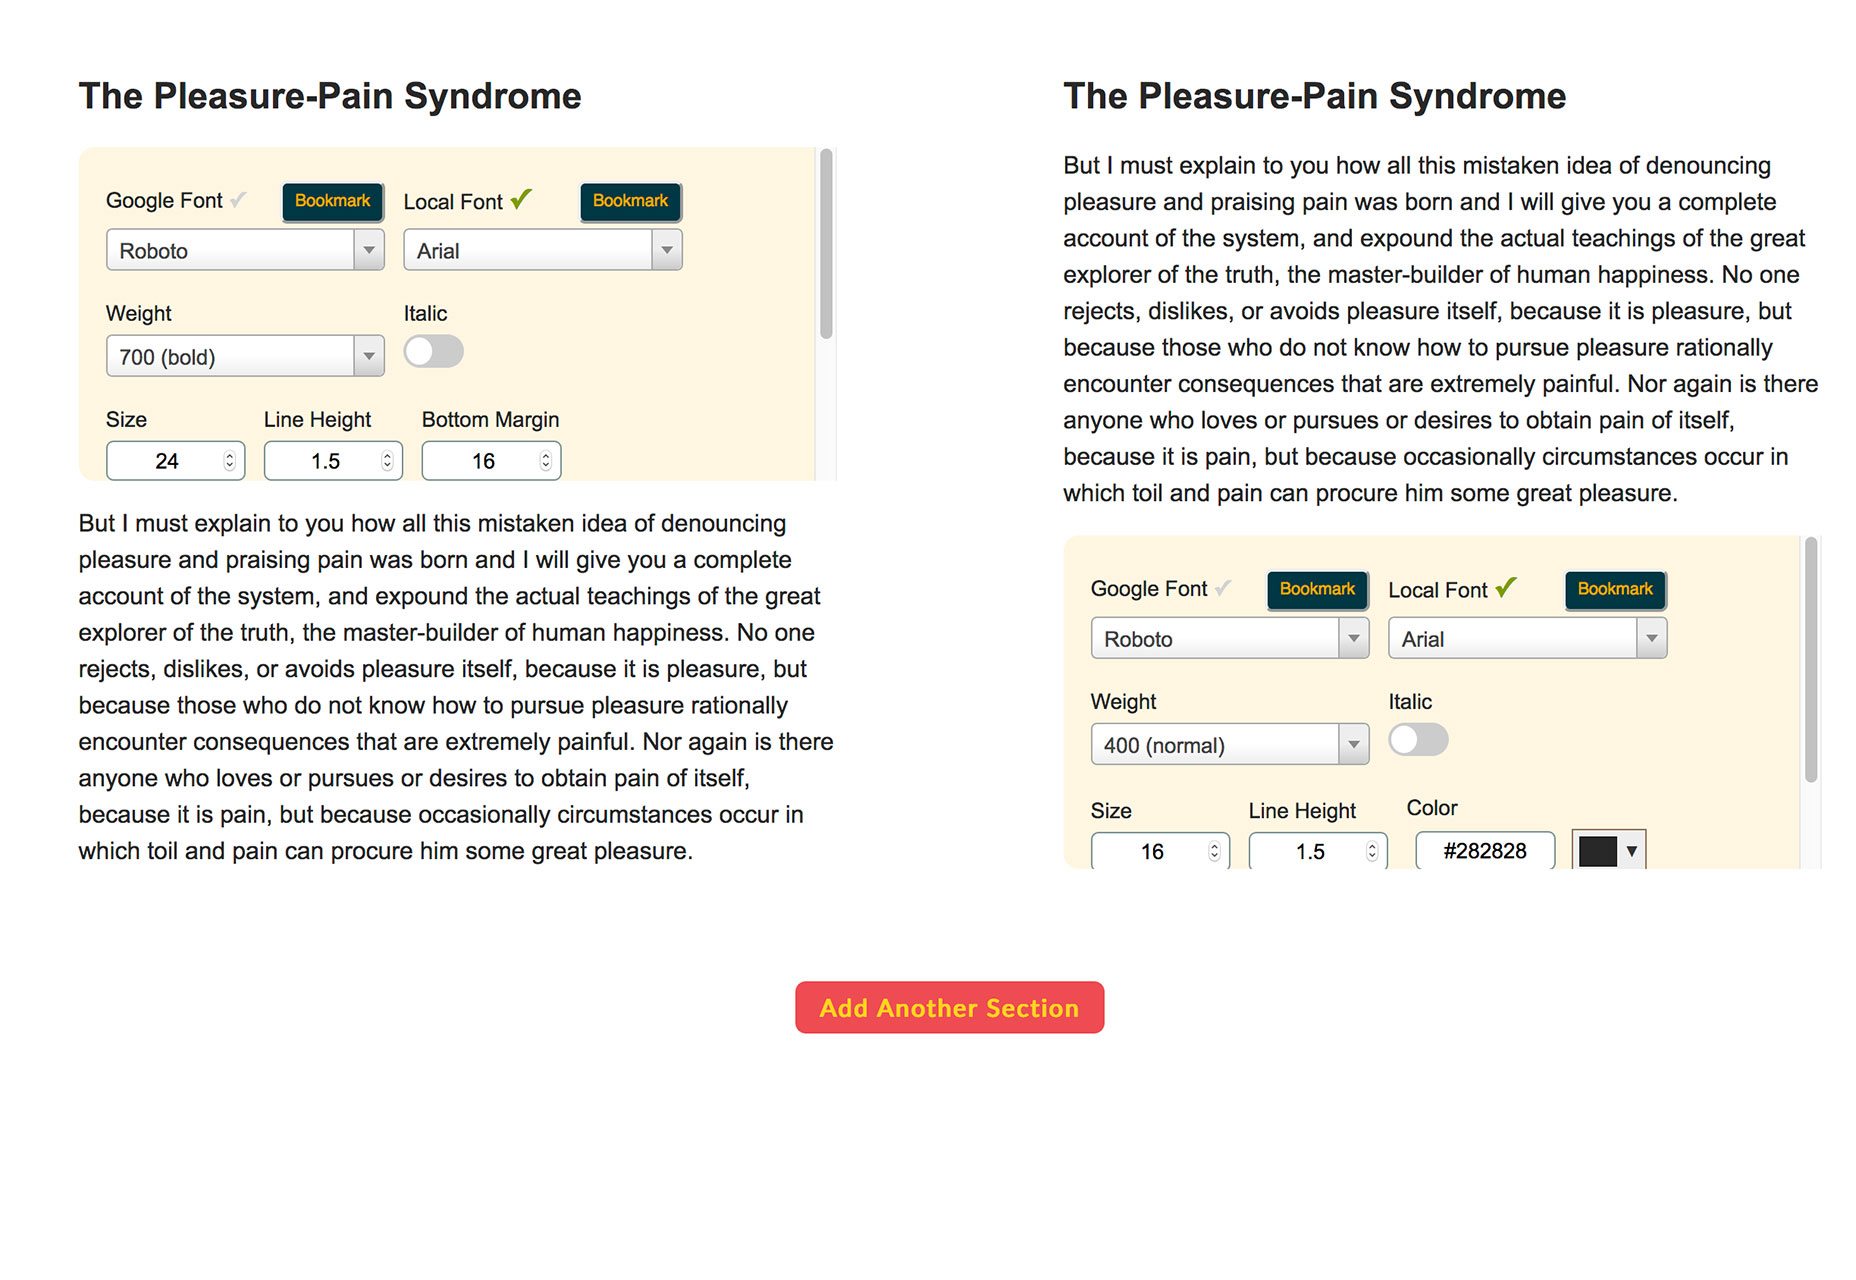
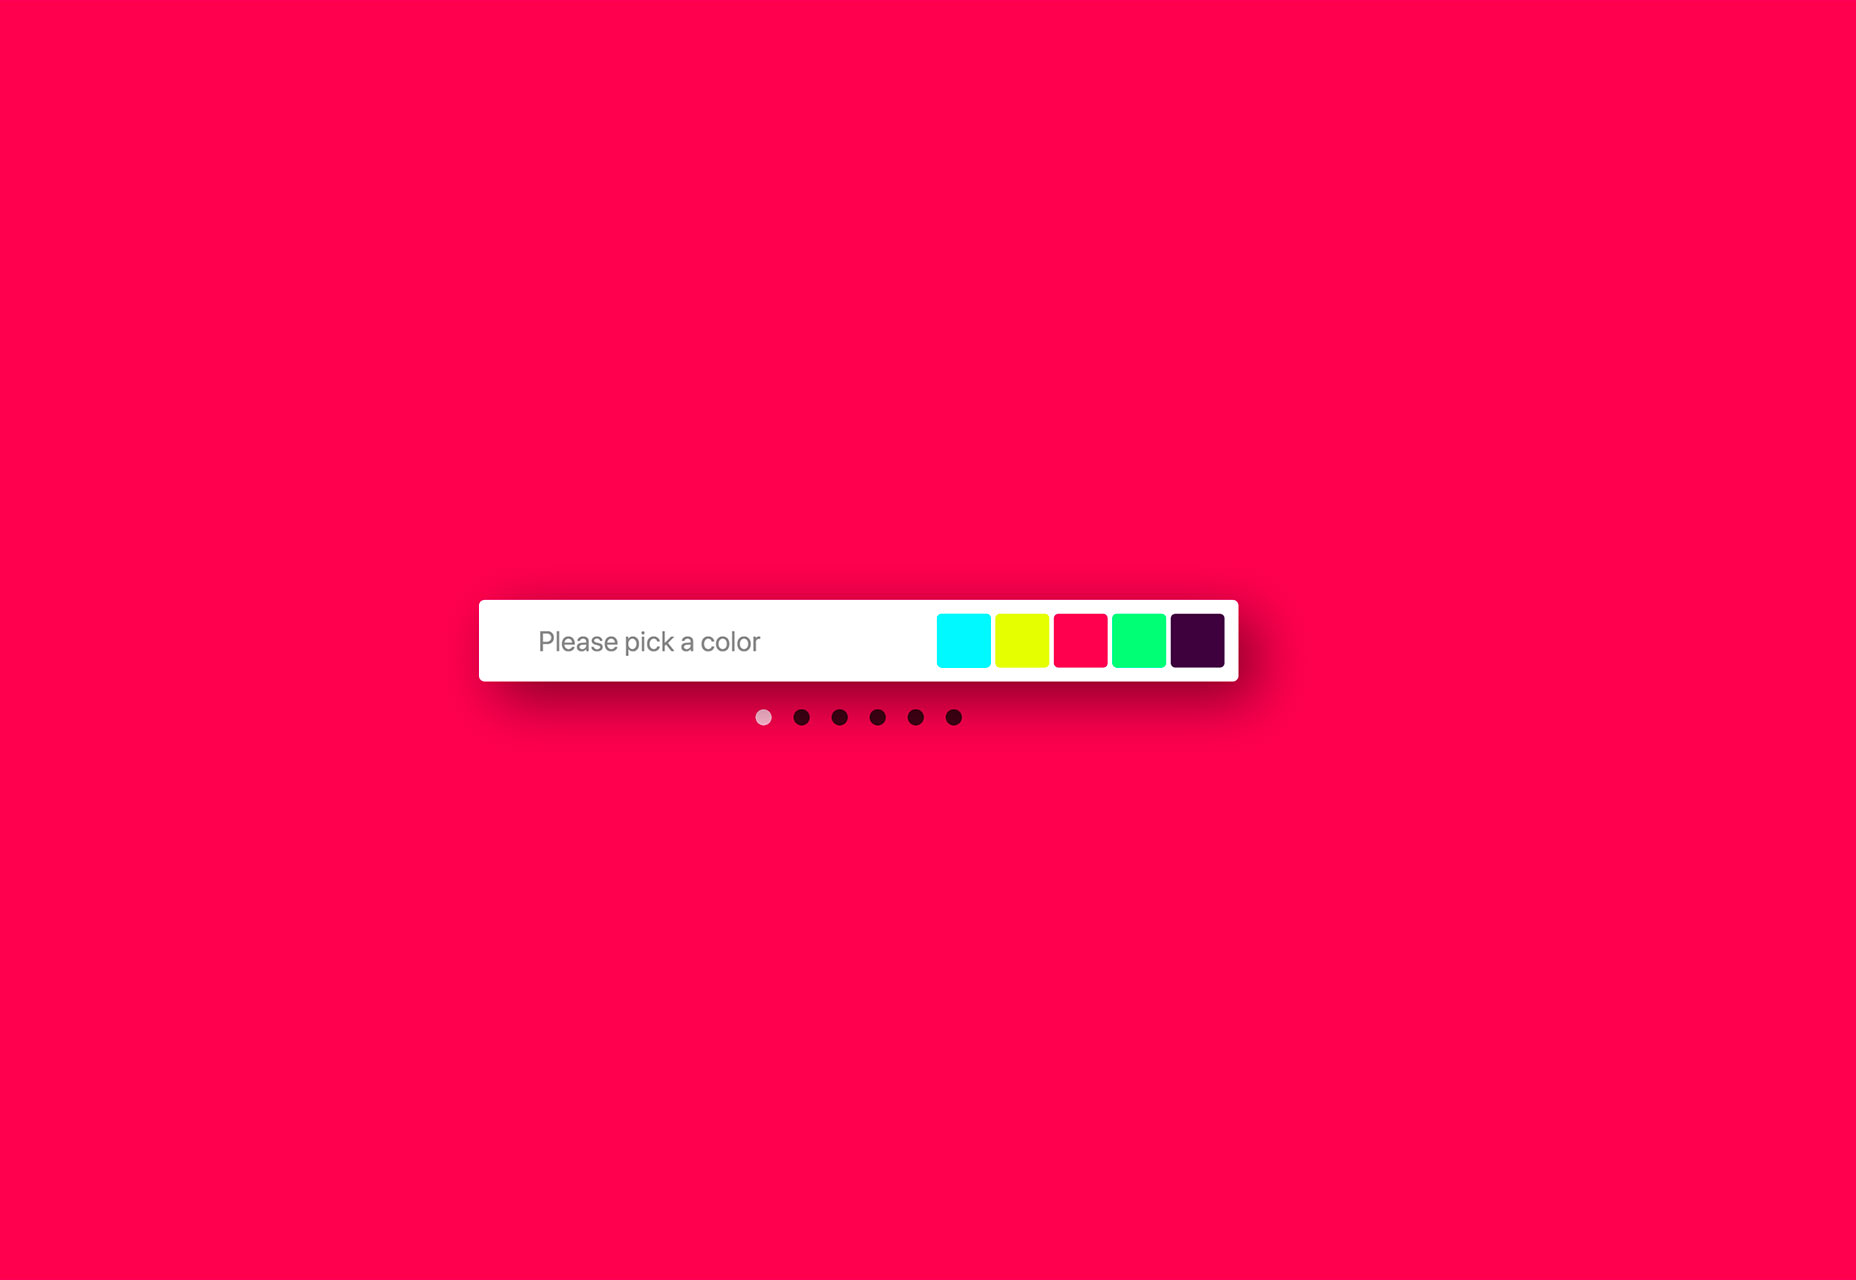
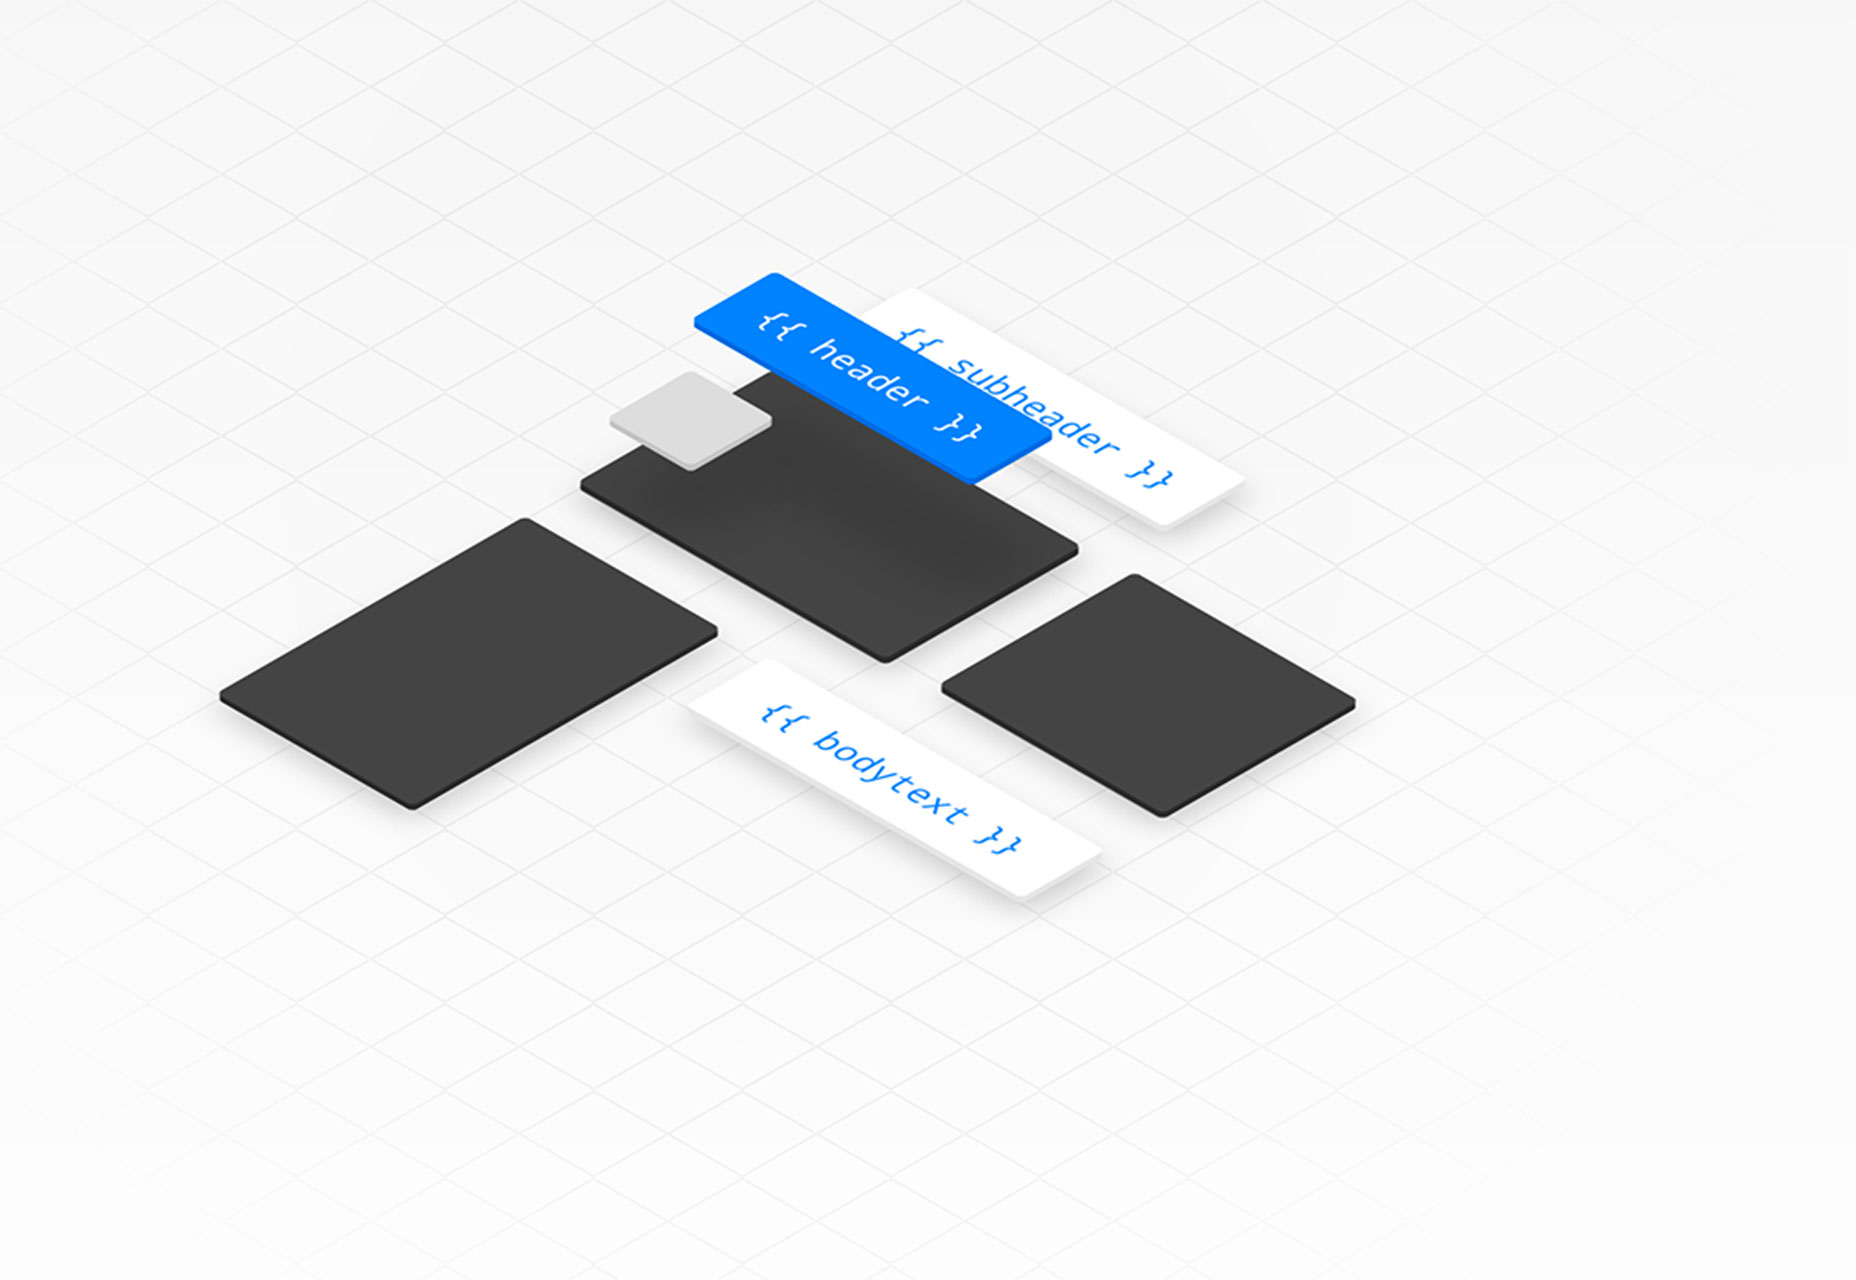
Now, even with a wide array of professionally designed layouts and templates, it’s impossible to address all possible user preferences. So, to work around this, YOOtheme pro also supports extensive customization. You can adjust pretty much anything- from colors, typography, element sizes, fonts, spacing, and position, to global settings for PC and mobile.
Local Google Fonts
And speaking of font customization, YOOtheme handles Google fonts locally. If you choose to proceed with any of the Google font styles, the corresponding files are automatically downloaded to your site’s server and embedded into the CSS.

But, why is this even a big deal?
Normally, introducing an extra font, admittedly, would be a good thing. And although this would be welcome, admit it. It wouldn’t be exciting enough for a bottle of champagne.
But Google Fonts are different in every sense of the word. Storing them locally, for starters, drastically improves your Google page loading speed. The browser doesn’t have to make a roundtrip to the Google servers because everything is available locally.
Secondly, it sorts out the whole issue of GDPR-compliance. Your traffic’s privacy is adequately assured as a result.
Integrated Unsplash Library
It might seem like a small and negligible problem at first. But, when you come to think of it, finding ideal stock images has got to be one of the biggest challenges for website owners.
We’d all probably be walking around with digital cameras, looking for picturesque shots for our sites. Or maybe steal a couple of copyrighted ones, which would, of course, invite Google’s penalty whips. But then sites like Unsplash came to the rescue with an extensive array of stock images.
Now, sourcing for images from Unsplash, for most site owners, requires you to first download to your PC before uploading to the site. Not much of a problem for small sites. But it comes quite a hassle when you’re dealing with multiple pages.
Thankfully, YOOtheme Pro has made things much easier by bringing the library to you. Unsplash is now seamlessly integrated into the service’s media manager, allowing you to search and lift images directly. You can also filter the images and scan through the various collections.

Finally, instead of downloading the images to your PC, they are simply added to your site’s media folder when you save your layout. It really is that simple.
Developer Support
YOOtheme is simple, with a solid list of elements, and is universally customizable. Plus, of course, the drag-and-drop functionality is intuitive, and should go well with the range of layouts available.
Now, that pretty much covers everything standard users need to comfortably build a site without any coding experience. User-friendliness and flexibility.
But that’s not all that YOOtheme provides. One interesting fact about it is that it doesn’t lock out experienced coders.
Well, you could use the standard page building functionalities like regular users. Or alternatively, capitalize YOOtheme Pro’s expandable and modular framework to code your way to a well-customized site.
This provision essentially allows you to override all elements, and introduce your own custom themes and layouts.
And since it’s not always a smooth process, YOOtheme Pro provides comprehensive documentation with precise details on all the customization options. It should come in handy before you finally learn the ropes.
Overall Features
YOOtheme Pro also provides:
One-click updates
WooCommerce integration for ecommerce
Numerous blog options
Customized footers
Three mobile header layouts
16 header layout options
User-friendly color picker
More than 125 icons
Global user interface components
WebP image format
Automatically generated scrsets
Lazy-loading images
Max width breakpoint
Mobile optimization
Extensive style customizer
Modernized layouts
Thumbnail navigation
YOOtheme Pro Reviews: Pricing
Sadly, there is no free option here. You have to pay to use YOOtheme Pro.
And that brings us to another downside. For a service that doesn’t come with a free package, we expect at least a limited free-trial period. But YOOtheme is having none of that either.
The only thing you get is a 30 day money-back guarantee period. If you don’t like its offerings, you can request for a full refund.
That said, there are three standard packages:
Basic- € 49
Risk-free guarantee
Technical support
Regular updates
Access to all themes
Subscription for 3 months
Updates for 1 site
Standard- € 99
All Basic features
Subscription for 12 months
Updates for 3 sites
Developer- € 299
All Standard features
Unsplash integration
For WordPress and Joomla
Subscription for 12 months
Updates for unlimited sites

Who Should Consider Using YOOtheme Pro
To recap, let’s first review the key takeaways:
Basically, 94% of your traffic would not trust a site with poor design.
YOOtheme has outstandingly improved its themes quite substantially over the years.
According to their team, YOOtheme Pro is the most powerful theme and page builder for WordPress and Joomla.
To keep everything simple and intuitive, the page builder is built around the well-known drag-and-drop functionality. This makes the whole design interface clean and pleasantly ideal for both developers and inexperienced builders.
YOOtheme Pro provides not just the basic element options like “Image” and “Heading”, but also advanced ones like “Slideshow”.
If you choose to proceed with any of the Google font styles, the corresponding files are automatically downloaded to your site’s server and embedded into the CSS.
Unsplash is now seamlessly integrated into YOOtheme Pro media manager, allowing you to search and lift images directly.
You could also capitalize YOOtheme Pro’s expandable and modular framework to code your way to a well-customized site. This provision essentially allows you to override all elements, and introduce your own custom themes and layouts.
YOOtheme Pro comes with a 30 day money-back guarantee period. If you don’t like its offerings, you can request for a full refund.
Evidently, YOOtheme Pro attempts to cater to both standard users and developers. It combines simplicity for non-coders with modular flexibility for experienced coders. Quite a tricky balance there, but so far so good for this solution.
At the moment, YOOtheme Pro is ideal for standard websites and blogs. Ecommerce blogs, on the other hand, are better off with services that come with specialized tools for building and managing stores.
All in all, I have to admit that YOOtheme is doing very well for a relatively new page builder, although it still has a couple of features to catch up on. But going by the frequency of new feature rollouts, I predict that YOOtheme could possibly be the next big thing in the WordPress page building space. For now, let’s wait and see.
The post YOOtheme Pro Review: Strong Theme and Page Builder for WordPress and Joomla appeared first on Inspired Magazine.
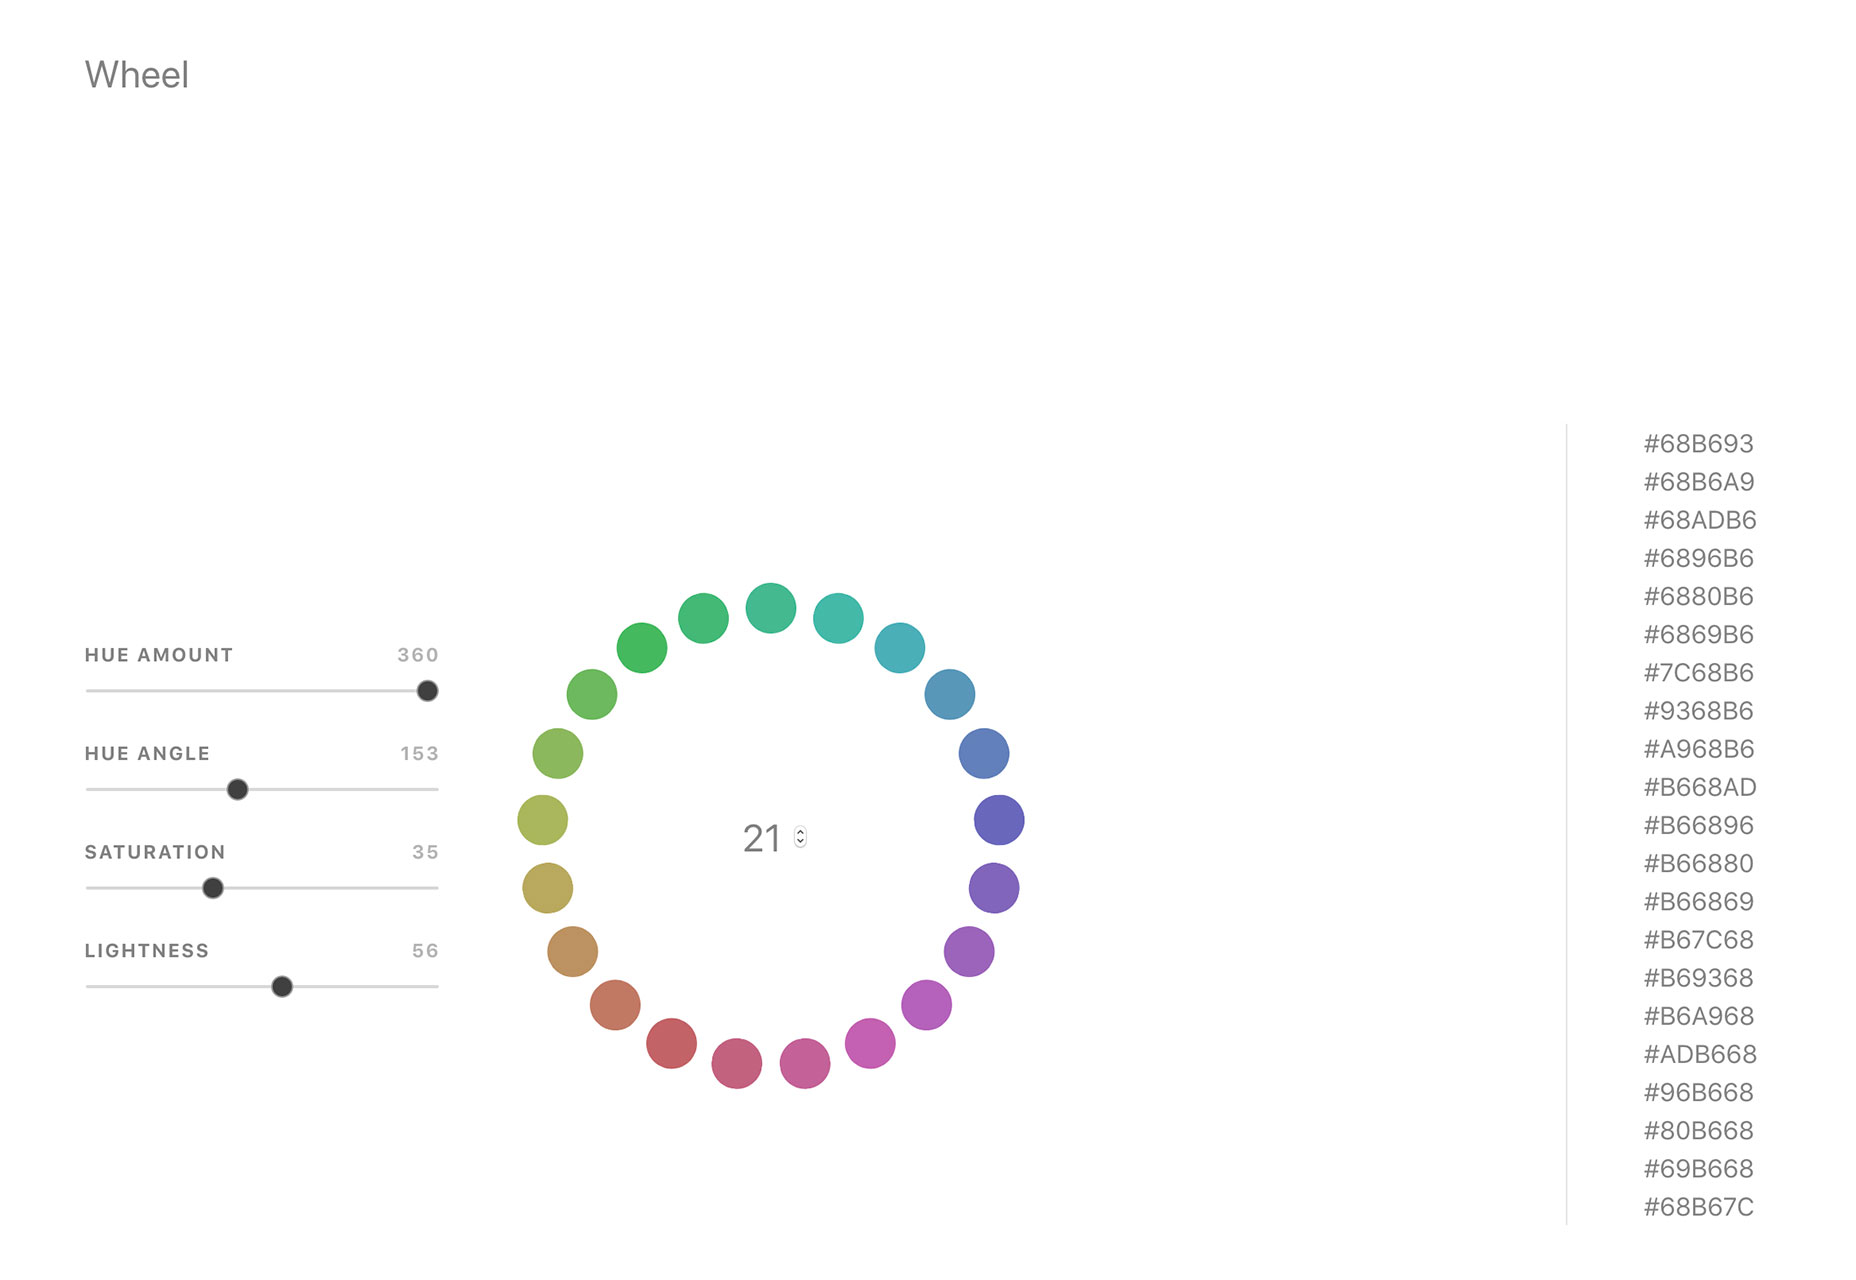
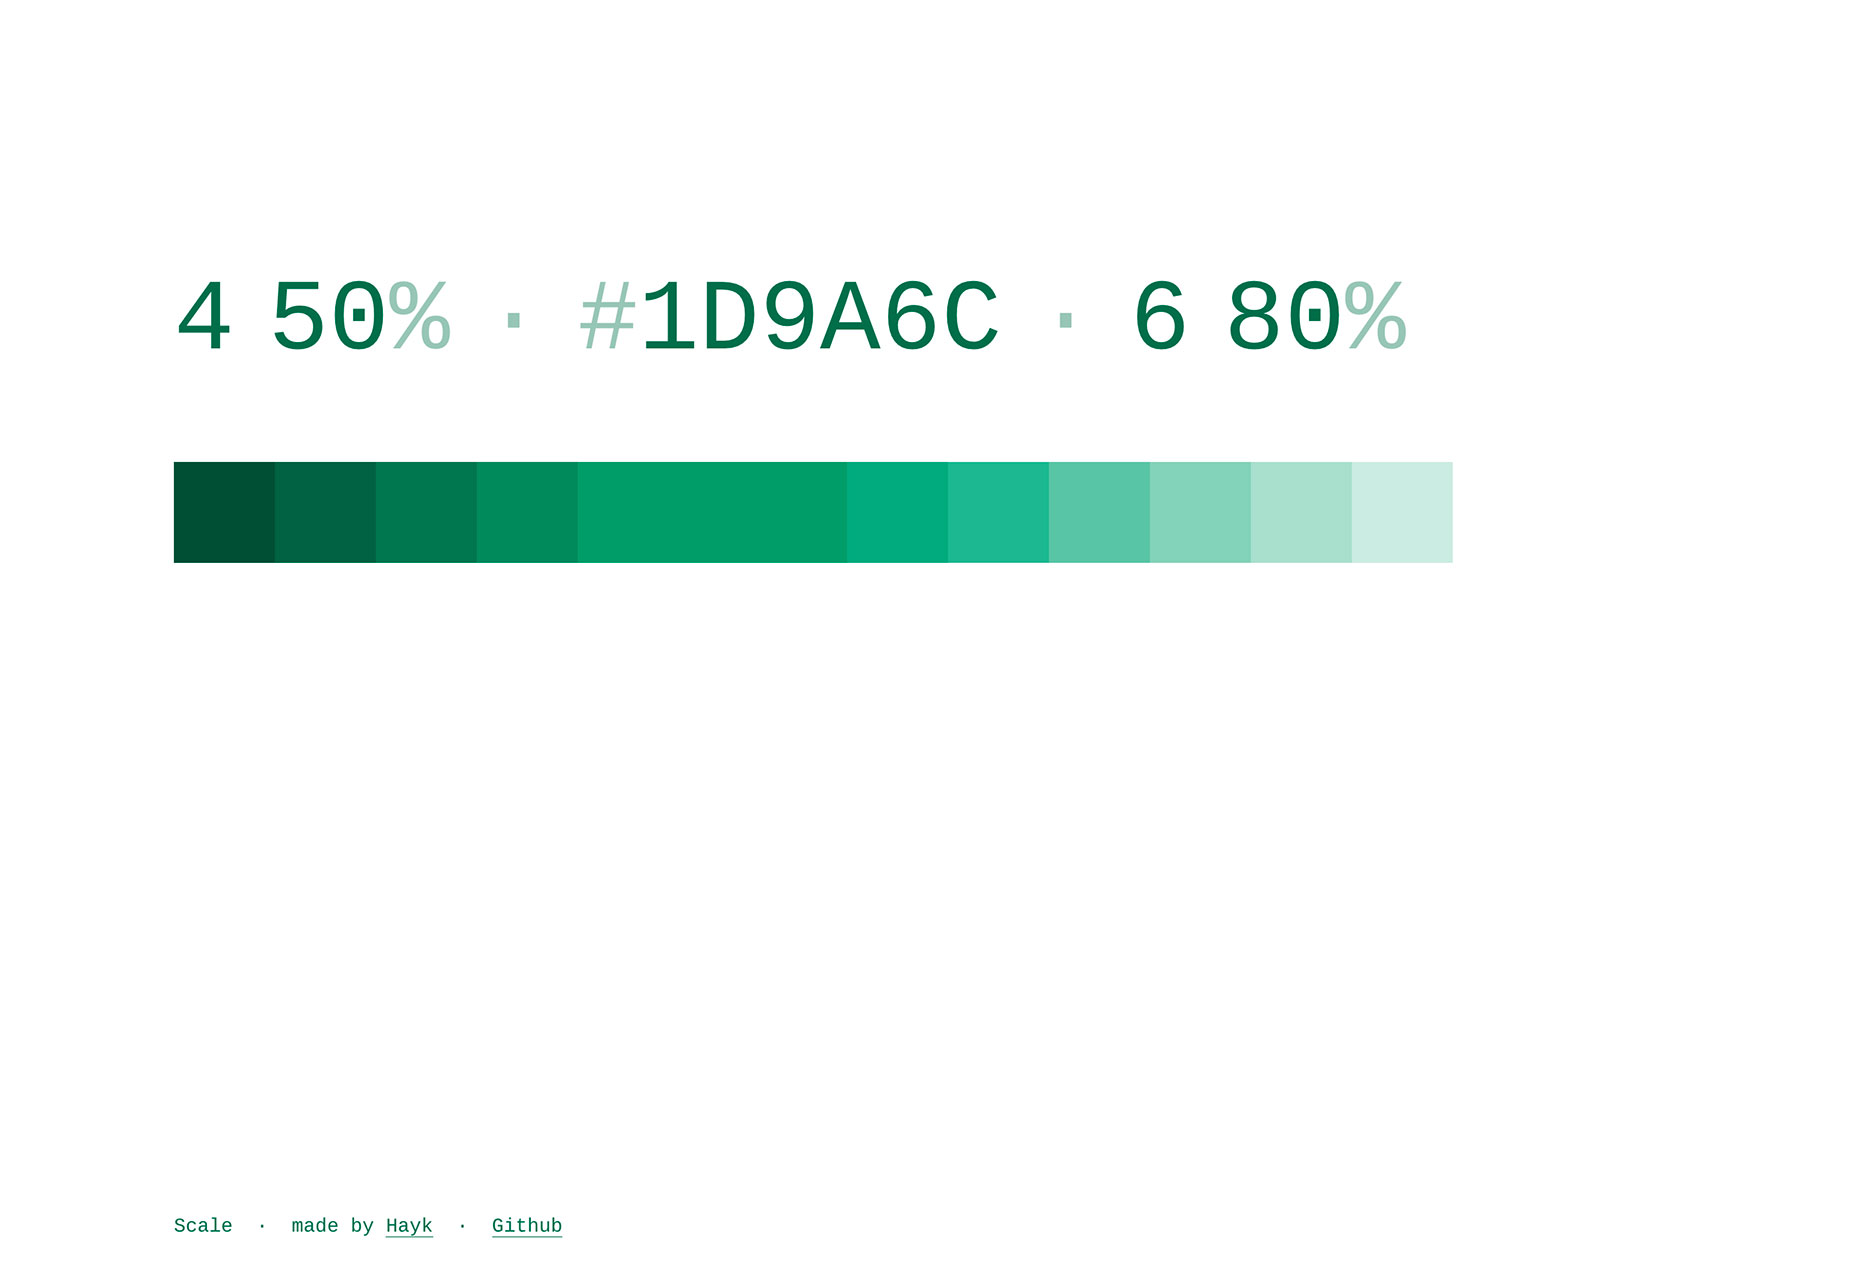
 What’s old is new again; that’s the theme this month with new tools for designers with a few new tools that are rooted in the “old” concepts of design theory. From working with typefaces, to a color wheel, this roundup is packed with goodies. And then there are some new “new” tools as well, including a couple of cool 3D elements.
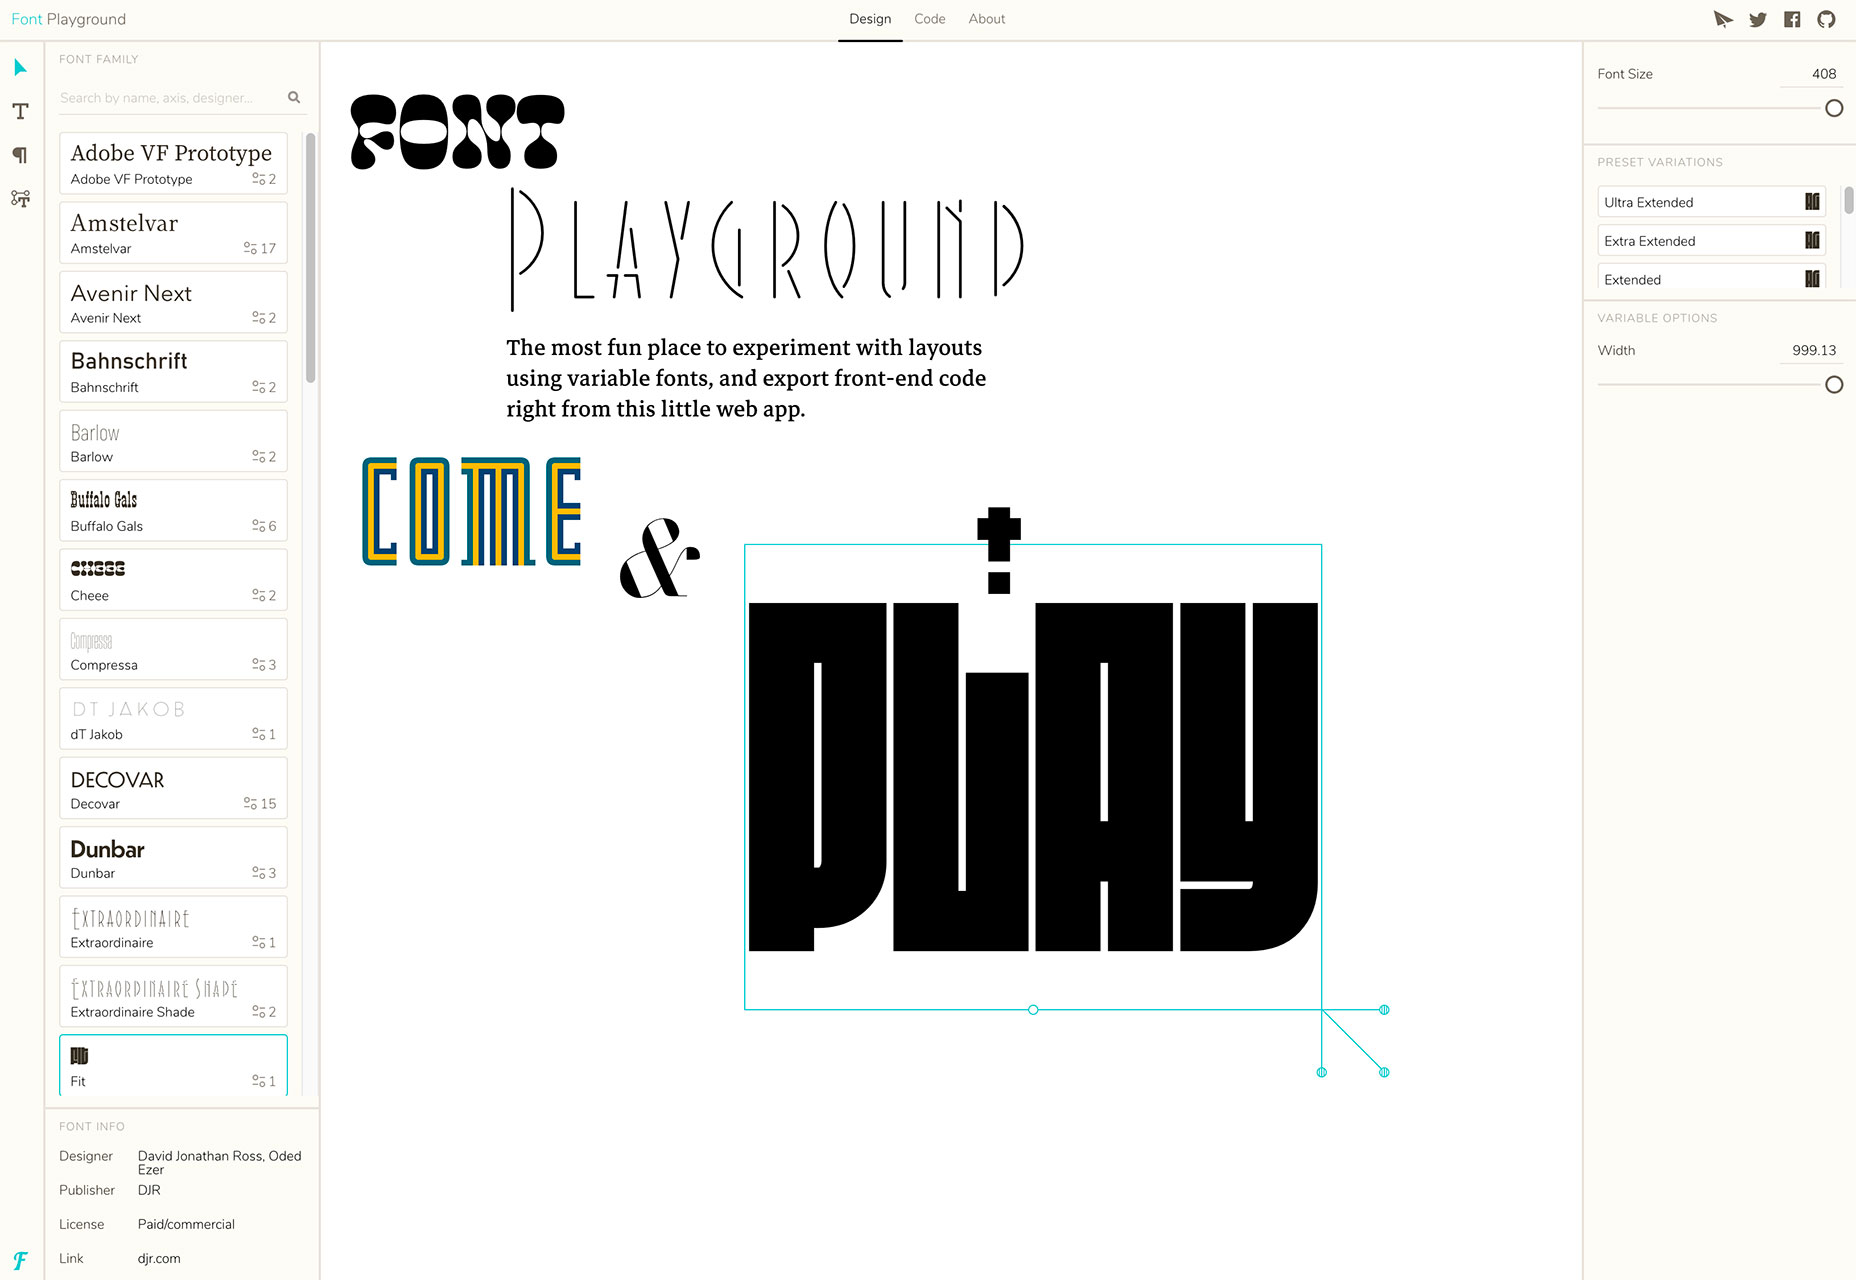


 Ladies, Gentlemen, and Our Secret Reptilian Overlords, I asked for more color in last month’s article, and you have delivered. It’s August, now, and to distract myself from the oppressive heat, I have gathered some 20 of these more colorful designs together for your perusal.
 , kids. If you find an idea you like and want to adapt to your own site, remember to implement it responsibly.