5 apps that are shaking up the art market

Original Source: http://feedproxy.google.com/~r/CreativeBloq/~3/bxBggxbNrs8/5-apps-that-are-shaking-up-the-art-market

It’s always been tough to make money from art. But for big-city artists and curators, the cost of real estate for galleries and studio space has made it even tougher to build a sustainable practice.

The growing popularity of art fairs has also had an effect, by creating destination experiences that might be great for bringing people in, but not necessarily for actually selling art.

But artists willing to embrace digital technology and take charge of their own destinies have never had it so good. Social media, online platforms, transactional ecommerce platforms and mobile apps have made it possible to reach global audiences, build personal brands, and sell art on more favourable terms than ever before. In this article, we take a look at the art apps that are shaking things up for creatives. 

Selling art online

The artist’s digital journey often starts on social media, with artists using tools like Instagram to promote work and build an audience. Now there are also digital platforms to monetise creativity, and a new breed of digital-first players are building unique connections between artists and collectors, creating markets that simply didn’t exist in the pre-digital age.

16 great places to sell your design work online

Alongside this is an explosion of new channels to reach art lovers, whether it’s using Snapchat to provide behind-the-scenes looks into the creative process, or engaging with storytellers on podcasts to help spread the word (check out this playlist of great art podcasts).

With the global online art market worth around $4.22 billion in 2017, up 12 per cent from the previous year, these new digital tools and platforms are already revolutionising the world of fine art for artists and art-lovers. Here are five apps and platforms that are leading that revolution, creating new ways to make fine art profitable.

01. Artsy

Artsy art app

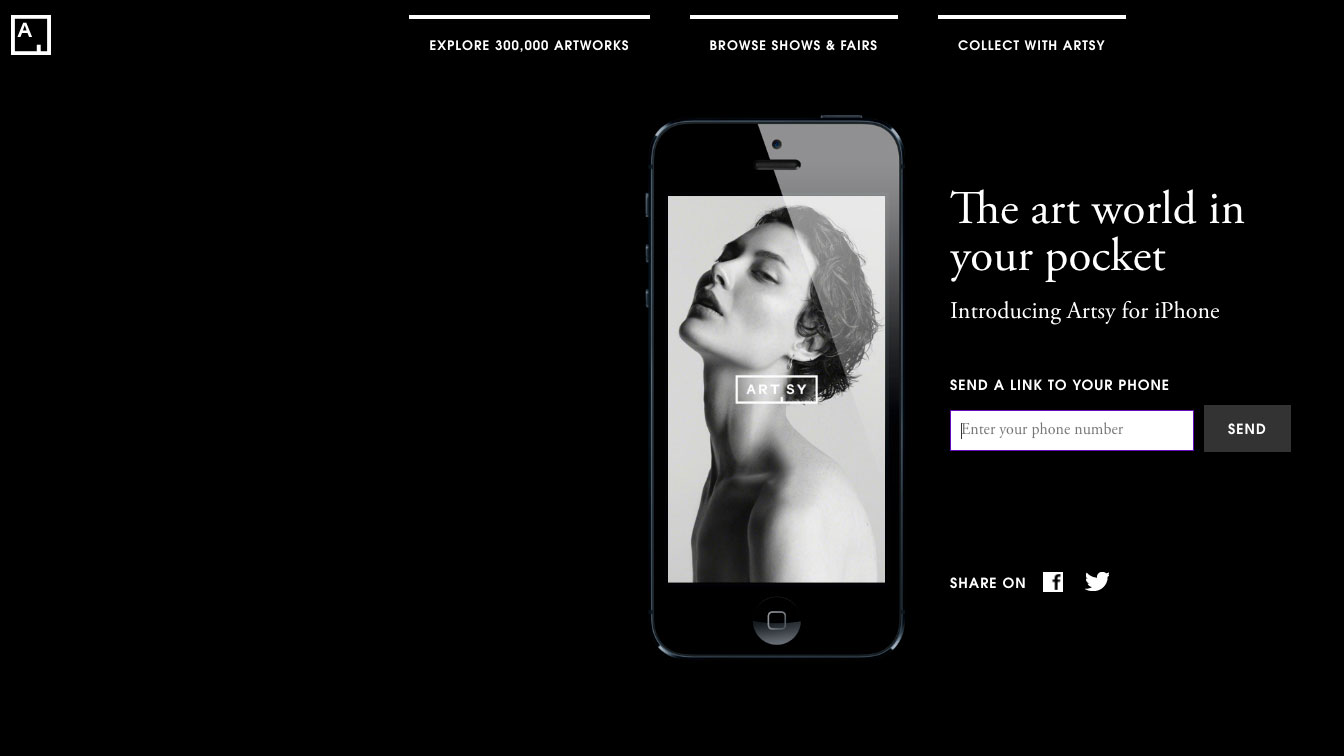
The art on sale on Artsy ranges from design items such as ceramics to sculpture to photography

Artsy has a vision to transform the art world through technology, and it’s executed on that vision from day one, delivering an online platform that connects art lovers to galleries and artists in a global community. Its library encompasses a dizzying breadth of art, from Old Masters to contemporary artists. 

Under the hood, Artsy has built relationships with galleries and art fairs, combining their understanding of art markets with its deep technological expertise to provide gallerists and curators with tools and data to promote the artists they represent.

02. Patreon

Patreon art apps

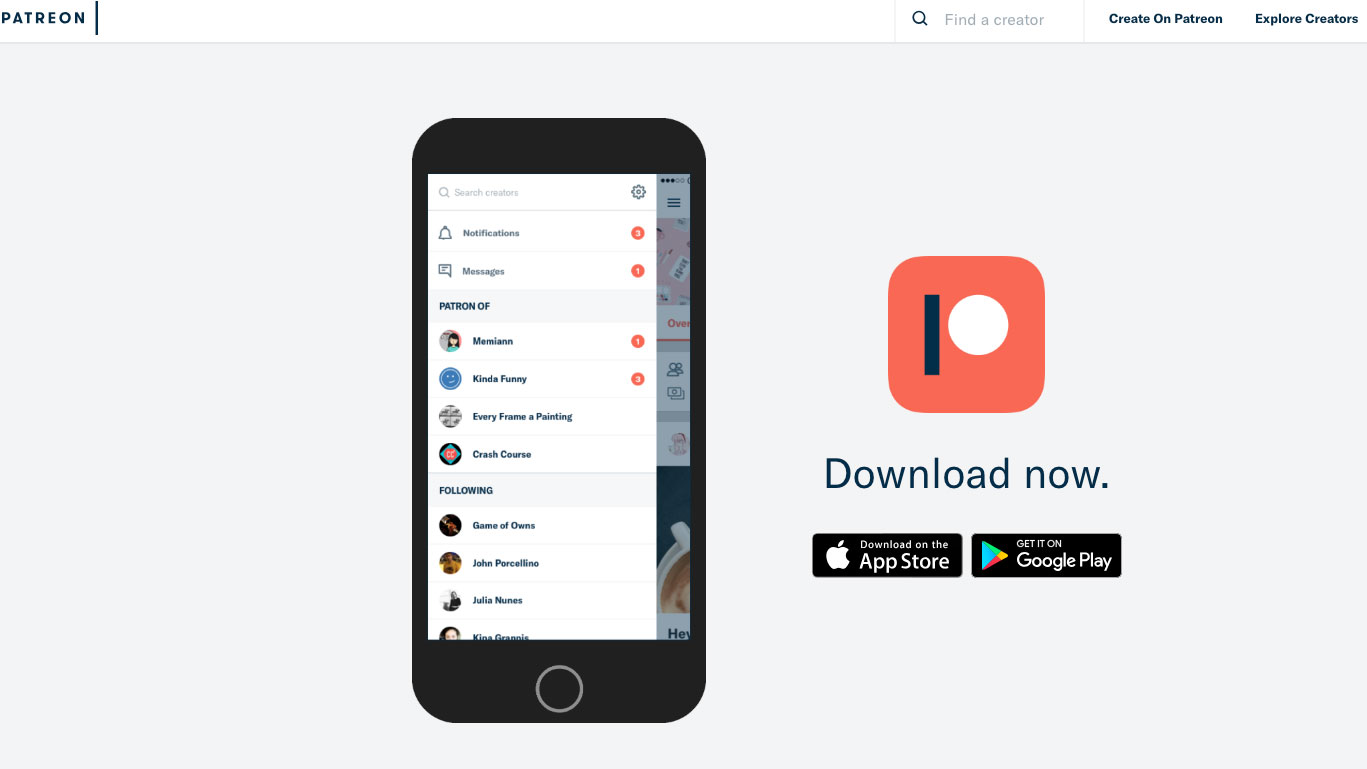
Get direct support for your work using Patreon

Patreon is rethinking how artists and creators can finance their work, by enabling direct funding appeals to patrons and supporters. A digital spin on an age-old model, the San Francisco-based platform gives emerging artists control over their careers, without them being beholden to the existing gatekeepers of the art world.

Patreon enables artists to garner financial support for their work directly from the people who love it the most. The platform enables both the discovery of new artists and support for established artists, while leveraging learnings from ecommerce and crowdfunding to help artists make direct appeals to support their creative efforts.

03. Artfare

Artfare art apps

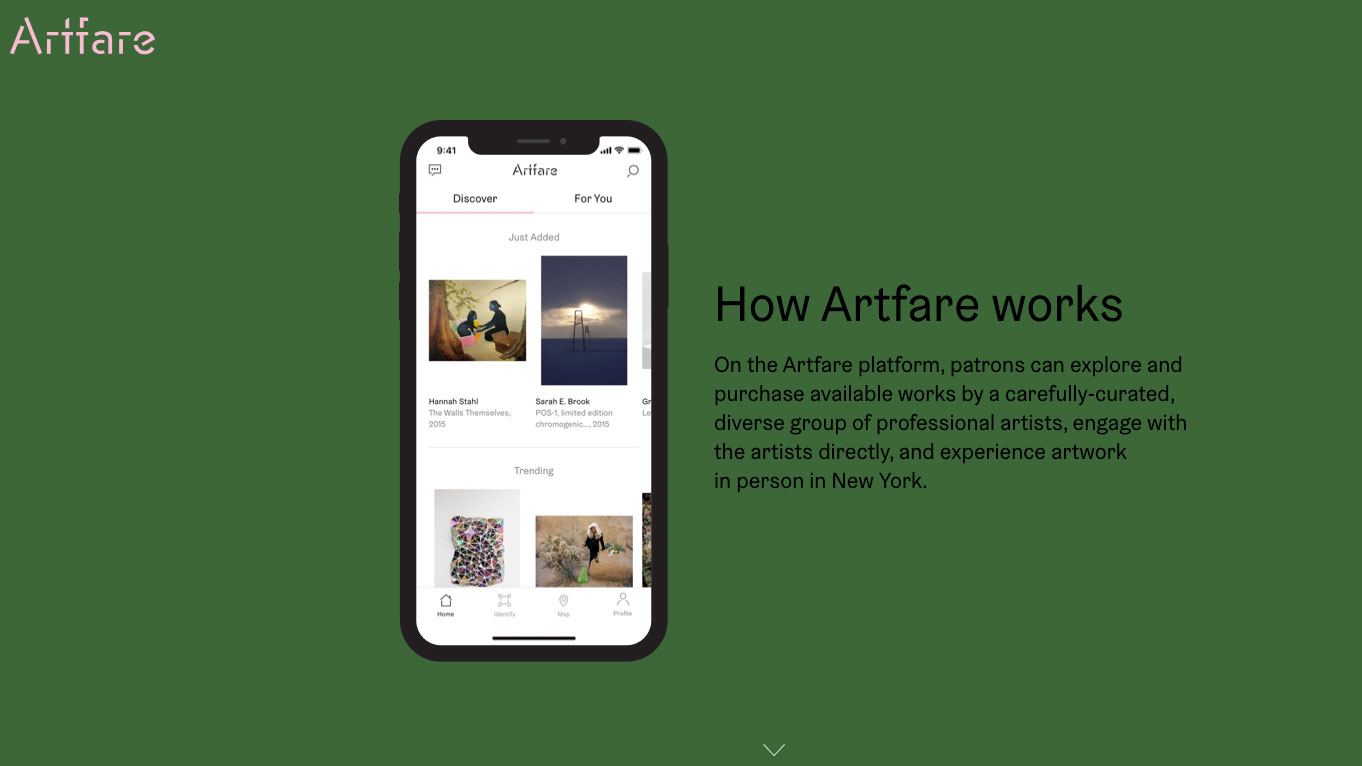
Artfare connects potential patrons to artists

Launched in February 2019, Artfare puts a new spin on the art fair model, using a mobile app, in-house curators and local pop-up shows and fairs to create connections between artists and collectors in local art scenes, starting with New York. 

Artfare promotes vibrant local art scenes by bringing artists and collectors together through messaging, studio visits and sales of art works. Using Artfare’s listings, artists can promote works for sale on social platforms such as Instagram (where they’ve often built big followings). In addition they can monetise them through online sales using the Artfare app – it gives them more control and effectively tilts the economics of art-buying in their favour. 

04. Paddle 8

Paddle 8 art apps

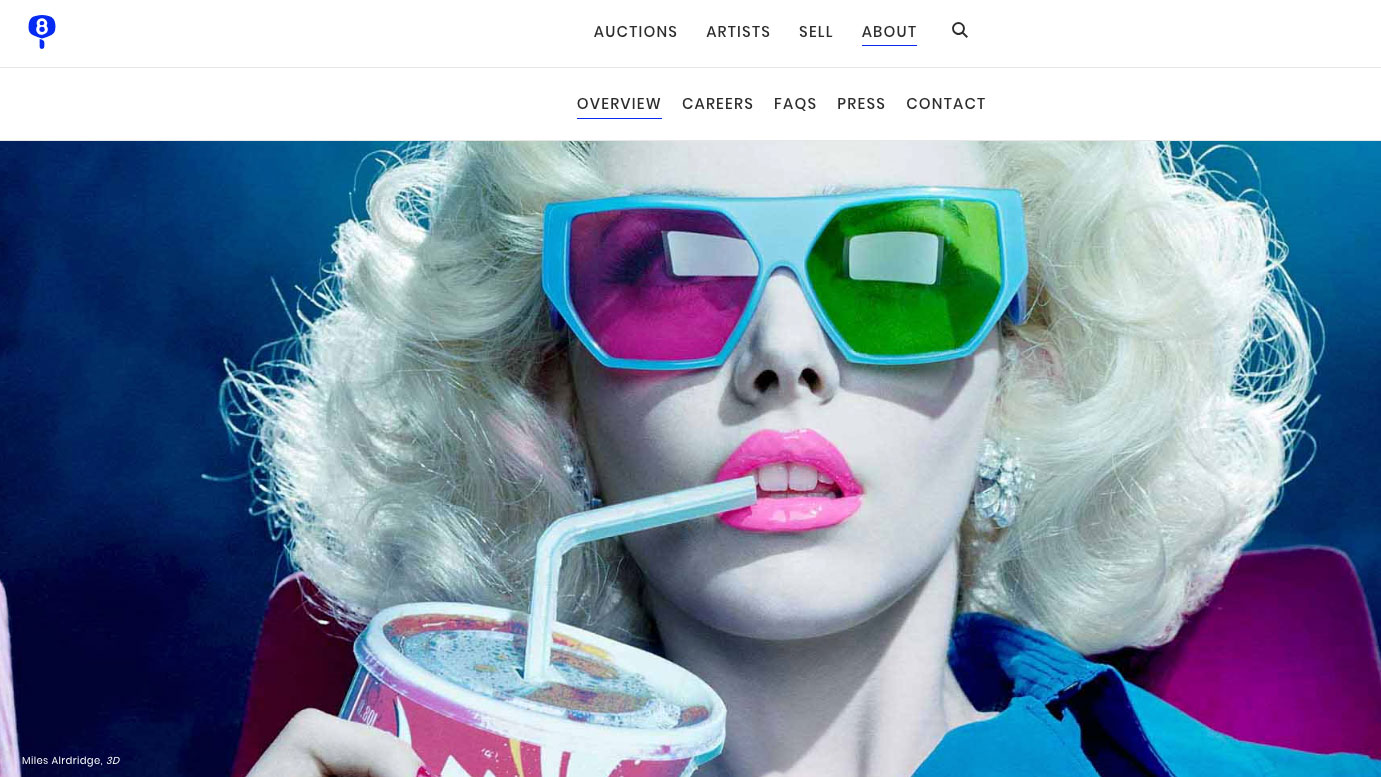
Paddle 8 is a bit like eBay for art

Paddle 8 is a curated auction platform that enables a global community of buyers to discover and bid for art in real time. By digitally enabling the auction mechanic, it helps to promote artists’ work and drive sales, creating a global, digital spin on a market dynamic that was previously often limited to those with privilege and access.

05. Uprise Art

Uprise Art art app

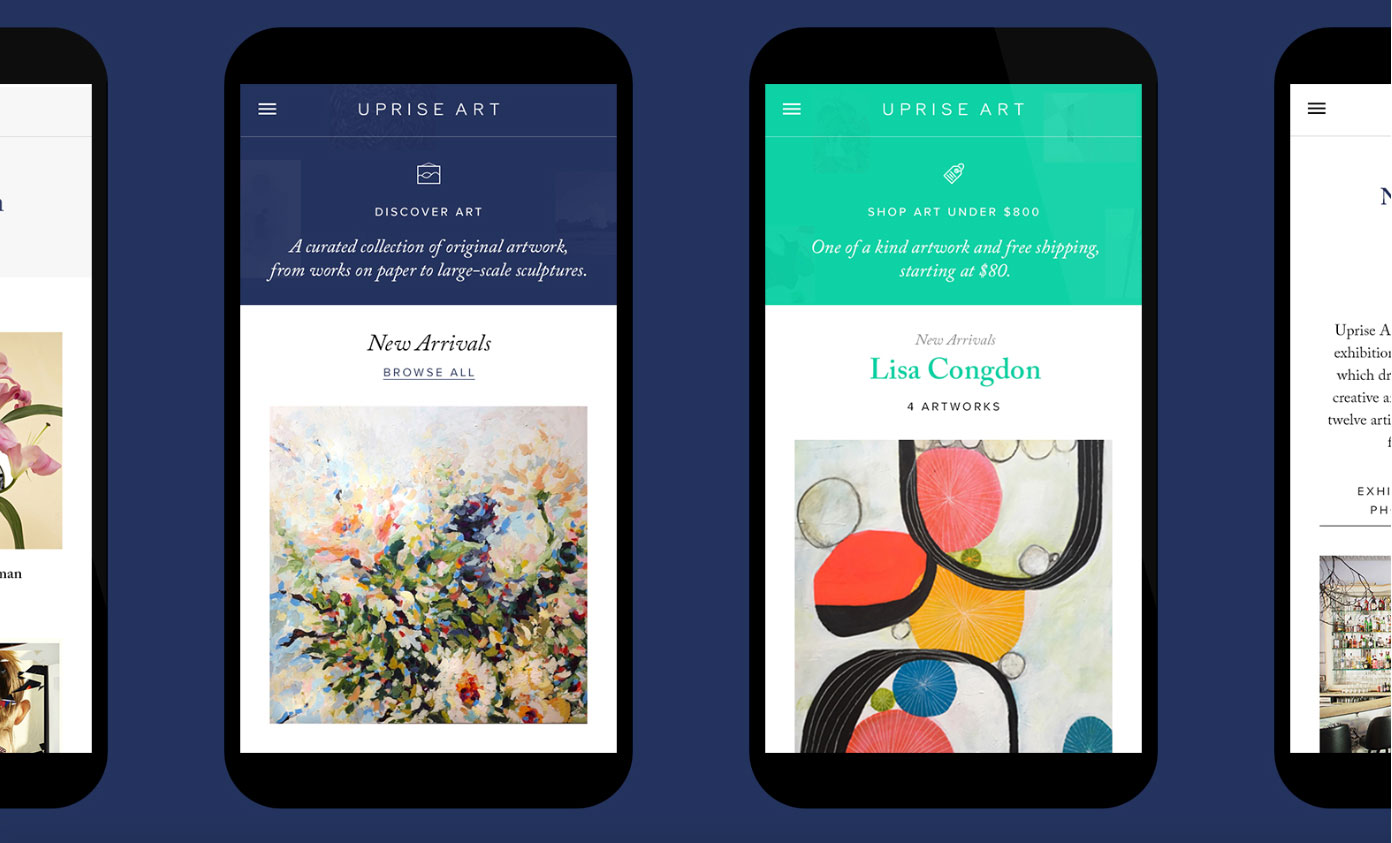
You can talk to one of Uprise Art’s personal art advisors if you’re not sure what you’re looking for

This one isn't an app, but a platform. The team at Uprise Art are driven by a mission to enable a new generation of digitally savvy collectors to discover and buy art from emerging artists. Uprise Art is effectively a digital gallery, working online and via pop-ups, collaborations and booths at art fairs to showcase the work of a roster of talented artists. 

By creating a digital-first gallery experience and constantly innovating the model – connecting with high-flying tech start-ups to provide art for their offices or working directly with interior designers – Uprise Art gives emerging artists new opportunities to have their work discovered and purchased.

Read more:

The 10 best drawing booksHow to succeed as a designer-makerThe best online art classes

Tokyo Storefronts in Beautiful Watercolor by Mateusz Urbanowicz

Original Source: http://feedproxy.google.com/~r/abduzeedo/~3/ubs76M_hzC0/tokyo-storefronts-beautiful-watercolor-mateusz-urbanowicz

Tokyo Storefronts in Beautiful Watercolor by Mateusz Urbanowicz

GisMullrFeb 22, 2019

Mateusz Urbanowicz aka. Matto, is a very talented illustrator and digital designer. Born and raised in Silesia, Poland, Matto currently lives in Tokyo. The artist has a lot of beautiful artworks on his portfolio. But one series of illustrations he created really caught my attention. Tokyo Storefront series is a collection of exquisite watercolor pieces showcasing Tokyo shops. What is so unique about it is that Matto turns the busy life of Tokyo into delicate illustrations. You are almost transported to a parallel Tokyo where everything is calm and quiet. Subtle lines and colors give life to storefronts the artist encountered in some of his explorations around the city. Forget the concrete jungle and all of the gray colors you see in Tokyo and enjoy some beautiful watercolor storefronts.

I have been to Tokyo in 2013 and I loved everything about it. And Matto is totally right, the small shops in super old buildings will grab your attention. His idea of illustrating these unique storefronts is amazing. The watercolor give them a nice delicate touch. Check out his pieces and get ready to see some Tokyo gems. Make sure to visit his websites to see some making-of videos of his pieces. Enjoy!

Born and raised in Silesia, Poland. Studied electronic engineering until found out that making art can be more than a weird hobby. Finished Computer Graphics at Polish Japanese Institute of Information Technology, and thanks to a Japanese government scholarship, moved to Japan to study animation and comics. Graduated with honors from Kobe Design University with a short animated movie “Right Places.” From 2013 started working as a backgrounds artist and animation creator for Comix Wave Films animation studio in Tokyo. Apart from professional work, keeps creating illustration series, paintings, comics, videos and other personal works.

More about Mateusz Urbanowicz:

mateuszurbanowicz.com
Behance
Instagram
Facebook

Make sure to check his other two series: Cold In Yokohama and Bicycle Boy.


98% Off: Get the Essential Coding for Beginners Bundle for Only $19

Original Source: http://feedproxy.google.com/~r/Designrfix/~3/9CFO2Asaoes/98-off-get-the-essential-coding-for-beginners-bundle-for-only-19

Coding remains to be one of the most in-demand skills across the tech industry. It is considered as one of the most important job skill of the future. It is the key to so many careers these days. It’s not yet too late to learn how to code. The Essential Coding for Beginners Bundle is […]

The post 98% Off: Get the Essential Coding for Beginners Bundle for Only $19 appeared first on designrfix.com.

Collective #494

Original Source: http://feedproxy.google.com/~r/tympanus/~3/NZ1jw1N0bE8/

C494_WOTW

Inspirational Website of the Week: Sterling

A very innovative and modern design with clever animations. Our pick this week.

Get inspired

C494_WordPress

Affiliate
Create a website in minutes on WordPress.com

WordPress.com gives you everything you need to start your website today. Free hosting, your own domain, a world-class support team, and so much more.

Start your website

C494_addy

JavaScript Loading Priorities in Chrome

Addy Osmani shares an up to date summary of script scheduling in Chrome.

Read it

C494_screensreader

How A Screen Reader User Accesses The Web: A Smashing Video

Join Léonie Watson (a blind screen reader user) as she explores the web in this Smashing TV webinar recording.

Watch it

C494_popup

Lunar Popup

Beautifully designed and animated popups for your next project.

Check it out

C494_codecrumbs

Codecrumbs

Learn, design or document any codebase by putting breadcrumbs in the source code.

Check it out

C494_svgicon

Iconsvg

A tool to simplify the process of finding and generating common SVG icons for your project.

Check it out

C494_gsap

GSAP 2.1 Released

The exciting highlights of the new version of GSAP including advanced staggers.

Check it out

C494_regex

Regex Cheat Sheet

Emma Wedekind’s useful cheat sheet for creating regular expressions.

Read it

C494_amino

Amino

A live CSS editor for writing user style sheets. Customize your favorite sites, save and sync your styles.

Check it out

C494_louis

Color wheel (CSS)

Louis Hoebregts’ mind-boggling shape animations that are controlled by a timing-function.

Check it out

C494_algo

Breaking Down JavaScript Solutions To Common Algorithmic Questions (Part 1)

A short tutorial by Emma Wedekind where she breaks down three top algorithm coding questions.

Read it

C494_surma

Context and Optimizations – HTTP 203

Jake and Surma talk about the importance of context when making performance optimizations.

Watch it

C494_loader

Loader turbulence

A turbulence loading animation made by Damien Montastier.

Check it out

C494_conversion

Designing for Conversions

Brandon Gregory writes about what’s important when designing for conversions.

Read it

C494_suports

How @supports Works

A great summary by Chris Coyier on using @support in CSS.

Read it

C494_graph

Vue Trend Chart

Simple trend charts for Vue.js. By Dmytro Barylo.

Check it out

C494_fbmicro

How Facebook Designs Microinteractions for Feature Discovery

A very thorough write-up by Jonathan Doron on how to re-create one of Facebook’s microinteractions.

Read it

Screen-Shot-2019-02-21-at-16.09.50

An in-depth journey into how Node works. By Jamie Corkhill.

Read it

C494_unfacebook

NPM Uninstall Facebook

A list of alternatives to Facebook apps and software.

Check it out

C494_blob

Blob study

Liam Egan’s interesting blob demo.

Check it out

C494_font

Free Font: Throne

A paintbrush font with SVG and regular OTF by Anna Zakharchenko.

Get it

C494_FilterEffects

From Our Blog
SVG Filter Effects: Creating Texture with <feTurbulence>

Learn how you can use the powerful SVG filter primitive <feTurbulence> to create your own textures and distortion effects.

Read it

Screen-Shot-2019-02-21-at-16.11.25

From Our Blog
How to Create a Fake 3D Image Effect with WebGL

Learn how to create an interactive “fake” 3D effect for images with depth maps and plain WebGL.

Check it out

Collective #494 was written by Pedro Botelho and published on Codrops.

Top Free Extensions for VS Code

Original Source: http://feedproxy.google.com/~r/1stwebdesigner/~3/QFlBsk1tk_0/

Microsoft’s VS (Visual Studio) Code is a free, open source code editor that is gaining in popularity. It’s very lightweight, flexible and yet still packs some powerful features. Plus, it supports just about every major programming language, including PHP, JavaScript, C++ and a whole lot more.

You might even be surprised to learn that VS Code is also cross-platform. Not only does it work on Windows, but versions for both Linux and Mac are also available for download.

But perhaps the coolest feature of all is the massive extension marketplace. There are free extensions available to support new languages, debug your code or add a variety of other custom functionality. This enables you to customize the editing experience to better meet your needs.

Today, we’ll introduce you to some of the very best VS Code extensions out there. Let’s get started!

GitLens

GitLens

While Git functionality is already built into VS Code, GitLens aims to “supercharge” the editor with even more version control goodies. It offers deeper insight into code, showing you when it was changed and who changed it. You can even compare different branches, tags and commits. Overall, this extension will make version control a more visual experience.

Beautify

Beautify

Are you very particular about syntax highlighting? If so, Beautify is just the extension you need. It takes advantage of VS Code’s already existing use of Online JavaScript Beautifier, but allows you to easily make changes to its styles. This means you can set elements like indenting, line wrap and other minutiae to your heart’s content.

ESLint

ESLint

JavaScript can be quite difficult to debug. But the ESLint extension for VS Code can make the process much easier. It helps by pointing out potential problems in your code before you even execute it. Better still, the extension lets you create your own linting rules.

Debugger for Chrome

Debugger for Chrome

For developers who’d rather troubleshoot code during runtime, Debugger for Chrome will help you get the job done. There are a number of handy features, including the ability to set breakpoints in your code, watches and a console. Plus, you can choose to run an instance of Chrome within VS Code or attach the debugger to a seperately running instance of the browser.

React Native Tools

React Native Tools

React is among the most buzzworthy JS libraries out there – so much so that the new WordPress block editor (aka Gutenberg) is built on it. If you’re among the many who have jumped on the bandwagon, React Native Tools is a must-have extension. It adds the ability to run react-native commands and will help you debug code.

One Dark Pro

One Dark Pro

When dealing with code, it helps to have an editor that is both visually appealing and comfortable. After all, coding sessions can last for hours on end. One Dark Pro brings the popular “One Dark” theme from the Atom editor to VS Code. You get the familiarity of this iconic look with the other conveniences of Microsoft’s open source app.

Bracket Pair Colorizer 2

Bracket Pair Colorizer 2

Bracket Pair Colorizer 2 is a simple extension, but one that can make code much easier to digest. It color codes matching brackets, allowing you to visually determine where functions begin and end. You can even pick which colors to use.

vscode-icons

vscode-icons

Perhaps one of the most effective visual tweaks for VS Code comes from vscode-icons. It takes a rather bland file listing and adds colorful, language-specific icons to the mix. This makes it easy to tell your PHP files from HTML, for example. Plus, the added personality is a welcome addition to any workspace.

Write Code Your Way

The incredible number of available extensions for VS Code makes it a compelling choice for everyday use. You have the freedom to set things up to match the languages you use and the type of visual space you prefer.

Plus, it offers an interesting mix of both corporate and open source culture. Being backed by Microsoft would seem to ensure that VS Code will be actively developed in the future. And the open source community has created a thriving ecosystem around the software. The result for developers is getting the best of both worlds.


Use the Pen tool and textures to add depth in Photoshop

Original Source: http://feedproxy.google.com/~r/CreativeBloq/~3/vHSjTZqepRQ/use-the-pen-tool-and-textures-to-add-depth-in-photoshop

Over the following short screen-capture videos, Charlie Davis, a London-based illustrator, covers how to use the Pen tool and brushes to build a peaceful countryside scene. You’ll also learn how to apply masks, and how to use textures from Adobe Stock to add depth and warmth.

Davis took a mental trip to the country to evoke silence and solitude when he was asked to illustrate this scene in Photoshop CC. “This scene is about getting away from the digital noise of modern-day life,” he explains.

Once you’ve mastered the techniques in this Photoshop tutorial, you can apply them to your own artwork. 

Get Adobe Creative Cloud now
01. Begin your composition with the Brush tool

After importing your initial sketch into a new Photoshop CC file, you can begin your composition, using the Brush tool (B) to draw in major elements.

Davis works on a Wacom Cintiq – his graphics tablet of choice – and the majority of his brushes were created by Kyle T Webster. 

02. Add solid shapes using the Pen tool

Now, switch to Photoshop’s Pen tool (P). You need to draw simple, solid shapes to build up the most distant elements of the illustration.

03. Add midground elements

You can now use a combination of freehand drawing and the Pen tool to introduce the midground elements of your illustration.

05. Focus on the foreground

Next, turn your attention to the foreground elements, which you can colour in dark shades to enhance the composition’s sense of depth. To create the leaves of a plant, draw one leaf with the Pen tool and then duplicate it. You can rotate angles and play with size to introduce more natural-looking variations.

06. Add more plants

At this stage, return to the Brush tool (B) to freehand another plant.

07. Add highlights with colour

Draw the general shape of the foreground bird with the Pen tool (P), and make it one solid colour. In this clip, you can see how to add highlights with a lighter colour.

08. Add texture with masks

Add details to break up the flat expanse of snow in the centre of the illustration. Towards the end of this clip, Davis creates a layer named 'tone ledge' and walks through a technique you can use again and again.

Mask into a shape, then draw up against the mask to give one side a textured edge. This combination of freehand drawing with the more precise vector shapes and masks is a hallmark of the process.

09. Think about the light source

With all the elements of the illustration now in place, add long shadows that indicate the light direction and time of day. These help enhance the mood of the image.

10. Add definition

Now, return to the background. Use the Brush tool to apply shades to the mountain-sides, giving them definition.

11. Make it more organic with brushwork

To give the appearance of a sun that’s low in the sky, brush highlights onto the edges of the forms in the illustration. An added benefit is that the pixel-based brush roughens the too-perfect vector shapes, making everything feel more organic.

The best free Photoshop brushes
12. Create shadows

Add snow and shadows to a rock.

13. Add dimension

To give the foreground more dimension, you can work in a bright ray of sun hitting the rocks. This not only enhances the drama of the lighting, but it also calls attention to the bird – an important element of the composition.

14. Add warmth with Adobe Stock textures

To enhance the organic feel of the illustration, add textures from Adobe Stock using the Creative Cloud Libraries feature inside Photoshop. This clip is a fascinating look into how small details can elevate an artwork.

15. Refine colour with Adjustment layers

Your finishing touches can include adding more textures and refining colour via Adjustment layers. 

Related articles:

How to turn day into night on PhotoshopThe best laptops for Photoshop5 huge illustration trends right now

5 Mobile Apps for 3D Designing & Sketching

Original Source: https://www.hongkiat.com/blog/3d-design-sketch-mobile-apps/

3D modeling tools and software enable you to turn your ideas into beautiful 3D models and prototypes. Widely used in industries like 3D printing, animation, gaming, architecture, and industrial…

Visit hongkiat.com for full content.

Popular Design News of the Week: February 11, 2019 – February 17, 2019

Original Source: https://www.webdesignerdepot.com/2019/02/popular-design-news-of-the-week-february-11-2019-february-17-2019/

Every week users submit a lot of interesting stuff on our sister site Webdesigner News, highlighting great content from around the web that can be of interest to web designers. 

The best way to keep track of all the great stories and news being posted is simply to check out the Webdesigner News site, however, in case you missed some here’s a quick and useful compilation of the most popular designer news that we curated from the past week.

Note that this is only a very small selection of the links that were posted, so don’t miss out and subscribe to our newsletter and follow the site daily for all the news.

Introducing Textblock


HTML Slides Without Frameworks, Just CSS


The Best of Slack & Trello in One App


The Failed Netflix Homepage Redesign Experiment that Nobody even Noticed


Design Without Color First


Graphic Artist Peter Saville on Creating Burberry’s New Logo


Next.js 8 Released


Making Google Fonts Faster


Pantone Color Bridge Plus and CMYK Cheat Sheets for Graphic Designers


UI Goodies 2.0! A Redesign and More Resources for Designers!


How White Space Killed an Enterprise App (and Why Data Density Matters)


Pods – Tiny Telegram Groups for Designers


Choosing the Right UI Animation Tool


7 Pillars of UI Design: Keep these in Mind


21 CSS “Hotspot” Examples


Goodbye, Slack. Hello, Spectrum


Form Design: Handling Optional Fields


Designing Magical Interfaces


Designing Futuristic Interfaces – Become a XR Designer in 5 Minutes


I Failed as a Designer at a Startup


The Maze Report – An Instant, Gorgeous UX Report for all your User Tests


34 Great Free Fonts


3-colors Gradients Generator


The Ineffectiveness of Lonely Icons


Pixar’s Rules of Storytelling Applied to Product Managers & UX Designers


Want more? No problem! Keep track of top design news from around the web with Webdesigner News.

Add Realistic Chalk and Sketch Lettering Effects with Sketch’it – only $5!

Source

p img {display:inline-block; margin-right:10px;}
.alignleft {float:left;}
p.showcase {clear:both;}
body#browserfriendly p, body#podcast p, div#emailbody p{margin:0;}

Interview: Jorn and Koen of Framer X

Original Source: https://www.webdesignerdepot.com/2019/02/interview-jorn-and-koen-of-framer-x/

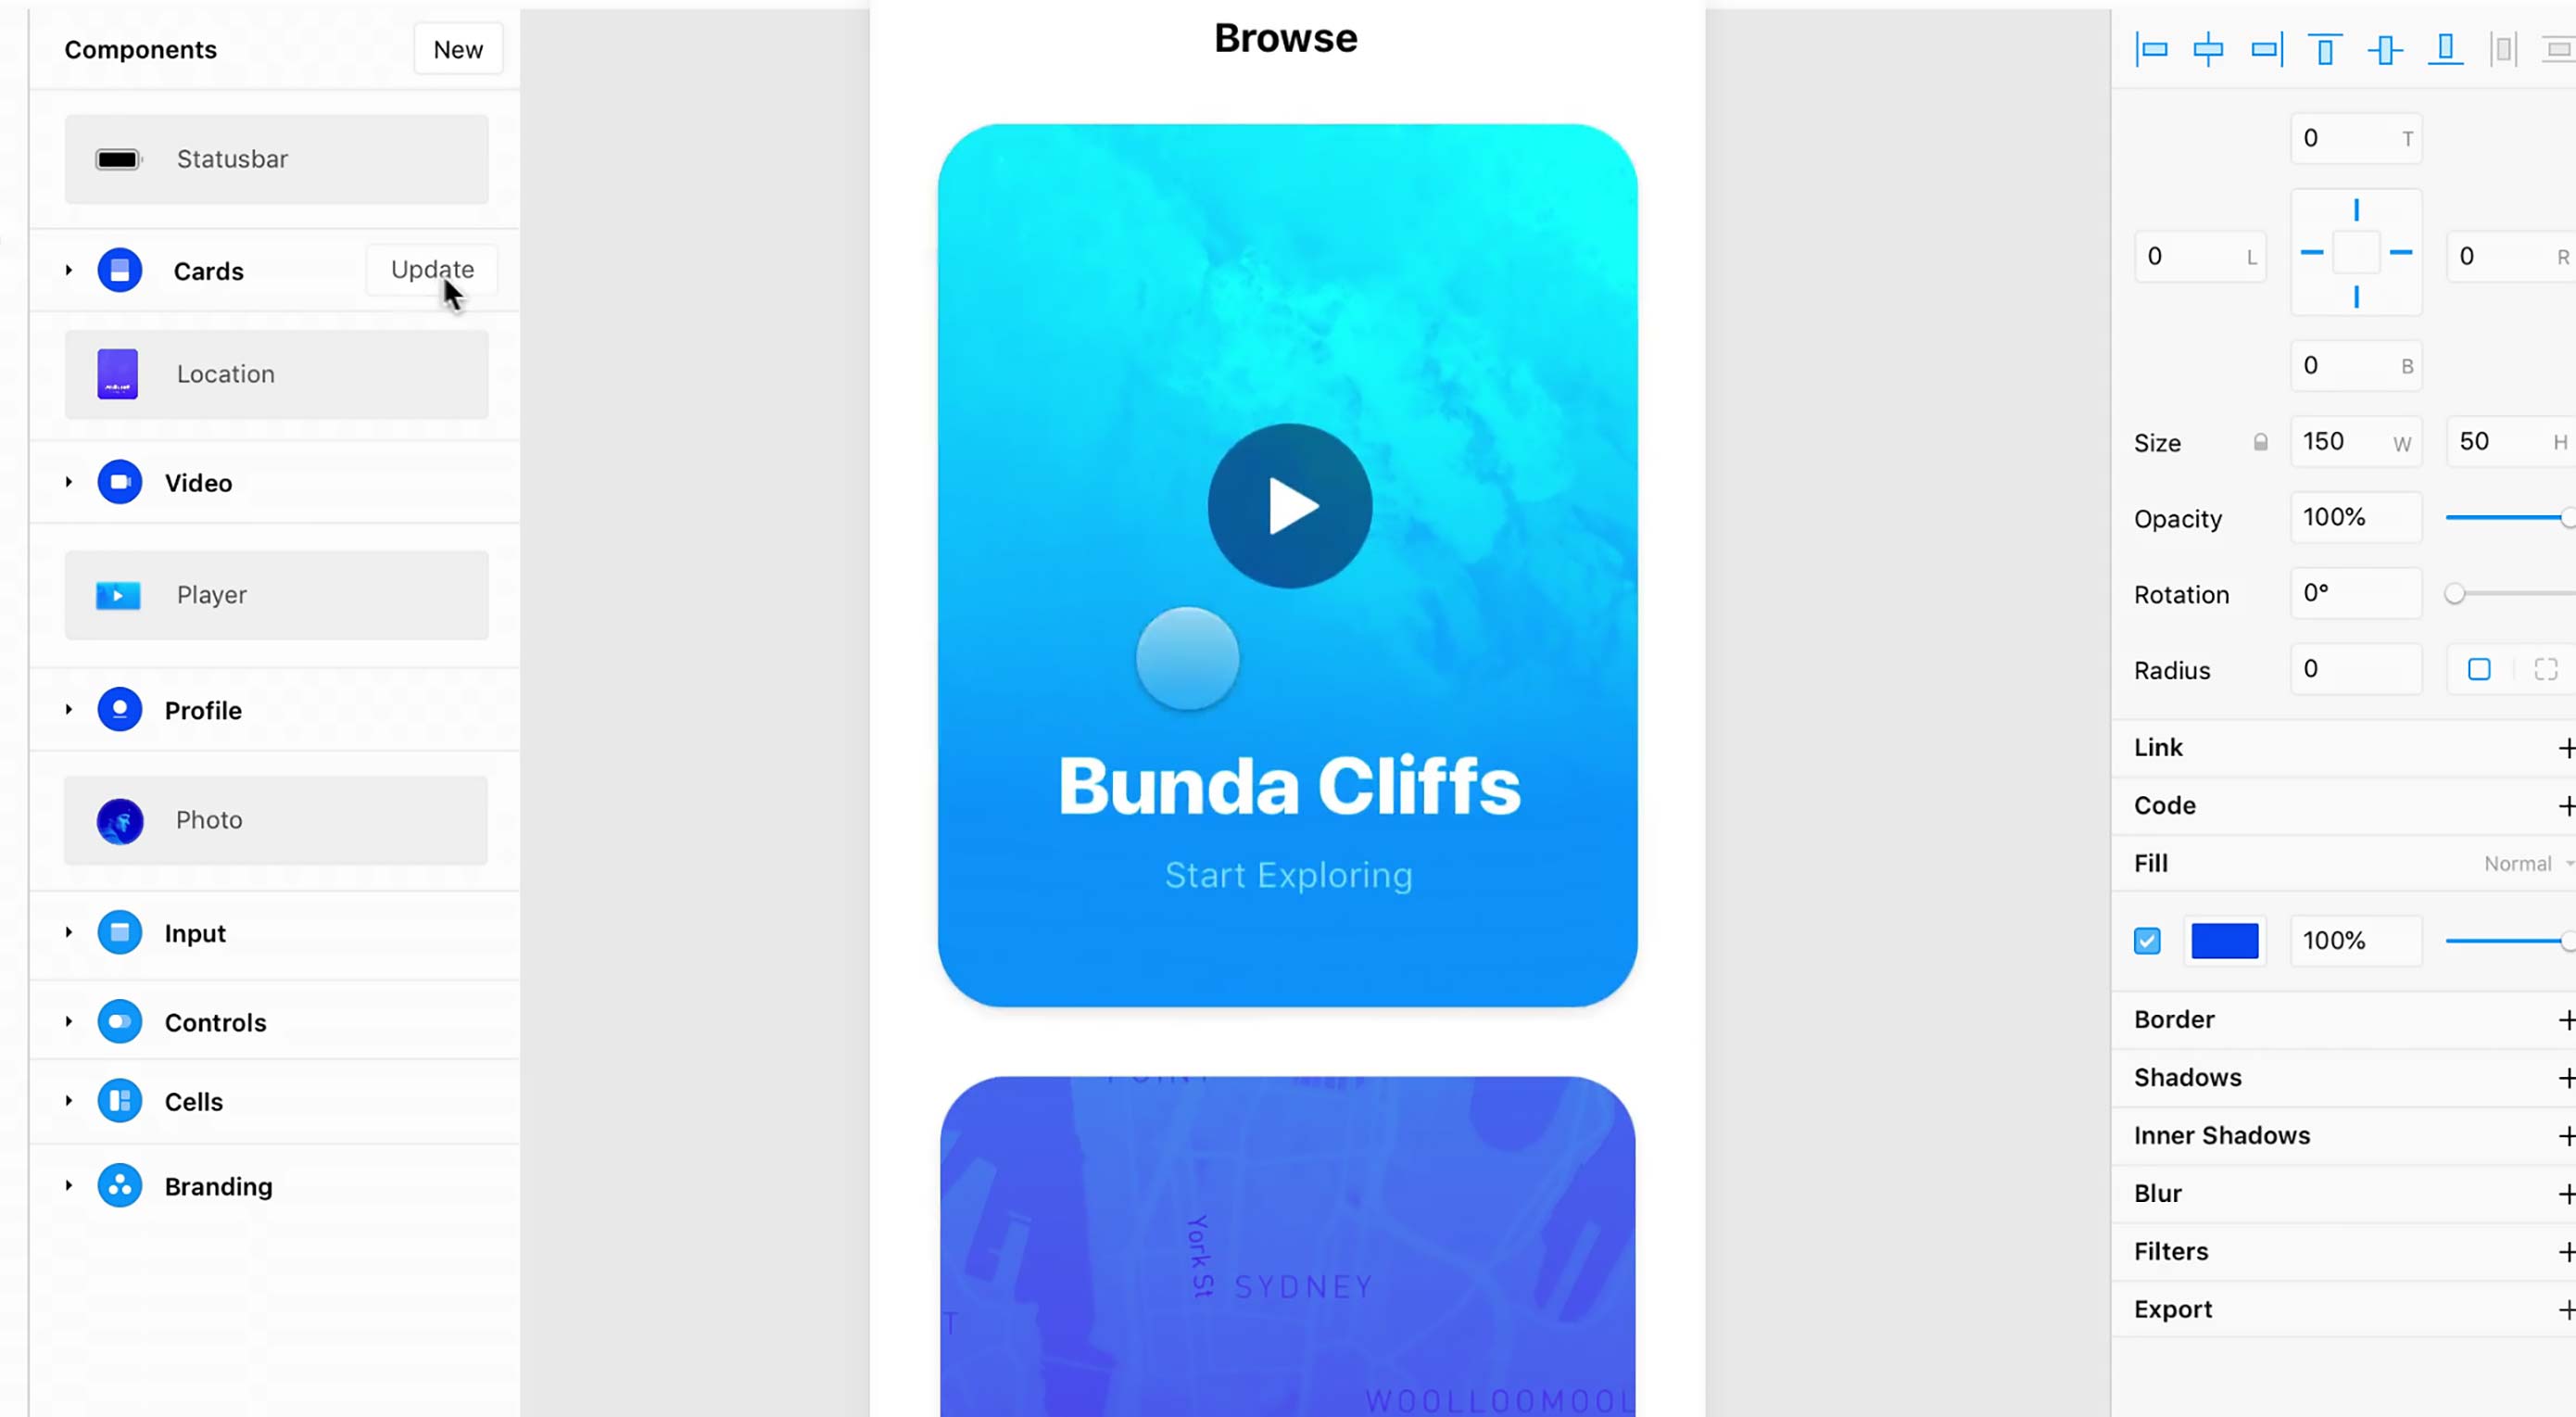
The holy grail of web design used to be a three-column layout where every column had equal height. Now, the holy grail is making it so anyone can design a website or app. Visual design apps abound, one of the big names in the Mac community right now is Framer X.

Framer X isn’t staying on only the Mac platform, though. The team has big plans, and it involves more than making it easier to push pixels. They reached out to WDD to see if we wanted to get a sneak peek of what’s coming next, and since I am one of the resident app nerds, I had the pleasure of interviewing them.

WDD: Tell us about yourselves.

Framer: So Jorn and I (Koen) worked at our first company, Sofa, together in 2009. Things really took off after we won a few Apple Design Awards, when we got a call from Mark Zuckerberg. The rest is history, as they say — our company and team were acquired by Facebook in 2011, where we ended up doubling their product design team.

We spent two years there helping launch some major product features but eventually moved back to Amsterdam and co-founded Framer in 2013. It’s been both challenging and extremely rewarding to stick to our guns and build this company in the Netherlands, even raising our Series B last year.

WDD: I’m a Windows user, so I have to ask: when is Framer X coming to Windows?

Framer: It’s in the works! We have a team working hard on this and it’s part of our plan to open up Framer X to a wider audience. I can’t give you definitive dates but you can expect something in 2019. And until then, you can sign up for the waitlist here.

WDD: What inspired you to build Framer? What’s the origin story?

Framer: When we were working at Facebook, we found ourselves pitching these innovative product ideas using traditional presentation slides. It was really frustrating to try and convey responsive, interactive design ideas to board members through static imagery – it’s just counter-intuitive.

As design has evolved, so has our thinking around tooling

Unfortunately, that’s just how things were done at the time, as interactive design was still relatively new and static images were the norm. Which is why, shortly after leaving Facebook, we co-founded Framer to focus on helping everyone better express digital product ideas.

As design has evolved, so has our thinking around tooling. While Framer Classic captured a large share of the very best designers in the world, it was only accessible to a small subset of all designers, as it used code to express ideas.

So we launched a whole new product, Framer X, which opens up interactive design to everyone, regardless of coding ability and offers interfaces for everyday design tasks like wireframing, visual design and interactive work.

WDD: What other design apps most inspired your feature choices and design?

Framer: I’ve always been very inspired by Unity – especially how accessible it is. In a sense, we are building an interactive IDE for product design that anyone can use, much like Unity has done for the gaming industry.

WDD: Your software is big on sharing and centralizing libraries of design assets, and by extension, design systems. How do you, as designers, balance the benefits of design systems (consistency and speed) with the desire for experimentation most designers feel at some point?

Framer: It is definitely a tricky balance. As a company, we have a big maker culture, with a huge emphasis on shipping. A lot of of this is because we genuinely love solving hard product problems, but just as much because our community has come to expect this of us.

As we’ve grown, we’ve come to see the value of adding some structure to this process, including creating our own React-based design system, Fraction. Everyone is still very much empowered to try and test — we even have an R&D team and leave time on Fridays for more experimental projects.

WDD: Out of all the features currently on Framer X, which are you most proud of?

Framer: We’re most proud of the features that make our app so collaborative. For example, Framer X contains a built-in store where users can publish components that can do practically anything, from media players to advanced interactive controls to entire design systems.

This means that new users can instantly leverage the work of advanced users, which provides immediate value to all users and offers incredible network effects. Our community has always been at the core of our product, and the store allows us to bring that into our product in a meaningful way.

WDD: Which feature do you most wish you’d done better with on the first try?

Framer: Interactive design is always evolving, so of course our platform is as well. Framer X’s Interactive tools — Link, Page, and Scroll — have undergone the most changes, thanks in part to the feedback we got from our beta users.

Everything that used to require lines of code in Framer Classic can now be created using the canvas tools we have. I’m not sure we would do anything differently, but hindsight being 20/20, perhaps we could have done some things sooner.

WDD: You can export elements as CSS and SVG code in Framer X. Any plans to support CSS Grid for layout?

Framer: We are planning to launch a grid tool in 2019! Stay tuned.

WDD: Where do you see Framer going in 2019?

Framer: We’re going to bring Framer X to Windows and the Web to give more people access to our interactive design tool. We’ll still be focused on making it the best tool for interactive design and with that, the best place for your team to build out your design systems.

My belief is that people are way more creative than they think and with the right platform, anyone can design. So I’d love to head toward a direction where Framer X becomes accessible enough to appeal even to people who use Powerpoint.


Thanks to Jorn and Koen for taking the time to answer our questions.

Add Realistic Chalk and Sketch Lettering Effects with Sketch’it – only $5!

Source

p img {display:inline-block; margin-right:10px;}
.alignleft {float:left;}
p.showcase {clear:both;}
body#browserfriendly p, body#podcast p, div#emailbody p{margin:0;}

How to Create a Fake 3D Image Effect with WebGL

Original Source: http://feedproxy.google.com/~r/tympanus/~3/0FBaqReUiHs/


WebGL is becoming quite popular these days as it allows us to create unique interactive graphics for the web. You might have seen the recent text distortion effects using Blotter.js or the animated WebGL lines created with the THREE.MeshLine library. Today you’ll see how to quickly create an interactive “fake” 3D effect for images with plain WebGL.

If you use Facebook, you might have seen the update of 3D photos for the news feed and VR. With special phone cameras that capture the distance between the subject in the foreground and the background, 3D photos bring scenes to life with depth and movement. We can recreate this kind of effect with any photo, some image editing and a little bit of coding.

Usually, these kind of effects would rely on either Three.js or Pixi.js, the powerful libraries that come with many useful features and simplifications when coding. Today we won’t use any libraries but go with the native WebGL API.

So let’s dig in.

Getting started

So, for this effect we’ll go with the native WebGL API. A great place to help you get started with WebGL is webglfundamentals.org. WebGL is usually being berated for its verboseness. And there is a reason for that. The foundation of all fullcreen shader effects (even if they are 2D) is some sort of plane or mesh, or so called quad, which is stretched over the whole screen. So, speaking of being verbose, while we would simply write THREE.PlaneGeometry(1,1) in three.js which creates the 1×1 plane, here is what we need in plain WebGL:

let vertices = new Float32Array([
-1, -1,
1, -1,
-1, 1,
1, 1,
])
let buffer = gl.createBuffer();
gl.bindBuffer( gl.ARRAY_BUFFER, buffer );
gl.bufferData( gl.ARRAY_BUFFER, vertices, gl.STATIC_DRAW );

Now that we have our plane, we can apply vertex and fragment shaders to it.

Preparing the image

For our effect to work, we need to create a depth map of the image. The main principle for building a depth map is that we’ve got to separate some parts of the image depending on their Z position, i.e. being far or close, hence isolate the foreground from the background.

For that, we can open the image in Photoshop and paint gray areas over the original photo in the following way:

fake3d_01

This image shows some mountains where you can see that the closer the objects are to the camera, the brighter the area is painted in the depth map. Let’s see in the next section why this kind of shading makes sense.


Shaders

The rendering logic is mostly happening in shaders. As described in the MDN web docs:

A shader is a program, written using the OpenGL ES Shading Language (GLSL), that takes information about the vertices that make up a shape and generates the data needed to render the pixels onto the screen: namely, the positions of the pixels and their colors. There are two shader functions run when drawing WebGL content: the vertex shader and the fragment shader.

A great resource to learn more about shaders is The Book Of Shaders.

The vertex shader will not do much; it just shows the vertices:

attribute vec2 position;
void main() {
gl_Position = vec4( position, 0, 1 );
}

The most interesting part will happen in a fragment shader. Let’s load the two images there:

void main(){
vec4 depth = texture2D(depthImage, uv);
gl_FragColor = texture2D(originalImage, uv); // just showing original photo
}

Remember, the depth map image is black and white. For shaders, color is just a number: 1 is white and 0 is pitch black. The uv variable is a two dimensional map storing information on which pixel to show. With these two things we can use the depth information to move the pixels of the original photo a little bit.

Let’s start with a mouse movement:

vec4 depth = texture2D(depthImage, uv);
gl_FragColor = texture2D(originalImage, uv + mouse);

Here is how it looks like:

fake3d_02

Now let’s add the depth:

vec4 depth = texture2D(depthImage, uv);
gl_FragColor = texture2D(originalImage, uv + mouse*depth.r);

And here we are:

fake3d_03

Because the texture is black and white, we can just take the red channel (depth.r), and multiply it to the mouse position value on the screen. That means, the brighter the pixel is, the more it will move with the mouse. On the other hand, dark pixels will just stay in place. It’s so simple, yet, it results in such a nice 3D illusion of an image.

Of course, shaders are capable of doing all kinds of other crazy things, but I hope you like this small experiment of “faking” a 3D movement. Let me know what you think about it, and I hope to see your creations with this!

References and Credits

Gyronorm library by Doruk Eker
Photo by Cosmic Timetraveler
Photo by Chelsea Ferenando
Photo by Rio Syhputra
Phoyo by Jonatan Pie

How to Create a Fake 3D Image Effect with WebGL was written by Yuriy Artyukh and published on Codrops.