Original Source: https://www.webdesignerdepot.com/2019/02/how-to-design-for-3d-printing/
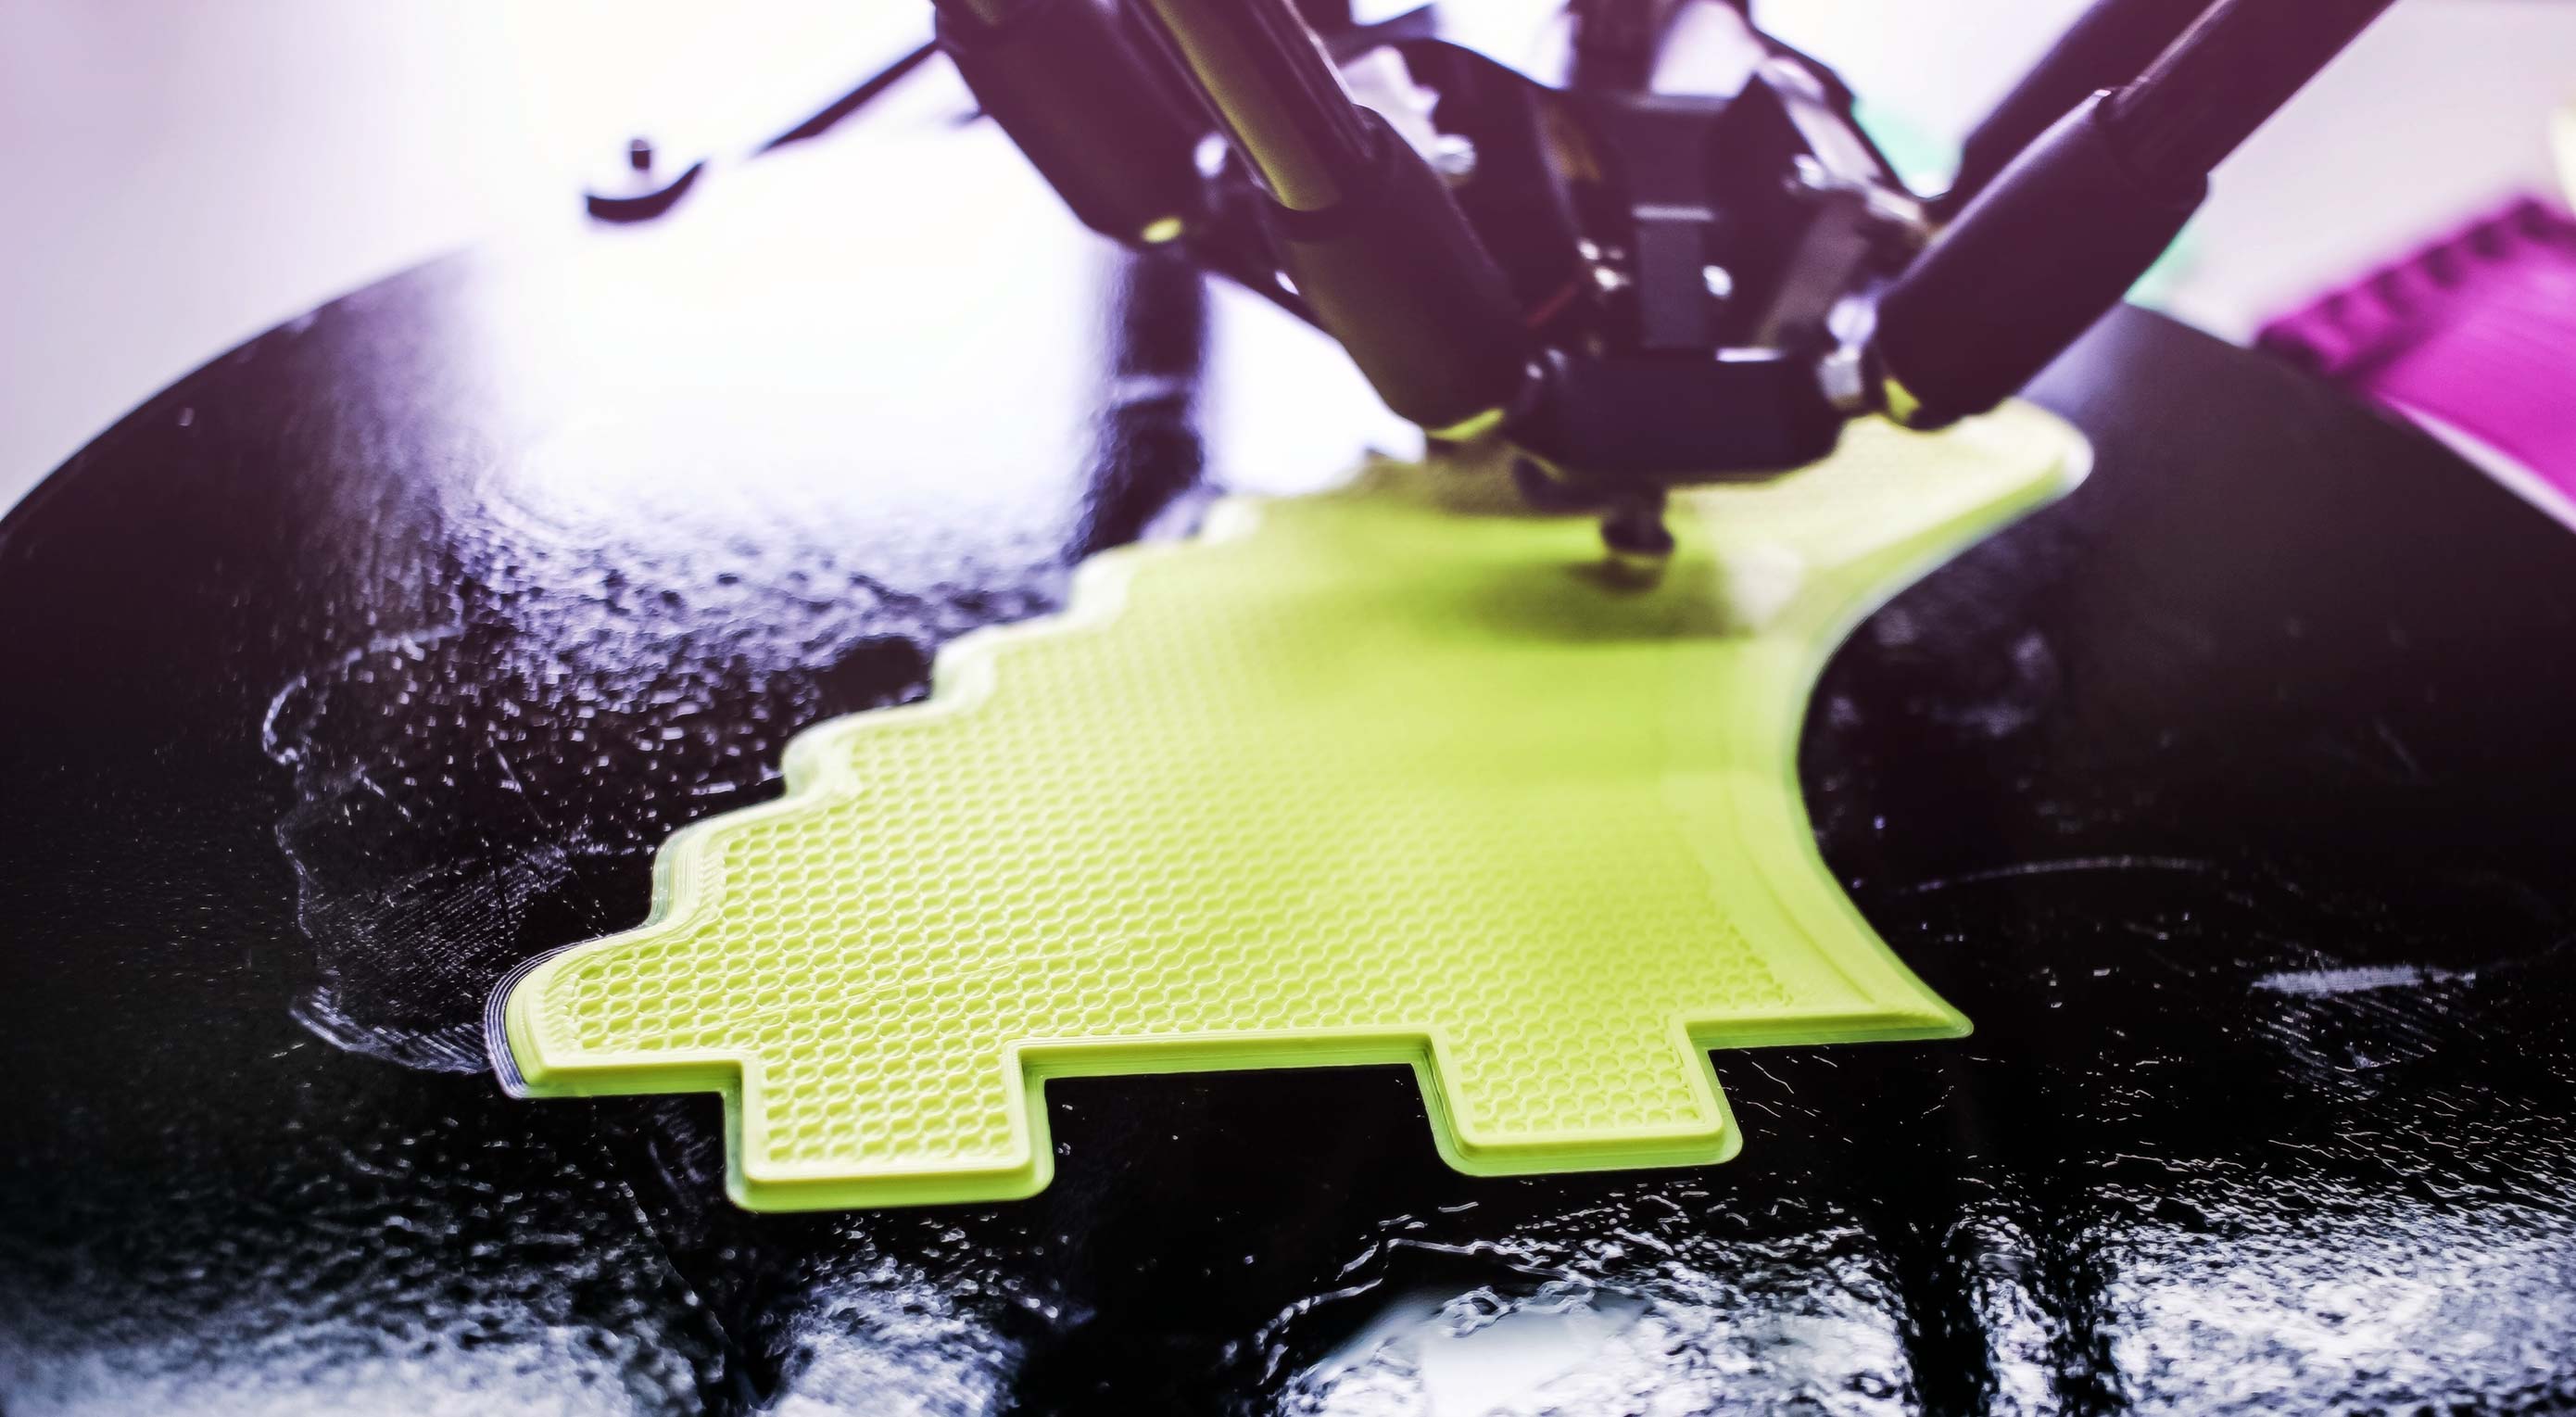 3D Printing is a revolutionary new technology that allows you to realize, well, just about anything. The most common form of 3D printers use a special form of plastic filament to print durable, hard ABS plastic components or items.
However, there are 3D printers—industrial mostly—that can work with materials like concrete, glass, titanium, steel and more. The tougher materials aren’t really necessary for design, but it’s still a great thing to know especially when you need to consider material design guidelines.
In design and graphic art, you mostly work with hand sketches, digital content and imaging software, and flat, 2D-style designs. How would a 3D printer offer you anything new? Maybe you dabble in the occasional 3D modeling from time to time, or maybe you don’t. Whatever the case, the two mediums just don’t seem to correlate.
We’re going to explain some design tips you should be aware of and how that applies to your particular industry: graphic and visual design.
Major Brands Are Already Using 3D Printing for Design
A variety of large corporations and organizations have not only realized the potential of 3D printing technology — they’ve implemented it in their regular routines.
Nike, Nokia, Ittala, Coca-Cola and even Volkswagen have all been creating and designing with 3D printing tools. Nike even took their 3D printed concepts and rolled them into manufactured products, some of which you can buy on store shelves right now.
If the bigger companies and organizations are starting to adopt and utilize this technology, that will soon trickle down to smaller companies
The reason they’ve taken to this technology is because it streamlines their design and manufacturing processes. All product designs or prototypes can be constructed in-house, and then when it’s time to ship something, they can be manufactured internally as well.
This doesn’t relate to graphic design, but it does point out one obvious thing. If the bigger companies and organizations are starting to adopt and utilize this technology, that will soon trickle down to smaller companies, including you.
More companies will desire 3D printing compatible concepts and visuals, which means turning to professionals who can work with the necessary tools and software. If you haven’t already begun training with these technologies and tools, now is the ideal time.
Learn Printing Technologies
Before diving into the design process, you need to spend some time researching and getting to know the various 3D printing technologies and hardware you’ll be working with. Why? Because depending on the materials and the printer used, you’ll need to work with unique specifications.
ABS, alumide, polyamide, and rubber-like materials all allow you to create components and designs that incorporate interlocking parts. That is, you can build snap-together components that are incredibly easy to assemble. Unfortunately, this is not possible with materials like bronze, gold, silver and resin, but it’s not the consistency of the materials or even textures to blame. It’s really the hardware and 3D printers used during these processes. The latter materials aren’t compatible with the types of printers that can create interlocking parts.
In addition, the way in which these printers create components also differs depending on the material. Be sure to do the research so that you understand how they are all different and how this will influence your design.
Mind the Wall Thickness
When working with traditional 2D-based designs, dimensions are important, but you don’t necessarily have to worry about the thickness of your models. You can use specifications and number measurements to indicate true size, but you don’t actually have to design to scale — at least in many cases.
That’s not so with 3D printing, as you’ll always want to mind the wall thickness of the items you’re creating. Walls that are too thick can generate too much internal stress, causing the item itself to collapse or the surfaces to crack. If the walls are too thin, it can make the concept or prototype fragile and easy to break.
Considering you’ll likely be designing and planning the dimensions so that you end up with a durable, reliable product this is one feature you’ll want to brush up on.
File Resolution Is Still Important
With 3D printing, the designs are still parsed and transferred via digital files or blueprints, if you will. In graphic and visual design, file resolution is extremely important especially when working with larger products or prints.
If you stretch a smaller resolution file too much, it ends up looking grainy and pixelated. That’s why it’s important you always design in larger environments and dimensions because scaling down is more accurate than scaling back up.
The common file format for 3D printing designs is STL, or standard triangle language format. The design—when printed—is translated into triangles in a wider 3D space, which makes it easier for the printers and related hardware to construct the resulting item.
Similar to visual design, you don’t want the resolution or file size of your blueprint to be too big, or too small. Too big means the internal content will be too much for machines and other designers to handle. Too small means no one will ever be able to get a quality print out of your STL.
The solution is to consider not just the file resolution, but something called “tolerance” in the world of 3D modeling.
3D Printing Is Not So Different
At a glance, it seems as though 3D printing, and designing for the medium, are much different than the current work you do in graphic and visual design. That’s not necessarily the case though, as both forms of design require you to have working knowledge of modern digital software and tools.
Sure, you might use a different tool to design say, an infographic or visual model than you would a 3D STL file, but the concepts and mechanics are similar.
As long as you mind the tips discussed here, you should do just fine. If you haven’t already started learning how to work with 3D modeling and design tools, you might want to get on that as soon as possible.
The market for additive and manufacturing products and services—which will call for reliable designers and visual artists—is predicted to increase by as much as seven times the current rate by 2020. At that time, the market value is expected to surpass $20 billion.
Featured image via Unsplash
Add Realistic Chalk and Sketch Lettering Effects with Sketch’it – only $5!

Source
p img {display:inline-block; margin-right:10px;}
.alignleft {float:left;}
p.showcase {clear:both;}
body#browserfriendly p, body#podcast p, div#emailbody p{margin:0;}

 Every week users submit a lot of interesting stuff on our sister site Webdesigner News, highlighting great content from around the web that can be of interest to web designers.


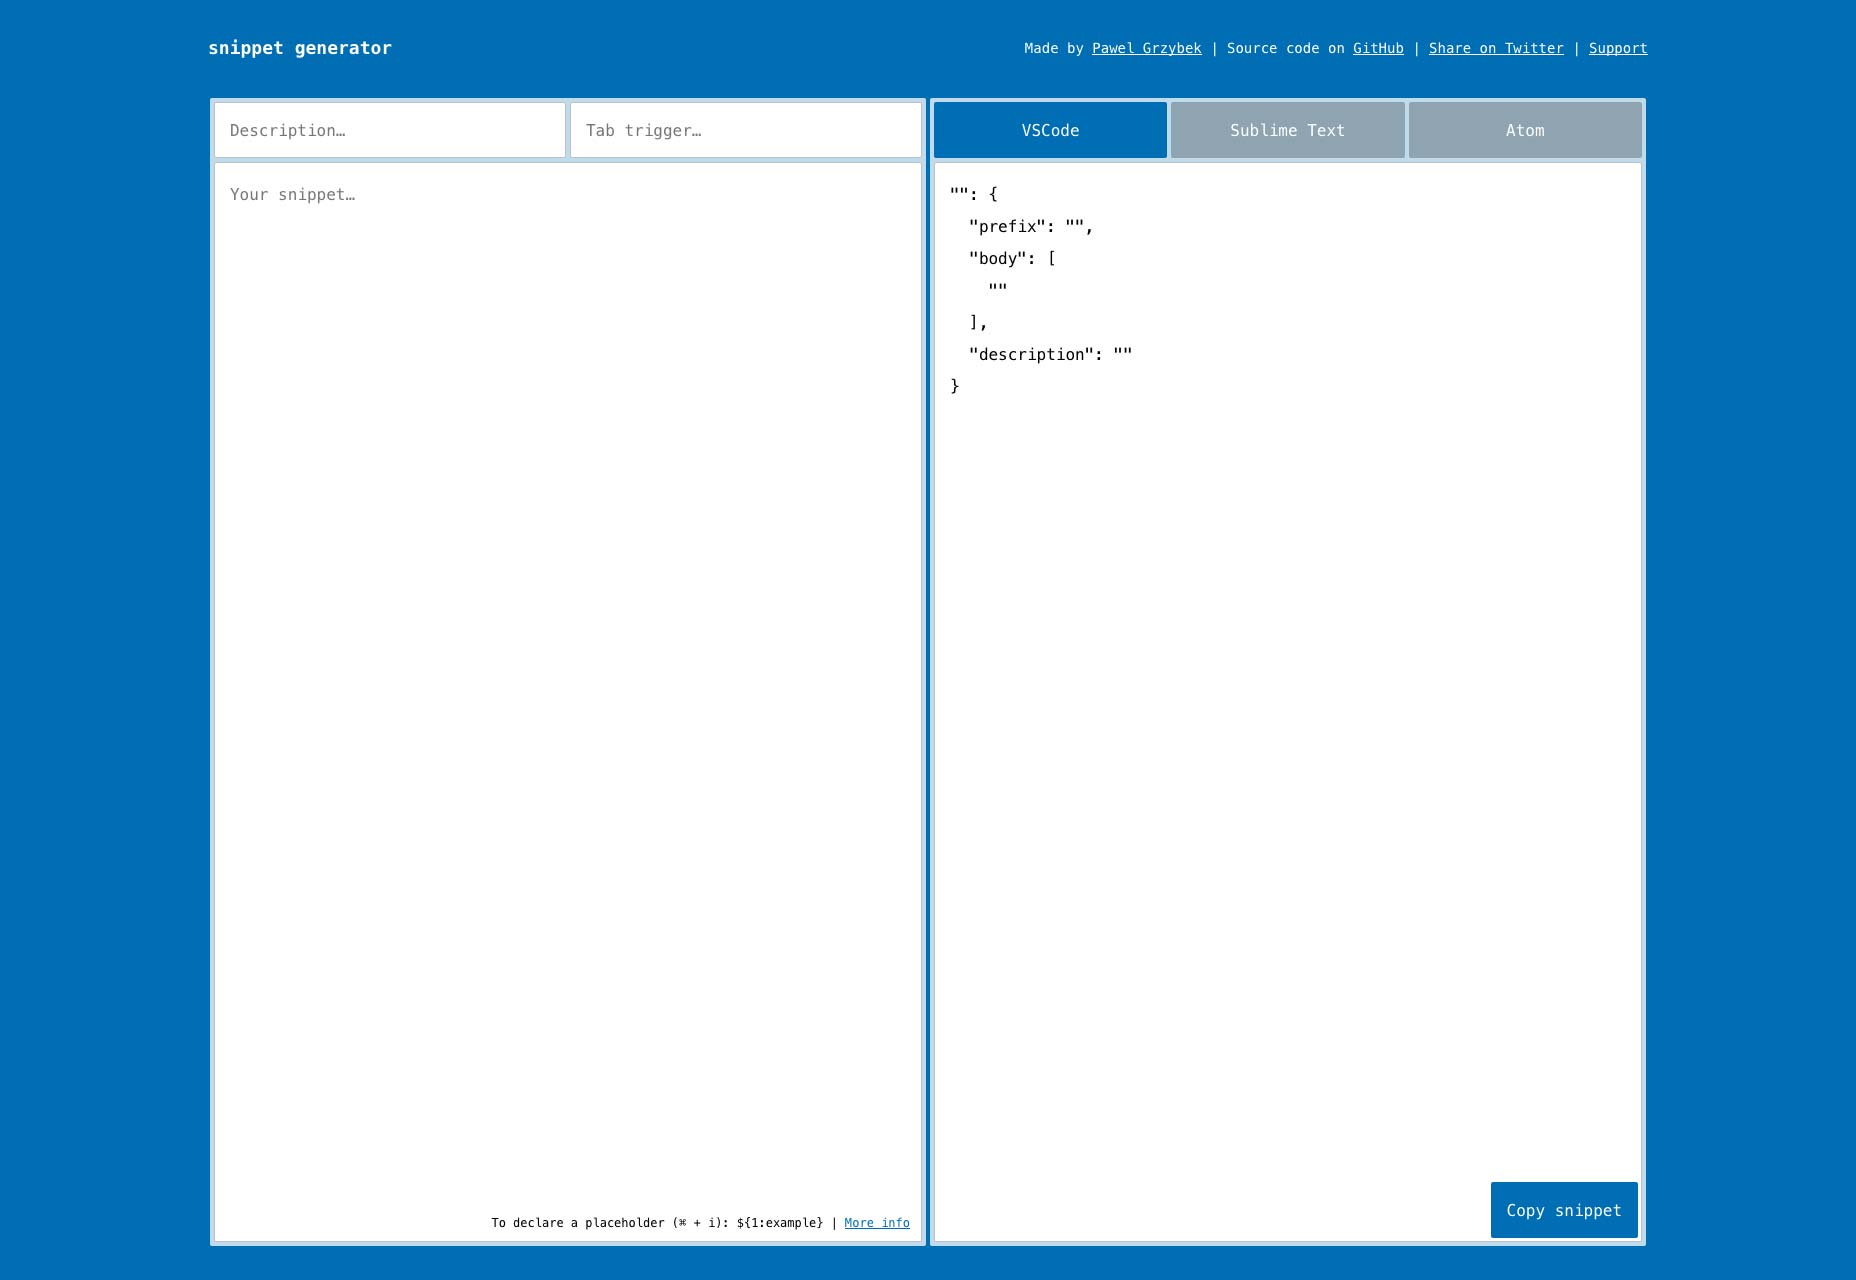
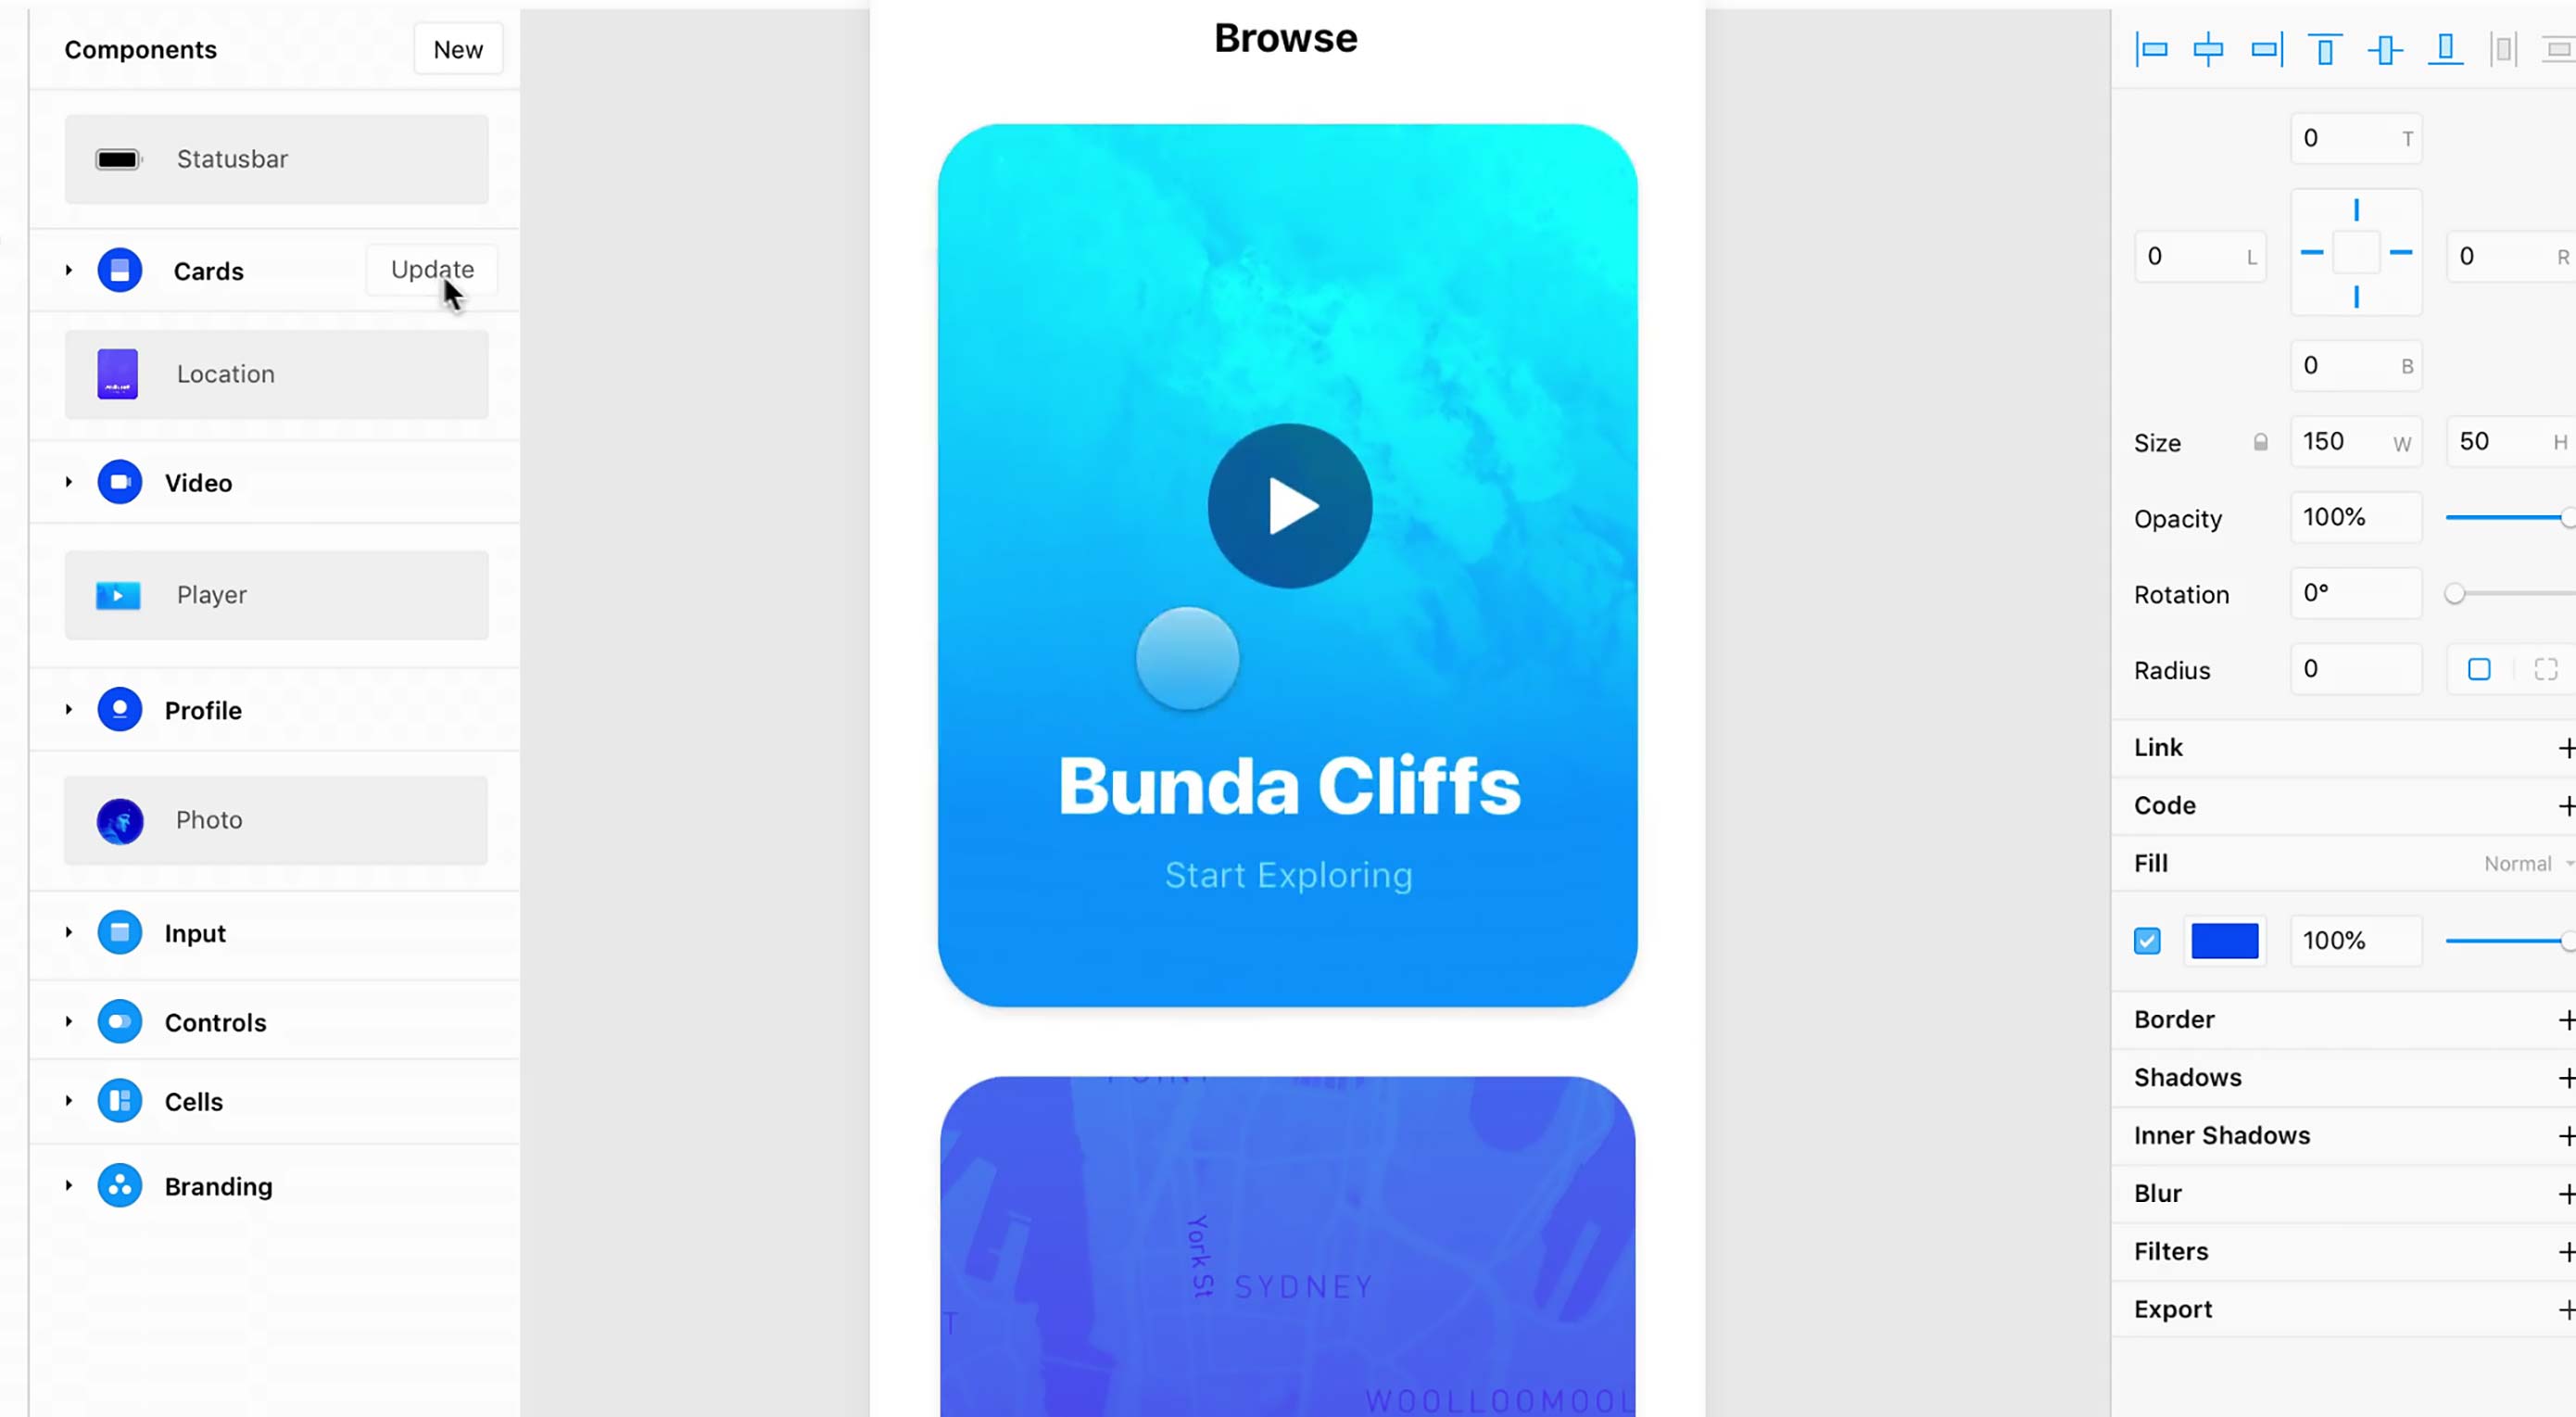 The holy grail of web design used to be a three-column layout where every column had equal height. Now, the holy grail is making it so anyone can design a website or app. Visual design apps abound, one of the big names in the Mac community right now is Framer X.


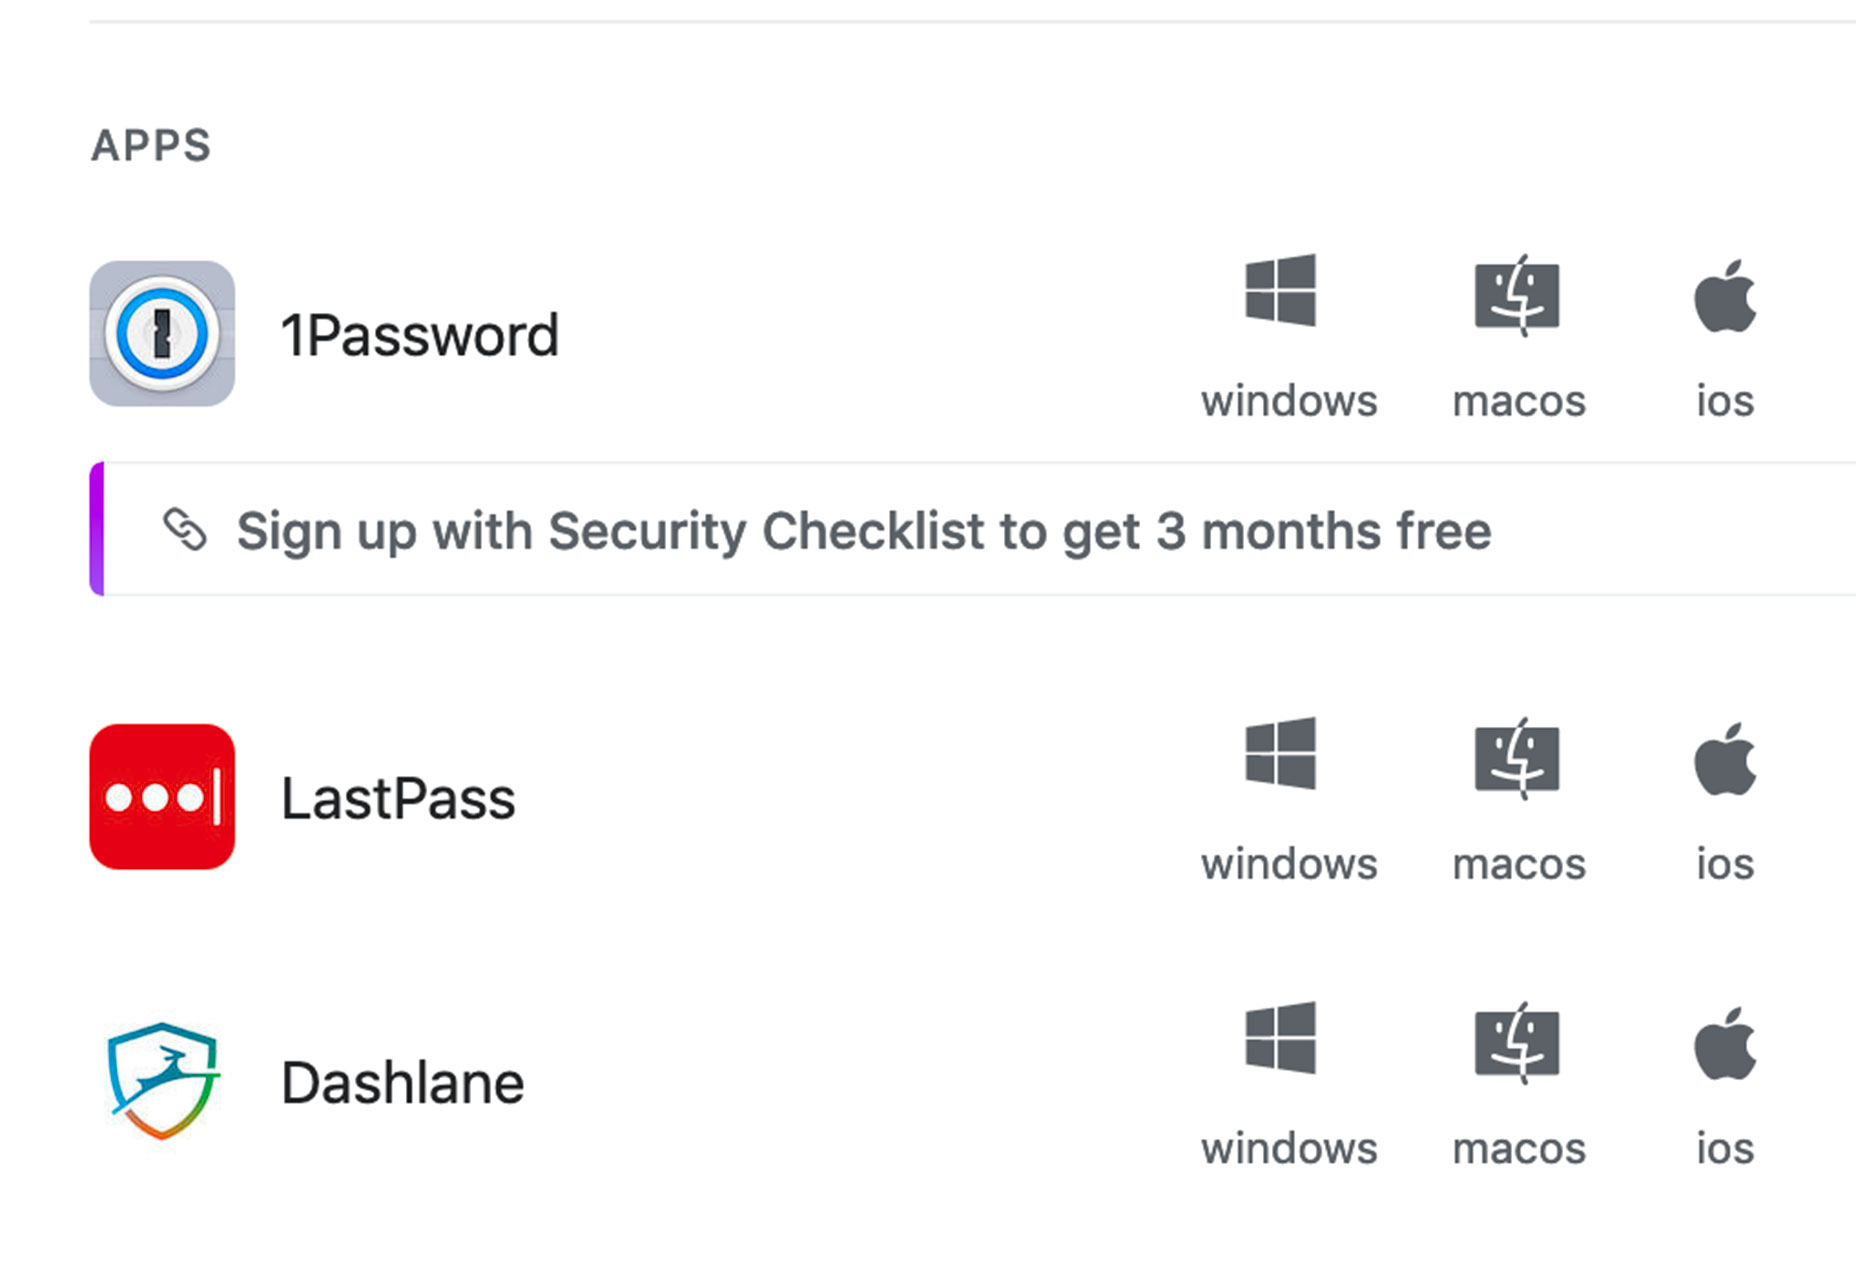
 Get ready to create a new list of bookmarks! The new tools featured this month are perfect for saving; some of them you’ll want to come back to over and over, such as a security checklist, cool background maker and a season-specific typeface.