Effortless Content Publishing: A Developer’s Guide to Adobe Experience Manager

Original Source: https://www.sitepoint.com/adobe-experience-manager-guide/?utm_source=rss

Effortless Content Publishing A Developer’s Guide to Adobe Experience Manager

Empower Your Web Development: Leveraging Adobe’s New Experience Manager for Streamlined SharePoint Content Publishing and Enhanced Workflow Efficiency

Continue reading
Effortless Content Publishing: A Developer’s Guide to Adobe Experience Manager
on SitePoint.

How to Create Print on Demand Mockups in 2024

Original Source: https://ecommerce-platforms.com/articles/how-to-create-print-on-demand-mockups

If you’re planning on launching your own print on demand (POD) venture, the first thing you’ll need to do is learn how to create print on demand mockups.

While you can always order samples of your products and take photos of them on models yourself, creating mockups is a far more cost-effective, and simple way to produce images for your product pages and marketing campaigns.

Plus, designing professional mockups today is a lot easier (and more fun) than you might expect. One of my favorite things to do when experimenting with POD platforms and apps is check out their mockup generators and design tools.

Today, I’m going to walk you through the process of creating compelling mockups you can use to entice customers to your store, and increase conversions. Plus, I’ll be introducing some of my favorite software solutions to use for mockup generation.

What are Print on Demand Mockups?

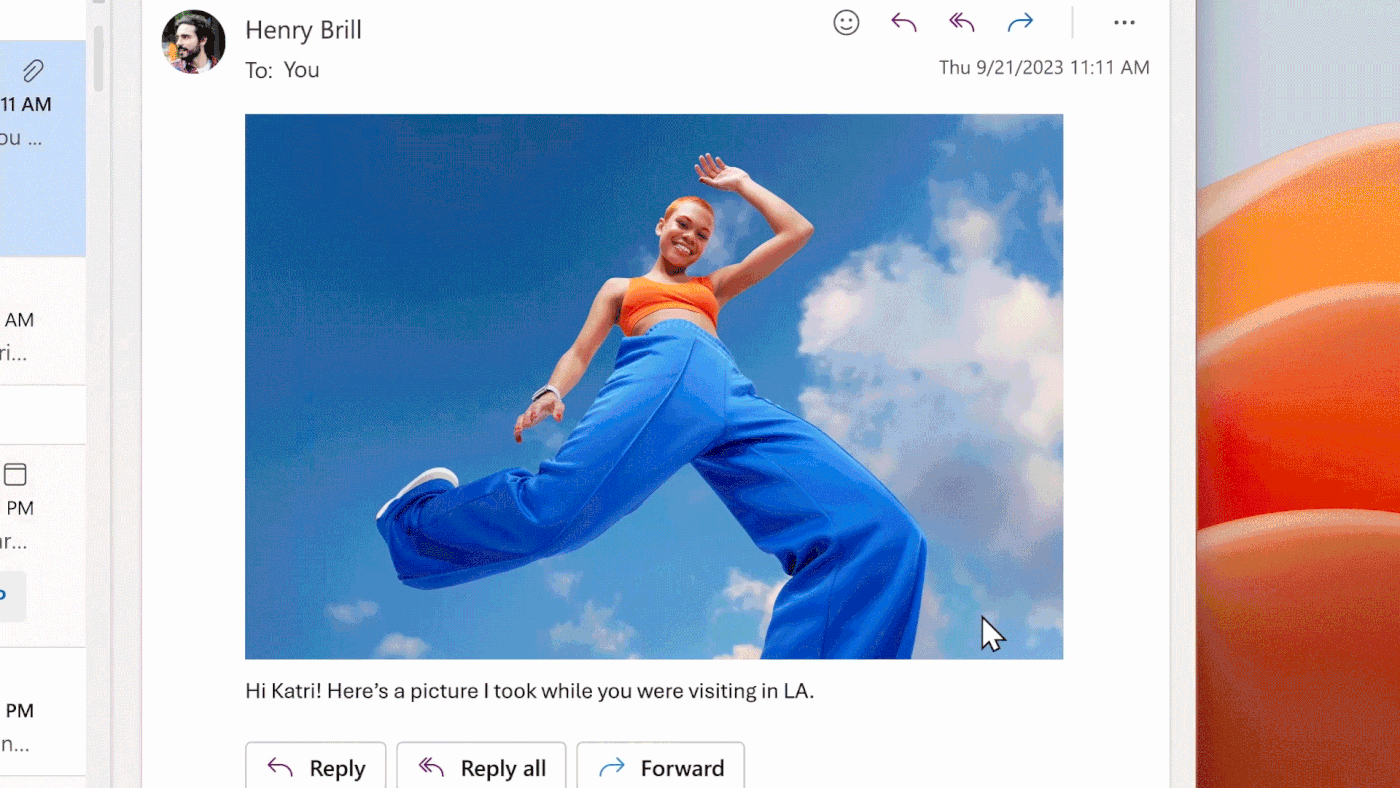
Print on Demand mockups are essentially digital replicas of the products you’re going to be selling to your target audience.

With access to graphic design software, you can place your design on a wide range of products, from canvases and t-shirts to sweaters and mugs, and see a realistic representation of what your items will look like when they’re produced.

In the POD industry, mockups and mockup generators can save you a lot of time and money when you’re building your business.

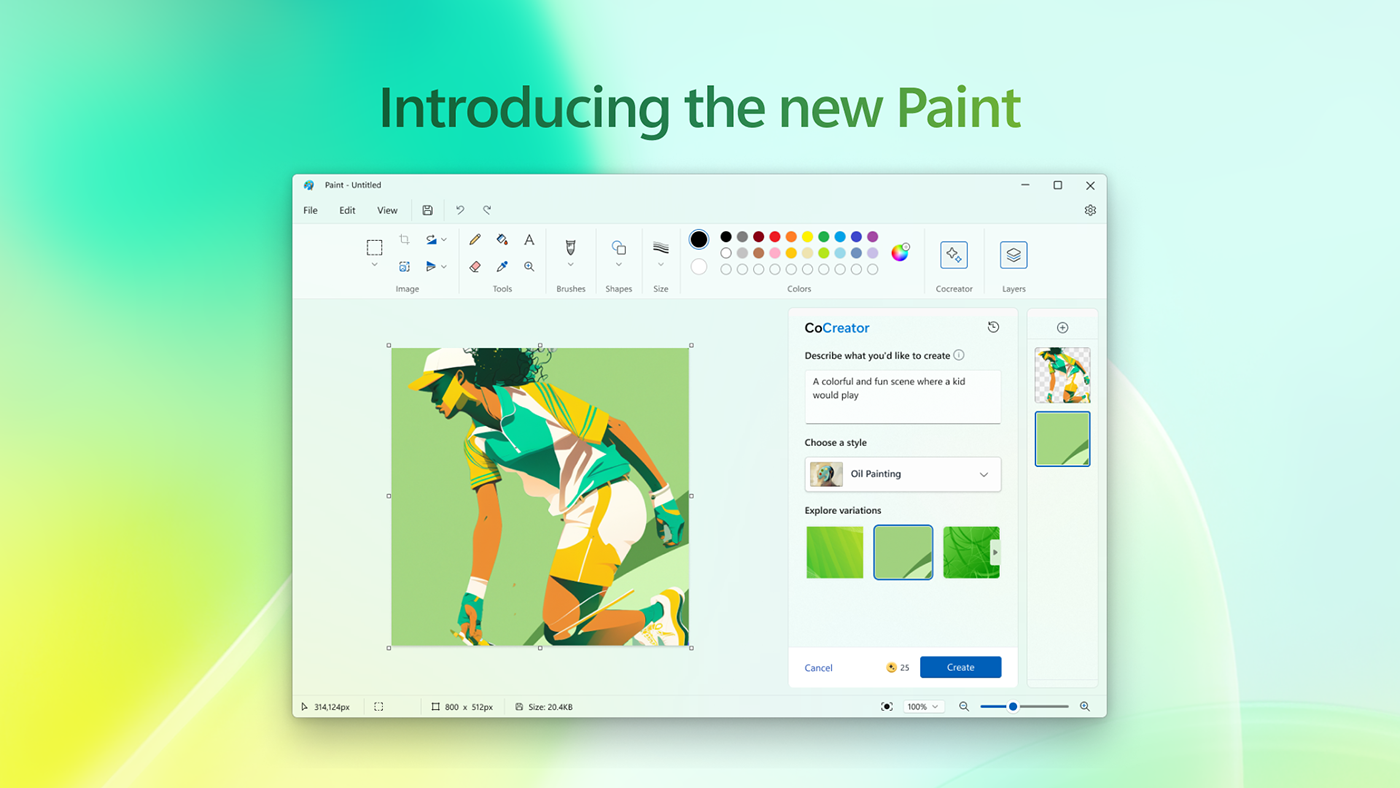
Instead of having to order samples of your products, or work with complex platforms like Photoshop to “imagine” what your designs will look like, you can use simple design tools to visualize your products in seconds.

Some POD platforms even offer access to these tools for free, and can give you access to a range of other resources alongside them, such as AI-powered image generators, or stock photo and font libraries.

Plus, creating a mockup means you can reduce the risk of printing and production errors with your items, by ensuring everything is placed, sized, and positioned correctly.

Once you’ve designed your mockups, you can easily upload them onto your ecommerce platform, into your product pages, and use them in your marketing campaigns. It’s basically the “fast-track” way to get all of the amazing product photos you need, without the photography.

Top Platforms for Creating Mockups: 3 Excellent Options

The great news for new POD entrepreneurs is that there are plenty of tools and resources out there that will help you create professional-looking mockups, even if you don’t have any artistic skills (like me). These are my top three go-to options for beginners.

Printful

Printful is similar to Printify in a lot of ways. It’s a POD company that offers access to hundreds of different items, from apparel to home décor options. It also integrates with more sales channels and platforms than virtually any other POD solution. Printful’s custom mockup maker is highly versatile, giving you more than 300 different backgrounds and layouts to choose from.

You can enhance your mockups with more than 100 different design elements, making your product images look unique and interesting.

There are even tools for creating custom mockups for social media. Printful gives vendors comprehensive control over product customizations, and there’s even AI design tools built-in to help enhance any photos you’re uploading to the platform.

Though flexible, Printful’s mockup generator is extremely easy to use, and I had no trouble repositioning elements, resizing components, and selecting colors in seconds.

Printify

Printify isn’t just one of my favorite print on demand platforms, it’s also one of the best solutions out there for companies in search of innovative design tools. Printify’s state-of-the-art mockup generator is free to use, and allows you to comprehensively customize more than 900 products available in Printify’s catalog.

There’s simple drag-and-drop functionality, and built-in editing tools, which include options for layering designs. You can also create a single product with a host of different variations at once. Like Prodigi, Printify also allows you to preview your designs in “lifestyle” mockup situations.

One thing that really sets Printify apart in this landscape, of course, is their generative AI design tool, which can create custom images for you in seconds based on text prompts.

So even if you struggle to create an image or pattern yourself, Printify can do the hard work for you. Plus, the platform integrates with lots of different ecommerce platforms and sales channels.

Prodigi

Prodigi is a print-on-demand company with an exceptional mockup generator, tailored to the needs of beginners.

The free mockup generator doesn’t just allow you to create realistic digital versions of your products, it also helps you to position your products in authentic settings. For instance, you can show customers what an art print will look like placed on a living room wall.

All you need to do is select a product you want to customize, then upload the design you want to use. You can customize the image with the integrated editing tools, changing colors, fonts, positioning, and more.

The mockup generator then applies the image to your chosen product, and creates lifestyle images you can use in your marketing campaigns or product pages.

The mockup generator doesn’t cost anything to use, and everything is extremely straightforward, with drag-and-drop components that impose absolutely no learning curve on beginners.

Read more:

Printful Review

Printify Review

Printful vs Printify

Advanced Tools for Mockup Creation

All of the mockup generation tools mentioned above are excellent for beginners, but they do lack some more “advanced” capabilities, if you’re looking for a high level of customization. If you’re willing to accept a slightly higher learning curve, you can check out:

Artboard Studio

Unlike the three options I mentioned above, Artboard Studio isn’t a print on demand company. It’s a business focused exclusively on visual content creation. The graphic and motion design tool comes packed with unique features that give you a lot of control over your designs.

You can tap into libraries full of customisable assets, images, graphics, vectors, and fonts, and make granular changes to every aspect of your design with a simple but efficient editing studio. You can even add animations and sounds to your content if you want to create product videos.

The design tools make it simple to create highly realistic-looking digital versions of your products, for presentations, social media campaigns, and product pages.

Plus, there’s the option to create entire branding kits that you can apply to multiple images at once. You will need to pay $15 per month if you want to access some of the more advanced features, however.

Photopea

If you’re looking for a mockup creation tool that has features similar to Adobe Photoshop, without the unnecessary complexity, Photopea could be the solution for you.

Like Artboard, this is a comprehensive photo editing tool that allows you to create comprehensive designs for just about anything. You can edit pre-existing templates for mugs, t-shirts, and more, or design something from scratch using your own photos and images.

The editing tools then give you the freedom to experiment with everything from fonts and graphics, to positioning, shadow, colors, and more. You can even export and import images with just about any file type you can imagine.

Notably however, I would recommend using this solution if you already have most of the assets you need for mockup design already, as there aren’t as many templates to edit here as you’d get with something like Printify.

Choosing the Right Mockup Tool: What to Consider

With so many mockup tools out there to choose from, it can be difficult to make the right decision (even with my suggestions above). While there’s no one-size-fits-all strategy for choosing the right software, there are a few things I recommend keeping in mind while you assess your options:

Product range: It’s generally a lot easier to create mockups if your chosen platform already has a lot of product templates for you to use. For instance, with Printify, you can add your images to more than 900 pre-existing products, all of which you can sell on your store.

Ease of use: Unless you’re a professional designer, it’s best to stick to a solution that’s relatively straightforward to use. The three top options I mentioned above are all extremely user-friendly, with drag-and-drop tools, and simple editing features, great for beginners.

Customization abilities: The more options you have to customize your designs, the more you can make your mockups stand out. Look for plenty of stock images to choose from, font styles, and different backgrounds or “lifestyle” shot options.

Additional features: Extra features, like Printify’s AI image generator, or Printful’s wide collection of free visual assets can come in handy when creating mockups. Alternatively, you could look for more advanced editing capabilities, like you get with Artboard.

Pricing: The three POD platforms I mentioned above all offer their mockup tools to users for free, making them ideal for beginners. However, if you want something a little more advanced, you might need to consider a monthly fee. Make sure you know how much you’ll be paying for your resources before you sign up.

Another point to keep in mind is whether your mockup generator or POD platform integrates with the sales channels and ecommerce platforms you’re already using. That’ll save you a lot of time when it comes to downloading images and uploading them to your store.

Creating Your First Mockup: The Step by Step Guide

Once you’ve chosen the ideal mockup generator for your needs, creating a mockup is usually quite simple. The process can vary a little depending on the design software you use.

For the purpose of this guide, I’ll be walking you through the steps involved in using a mockup generator included on a POD platform like Printful, Prodigi, or Printify.

Step 1: Sign Up and Explore the Platform

First, you’ll need to create an account with your chosen POD platform. All of the three options I mentioned above have free plans, so you don’t have to worry about paying anything to get started. Once you’re logged in, you can start browsing through the design tools, product options, and even the features of your new mockup generator.

Step 2: Select your Product

Once you access the mockup generator on your chosen platform, you’ll usually be asked to select from a range of products you can customize. There are hundreds of options available from Printful, Printify, and Prodigi, so take your time choosing the option that’s right for you.

Once you select your product, the mockup generator will give you a template to work with, and a range of tools you can use to add design elements, like images, and typography.

Step 3: Upload and Edit your Design

This is the most time-consuming, but also most interesting part of creating a mockup. You’ll be able to upload the design you want to use to the generator and start making changes to it. Notably, it’s worth checking the file you use aligns with the capabilities of the mockup generator.

I’d recommend always using a very high-resolution file for the best results. If you’re struggling to create a design yourself, you can work with a freelancer, or consider using an AI generator, like the Printify AI image creation tool.

Once you have your design on the mockup generator, use the tools to scale, rotate, and place your design exactly where you want it to be.

Step 4: Apply the Finishing Touches and Download

I recommend browsing through all the features offered by your chosen platform before you finish with your design just in case there are any extras you want to take advantage of.

For instance, with Printify and Prodigi, you can create “lifestyle images” which are often more realistic looking and appealing to online consumers.

When you’re happy with everything, download your design in your preferred file format, making sure you don’t lose any of the quality.

Step 5: Use Your Mockup

Now you’re ready to use your mockup in your marketing campaigns, ads, and even your product pages. We’ll talk more about how to do this later.

In the meantime, it’s worth taking advantage of any integrations your platform has with your existing sales channels, so you can transfer all of your various images over to your store in seconds.

Tips for Effective Mockup Design

Most mockup generators make it extremely easy to create attractive and lifelike images for your marketing campaigns and online store. However, if you’re an absolute beginner, here are a few tips worth following to ensure you get the right results:

Always use high-res images: The higher the resolution of the images you upload to your mockup generator, the better the mockup, and the finished product will be. Consider using Printify’s AI upscaling tool, if necessary, to improve your image quality.

Go for a realistic look: The more “natural” and realistic your mockups look; the more likely customers will be to trust your store. If you can, switch rigid-looking images out for lifestyle photos that showcase what your product is going to look like in genuine situations.

Work with experts if necessary: If you’re struggling to create high-quality designs yourself, and you don’t want to rely exclusively on generative AI, it’s worth seeking out some artistic support. There are plenty of freelancers who can create great images for you.

Experiment: Play with the design tools available to you. Experiment with image positioning and sizing. Look at how your product looks in different environments and against various backgrounds. This will give you a good insight into which mockups look best.

Keep it consistent: Ideally, your mockups should include some consistent elements, particularly if you’re using them on product pages. Stick to the same background colors as much as possible, and use consistent lighting and perspective.

As a bonus tip, I do recommend still ordering samples of your products, even if your mockups look fantastic. Samples don’t just give you an opportunity to create entirely unique photos yourself, they also ensure you can test the quality of your items before you start selling them to customers.

Using Mockups for Marketing and Sales

Now you know how to create print on demand mockups, it’s time to use them to your advantage. As I mentioned above, mockups aren’t just a great way to add visual appeal to your product pages, and show your customers what they can expect from your store. They can also help drive attention to your brand and increase your conversions.

Here are some great ways to experiment with your mockups for marketing and sales:

Create amazing product pages: Upgrade your product pages with more than one mockup. Create entire carousels of mocked-up images that show your products from different angles, or use advanced editors to create mockup videos. Showcase what designs look like on differently colored backgrounds and in various settings.

Create social media campaigns: Mockups can be ideal for making your paid and organic social media posts stand out. Use them when you’re promoting your latest product collection across channels like Instagram, Pinterest and TikTok. Consider experimenting with animations for stories, and even think about running polls with your mockups, asking customers to vote on which variation of an item they like best.

Add mockups to your email marketing: If you’re nurturing your customers with an email marketing campaigns, this is a great chance to put your mockups to work. Include various different mockup images in your emails templates, to show your customers exactly what they have to offer. Link the pictures you share back to your product pages.

Create marketing campaigns: Outside of social media and email, you can use mockups in a variety of other marketing strategies. You could add them to your content marketing strategy when you write articles talking about different types of products. Or you could create carousels, banners, and pop-ups for your online store, featuring your mockups.

Experiment: A/B test different advertising and sales strategies using variations of your mockups. This will give you a good insight into which design elements are most likely to attract and convert customers in your target market.

Creating your Own Print on Demand Mockups

Learning how to create print on demand mockups the right way is a must for any vendor entering this competitive market.

The right mockups will give you a fantastic competitive edge, helping you to promote your brand and attract new customers, even without ordering samples.

However, I do recommend building on your mockup images in the long-term, with photographs you take yourself, and even user-generated content submitted by your customers. This will give your store a more authentic feel, and help to ensure customers will trust you in the future.

The post How to Create Print on Demand Mockups in 2024 appeared first on Ecommerce Platforms.

20 Best New Websites, July 2024

Original Source: https://www.webdesignerdepot.com/best-websites-july-2024/

Welcome to July’s round up of websites to inspire you. This month’s collection ranges from the most stripped-back design, to high-concept interactive motion graphics, with much more in between. Enjoy!

15 Best New Fonts, July 2024

Original Source: https://www.webdesignerdepot.com/best-fonts-july-2024/

Welcome to our monthly roundup of the best fonts we’ve found online in the last four weeks. This month, there are fewer sans serifs, and a lot more display faces. Retro is as popular as ever, and the recent trend for organic shapes continues. Enjoy!

4 Ways to Save / Download WhatsApp Status Videos (2024)

Original Source: https://www.hongkiat.com/blog/download-whatsapp-status-video/

Most social media platforms now feature status updates, and WhatsApp is no exception. WhatsApp statuses allow us to share snippets of our daily lives with friends and family. However, these statuses disappear after 24 hours and, frustratingly, WhatsApp does not provide a direct method for downloading them. But don’t worry if you’re looking to save those memorable moments.

Guide on how to save WhatsApp status videosGuide on how to save WhatsApp status videos

Although the Meta-owned app lacks a built-in feature for saving statuses, there are alternative methods that can help. This guide will explore four effective ways to save or download WhatsApp status videos.

Follow these simple steps to ensure you never miss out on saving those special updates again.

Why Save WhatsApp Status Videos?

You have only 24 hours to save WhatsApp statuses from your contacts before they disappear forever. While you could ask your contact to send the status directly, it’s often more convenient to save the status yourself.

Let’s look at some compelling reasons to save WhatsApp Status:

View Offline: You may want to revisit the status later, perhaps during your free time at night. Since WhatsApp statuses vanish after 24 hours, saving them allows you to view them offline whenever you choose.
Save for Reuse: Sometimes, a contact might share an image, meme, or video that you want to keep or reuse. In such cases, saving the status becomes necessary.
For Reference: If the WhatsApp status contains valuable information, saving it for future reference can be very beneficial.

In essence, there are numerous reasons to download statuses from WhatsApp. Continue to the next section to discover four effective methods for saving WhatsApp status videos.

How to Save or Download WhatsApp Status Videos on Android

With growing interest in how to download WhatsApp status videos or images, numerous methods have emerged to simplify this process. Here, we’ve outlined four straightforward and quick ways to save WhatsApp statuses without any hassle:

Method 1: Using File Manager

You might be surprised to learn that the WhatsApp statuses you view are temporarily stored in a hidden folder within your Android’s File Manager. Accessing these files is straightforward once you know where to look.

Here’s a step-by-step guide to downloading WhatsApp status on Android using File Manager:

Open the File Manager and toggle on “Show hidden files” in the settings.
Opening File Manager settings to show hidden filesOpening File Manager settings to show hidden files
Navigate to the directory: Android > Media > com.whatsapp > WhatsApp > Media > Statuses. Here, you’ll find all the WhatsApp statuses you have recently viewed.
Navigating folders in File ManagerNavigating folders in File Manager
Select the statuses you wish to save and copy them to another folder within your File Manager for permanent storage.
Copying WhatsApp statuses to a new folderCopying WhatsApp statuses to a new folder

By following these steps, you can effortlessly save the WhatsApp status videos you want to keep directly from your Android device.

Method 2: Save WhatsApp Status with iCareFone Transfer App

The iCareFone Transfer App provides a modern and professional way to save WhatsApp statuses. It’s an Android app designed to facilitate various WhatsApp-related tasks.

The app features a “Status Download” function that enables you to download WhatsApp statuses with a single click, ensuring the original quality is maintained.

Here’s how to use the iCareFone Transfer App to download WhatsApp status videos on Android:

Download the Tenorshare iCareFone Transfer App from the Play Store and install it on your Android device.
Installing iCareFone Transfer App from Play StoreInstalling iCareFone Transfer App from Play Store
Open the app and select “Status Download” from the “Tools” tab.
Selecting Status Download optionSelecting Status Download option
View the WhatsApp statuses of contacts whose updates you wish to save.
Return to the app and download the viewed statuses.
Downloading saved statusesDownloading saved statuses

This method simplifies downloading WhatsApp video, image, and text statuses without any hassle.

Method 3: Save WhatsApp Status by Taking a Screenshot

If you’re looking to save a text or image status, or a specific part of a video status from WhatsApp, the easiest option is to take a screenshot. Simply view the status and simultaneously press the “Power + Volume Down” buttons to capture the screenshot. This method is the fastest way to save WhatsApp statuses without additional apps.

Demonstrating how to take a screenshot of WhatsApp statusDemonstrating how to take a screenshot of WhatsApp status
Method 4: Save WhatsApp Status by Screen Recording

Most modern Android smartphones come equipped with a built-in screen recording feature, usually accessible from the notification panel. If you want to save a video status from WhatsApp, using the screen recorder is a quick and effective method.

Simply activate the “Screen Recorder” from the notification panel, then view the WhatsApp status you wish to save. Once done, stop the recording, and the file will be automatically saved in your Gallery, ready for access anytime.

Using screen recording to save WhatsApp statusUsing screen recording to save WhatsApp status
How to Save WhatsApp Status Videos or Photos on iPhone Without a PC

Unlike Android, iPhones do not allow direct access to WhatsApp files via the Files app. However, you can still use screenshot and screen recording methods effectively on iOS devices.

To take a screenshot on your iPhone, press the “Power + Volume Up” buttons. Similarly, the built-in screen recording feature allows you to record WhatsApp statuses while viewing them. These methods provide straightforward solutions for downloading WhatsApp statuses on your iPhone without needing a PC.

Demonstrating how to take a screenshot on iPhoneDemonstrating how to take a screenshot on iPhone
Conclusion

While WhatsApp’s design to prevent downloading statuses can be seen as a privacy measure, there are times when saving them becomes necessary. This guide has introduced four practical methods to download WhatsApp status videos, images, and text. Among these, the Tenorshare iCareFone Transfer App stands out as the most professional and efficient option. We recommend installing the iCareFone Transfer App for a seamless experience in managing WhatsApp statuses.

FAQ

1. How to transfer WhatsApp data to a new phone?

The Tenorshare iCareFone Transfer App provides a reliable method for transferring all your WhatsApp data across different devices, whether from Android to iPhone or vice versa. It safely extracts and transfers WhatsApp chats and media files without requiring root or jailbreak permissions.

2. How can I view WhatsApp status without being detected?

To view WhatsApp statuses anonymously, simply disable “Read Receipts” in the privacy settings. Alternatively, you can disconnect from the internet, open WhatsApp, and view the status offline, ensuring your views remain private.

The post 4 Ways to Save / Download WhatsApp Status Videos (2024) appeared first on Hongkiat.

Elevating Visual Design with Copilot in Windows 11

Original Source: https://abduzeedo.com/elevating-visual-design-copilot-windows-11

Elevating Visual Design with Copilot in Windows 11

abduzeedo0722—24

Discover the innovative visual design of Copilot in Windows 11, enhancing creativity and productivity through dynamic AI features.

In the ever-evolving realm of visual design, Microsoft’s latest endeavor stands as a testament to the transformative power of AI. The “Introducing Copilot in Windows 11” video, crafted by Microsoft’s Visual Design Team, encapsulates the synergy between advanced technology and creative design.

At the heart of this project is Copilot, a groundbreaking AI feature integrated into Windows 11. The Visual Design Team’s objective was to highlight the nearly 200 new features, focusing on how they enhance user experience across various applications like Paint, Photos, and Clipchamp. By utilizing photo-realistic CGI and meticulously designed UI elements, the team created a vivid representation of how AI can simplify and personalize everyday tasks.

The design philosophy revolved around blending dynamic animations with real-life scenarios. This approach not only showcased the practical applications of these features but also demonstrated their potential to boost creativity and productivity. The visual storytelling was crafted to resonate with users, making the complex technology behind Copilot accessible and engaging.

Crafting the Visuals

The creative process behind the video was a collaborative effort involving a talented team of directors, designers, and animators. The Visual Design Team employed advanced CGI techniques to bring their vision to life, ensuring that each visual element was both stunning and functional. The seamless integration of UI elements into the animations helped illustrate how Copilot’s AI-powered tools can be seamlessly woven into the user’s daily workflow.

The video’s aesthetic was further enhanced by the use of dynamic animations, which served to bridge the gap between technology and human interaction. This not only made the content visually appealing but also helped in conveying the message that Copilot is designed to make technology more intuitive and user-friendly.

The Team Behind the Vision

The success of this project can be attributed to the collective expertise of the Visual Design Team. Creative Directors Cisco McCarthy and Alex Alvarado, along with Executive Creative Director Markus Weickenmeier, spearheaded the creative direction. The technical execution was led by CG Director Brian Townsend and Art Director Melissa Kim, supported by a team of skilled storyboard artists, CG supervisors, and animators.

Their collaborative effort ensured that every aspect of the video—from the initial concept to the final cut—was meticulously crafted to highlight the innovative features of Windows 11. The music, composed by Amy McKnight, added an uplifting and motivational tone, perfectly complementing the visual narrative.

Microsoft’s “Introducing Copilot in Windows 11” video is a masterclass in visual design, demonstrating how AI can be seamlessly integrated into user interfaces to enhance both functionality and aesthetics. By focusing on dynamic animations and real-life scenarios, the Visual Design Team successfully illustrated the potential of Copilot to revolutionize the way we interact with technology. For more on their groundbreaking work, visit Microsoft Design and Behance.

Visual design artifacts

Artifact from the Elevating Visual Design with Copilot in Windows 11 article on Abduzeedo

Artifact from the Elevating Visual Design with Copilot in Windows 11 article on Abduzeedo

Artifact from the Elevating Visual Design with Copilot in Windows 11 article on Abduzeedo

Artifact from the Elevating Visual Design with Copilot in Windows 11 article on Abduzeedo

Artifact from the Elevating Visual Design with Copilot in Windows 11 article on Abduzeedo

Artifact from the Elevating Visual Design with Copilot in Windows 11 article on Abduzeedo

Artifact from the Elevating Visual Design with Copilot in Windows 11 article on Abduzeedo

Artifact from the Elevating Visual Design with Copilot in Windows 11 article on Abduzeedo

Artifact from the Elevating Visual Design with Copilot in Windows 11 article on Abduzeedo

Artifact from the Elevating Visual Design with Copilot in Windows 11 article on Abduzeedo

Artifact from the Elevating Visual Design with Copilot in Windows 11 article on Abduzeedo

Artifact from the Elevating Visual Design with Copilot in Windows 11 article on Abduzeedo

Artifact from the Elevating Visual Design with Copilot in Windows 11 article on Abduzeedo

Artifact from the Elevating Visual Design with Copilot in Windows 11 article on Abduzeedo

Artifact from the Elevating Visual Design with Copilot in Windows 11 article on Abduzeedo

Artifact from the Elevating Visual Design with Copilot in Windows 11 article on Abduzeedo

Artifact from the Elevating Visual Design with Copilot in Windows 11 article on Abduzeedo

Artifact from the Elevating Visual Design with Copilot in Windows 11 article on Abduzeedo

Artifact from the Elevating Visual Design with Copilot in Windows 11 article on Abduzeedo

Artifact from the Elevating Visual Design with Copilot in Windows 11 article on Abduzeedo

Artifact from the Elevating Visual Design with Copilot in Windows 11 article on Abduzeedo

Artifact from the Elevating Visual Design with Copilot in Windows 11 article on Abduzeedo

Making of

Artifact from the Elevating Visual Design with Copilot in Windows 11 article on Abduzeedo

Artifact from the Elevating Visual Design with Copilot in Windows 11 article on Abduzeedo

Credits

Creative Director: Cisco McCarthy, Alex Alvarado
Executive Creative Director: Markus Weickenmeier
CG Director: Brian Townsend
Art Director: Melissa Kim
Storyboard Artist: Alex Alvarado
CG Supervisor: Ziye Liu
CG Artist: Ziye Liu, Danny Yoon
3D Designer: Gap Yossanun, Kyle Moore
3D Animator: Gap Yossanun, Kyle Moore
UI Production Director: Patrick Flaherty

2D Motion Designer: Toliy Pitel, You Zhang
Lead Producer:  Ryta Karagodina Weaver
Music: “Rise Up Let’s Go” by Amy McKnight

From Idea to Prototype in Minutes: Claude Sonnet 3.5

Original Source: https://www.sitepoint.com/from-idea-to-prototype-in-minutes-claude-sonnet-3-5/?utm_source=rss

From Idea to Prototype in Minutes Claude Sonnet 3.5

Check out how easier it has become to go from doc to design and prototype with Claude’s latest model: Sonnet 3.5

Continue reading
From Idea to Prototype in Minutes: Claude Sonnet 3.5
on SitePoint.

10 Apple Notes Tips to Maximize This Note-Taking App

Original Source: https://www.hongkiat.com/blog/apple-notes-tips/

There are plenty of note-taking apps out there, from free versions to those that come with a price tag. But if you’re an Apple user, there’s one app that really stands out and has gotten better over the years: Apple Notes.

One of the biggest perks of using Apple Notes is its ability to sync seamlessly across all your Apple devices. This is super handy if you juggle between several Macs or iPhones.

So, before you dive into exploring other note apps, why not give Apple Notes a closer look? You might find that it has everything you need and more, saving you the hassle of downloading and switching between different apps.

In this post, I’ll share some tweaks and settings you can adjust in Apple Notes to make your daily note-taking smoother and more efficient, really boosting your productivity.

1. Add Lines or Grids to Your Notes

While a blank background is perfectly fine for typing text, those who use the Apple Pencil or prefer handwriting might benefit from some additional guidance. In Apple Notes, you can easily add lines or grids to your notes to help structure your writing.

To customize your note background with lines or grids, navigate to Settings > Notes, and select ‘Lines & Grids’. Here, you can choose from six different styles to suit your needs. However, it’s important to note that these changes will only apply to new notes you create; existing notes will remain unchanged.

Lines and grids optionLines and grids option

2. Add Media to Your Notes

One of the standout features of Apple Notes is its ability to seamlessly integrate media into your notes. Whether it’s photos, videos, or documents, you can quickly add these directly from your device. Utilizing your device’s camera, you can take a photo or record a video on the spot and attach it directly to your note.

To add media, open the note you want to enhance, click on the triple dot icon, and then select ‘Camera’. Choose ‘Take Photo or Video’ to capture new media, or select ‘Scan Documents’ if you want to scan a document. The ‘Scan Documents’ option provides a clear, black-and-white version of the document, making it easy to read and incorporate into your note.

Adding media optionsAdding media options

3. Password Protect Your Notes

Some of the notes you create may contain sensitive information that you want to keep secure, ensuring that even if someone has access to your phone, they cannot open these notes without your permission. Apple Notes offers the ability to lock your notes using either your device’s passcode or a custom password of your choice.

To set this up, go to Settings > Notes, and under Passwords, you can choose to either ‘Use Device Passcode’ or ‘Use Custom Password’.

Password setup screenPassword setup screen

Then, to lock a specific note, simply go to the note, click on the triple dot icon at the top, and select the Lock icon. This extra layer of security helps ensure that your private information remains confidential.

Lock icon in notesLock icon in notes

4. Customize How Your Checklist is Sorted

When you create a checklist in Apple Notes, any item you check off automatically moves to the bottom of the list, keeping unchecked items at the top. This setup is great for focusing on what’s left to do, but it might not work for everyone.

Checklist sorting optionChecklist sorting option

If you prefer to keep checked items in their original position instead of moving them to the bottom, you can change this setting. Head over to Settings > Notes, look for ‘Sort Ticked Items’, and switch it from ‘Automatically’ to ‘Manually’. This adjustment means that when you check an item off, it stays right where it is, helping you maintain the context of your list.

Sort notes optionsSort notes options

5. Change How Notes Are Sorted

In the Apple Notes app, notes are usually sorted by the date they were last edited, which means if you revisit and modify an older note, it will automatically move to the top of your list. This setup is usually convenient as it allows you to easily access the most recently updated notes.

However, if this sorting method doesn’t suit your preferences, Apple Notes offers alternative options. You can also sort your notes by the date they were created or by their title. To change your sorting preference, go to Settings > Notes, tap ‘Sort Notes by’, and select the option that works best for you.

Sort notes by optionsSort notes by options

6. View All Notes in Gallery View

Typically, all your notes in the Apple Notes app are displayed in a list view, organized line by line. If this isn’t quite your style, you might prefer the gallery view. In gallery view, each note is presented as a small thumbnail, providing a quick visual preview of what’s inside each note.

To switch to this view, open the Notes app, click on the triple dot icon at the top, and then select ‘View as Gallery’. This visual arrangement can make navigating through your notes faster and more intuitive.

Gallery view of notesGallery view of notes

7. Keep Some Notes on Your Device Only

If you have iCloud enabled, typically, notes created on one device are accessible across all your devices. However, if you prefer to keep certain notes confined to a specific device, you can easily set this up.

To do so, navigate to Settings > Notes, and then enable the “On My Device” account. Once activated, new notes created will automatically be stored locally on that specific device—be it an iPhone or iPad—in a separate folder that will not be visible on your other devices.

On My Device optionOn My Device option

8. Not Every Note Requires a Title

Apple Notes assumes the first line of any new note will be the title, displaying it in a larger font size. However, not every note you make needs a formal title.

Notes with titlesNotes with titles

If you prefer your notes to begin directly with the body text rather than a title, you can easily change this setting. Just go to Settings > Notes, find the ‘New Notes Start With’ option, tap it, and select your preferred starting point for your new notes.

Start new note optionsStart new note options

9. Change Your Note’s Background

By default, the background color of your notes in Apple Notes matches your device’s settings. If your device is set to a dark background, your notes will appear dark as well. However, if you prefer a different look, such as a white background regardless of your device’s settings, you can customize this.

To make this change, go to Settings > Notes, then tap on ‘Note Backgrounds’. Here, you can select your preferred background color. This flexibility allows you to have a dark background on your device while keeping your notes in a bright, white background, or vice versa.

Change note backgroundChange note background

10. Share Notes with Friends and Family

Lastly, but not least, did you also know that you can share specific notes with friends, family, or even coworkers using Apple Notes? You have the option to either give them a copy of the current note or invite them to collaborate and edit the note together, similar to co-editing a document on Google Docs. Please note that the recipient needs to be using an Apple device to participate.

To share a note, simply go to the note you want to share, click on the share button at the top, and choose either ‘Collaborate’ to work on it together or ‘Send Copy’ to give them a static version of the note. You can then share it via AirDrop, Messages, Mail, or other available options.

Share note optionsShare note options

The recipient will need to accept the note to view or edit it, ensuring both convenience and security in your collaborative efforts.

The post 10 Apple Notes Tips to Maximize This Note-Taking App appeared first on Hongkiat.

How to Create Distortion and Grain Effects on Scroll with Shaders in Three.js

Original Source: https://tympanus.net/codrops/2024/07/18/how-to-create-distortion-and-grain-effects-on-scroll-with-shaders-in-three-js/

Learn how to create distortion and grain effects on scroll using Three.js shaders, syncing HTML images with WebGL.