The Second Coming of the Productivity Tool

Original Source: https://www.sitepoint.com/the-second-coming-of-the-productivity-tool/?utm_source=rss

AI under construction

I’ve been testing a range of information management and Second Brain tools this year, from Bear to Notion to Obsidian.

In most of these cases, I’ve tried the apps before or used them for years. This year, I’ve endeavored to settle on my selections, commit, and get the workflows sorted out. I’ve been doing this with other mainstays in my system like TextExpander (a snippet manager) and Alfred (a powerful launcher) as well. Seven months into the year, I’m confident that this effort has been fruitful.

Managing complexity without compromising it has always been interesting to me. My first gig with meaningful traffic was as a Lifehack writer in the mid-2000s. I’ve gorged myself on and become disillusioned by my quest for software holy grails more times than I can count. This quest is even a hereditary calling of sorts. As a kid, car conversations with my father compared the merits of Grandview and Lotus Agenda, or how much you could get done with an Atari Portfolio on the train (an incredible amount, said with Viticci-esque passion). He taught me spreadsheets by having us log our jogging metrics on a Macintosh Portable. This is not a very portable device, for the record:

Macintosh Portable

I’m sure his heart still lies with an obscure 90s app called DayInfo — along with his data from that era, no doubt.

This impossible but driving need to Reach Clarity has, for better or worse, entrenched itself within my own brain.

Between then and now, information management and productivity software wandered in the wilderness. As a species, we have mastered the art of the list app. We have put more effort into this endeavour than the moon landing and the Large Hadron Collider combined. Nothing has impeded our ability to imagine new ways of being reminded about the things on the list.

And yet the list has remained an unsatisfying — although not impotent — tool on its own. Lists are bad at context, yet we know that actions are meaningless without strategy. So, we’ve tried to brute force systems that provide context through lists. Folders of lists. Areas of responsibilities full of lists. The Today list, tomorrow’s list, Someday/Maybe, lists in kanban boards and listicles of list tips, tricks, and apps. Brain-dump into your big list and schedule a weekly review to sort that into your little lists. In this wilderness, lists have been our manna.

For much of the last five years, I used a Bullet Journal-esque Markdown file to manage my tasks. It felt like a private stance of rejection against the pandering, posing performance art of productivity pornography.

It felt good. It was a productive time.

This isn’t an uncommon progression for the knowledge worker, whether you’re a developer, writer, or you sell a Memberful subscription to your clarinet lessons. Well ahead of the curve, Gina Trapani, founding editor of Lifehacker, became a todo.txt proponent. We’d all been let down by the failure of software to do what we had hoped it would do. We wanted it to connect the strategic and execution contexts for our lives, bridging the divide between the two so we could move forward with purpose. Instead, we had lists.

Until the last few years, that is, when something broke loose and the fundamentalist rigidity around structure began to fall away. Notion created the momentum here. It cracked the tough UI problems of mixing free-form content tools with the power of the database. Airtable pushed the spreadsheet into new territory. Its API is in the wild, giving us a glimpse at how much you can achieve when you can connect these engines to your data. A veritable horde stampedes over Notion’s social media manager every day, begging for an API timeline.

I love the tools in this new wave of productivity software. I’ve used Notion personally for a few years and have been rebuilding SitePoint’s editorial workflow on it over the past month or two. For me, Notion is a holy grail.

Notion

Freedom from lists: a mirage, 2020

Sure, there are frequent moments of frustration. It’s so close to being unstoppably powerful – if only we had the API, or more powerful formulas and relational interactions. But these frustrations are borne of seeing the unfulfilled potential, rather than feeling stifled by inherent limitations. That’s an exciting shift.

For all its anti-structure, Notion is best when you know how you want to structure your life, team, project, or data. It gives you all the tools you need to design workflows and dashboards that will be most useful for your use case. It is flexible to the extreme, but not the ideal free-wheeler.

There’s another important side of information management. The ideal tool looks different when you want to build an organic body of knowledge. These tools should help you create context between discrete units of knowledge. They should help you do so rapidly without excessive structural overhead. The most valuable features are seamless interlinking, fast search, universal capture, and simplicity.

In recent years, people like Christian Tietze have shared how they build digital zettelkastens with apps like nvALT. This concept has driven the wave of new apps built around these needs. In broad strokes, it’s an atomic database of all the information you acquire and deem worthy of saving. It grows and – this is the key – forms connections with the rest of your atomic notes over time. Similar thinking is at the root of the Second Brain concept.

There are a few apps bringing this style of information management into the future. The most famous is Roam Research, which I have not tried myself. Obsidian is another option that works well for developers. It’s also great for people who otherwise deal with a lot of code (like me – as an occasional developer, but primarily as an editor of content about code). Obsidian stores notes in local, plaintext Markdown, and you can use your preferred sync method.

Obsidian's formatting options

Obsidian’s formatting options

It handles code blocks well, and offers features like Vim mode and a graph view of your note connections. For developers, the ideal tool should also be able to serve as a code snippet manager. Obsidian has what it takes, and you can extend it with plugins to make up for functionality you miss.

My friend Joe Previte recently posted a Twitter thread about these tools which introduced me to a new option, Foam.

I decided to experiment with Foam by @jevakallio today.

Here is a thread with my notes ??

— Joe Previte (@jsjoeio) July 1, 2020

If the ideal knowledge manager should be able to replace your snippet manager, wouldn’t it be ideal if you could drive it from the app you write code in?

Foam takes its cues from Roam Research — no surprise — but it’s built on Visual Studio Code and GitHub. Like Obsidian, it isn’t bound to the cloud, but unlike Obsidian it’s truly free and open source.

The way in which it is extensible differs, too. As Joe notes, the ability to work with Code’s multitude of extensions gives Foam a powerful leg up. This is truer the more the use case applies to developers. Compare the options available in Code versus Obsidian’s built-in search, Vim mode, or GitHub integration. As with Obsidian, you can write your own extensions (if you’re a Premium member, you can access this VS Code book from Wiley to learn how).

Obsidian is the batteries-included option and it’s a good one. If you want absolute control at the expense of time, Foam offers it. Conversely, VS Code’s popularity means there are more off-the-shelf workflows to use with your other tools.

While I manage my life in Notion, I manage my writing with Git. That happens beneath a layer of proprietary apps like Ulysses, and I’m uninterested in moving the writing process itself to Code. But it does make this approach appealing for my notes.

We’ve gained so much power in our tools that you can almost replace a raft of apps with two. Are we far from seeing structured and unstructured information management apps collide? I don’t know, but for clarity’s sake it may be best that they don’t. Perhaps that’s how my brain works, and the app that does it all for you is taking shape in a repo somewhere.

But for the first time in a long time, I’m enjoying the quest for the holy grail again.

AI under construction

This editorial was originally published in the 23 July 2020 issue of SitePoint Weekly. To get the freshest resources, stories, and exclusive content for web developers, designers, and digital creators in your inbox each week, sign up here.

Continue reading
The Second Coming of the Productivity Tool
on SitePoint.

How to Access Google Drive Files Offline

Original Source: https://www.hongkiat.com/blog/access-google-drive-offline/

You cannot possibly be in the internet zone all the time and being offline keeps you from using a lot of important apps and services – one of which is Google Drive. Fortunately though, there is…

Visit hongkiat.com for full content.

Inspirational Websites Roundup #17

Original Source: http://feedproxy.google.com/~r/tympanus/~3/EFDUBlGtvmM/

Today we have a gigantic set of the latest and greatest web designs for you to keep you inspired! The striking difference between many of these designs shows an interesting trend: individuality.

Celebrating uniqueness and showing identity is big again and now it’s time to explore novel typography combinations and color themes. Just look at this diverse set! Are you getting excited yet? I certainly am!

Hope you enjoy this collection and get a big creative nudge to experiment with something new ?

Kaleidoz

Mav Farm

The Papestielliz

Thibaut Foussard

Dunderville

Yourra!

Patrick Heng

Fabrizio Milesi

Fjaka

CreativeCrew

makemepulse

Better Half

Hazelight

Andreas Antonsson

Anastasiia Afanasieva

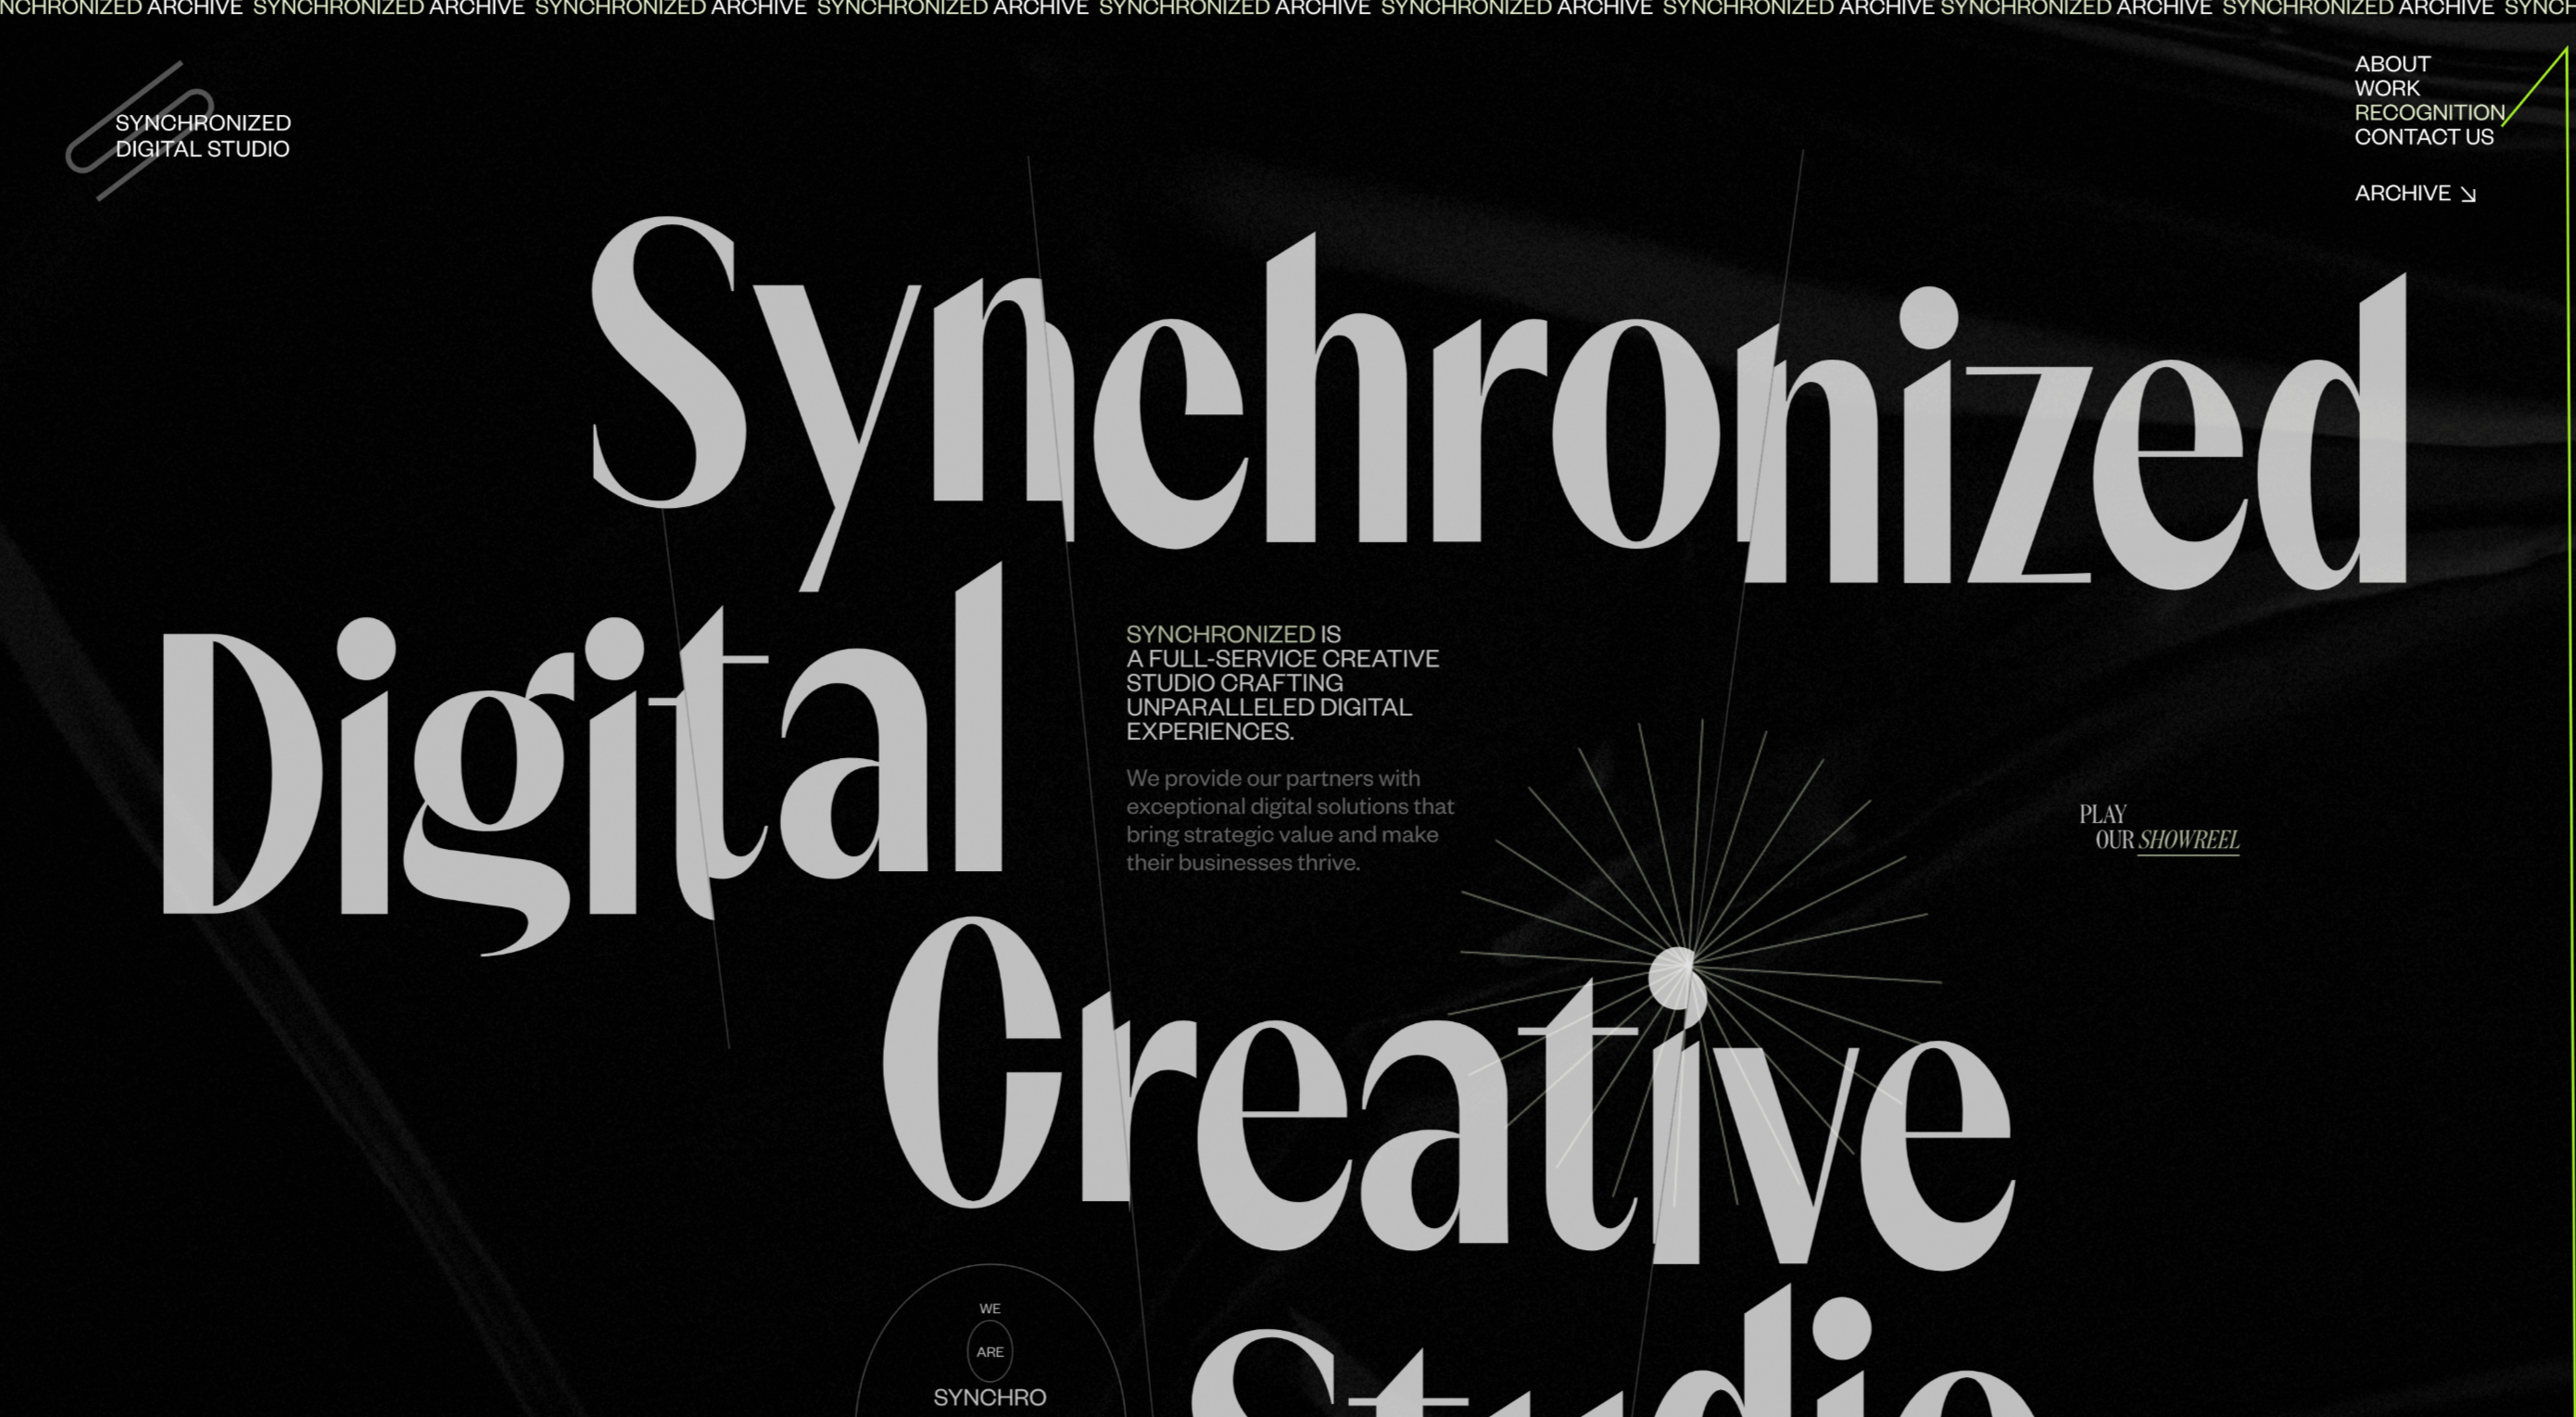
Synchronized

Radiant

REDNECK

Kieran Baybutt

GT Flexa

Craig Reynolds

The Roger

SUMI

Mailchimp Presents

Jacob McKee

Strapi

AnnaTwelve Fragrances

Salon Bon Vivant

GlobeKit

Ali Ali

Yolélé

The post Inspirational Websites Roundup #17 appeared first on Codrops.

Visual Design Inspiration: Design System

Original Source: http://feedproxy.google.com/~r/abduzeedo/~3/En0Ath6a-2g/a%3E

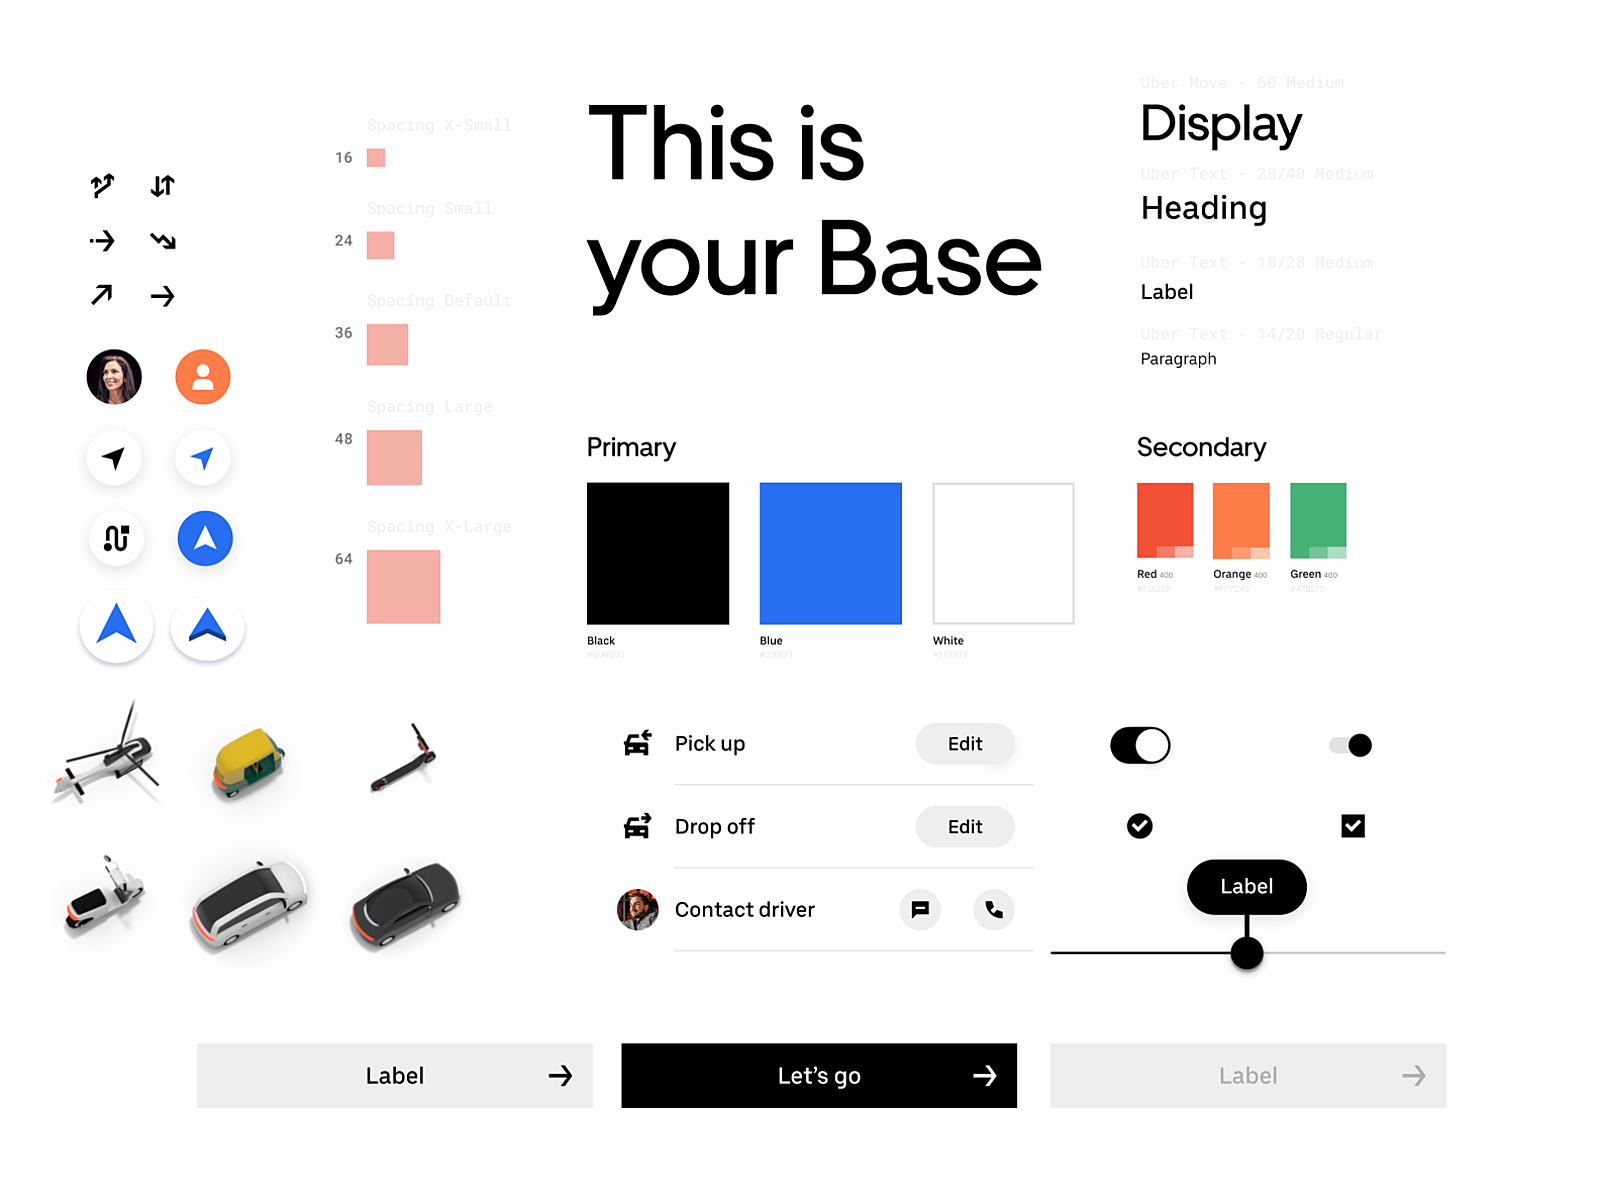
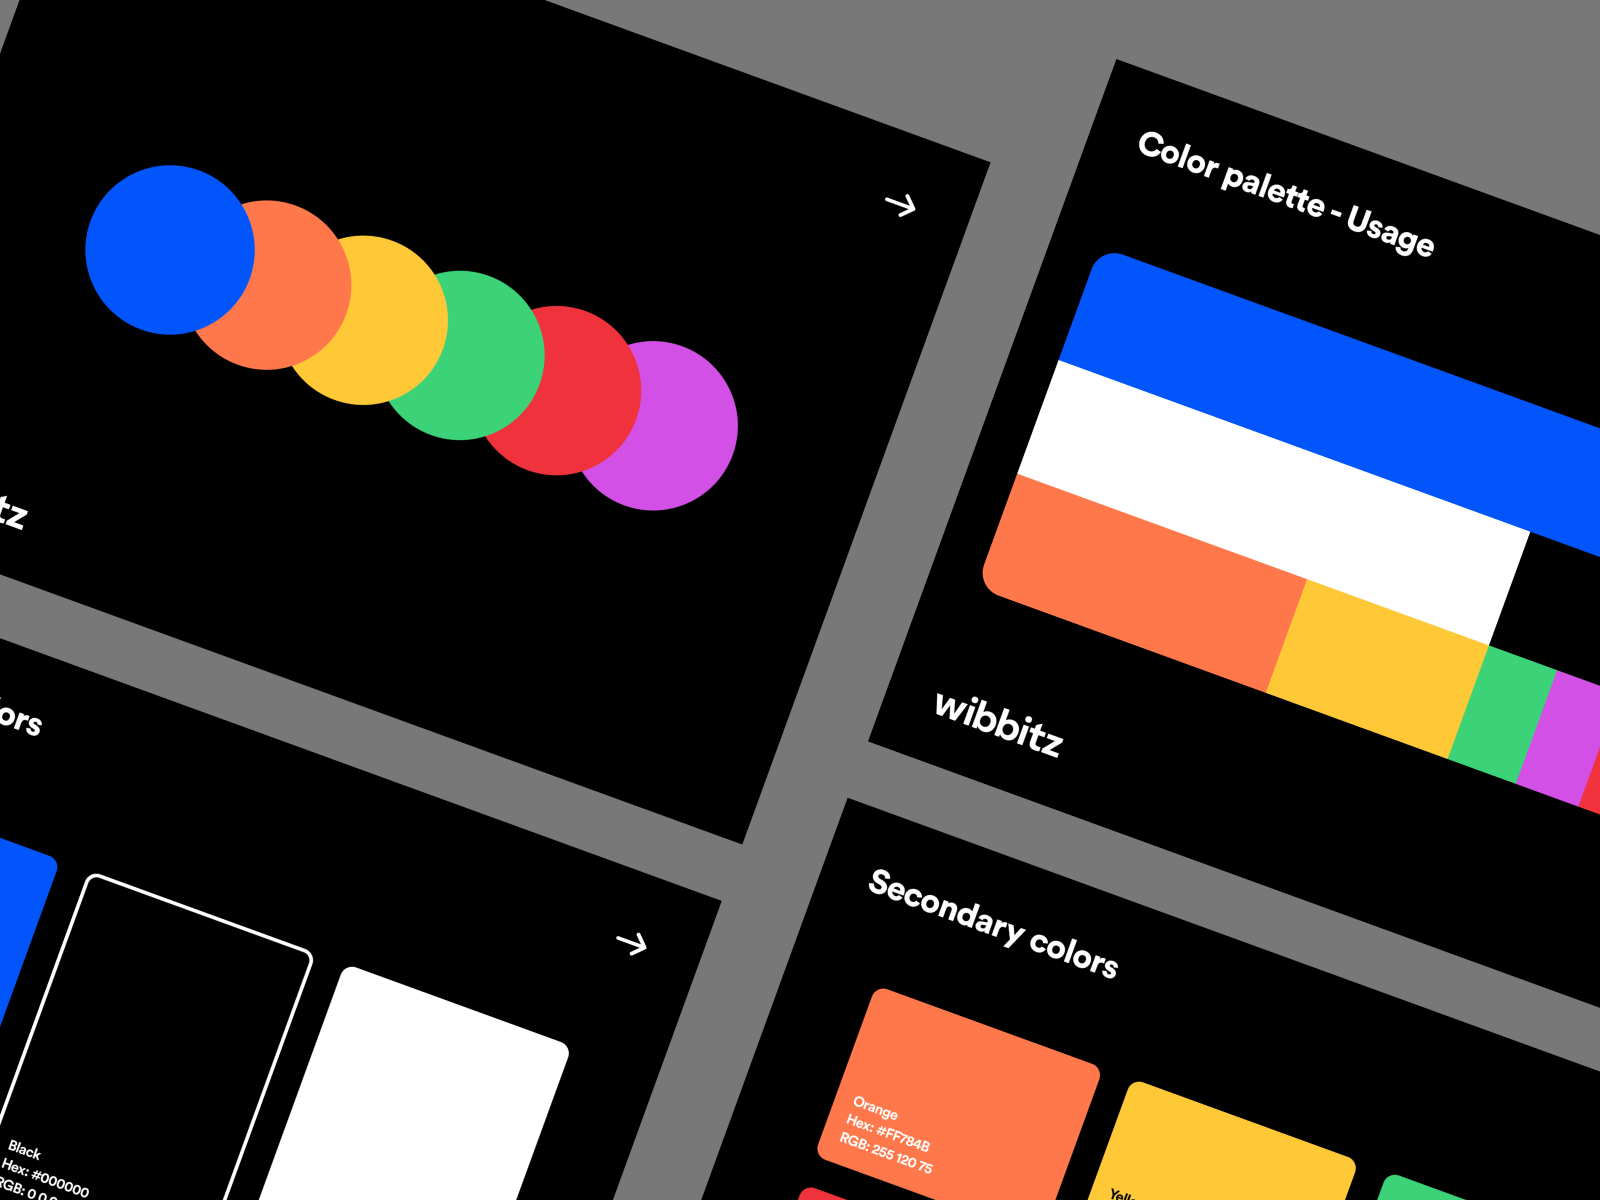
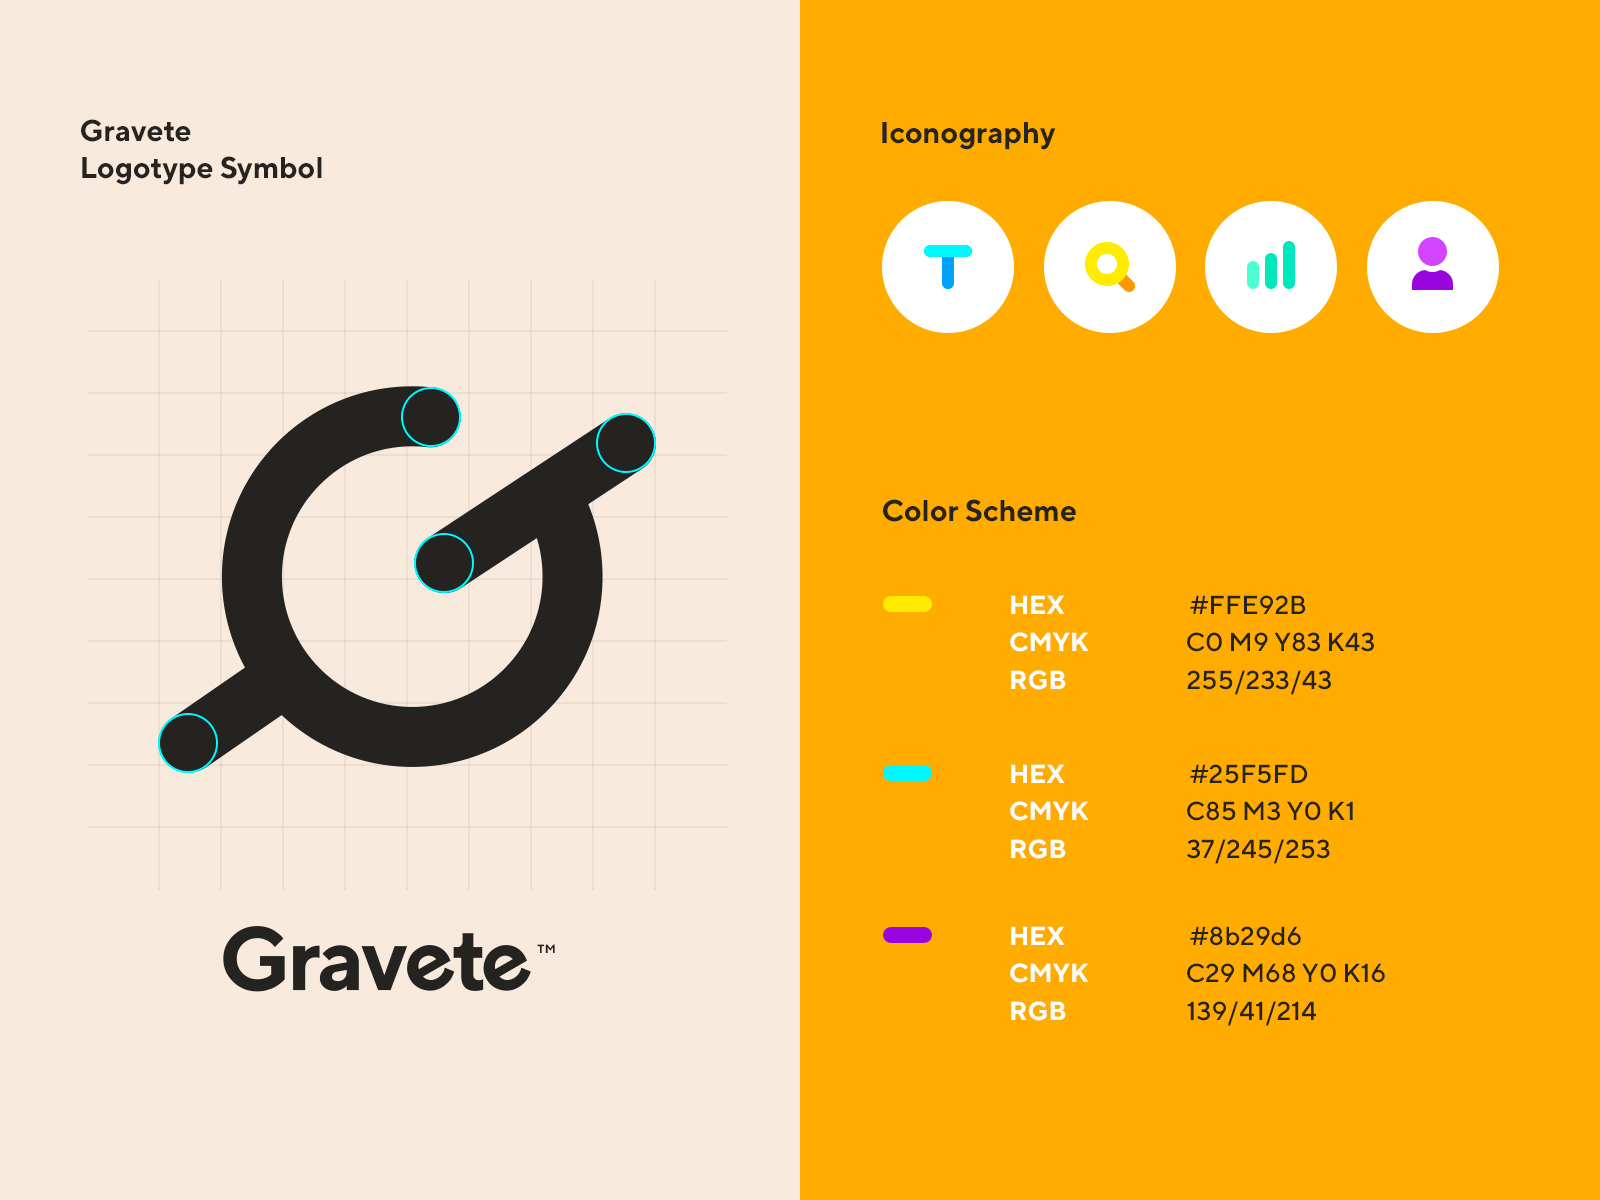
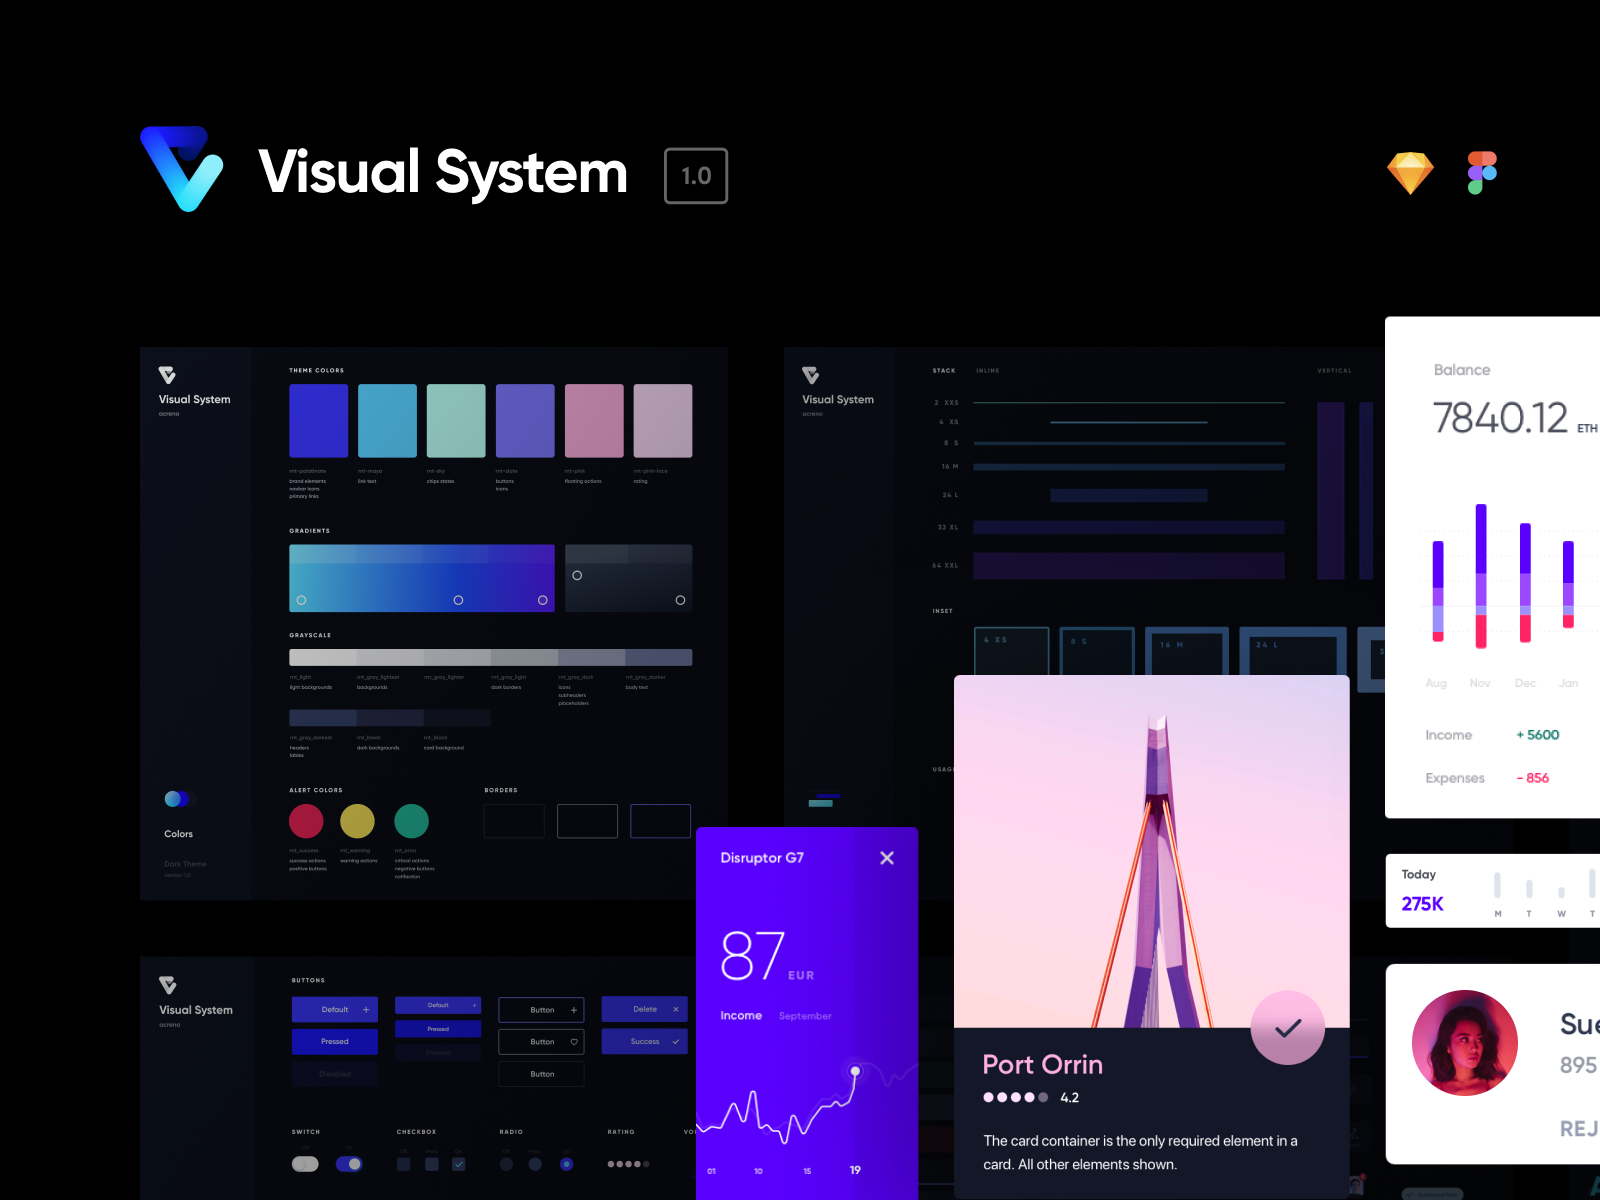
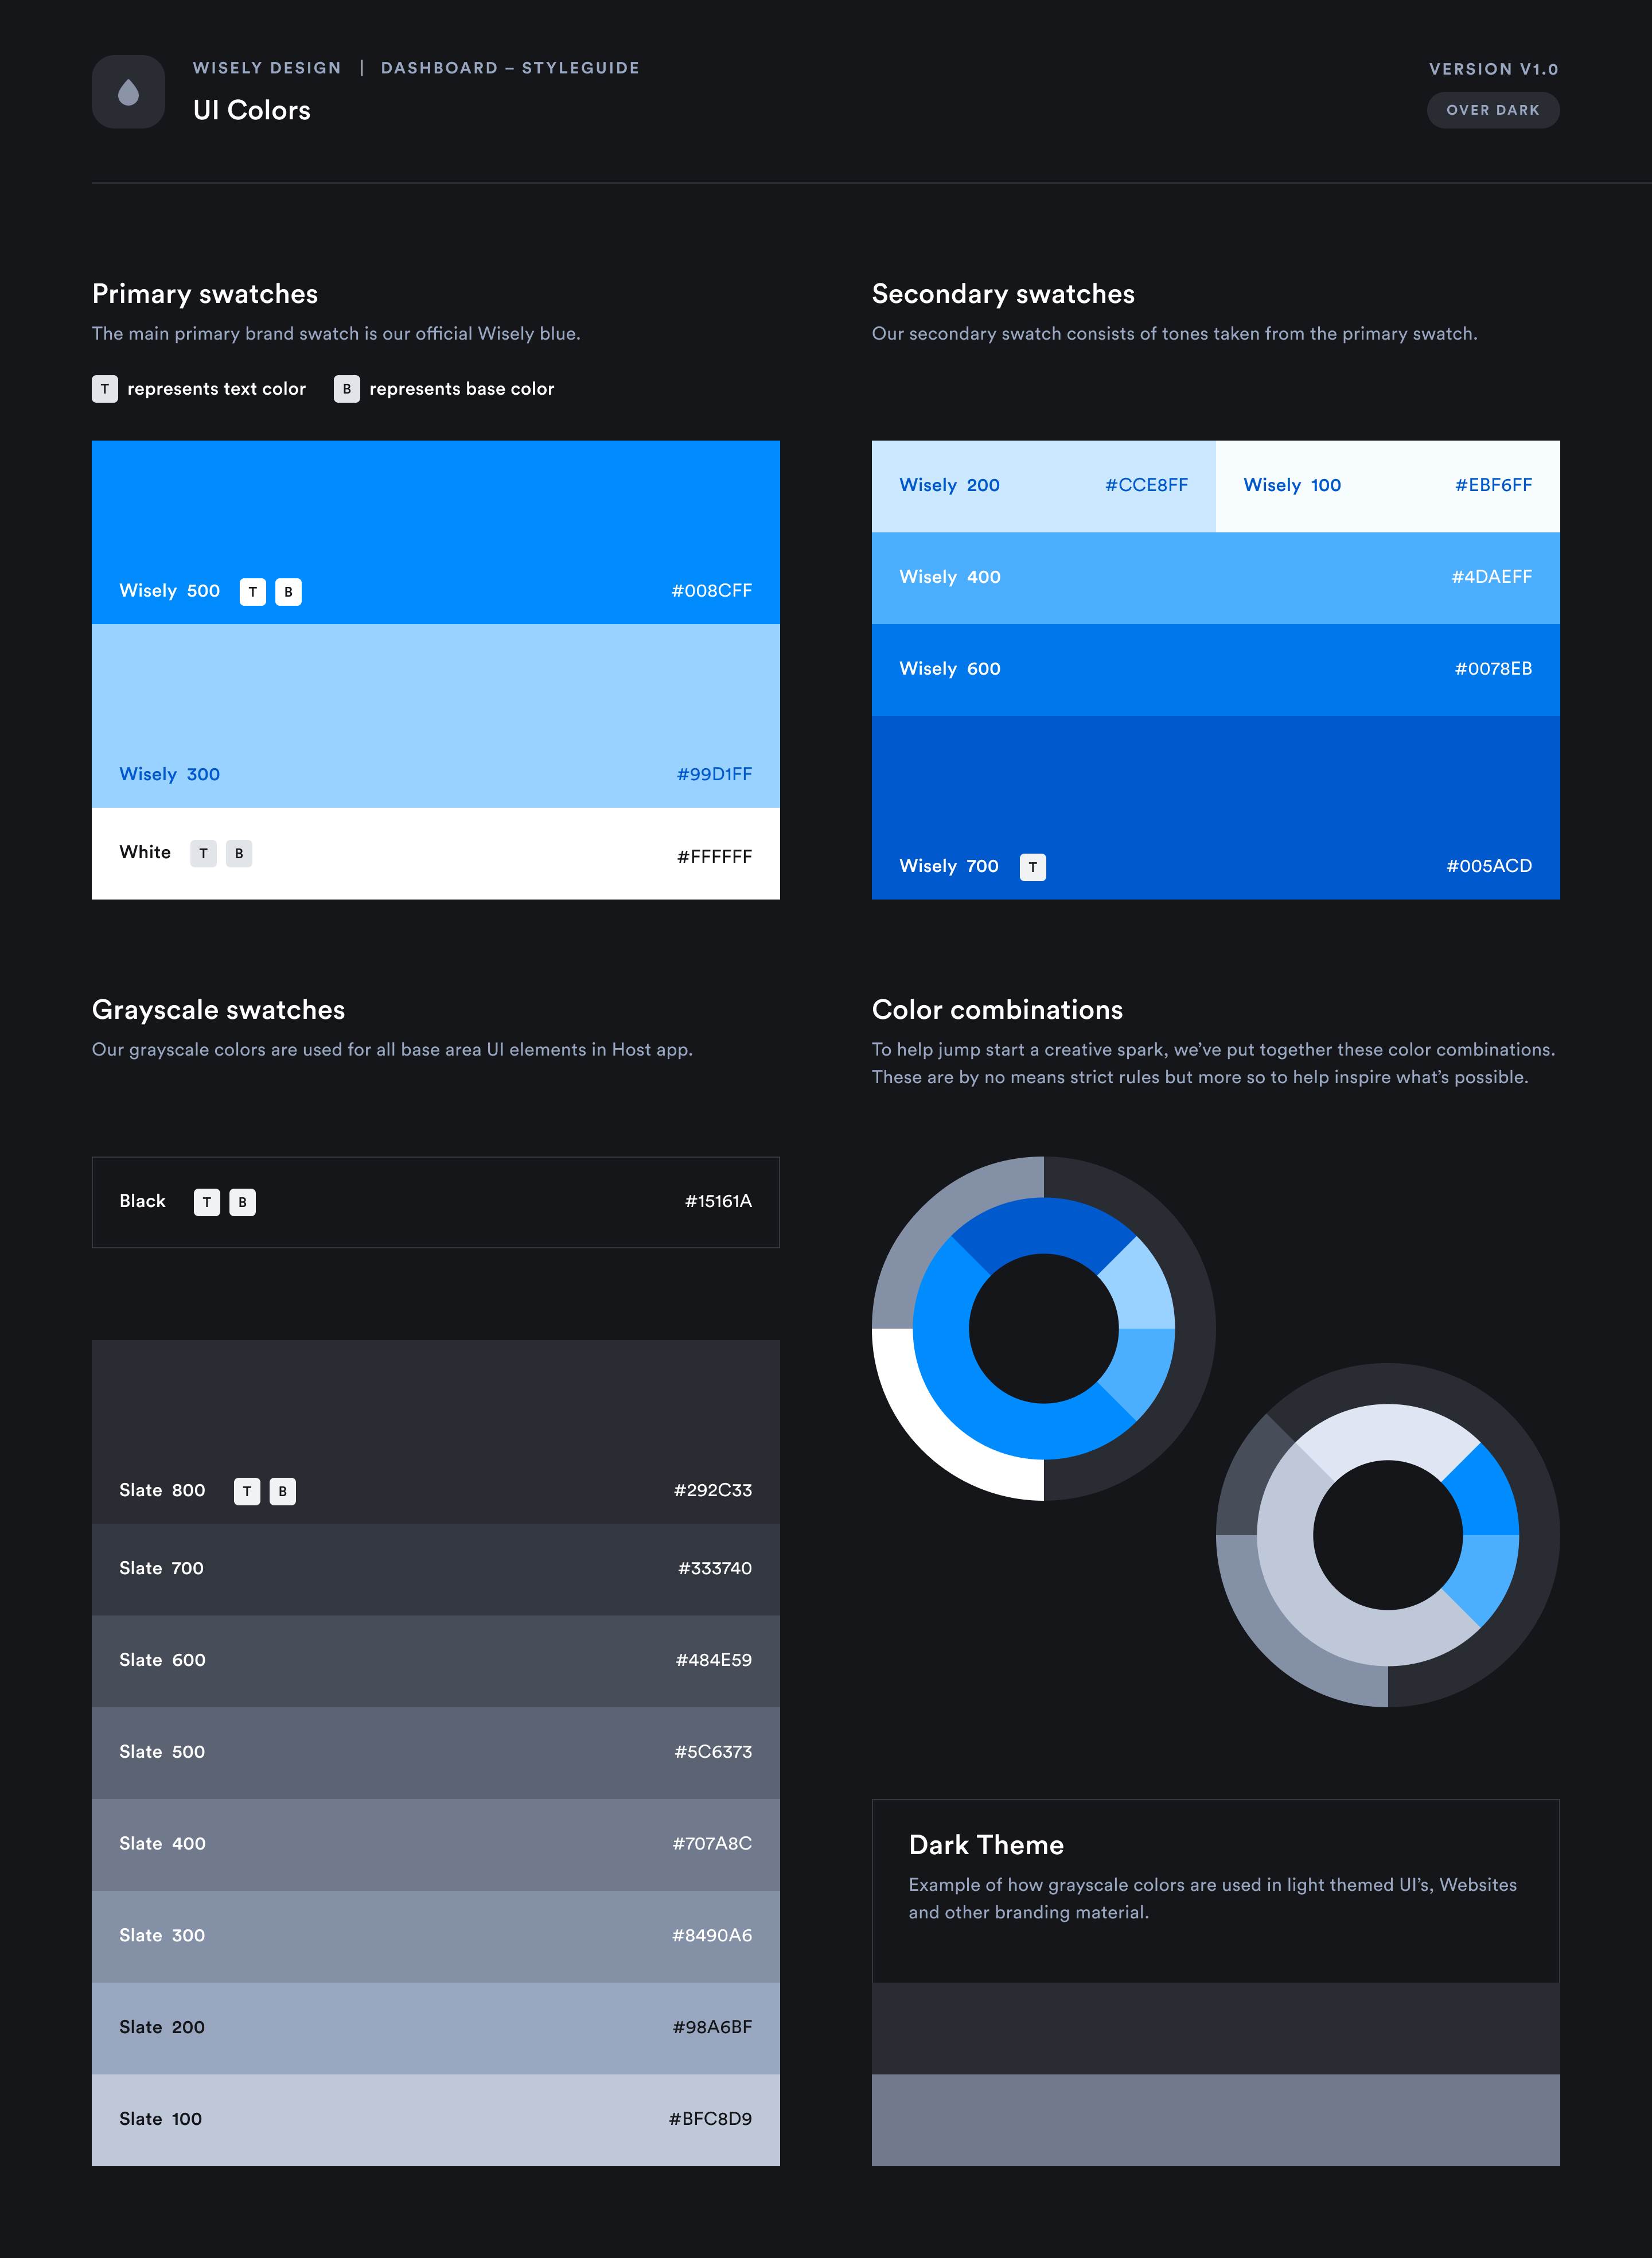
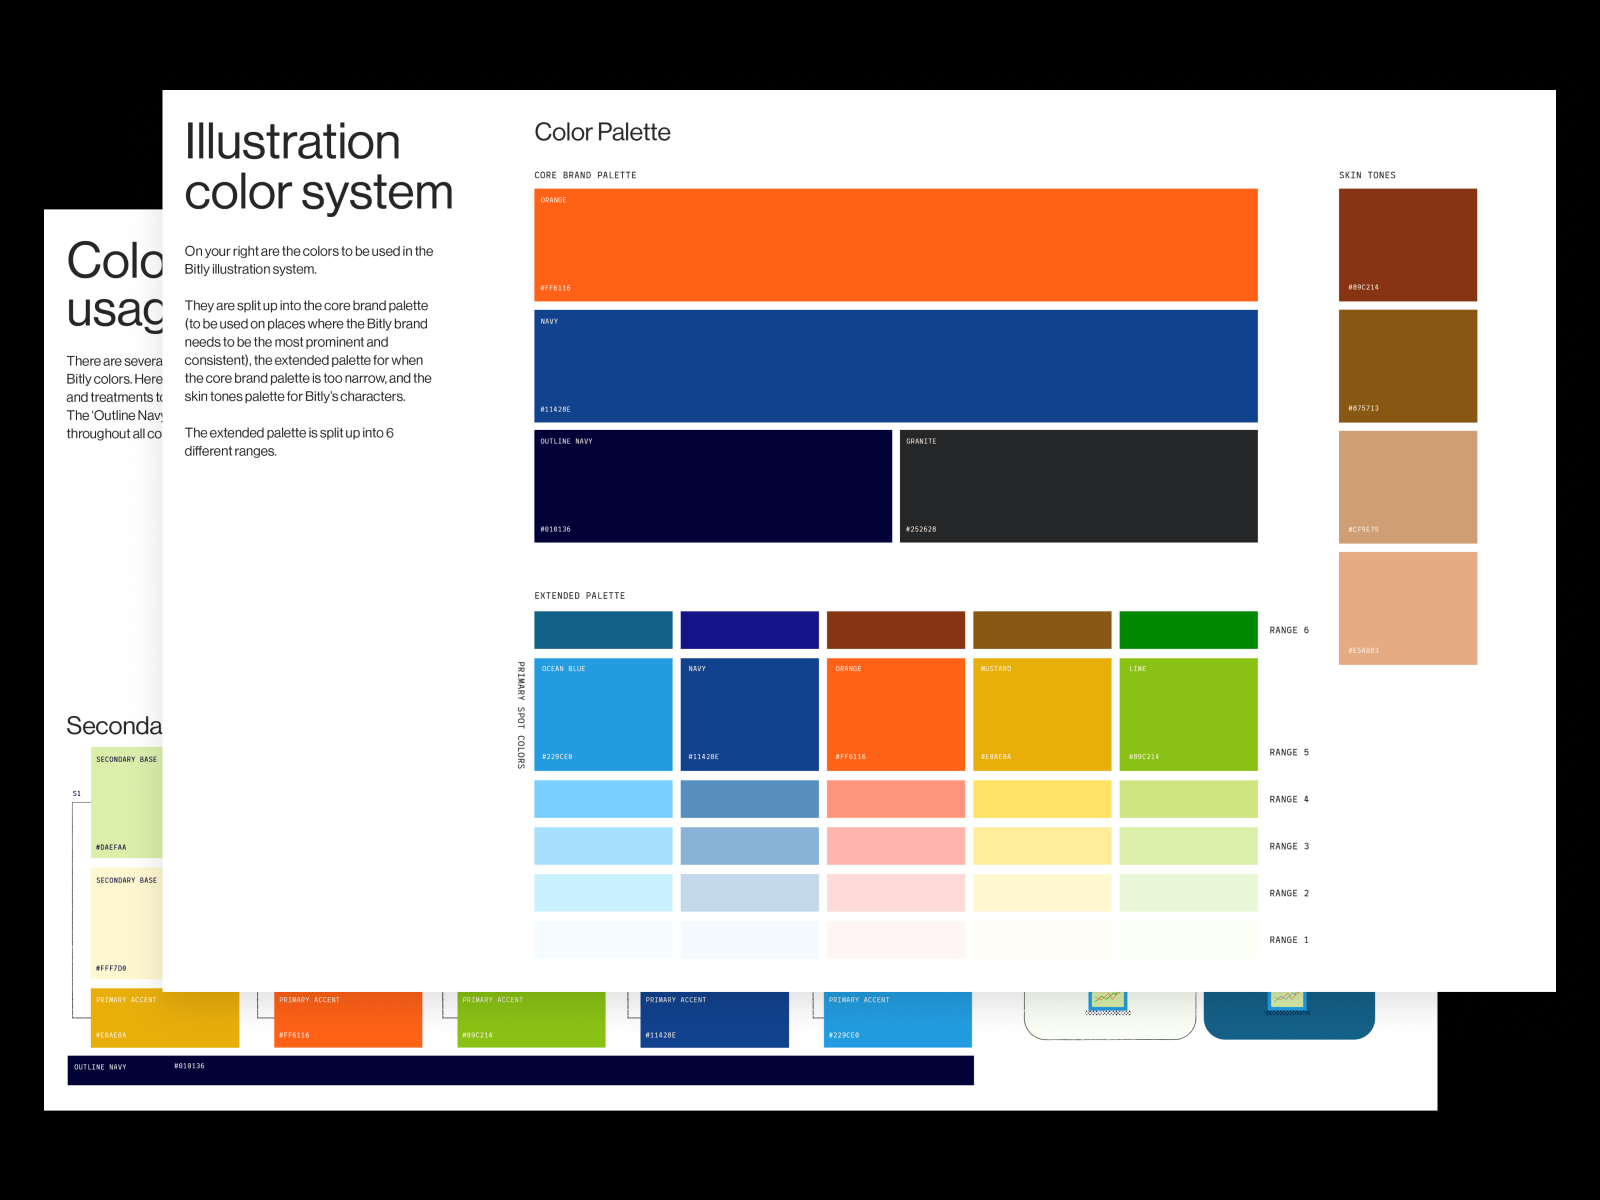
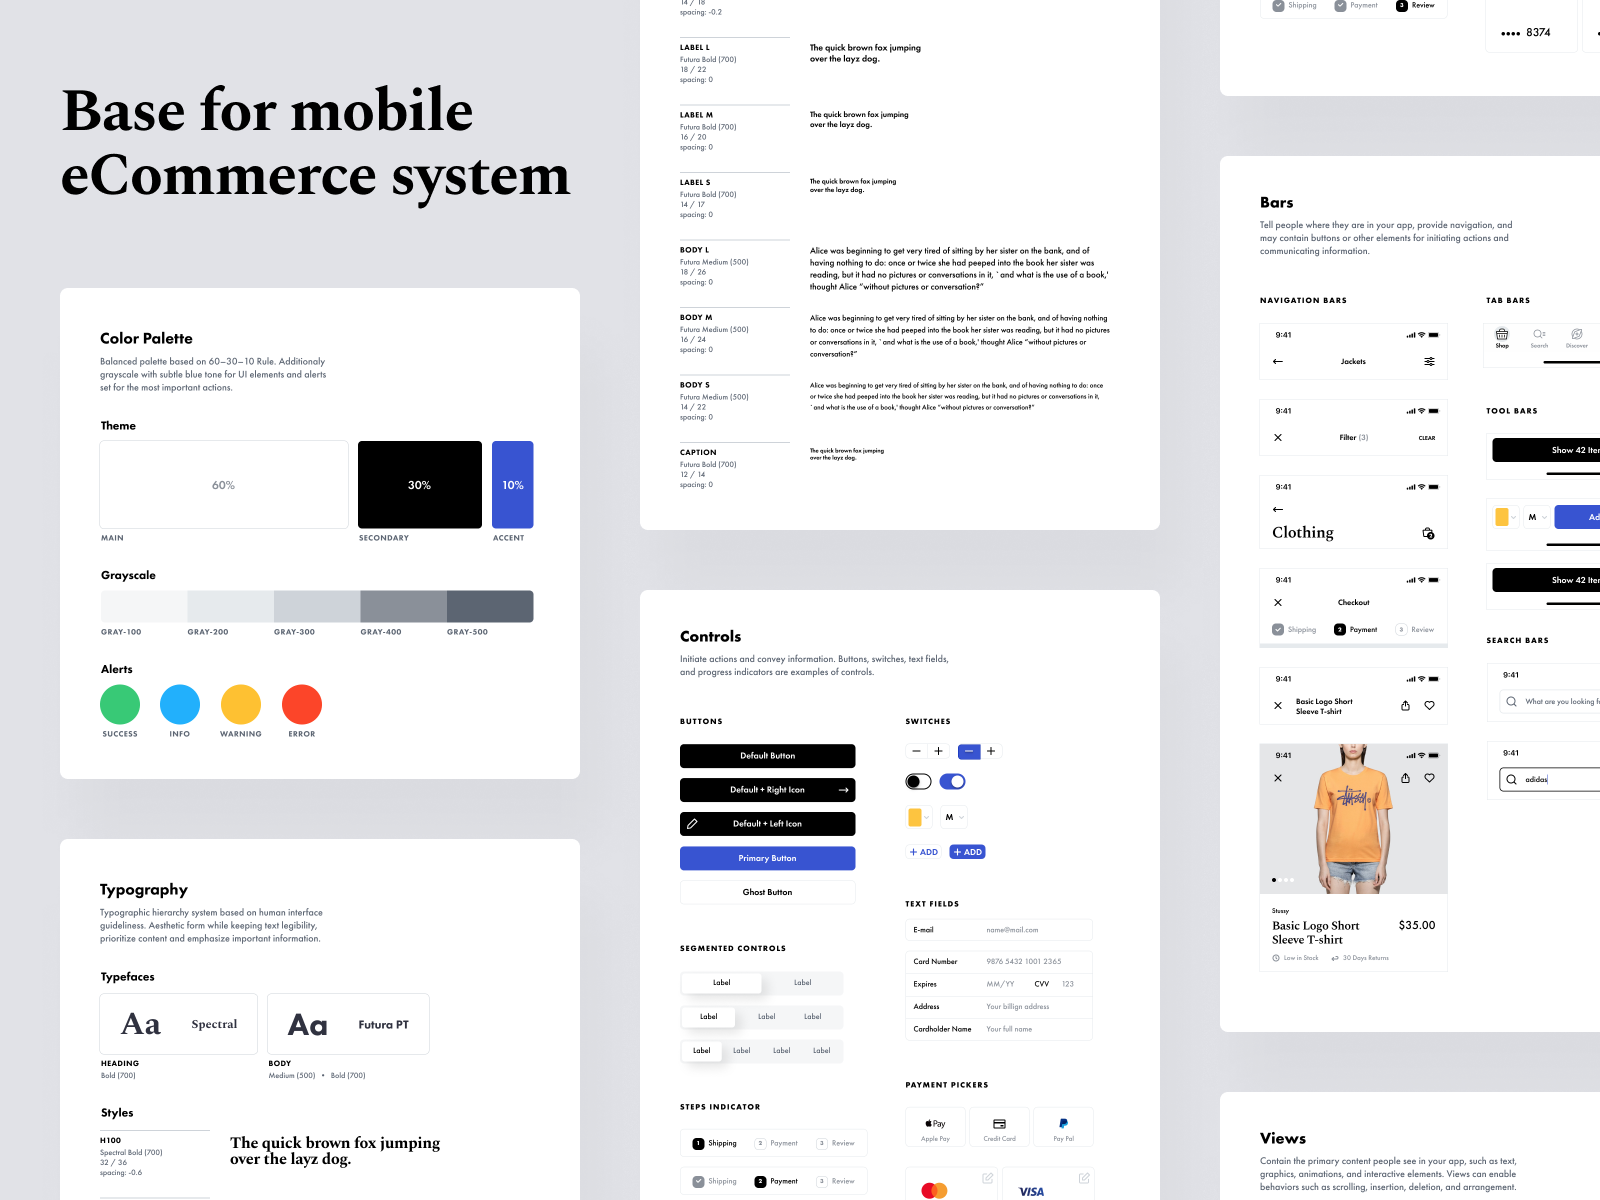
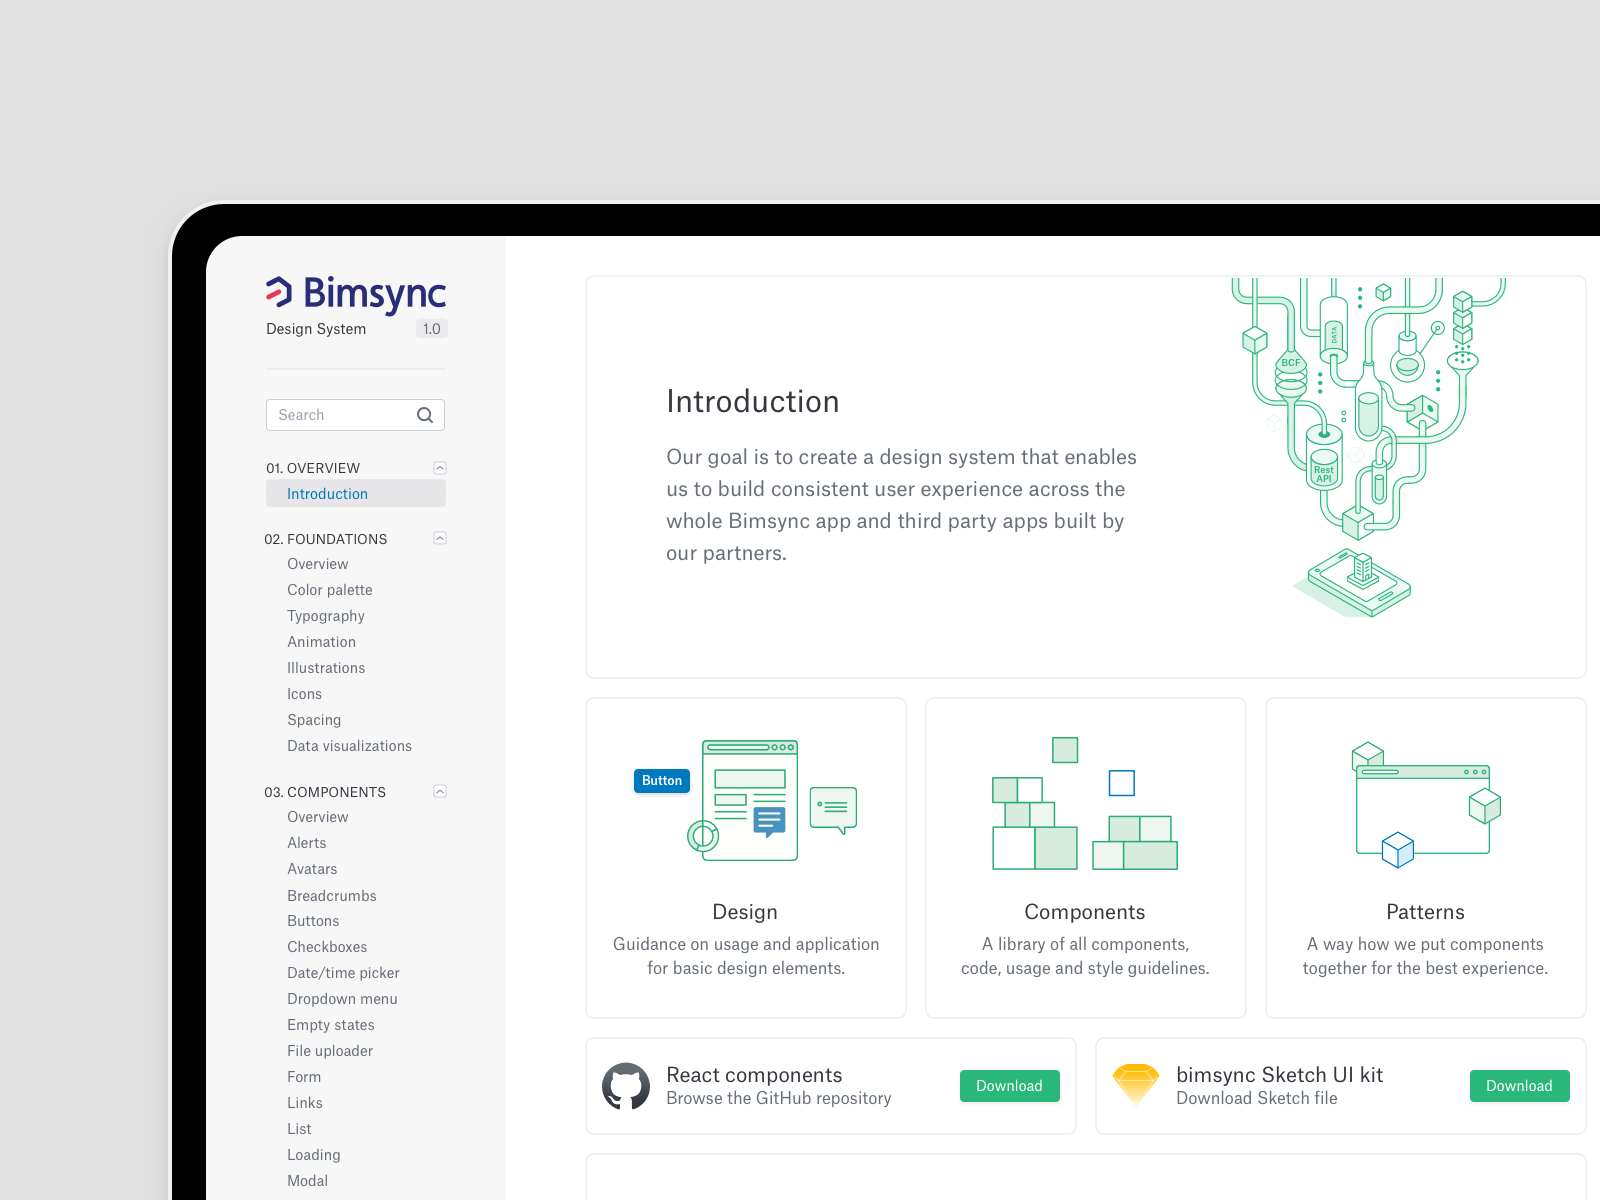
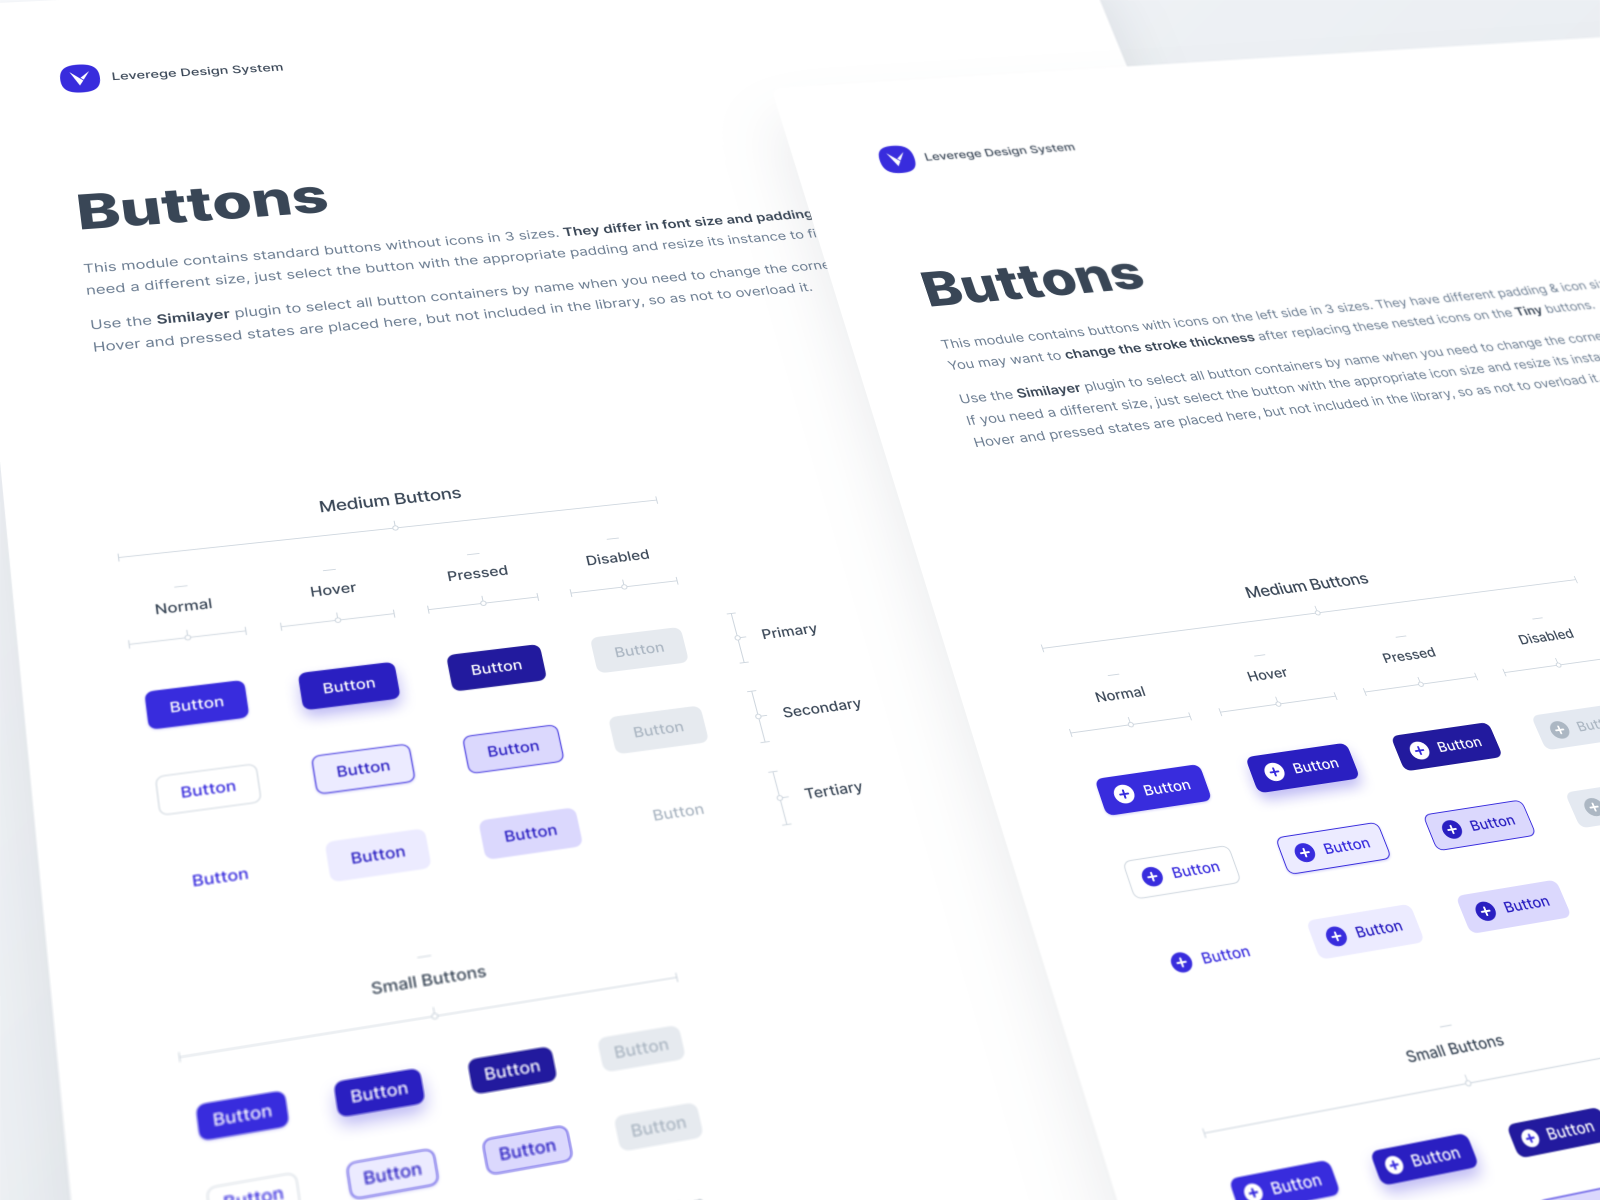
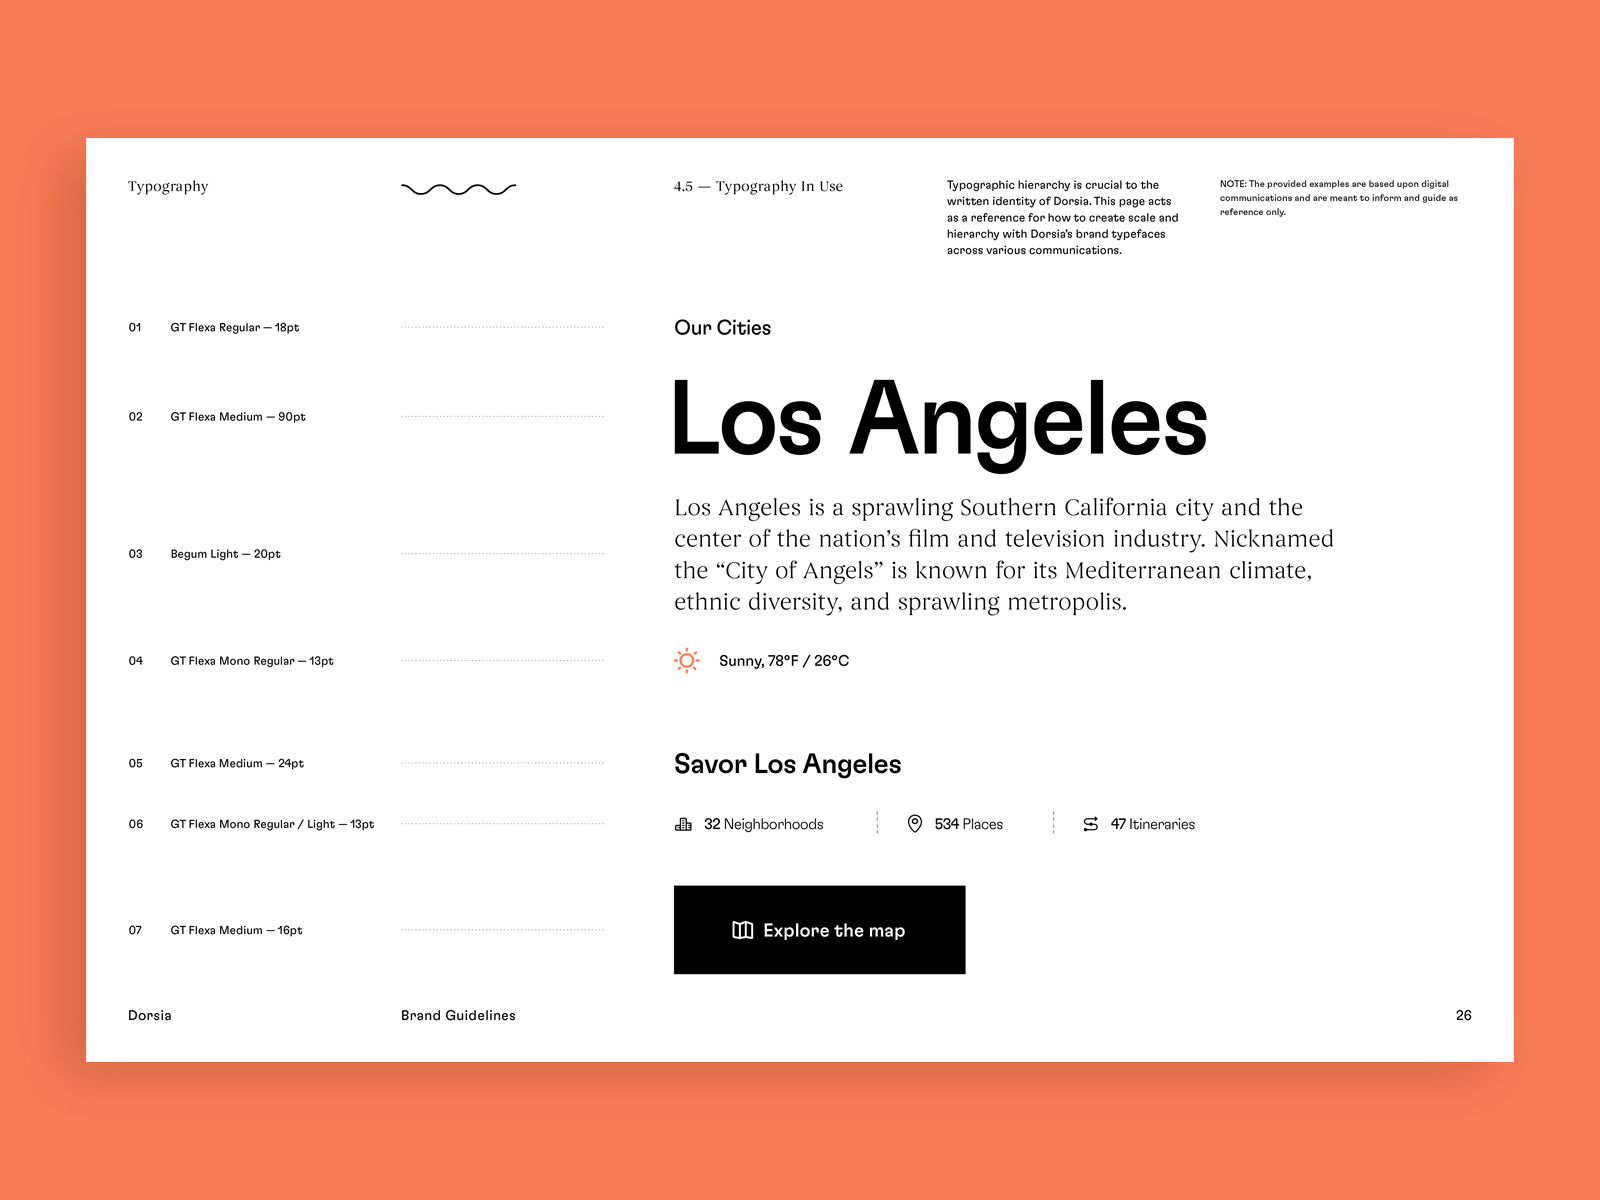
As of late, I have been building my second ‘design system’ at my workplace. It’s funny how much things go smoother, faster, and what I have learned on my first visual system months ago are now applied. For this inspiration, I wanted to share what inspired me during this process in terms of ‘visual design’, what inspired me in terms of typography style, layouts, colors, and presentations applied to their component libraries. Essentially how their ‘design system’ is presented, I believe we all follow somehow a similar standard in terms of UI components and how we build our pattern libraries. This roundup is more a visual study to see how various studios, brands, and companies actually share their ‘design system’ internally and/or through the design communities.

By Uber

797652d5a347c3296d476226b8a21192

By Dropbox Design

Platforms

By Filip Justić

5f571b4289c8adcfbf41133e6f383307

By Leverege

By Craftwork Inc.

Components

By RED

By Nguyen Le

63acccb294c5610b334491474c1b0c11

By Aaron Poe

Dorsia guidelines p3 1600x1200

By Julien Renvoye

18c948d99bce1922c4e2dcfbce841796

By Wojciech Zieliński

Frame 2.6

By MetaLab

By Handsome

By Wisely

Ui colors   dark

By Adam Ho

88f236227734b4ca6eb9769014781427

By intent

019e9aa8170ecd66c230f8e26a923331

By Heartbeat Agency

By Greg Dlubacz

3dad574f8a4838597569b7eb4ef995c1

By Leverege

016b786278dd9e5abaa107082a097299

More on https://dribbble.com

3 Essential Design Trends, August 2020

Original Source: https://www.webdesignerdepot.com/2020/08/3-essential-design-trends-august-2020/

Do the lazy days have you longing for a new design technique to try? You are in luck.

This month’s collection of essential design trends is packed with functional ideas to spruce up design projects. And all of them are fairly easy to accomplish and will give your project a modern – or intentionally old-school – look.

Here’s what’s trending in design this month:

Angles

There are so many ways to add and use funky angles in design projects.

An angle with a color-block can be a great way to help add a place for a text element on top of an image or video to help ensure readability. Use a color for the angled element that contrasts with the background and text overlay for a striking visual or use a color that matches the background for a more subtle feel.

Another bonus for using angles in the design is that they can help create a distinct eye-tacking pattern from one part of the screen to another to help create visual focus. On a smaller, more vertical screen (such as a mobile device), large angles can even serve a pseudo-split screen purpose and create a way for text and other elements to stack in more vertical orientations.

Angles can come in all different degrees and sizes. There aren’t a lot of rules with how to use them. The common factor is that they make the design easier to understand.

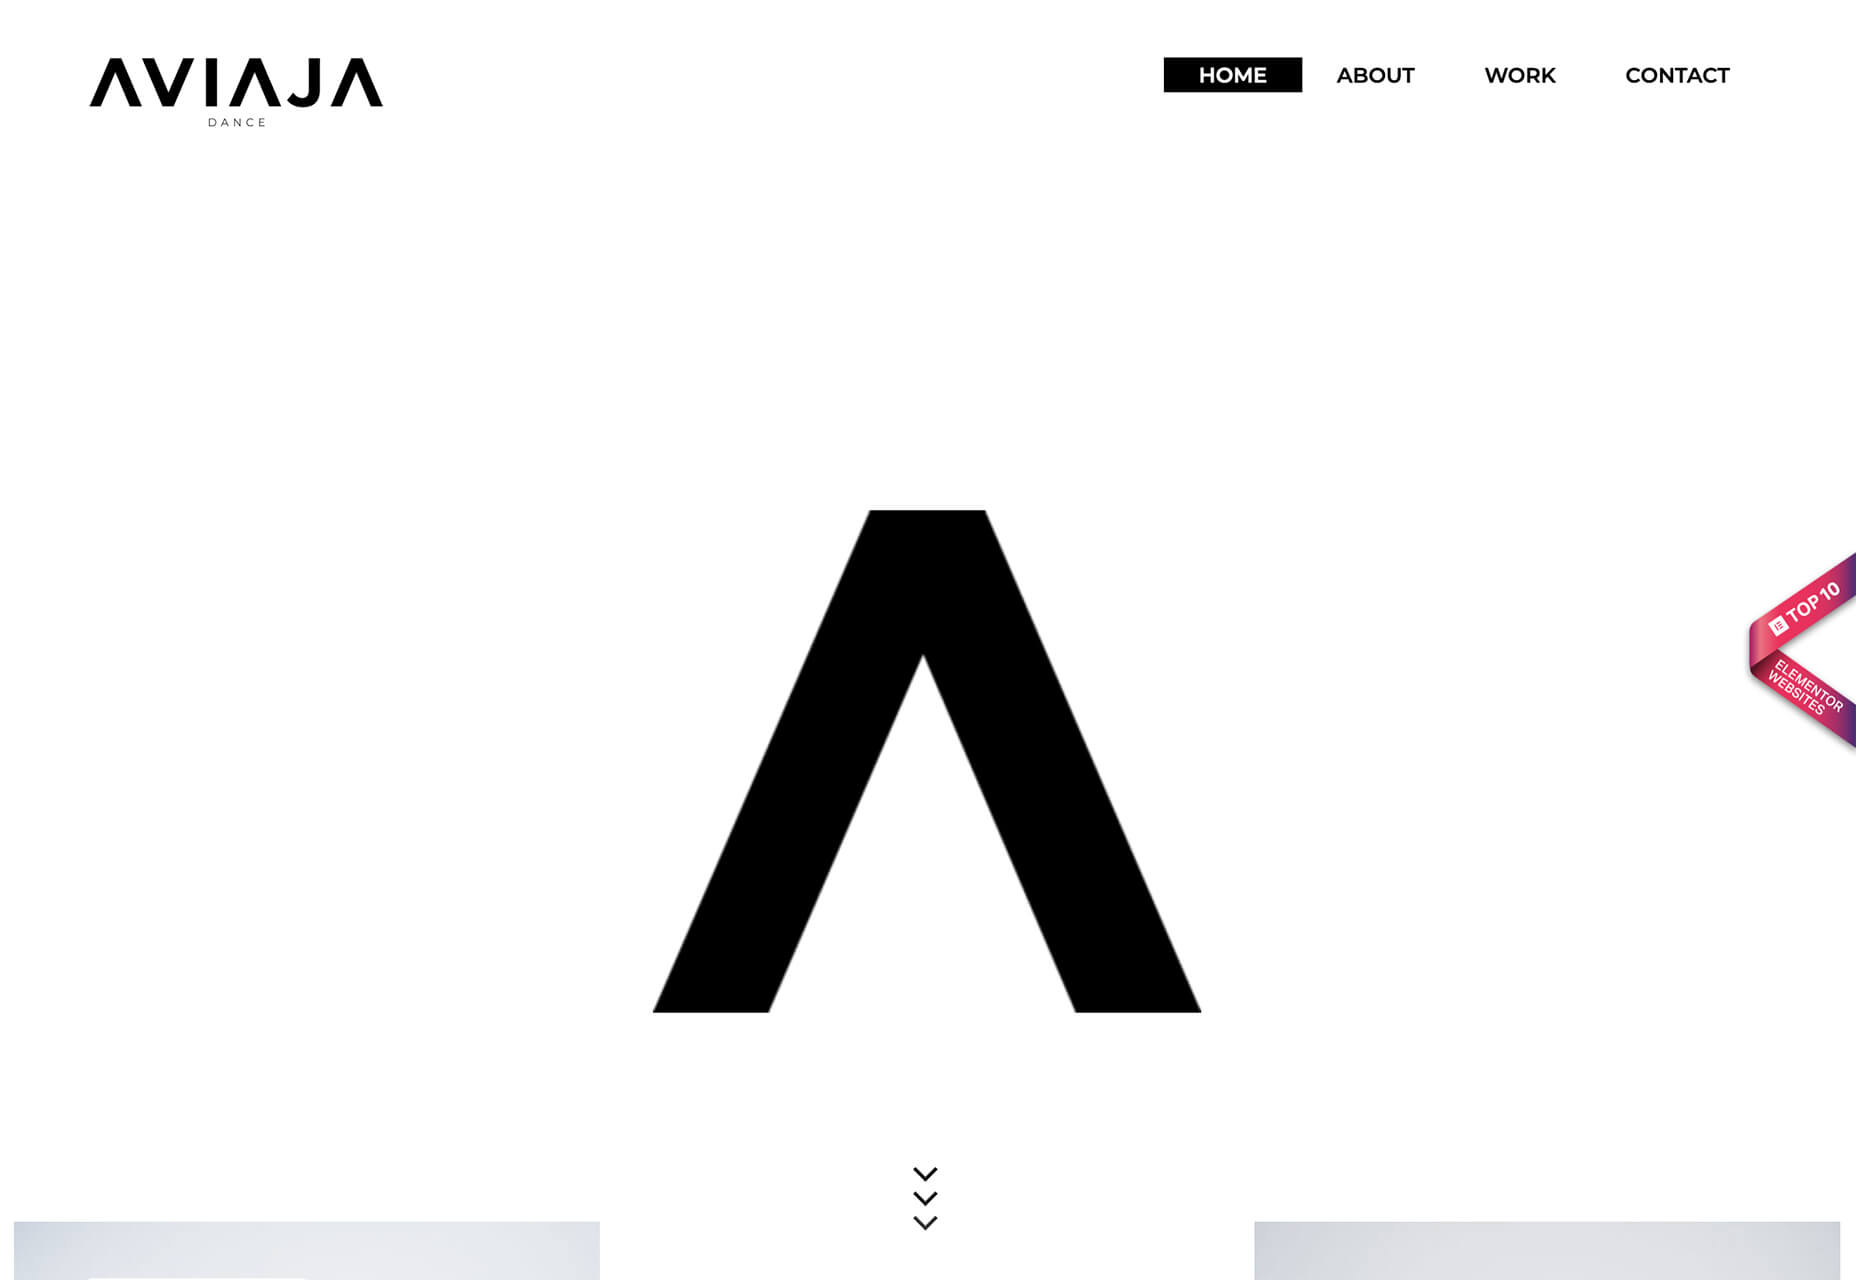
Alternatively, angles can be an independent design element that really has nothing to do with function or adding a text layer. That’s exactly what Aviaja Dance does with their design. The main use of angles comes from the fun “A” in the logo. It’s the main visual on the homepage above the scroll and is rotated in other locations throughout the design.

The next two examples use color-blocked angles.

Dantia uses a small blue angle in the top corner to anchor the logo against video that uses a lot of different colors. This way the logo is always visible. Small triangles are used as bullets throughout the design to further emphasize this shape.

Adige Design uses a large angle in a color that almost fades into the background to almost split the screen in half – part text, part visuals. This is a popular and effective use of an angle to enhance readability and add visual finesse.

Overprint Effects

While overprinting is a print design technique, the visual it creates is popping up in plenty of digital projects. It’s a cool look that creates additional colorways and almost always has a funky vibe.

When a design uses overprint, one color “prints” over another forming a mixed shade from the two hues. It has a certain elegance because as a print technique, it is often reserved for special projects.

That same feel comes through in digital design as well.

Sweet Punk uses a fun overprint with a bright orange circle and black and white image to create a lot of contrast in an interesting color effect. What makes it stand out even more is that the overprint slide is just part of a bigger set of moving images. It stands out because of the color choices and technique.

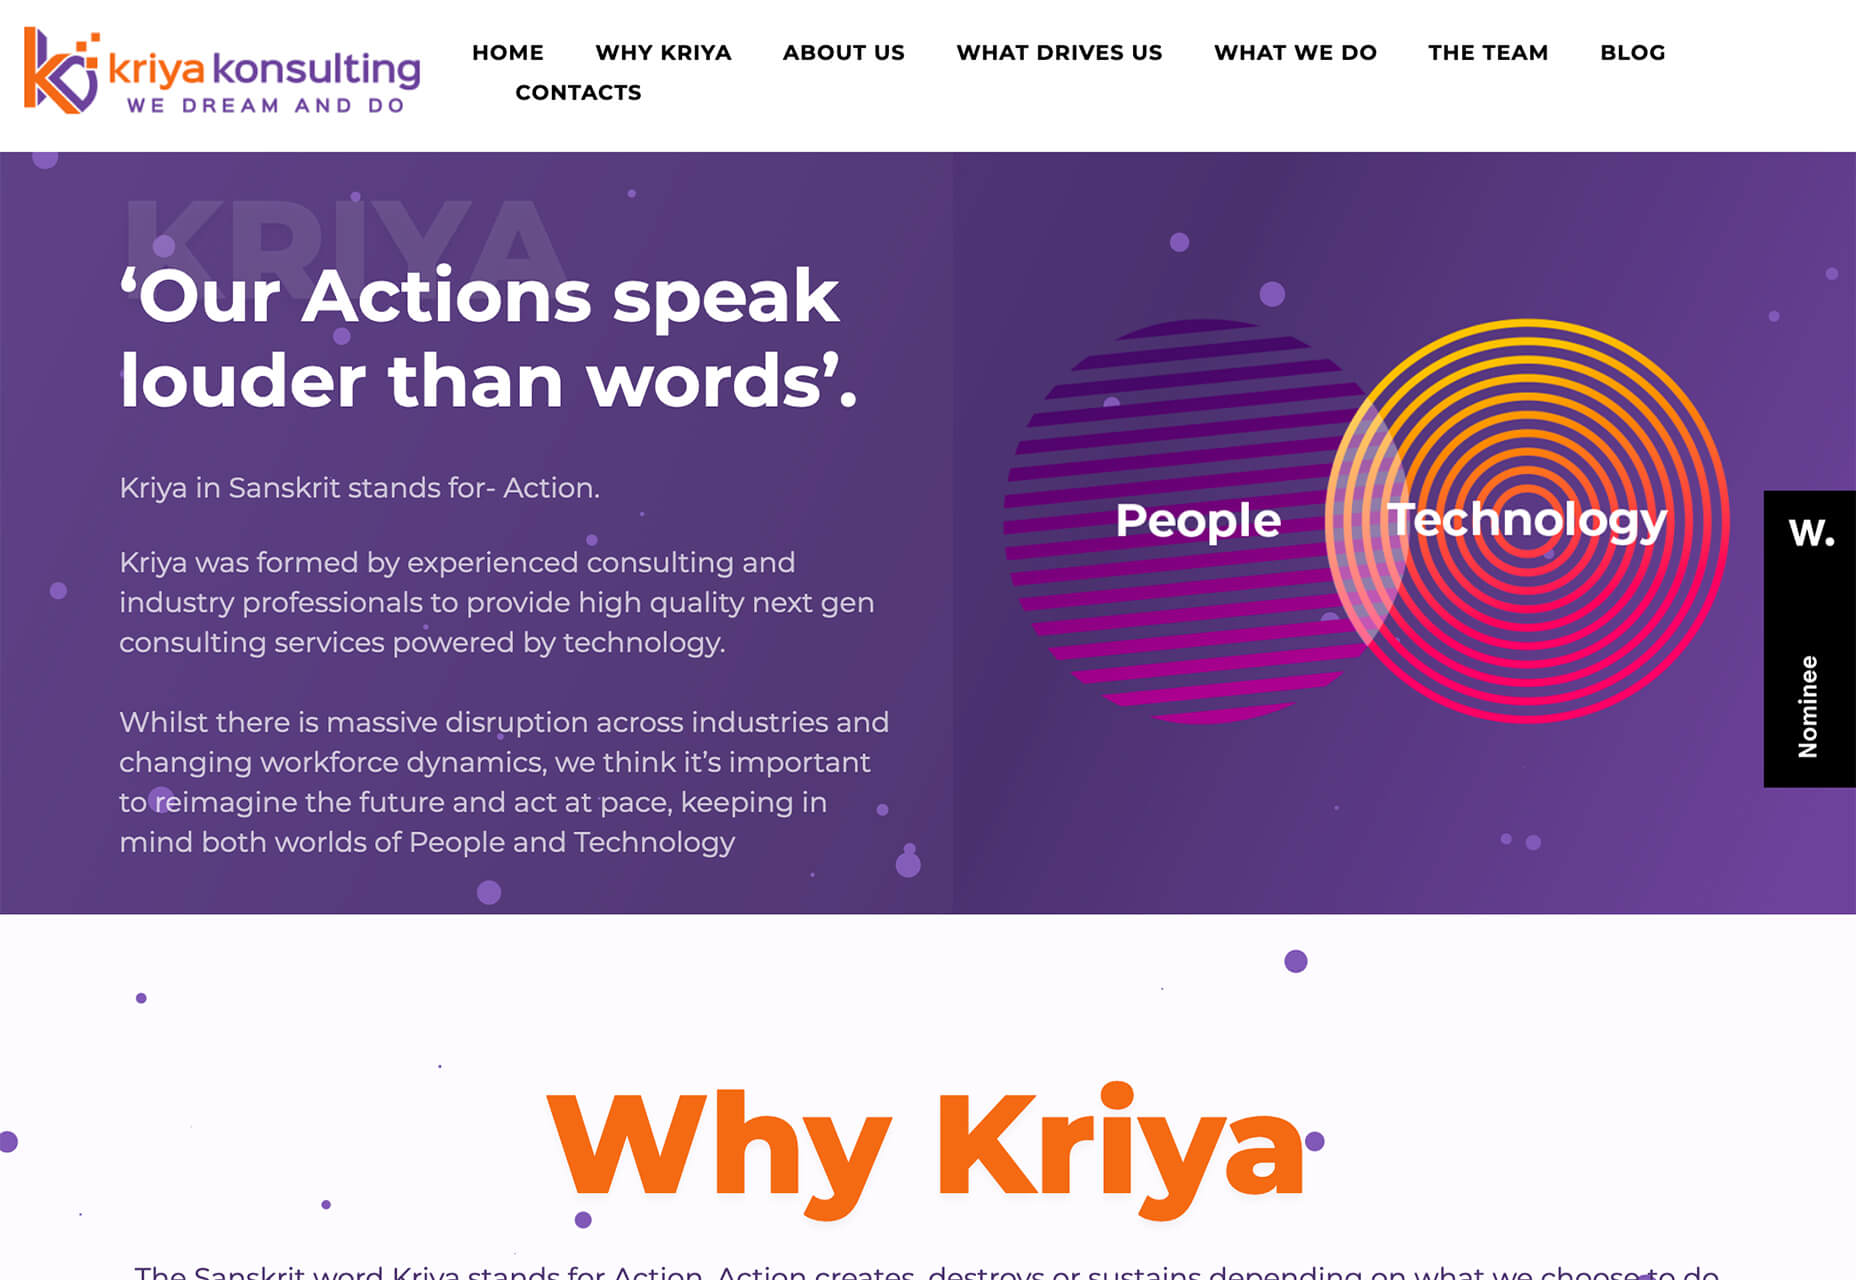
Kriya Konsulting uses a small overprint feature in a graphic to create a focal point away from text. The effect is subtle and with color and lines inside shapes, it gives you a lot to look at. The overprint graphic is just one of many circles on the screen that come together for a full effect. The interest of the overprint area serves as a starting point for the eye, which moves to other circular elements and text on the screen.

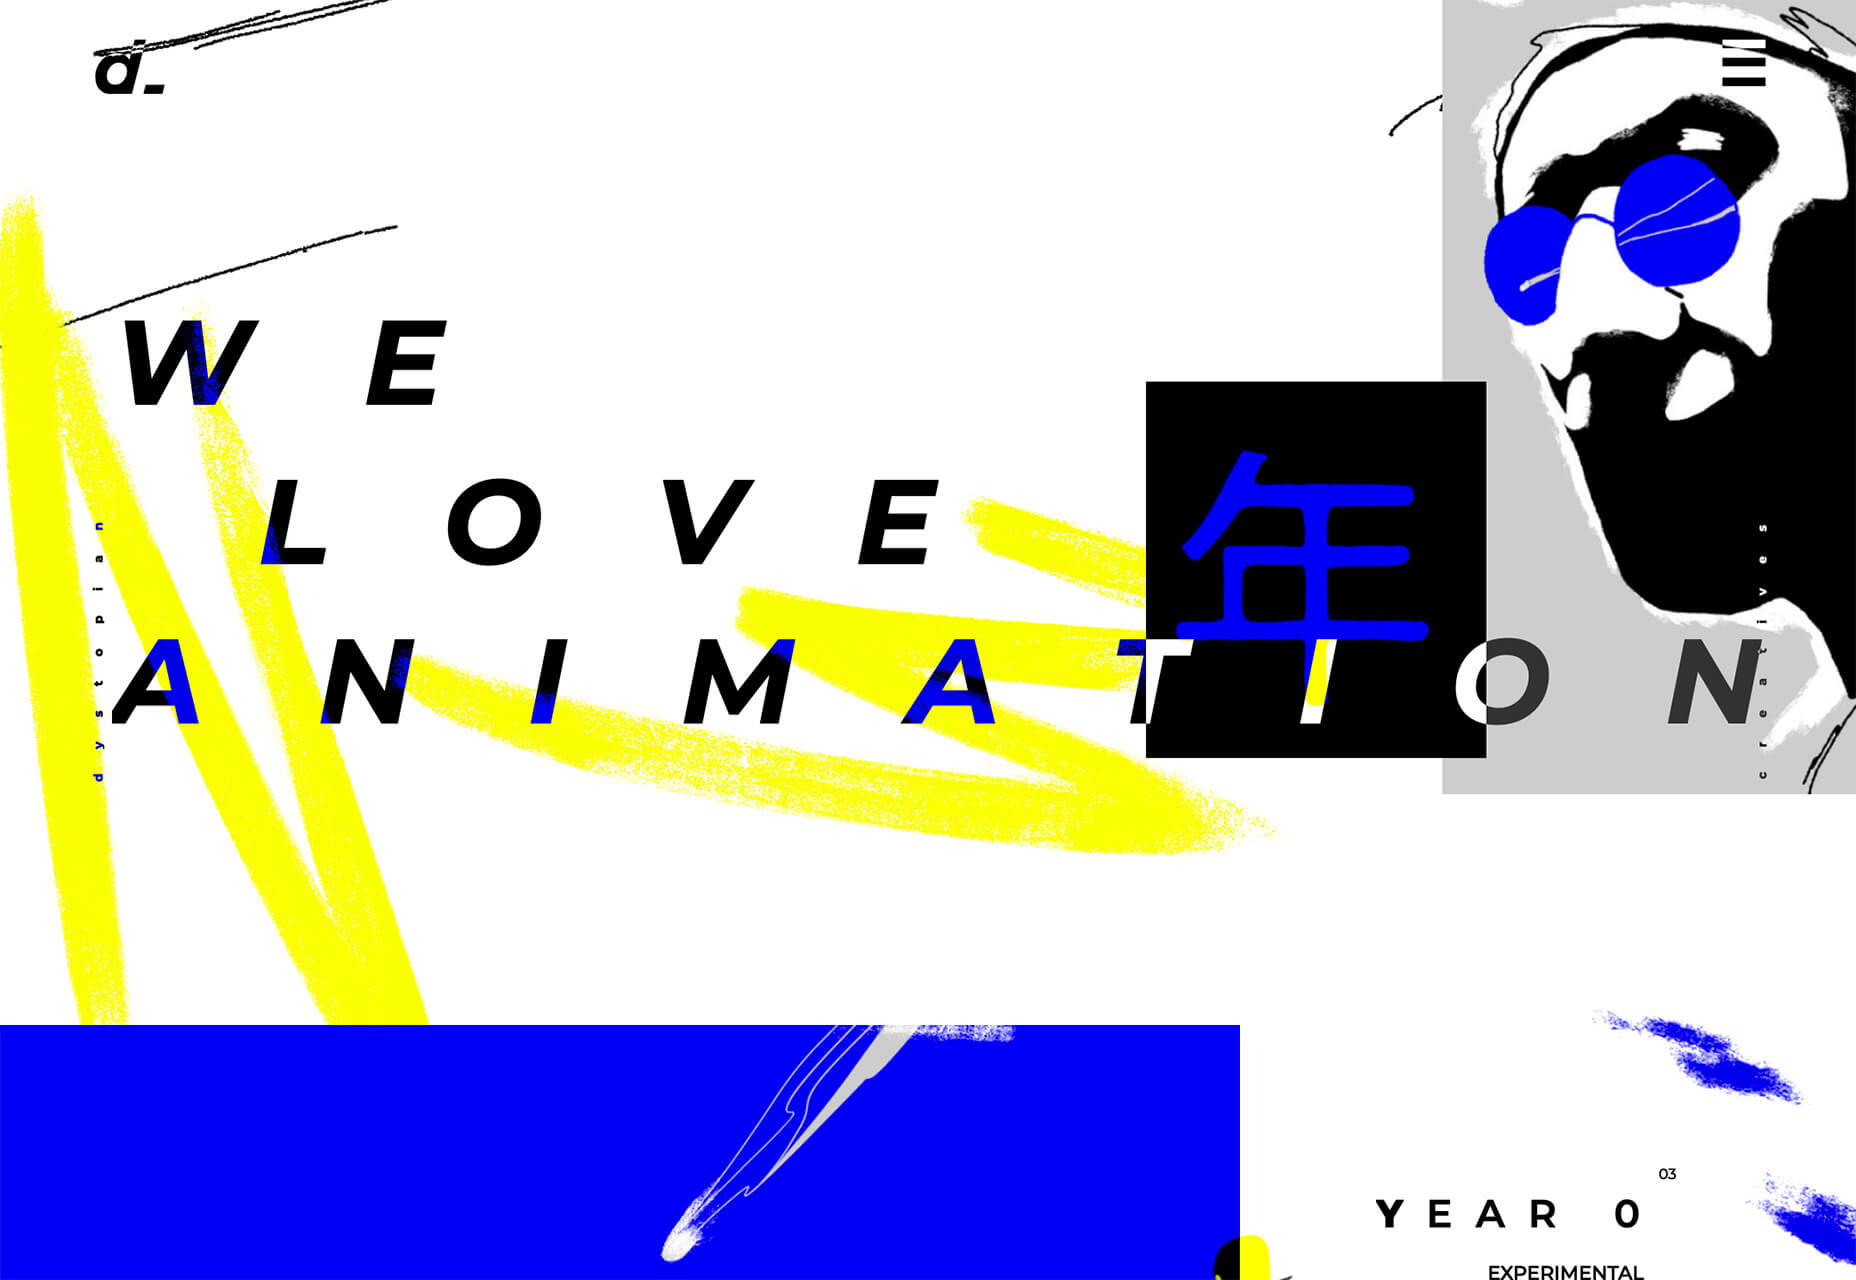
Dystopian Creatives uses an overprint effect in a quick animation as the site loads and then in several locations on the scroll. It’s so subtle that you might miss it if you aren’t looking thanks to a pretty bold overall aesthetic.

Turn of the Last Century Typography

Tall, skinny, modern-style typefaces are in. Bonus points for using this trend in a way that evokes feelings of the roaring 20s (1920s that is).

These font styles seem to mimic media posters from the era. While most of these typefaces fall into the category of modern serif, there are some sans options that create a similar feel.

The primary commonality is the use of extremely tall x-heights, and strokes with distinctly variable thick and thin options. Most of these typefaces are rather condensed as well.

Note how each of these examples takes a different approach.

Better Half uses a modern serif with a dramatic x-height. Note the use of upper and lower-case letters for the headline. It brings attention to the high-drama of the typeface.

Chiara Luzzana takes the opposite approach with an all uppercase character set and mixes outline and filled lettering. The text is somewhat reminiscent of the title credits from “Stranger Things” with dual throwback vibes to the 1920s and 1980s. (Proof that everything that was popular once comes back around again.)

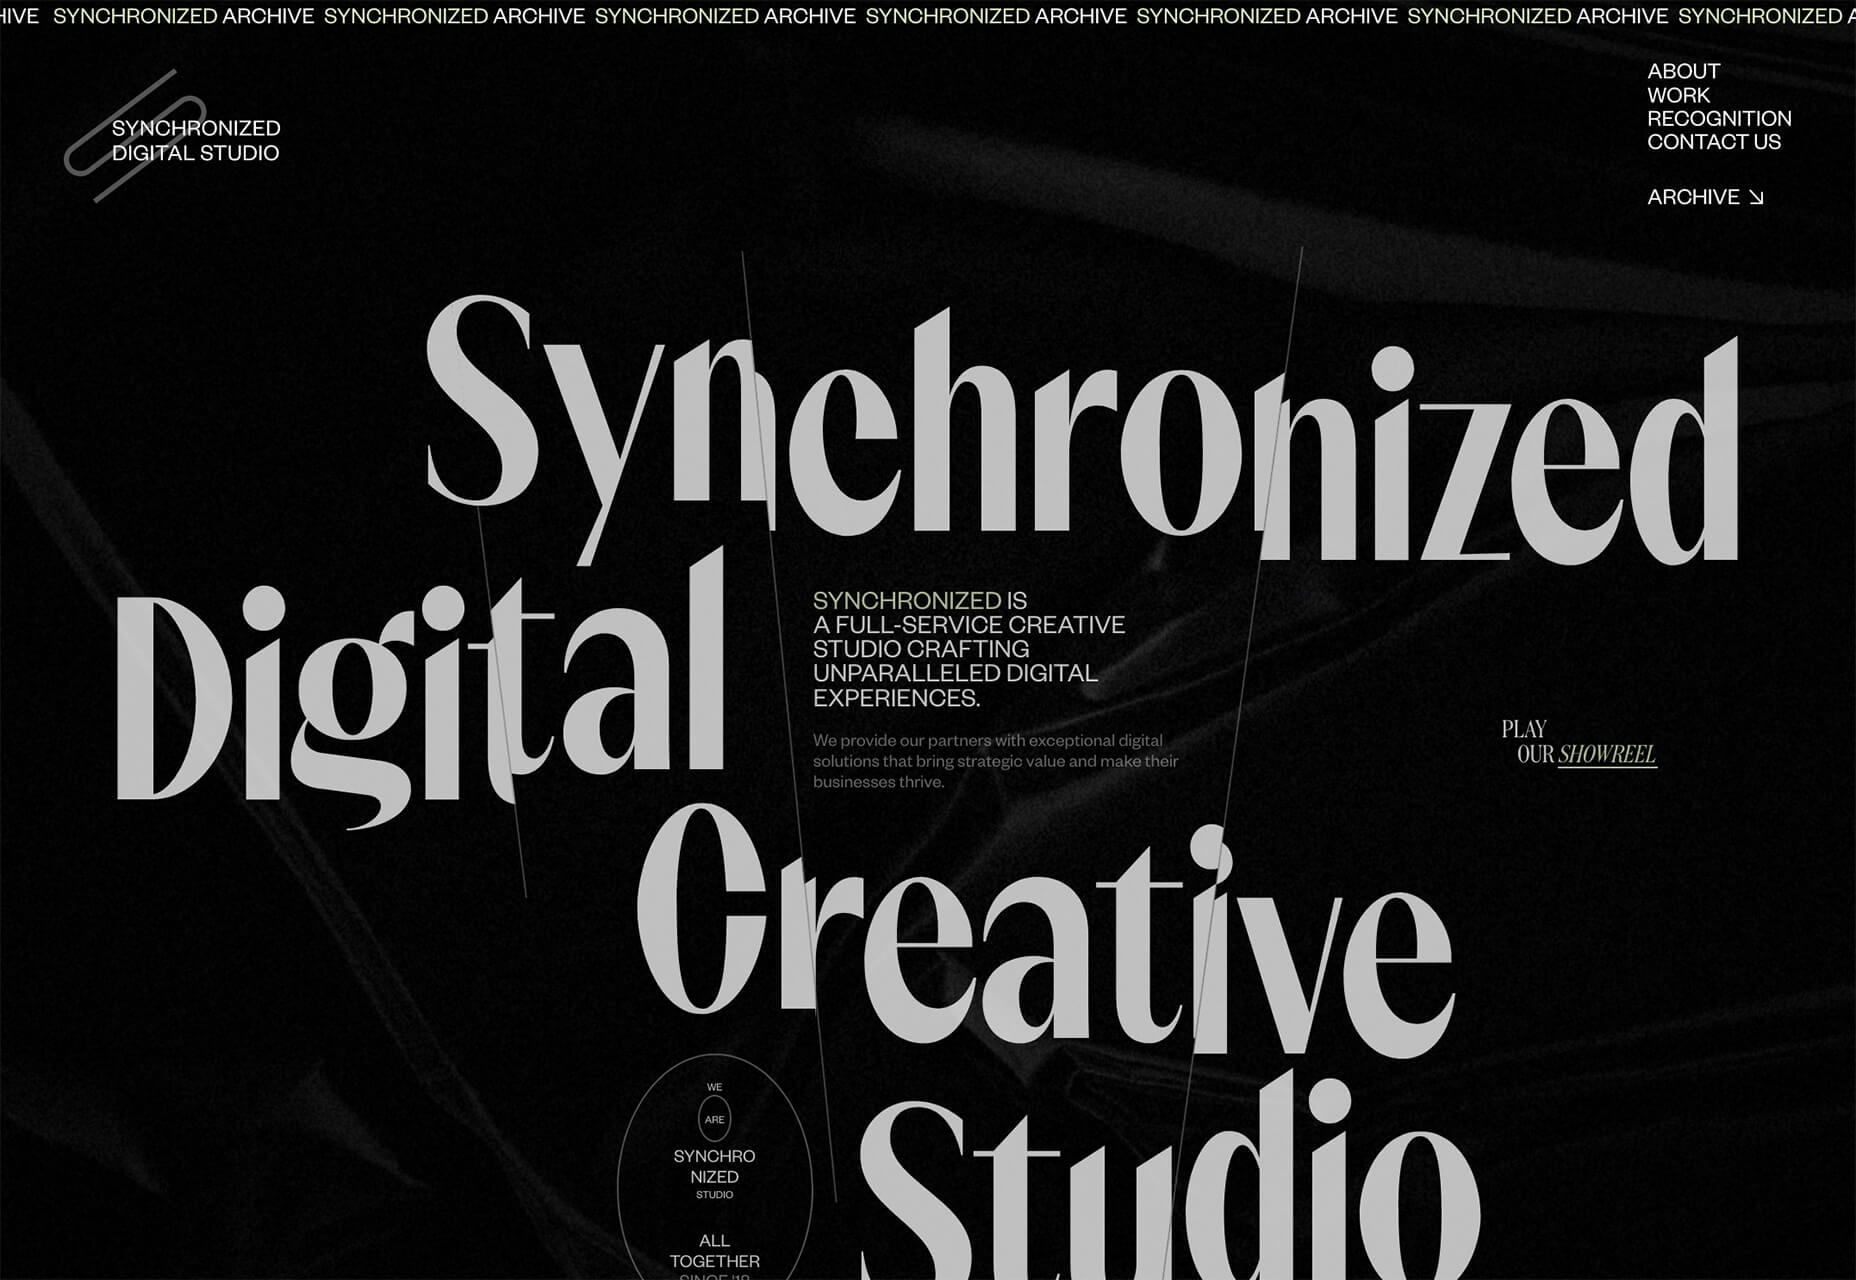
Synchronized Digital Studio goes another way entirely. While the text and design has a similar feel, they do it here with a modern sans serif. Note that the x-height is still quite tall and there are vast differences between thick and thin strokes.

Each of these compact, yet bold typefaces are used to create a dominant visual. That’s the beauty of this style – the typeface is the art thanks to so much visual interest. There’s also the added bonus that these condensed styles allow for higher character counts without getting visually overwhelming. (So, if you need to use a long word at a large size in the main headline, this could be a viable option.)

Conclusion

Design trends that are fun (and functional) are some of the best. Using angles can make it easier to incorporate text elements that are easy to read, overprint effects add flair and a bit of an old-school feel, and turn of the last century typography feels modern and fresh with a hint of 1920s flair.

Any of these design elements can be applied to websites without a complete overhaul and make a great refresh for the dog days of summer and beyond.

Source

p img {display:inline-block; margin-right:10px;}
.alignleft {float:left;}
p.showcase {clear:both;}
body#browserfriendly p, body#podcast p, div#emailbody p{margin:0;}

The Complete Guide to Windows Subsystem for Linux 2

Original Source: https://www.sitepoint.com/wsl2-windows-terminal/?utm_source=rss

The Complete Guide to the Windows Subsystem for Linux 2

This tutorial demonstrates how to install, manage, and use a full Linux environment on your Windows 10 PC with WSL2. You’ll be running a Linux kernel and executing native applications while seamlessly sharing files and services with Windows code editors and browsers.

Why Use Linux?

Your host almost certainly uses Linux. It’s fast, open source, and runs the majority of web software including:

servers (Apache, NGINX, LiteSpeed, etc.)
language runtimes (PHP, Python, Node.js, Ruby, etc.)
utility libraries (image manipulation, ZIP creation, emailers, etc.)
databases (MySQL, MongoDB, Redis, etc.)
other dependencies (Elastic Search, RabbitMQ, proxies, etc.)

Some of these dependencies may be available on Windows and macOS, but installing and maintaining identical versions is difficult. They’re often slower and you may encounter subtle differences which will not become apparent until you deploy.

Some developers install Linux on their desktop, but that may not be viable if you regularly require non-Linux software such as Microsoft or Adobe products. Alternative options:

Use two PCs or dual boot on a single device. Switching between systems can be cumbersome.
Run a Linux virtual machine (VM) using Hyper-V, VirtualBox, Parallels, WMware, or Vagrant. This requires considerable OS resources and reasonable IT knowledge. Sharing files between systems can be awkward.
Run web applications in Docker containers. It’s another topic to learn and Docker itself runs natively on Linux. Both the Windows and macOS editions use Linux below the surface.

What is the Windows Subsystem for Linux?

The Windows Subsystem for Linux (WSL) lets developers run a Linux environment directly on Windows 10. It’s an unmodified OS, but highly integrated into Windows and without the overhead of a virtual machine.

WSL1 was groundbreaking and translated Linux system calls to Windows equivalents. This could be slow and several features weren’t available. WSL2 uses Hyper-V virtual machine technology so Linux compatibility is excellent and file access is up to 20x faster than before.

Windows 10 Requirements

WSL2 is compatible with the Home, Pro, or Server editions of Windows but not Windows 10 S (although you can often upgrade to the Home edition for free).

The Windows May 2020 update is essential — that’s version 2004 or above. Choose the Settings cog from the Start menu, then select System followed by About. The Windows specifications are shown at the bottom of the panel:

Windows specifications

The update has been slowly rolling out since the end of May 2020. If you have a version below 2004, you may be able to trigger the update by clicking the Check for updates button in Settings, then Update & Security.

If 2004 remains stubbornly unavailable, you may be able to download and install it manually from microsoft.com/software-download/windows10

However, be aware some PCs report that version 2004 is currently unavailable in the Windows Update panel. You won’t be able to upgrade until Microsoft has released a fix for your device.

PC Requirements

WSL2 (and Hyper-V) require hardware virtualization support to be enabled in your BIOS.

WARNING: fiddling with your BIOS settings can trash your PC! Be careful when making changes. Consult your manufacturer’s help pages or search for online advice about your specific make and model.

Hardware virtualization will be active on most devices, but you can check by rebooting, and opening the BIOS panels — typically by hitting the DEL, F2, or F10 key as the system starts. Look for Virtualization Technology, VTx or similar options. Ensure they are enabled, save, and reboot the device.

Finally, ensure your C: drive has at least 1GB of spare disk space — ideally more. You may be able to free up some space in Settings, System, Storage or using the Disk clean-up tool in Windows Administrative Tools.

At the time of writing, WSL2 will install Linux to your C: drive, although it’s possible to move it elsewhere after installation.

Enable WSL2

The Virtual Machine Platform and Windows Subsystem for Linux features must be enabled in Turn Windows features on or off. The panel can be accessed by hitting Start and typing “features” or from the Programs and Features icon in the classic Control Panel.

enable WSL2

Alternatively, you can execute the following commands in a Windows Powershell terminal run as an Administrator:

dism.exe /online /enable-feature /featurename:Microsoft-Windows-Subsystem-Linux /all /norestart
dism.exe /online /enable-feature /featurename:VirtualMachinePlatform /all /norestart

Reboot Windows 10, then enable WSL2 as the default by entering the following command in a Windows Powershell or command prompt:

wsl –set-default-version 2

Download Linux

You can install any number of Linux distros from the Microsoft Store accessed in the Start menu. This includes Ubuntu, Debian, SUSE, Kali, and Alpine. Enter “Linux” in the search box:

Microsoft Store

Ubuntu is a good choice unless you have specific requirements. The latest edition will be installed if you click the Ubuntu icon followed the Get button.

The download could take a while depending on your network speed.

Launch Linux

Following download, click the Launch button on the Microsoft Store app, or the new Ubuntu icon in the Start menu. This will complete the installation process and can take several minutes.

Note: the first time you launch a WSL2 distro, you may see a message in the terminal about a kernel update. Copy the link into your browser, then download and install the update. You will need to launch Ubuntu again to continue with the installation.

You’ll be prompted to enter a username and password. These are the credentials for Linux administration: they are completely separate from your Windows username and password (although choosing the same ones may be practical).

Linux will eventually be ready and your terminal will show content similar to this:

Installing, this may take a few minutes…
Please create a default UNIX user account. The username does not need to match your Windows username.
For more information visit: https://aka.ms/wslusers
Enter new UNIX username: ******
New password:
Retype new password:
passwd: password updated successfully
Installation successful!
To run a command as administrator (user “root”), use “sudo <command>”.
See “man sudo_root” for details.

Welcome to Ubuntu 20.04 LTS (GNU/Linux 4.19.104-microsoft-standard x86_64)

* Documentation: https://help.ubuntu.com
* Management: https://landscape.canonical.com
* Support: https://ubuntu.com/advantage

System information as of Mon Jul 6 12:07:38 BST 2020

System load: 0.27 Processes: 8
Usage of /: 0.4% of 250.98GB Users logged in: 0
Memory usage: 0% IPv4 address for eth0: 172.21.232.173
Swap usage: 0%

0 updates can be installed immediately.
0 of these updates are security updates.

The list of available updates is more than a week old.
To check for new updates run: sudo apt update

Update Linux

There are likely to be several Linux updates. To update Ubuntu, enter the following commands in the Linux terminal:

sudo apt-get update
sudo apt-get upgrade
sudo apt-get dist-upgrade
sudo apt-get autoremove

Other Linux distros will have a similar process, but check the documentation for assistance.

Switch Between WSL1 and WSL2

Existing WSL1 distros can be converted to WSL2. Entering the following command in a Windows Powershell terminal to display the installed Linux distros and their WSL version:

PS C:> wsl –list –verbose

NAME STATE VERSION
* Ubuntu Running 1

(The * asterisk highlights the default Linux installation.)

To switch Ubuntu to WSL2, enter:

wsl –set-version Ubuntu 2

Similarly, to switch back to WSL1, enter:

wsl –set-version Ubuntu 1

Set a Default Linux Distribution

When you have multiple Linux distributions installed, one must be set as the default. It will be used when wsl is entered in a Windows Powershell terminal.

To set the default distro, list your installations:

wsl –list

and set a default with:

wsl –setdefault <DistributionName>

Ubuntu example: wsl –setdefault Ubuntu.

Run Linux as a Specific User

To run your default distribution as a specific user, enter the following command in a Windows Powershell terminal:

wsl –user <username>

A default user is defined during installation and you can create others. A root user is also created, but you should avoid using it under normal circumstances. It’s too easy to enter a dangerous command!

Move Your Linux Disk Image

The Linux disk image is installed on your C: drive. Optionally, you can move it to another drive to free up space. The following instructions presume you’ll move it to D:wsl.

In a Windows Powershell terminal (not the Ubuntu terminal), enter wsl –list to view your Linux distributions, then export one by name to a back-up .tar file, e.g. D:backupubuntu.tar:

mkdir D:backup
wsl –export Ubuntu D:backupubuntu.tar

Unregister the same distribution to remove it from the C: drive:

wsl –unregister Ubuntu

Enter wsl –list to verify the distribution has been removed.

Import the backup into a new WSL2 distribution at another location, such as D:wsl:

mkdir D:wsl
wsl –import Ubuntu D:wsl D:backupubuntu.tar

Verify it has been successfully created by entering wsl –list and launching the Ubuntu app from the Start menu.

Unfortunately, Ubuntu will now use root as the default user. To use your own account, enter the following command:

ubuntu config –default-user <yourname>

where <yourname> is the username you defined during installation.

Presuming all has gone well, you can safely delete the backup file (D:backupubuntu.tar).

Install Windows Terminal

To launch the Linux terminal, you can use the Ubuntu icon, enter wsl or bash in Powershell, or use any third-party option such as Cmder, ConEmu, or Hyper. Profiles can be defined to launch %windir%system32bash.exe ~.

Another option is Windows Terminal, which is also available from the Microsoft Store or its repository at github.com/microsoft/terminal/.

Windows Terminal

Windows Terminal will automatically add your WSL2 Linux distros and offers a highly configurable range of options including tabs, split views, themes, transparency, and key bindings.

Options are defined in the settings.json file accessed from the Settings menu or Ctrl + , (comma). Default values and theme settings can be viewed in defaults.json, accessed by holding down Alt while clicking the Settings menu.

Continue reading
The Complete Guide to Windows Subsystem for Linux 2
on SitePoint.

Powerful New Yorker cover pays tribute to black lives lost

Original Source: http://feedproxy.google.com/~r/CreativeBloq/~3/a1abIzQvgME/new-yorker-say-their-names-cover

The June edition of the New Yorker has been released, with a cover devoted to the history of violence inflicted on black people in the United States. Entitled 'Say Their Names', the powerful illustration features George Floyd, the US citizen recently killed by a police officer in Minneapolis. It shows his body imprinted with images of individual victims, placards, scenes from history and pertinent symbolism. 

Kadir Nelson's cover art is interactive and can be explored on the New Yorker's website, which describes the feature as a "closeup examination of the artist’s latest cover, in which the murder of George Floyd embodies the history of violence inflicted upon black people in America". As you click through the page, you find out the individual stories of the 18 black Americans featured.

New Yorker cover

The New Yorker cover is a powerful tribute to George Floyd and other victims of police brutality

Prominent activists such as Martin Luther King JR and Malcom X – who were both assassinated in the 1960s – are included in the piece, and other victims include seven-year-old Aiyana Stanley-Jones and twenty-two-year-old Stephon Clark, who were both killed in their own homes in the last decade. The final annotation included in the interactive feature is the story of an escaped slave – known as Gordon – whose image was circulated as a key part of the abolitionist movement because of the shocking lacerations on his back.

Nelson has depicted moments of historical significance too, including the March from Selma, and the Tulsa Race Massacre, while the 'I Am A Man' placard reflects the protest signs carried by sanitation workers during the Memphis strikes. 

The mostly monochrome piece is interlaced with blue Periwinkle, which represents the millions of black people who died as slaves in the USA. Periwinkle was often used as a burial flower, and was often the only sign of a burial plot in the case of the resting place of many slaves.

Nelson is well-known for his work depicting African-American history and culture. His work is often featured on the cover of the New Yorker, and he has also created cover art for National Geographic (see it above), Ebony and Marvel, amongst other publications. Nelson is one of the many creatives standing up in the fight against racism, in response to the killing of George Floyd and support of the protests currently taking place globally.

Read more:

Designers create public document listing black-owned studiosBanksy reveals brilliant plan for Bristol’s toppled Colston StatueBrands show support for Black Lives Matter

How We Built a Serverless Web App for the Stax Console

Original Source: https://www.sitepoint.com/how-we-built-a-serverless-web-app-for-the-stax-console/?utm_source=rss

How We Built a Serverless Web App for the Stax Console

This post was originally published on the Stax website.

Building a web console for a product as complex as Stax presented a number of challenges. Our API-first, serverless platform offers a diverse range of features for enterprises who want to manage and optimize their AWS ecosystem.

With such a developer-focused foundation, we needed to provide customers with a performant, reactive web app, with an intuitive user-experience that didn’t hide the power and functionality of our API. Data access through our console also needed to be built to the same high standard of security and compliance as the rest of our product.

This post will cover what we set out to achieve when building the Stax Console, our experience building a serverless GraphQL API to power it, and the lessons we learned along the way.

Serverless By Design

We wanted to produce a solution that was serverless from the start, to match the architecture we use for the rest of the product. One of the biggest benefits we’ve seen from going all in on serverless architectures at Stax is uptime and reliability. Avoiding relying on a server that can become a single point of failure allows us to meet our Service-Level Agreement, and ensure customers can access the platform during peak load times. Using AWS Lambda means queries from our front-end scale out horizontally and there’s always enough compute resources to process requests.

Using serverless products also improves security during development, as services like AWS Lambda provide baked-in compliance and service levels out of the box. Allowing Amazon to handle upgrades and patching of the infrastructure that our code runs on allows us to focus on building software instead of managing hardware.

The minimal infrastructure overhead when going serverless has allowed our team to fully own the deployment and monitoring of our GraphQL API. For example, developers can add new Networks functionality using separate Lambda functions to those used to fetch account data, minimizing the blast radius from pushing a new change to production.

Early Days

The first iteration of our Console had a fairly traditional web architecture. A React single-page application (SPA) called the Stax REST API directly, which is a serverless solution using AWS API Gateway and AWS Lambda in front of a relational database. AWS Cognito handles user authentication and sign-on for both the Console and REST API.

We ran into a few technical issues with this approach:

Tooling. Modern front-end frameworks evolve quickly. Consuming data from REST APIs with React was complex and it was difficult to manage state.
Stability. The tight coupling of our front-end SPA to back-end REST API was efficient, but the contract between systems was constantly changing as features developed which risked breaking our user interface.
Real-Time Updates. We would need to build our own WebSocket implementation to push data to our front-end SPA to provide real-time updates. This would have been complex to implement in both the front end and back end.

It also became apparent that as Stax grew as a product, the Console needed to integrate with other back-end services than our REST API, such as Cost and Compliance data for accounts and our Customer Support Case service. Interfacing with multiple APIs and protocols, all with differing authentication mechanisms, led us to consider a Back End for Front End pattern with a single GraphQL API.

Our Console Architecture Now

The architecture centers on a GraphQL API layer that acts as a proxy between our front-end and back-end services. GraphQL is a query language for APIs; it allows developers to define the types of data in a system (the schema), and wire up functions to fetch data from different sources (resolvers). Relationships between data can be expanded in a single GraphQL query. For example, a single request can resolve a Stax Workload and the user that deployed it in one go.

A key reason GraphQL suited our needs is that data can be fetched from any source by a resolver and be presented to a front end as a single interface. This means that as Stax grows, we can refactor and optimize back-end services with minimal impact to our front-end developers and customers. Authentication is also massively simplified. The front-end authenticates to our GraphQL API in one place, which handles connections to various REST and GraphQL APIs and event sources behind the scenes.

At Stax, we’re closely partnered with AWS, and try to use native AWS solutions where possible as part of our development philosophy. We opted to use AWS AppSync, a fully managed serverless GraphQL implementation as the core of our service.

AWS AppSync implements the main GraphQL directives, including GraphQL Subscriptions that manage WebSocket connections between clients and your GraphQL API. AWS Lambda fetches and transforms data in GraphQL resolver functions, AWS DynamoDB is used for serverless data stores, and AWS EventBridge triggers Lambda functions in response to system events.

Our current Stax Console architecture makes use of GraphQL, AWS AppSync, AWS Dynamo and AWS EventBridge

Continue reading
How We Built a Serverless Web App for the Stax Console
on SitePoint.

How to Integrate AI Into Your Toolset

Original Source: https://www.webdesignerdepot.com/2020/08/how-to-integrate-ai-into-your-toolset/

Artificial Intelligence is the use of computers or machines that have been created to work and react like humans. Some of the computers that have AI, are designed to include speech recognition, and learn user behaviours so they can predict activities or decisions before they happen.

AI creates a bridge to a new kind of interface, making work processes easier for businesses and customers alike.

Why is AI Important?

There are constant AI technological advances being made, so why not make the most of them and start integrating them into your toolset today? Read on to find out just why AI is important and how you can benefit from it in your work too.

Lower Costs

By integrating Artificial Intelligence into your toolset, you can stand to both save and earn more money. AI will leave you spending less time on various aspects of website management and development, freeing some of your time up and allowing you to finish websites faster. It will also leverage your set of skills and allow you to build greater sites that people will be willing to pay more money for.

Improve Customer Experience

Artificial Intelligence can be used to analyse data in much more depth than the human eye, so will greatly improve the customer experience. It will allow a more personalised and streamlined experience that users will be grateful for. By integrating AI into your toolset, you will soon learn about certain trends and patterns that AI picks up and utilise this with future sites you build, as well as being able to make suggestions to improve the customer journey on the site.

It’s The Future

With so many devices in our everyday lives tuning in to AI, it’s important websites are no different. Just look around many homes and you will likely see a device such as Amazon’s Alexa or Google Home. Phone’s have Siri or Bixby and many laptops have AI systems such as Cortana. As our technology continues to develop, websites need to do this too. Soon we will expect everything to be integrated and be able to control websites in a similar way to our AI devices with voice control and recognition.

How To Integrate AI Into Your Toolset
Chat Bots

One popular example of AI that is integrated into many different websites now, is the chat bot. A feature on a number of major sites, chat bots allow customers to ask and receive answers to questions without an employee having to take time out of their day to answer menial questions that they get asked all the time. The use of AI cuts out the middleman and recognises certain phrases and words to give the most relevant and comprehensive answer.
The first chatbots used to rely on simple, pre-programmed conversational pathways, but these had disappointing and often irrelevant results. More recently they use sophisticated natural language processing (NLP) systems which are a lot more complex and don’t follow just a scripted path, but allow for more meaningful conversations.

Sketch to Code

If you’ve just started in web design, or there are certain elements you are still learning about, AI can help with “sketch to code”. This clever piece of AI can transform a handwritten note, sketch or diagram into a valid HTML mark-up code that maintains itself. This can work from something as simple as a new design for a quote system, to something more complex.

Background Systems

AI can work in the background of a site in the run up to events and collect key aspects such as website analytics. Once this data is complete, the AI can take final instructions from you such as the content, theme and color preference and create a design from scratch that it thinks will perform the best due to the intelligence and knowledge it has been gathering in the background.

Voice Recognition

Back in 2012, the W3C Community introduced the Web Speech API specification with the aim of enabling speech recognition and synthesis in modern browsers. At present, Google Chrome is the only browser that has introduced this, however there is a HTML5 Speech Recognition API will allows JavaScript to have access to a browser’s audio stream and to convert it into text.

It’s important to get up to speed with voice recognition API’s as it’s predicted voice control will be huge in the future. If populating websites, think about how people speak and be sure to include some long-tail keywords that sound more natural. This will help those sites to rank when voice control is adopted more widely.

Adobe Sensei

Adobe Sensei is an AI and machine learning framework that is powering Adobe tools. It is a handy option to add to your toolkit to manage and work on your files.

If you are sourcing images for a website in Adobe Stock, there are over 100 million assets to sift through. Adobe Sensei uses AI and deep learning to understand what exact objects are within an image as well as deeper components such as the aesthetic quality, composition, color palette and even the emotional concept behind the images. This means it can quickly find the image most matched to your needs, saving you hours of time you would have spent sorting through to find the image you want.

Yossarian

Yossarian is a great tool that allows you to craft mood boards. With an aim to generate new ideas faster, it cites itself as “discovery with a twist.” Yossarian uses AI when creating mood boards to return “diverse and unexpected concepts” that share loose associations with what you have searched for, allowing you to be more creative. It will source different ideas and inspiration around what you are searching for, including many you might not have thought of associating with your initial search term.

Brandmark

If you create logos and design templates within your work, Brandmark logo maker is a great AI tool to add to your library. They cite themselves as the most advanced AI logo design tool on the market at the moment. Whether logo creation is something you currently offer, or something you are looking to do, this AI tool can make it easier.

Autodraw

Autodraw is another useful tool you can use for design jobs, where you draw a rough sketch and it will turn it into a neat graphic. This is a handy one to use in association with the concept of sketch to code above. It pairs the magic of machine learning with drawings to help you create professional looking graphics and visuals, quickly.


Featured image via Unsplash.

Source

p img {display:inline-block; margin-right:10px;}
.alignleft {float:left;}
p.showcase {clear:both;}
body#browserfriendly p, body#podcast p, div#emailbody p{margin:0;}

How to Get the Most Out of your Virtual Meetings?

Original Source: http://feedproxy.google.com/~r/Designrfix/~3/v1DLgEi-mFw/how-to-get-the-most-out-of-your-virtual-meetings

Working from home inevitably involves finding new ways to communicate with your colleagues. For most of us, adapting to new ways of working have involved using video conferencing software like Zoom, Microsoft Teams or Skype. Whilst video calls are nothing new, our reliance on them is and the sudden change means many have had to […]

The post How to Get the Most Out of your Virtual Meetings? appeared first on designrfix.com.