How To Design Winning Email Newsletters

Original Source: https://www.webdesignerdepot.com/2018/03/how-to-design-winning-email-newsletters/

Email remains a resilient form of communication for marketers, despite the myriad of other communication platforms available today. Most people check their emails at least once a day, and spam now has a hard time slipping through the net. What’s more, email newsletters from businesses are a part of everyday life and if someone has subscribed to your list, the chances are they’ll have at least some interest in what you have to say.

Having said that, the reality is that not everyone opens them, even if they have a genuine interest in your products and services. It’s a busy world in the midst of a digital age, so readers’ attention spans are stretched to the maximum; days pass quickly and time is precious. Those who don’t want a chaotic inbox may delete your email instantly…unless you can grab their attention fast.

You have to stand out from the crowd.

If you want your communications to be noticed, you need to come up with content that is concise, intriguing, and visually compelling. An eye-catching design is more important than ever, and if your email doesn’t look professional, your business won’t either. Here are some basic rules for creating winning email newsletters:

1. Choose an Appealing Color Scheme

The aim here isn’t to dazzle with a prism of color, but to establish brand recognition at the same time as presenting aesthetically pleasing content. The best way to do this is by matching your color scheme to your company logo. The logo will be one of the first things people see, as it’s going to be part of your header.

Try matching your borders, fonts, headers and subheaders to the colors in your company logo. If your logo isn’t particularly colorful, choose something compatible and use it consistently. People will associate these colors with your brand and come to recognise your emails before they even open them.

2. Give it a Compelling Header

This is your hook, so you need to get it right. People want to know who is talking to them and what it is they’re expected to read. You wouldn’t read a magazine that didn’t have a name, or an article that didn’t have a title, would you? A newsletter is no different.

Your header should consist of your company logo and name, and the newsletter title. The title should be clear and simple, preferably with an element of intrigue. It should focus on your industry rather than your business name, which nobody really cares about. For example, there is a distinct difference between “Wealthy Entrepreneur Today” and “Triple Your Profits Report”. Don’t actually call it a newsletter—it sounds a little dull… consider words like ‘news’, ‘guide’, ‘review’, or ‘insider’ instead.

To create decent headers, you can use online DIY tools like Stencil or Pixlr, which are easy enough for anyone to use. Once you have your header, you can keep on using it – just make sure you change your newsletter titles each time.

3. Go For Crisp, Clean Typeface(s) and a Simple Layout

As holding a person’s attention is largely about ease, it’s important not to challenge their eyes with overly fancy typefaces, or even multiple typefaces. Basic faces such as Times New Roman, Calibri or Helvetica are clean and familiar–you can’t go wrong with those. One simple typeface throughout gives a neat look that won’t take the attention away from your content.

Secondly, your newsletter must be legible. Nobody wants to see reams of text unfolding on their screen; that’s a sure fire way to get deleted rapidly. Likewise, to avoid skim reading, you’ll need to use punchy subheadings that tell the reader what the next section is about. You’ll want to break the text up into several blocks, each with its own subheading. Make sure the subheadings are smaller than the main heading, and bigger than the article text.

Lastly, stack your content so that each piece of information appears in an organized fashion, ideally inside its own block or with divider lines. Side by side is also fine (dependent on the volume of text) but most newsletters are stacked block on top of block.

4. Use Plenty of Attractive Images

You need to strike a balance between chunks of text and relevant images. The images need to convey the point of the text somehow, so be careful not to share incongruent images just because they look good. The visual element of any communication is always the most powerful aspect. It keeps the overall look interesting, and creates space between the blocks of text. For example, placing one image on the right side of the text in one block and on the left side in the next can look good.

Taking your own photos is a good idea, provided you have a worthy camera and some editing ability. If not, opt for quality stock photos; you can get these from free sites if you don’t want to fork out.

5. Make Sure Your Content is Relevant and Interesting

You should spend time analysing your database. Creating segments and email lists based on specific interests is a great idea; your click-through rate will be a lot higher this way. There are online platforms available that allow you to do all of this, and some give you statistics so you can see who is opening what, when, and how often (there’s more on this below). This way, you can target your audiences more effectively over the long term.

Put yourself in your readers’ shoes. Most of us want to be entertained in some way, and we want to read about things aligned with our interests. It’s helpful to send out content that contains clear benefits, such as free information (think ebooks and articles), info-bites, events, industry news and offers. Be sure to encourage feedback with one-click surveys, and incentivize with prizes and discounts. Oh, and don’t forget to include an unsubscribe option; you can’t please everyone, however hard you try.

6. Use an Email Marketing Platform

If you want to take the hard work out of it, there are various platforms that help you to create engaging, visually attractive newsletters. Mailchimp is a particularly good one, but you have many to choose from. Some people prefer to use Photoshop and hand code, but this requires a little more knowledge.

Platforms like Mailchimp will cover all of the above design aspects for you. They will help you to create campaigns in a strategic manner, step by step. You’ll be able to choose from various templates that help you lay things out in an appropriate style; you’ll have drag and drop options to place your dividers, content blocks and images, and you can even add buttons that encourage people to click through to web pages.

You’ll also have reasonable scope for reformatting, you can keep all your email lists in one place, and you can duplicate campaigns and change the details each time for swift send outs in a consistent format. Lastly, you can add a footer and put your social media links in the form of icons, making it easy for people to follow you with a couple of clicks.

You’re almost ready to go…

Finally, don’t forget to test your mails via your own email address before you send them out. Be consistent with your frequency; daily mails could be annoying, but once per week should be fine, depending on what you’re sending. Follow these simple guidelines and it won’t be long before you’ve created top quality communications that are bound to raise your profile and boost your brand awareness. Good luck!

Add Realistic Chalk and Sketch Lettering Effects with Sketch’it – only $5!

Source

p img {display:inline-block; margin-right:10px;}
.alignleft {float:left;}
p.showcase {clear:both;}
body#browserfriendly p, body#podcast p, div#emailbody p{margin:0;}

9 Websites To Get Free Design Critiques Online

Original Source: http://feedproxy.google.com/~r/1stwebdesigner/~3/6VteCRwwVzE/

The best way to improve your design skills is through practice and critique. But it’s hard to find a great designer willing to look over your work and offer valuable advice.

Thankfully, there’s plenty of sites online for gathering personal critiques. They range from designer forums to social networks made for designers.

Here’s my list of the top sites to gather critiques on your design work. They’re by far the best you’ll find.

Designer News

Designer News

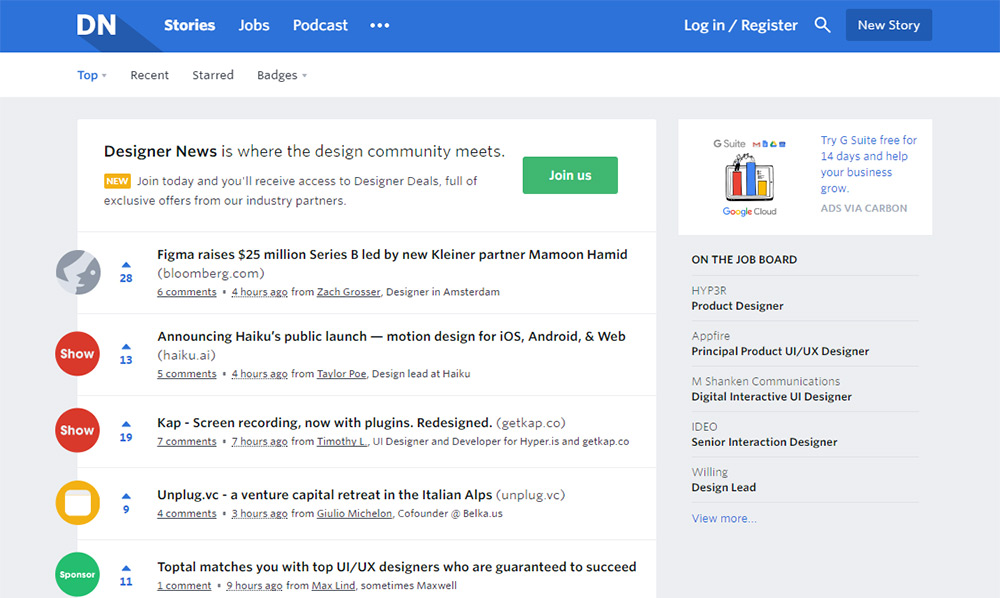
One community site I really like is Designer News. This is a social news site much like Digg – except it’s built only for designers.

Most of the posts are external links going to news articles or featuring new tools and web apps.

But users can post discussion questions – including requests for critique of their design work.

I absolutely recommend joining Designer News as it’s totally free and easily one of the largest design-only communities on the web.

You may not get a ton of feedback on your work if it never reaches the front page. But you can at least submit your latest designs and see how it goes.

Reddit

Reddit /r/design_critiques

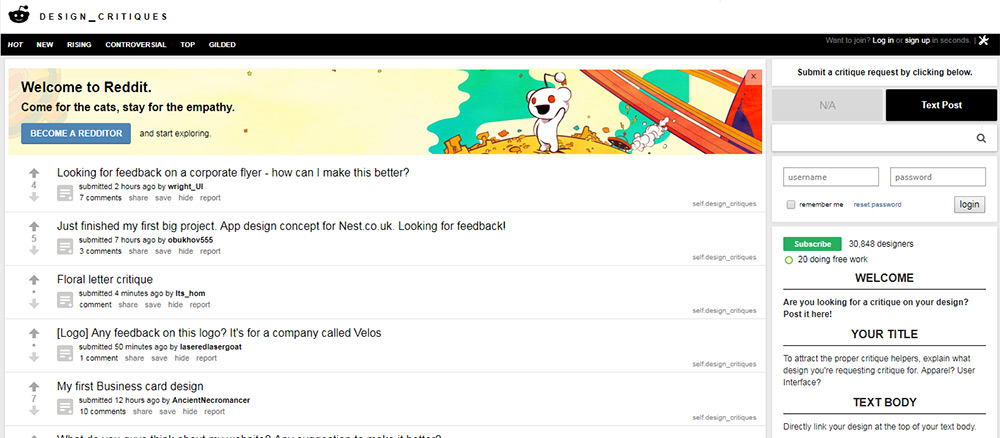
Reddit had to be somewhere on this list. It’s one of the largest social communities on the web with a subreddit for everything.

We already covered some of the best subreddits for designers. But for this list, I’m recommending one specific sub to gather feedback: r/design_critiques.

You can submit your own work for free and wait for the feedback to roll in. You won’t always get many responses since the community’s activity tends to fluctuate.

But it is a fairly large sub with plenty of active users who visit regularly. You could also try post to /r/Design or the graphic design sub to see if they’re more willing to drop some critiques.

Critiquer

Critiquer homepage

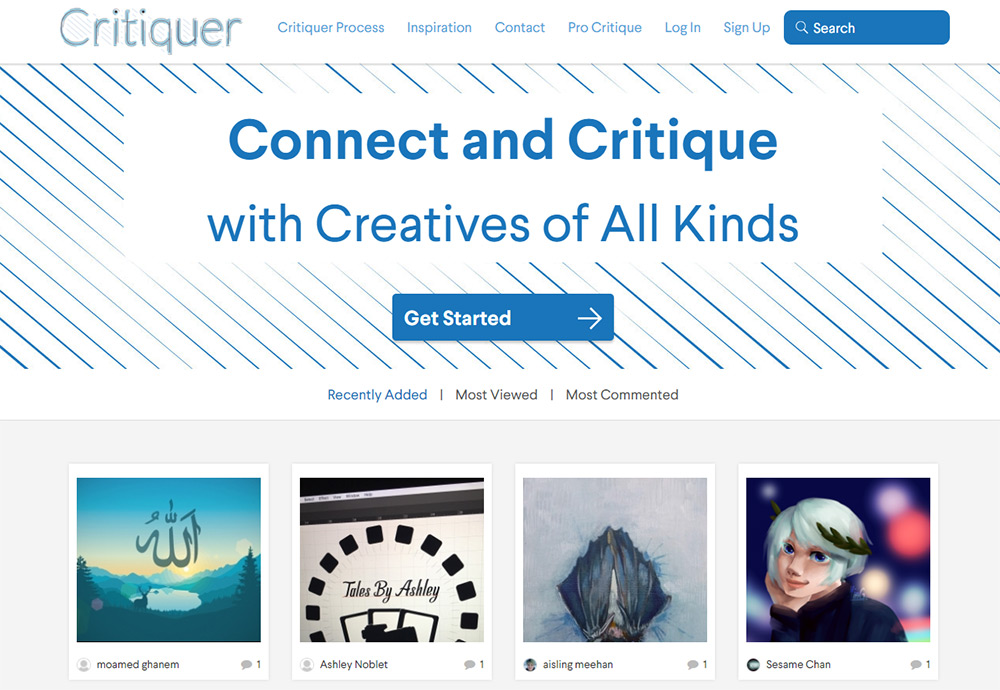
Critiquer is a very new site and it’s growing quickly. The community is dedicated to providing critiques on all types of work ranging from digital art to digital design and even print design.

If you look over the homepage, you’ll find a list of the latest submissions. Most of these are drawings or related to digital art – primarily because this was made as a resource for artists first. Surprisingly, in the digital art/illustration world there aren’t too many places for finding solid critiques. So this budding community is an artist’s best friend.

Critiquer is still growing and it’s building a massive community on virtually every topic you could imagine. Whether you’re just starting with web design, moving into graphic design or anything else, keep this website saved for future reference.

It’ll prove incredibly helpful if you’d like to share your work and get some quick feedback.

Behance

Behance

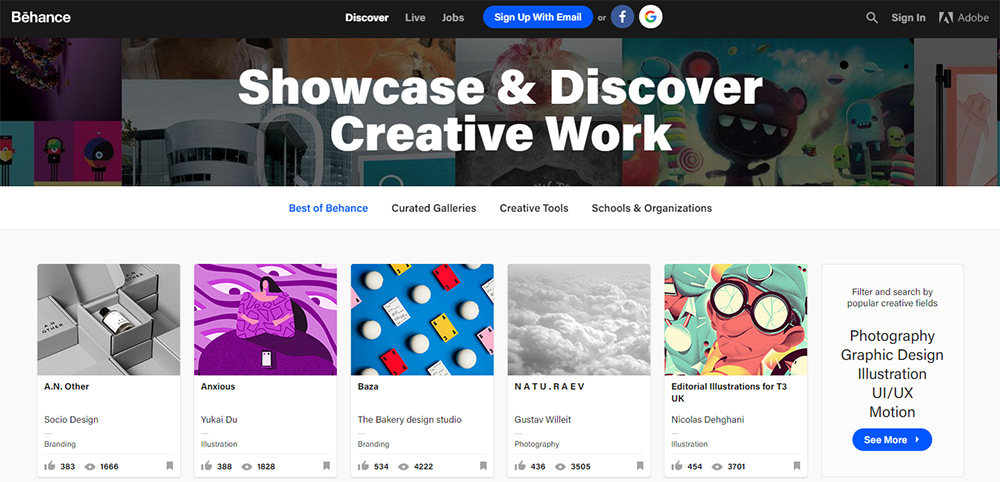
Behance is the go-to resource for anyone looking to build an online portfolio. It’s absolutely massive and might just have the largest total number of users in the digital design space.

Since it’s free, you’ll find a lot of variety. It’s also pretty darn crowded. That means you won’t have an easy time getting feedback unless you already have a number of followers (or your designs become wildly popular).

I still recommend joining and using the site as a way to develop a small following, even beyond critiques.

Dribbble

Dribbble homepage

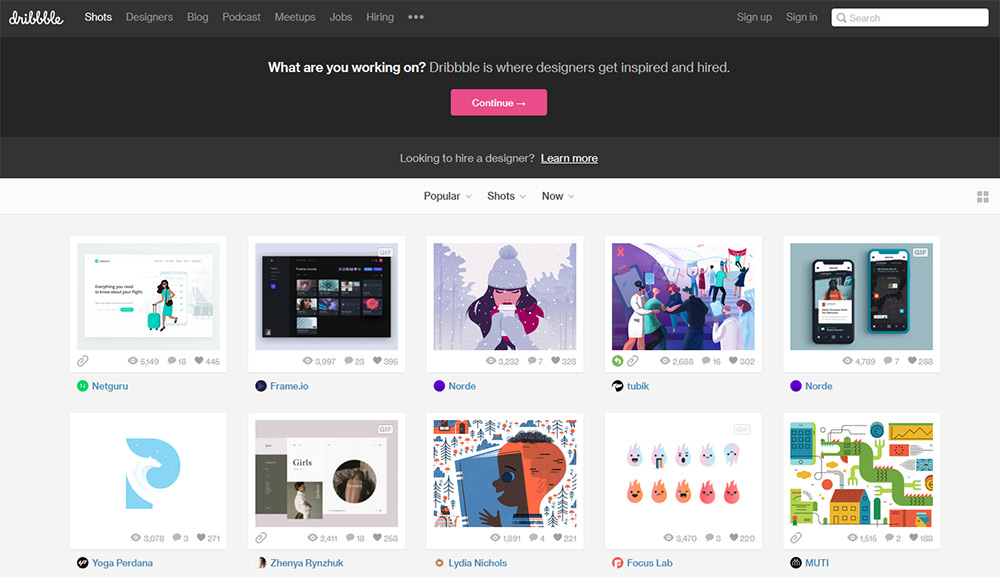
On the other side of the “online portfolios” list we have Dribbble.

This is an invite-only community of designers who publish their work pixels at a time. One nice thing about Dribbble is how active the community can be.

You’ll be surprised how many people leave comments or take the time to dig through your old “shots”. This can often lead to generic “awesome work!” types of comments that aren’t very helpful.

But if you ask for critiques in your post description, you can try to coax some honest opinions out of other designers.

Either way, if you can get an invite to the community definitely take it.

Graphic Design Forums

Graphic Design Forums

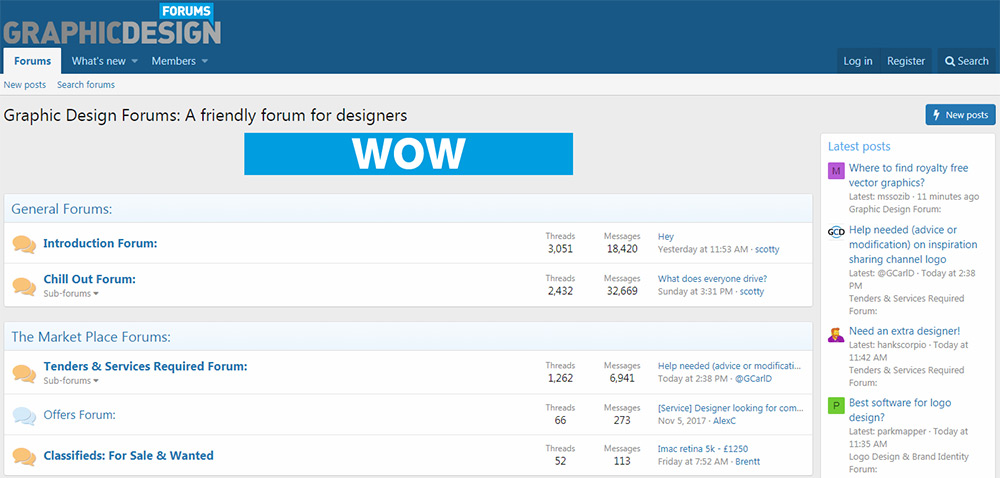
The Graphic Design Forums (GDF) is one of the web’s largest online design forums.

You can sign up for a free account and start posting right away. There’s a bunch of sub-communities regarding different topics like digital icons, illustration or UI design.

But the best place for getting feedback on your work is within the variety of critique sections. There’s one for graphic design and another for web design.

It’s not super-active, but the community can be very helpful if you describe exactly the type of critiques you’re looking for.

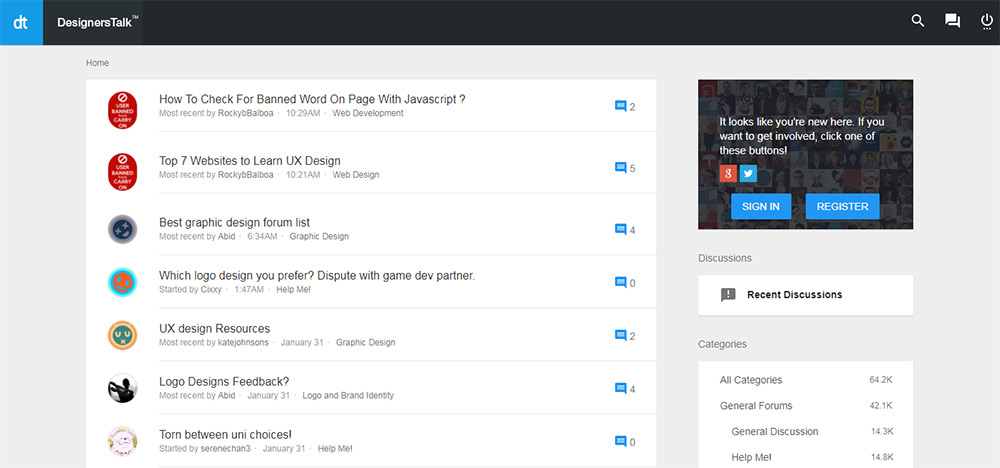
DesignersTalk

DesignersTalk Forum

Another digital design forum worth checking out is DesignersTalk. This one’s a little easier to use and it feels much smaller than GDF.

It also has a more tight-knit community, with threads being moderated a bit more closely. This relieves you from annoying spam but it can also mean that it may take longer to get replies.

I recommend joining and posting some of your work in a new thread. You could use this as a way to document your design journey or just to gather feedback from others.

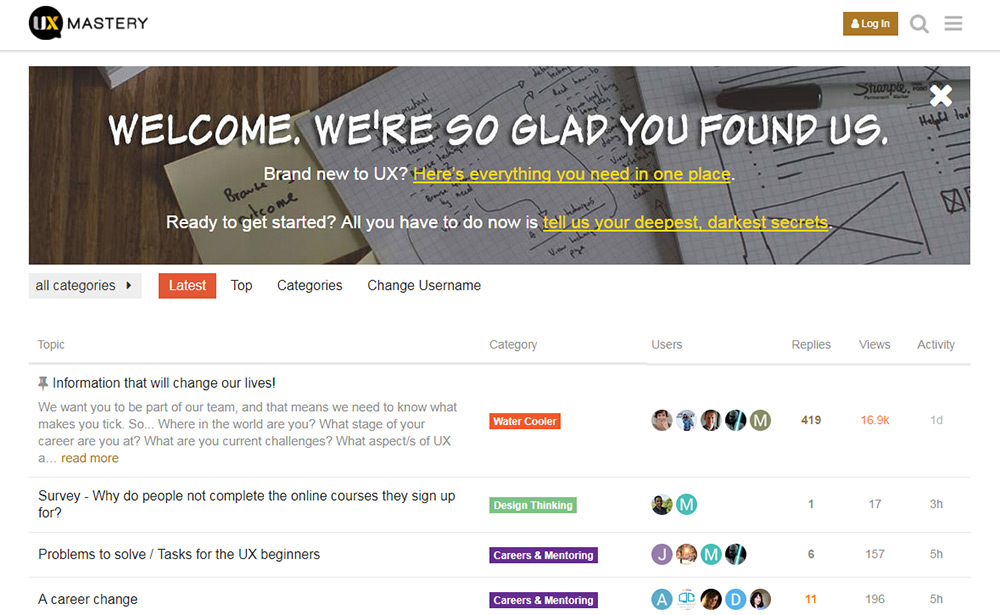
UX Mastery Community

UX Mastery Community

On the UX Mastery Community forum you’ll find plenty of relevant topics on UI and UX design.

The homepage is a little confusing, as it just lists the most recent threads with active users. But if you visit the categories page you’ll find a section for feedback – which is perfect for gathering design critiques.

Again, this community is on the smaller side. But the dedicated users stick around. And it’s those people who typically offer the most valuable advice.

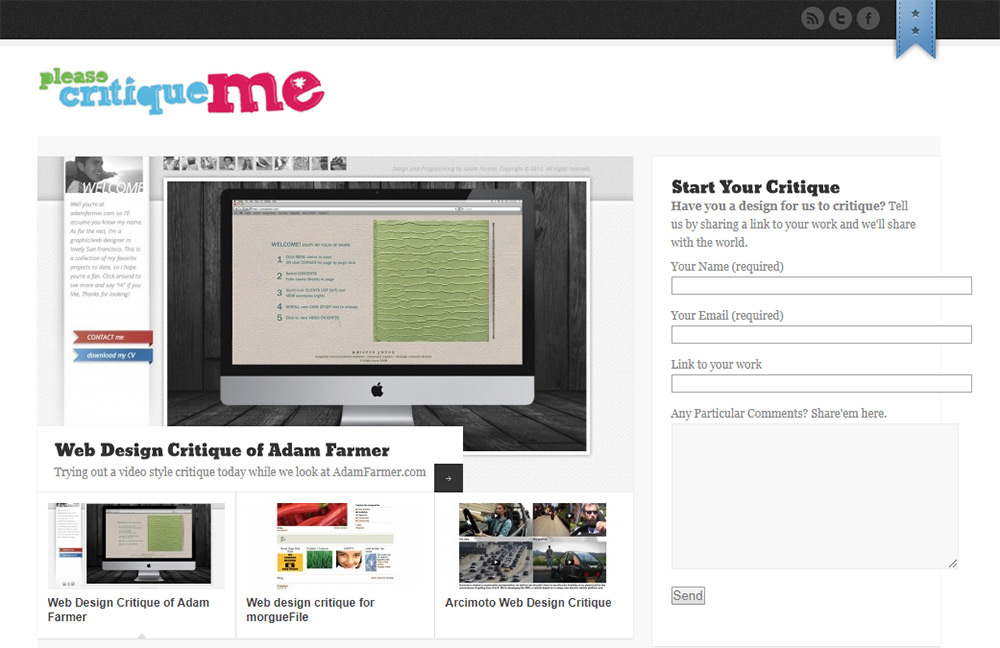
Please Critique Me

Please Critique Me

Please Critique Me is a really cool site organized much like a blog. The site is owned by the team behind OnWired, a professional design and development agency.

Whenever you submit your work to the site, they’ll offer very specific critiques on what could use improvement and how to go about doing so.

I’d say that this website is one of the best places to get quality feedback. Your work will likely live in infamy on their website, but you’ll also get some really useful advice.

I even recommend browsing their archives to read the critiques of other designs. You can learn a surprising amount from studying other people’s work.


Collective #394

Original Source: http://feedproxy.google.com/~r/tympanus/~3/qQanWuFtLoc/

C394_WOTW

Inspirational Website of the Week: Almanac

A unique design with playful effects made us pick Almanac as inspirational website of the week.

Get inspired

C394_GitLab

Our Sponsor
Manage your visual assets like you manage your code

Collaborate on design socially with resolvable image discussions within the same repositories you collaborate on code.

Read more

C394_containerqueries

Responsive Components: a Solution to the Container Queries Problem

An elegant class-based solution to the container queries problem using ResizeObserver. By Philip Walton.

Read it

C394_Sketch49

Prototyping, Libraries on Sketch Cloud and an official iOS UI kit in Sketch 49

Read about the new features in Sketch 49 including revolutionary Prototyping.

Read it

C394_tooling

Launching the Front-End Tooling Survey 2018

With the Front-End Tooling Survey, Ashley Nolan wants to gather input and shed some light on the tooling habits across the web development industry.

Read it

C394_CSSpuns

CSS Puns

Some CSS humor accompanied with animations. By Saijo George.

Check it out

C394_Thridpartycss

Third party CSS is not safe

Read why Jake Archibald suggests that third party content is simply not safe.

Read it

C394_Cssface

CSS Illustration ‘face’

Amazing CSS art made by WhitePallet.

Check it out

Screen-Shot-2018-03-01-at-21.21.40

It’s Resilient CSS Week

A video series where Jen Simmons explains step-by-step how to write CSS that works in every browser at the same time, including the old ones.

Watch it

C394_make

The Lost Art of the Makefile

Jesse Hallett writes about the merits of Make, the general-purpose build tool.

Read it

C394_font

Free Font: Vindica Rebel

A beautiful expressive typeface designed by Rubirubiko.

Get it

C394_basics

Just Starting Out with CSS & HTML

A great collection of CSS-Tricks articles for everybody who is starting out with front-end development.

Check it out

C394_color

V6: Color

The last article in a three-part series about Rob Weychert’s website redesign.

Check it out

C394_notifications

Notifications

Heydon Pickering takes a look at notification components and how they can increase confidence in the use of web applications, in an inclusive way.

Read it

C394_promts

Prompts

Lightweight and user-friendly interactive prompts that use promises and async/await.

Check it out

C394_gitdevs

A developer’s introduction to GitHub

A guide that teaches the most important pieces of GitHub that you should know as a developer.

Read it

C394_dart

Announcing Dart 2: Optimized for Client-Side Development

Read all about the reboot of Dart as a language optimized for client-side development for web and mobile.

Read it

C394_SM

How GDPR Will Change The Way You Develop

Heather Burns explains Europe’s updated data protection framework and what this means for developers.

Read it

C394_Bettercap

Bettercap

A network attack and monitoring framework with lots of features.

Check it out

C394_pinball

How we built a pinball

Read about how Merci-Michel created “Ouigo — Let’s play”, a pinball game for the browser.

Read it

C394_Sixdegrees

Six Degrees of Wikipedia

Inspired by the concept of six degrees of separation, Six Degrees of Wikipedia traverses links on Wikipedia to find the least number of clicks it takes to travel between any of the nearly six million pages.

Check it out

C394_species

The Gallery of Emerging Species

A super-cute and playful website for Play-Doh.

Check it out

C394_CSSquirks

Lesser known CSS quirks & advanced tips

In this article, Peedu Tuisk shows some CSS facts and quirks.

Read it

C394_dropcast

From Our Blog
Freebie: “Dropcast” Website Template (HTML, Sketch)

Dropcast is a responsive HTML/CSS/Javascript template, comes with Sketch files and a fully working site with SCSS. It works very well for podcasts landing pages or blogs, and can be easily customized.

Check it out

Collective #394 was written by Pedro Botelho and published on Codrops.

Visual Identity for artisan bakery LOAF

Original Source: http://feedproxy.google.com/~r/abduzeedo/~3/1DZ5f9pbGXQ/visual-identity-artisan-bakery-loaf

Visual Identity for artisan bakery LOAF

Visual Identity for artisan bakery LOAF

abduzeedo
Mar 01, 2018

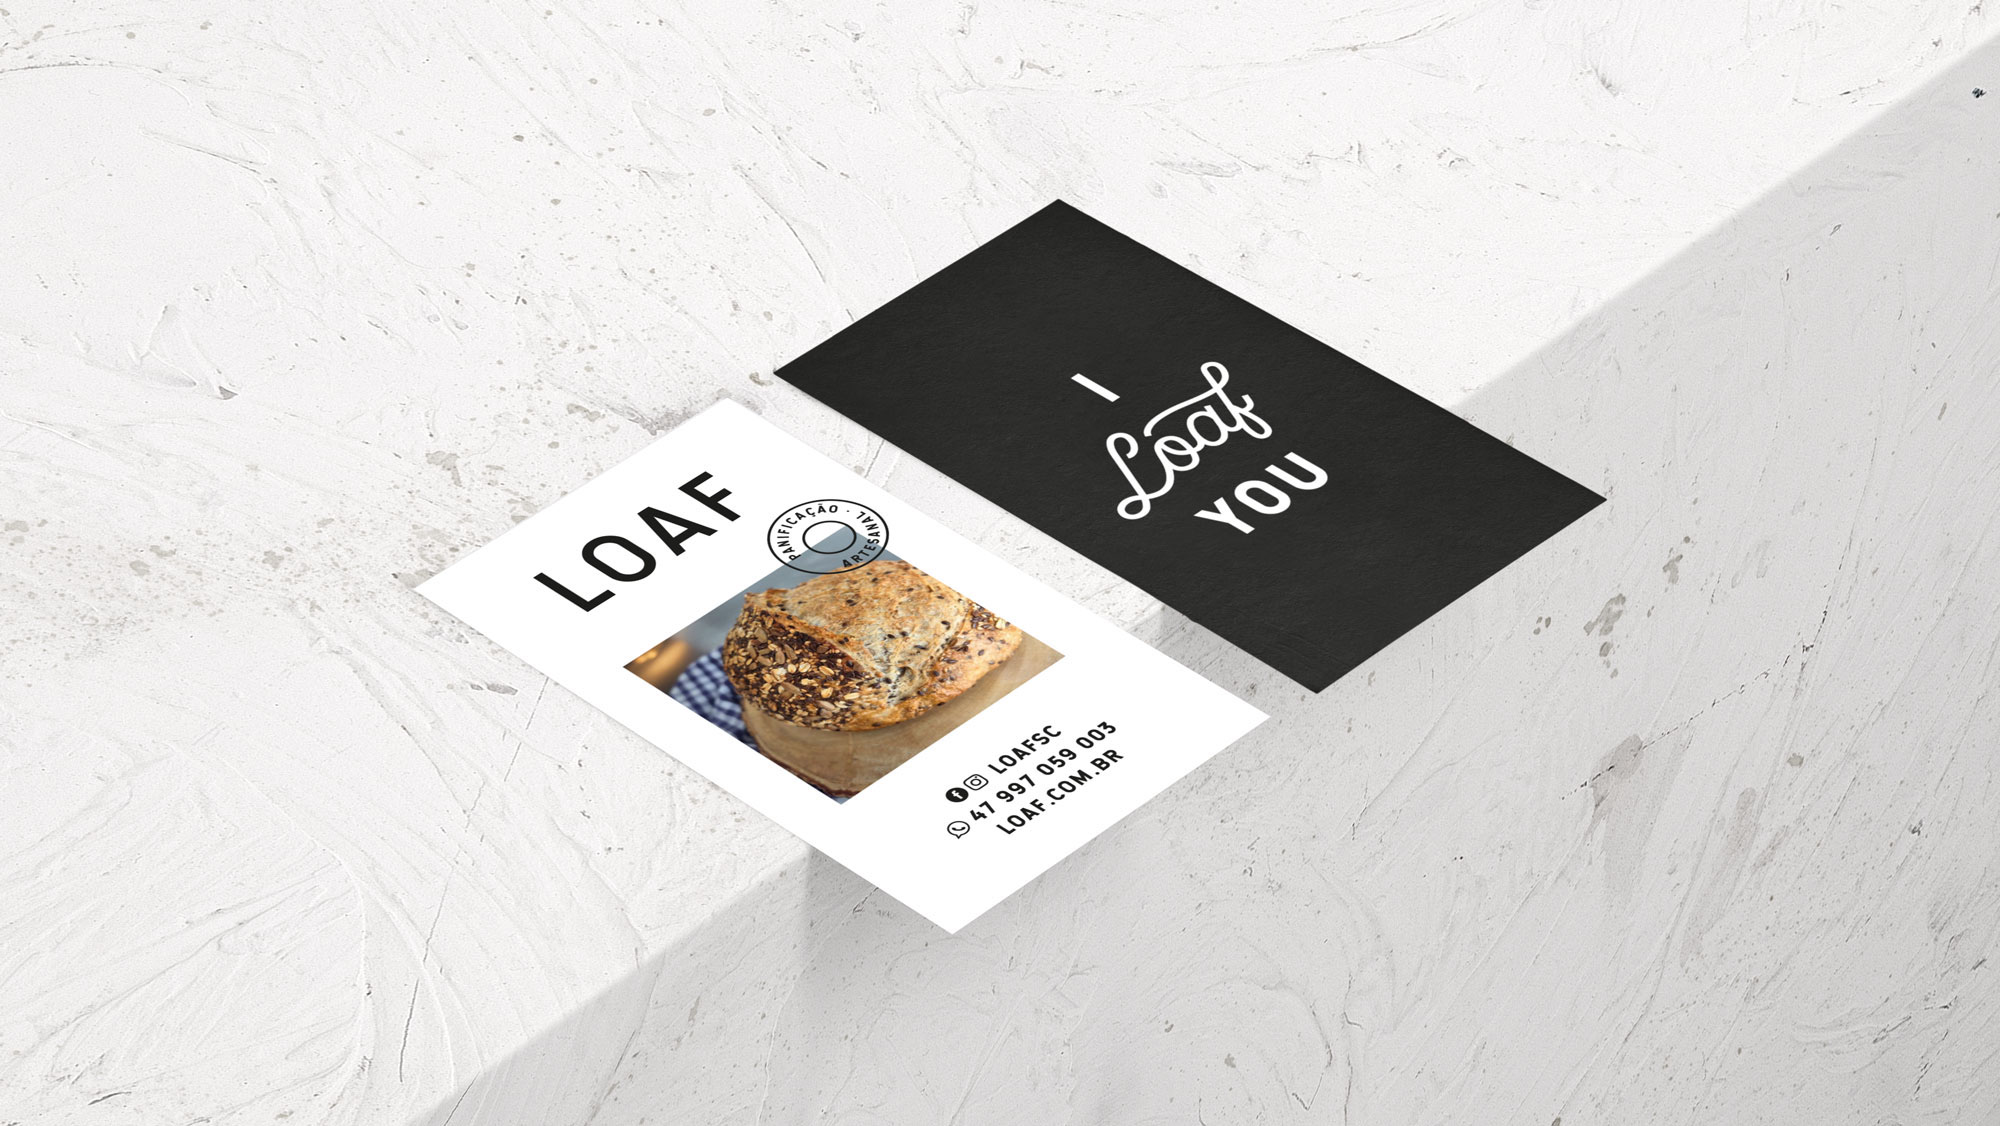
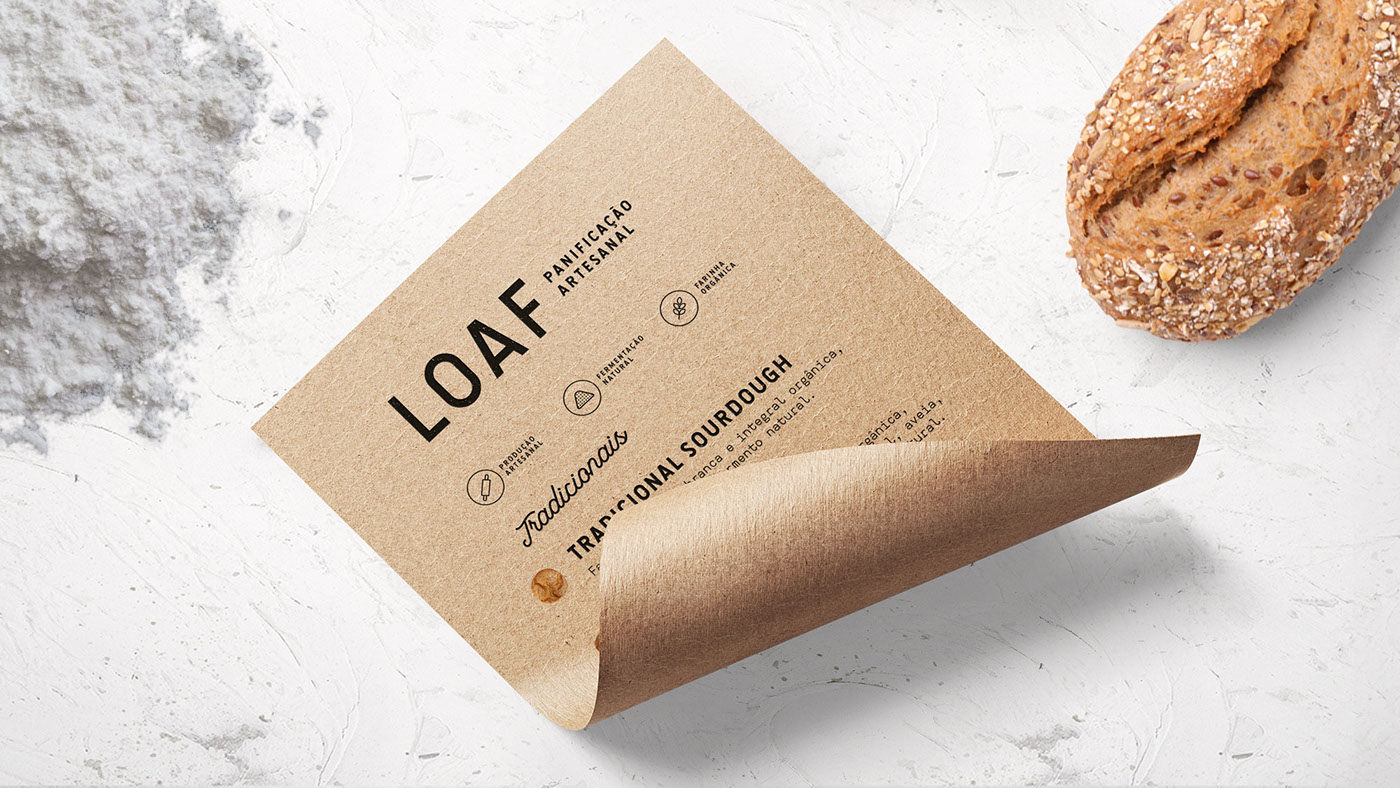
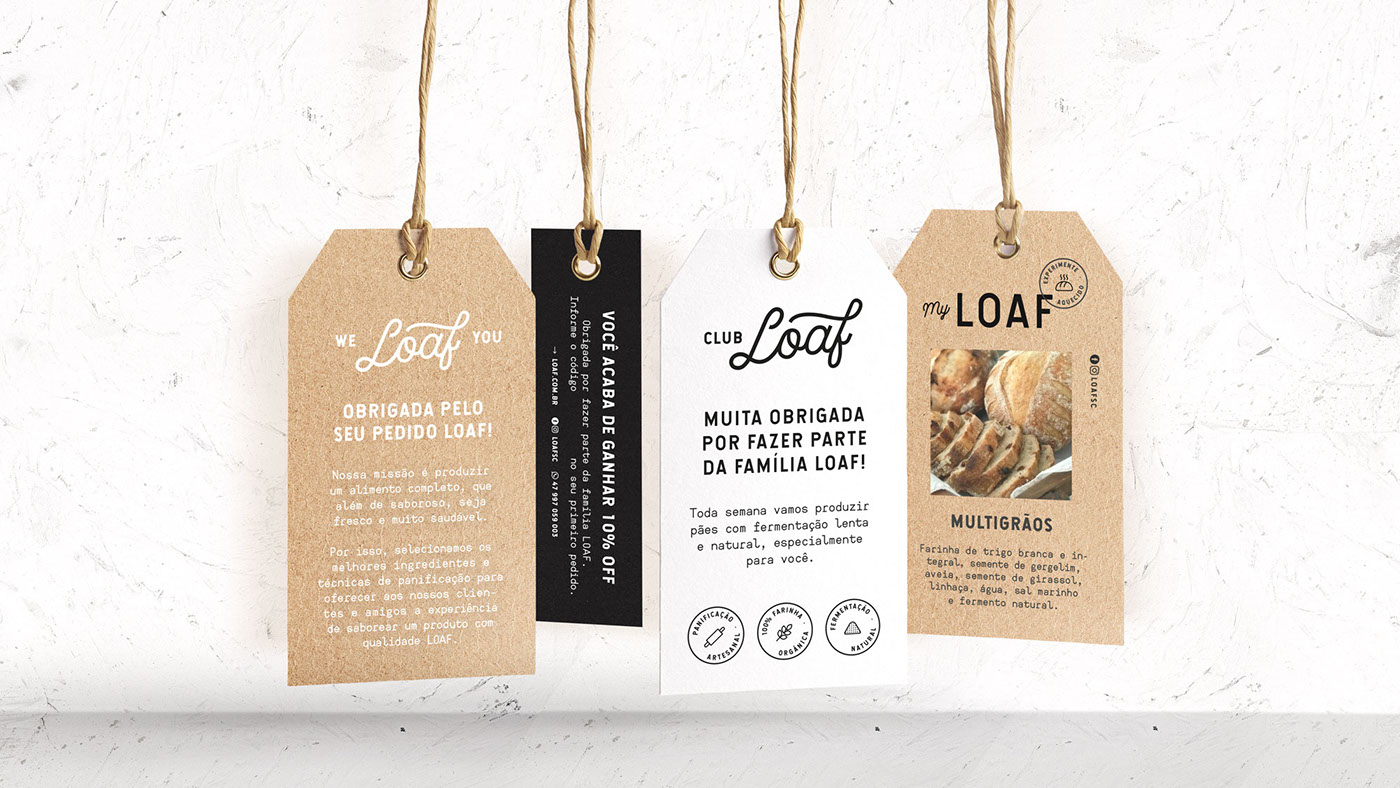
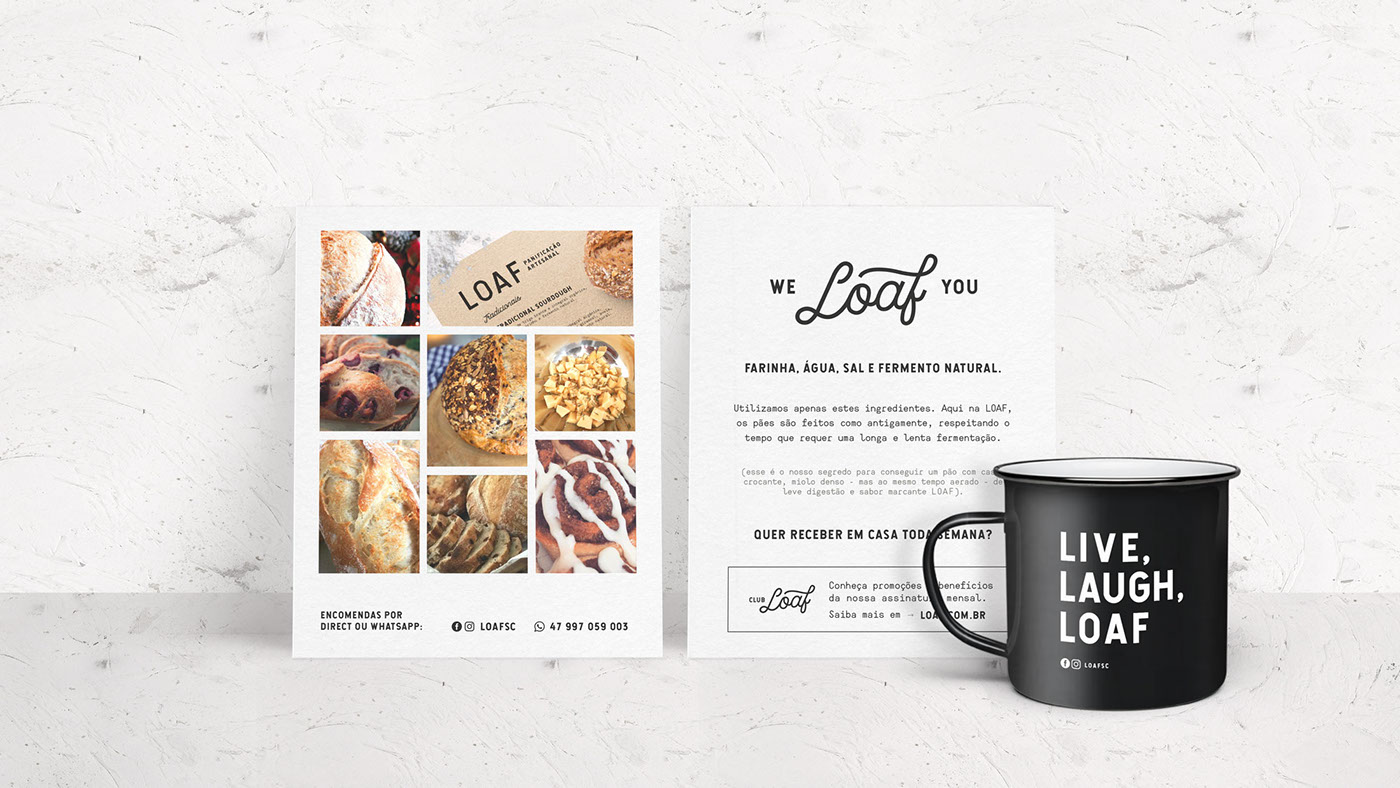
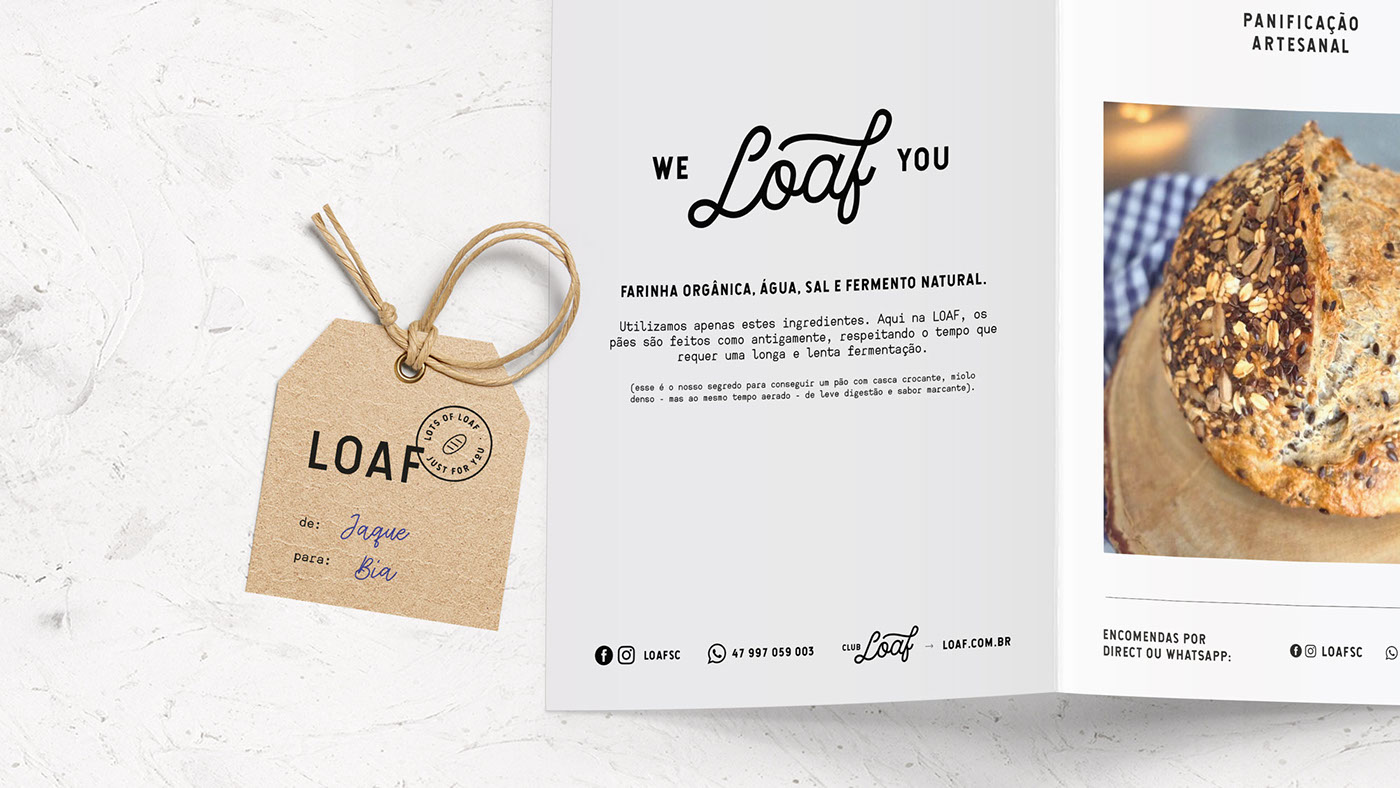
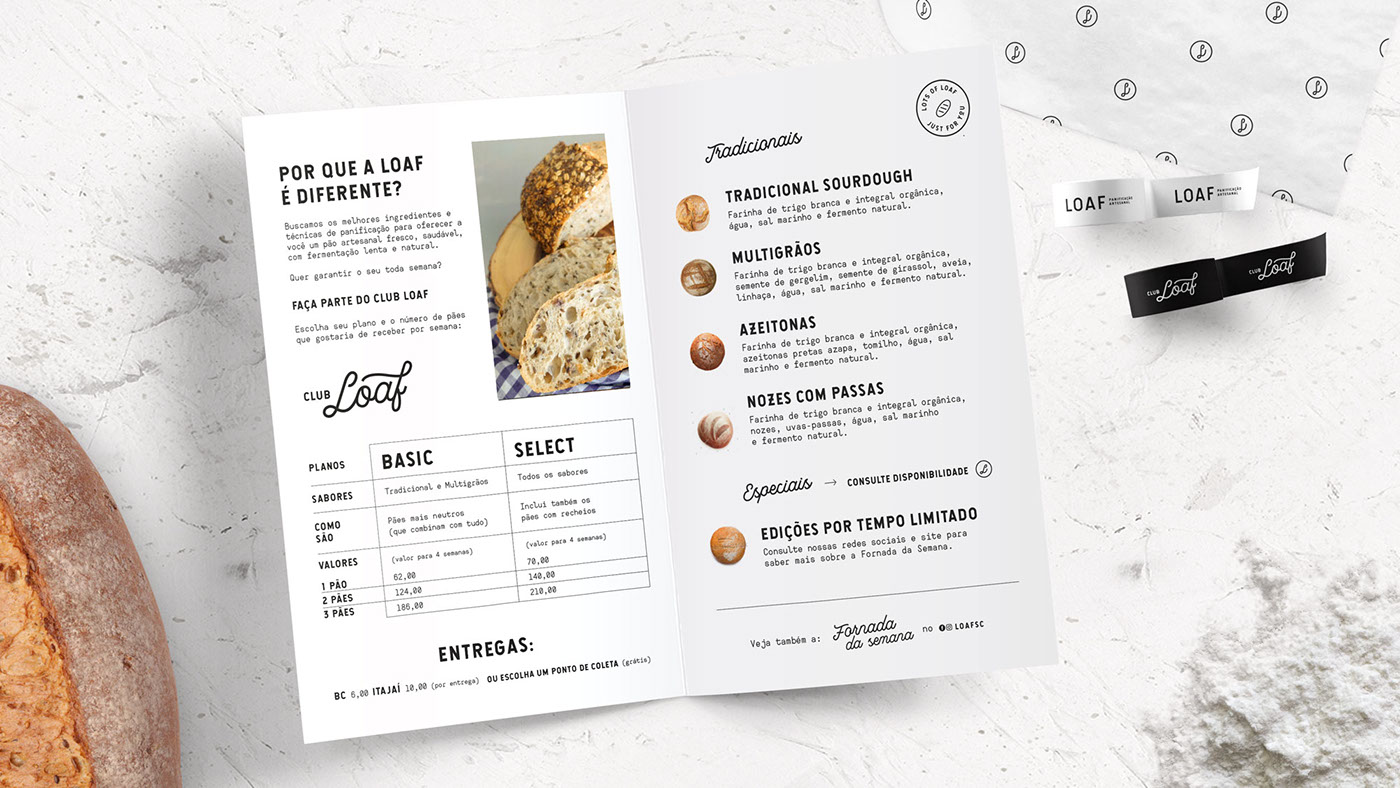
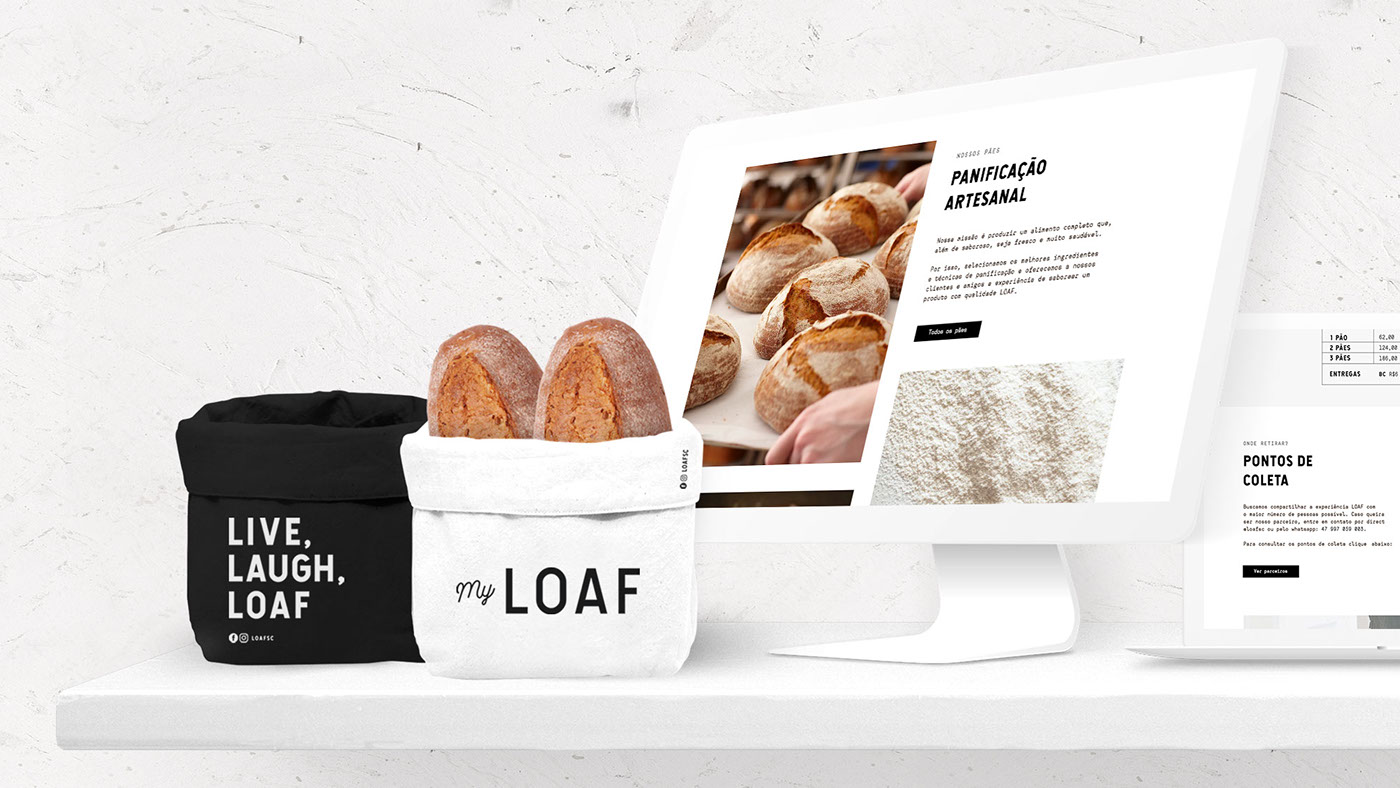
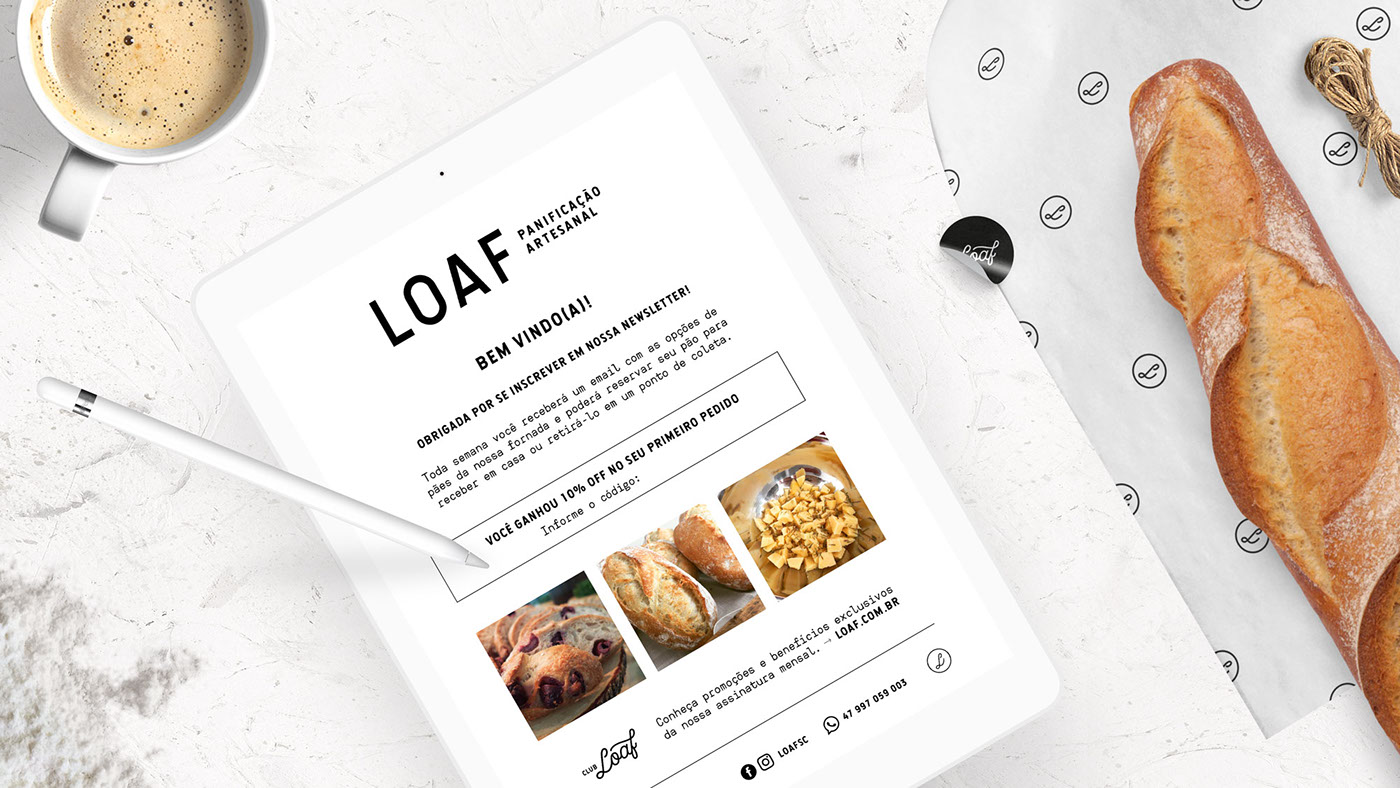
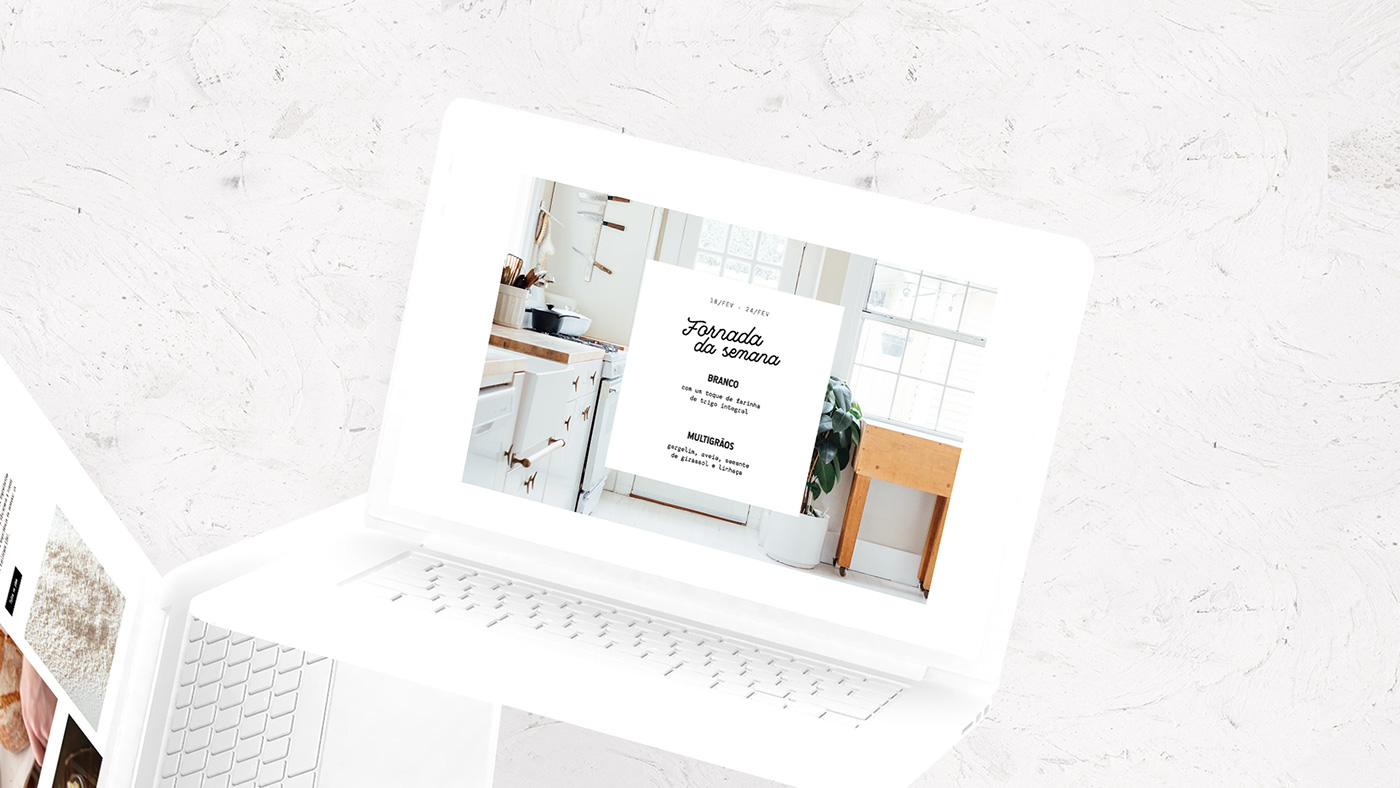
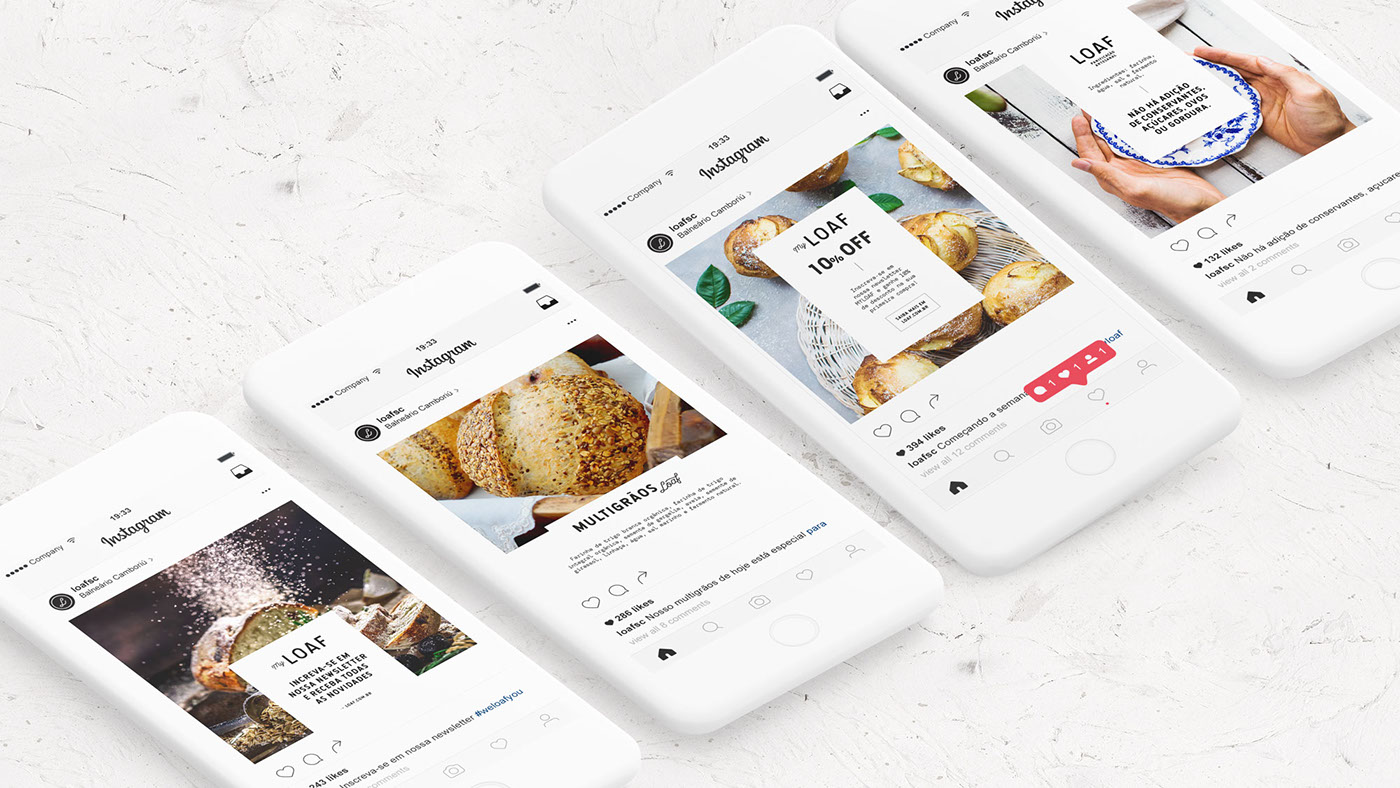
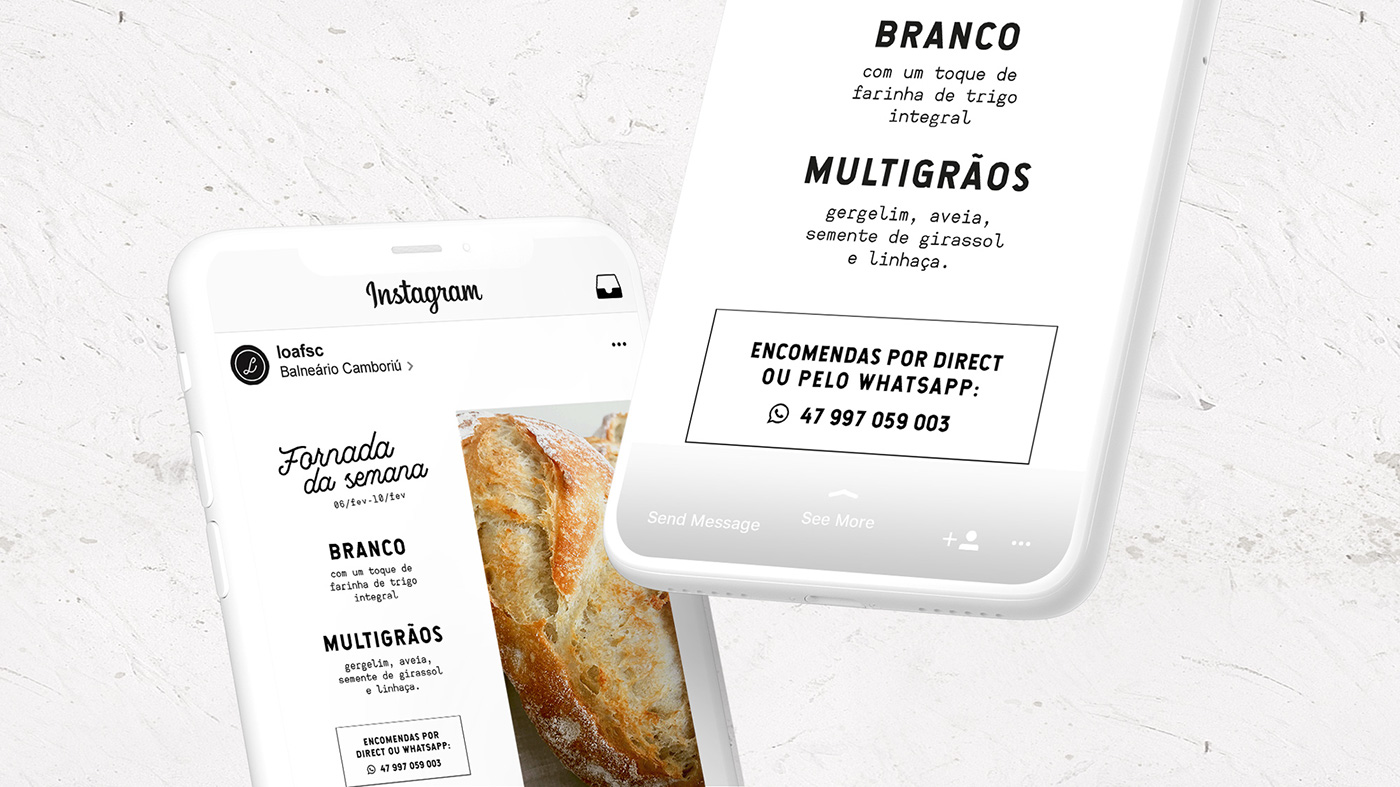
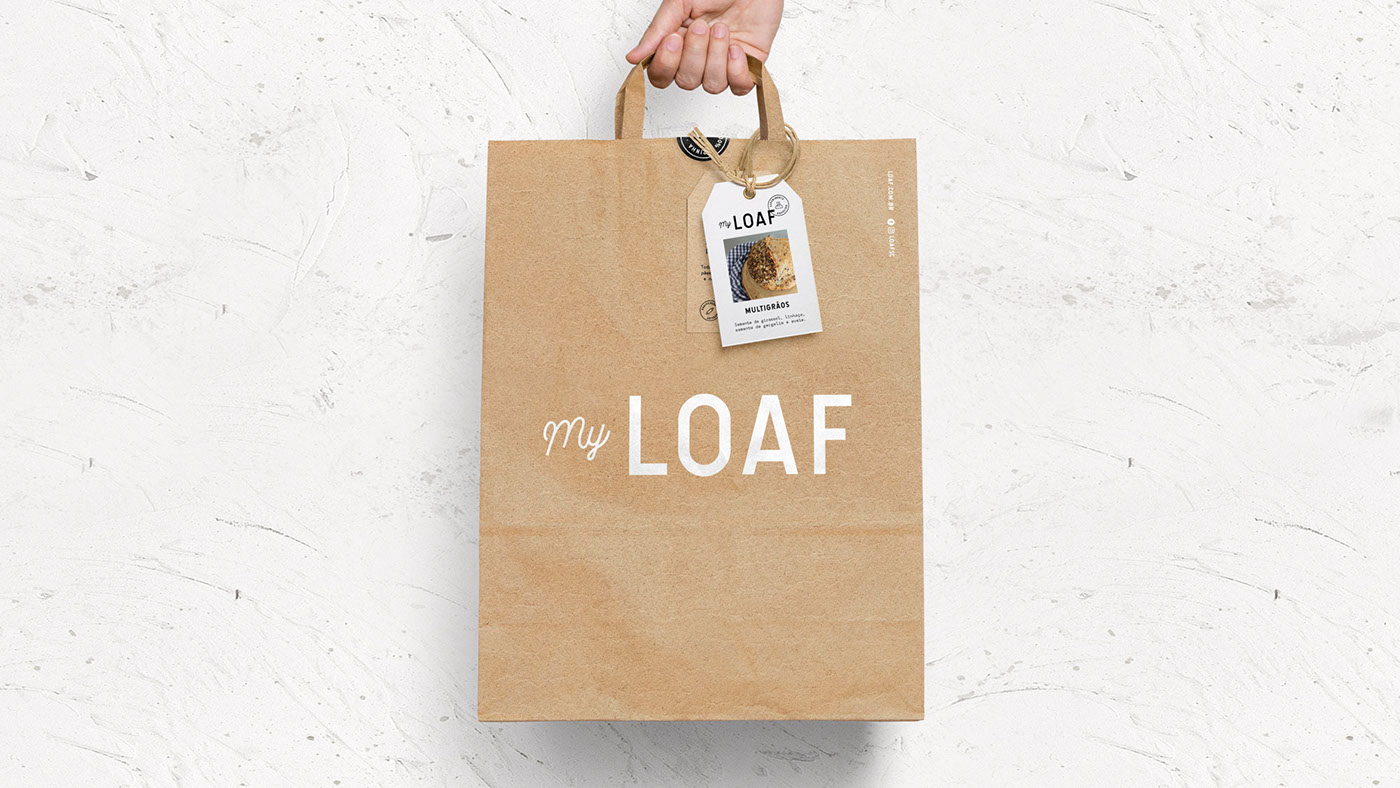
LOAF is an artisan bakery from Balneário Camboriú that produces bread with organic flour and long fermentation. This is the secret to a crusty and dense bread – but at the same time airy – with easy digestion and unique flavor of all recipes. Every week a new batch of traditional and special bread is prepared for single orders or in a monthly subscription mode – known as Club LOAF. General packaging options and layout of business cards, tags, menus, discount coupons, flyers, stickers, website, newsletter and posts to social networks were created. We strive to highlight the experience in eating a complete, healthy food, without preservatives or chemical additives  + all the LOAF caring for the visual identity.

Visual Identity

visual identity


Pay What You Want for the Complete iOS 11 Developer Bundle

Original Source: http://feedproxy.google.com/~r/Designrfix/~3/flA0YVSgpjI/complete-ios-11-developer-bundle

Times are tough and everyone is looking for ways to make some extra money. Some people would get a second job while others would do freelance work. But what if we tell you that you can make money by creating an app. Lots of money. The Complete iOS 11 Developer Bundle will guide you through […]

The post Pay What You Want for the Complete iOS 11 Developer Bundle appeared first on designrfix.com.

New coins feature A-Z of British life

Original Source: http://feedproxy.google.com/~r/CreativeBloq/~3/PUXKs3POlp0/new-coins-feature-a-z-of-british-life

26 new 10p coins have entered circulation in the UK, dedicated to celebrating everything 'quintessentially British'. Each special edition coin is based on a different letter of the alphabet, from the Angel of the North to zebra crossings.

Of course, in certain cases there has been some barrel-scraping (we guess it was a toss up between a xylophone and 'X marks the spot'), but in most cases the designers have really hit the nail on the head when it comes to capturing everything the Brits love most, including tea, the Loch Ness Monster and the NHS. 

The coin attracting most love so far is the Q, which stands for – of course – queuing. It even features a parade of tiny, etched figures queueing politely across it. 

Take a look through the full collection below – use the arrows on the right and left to navigate through the collection. 

Along with the A-Z coin range, the Royal Mint is launching a nationwide coin hunt, complete with a dedicated app – available for free on the App Store and Google Play. Numismatists (coin collectors, that is) can scan any alphabet coins they find, using their phone camera, then collate them into a digital 'collection'. The app will also reveal the locations where the rarest coins are being found. 

Find out more about the coins on the Royal Mint website (it's currently down due to high volumes of traffic… but you can always wait in the queue).

Read more:

63 best free fonts for designersWill Future Fonts change the way we buy typefaces?15 online packaging design resources

Serverless development with Node.js, AWS Lambda and MongoDB Atlas

Original Source: https://www.sitepoint.com/serverless-development-with-node-js-aws-lambda-and-mongodb-atlas/

This article was originally published on mongoDB. Thank you for supporting the partners who make SitePoint possible.

The developer landscape has dramatically changed in recent years. It used to be fairly common for us developers to run all of our tools (databases, web servers, development IDEs…) on our own machines, but cloud services such as GitHub, MongoDB Atlas and AWS Lambda are drastically changing the game. They make it increasingly easier for developers to write and run code anywhere and on any device with no (or very few) dependencies.

A few years ago, if you crashed your machine, lost it or simply ran out of power, it would have probably taken you a few days before you got a new machine back up and running with everything you need properly set up and configured the way it previously was.

With developer tools in the cloud, you can now switch from one laptop to another with minimal disruption. However, it doesn’t mean everything is rosy. Writing and debugging code in the cloud is still challenging; as developers, we know that having a local development environment, although more lightweight, is still very valuable.

And that’s exactly what I’ll try to show you in this blog post: how to easily integrate an AWS Lambda Node.js function with a MongoDB database hosted in MongoDB Atlas, the DBaaS (database as a service) for MongoDB. More specifically, we’ll write a simple Lambda function that creates a single document in a collection stored in a MongoDB Atlas database. I’ll guide you through this tutorial step-by-step, and you should be done with it in less than an hour.

Let’s start with the necessary requirements to get you up and running:

An Amazon Web Services account available with a user having administrative access to the IAM and Lambda services. If you don’t have one yet, sign up for a free AWS account.
A local machine with Node.js (I told you we wouldn’t get rid of local dev environments so easily…). We will use Mac OS X in the tutorial below but it should be relatively easy to perform the same tasks on Windows or Linux.
A MongoDB Atlas cluster alive and kicking. If you don’t have one yet, sign up for a free MongoDB Atlas account and create a cluster in just a few clicks. You can even try our M0, free cluster tier, perfect for small-scale development projects!).

Now that you know about the requirements, let’s talk about the specific steps we’ll take to write, test and deploy our Lambda function:

MongoDB Atlas is by default secure, but as application developers, there are steps we should take to ensure that our app complies with least privilege access best practices. Namely, we’ll fine-tune permissions by creating a MongoDB Atlas database user with only read/write access to our app database.
We will set up a Node.js project on our local machine, and we’ll make sure we test our lambda code locally end-to-end before deploying it to Amazon Web Services.
We will then create our AWS Lambda function and upload our Node.js project to initialize it.
Last but not least, we will make some modifications to our Lambda function to encrypt some sensitive data (such as the MongoDB Atlas connection string) and decrypt it from the function code.

A Short Note About VPC Peering

Continue reading %Serverless development with Node.js, AWS Lambda and MongoDB Atlas%

Will Future Fonts change the way we buy typefaces?

Original Source: http://feedproxy.google.com/~r/CreativeBloq/~3/h3X6uKMyfaI/will-future-fonts-change-the-way-we-buy-typefaces

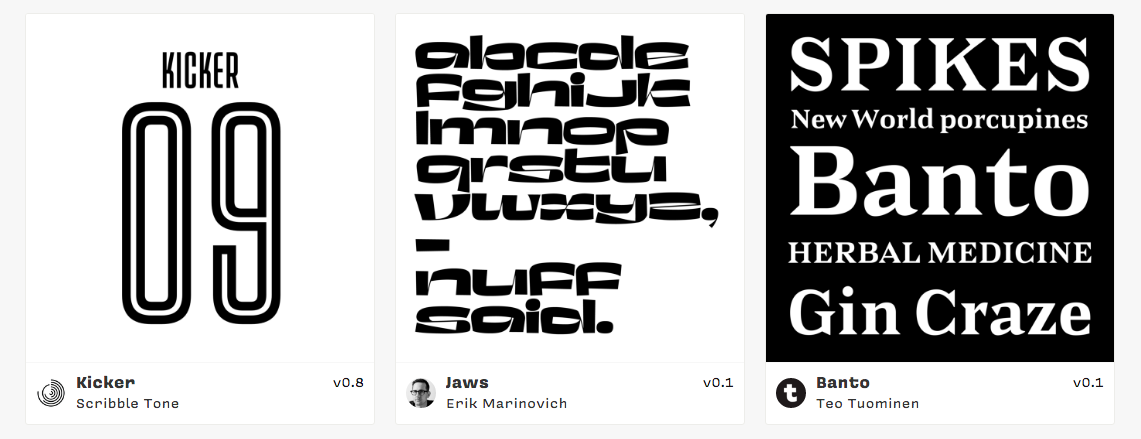
A new site has launched that offers exciting new opportunities for type designers and buyers, and could revolutionise the way we buy and sell fonts. Future Fonts is a marketplace for work-in-progress fonts, where you can buy workable early versions of the newest typefaces for bargain prices.

The long – and therefore expensive – process of designing a full typeface makes it an unsustainable venture for many creatives. And the (justifiably) high prices of the resulting work can put off prospective customers – especially when there are so many great free fonts around. In short, the industry is due a shake-up. 

The software industry adopted a similar approach years ago, and there's no reason why it couldn't work equally well for type design. Here are four reasons the Future Fonts model could be the best thing that's happened to the type industry for a while.

01. Access to the newest fonts

All the typefaces on Future Fonts are still being developed, which means they're just about the freshest typefaces around– and they won't have been used in a million ads or branding campaigns already. 

As well as helping graphic designers stay ahead of the curve when it comes to typography trends, there are benefits for type designers too. Only the best ideas will attract attention and customers, so this is a great way to see early on if there's a market for your design.

02. Buy in early for discounts (and free updates)

Often, to get exactly what you want, you need to shell out – and the best typefaces don't come cheap. With Future Fonts, the price of a typeface goes up with each updated release. 

If you spot a typeface you like, you can purchase it for an early bird price, then get free updates as they're released. If you have a good eye for fonts, this is a win-win way to keep your designs fresh without devaluing the creative process.

03. Help fund the design process

As any type designer will know, the process of designing a fully functional typeface is a long and arduous one. This new model effectively means customers can help fund typographers by purchasing their work earlier on in the design process. 

A more sustainable process lowers the barriers to entry into the type design industry, so more budding designers can get involved. And that's a good thing for everyone. 

04. Collaborative approach to design

Future Fonts promises to make type design a more collaborative effort. It's an online community space for type designers and fans, where experts can share their expertise by commenting on other works in progress. 

Although the site doesn't require type designers to finish every project, the moral and financial support provided by this approach aims to help type designers on their way over the finish line.

If you're intrigued, you can find out more in this Medium post.

Read more:

5 tips for better typesetting12 fun fonts to liven up your design projects50 top typography tutorials

Magic Password Revolutionizes WordPress Security

Original Source: https://www.webdesignerdepot.com/2018/02/magic-password-revolutionizes-wordpress-security/

Properly protecting the security of your website has to be number 1 on everybody’s digital checklist. Unfortunately, security is only as strong as the weakest link in the chain, and that weakest link is usually your password.

It’s a fact of digital life, that thanks to the vast number of logins we have to recall, most people use a variation on their “master” password: using “passwordLI” for LinkedIn, “passwordE” for email, “passwordFB” for Facebook. It doesn’t take an AI with advanced machine learning to work out that your WordPress password is “passwordWP”—although worryingly, that AI does exist.

Cue Magic Password…

Magic Password is a revolutionary WordPress plugin that takes a radically different approach to site security by ditching the password altogether!

Password-less authentication has already been pioneered by SaaS like Slack, and Magic Password takes the concept to new heights with its implementation for WordPress. All you need is the smartphone app—which is available for both Android and iOS—and the Magic Password plugin. Both the app, and the plugin are completely free.

Magic Password is one of those rare plugins that’s so useful, you expect WordPress to buy it and build it into the core code.

Once the plugin is installed in your WordPress site, and the app is synced, all you need to do to log into your site is take out your smartphone and scan the Magic code displayed on your login screen. It’s as simple and secure as that; the only person who can access your account is you.

Using Magic Password to login is really easy. Not as easy as typing a password, but easier than trying to remember a different, secure password each week, and certainly easier than two-factor authentication.

If you’re someone who prefers to access WordPress on a mobile device, then Magic Password is even simpler: simply tap the screen and you’re logged in. Super-easy to do and extra secure when you combine it with your phone’s built-in security features like Face ID or fingerprint scanning.

It’s an incredibly convenient process, but Magic Password’s real benefits come from its contribution to your site’s security measures.

The sad reality is that passwords can, and do get hacked. And we make things easier for hackers because human beings are predictable. Hackers know your password is probably 8 characters plus or minus 2, and that it probably ends in a number.

Magic Password completely rewrites the rules by changing the whole login process: The latest end-to-end encryption means login credentials are all but impossible to hack; With no password to type you aren’t vulnerable to a keylogger attack; Brute-force attacks are blocked thanks to limited login attempts; Magic Password doesn’t rely on database or local file storage, your login credentials aren’t stored anywhere, which means there’s simply nothing to steal.

If hackers were taking aim at your site login, they’ll now find themselves looking at a moving target.

One of the most common points of failure in any security plan is a particular user’s lack of caution. It doesn’t matter how diligent you are, if Darren in marketing insists on using “FutureMrBeyonce” as his password on every single site, sooner or later your details will be compromised. Magic Password can be used by anyone on your team, in fact one of the latest features is the ability to require all subusers to login with Magic Password; so you can be confident that Darren’s optimistic password policy won’t wreck your security.

What’s more, the Magic code generated by the plugin and scanned by the phone app is constantly updated on the backend by the app. If hackers were taking aim at your site login, they’ll now find themselves looking at a moving target. As an added bonus, you won’t have to update your login every week “just in case”.

Magic Password is one of those rare plugins that’s so useful, you expect WordPress to buy it and build it into the core code.

You can download the plugin and the app for free.


[– This is a sponsored post on behalf of Magic Password –]

Add Realistic Chalk and Sketch Lettering Effects with Sketch’it – only $5!

Source

p img {display:inline-block; margin-right:10px;}
.alignleft {float:left;}
p.showcase {clear:both;}
body#browserfriendly p, body#podcast p, div#emailbody p{margin:0;}
Paint an expressive still life in acrylics

Original Source: http://feedproxy.google.com/~r/CreativeBloq/~3/o_71n5BvdB0/paint-an-expressive-still-life-in-acrylics

Still life isn’t everybody’s cup of tea – it takes a certain set of painting techniques – but for me it's always been a favourite. I like having complete control over the colours and style of the setup, the objects, drapes and the way they all work together.

Flowers from the garden are a must, and in this painting the retro coffee pot and cups really set the colour and tone. I take my time to get the setup just right. I am aiming for a very relaxed painting, without lots of detail but hopefully with lots of life and energy.

First, I create an underpainting using vibrant and sometimes contrasting colour. I build the painting in layers. Working at speed firstly with a large brush and then a palette knife I capture the mood with expressive marks, vibrant colour and texture.

01. Start bold

Rough painting of still life

A base layer can be very rough

Using a decorator's brush, I start the painting with some bold colour. This is the underpainting – the first layer of paint that will provide a colourful base over which to work later on. I am not worried about drips and don’t want any detail, just lots of vibrant colour.

02. Find the composition

Roughly painted objects on a table

A simple viewfinder can nail down the composition

In these early stages, I am using a viewfinder – a piece of card with a window cut out to the same shape as my board. I can shut one eye and look through to see the composition. This is very helpful as I start to draw in the objects with the brush.

03. Look for shapes

Table of roughly painted objects

Don’t forget to focus on negative space

As I apply the vibrant colour, I am looking for shapes. Not just the shapes of the objects themselves, but the spaces between them – the negative shapes. Just a few simple marks help me to plot the composition. I am keeping it all very free and working over the whole board.

04. Cover up

Woman painting still life

Build the whole board up at the same time

The white of the board is nearly all covered now and the colours are rich. As the darker tones are added, the objects are becoming more obvious. I am gradually working over the whole board, trying not to concentrate on any details, just the basic shapes. The flowers are simplified blocks of colour.

05. Keep it sketchy

Rough painting with darker colours

Details can be carved out of thick paint

I'm using the paint thickly now and it is still wet as I draw into it with the end of an old brush. This creates a textural surface as I pick out some sketchy detail in the coffee pot. This is still the underpainting and I’m excited to see the gorgeous colour and texture coming together.

06. Add more colour

Rough painting with added blues and greens

Bold colours are blocked in with a broad brush

Going back in with the broad brush, I add more colour on the tabletop and among the flowers. There is a white cloth on the table in my setup, but at the moment in the painting it is green and blue. The white will be added later. Using the end of an old brush, I scratch in to the flowers.

07. Coffee break

Rough underpainting of a vibrant still life

Once the underpainting’s done it’s time for a pause

At this stage I am finishing the underpainting. I give a little more definition to the coffee pot and fruit and add some more foliage. Keeping the painting very free and sketchy, I have created a colourful textural surface and the basic elements of the composition are there. It's time for a cuppa before I switch to my palette knife.

08. Use a palette knife

Still life with pale colours

Pale colours are scraped on with a palette knife

Using a palette knife to apply the paint, the background drape is now a soft green, with a little of the orange showing through. The cloth is now white. The palette knife with thick paint picks up the texture of the underpainting. Using it lightly, I leave some of the vibrant colours to show through.

09. Add a little detail

Rough still life with signs of definition

Working with a knife keeps the composition loose

With the knife I can continue to work freely without getting bogged down with too much detail. I’m still looking for the negative shapes as I paint around the objects, and the green on the table helps the coffee pot and cups stand out. I add a little detail to the objects but keep it simple.

10. Keep it clean

Still life with vibrant flowers

Contrasting tones help the colours to pop

The dark tones of the vase help the light and vibrant flowers to stand out. I paint the flowers with the palette knife, making sure I keep it clean. I paint directly and at speed, keeping the colours fresh and the marks clean. I use the shape of the knife to describe the shape of the petals.

11. Know when to stop

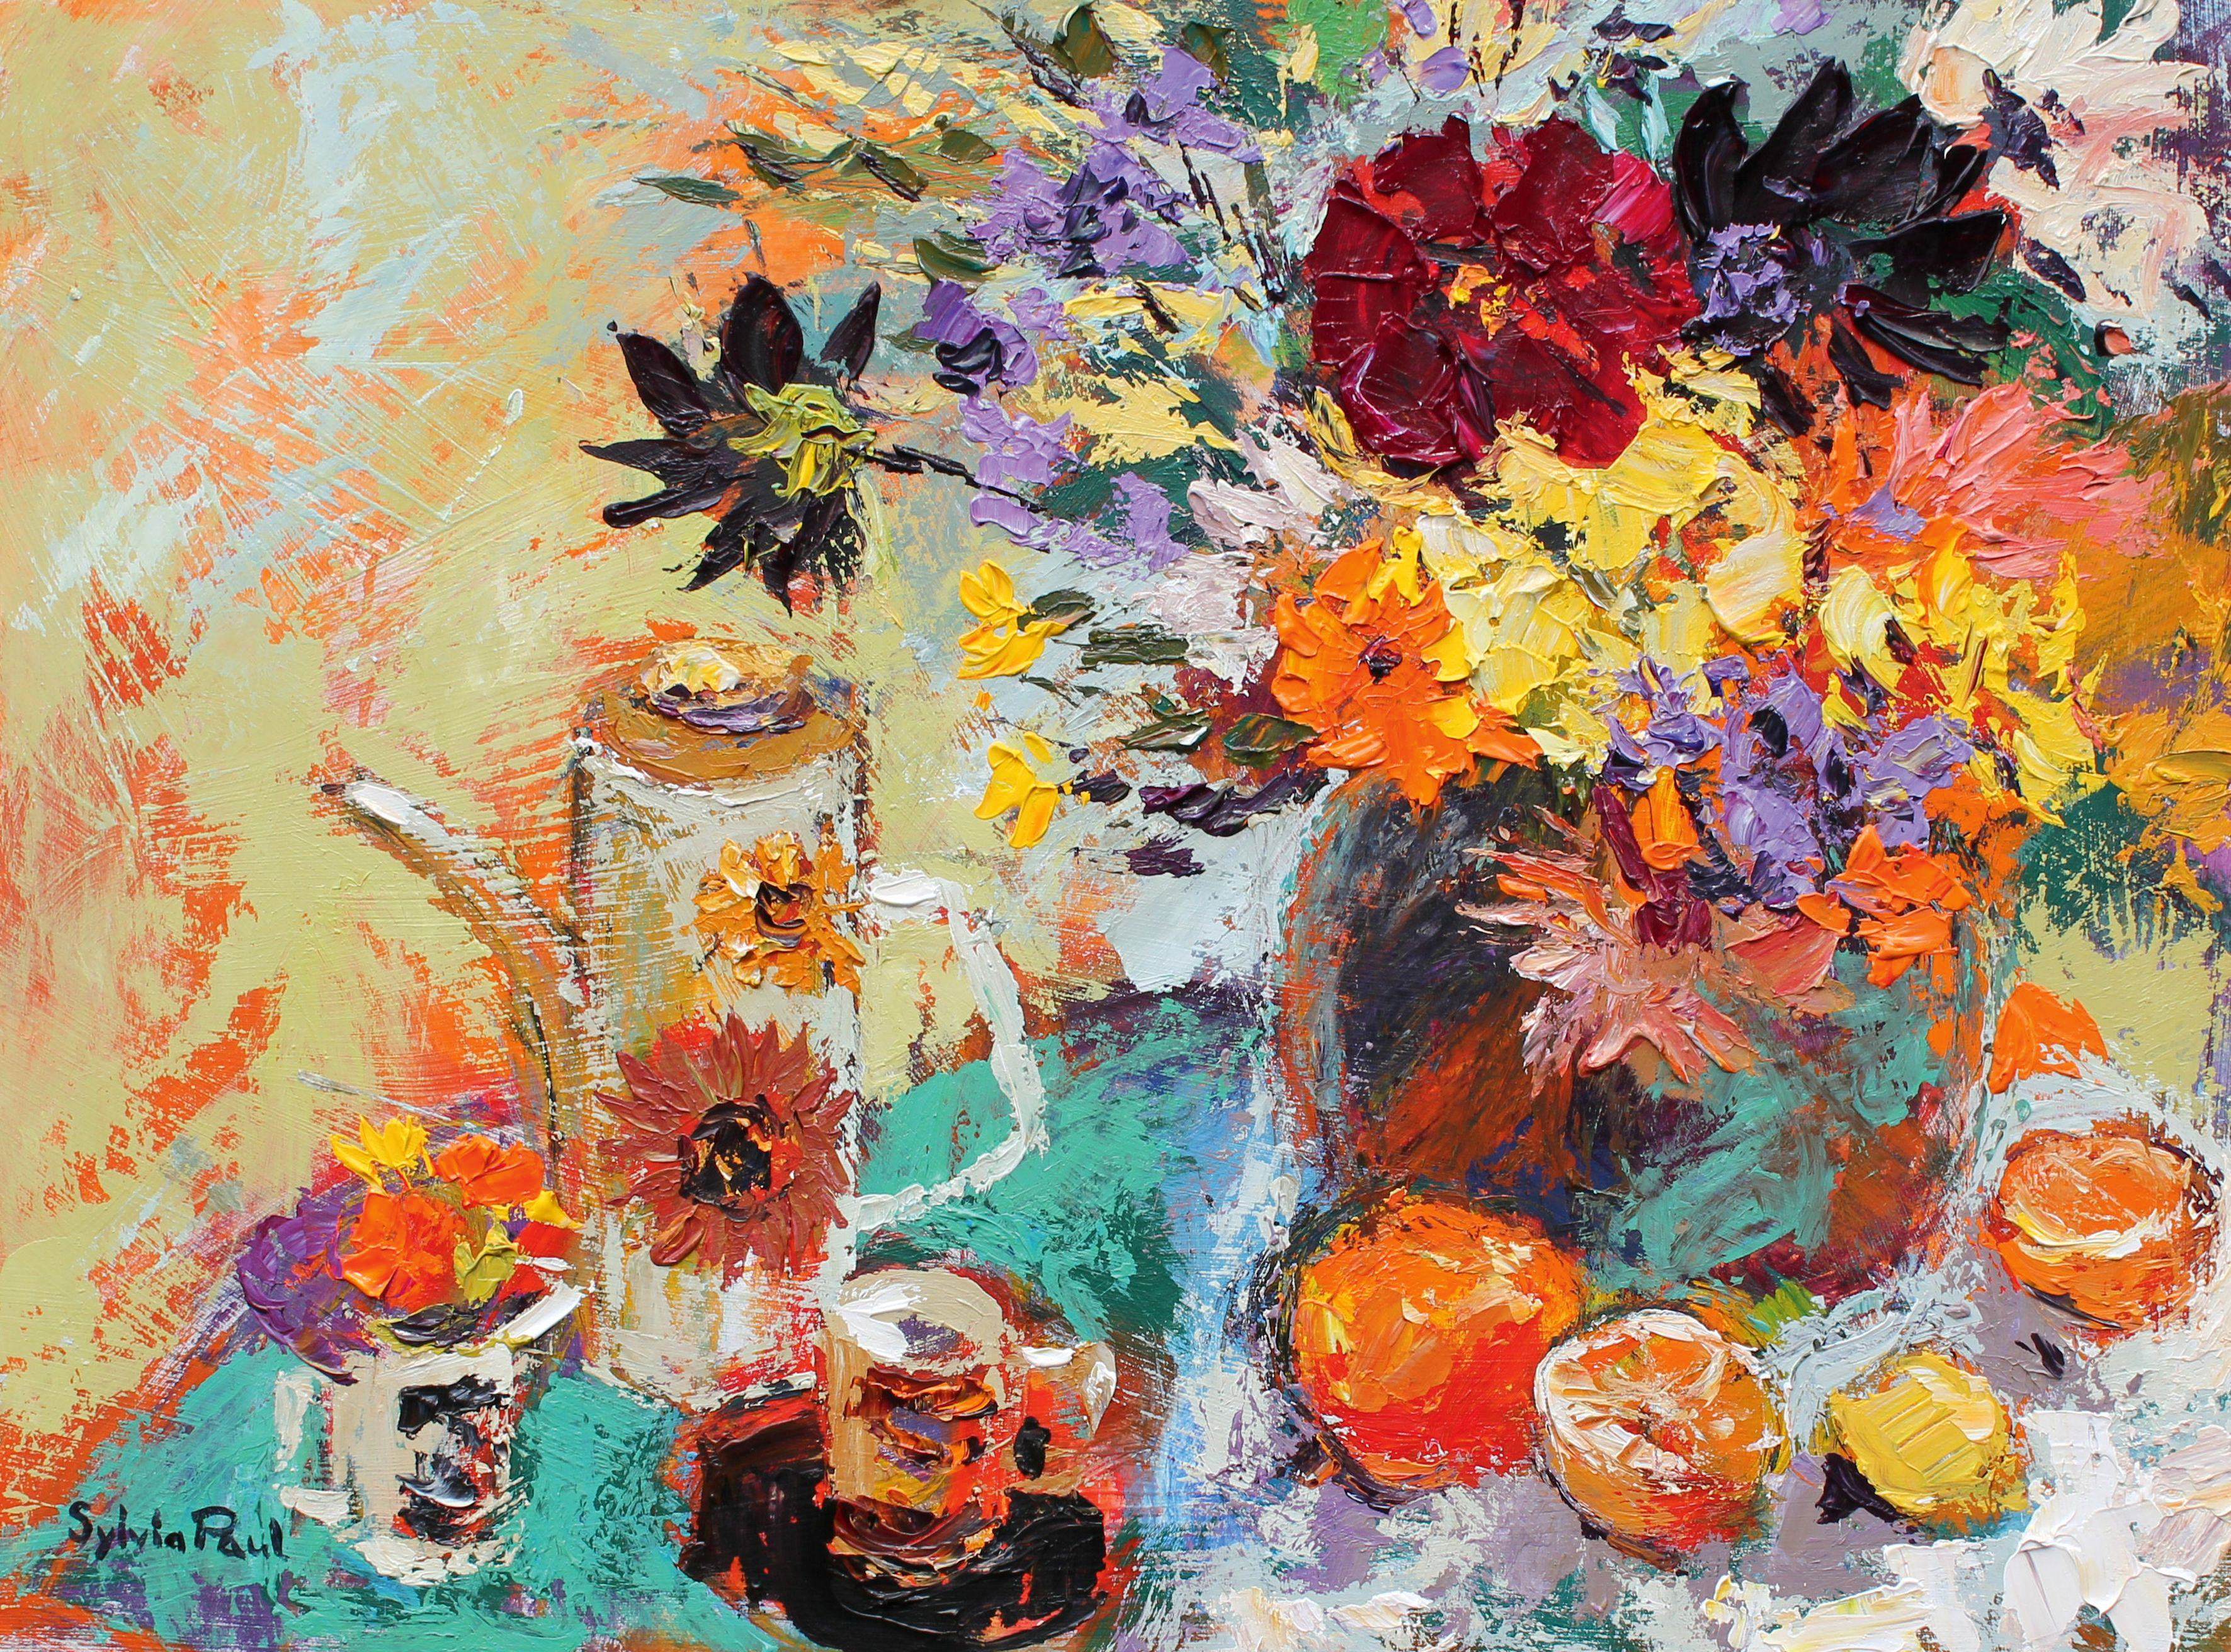
Vibrant still life of flowers, a jug, and fruit

Be careful not to over-work the painting

It can be hard to know when a painting is finished. I remind myself of what I wanted to achieve. I wanted to capture a mood with expressive marks, vibrant colour and texture – I wasn’t aiming for detail or precision. There comes a point when to carry on working on a painting would ruin the vitality and muddy the colour.

This article was originally published in issue 13 of best-selling magazine Paint & Draw, offering tips and inspiration for artists everywhere.

Related articles:

Sharpen your still life painting skills4 important tips for painting a still life sceneStill life photography: 30 beautiful examples