11 Windows 11 (22H2) Tips You Should Know
Original Source: https://www.hongkiat.com/blog/windows-11-tips-tricks/
Windows 11 got updated recently! After the developer release of Windows 11 22H2 got published in early 2022, Microsoft introduced a bunch of new features targeting its user community. That is, Windows 11 22H2 packs in a whole list of features, fixes, and improvements everyone was waiting for — including me.
Surprisingly, there is a proliferation of features targeted towards home users like us. You can access some of these features via Windows Settings, but some features require additional applications or configuration.
I’ve compiled this post to share with you some hidden gems – trips, tricks, and hacks – to help you make the most out of Windows 11 experience. So, let’s get on.
Table of content:
Installing Windows 11 without Microsoft account.
How to create a local account.
Utilize ‘Do Not Disturb’.
Configuring DND and Focus in Windows 11.
Configuring the Start menu in Windows 11.
How to disable the Widgets panel in Windows 11.
Enabling Voice Access in Windows 11.
Enabling Live Captions in Windows 11.
Enabling the game optimizations in Windows 11.
Enable Efficiency mode for apps.
Remove bloatware or unwanted apps in Windows 11.
1. Skip using a Microsoft account
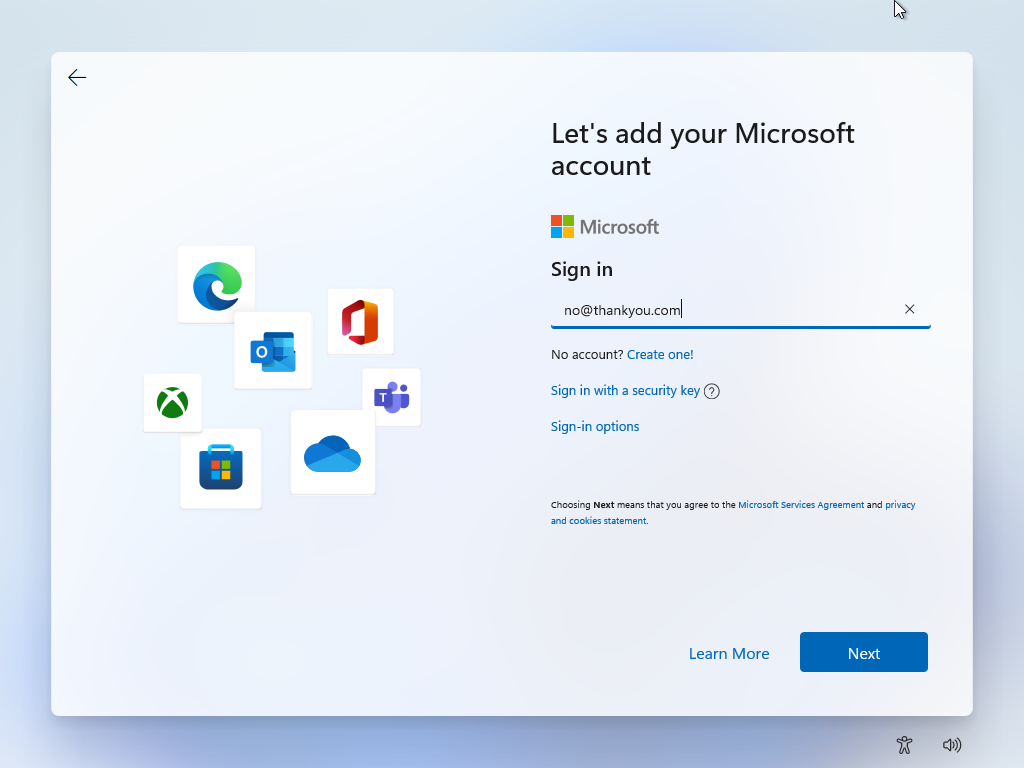
Microsoft has joined the club with Apple and Google to push online accounts on its operating system. That means you must create and log in with a Microsoft account to use Windows 11, and Microsoft is slowly curbing all the hacks you could have utilized to bypass the online account requirement until now.
Thankfully, Neowin reported a simple hack that involves you using a blacklisted email address like no@thankyou.com to register for the online account. Windows Setup gives an error and skips creating an online account as an extra bonus.
If the above hack fails, or you are installing Windows 11 22H2, Rufus is another hack you can try. Create a bootable drive using Rufus, and you will be able to install Windows 11 22H2 without creating a Microsoft account. As simple as that!
2. Create a local account
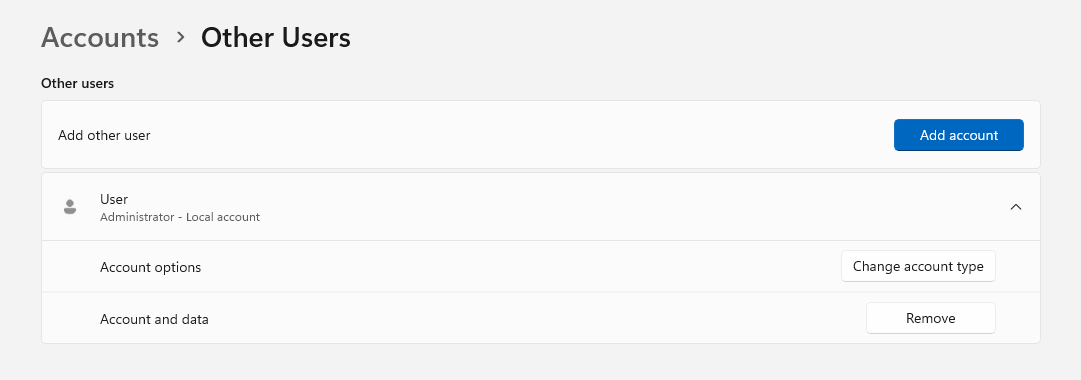
If the above hacks get curbed by Microsoft in the future, there is another bypass trick for you. You can create an online temporary account using a temporary email provider. After logging in with the temporary online account in Windows 11, you can create a local administrator account by following these steps:
Open Settings and go to Accounts > Other users.
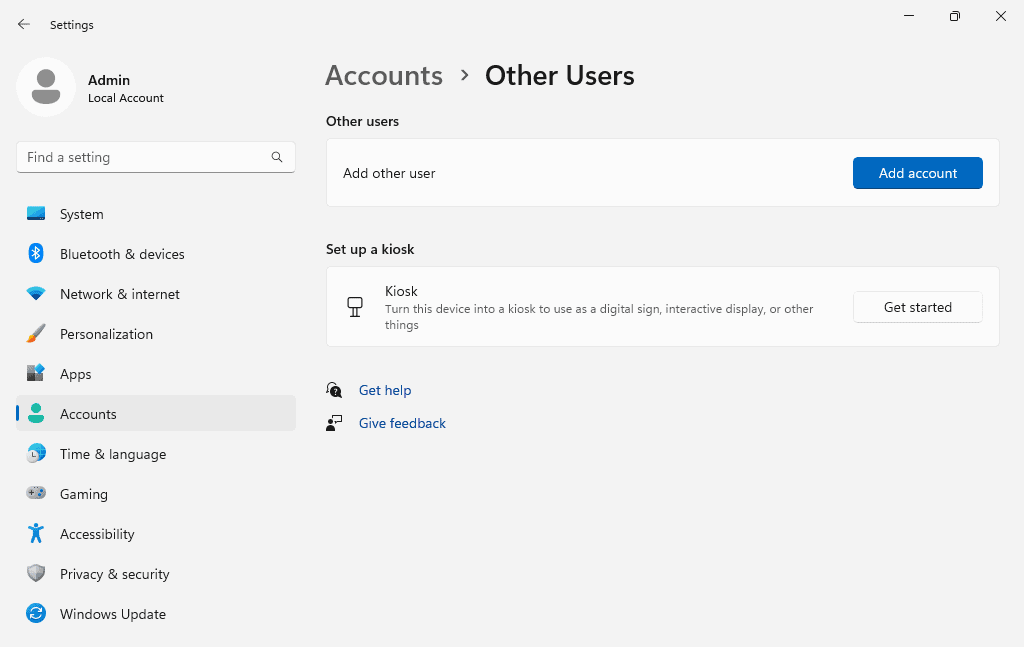
Click Add account > I don’t have this person’s sign-in information.

Click Add a user without a Microsoft account and follow instructions.
Click the new user under Other users and click Change account type.
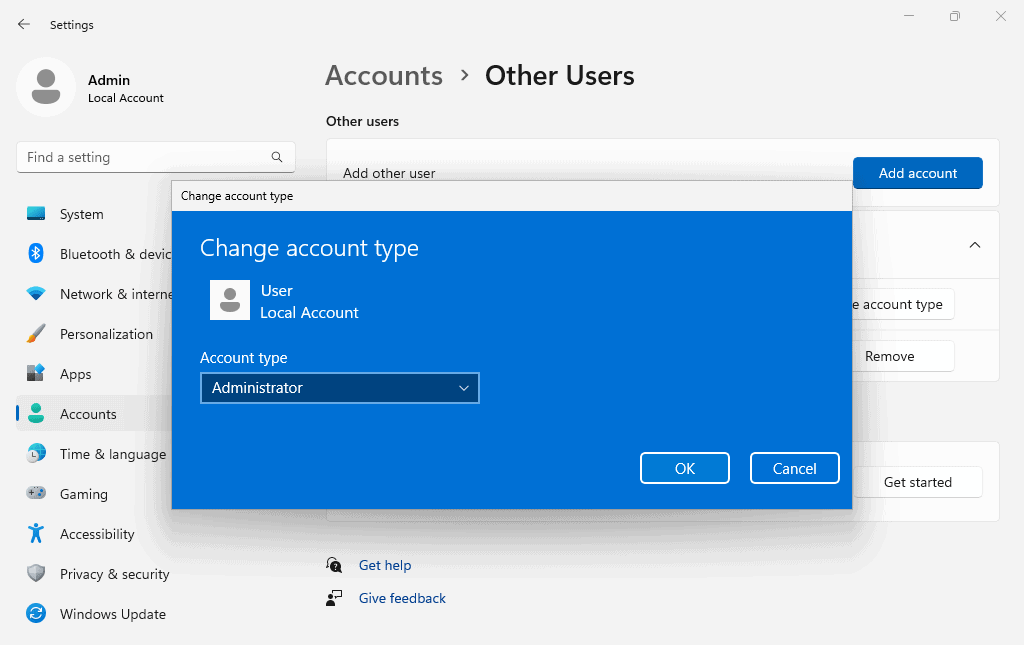
Select Administrator under Account type and click OK.
Finally, log in to the new account and delete the old one by going to Settings > Accounts > Other users, expanding the old user, and clicking Remove.
3. Utilize ‘Do Not Disturb’
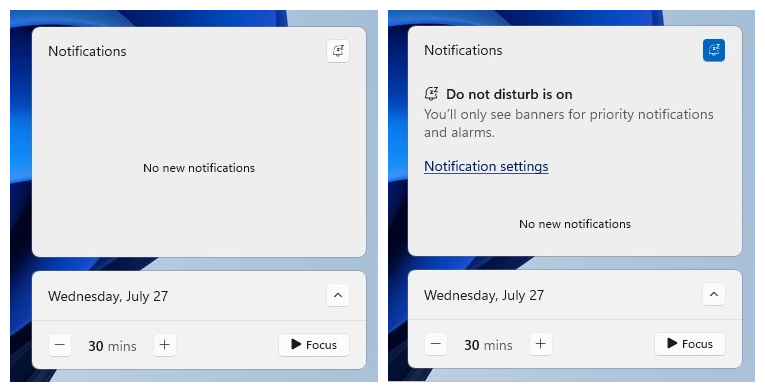
Do Not Disturb and Focus (previously known as “Focus Mode”) got improved in Windows 11. You can set up rules to auto-enable the ‘Do not Disturb’ mode. For example, you can enable it during work hours to better focus on your work.
Moreover, you can configure priority notifications to enable specific apps, calls, and reminders to bypass do not disturb mode and send you notifications, like Android and iOS. You can access both upon clicking the clock icon in the Taskbar.
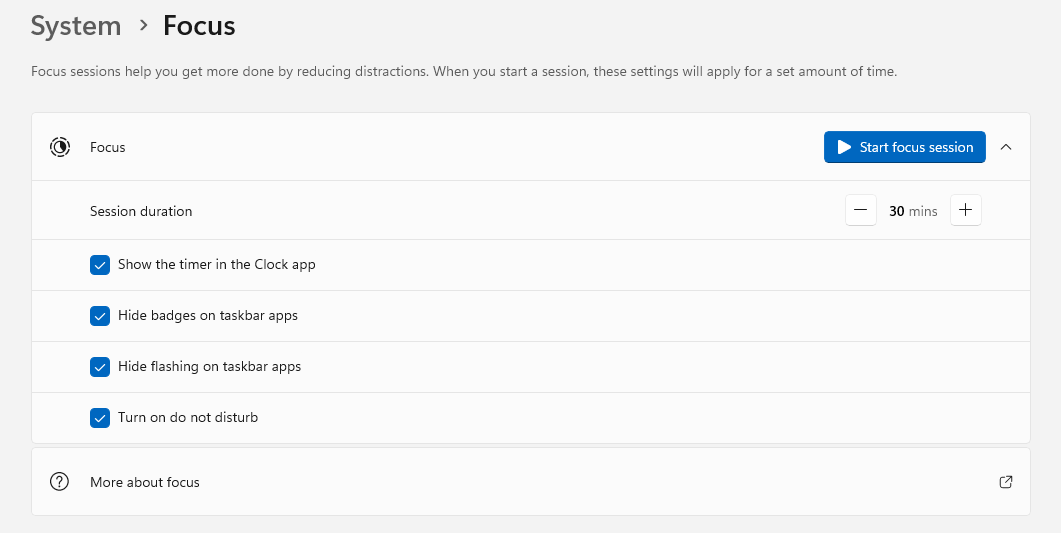
4. Configure DND and Focus
Here’s how you can configure Do Not Disturb, priority notifications, and Focus:
Open Settings and go to System > Notifications.
On this screen, you can click on individual options to configure them:
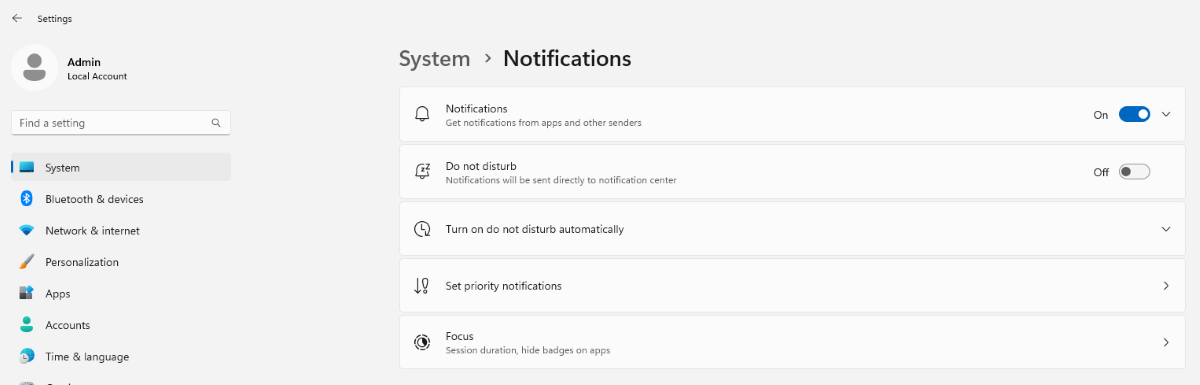
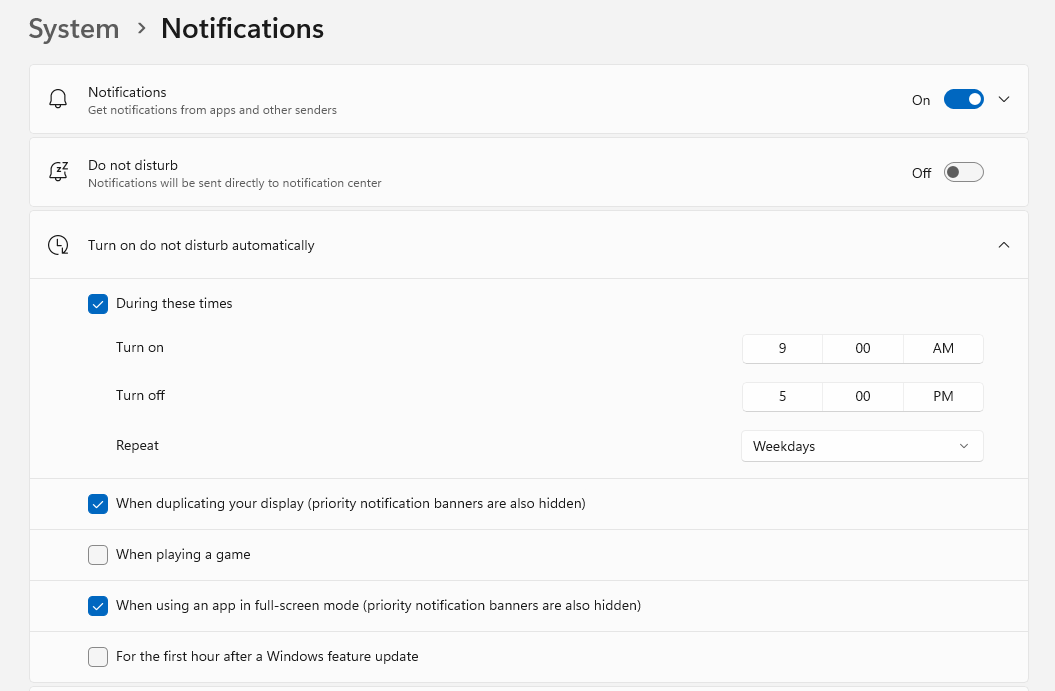
Expand Turn on do not disturb automatically and configure options to auto-enable DND.
Click Set priority notifications and configure options for priority notifications.

Click Focus and configure options for Focus (aka Focus Mode).
5. Configure the Start menu
Microsoft is trying hard at bringing an intuitive Start menu, however, without much luck. Most people, including me, have a love-hate relationship with the Start menu (and the Start screen) starting from Windows 8.
Nevertheless, Windows does offer some customization options for the Start menu, which got better with Windows 11 22H2. Here’s how to tweak it:
Open Settings and go to Personalization > Start.
Configure its layout and the apps and items visible in the Start menu.
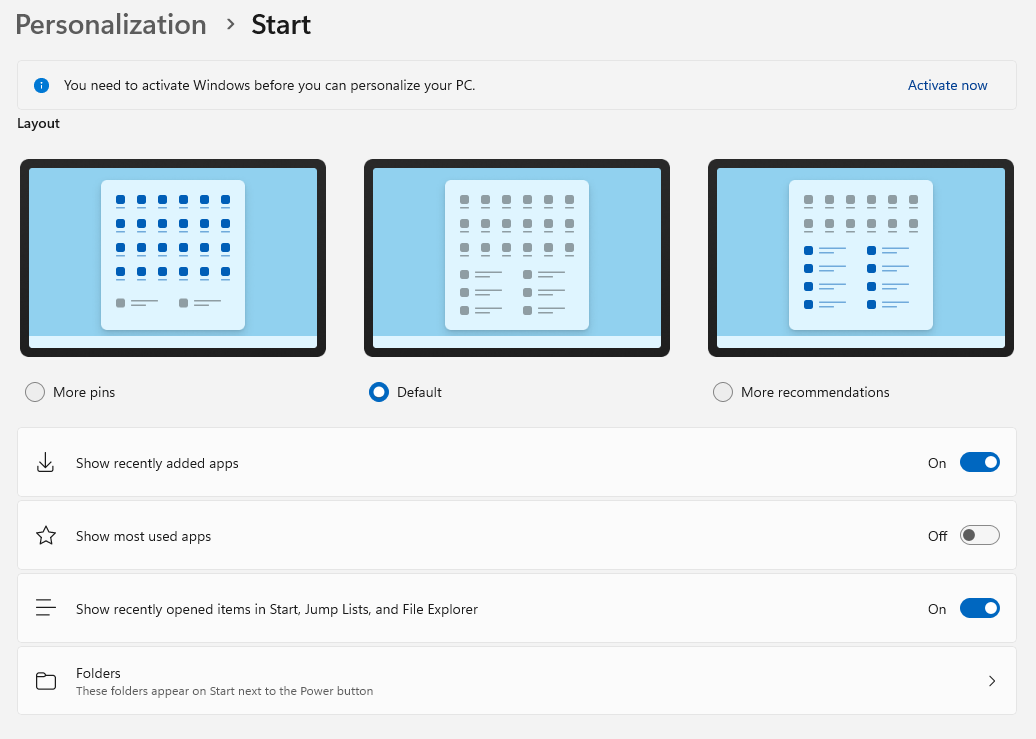
Click Folders on this screen to customize the folders shown alongside the Power button in the bottom-right corner of the Start menu.

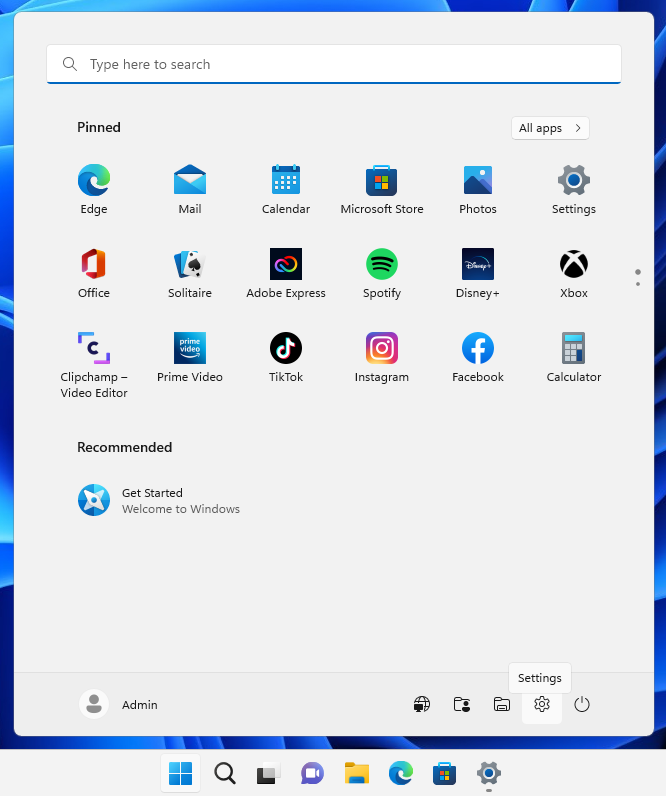
For instance, I have the Default layout and default settings along with a bunch of folders enabled, so the Start menu on my test system looks like below:
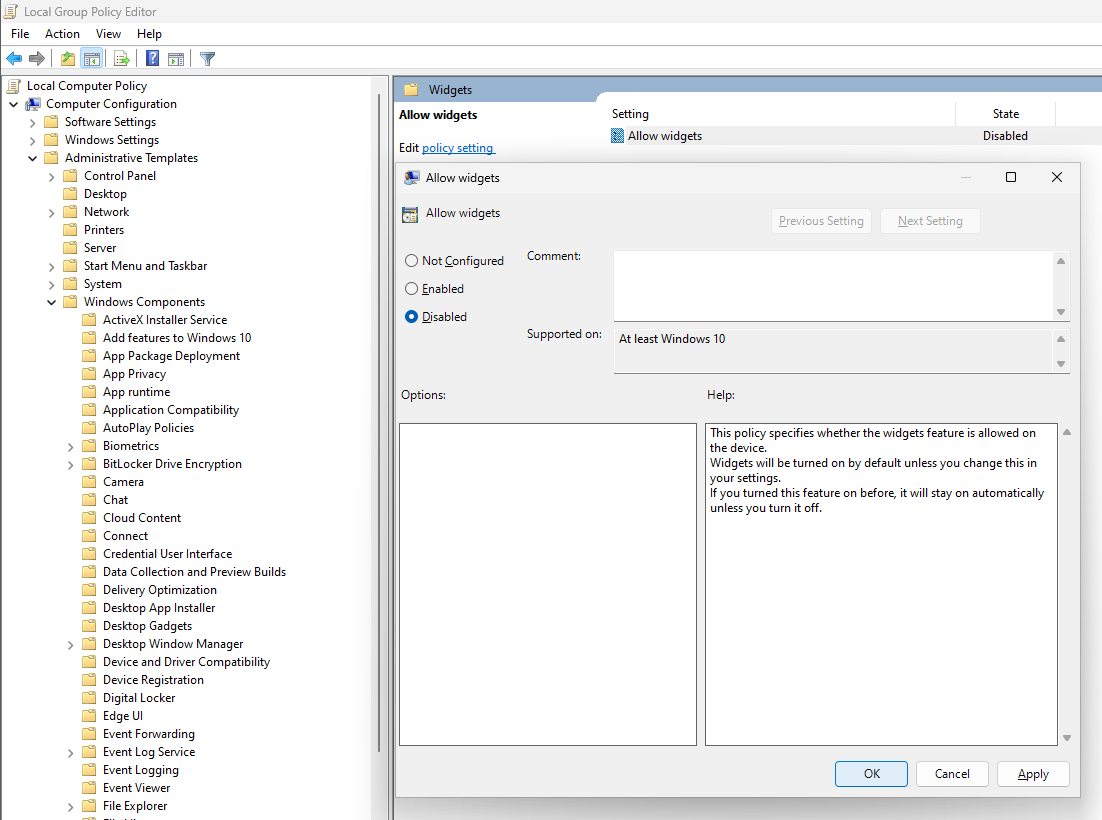
6. Disable the Widgets panel
Windows 11 introduced Widgets panel that shows web-based widgets such as weather, stock market updates, sports news, etc. However, it only works if are you logged in to a Microsoft account on Windows 11. As I told above, Microsoft is trying its best to push you to use an online account, and this is one evidence.
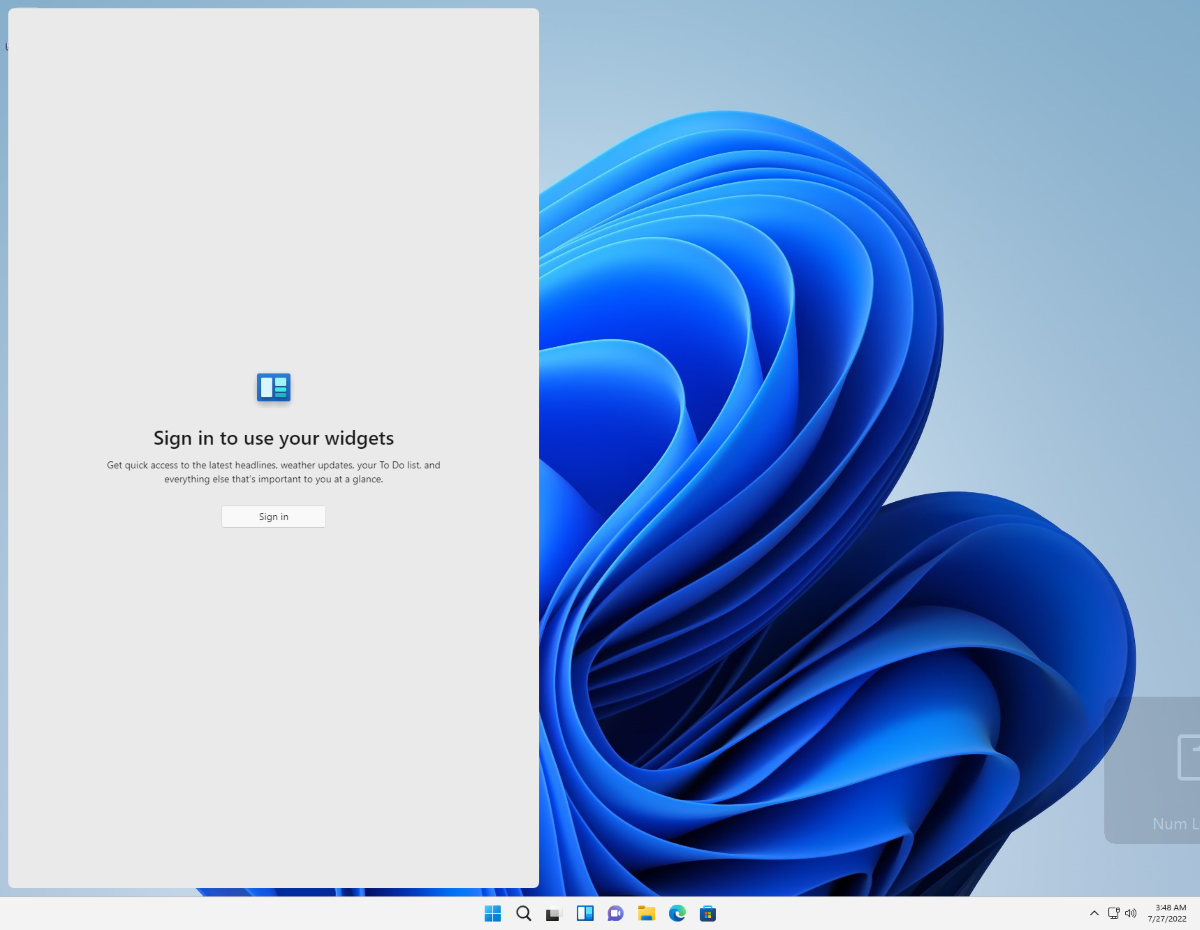
If you are a fan of using a local account in Windows due to any reason, you will not be happy with the Widgets. For instance, I do not need or use an online account benefits on my system though I’d have enjoyed Widgets. That said, I disabled the Widgets panel as disabling it minimized memory usage on my system.
Whatever be the reason, you can disable the Widgets panel using these steps:
Press Win + R to see the Run dialog box.
Type gpedit.msc, and press Enter to open the Group Policy Editor.
Under Computer Configuration, go to Administrative Templates > Windows Components > Widgets to check policies for Widgets.
Double-click Allow widgets on the right, click Disable, then click OK.
7. Enable Voice Access
Voice Access is a super handy feature — like Microsoft Cortana — that allows you to control your Windows PC using your voice. You can open and switch between apps, dictate emails, browse the Internet, etc. Voice Access “leverages modern, on-device speech recognition to recognize speech accurately and is supported without an internet connection,” according to Microsoft.
That means Voice Access uses offline machine learning. Here’s how to use it:
Open Settings and go to Accessibility > Speech.
Toggle on the option named Voice access. If you are planning to use this feature frequently, click Start voice access after you sign in to your PC.
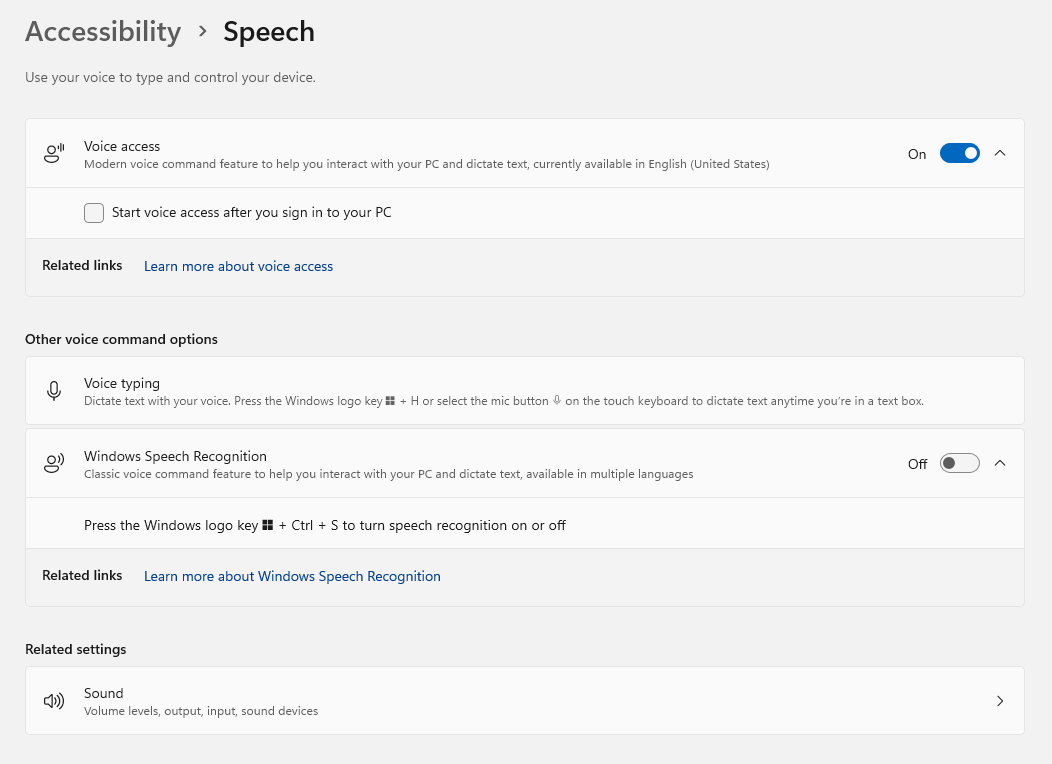
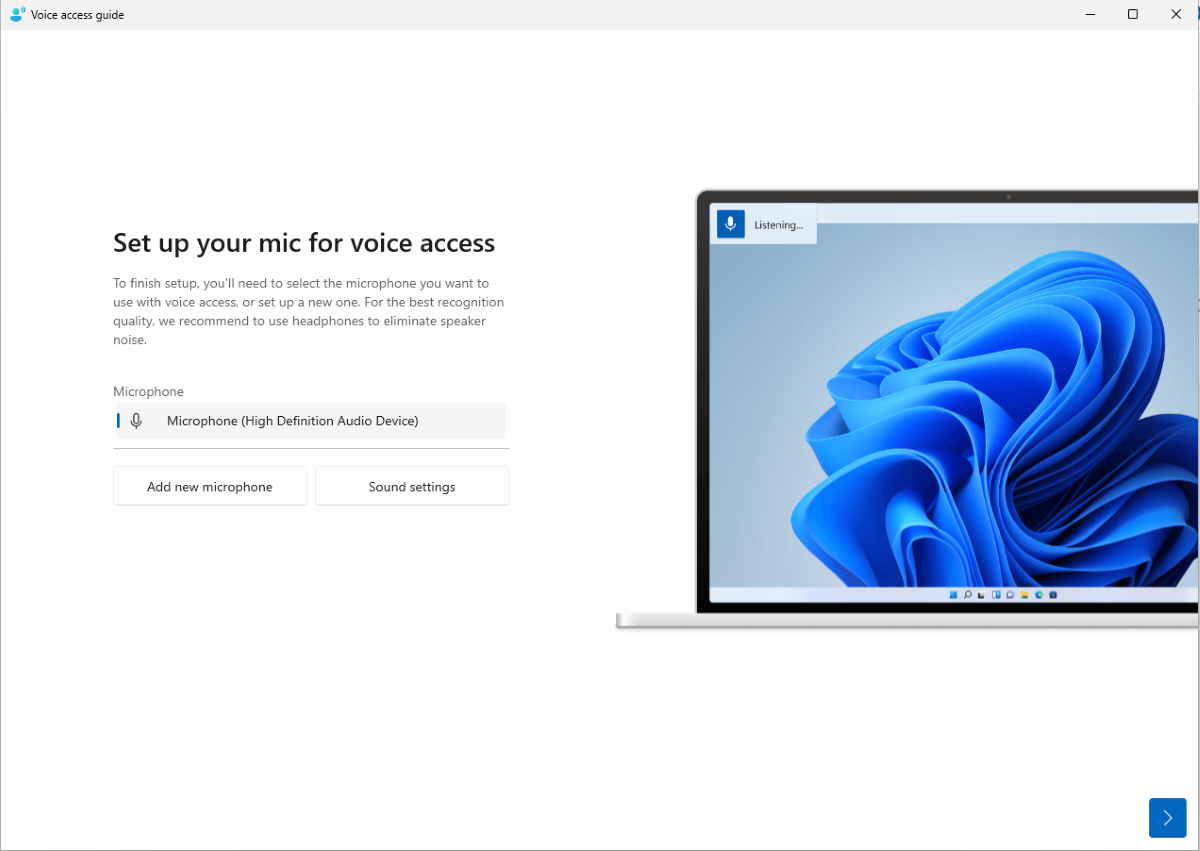
Follow the instructions on the Set up your mic for voice access screen.
8. Enable Live Captions
Live Captions is an accessibility feature inspired from a same-named feature in Android OS for Google Pixels. Captions are auto-generated from all
audio content including the incoming audio from your microphone, interestingly.
This last feature can help during in-person conversations or meetings. However, Live Captions is only supported for content in English (U.S.) for the moment.
Below are the steps to enable Live Captions. You need to download its language files, so you must continue when asked to download them by Windows 11.
Open Settings and go to Accessibility > Captions.
Toggle on the option named Live captions.
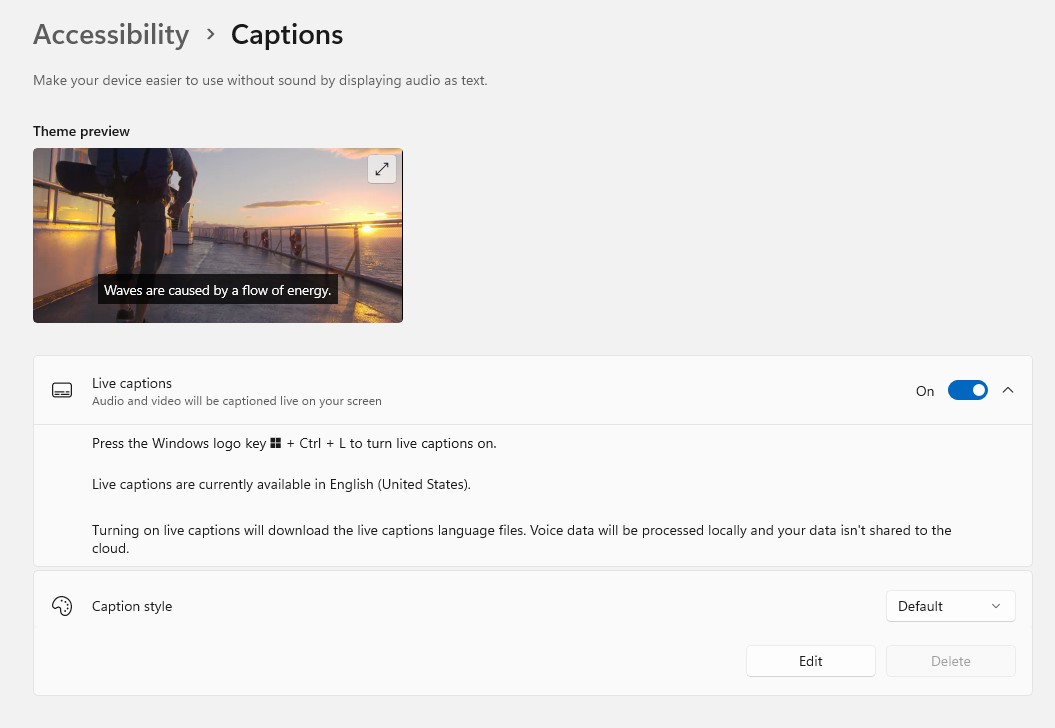
Thereafter, you can click Win + Ctrl + L to use Live Captions.
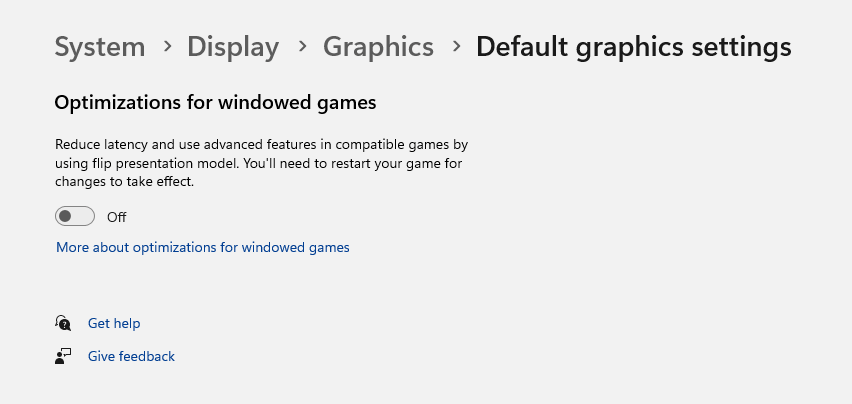
9. Enable the game optimizations
Windows 11 22H2 introduced some under-the-hood optimizations for games. This feature improves latency and unlocks other gaming features like Auto High Dynamic Range (HDR) and Variable Refresh Rate (VRR). Here’s how to enable it:
Open Settings and go to Display > Graphics > Default graphics settings.
Toggle on the option named Optimizations for windowed games.
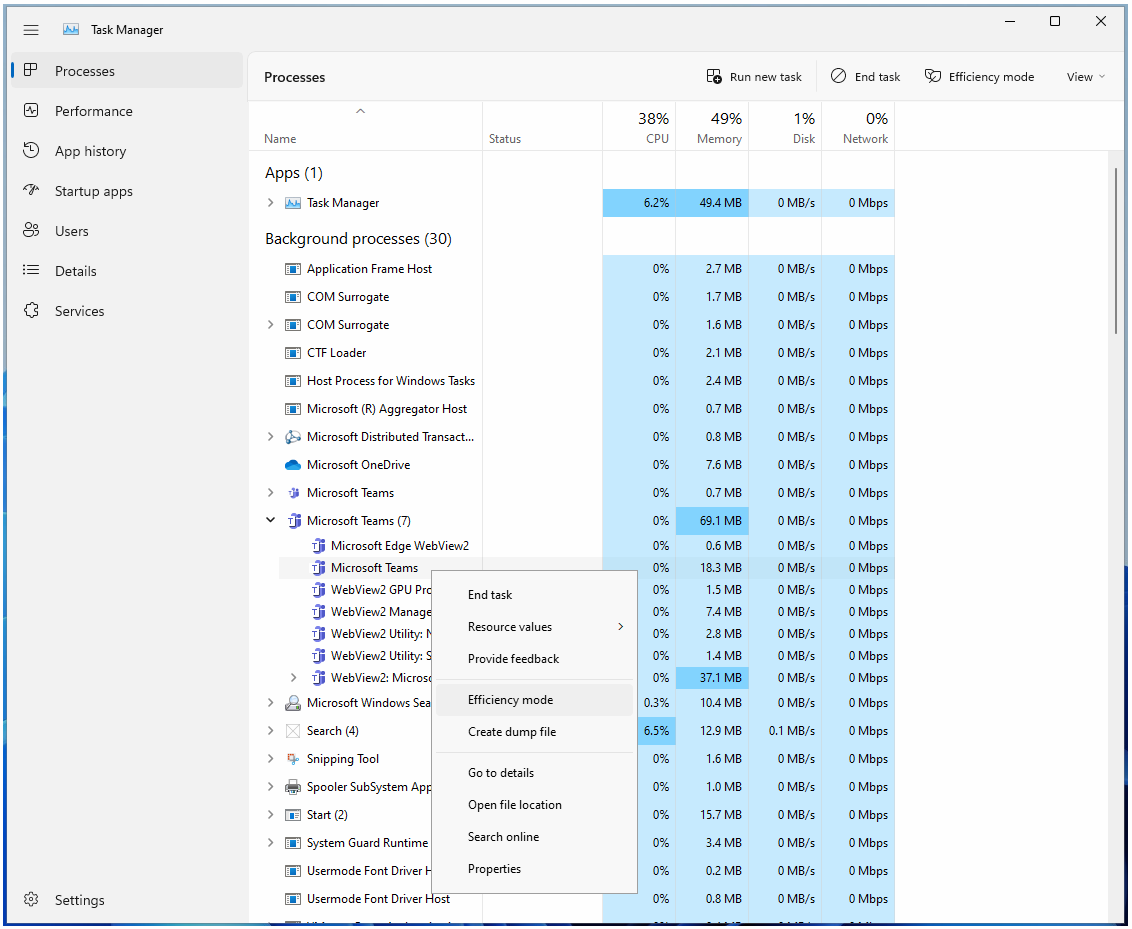
10. Enable Efficiency mode for apps
Microsoft redesigned the Task Manager and enhanced some of its less-known but handy features, making it more helpful than ever. One of these features is Efficiency mode (previously known as “Eco mode”) that lets you limit an app’s resources if you find it be consuming more than average or necessary resources.
Here’s how you can put an app into the Efficiency mode on Windows 11:
Press Win + X and select Task Manager from the context menu.
Select Processes option from the left menu to see the running processes.
Right-click any process and click Efficiency mode to put it into the same.
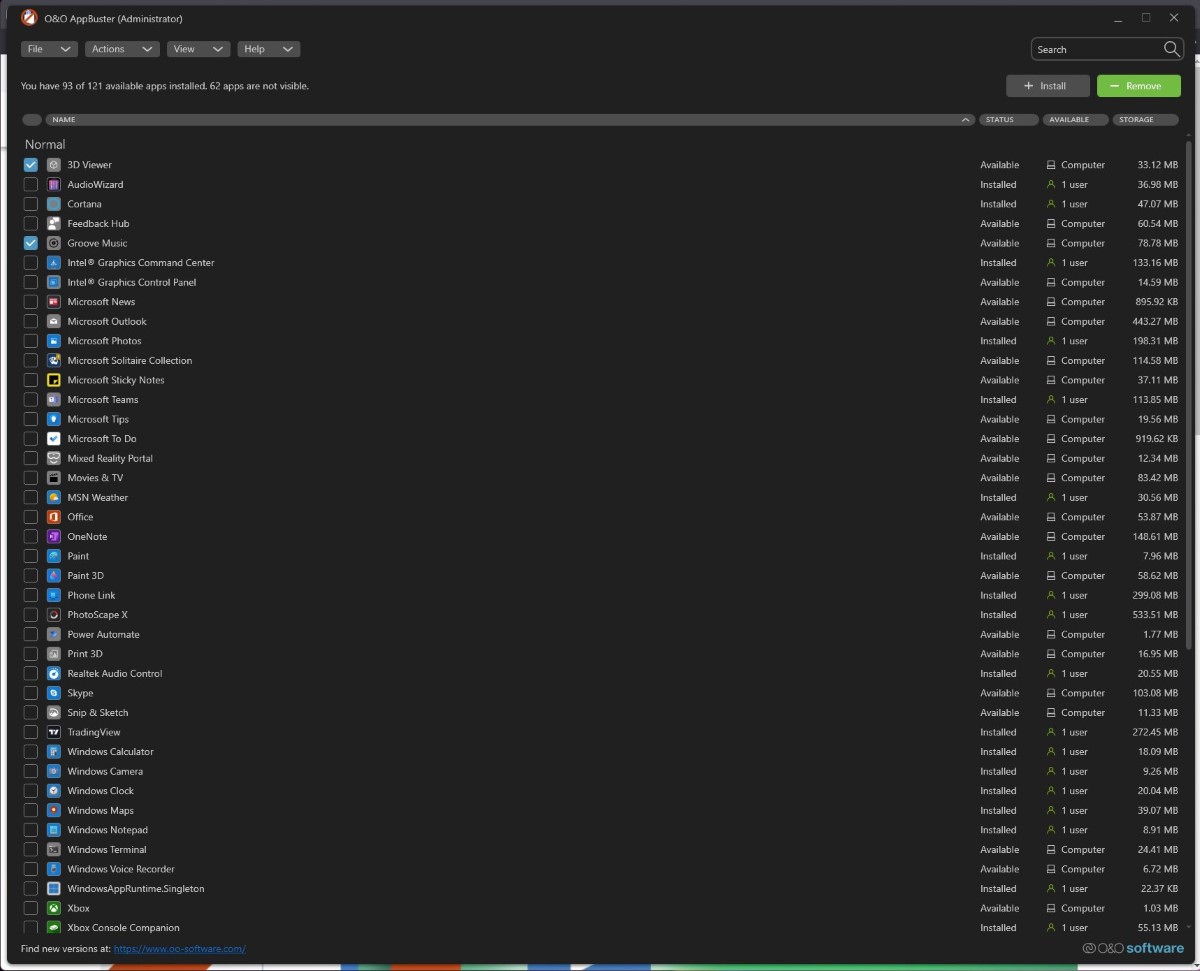
11. Remove bloatware or unwanted apps
Last but important, you may wish to remove bloatware or unwanted apps from your system. The reason being Microsoft has been pushing more default apps (aka bloatware) with Windows starting with Windows 8 than ever before in the history of Windows OSs. Thankfully, O&O AppBuster can remove them.
Follow these steps to remove apps like Windows Clock, Windows Maps, etc.:
Go to https://www.oo-software.com/en/ooappbuster in a web browser.
Click Download near right-top corner of the page and open the file.
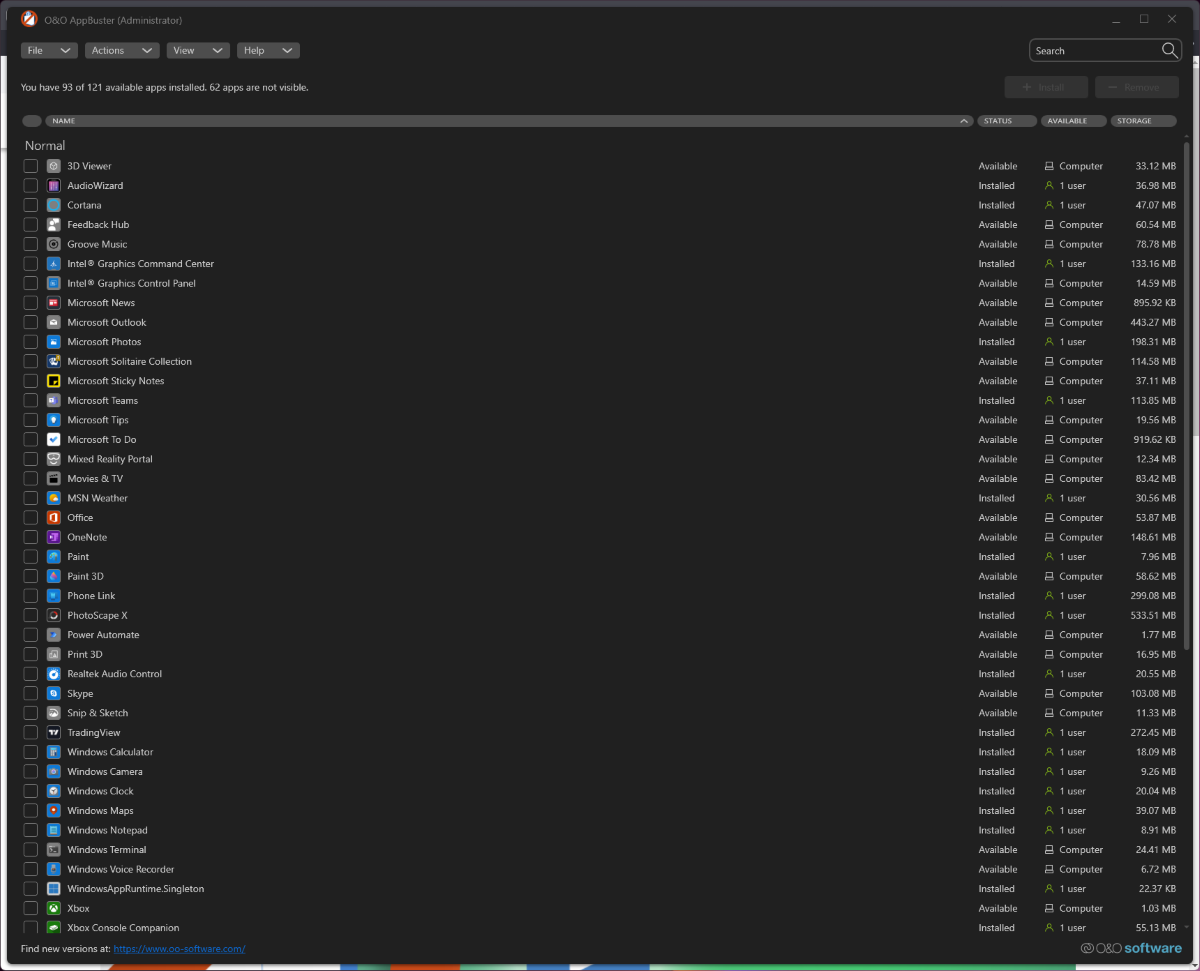
Select apps you want to remove and click Remove near top-right corner. For example, I selected 3D Viewer and Groove Music in this screenshot.
Though Windows 11 is relatively new, Microsoft is already introducing a variety of ground-breaking changes including the mandatory use of online accounts in Windows 11. Though it makes sense for mobile devices like smartphones and tablets, many people still prefer a local account on their home computers.
Nevertheless, Windows 11 brings many exciting features. The most notable is the new design system dubbed “Fluent Design” though there are new apps and more features as well. And I hope the tips and tricks in this guide will help you make most out of everything in Windows 11 22H2. How is your experience?
The post 11 Windows 11 (22H2) Tips You Should Know appeared first on Hongkiat.


Leave a Reply
Want to join the discussion?Feel free to contribute!