11 Best Ecommerce Platforms and Integrations for Printful (2023)
Original Source: https://ecommerce-platforms.com/articles/best-ecommerce-platforms-for-printful
The best ecommerce platforms for Printful users, leverage native integrations and APIs to ensure you can easily automate various aspects of your print-on-demand business model.
Printful is easily one of the most popular print on demand solutions in the market today, with more than 200,000 customers, and a host of amazing products to choose from.
Printful offers ecommerce store owners, creators, and would-be vendors an excellent opportunity to start selling custom products online, with minimal effort.
Not only does the company handle all of the fulfillment and logistics elements of selling custom products for you, but it integrates directly with some of the world’s leading platforms and sales channels.
Today, we’re looking at just some of the best ecommerce platforms and integration worth considering if you’re thinking of launching a store with Printful.
What are The Best Ecommerce Platforms for Printful?
Shopify
Squarespace
Wix
Square Online
Ecwid
WooCommerce
Adobe Commerce
Big Cartel
Amazon
eBay
Etsy
Notably, we’ll be looking at a range of different options here, to suit different kinds of merchants, including software-as-a-service platforms like Shopify, open-source solutions like WooCommerce, and even popular marketplaces like Etsy.
Let’s dive in.
1. Shopify
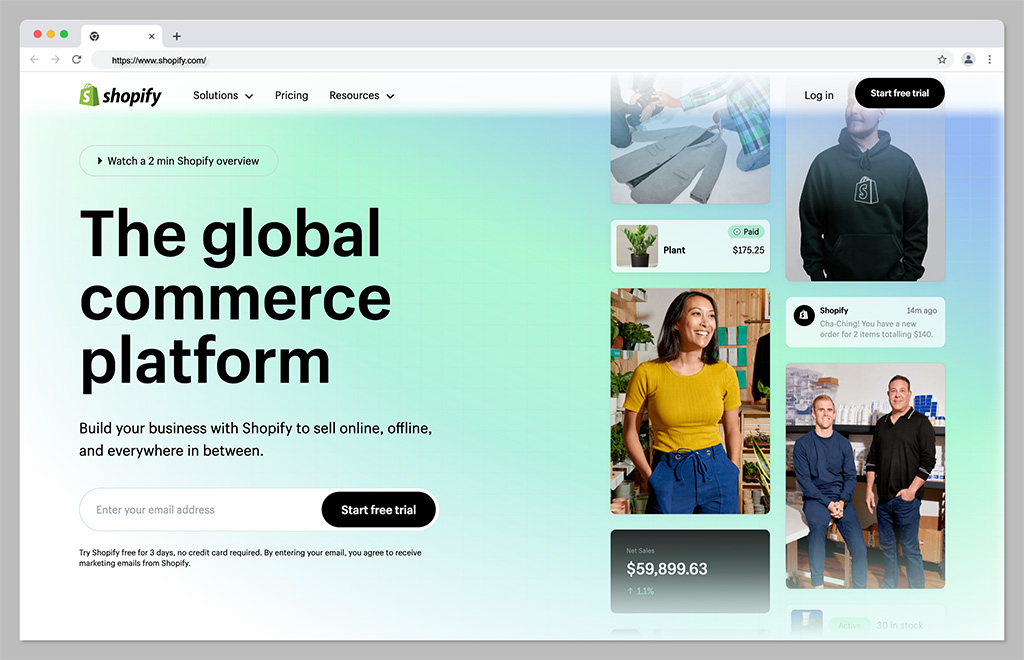
Let’s start with perhaps the biggest, most popular ecommerce platform of all for Printful sellers: Shopify. One of the world’s most popular ecommerce tools, Shopify is a software-as-a-service hosted platform, that offers everything you need to run a successful store in one place.
It comes with an intuitive interface, plenty of templates to choose from, and a comprehensive app marketplace so users can extend the functionality of their online store. Plus, it integrates directly with Printful, making it easy to automate your Print on Demand sales strategy.
With Shopify, you can sell across multiple channels at once, including marketplaces and social media platforms. Plus, there are plenty of tools for tracking orders and inventory, increasing sales with discount codes, and marketing your store through SEO, social media, and email.
Pricing
Pricing for Shopify starts with a 3-day free trial, followed by the option to sign up for 3 months for just $1 per month. After that, packages cost $39 per month for the Basic Shopify experience, or you can upgrade to Standard Shopify for $105 per month. Advanced Shopify costs $399 per month, and there are enterprise options (Shopify Plus) available with a custom cost (starting at $2000 per month).
Pros:
Huge range of themes and customizable templates
Lots of plugins, extensions, and apps in the marketplace
Integrated payment options
Included marketing and sales tools
Multi-channel and multi-location selling
Cons:
Transaction fees can eat into profits
Difficult to make some site customizations
Go to the top
2. Wix
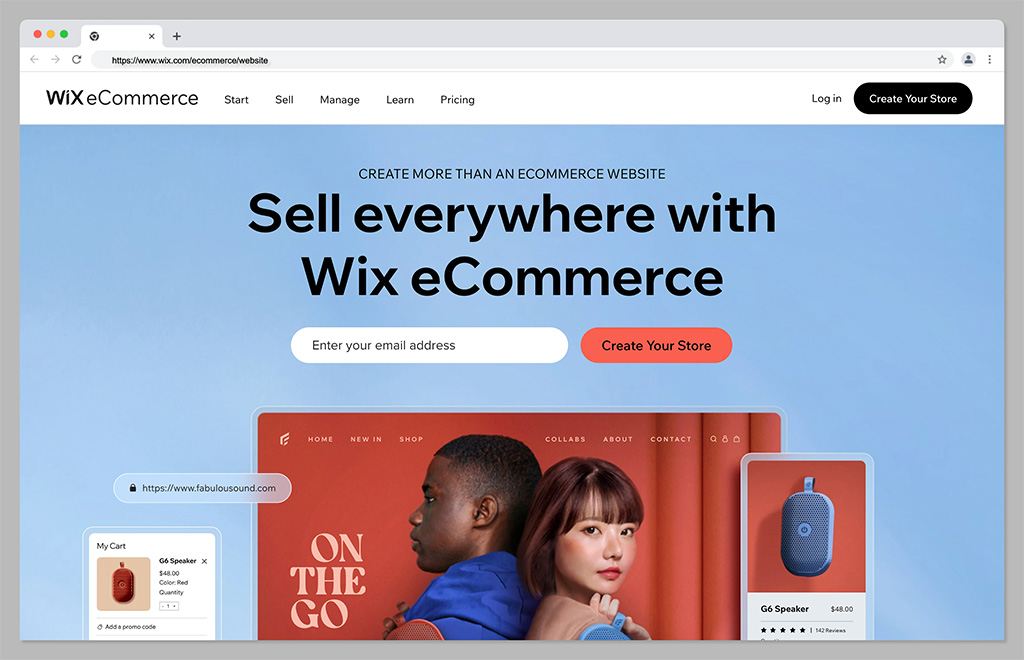
If you’re looking for a combination of exceptional ease of use and feature-rich performance, Wix could be the ideal ecommerce platform for you. Wix makes it simple to create beautiful and functional stores, either with a drag-and-drop editor, or the Wix AI design service.
There are tons of available tools to help you grow, such as Wix’s logo maker, loyalty programs, and SEO wizards. Plus, you’ll have plenty of payment solutions and a secure checkout system to help you make the most of every sale. Wix is ideal for small businesses, with it’s all-in-one functionality, and it’s easy to scale with tons of available integrations.
The platform integrates seamlessly with Printful, and has plenty of useful tools for calculating global tax and shipping, managing orders, and tracking inventory.
Pricing
Plans for Wix vary depending on whether you’re launching an ecommerce store or a standard website. If you want to make sales online, you’ll need one of the “Business” plans, starting at $38 per month if you pay monthly, or $32 per month if you pay annually. There’s also a “Business Elite” plan starting at $156 per month, and an Enterprise plan with custom pricing.
Pros:
Extremely easy to use website designer with AI tools
Lots of secure payment options to choose from
Excellent blogging, SEO, and marketing tools
Integrations with a wide range of software solutions
Extra branding tools, like a free logo maker
Cons:
Difficult to export data to another store
Some limitations on customization
Go to the top
3. Squarespace
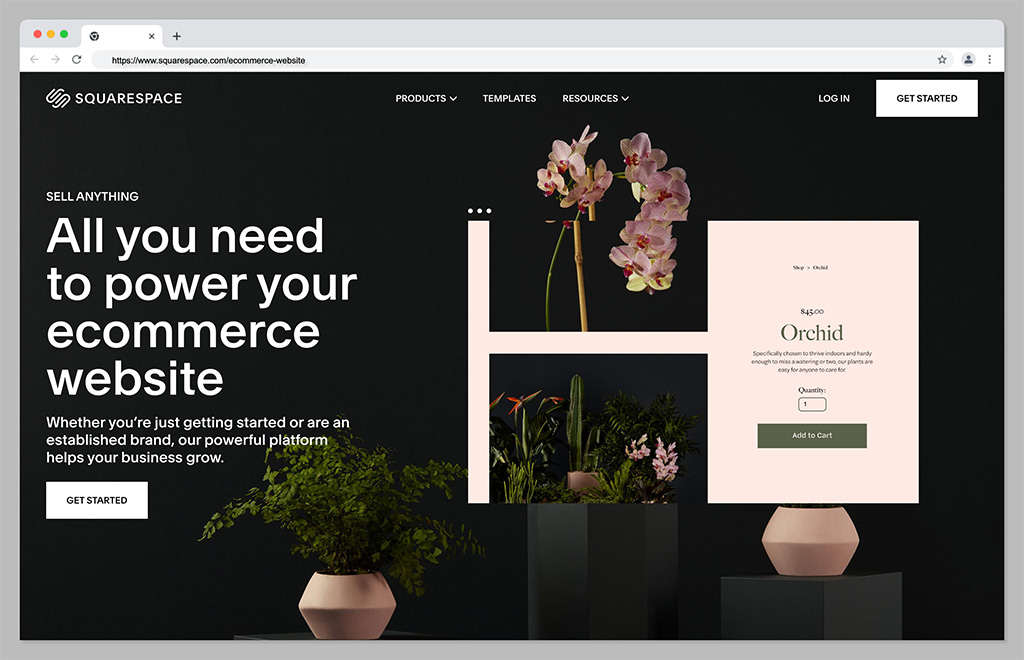
If, like many companies in the print on demand world, you’re focusing on the fashion industry, and want to stand out as a creative expert, Squarespace could be the perfect platform. Squarespace boasts some of the most attractive templates and themes in the ecommerce landscape.
The Squarespace website builder comes with a ton of advanced features, such as integrations with social media channels, booking tools, and the ability to set up subscription plans. The platform comes with fully mobile optimized designs, integrated ecommerce checkout features, and a free custom domain on some plans.
What’s more, you can access in-depth analytics for your website, to make it easier to track which of your products generate the most sales and opportunities. As you might have guessed, Squarespace also integrates directly with Printful.
Pricing
Like Wix, Squarespace pricing varies depending on whether you’re launching a website for personal reasons, or for ecommerce. Business plans start at $18 per month but come with transaction fees. To remove the transaction fees, you can upgrade to Commerce Basic for $26 per month annually, or $30 per month on a month-to-month basis.
Pros:
Beautiful and high-quality templates
Excellent integrations with social media
Free domain with annual plans
Advanced website analytics
Powerful merchandising tools
Cons:
No app marketplace
Limited payment options
Go to the top
4. Square Online
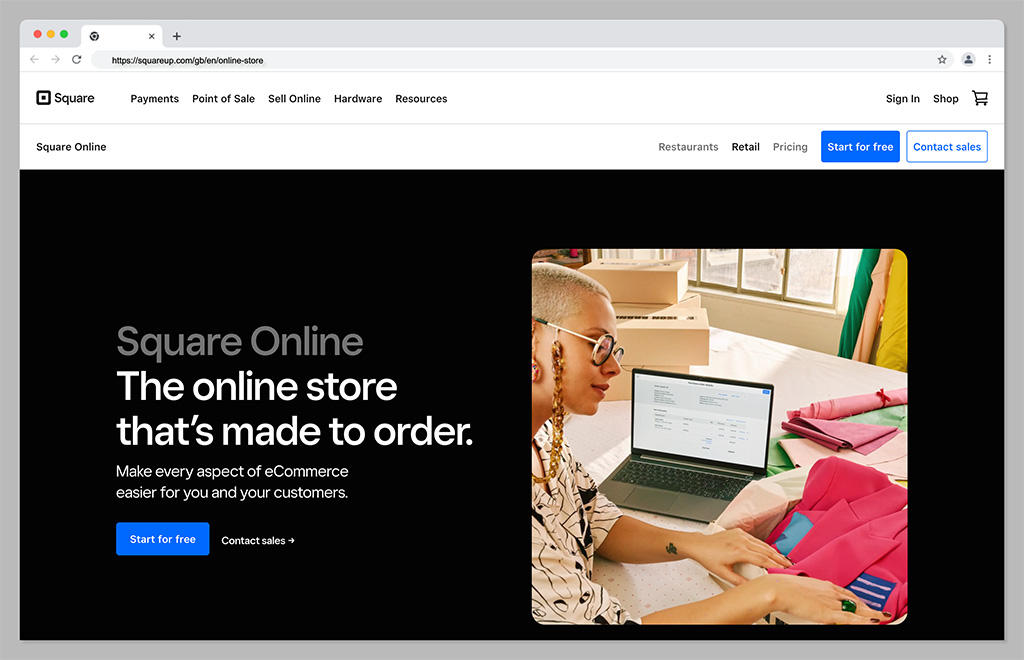
Square is best-known for it’s payment processing solutions, but it also offers a handy website building tool to smaller business owners. Square is one of the simplest tools on the market for companies in search of a low-cost way to take their business online. It’s even free to get started if you’re already using Square for payment processing.
The store builder is powered by Weebly, which makes it extremely easy to use. Plus, everything integrates seamlessly with your Square Point of Sale system (and Printful) so you can dive into omnichannel selling with minimal effort.
Square offers access to AI design tools, helpful features for showcasing your products, and a range of analytical tools. Although it doesn’t allow you to track important data like live shipping rates.
Pricing
You can start an online store with Square without paying anything at all. The only costs are transaction fees, which average out at 2.9% of your product price, plus 30 cents. There’s an option to upgrade to slightly more advanced versions of Square Online, with expanded site customization and more payment options, too, starting at around $25 per month.
Pros:
Excellent for omnichannel online and offline selling
Easy to use design tools for beginners
AI design features
Inventory management tools built-in
Analytics and reporting features
Cons:
Limited customization options
Transaction fees
Go to the top
5. Ecwid
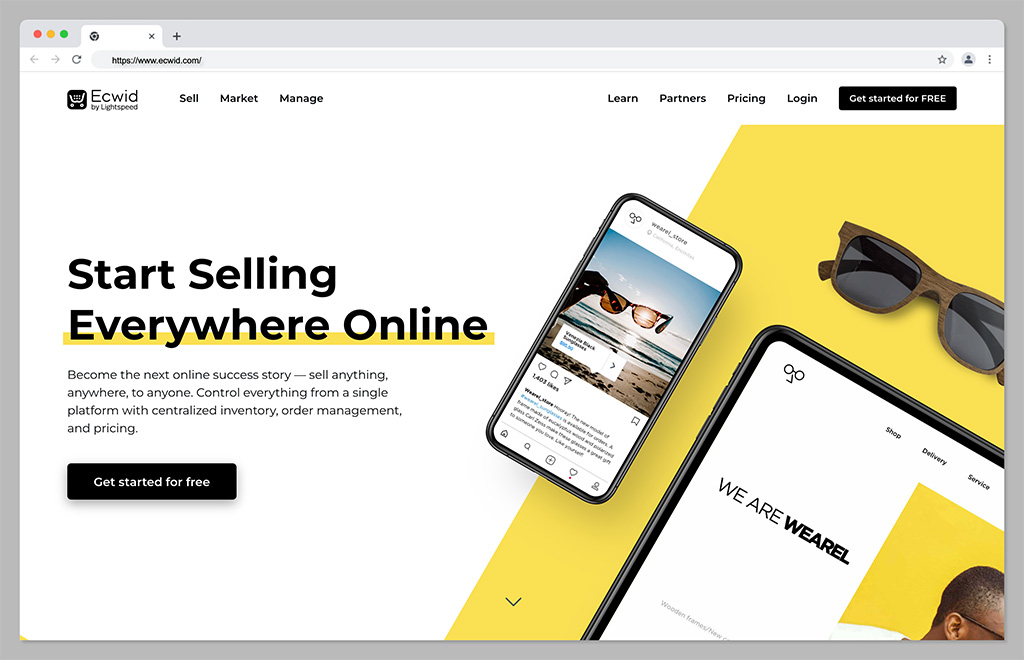
Ecwid, by Lightspeed, is a powerful tool for omnichannel selling, intended to support small and growing companies alike. With this convenient tool, you can sell across a range of social media platforms, as well as marketplaces. Plus, you can set up an account for free online and keep it for as long as you like.
The Ecwid cloud-based platform is hosted for you, which means there’s no installation required, and you can add Ecwid’s ecommerce functionality to any existing website, including Joomla, Wix, WordPress, and Drupal sites.
Plus, there are tons of helpful tool for marketing your company too, such as Google and Facebook adds, and integrations with marketing ads. You can also manage your store with a host of fantastic tools, automated tax solutions, and discount shipping options.
Pricing
There’s a free forever plan for Ecwid which is ideal for smaller companies just getting started online. Alternatively, monthly prices start at $19 per month for the basic plan, or $99 per month for everything you need to start selling online.
Pros:
Options for selling on various marketplaces and social sites
Automatic language detection for global selling
Secure payment options available
You can create a mobile app for the app store
Free plan available for beginners
Cons:
Not a standalone solution for ecommerce
Limited analytical tools
Go to the top
6. Adobe Commerce
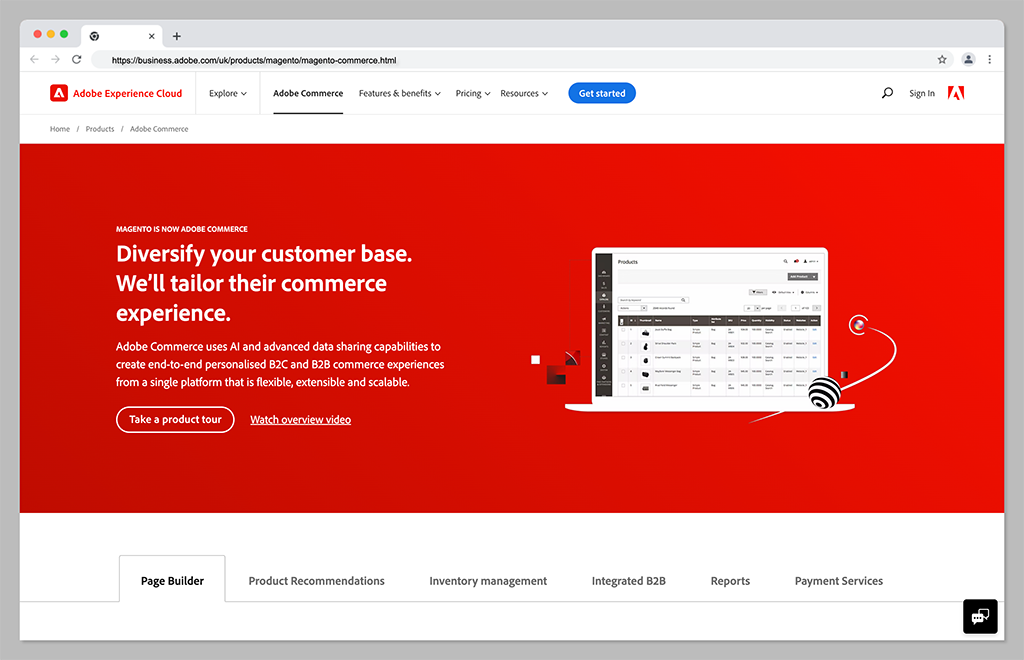
Adobe Commerce, previously known as Magento, is a comprehensive ecommerce solution, powered by the Adobe company. Supported by the Adobe Commerce platform, the solution integrates with a host of solutions in the Adobe landscape, as well as Printful, and a range of other tools.
With Adobe Commerce, companies can sell across a range of different channels. There’s even an integrated channel manager, to help you keep track of all your different platforms. Adobe Commerce also comes with access to a variety of great website building tools, and tons of customization options. You can even access headless commerce solutions as your business grows.
Although the solution is a little more complex to set up than other solutions, it does provide some more advanced features than you’ll get on other ecommerce solutions. Plus, Adobe Commerce is great for rapidly scaling brands.
Pricing
Adobe isn’t particularly forthcoming with its pricing options. You’ll need to contact the customer service team to get a quote for one of two packages. The first is Adobe Commerce Pro, an all-in-one solution for merchants of any size. The second is the “Managed Services” package, which comes with extra support from the Adobe team.
Pros:
Support for B2B and B2C multichannel selling
Excellent customization options
Wide range of fulfilment tools
Lots of payment methods
Insights and analytics
Cons:
Complex initial setup
No transparent pricing
Go to the top
7. WooCommerce
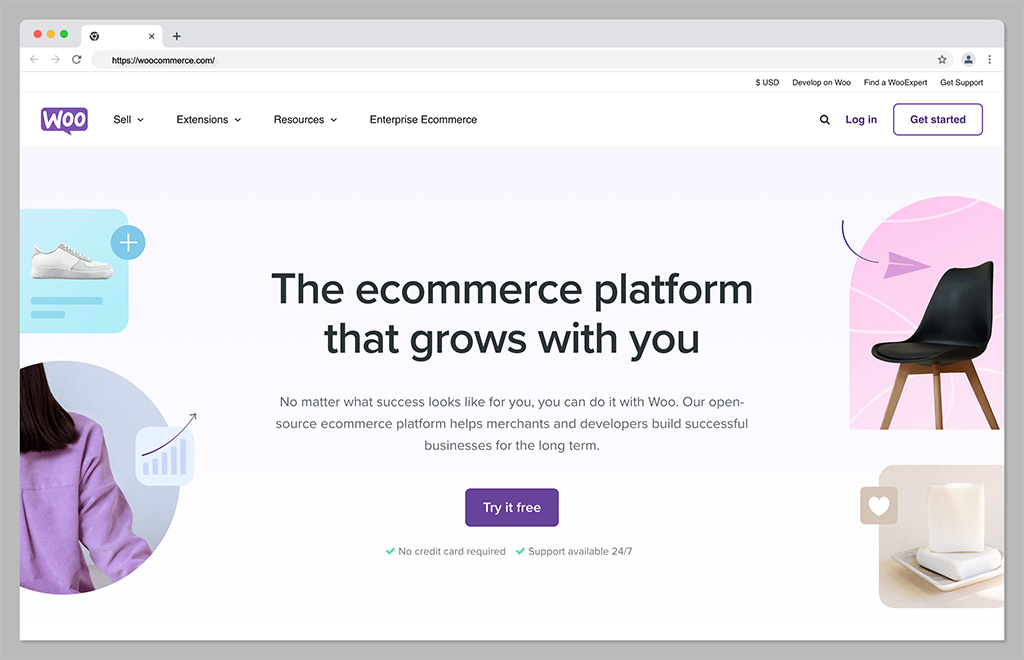
Ideal for those in search of absolute flexibility with their Printful store, WooCommerce is an ecommerce solution designed for WordPress. The solution is extremely easy to use, with a huge community of developers and experts you can reach out to for help. What’s more because its open source, it can flexibly integrate with a huge variety of tools.
WooCommerce is one of the most customizable ecommerce platforms out there, giving you complete freedom over everything from sales and inventory management to marketing. Plus, because it’s built on WordPress, you’ll have no problems with SEO and content marketing.
WooCommerce can offer live shipping insights, out of stock displays, and product personalization tools. You’ll also be able to take unlimited orders, and integrate all of your fulfillment providers into the same ecosystem.
Pricing
WooCommerce is a free, open-source solution, available to add to any WordPress store. However, because the solution is open source, you will need to pay for other features, like your domain name, website hosting, security and payment gateways.
Pros:
Exceptional customization options
Lots of built-in ecommerce and payment processing options
Affordable for beginners
No limits on how much or what you can sell
Built on top of WordPress for ease of use
Excellent for marketing and SEO
Cons:
Slight learning curve for beginners
Requires a third-party payment gateway
Go to the top
8. Big Cartel
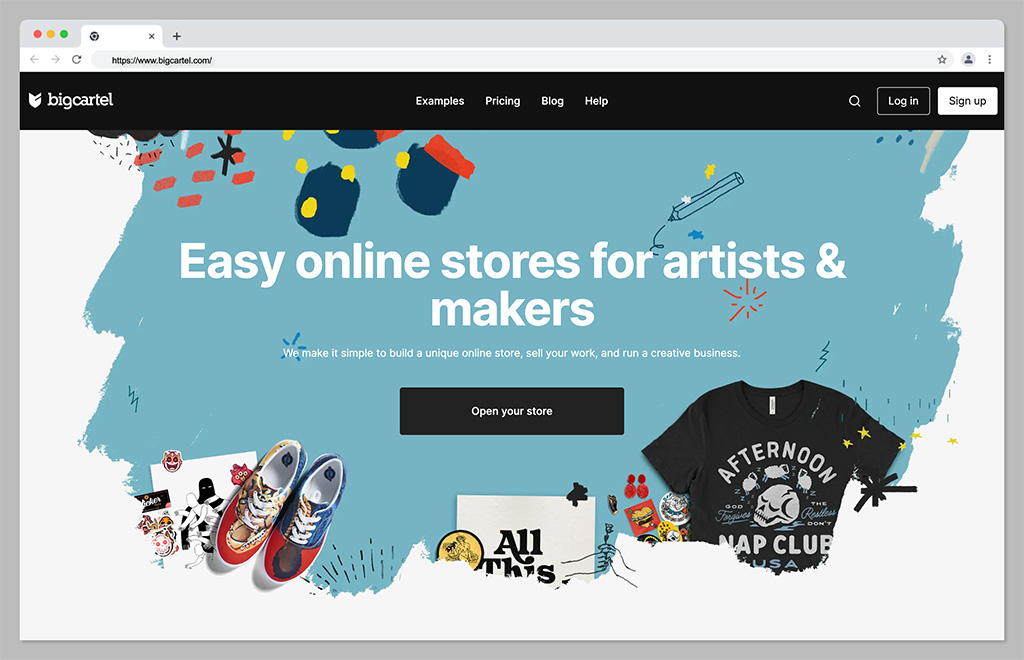
Another fantastic ecommerce platform solution that integrates directly with Printful, Big Cartel is a highly scalable tool for sellers. The platform is specifically focused on supporting independent artists and creators, with flexible templates and themes. There are theme code editing options, so you can make your own unique changes to your storefront.
Plus, Big Cartel supports both online and online selling, custom domains, real-time statistics and analytics, and inventory tracking. There’s even a sales tax autopilot solution available on some plans to help you with your financial strategies.
Though Big Cartel does require a little bit of technical knowledge, it’s an excellent choice if you want to boost the visibility of your store with some unique features. Just keep in mind there are no built-in blogging tools to help you promote your store.
Pricing
The free forever plan for Big Cartel allows users to sell up to 5 products for free with a custom domain. If you want more functionality, and the option to sell additional products, premium plans start at $9.99 per month for 50 products, or $19.99 per month for 500 products.
Pros:
Very affordable pricing
Lots of customization options and code editing
Built-in analytics and reports
Comprehensive inventory and shipment tracking
Support with sales tax calculation
Cons:
Limited payment options
Does require some coding knowledge
Go to the top
9. Amazon
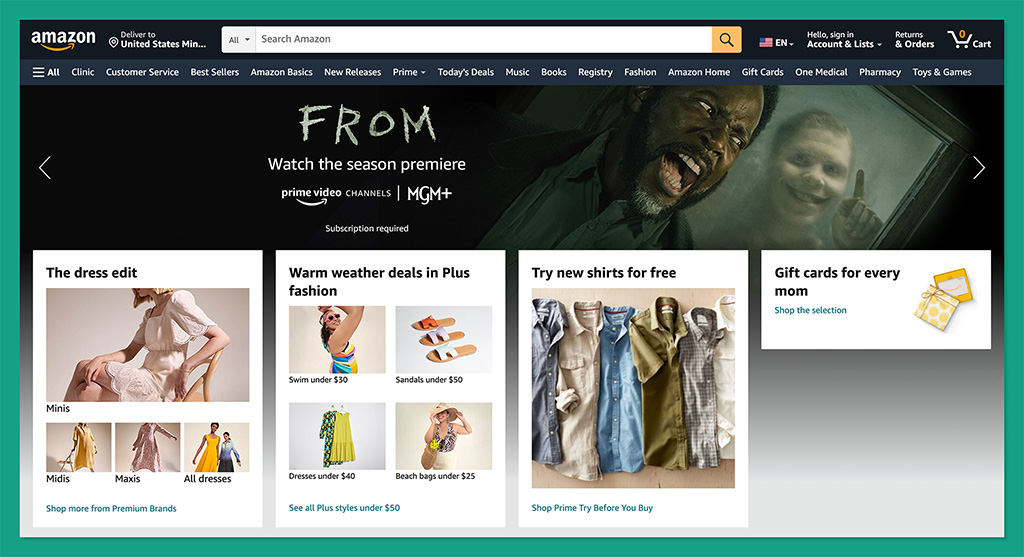
If creating and managing your own store doesn’t appeal to you, then you could always consider a different approach with your Printful integrations. Amazon is by far one of the world’s largest marketplaces, known for selling virtually every kind of product imaginable.
With more than 300 million active customers worldwide, the platform offers businesses an easy way to rapidly connect with endless buyers. What’s more, Amazon offers sellers access to a host of great benefits, from ultra-fast fulfillment to simple setup processes.
With Amazon, you can build, grow, and scale your brand effortlessly, taking advantage of world-class logistics, a fantastic customer experience team, rich data insights, and even a host of advertising and marketing solutions.
Pricing
There are some fees to pay when selling on Amazon. For most US customers, subscription prices start at around $39.99 per month, plus referral fees. There may also be additional payment processing and currency conversion fees to consider.
Pros:
Instant access to a huge audience
Worldwide logistics and fulfillment team
Excellent customer support for end-users
Built-in advertising and marketing solutions
Easy set up for beginners
Cons:
Lots of competition
Can be difficult to scale your brand
Go to the top
10. eBay
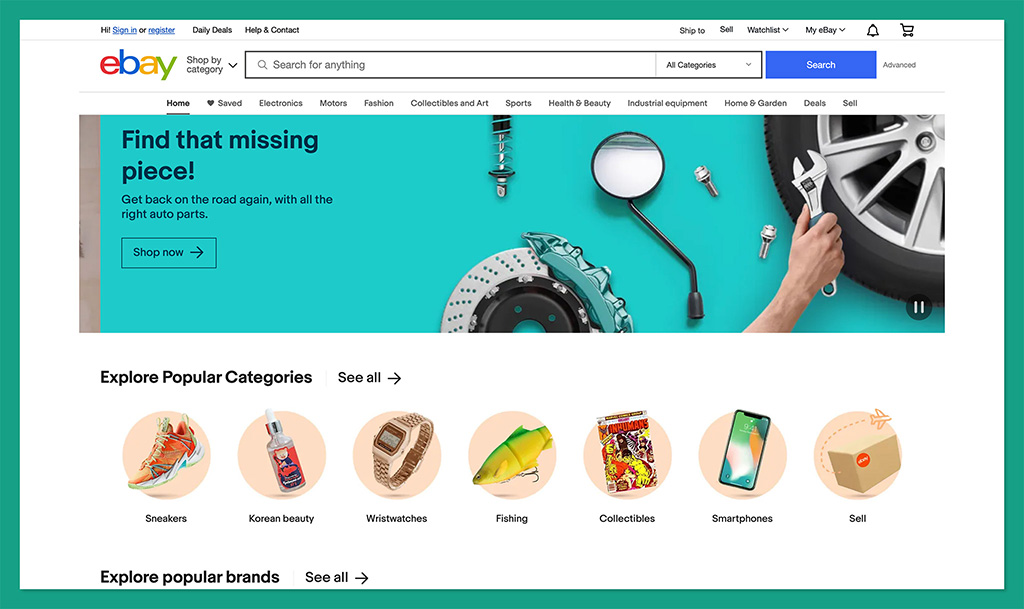
Another excellent option if you want to take the marketplace approach to selling online, eBay is a versatile platform for buyers and sellers alike. More than 109.4 million monthly visitors shop on eBay, giving you instant access to a massive potential audience.
What’s more, the platform is extremely easy to use, with simple tools for listing products, managing fulfillment, and even connecting with buyers. You can access marketing tools to boost your chances of making sales, and detailed sales information with information on daily sales trends.
Plus, advanced features provide merchants with the option to customize their selling overview, and active listing pages. You can also ship products to customers all over the world, giving yourself excellent opportunities to grow.
Pricing
It’s free to set up a seller account on eBay, but you will need to pay transaction fees, which vary depending on your location. There’s also a listing fee of $0.35 whenever you want to add a new product to your storefront.
Pros:
Extremely easy to use for beginners
Worldwide reach for a global audience
Support for marketing and promotion
Built-in analytics and reporting
Low fees for listings
Cons:
A lot of competition from other brands
Not ideal for scaling companies
Go to the top
11. Etsy
As the ultimate marketplace for creative professionals, Etsy stands out as one of the best ways to get started in the world of print on demand selling. The landscape attracts millions of potential buyers every day, so you can spend less time searching for customers, and more time designing.
Etsy comes with access to Google Analytics tools, for tracking information about your top-performing products and customers. You can track orders in your backend environment, purchase, and print postage labels directly from Etsy, and even customize your Etsy storefront.
Etsy even offers users the option to make their own custom website for branding purposes, with the “Pattern” service. This means you’re not limited to marketplace selling alone.
Pricing
Like Ebay, Etsy doesn’t charge merchants anything to get started on the platform. However, you will pay a 6.5% transaction fee on every order, and there’s a $0.20 listing fee for every product. Access to other features, like Pattern, will incur additional fees.
Pros:
Easy to use for beginners
Options to build your own store with Pattern
Convenient tools for sales and promotion
Help with fulfilment and logistics
Access to a large global audience
Cons:
High transaction fees
Significant competition
Go to the top
Choosing the Best Ecommerce Platform for Printful
Printful is one of the most versatile print on demand platforms available today, with a host of integrations available to choose from. As well as all of the options above, you’ll be able to connect your Printful platform to a variety of other vendors, from Prestashop and Weebly, to Gumroad, Shift4Shop and many others.
Plus, there’s a Printful API available for custom connections. The right solution for you will all depend on your goals, and how you want to get started in the print on demand space. The good news is that in all cases, Printful will make it easy to automate your fulfillment processes.
Go to the top
FAQ
Can I integrate Printful with my own website?
Printful integrates directly with a wide variety of ecommerce platforms and marketplaces, as well as shipment and fulfillment tools. There’s also a dedicated API available, so you can form your own connections with crucial resources too.
Can I sell directly on Printful?
Unfortunately, you can’t sell directly on Printful, as the platform doesn’t offer any online storefront or ecommerce site building services. Instead, you’ll need to use one of the platform’s integrations with other ecommerce tools or marketplaces.
Is Shopify Better than WooCommerce for Selling With Printful?
The right ecommerce integration for Printful for your business will depend on a number of factors. There’s no one-size-fits-all solution. If you want more customization and control, WooCommerce might be the ideal option. If you want a simple hosted solution, Shopify may be the better choice.
The post 11 Best Ecommerce Platforms and Integrations for Printful (2023) appeared first on Ecommerce Platforms.