Introducing Osore Shanghai Lightroom Presets inspired by Cyberpunk

Original Source: http://feedproxy.google.com/~r/abduzeedo/~3/Ryo0emBuKLQ/introducing-osore-shanghai-lightroom-presets-inspired-cyberpunk

Introducing Osore Shanghai Lightroom Presets inspired by Cyberpunk

AoiroStudioJul 02, 2019

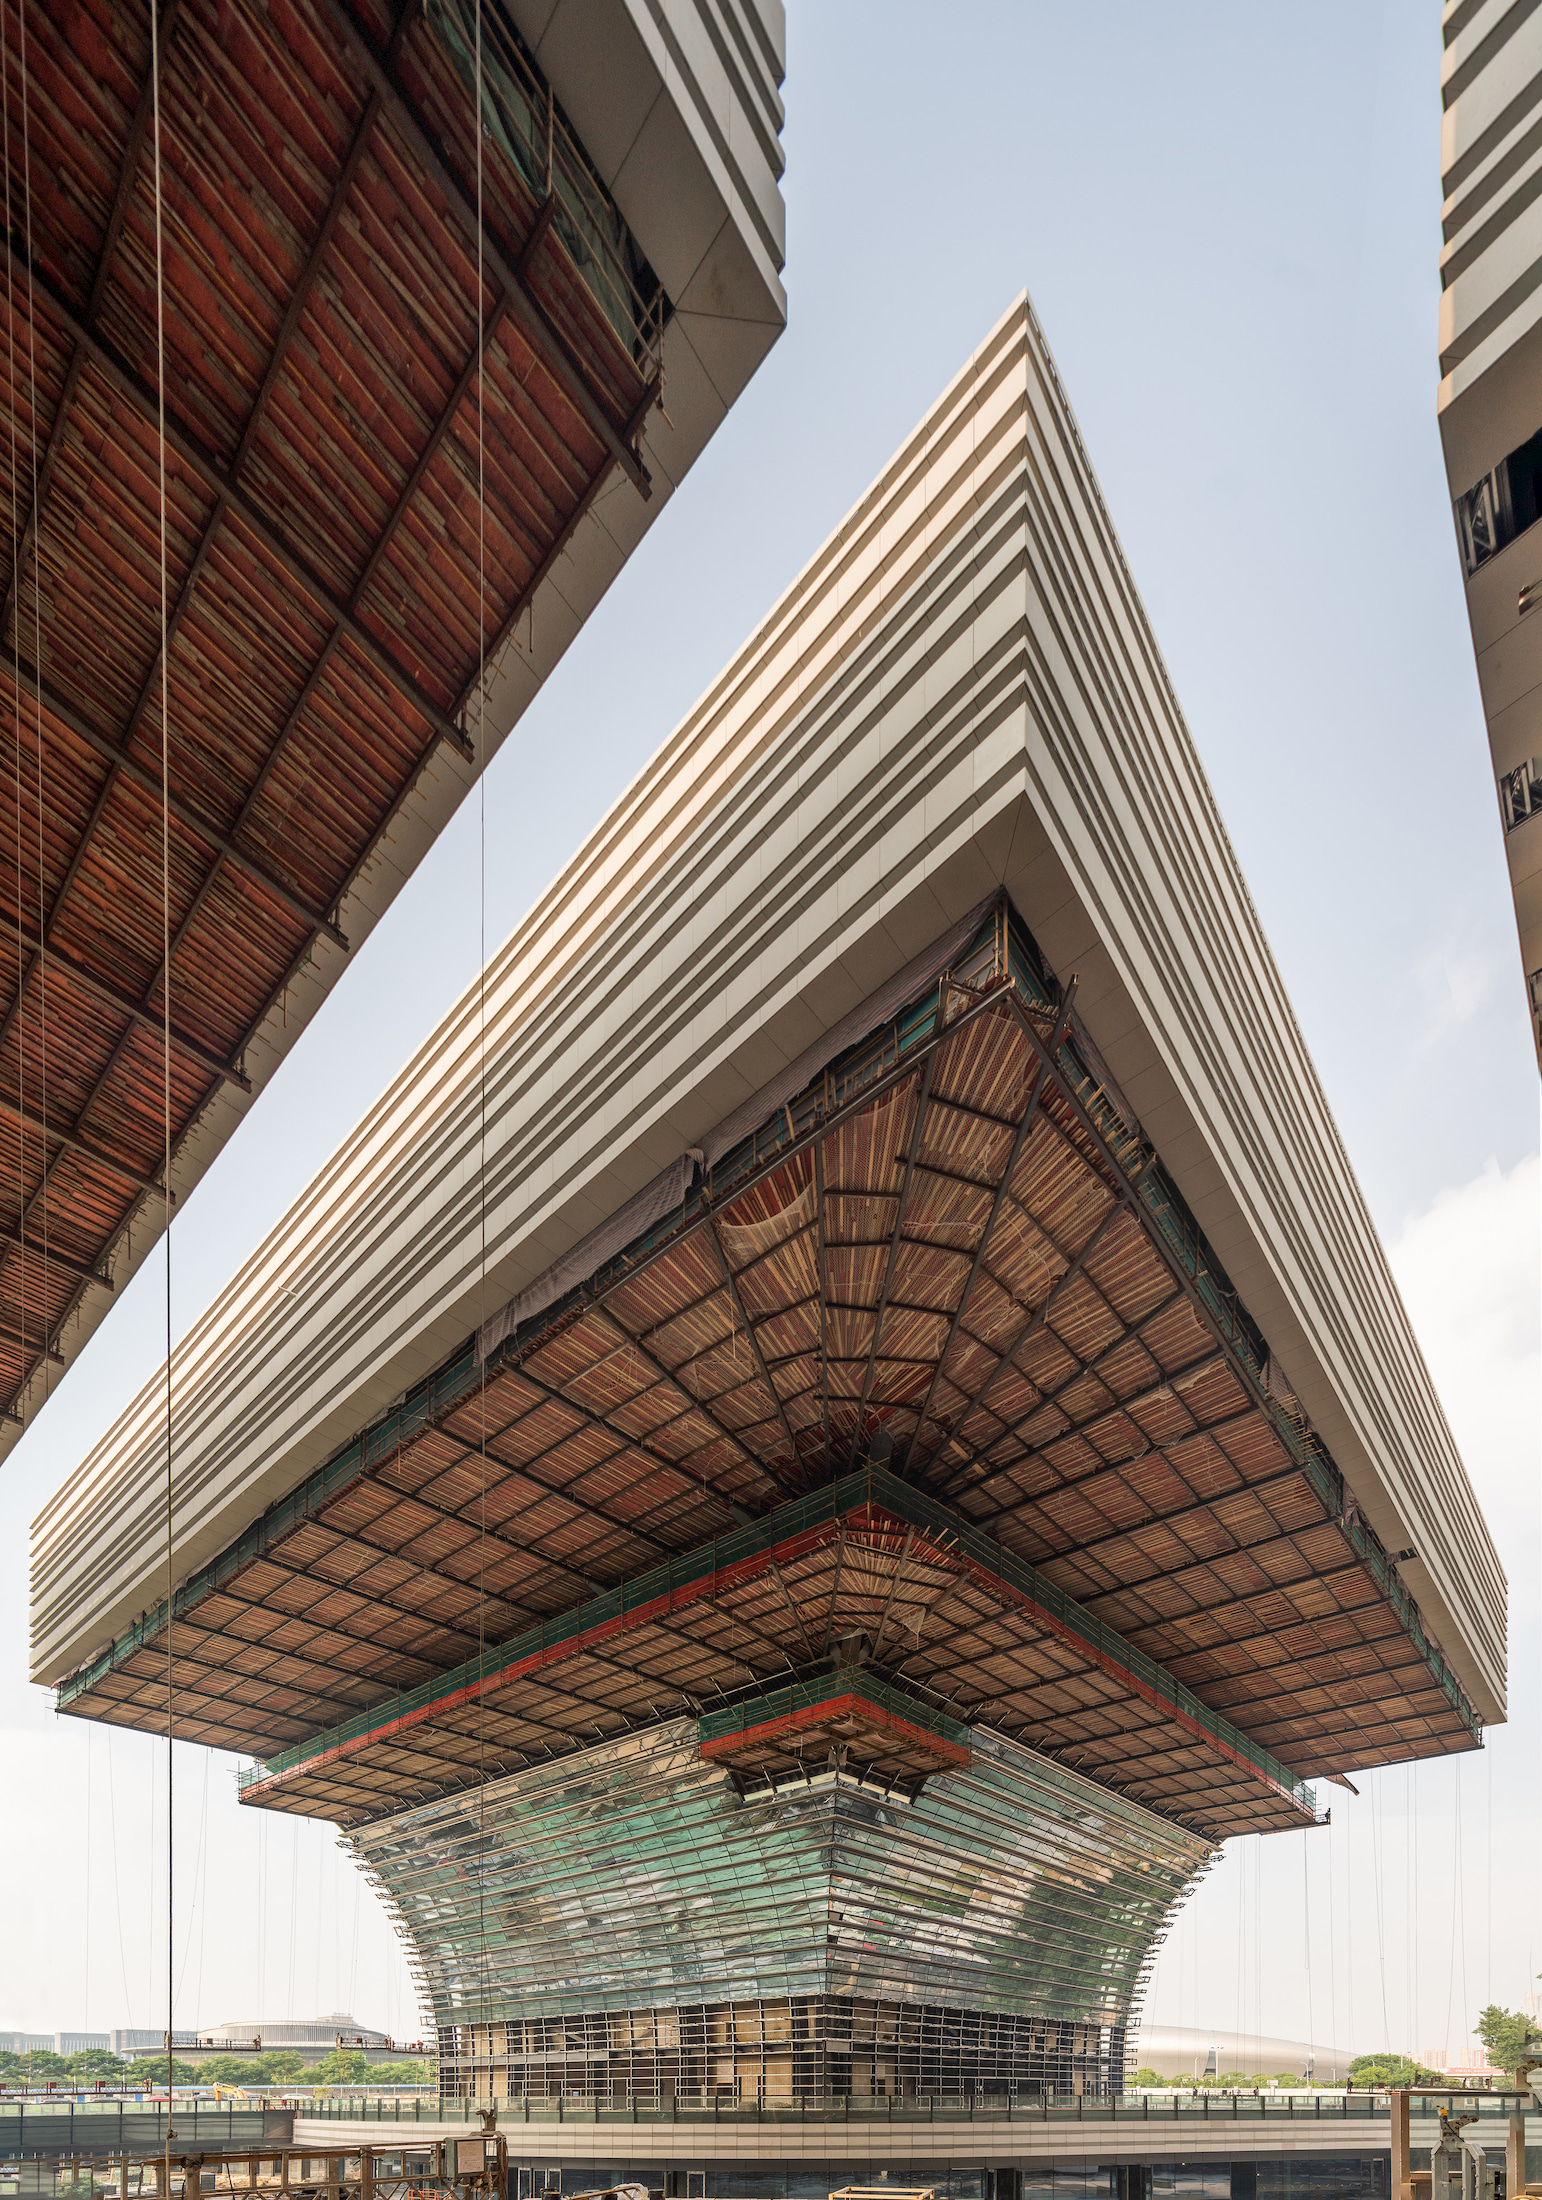
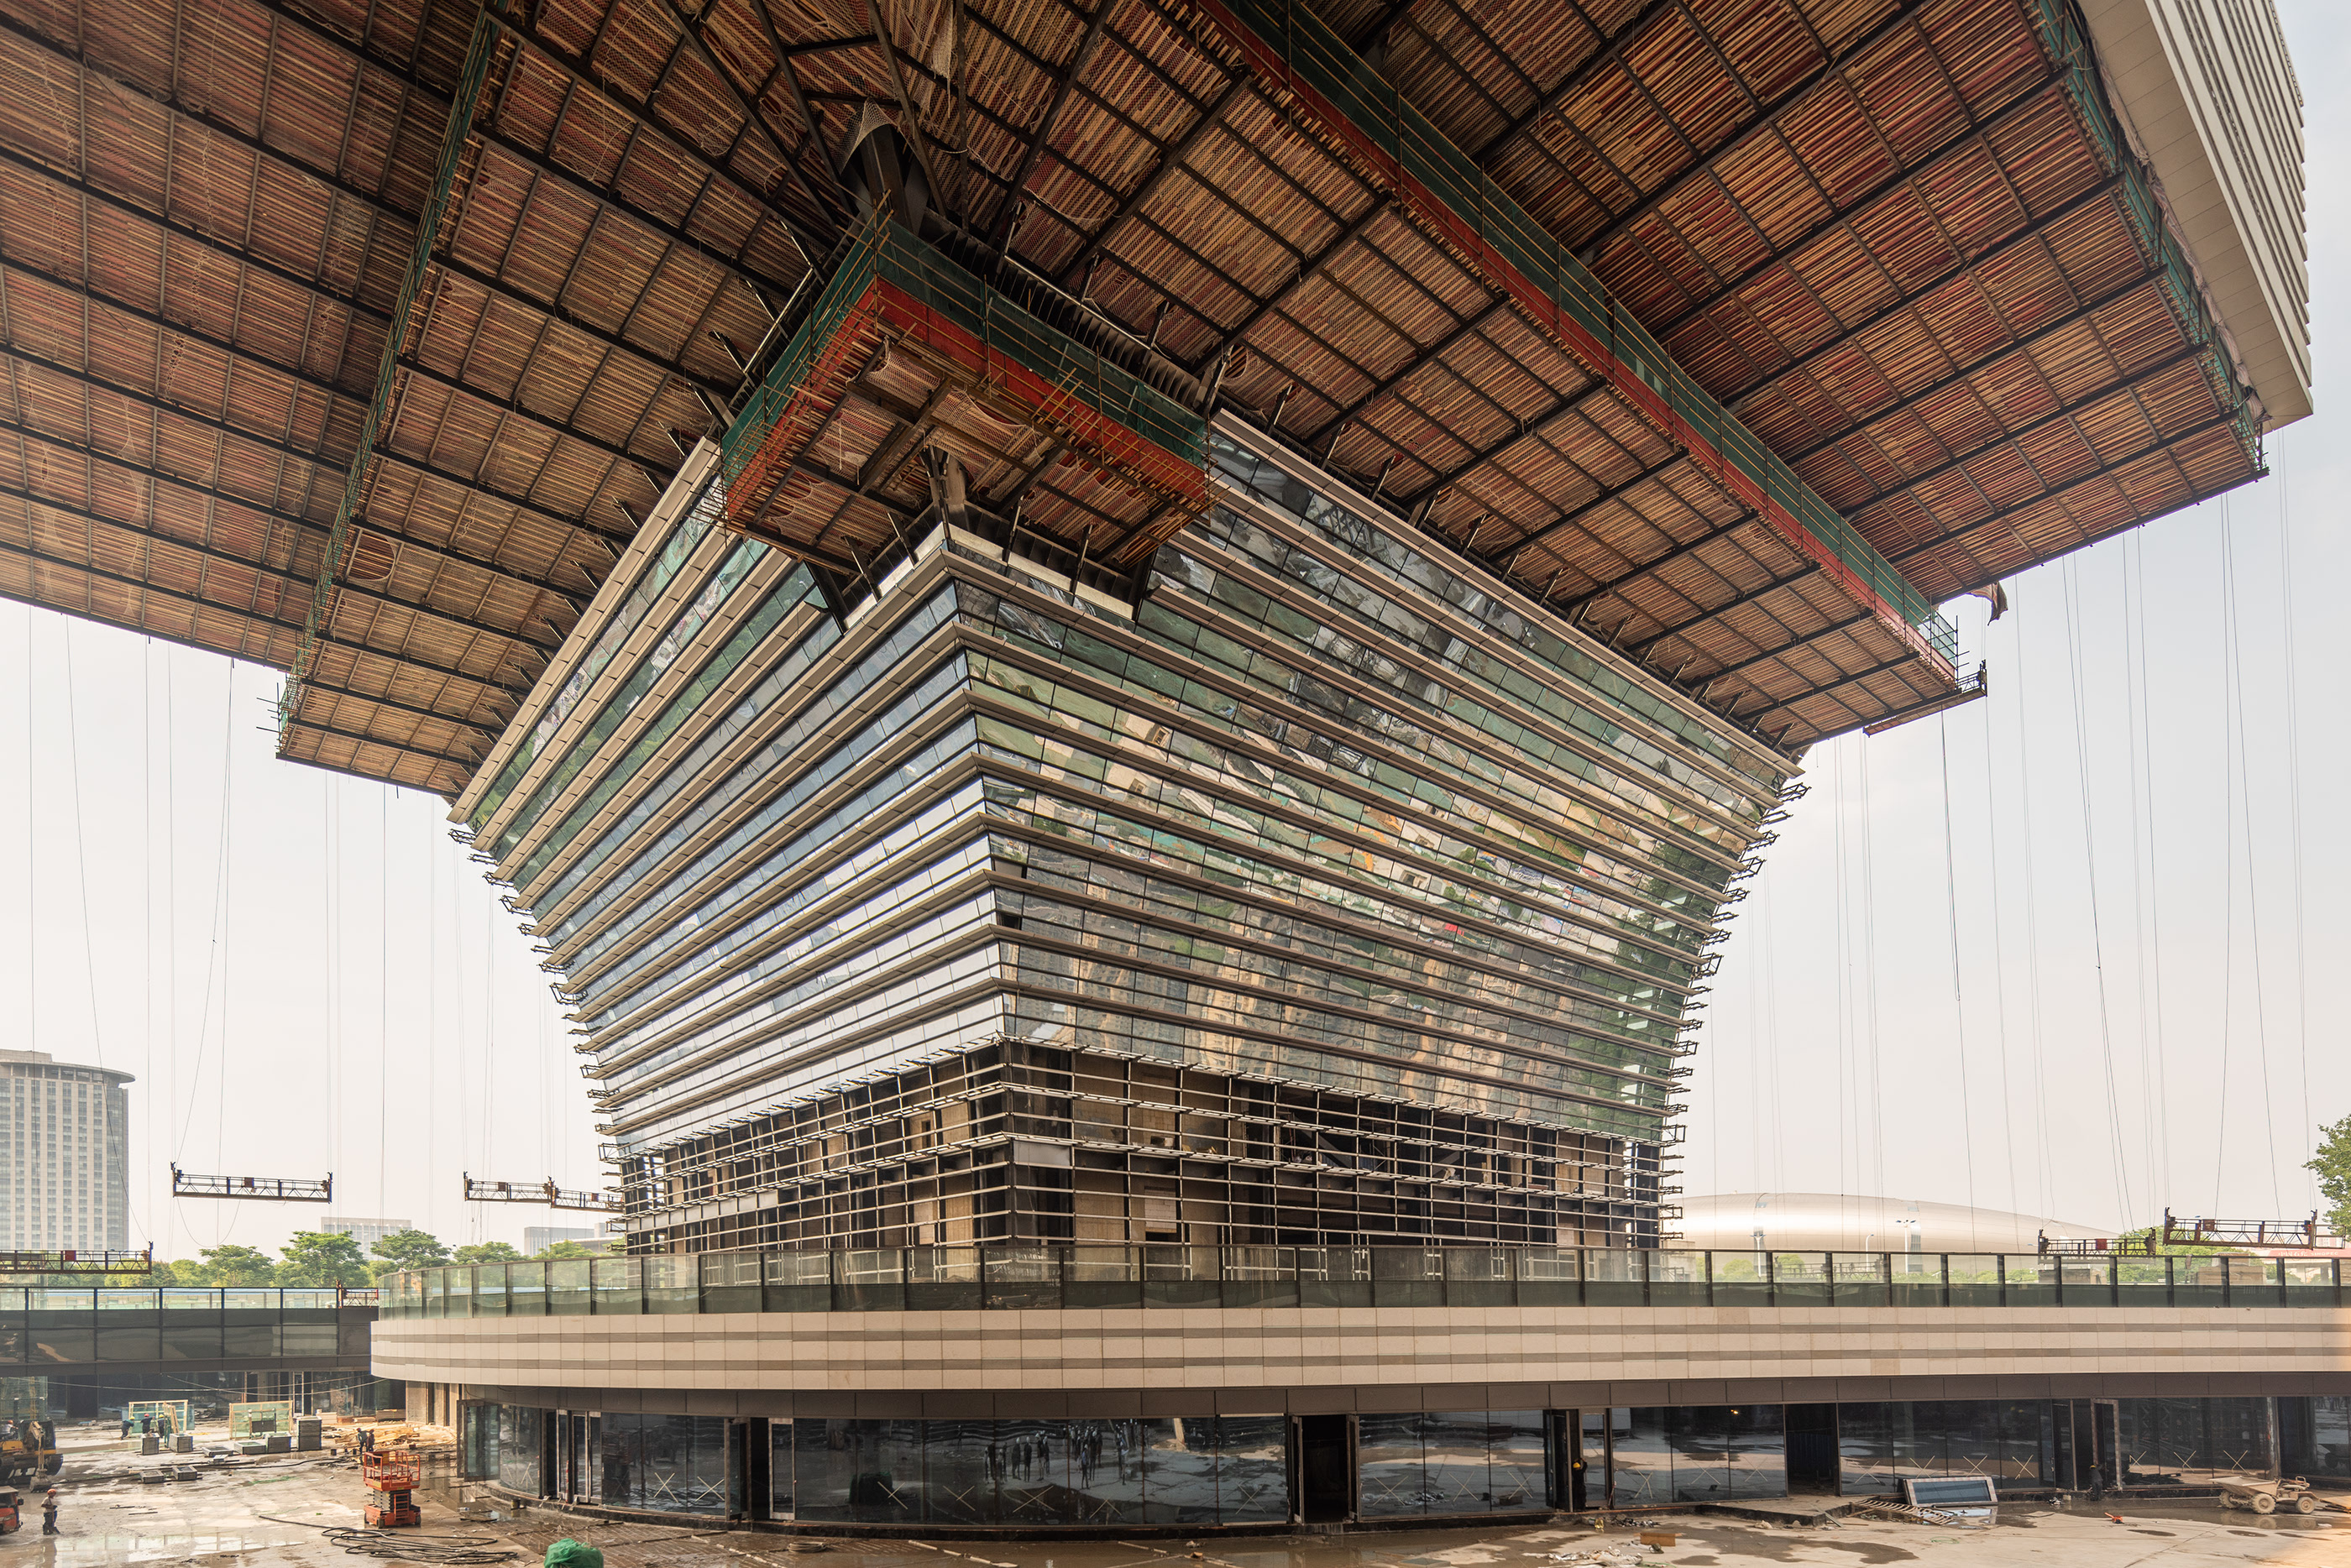
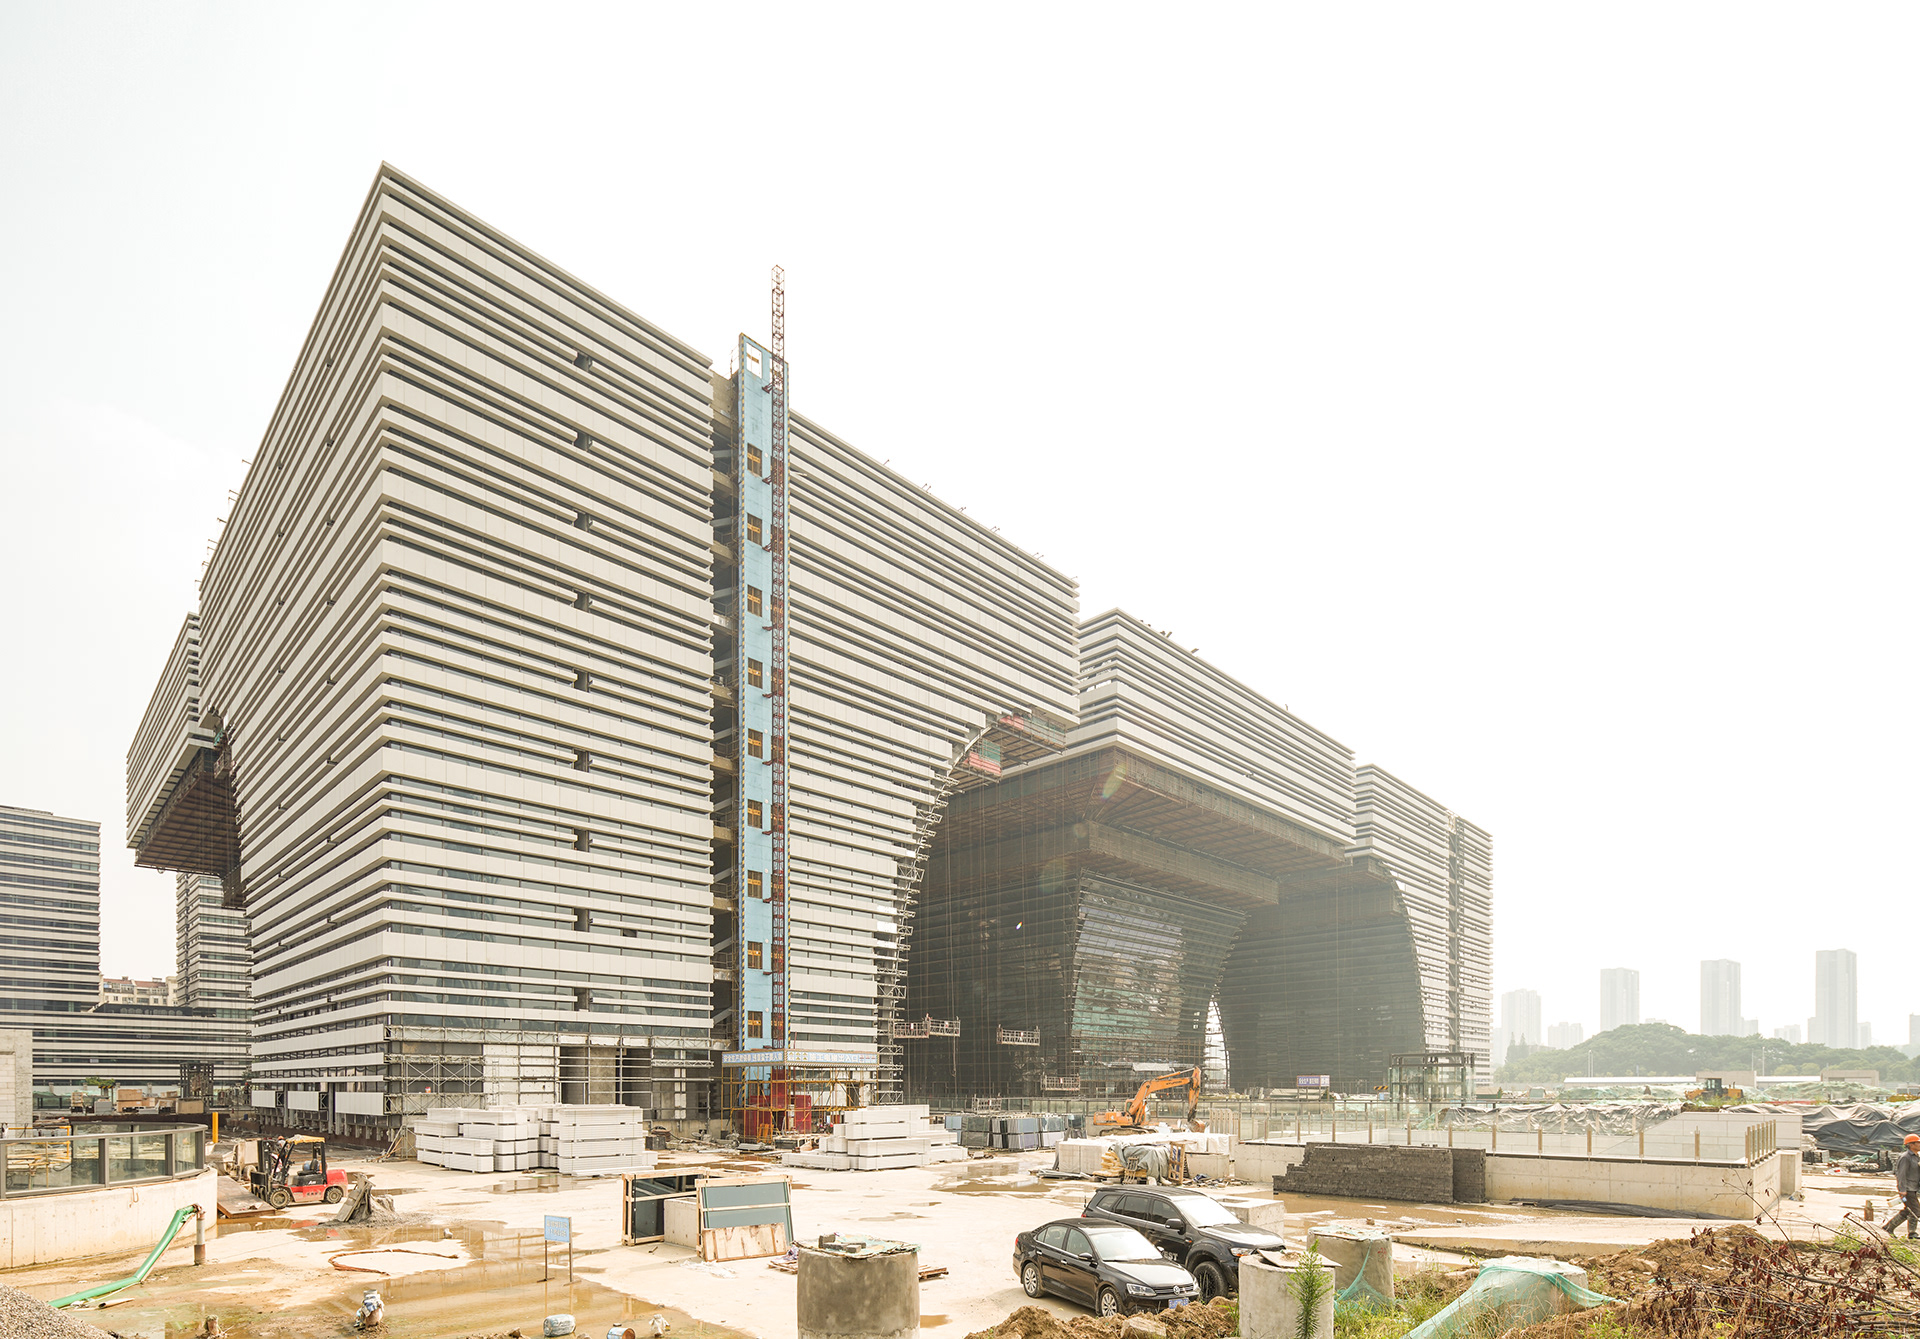
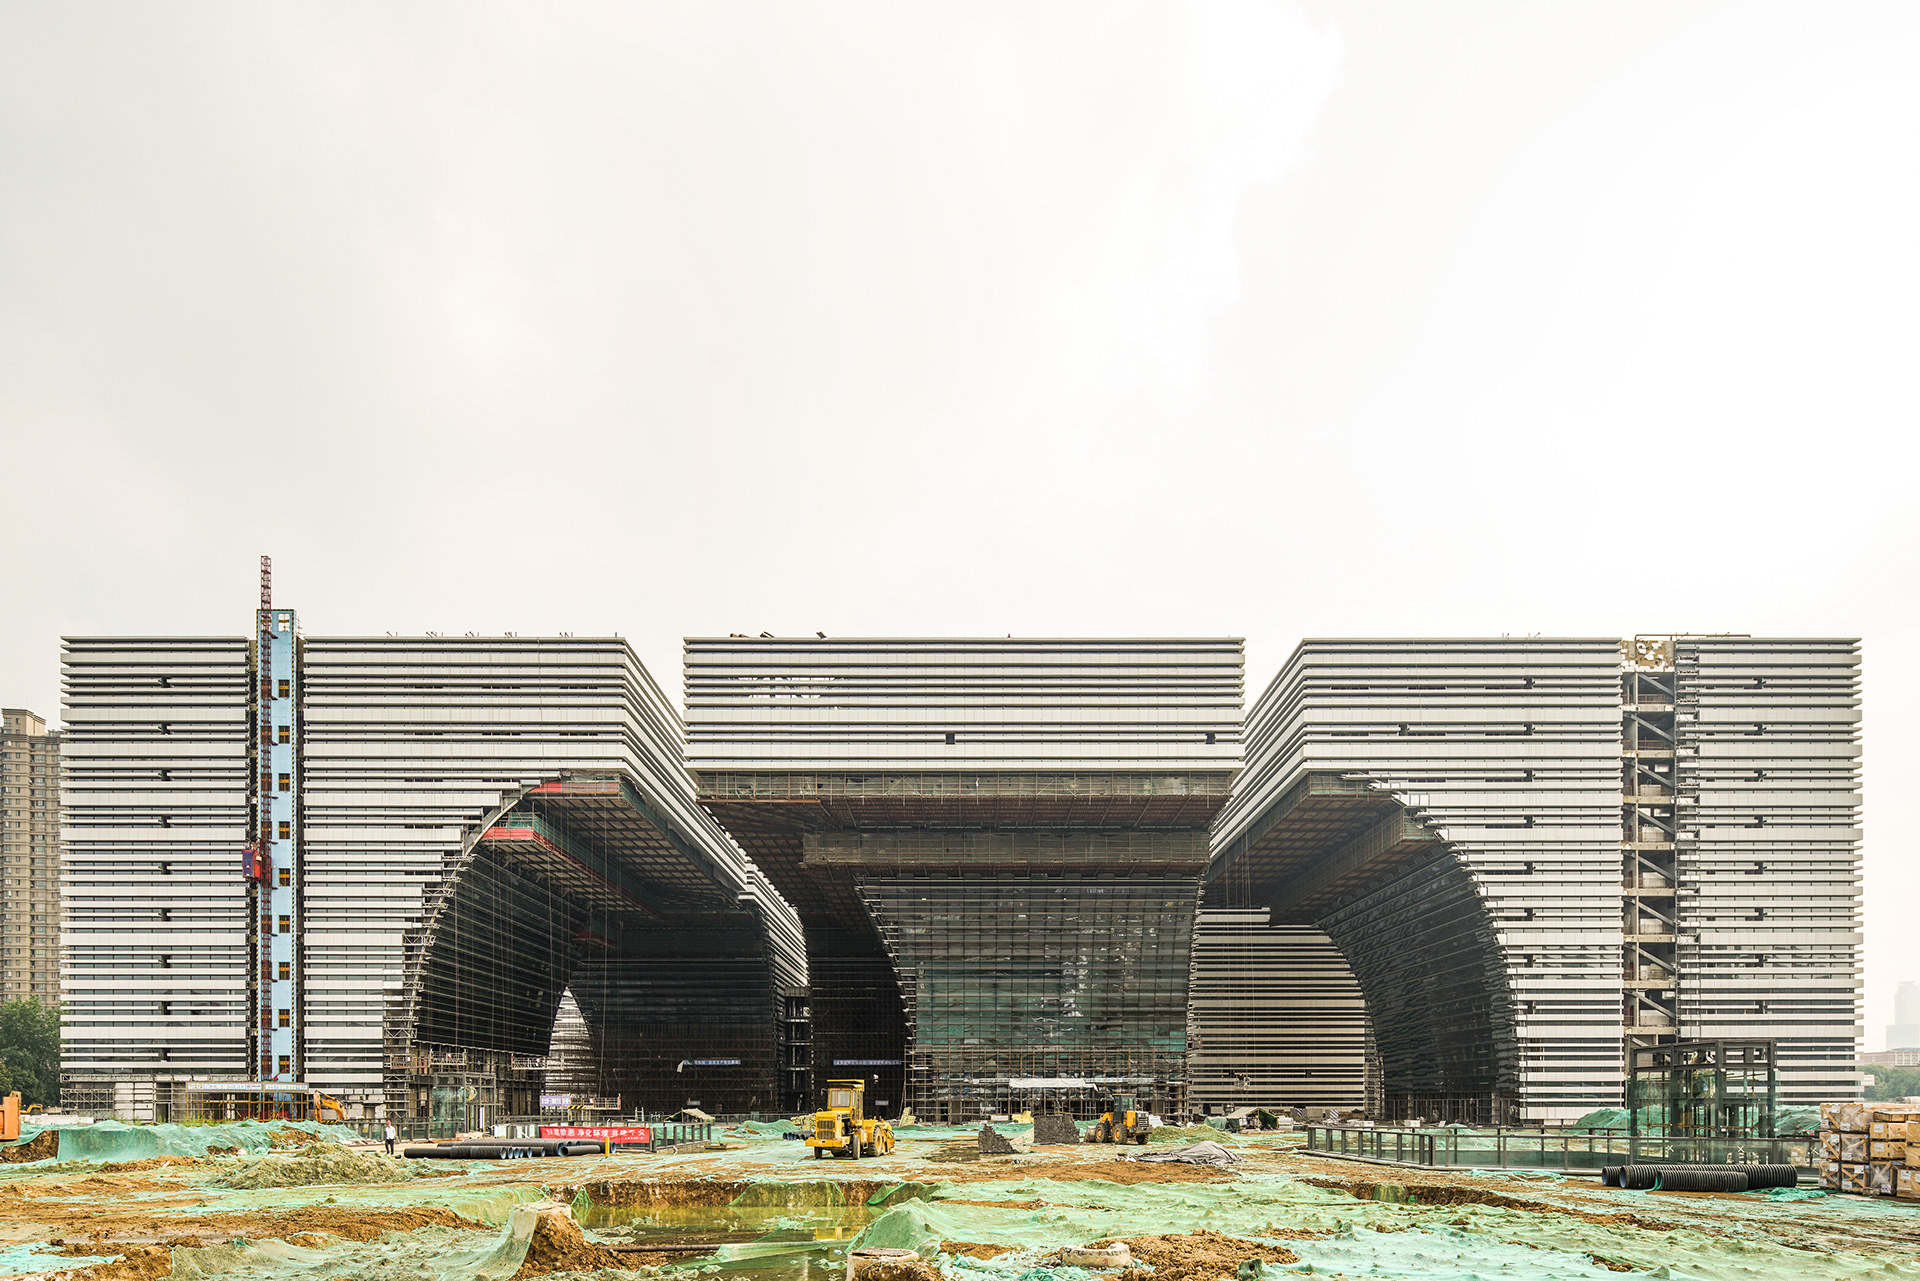
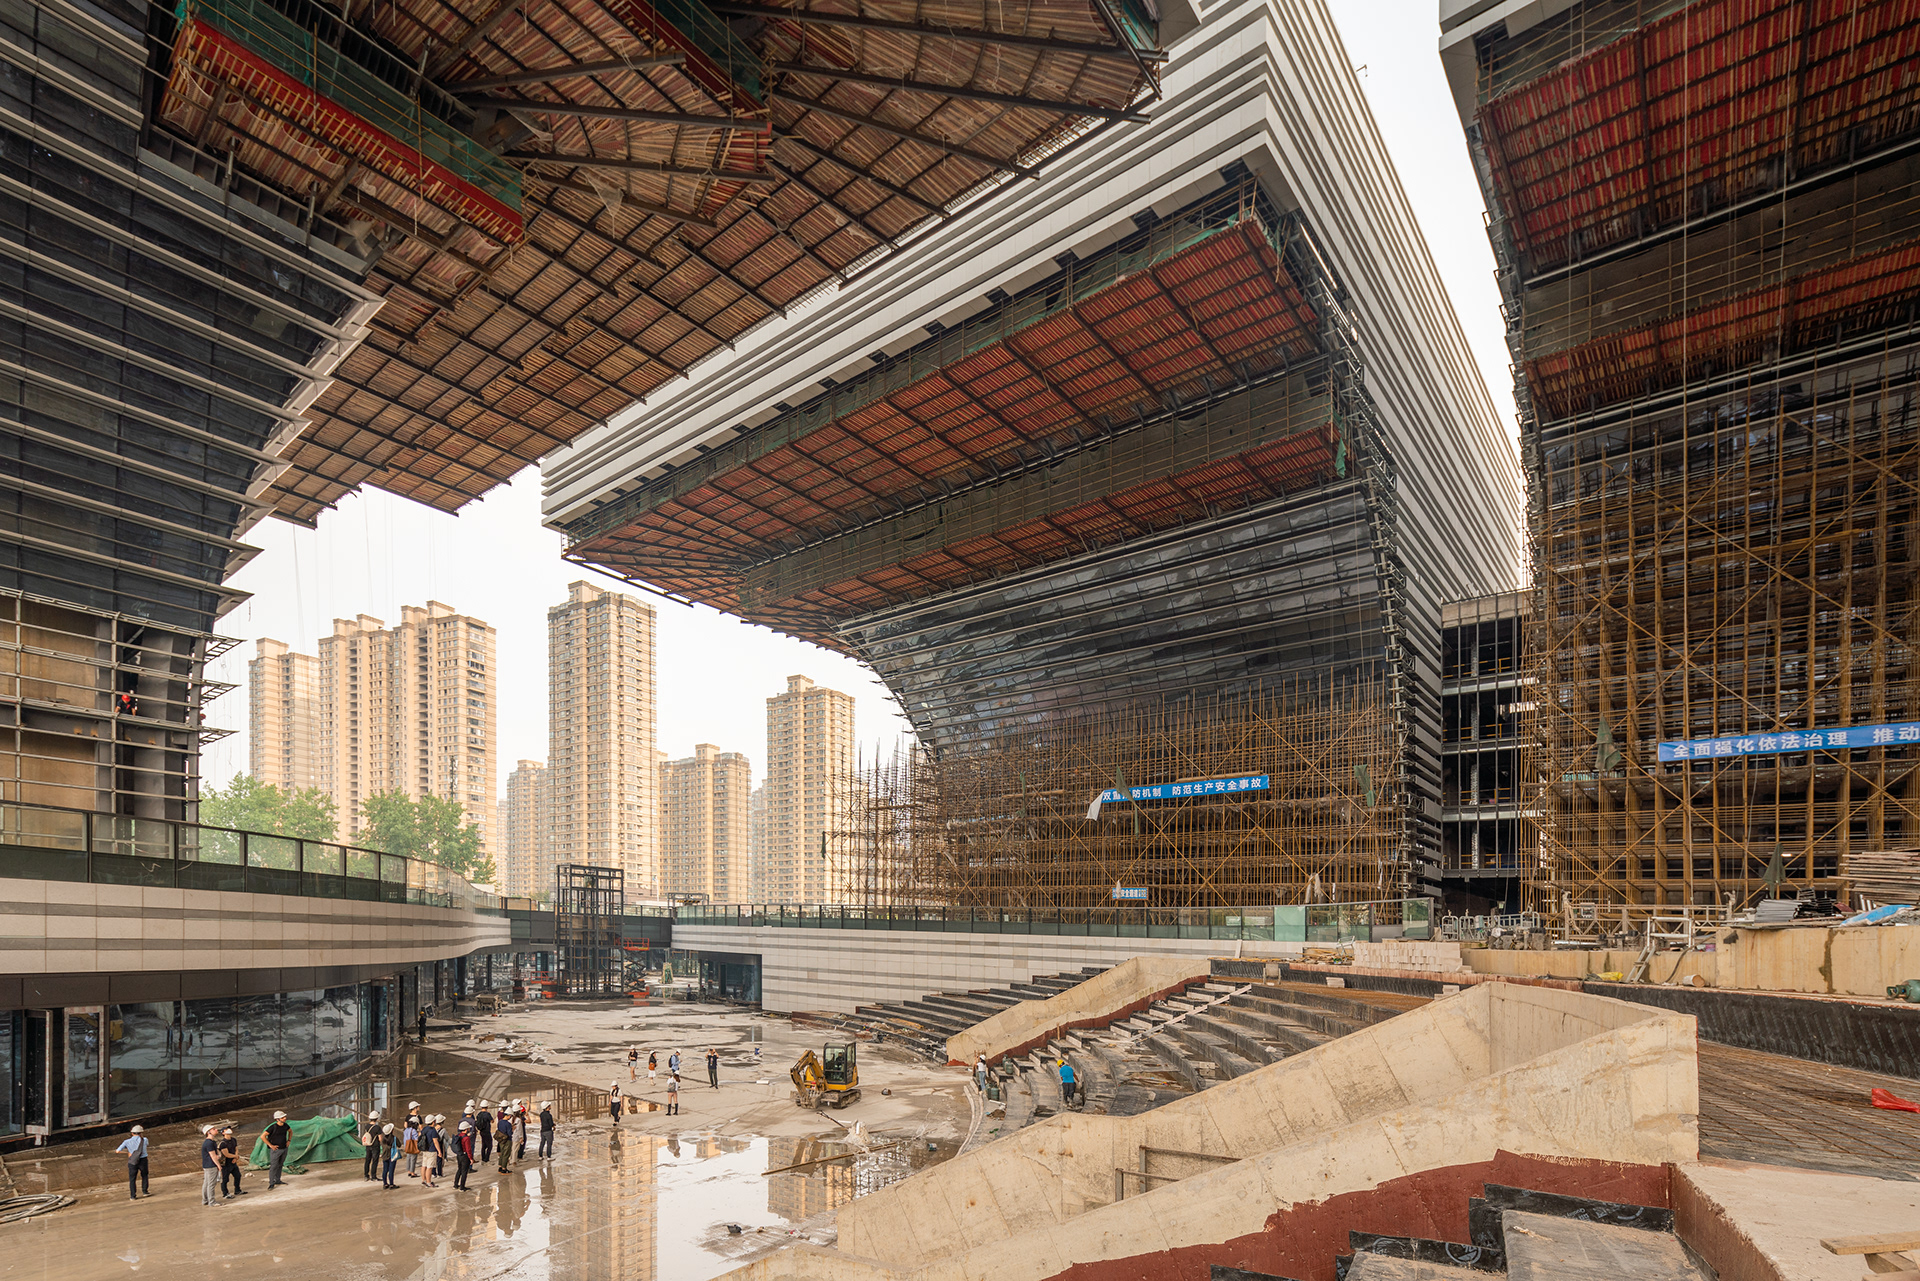
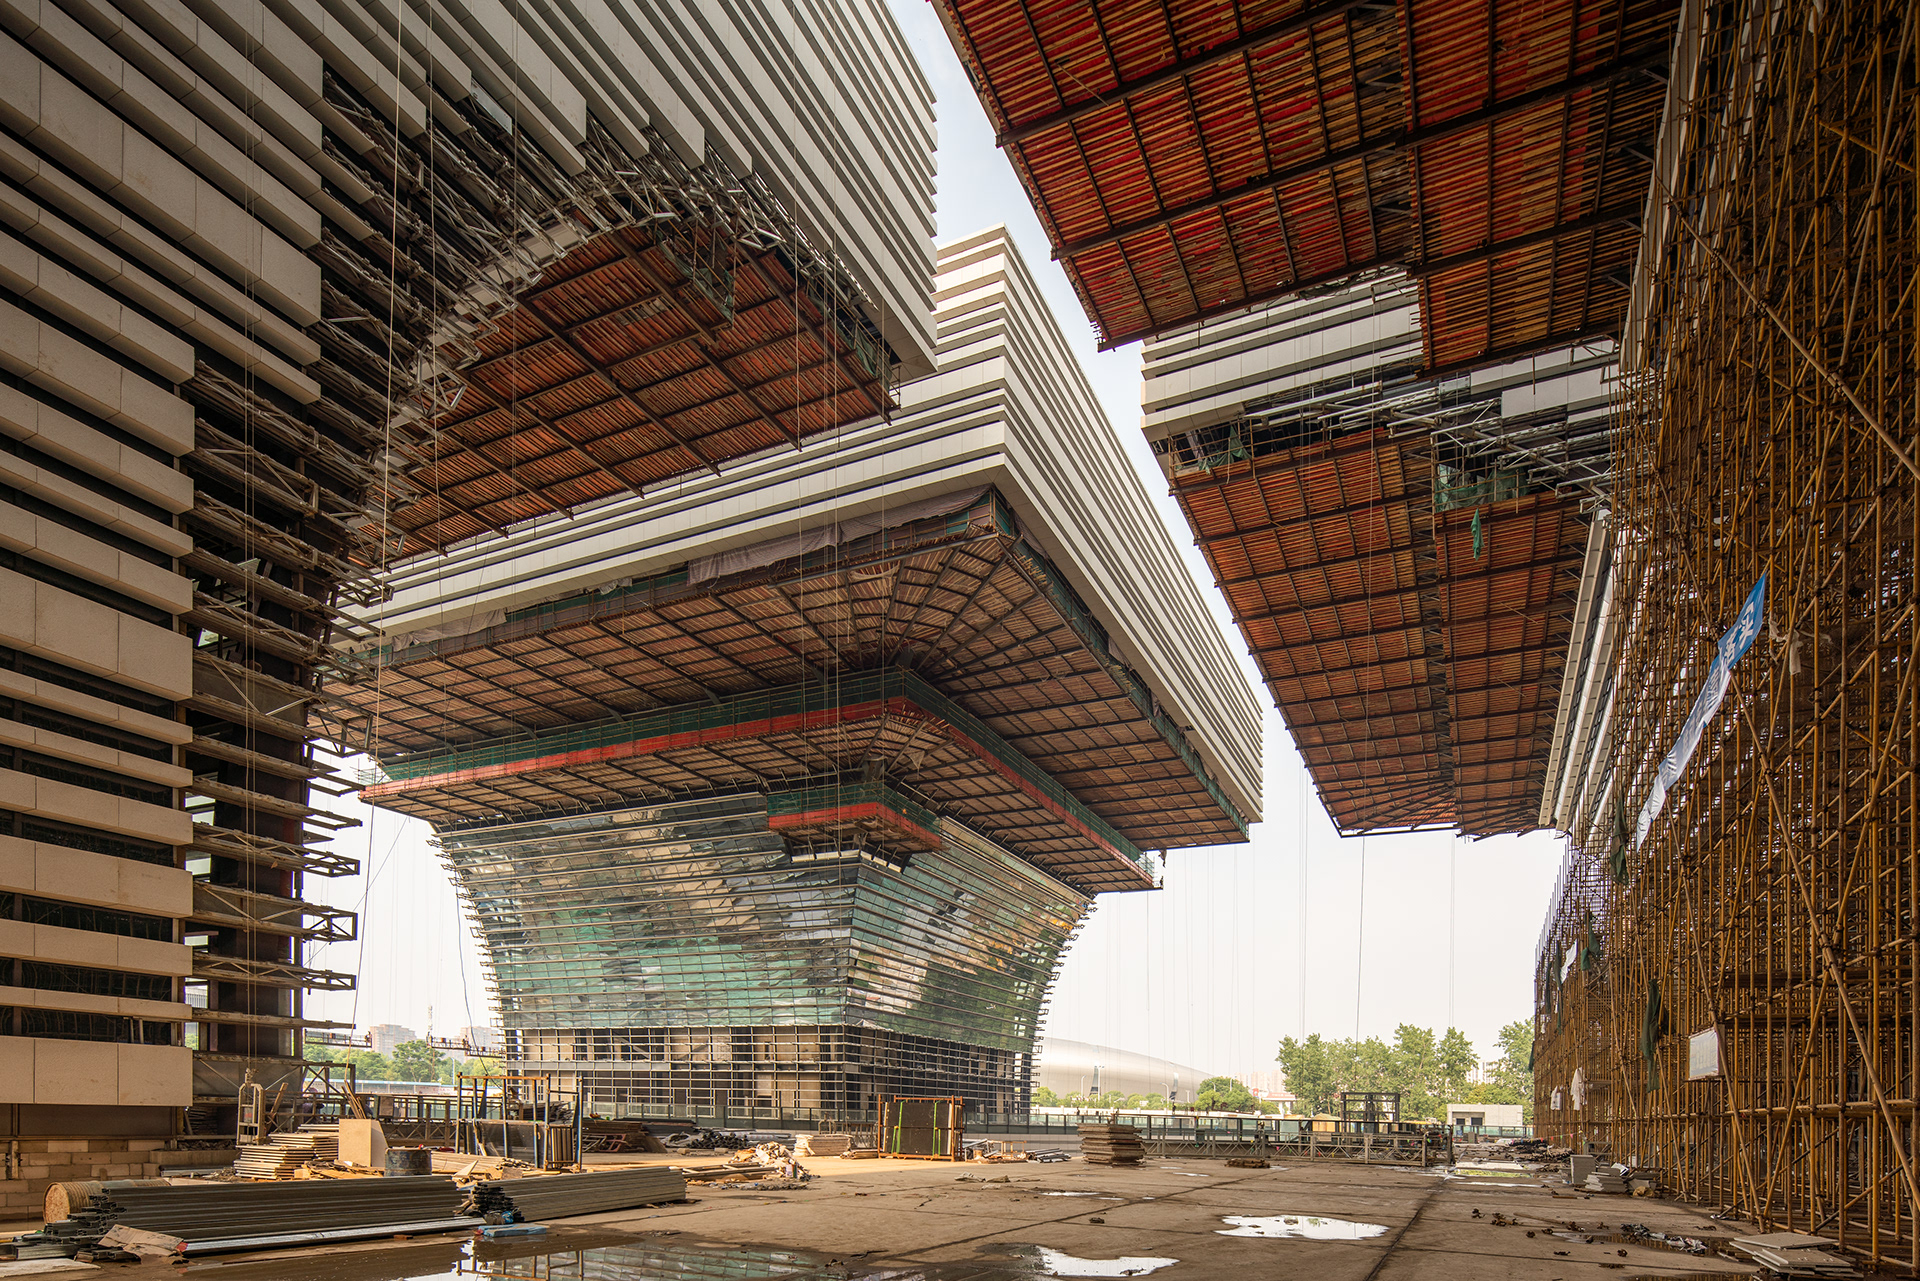
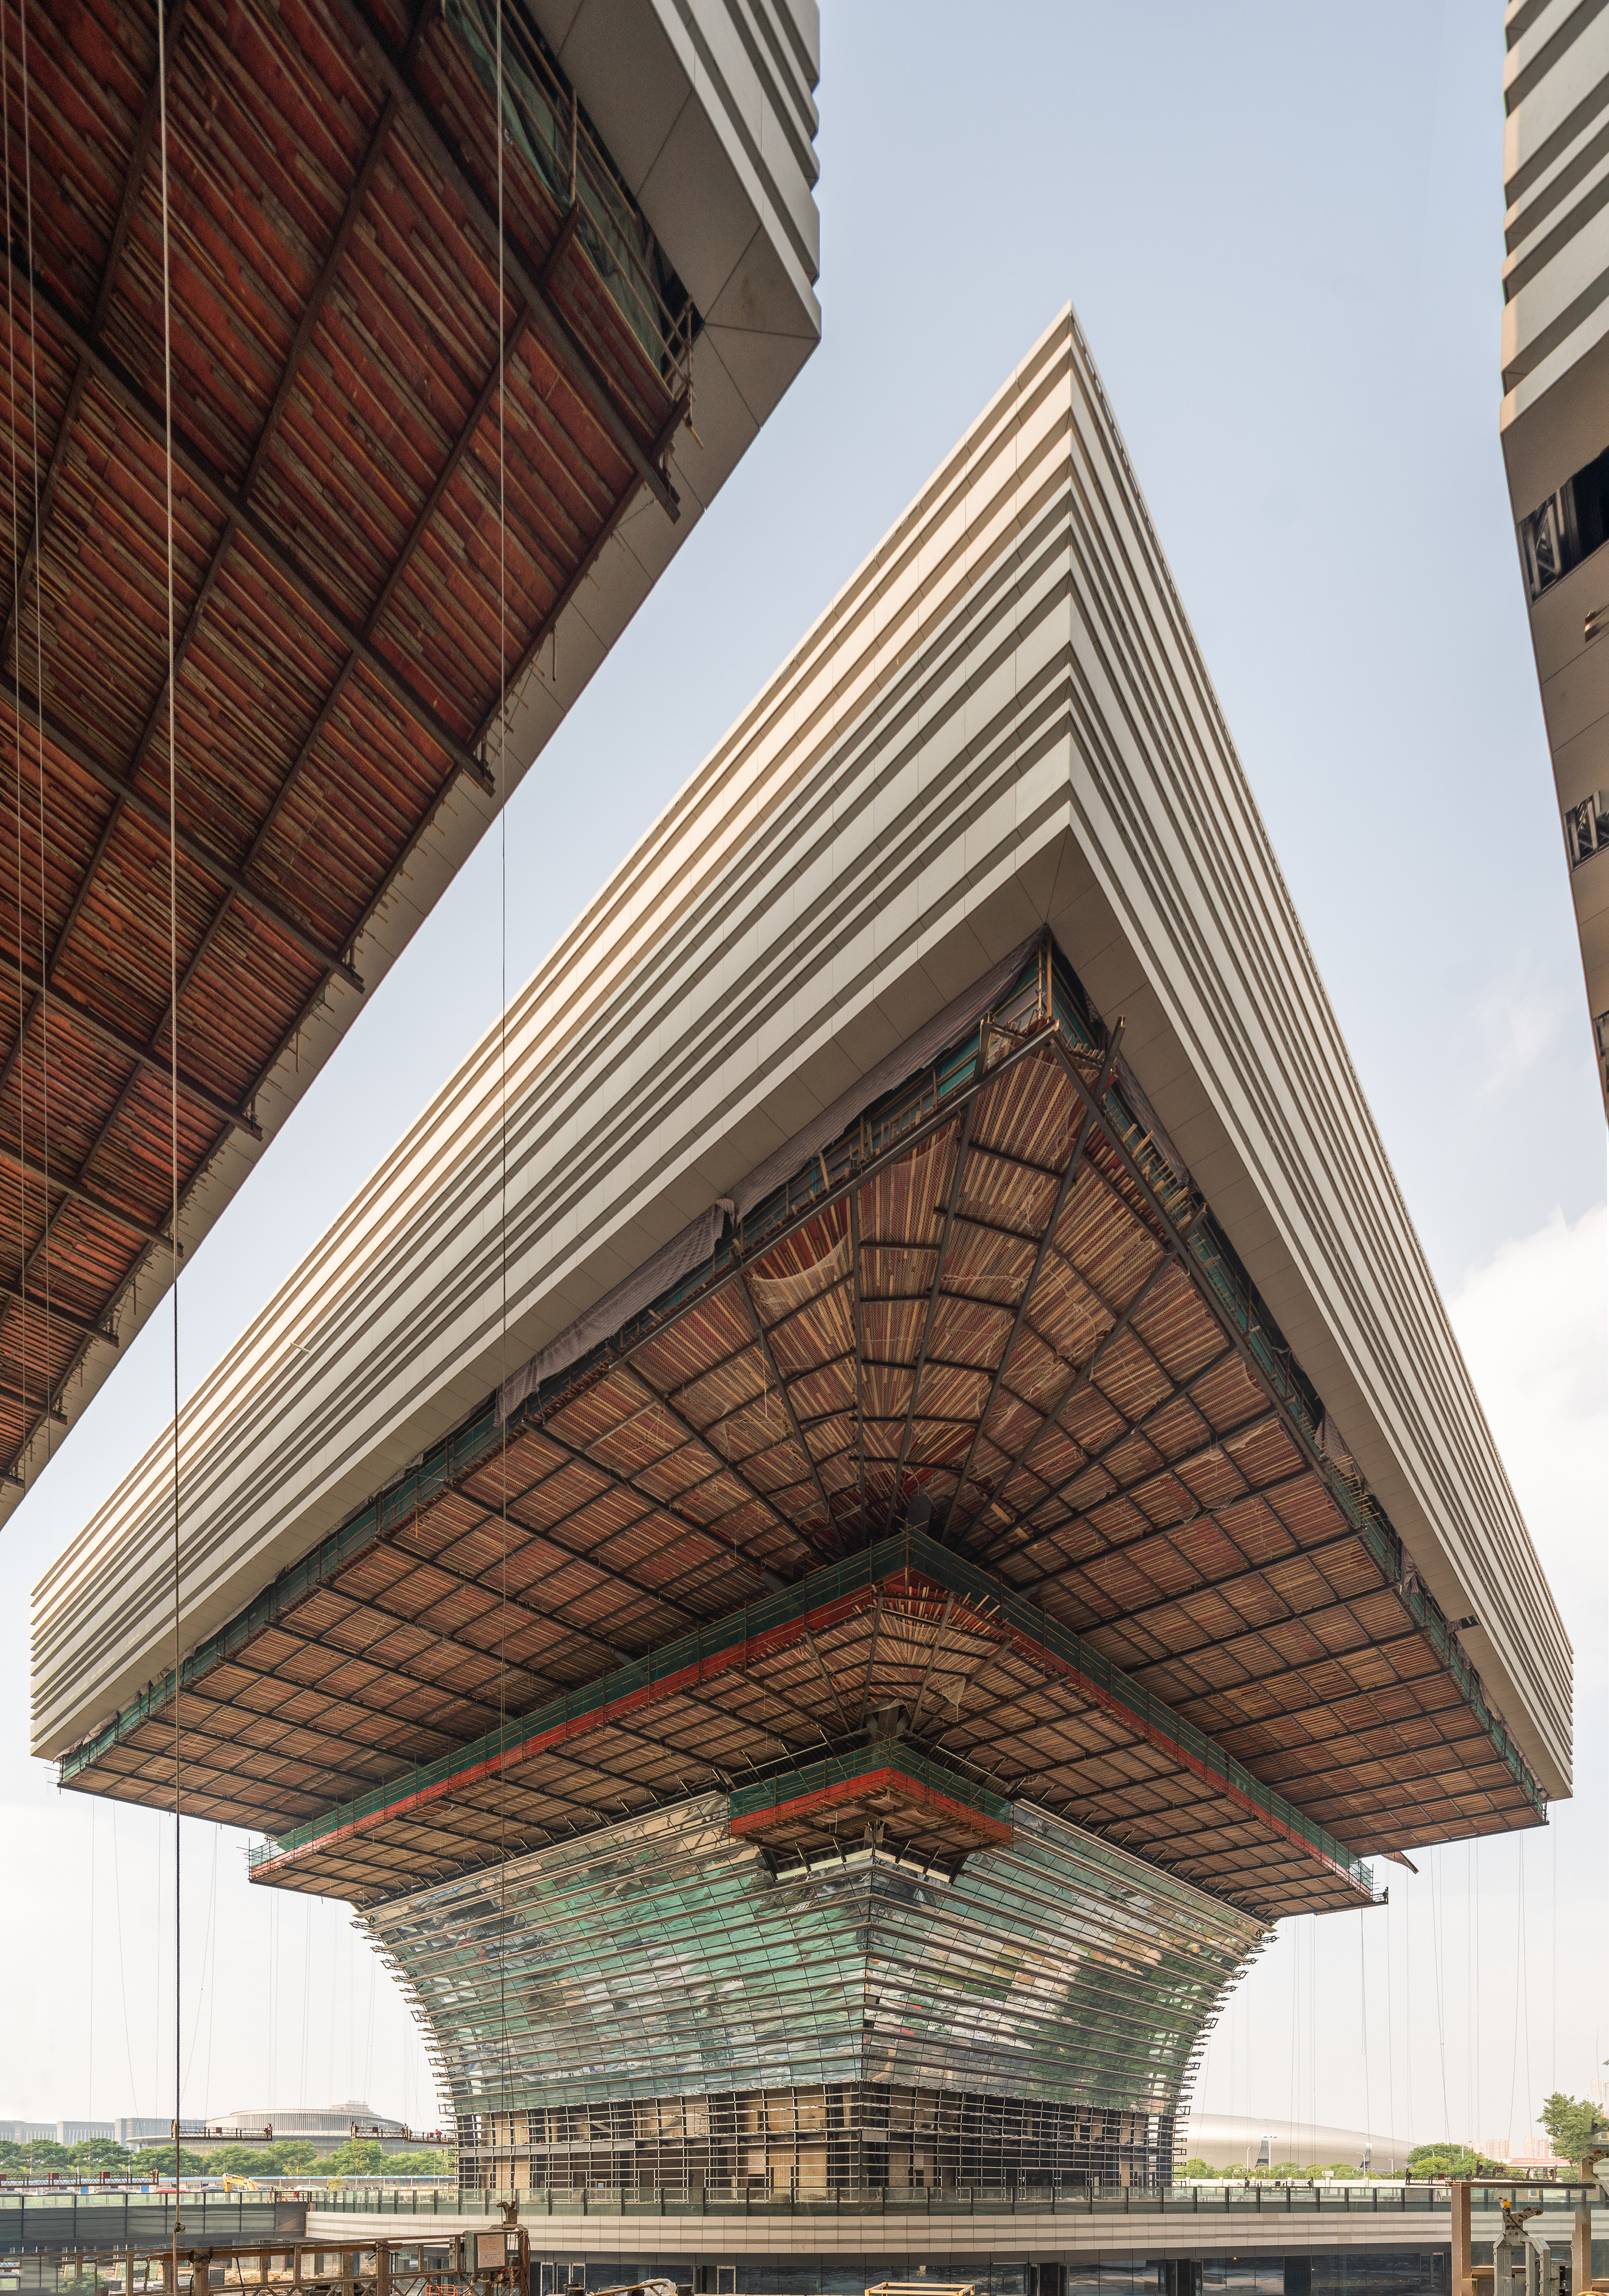
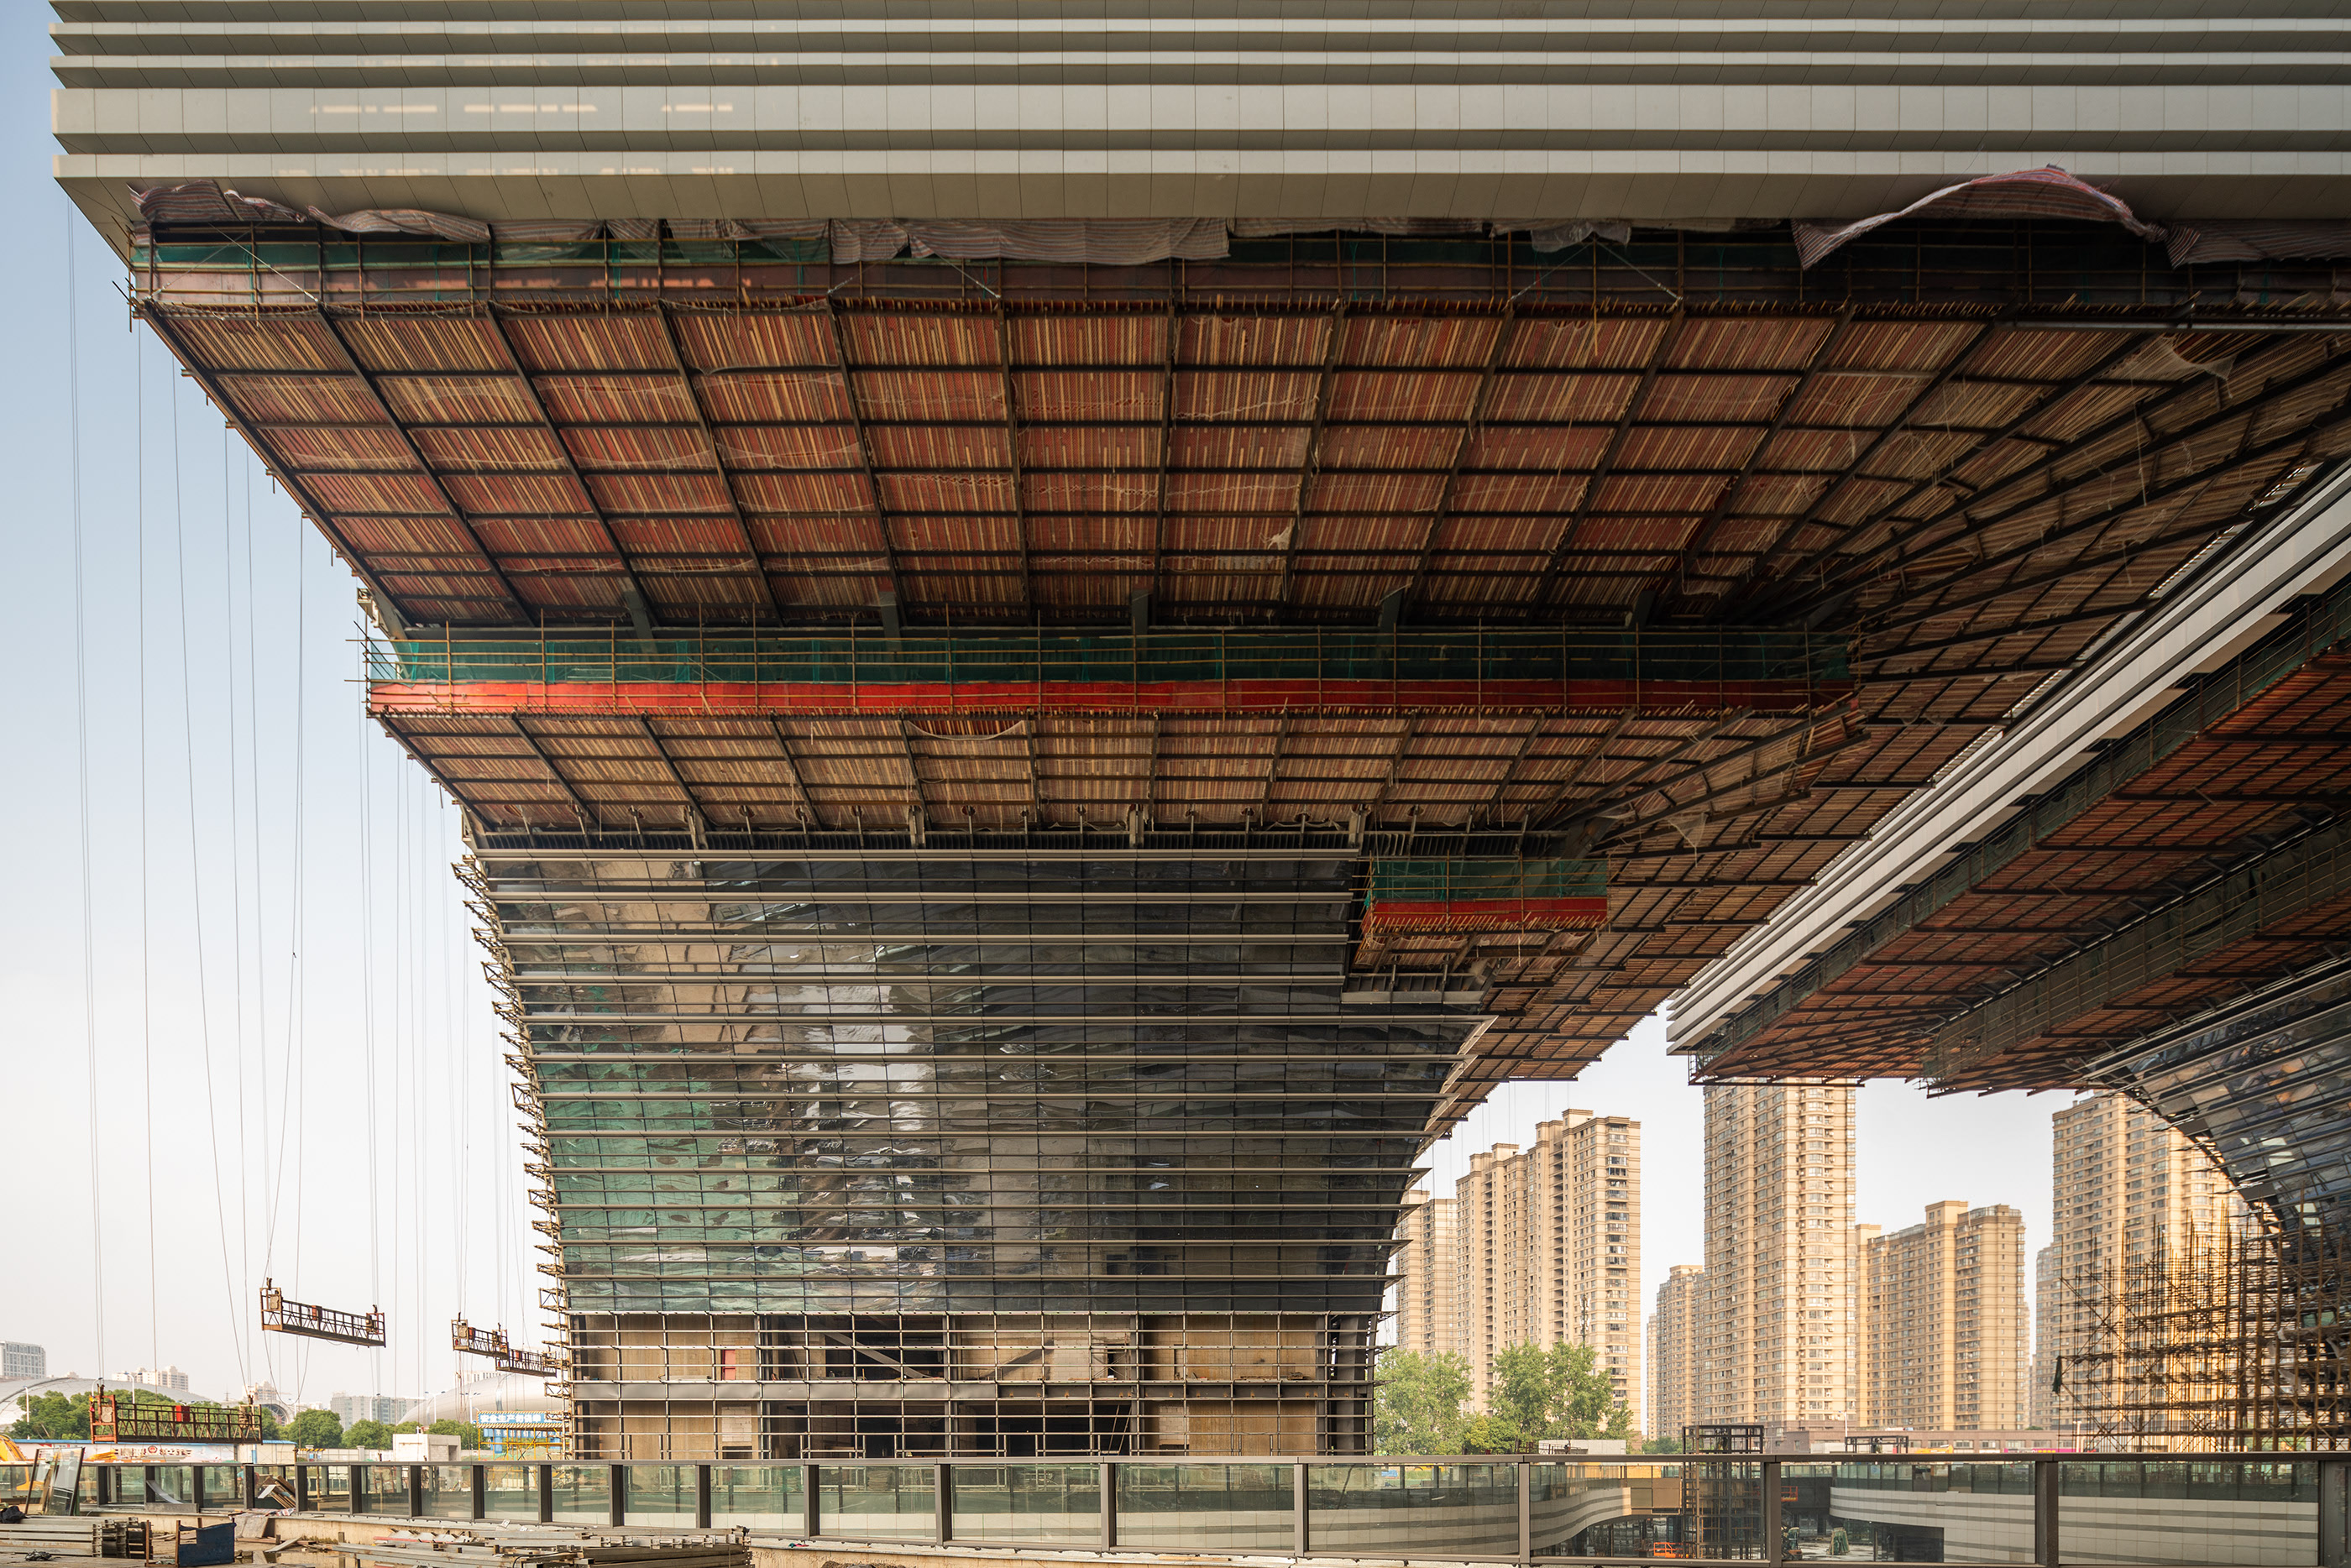
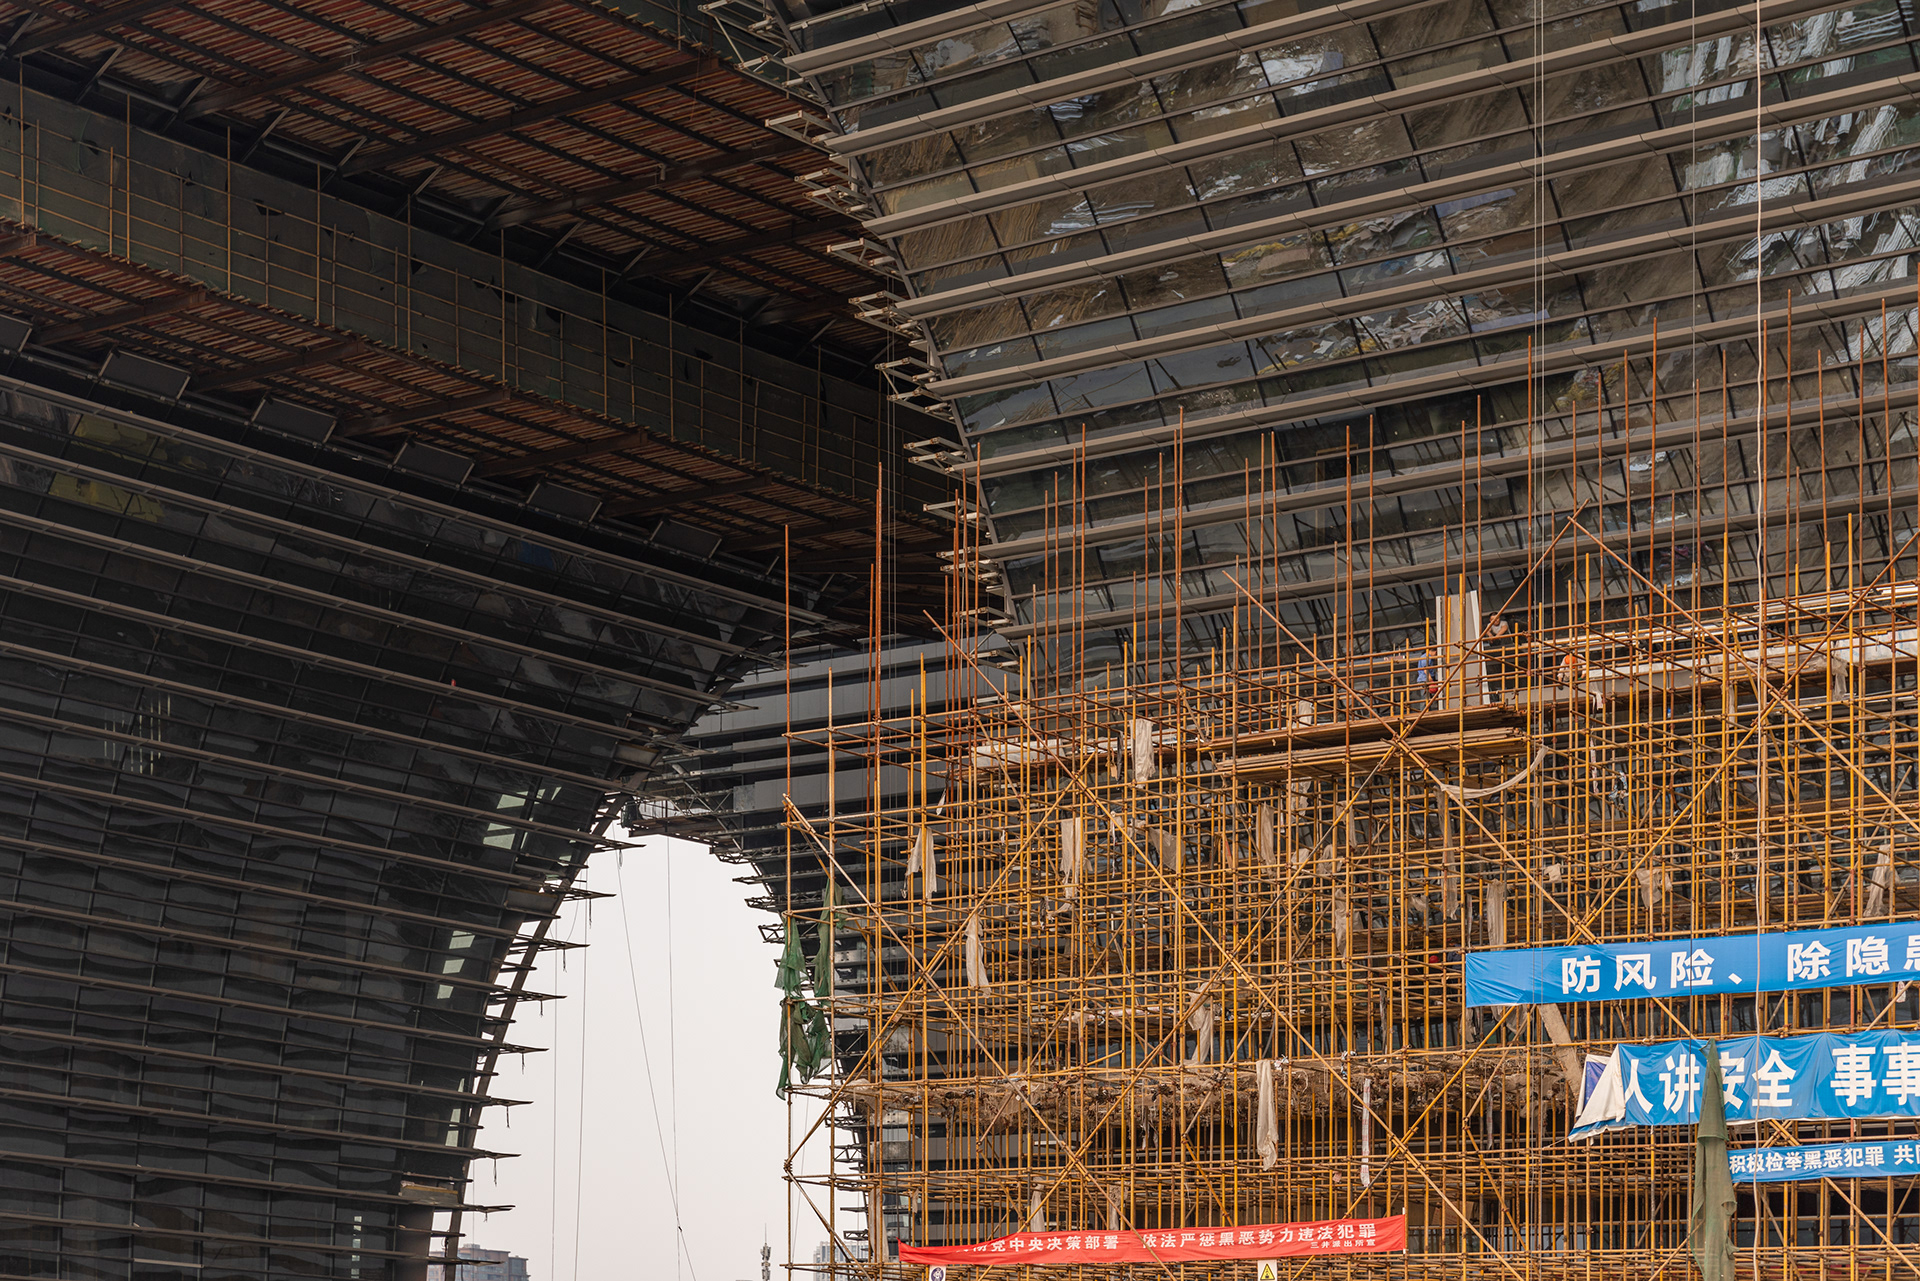
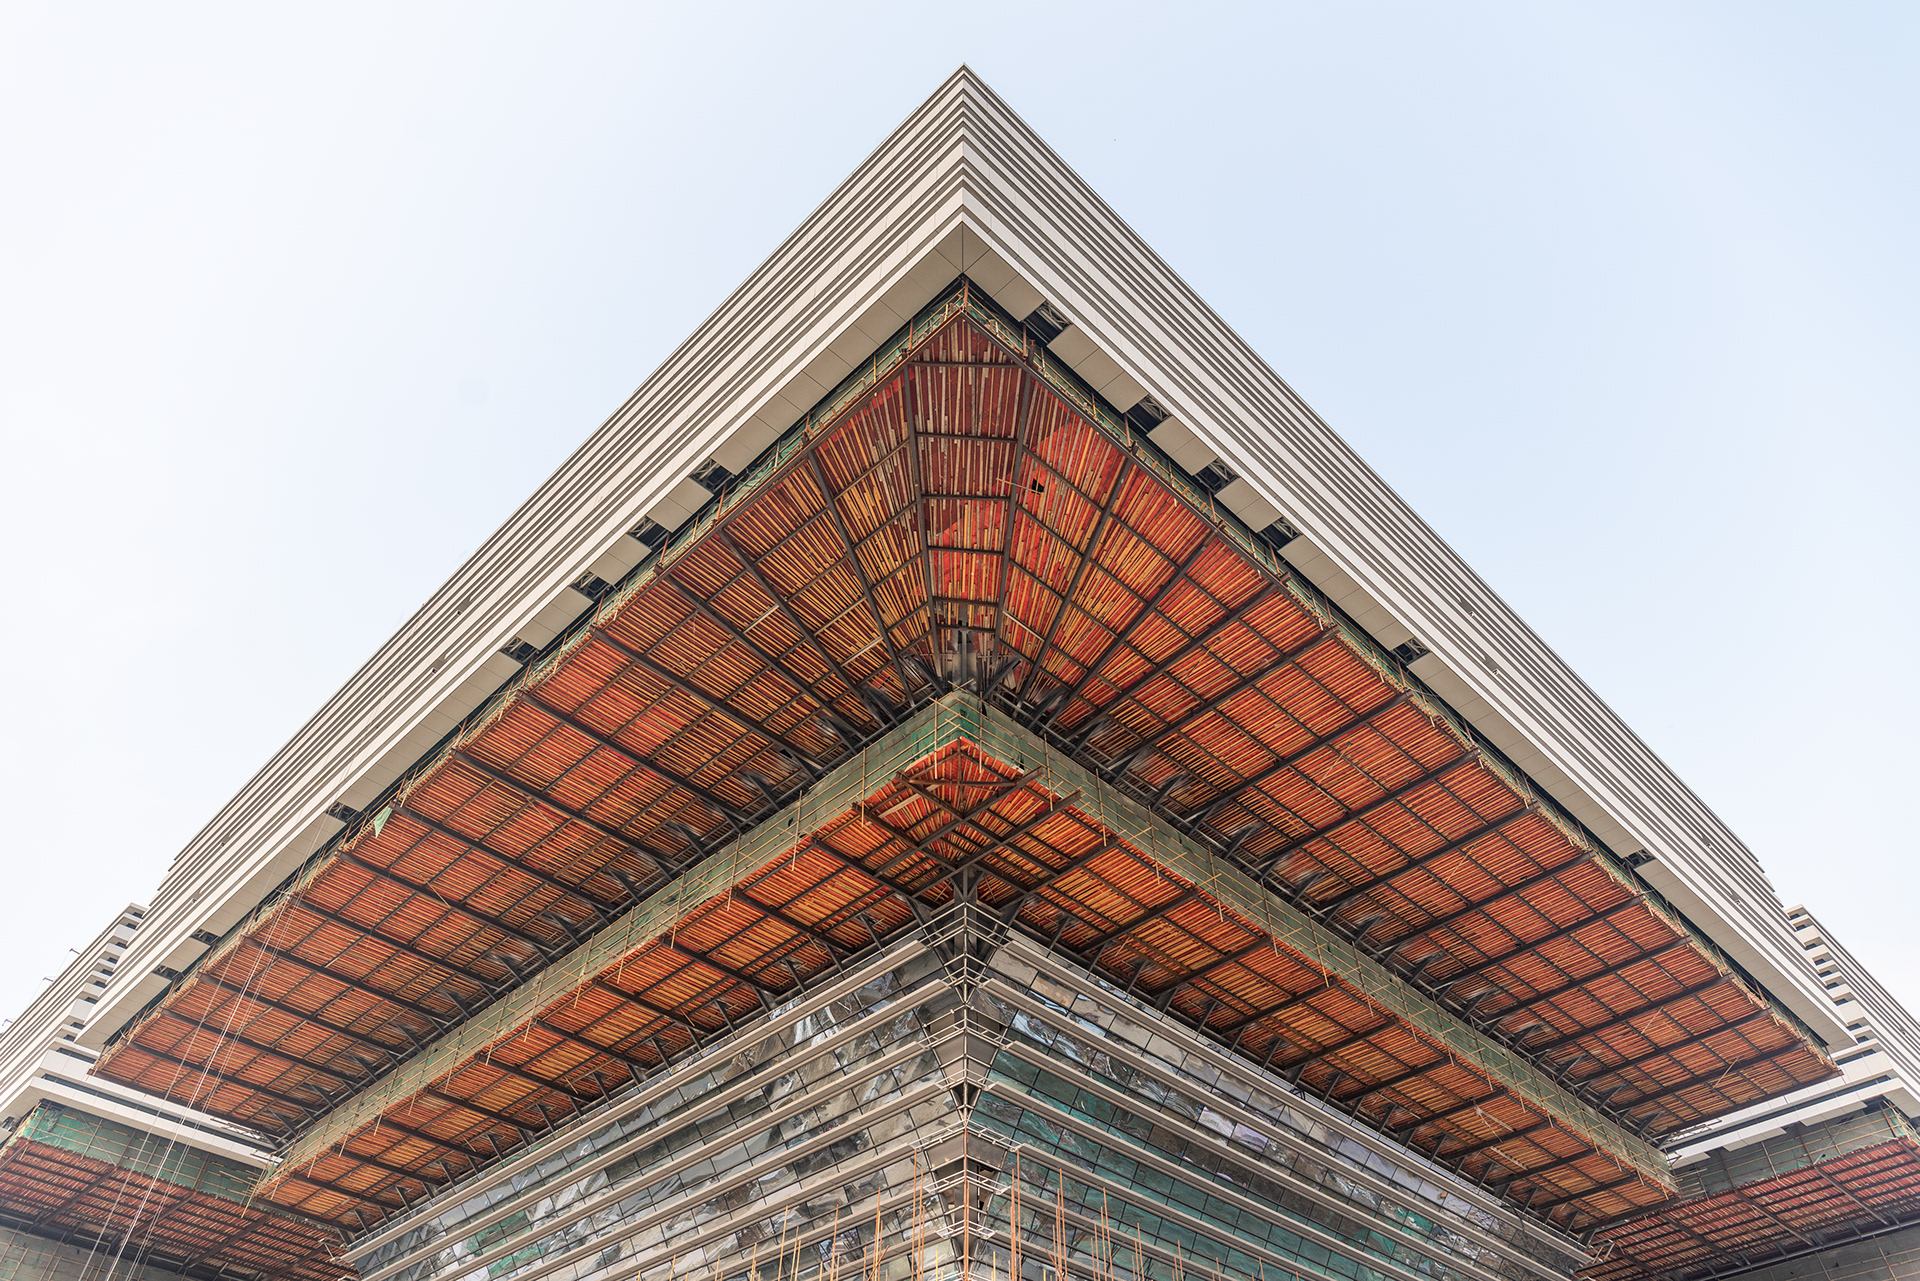
François here from ABDZ, it’s been a little while since I last shared an update on my Osore Lightroom Presets. I was kept pretty busy with my personal life and building ABDZ at the same time. I did find some time to finally release my new Lightroom presets titled: Osore Shanghai. Three entirely re-designed presets customizable and made for Adobe Lightroom CC and Classic CC as a eulogy to my time in the city back in April. It was my first time in China and it’s quite an unconventional experience when compared to other countries like Japan for starters.

The modern technology and language became a barrier to tackle every day even though people thought I was a local. I definitely had a delightful time and as the night falls ‘Shanghai Neons’ would shine its gritty & obscure streets. The old and new structures make this city quite unparalleled in its culture, architecture but by keeping its traditional roots. To celebrate the launch, I am sharing a discount code! Use “nihao” at checkout and get 30% of everything in the store.

The old and new structures make this city quite unparalleled in its culture, architecture but by keeping its traditional roots

Introducing Osore Shanghai Lightroom Presets inspired by CyberpunkIntroducing Osore Shanghai

Links
Shop Osore Presets
Instagram
Osore Shanghai OS8
Introducing Osore Shanghai Lightroom Presets inspired by CyberpunkIntroducing Osore Shanghai Lightroom Presets inspired by CyberpunkIntroducing Osore Shanghai Lightroom Presets inspired by CyberpunkIntroducing Osore Shanghai Lightroom Presets inspired by Cyberpunk

Osore Shanghai OS9
Introducing Osore Shanghai Lightroom Presets inspired by CyberpunkIntroducing Osore Shanghai Lightroom Presets inspired by CyberpunkIntroducing Osore Shanghai Lightroom Presets inspired by CyberpunkIntroducing Osore Shanghai Lightroom Presets inspired by Cyberpunk

Osore Shanghai OS10
Introducing Osore Shanghai Lightroom Presets inspired by CyberpunkIntroducing Osore Shanghai Lightroom Presets inspired by CyberpunkIntroducing Osore Shanghai Lightroom Presets inspired by CyberpunkIntroducing Osore Shanghai Lightroom Presets inspired by Cyberpunk

Limited Code

Please use “nihao” at checkout and get 30% off everything in the store, enjoy! It’s for a limited time only!

Links
Shop Osore Presets
Stay Connected
ABDZ Facebook
ABDZ Instagram


CSS Custom Properties In The Cascade

Original Source: https://www.smashingmagazine.com/2019/07/css-custom-properties-cascade/

CSS Custom Properties In The Cascade

CSS Custom Properties In The Cascade

Miriam Suzanne

2019-07-01T12:30:59+02:00
2019-07-01T12:46:47+00:00

Last month, I had a conversation on Twitter about the difference between “scoped” styles (generated in a build process) and “nested” styles native to CSS. I asked why, anecdotally, developers avoid the specificity of ID selectors, while embracing “scoped styles” generated by JavaScript? Keith Grant suggested that the difference lies in balancing the cascade* and inheritance, i.e. giving preference to proximity over specificity. Let’s take a look.

The Cascade

The CSS cascade is based on three factors:

Importance defined by the !important flag, and style origin (user > author > browser)
Specificity of the selectors used (inline > ID > class > element)
Source Order of the code itself (latest takes precedence)

Proximity is not mentioned anywhere — the DOM-tree relationship between parts of a selector. The paragraphs below will both be red, even though #inner p describes a closer relationship than #outer p for the second paragraph:

See the Pen [Cascade: Specificity vs Proximity](https://codepen.io/smashingmag/pen/OexweJ/) by Miriam Suzanne.

See the Pen Cascade: Specificity vs Proximity by Miriam Suzanne.

<section id=”outer”>
<p>This text is red</p>
<div id=”inner”>
<p>This text is also red!</p>
</div>
</section>

#inner p {
color: green;
}

#outer p {
color: red;
}

Both selectors have the same specificity, they are both describing the same p element, and neither is flagged as !important — so the result is based on source-order alone.

BEM And Scoped Styles

Naming conventions like BEM (“Block__Element—Modifier”) are used to ensure that each paragraph is “scoped” to only one parent, avoiding the cascade entirely. Paragraph “elements” are given unique classes specific to their “block” context:

See the Pen [BEM Selectors & Proximity](https://codepen.io/smashingmag/pen/qzPyeM/) by Miriam Suzanne.

See the Pen BEM Selectors & Proximity by Miriam Suzanne.

<section class=”outer”>
<p class=”outer__p”>This text is red</p>
<div class=”inner”>
<p class=”inner__p”>This text is green!</p>
</div>
</section>

.inner__p {
color: green;
}

.outer__p {
color: red;
}

These selectors still have the same relative importance, specificity, and source order — but the results are different. “Scoped” or “modular” CSS tools automate that process, re-writing our CSS for us, based on the HTML. In the code below, each paragraph is scoped to its direct parent:

See the Pen [Scoped Style Proximity](https://codepen.io/smashingmag/pen/NZaLWN/) by Miriam Suzanne.

See the Pen Scoped Style Proximity by Miriam Suzanne.

<section outer-scope>
<p outer-scope>This text is red</p>
<div outer-scope inner-scope>
<p inner-scope>This text is green!</p>
</div>
</section>

p[inner-scope] {
color: green
}

p[outer-scope] {
color: red;
}

Inheritance

Proximity is not part of the cascade, but it is part of CSS. That’s where inheritance becomes important. If we drop the p from our selectors, each paragraph will inherit a color from its closest ancestor:

See the Pen [Inheritance: Specificity vs Proximity](https://codepen.io/smashingmag/pen/mZBGyN/) by Miriam Suzanne.

See the Pen Inheritance: Specificity vs Proximity by Miriam Suzanne.

#inner {
color: green;
}

#outer {
color: red;
}

Since #inner and #outer describe different elements, our div and section respectively, both color properties are applied without conflict. The nested p element has no color specified, so the results are determined by inheritance (the color of the direct parent) rather than cascade. Proximity takes precedence, and the #inner value overrides the #outer.

But there’s a problem: In order to use inheritance, we are styling everything inside our section and div. We want to target the paragraph color specifically.

(Re-)Introducing Custom Properties

Custom properties provide a new, browser-native solution; they inherit like any other property, but they don’t have to be used where they are defined. Using plain CSS, without any naming conventions or build tools, we can create a style that is both targeted and contextual, with proximity taking precedence over the cascade:

See the Pen [Custom Props: Specificity vs Proximity](https://codepen.io/smashingmag/pen/gNGdaO/) by Miriam Suzanne.

See the Pen Custom Props: Specificity vs Proximity by Miriam Suzanne.

p {
color: var(–paragraph);
}

#inner {
–paragraph: green;
}

#outer {
–paragraph: red;
}

The custom –paragraph property inherits just like the color property, but now we have control over exactly how and where that value is applied. The –paragraph property acts similar to a parameter that can be passed into the p component, either through direct selection (specificity-rules) or context (proximity-rules).

I think this reveals a potential for custom properties that we often associate with functions, mixins, or components.

Custom “Functions” And Parameters

Functions, mixins, and components are all based on the same idea: reusable code, that can be run with various input parameters to get consistent-but-configurable results. The distinction is in what they do with the results. We’ll start with a striped-gradient variable, and then we can extend it into other forms:

html {
–stripes: linear-gradient(
to right,
powderblue 20%, pink 20% 40%, white 40% 60%, pink 60% 80%, powderblue 80%
);
}

That variable is defined on the root html element (could also use :root, but that adds unnecessary specificity), so our striped variable will be available everywhere in the document. We can apply it anywhere gradients are supported:

See the Pen [Custom Props: Variable](https://codepen.io/smashingmag/pen/NZwrrm/) by Miriam Suzanne.

See the Pen Custom Props: Variable by Miriam Suzanne.

body {
background-image: var(–stripes);
}

Adding Parameters

Functions are used like variables, but define parameters for changing the output. We can update our –stripes variable to be more function-like by defining some parameter-like variables inside it. I’ll start by replacing to right with var(–stripes-angle), to create an angle-changing parameter:

html {
–stripes: linear-gradient(
var(–stripes-angle),
powderblue 20%, pink 20% 40%, white 40% 60%, pink 60% 80%, powderblue 80%
);
}

There are other parameters we could create, depending on what purpose the function is meant to serve. Should we allow users to pick their own stripe colors? If so, does our function accept 5 different color parameters or only 3 that will go outside-in like we have now? Do we want to create parameters for color-stops as well? Every parameter we add provides more customization at the cost of simplicity and consistency.

There is no universal right answer to that balance — some functions need to be more flexible, and others need to be more opinionated. Abstractions exist to provide consistency and readability in your code, so take a step back and ask what your goals are. What really needs to be customizable, and where should consistency be enforced? In some cases, it might be more helpful to have two opinionated functions, rather than one fully-customizable function.

To use the function above, we need to pass in a value for the –stripes-angle parameter, and apply the output to a CSS output property, like background-image:

/* in addition to the code above… */
html {
–stripes-angle: 75deg;
background-image: var(–stripes);
}

See the Pen [Custom Props: Function](https://codepen.io/smashingmag/pen/BgwOjj/) by Miriam Suzanne.

See the Pen Custom Props: Function by Miriam Suzanne.

Inherited Versus Universal

I defined the –stripes function on the html element out of habit. Custom properties inherit, and I want my function available everywhere, so it makes some sense to put it on the root element. That works well for inheriting variables like –brand-color: blue, so we might also expect it to work for our “function” as well. But if we try to use this function again on a nested selector, it won’t work:

See the Pen [Custom Props: Function Inheritance Fail](https://codepen.io/smashingmag/pen/RzjRrM/) by Miriam Suzanne.

See the Pen Custom Props: Function Inheritance Fail by Miriam Suzanne.

div {
–stripes-angle: 90deg;
background-image: var(–stripes);
}

The new –stripes-angle is ignored entirely. It turns out we can’t rely on inheritance for functions that need to be re-calculated. That’s because each property value is computed once per element (in our case, the html root element), and then the computed value is inherited. By defining our function at the document root, we don’t make the entire function available to descendants — only the computed result of our function.

That makes sense if you frame it in terms of the cascading –stripes-angle parameter. Like any inherited CSS property, it is available to descendants but not ancestors. The value we set on a nested div is not available to a function we defined on the html root ancestor. In order to create a universally-available function that will re-calculate on any element, we have to define it on every element:

See the Pen [Custom Props: Universal Function](https://codepen.io/smashingmag/pen/agLaNj/) by Miriam Suzanne.

See the Pen Custom Props: Universal Function by Miriam Suzanne.

* {
–stripes: linear-gradient(
var(–stripes-angle),
powderblue 20%, pink 20% 40%, white 40% 60%, pink 60% 80%, powderblue 80%
);
}

The universal selector makes our function available everywhere, but we can define it more narrowly if we want. The important thing is that it can only re-calculate where it is explicitly defined. Here are some alternatives:

/* make the function available to elements with a given selector */
.stripes { –stripes: /* etc… */; }

/* make the function available to elements nested inside a given selector */
.stripes * { –stripes: /* etc… */; }

/* make the function available to siblings following a given selector */
.stripes ~ * { –stripes: /* etc… */; }

See the Pen [Custom Props: Scoped Function](https://codepen.io/smashingmag/pen/JQMvGM/) by Miriam Suzanne.

See the Pen Custom Props: Scoped Function by Miriam Suzanne.

This can be extended with any selector logic that doesn’t rely on inheritance.

Free Parameters And Fallback Values

In our example above, var(–stripes-angle) has no value and no fallback. Unlike Sass or JS variables that must be defined or instantiated before they are called, CSS custom properties can be called without ever being defined. This creates a “free” variable, similar to a function parameter that can be inherited from the context.

We can eventually define the variable on html or :root (or any other ancestor) to set an inherited value, but first we need to consider the fallback if no value is defined. There are several options, depending on exactly what behavior we want

For “required” parameters, we don’t want a fallback. As-is, the function will do nothing until –stripes-angle is defined.
For “optional” parameters, we can provide a fallback value in the var() function. After the variable-name, we add a comma, followed by the default value:

var(–stripes-angle, 90deg)

Each var() function can only have one fallback — so any additional commas will be part of that value. That makes it possible to provide complex defaults with internal commas:

html {
/* Computed: Hevetica, Ariel, sans-serif */
font-family: var(–sans-family, Hevetica, Ariel, sans-serif);

/* Computed: 0 -1px 0 white, 0 1px 0 black */
test-shadow: var(–shadow, 0 -1px 0 white, 0 1px 0 black);
}

We can also use nested variables to create our own cascade rules, giving different priorities to the different values:

var(–stripes-angle, var(–global-default-angle, 90deg))

First, try our explicit parameter (–stripes-angle);
Fallback to a global “user default” (–user-default-angle) if it’s available;
Finally, fallback to our “factory default” (90deg).

See the Pen [Custom Props: Fallback Values](https://codepen.io/smashingmag/pen/jjGvVm/) by Miriam Suzanne.

See the Pen Custom Props: Fallback Values by Miriam Suzanne.

By setting fallback values in var() rather than defining the custom property explicitly, we ensure that there are no specificity or cascade restrictions on the parameter. All the *-angle parameters are “free” to be inherited from any context.

Browser Fallbacks Versus Variable Fallbacks

When we’re using variables, there are two fallback paths we need to keep in mind:

What value should be used by browsers without variable support?
What value should be used by browsers that support variables, when a particular variable is missing or invalid?

p {
color: blue;
color: var(–paragraph);
}

While old browsers will ignore the variable declaration property, and fallback to blue — modern browsers will read both and use the latter. Our var(–paragraph) might not be defined, but it is valid and will override the previous property, so browsers with variable support will fallback to the inherited or initial value, as if using the unset keyword.

That may seem confusing at first, but there are good reasons for it. The first is technical: browser engines handle invalid or unknown syntax at “parse time” (which happens first), but variables are not resolved until “computed-value time” (which happens later).

At parse time, declarations with invalid syntax are ignored completely — falling back on earlier declarations. This is the path that old browsers will follow. Modern browsers support the variable syntax, so the previous declaration is discarded instead.
At computed-value time the variable is compiled as invalid, but it’s too late — the previous declaration was already discarded. According to the spec, invalid variable values are treated the same as unset:

See the Pen [Custom Props: Invalid/Unsupported vs Undefined](https://codepen.io/smashingmag/pen/VJMGbJ/) by Miriam Suzanne.

See the Pen Custom Props: Invalid/Unsupported vs Undefined by Miriam Suzanne.

html {
color: red;

/* ignored as *invalid syntax* by all browsers */
/* – old browsers: red */
/* – new browsers: red */
color: not a valid color;
color: var(not a valid variable name);

/* ignored as *invalid syntax* by browsers without var support */
/* valid syntax, but invalid *values* in modern browsers */
/* – old browsers: red */
/* – new browsers: unset (black) */
–invalid-value: not a valid color value;
color: var(–undefined-variable);
color: var(–invalid-value);
}

This is also good for us as authors, because it allows us to play with more complex fallbacks for the browsers that support variables, and provide simple fallbacks for older browsers. Even better, that allows us to use the null/undefined state to set required parameters. This becomes especially important if we want to turn a function into a mixin or component.

Custom Property “Mixins”

In Sass, the functions return raw values, while mixins generally return actual CSS output with property-value pairs. When we define a universal –stripes property, without applying it to any visual output, the result is function-like. We can make that behave more like a mixin, by defining the output universally as well:

* {
–stripes: linear-gradient(
var(–stripes-angle),
powderblue 20%, pink 20% 40%, white 40% 60%, pink 60% 80%, powderblue 80%
);
background-image: var(–stripes);
}

As long as –stripes-angle remains invalid or undefined, the mixin fails to compile, and no background-image will be applied. If we set a valid angle on any element, the function will compute and give us a background:

div {
–stripes-angle: 30deg; /* generates the background */
}

Unfortunately, that parameter-value will inherit, so the current definition creates a background on the div and all descendants. To fix that, we have to make sure the –stripes-angle value doesn’t inherit, by resting it to initial (or any invalid value) on every element. We can do that on the same universal selector:

See the Pen [Custom Props: Mixin](https://codepen.io/smashingmag/pen/ZdXMJx/) by Miriam Suzanne.

See the Pen Custom Props: Mixin by Miriam Suzanne.

* {
–stripes-angle: initial;
–stripes: /* etc… */;
background-image: var(–stripes);
}

Safe Inline Styles

In some cases, we need the parameter to be set dynamically from outside CSS — based on data from a back-end server or front-end framework. With custom properties, we can safely define variables in our HTML without worrying about the usual specificity issues:

See the Pen [Custom Props: Mixin + Inline Style](https://codepen.io/smashingmag/pen/qzPMPv/) by Miriam Suzanne.

See the Pen Custom Props: Mixin + Inline Style by Miriam Suzanne.

<div style=”–stripes-angle: 30deg”>…</div>

Inline styles have a high specificity, and are very hard to override — but with custom properties, we we have another option: ignore it. If we set the div to background-image: none (for example) that inline variable will have no impact. To take it even farther, we can create an intermediate variable:

* { –stripes-angle: var(–stripes-angle-dynamic, initial); }

Now we have the option to define –stripes-angle-dynamic in the HTML, or ignore it, and set –stripes-angle directly in our stylesheet.

See the Pen [Custom Props: Mixin + Inline / Override](https://codepen.io/smashingmag/pen/ZdXMao/) by Miriam Suzanne.

See the Pen Custom Props: Mixin + Inline / Override by Miriam Suzanne.

Preset Values

For more complex values, or common patterns we want to re-use, we can also provide a few preset variables to choose from:

* {
–tilt-down: 6deg;
–tilt-up: -6deg;
}

And use those presets, rather than setting the value directly:

<div style=”–stripes-angle: var(–tilt-down)”>…</div>

See the Pen [Custom Props: Mixin + Presets](https://codepen.io/smashingmag/pen/LKemZm/) by Miriam Suzanne.

See the Pen Custom Props: Mixin + Presets by Miriam Suzanne.

This is great for creating charts and graphs based on dynamic data, or even laying out a day planner.

See the Pen [Bar chart in CSS grid + variables](https://codepen.io/smashingmag/pen/wLrEyg/) by Miriam Suzanne.

See the Pen Bar chart in CSS grid + variables by Miriam Suzanne.

Contextual Components

We can also re-frame our “mixin” as a “component” by applying it to an explicit selector, and making the parameters optional. Rather than relying on the presence-or-absence of –stripes-angle to toggle our output, we can rely on the presence-or-absence of a component selector. That allows us to set fallback values safely:

See the Pen [Custom Props: Component](https://codepen.io/smashingmag/pen/QXqVmM/) by Miriam Suzanne.

See the Pen Custom Props: Component by Miriam Suzanne.

[data-stripes] {
–stripes: linear-gradient(
var(–stripes-angle, to right),
powderblue 20%, pink 20% 40%, white 40% 60%, pink 60% 80%, powderblue 80%
);
background-image: var(–stripes);
}

By putting the fallback inside the var() function, we can leave –stripes-angle undefined and “free” to inherit a value from outside the component. This is a great way to expose certain aspects of a component style to contextual input. Even “scoped” styles generated by a JS framework (or scoped inside the shadow-DOM, like SVG icons) can use this approach to expose specific parameters for outside influence.

Isolated Components

If we don’t want to expose the parameter for inheritance, we can define the variable with a default value:

[data-stripes] {
–stripes-angle: to right;
–stripes: linear-gradient(
var(–stripes-angle, to right),
powderblue 20%, pink 20% 40%, white 40% 60%, pink 60% 80%, powderblue 80%
);
background-image: var(–stripes);
}

These components would also work with a class, or any other valid selector, but I chose the data-attribute to create a namespace for any modifiers we want:

[data-stripes=’vertical’] { –stripes-angle: to bottom; }
[data-stripes=’horizontal’] { –stripes-angle: to right; }
[data-stripes=’corners’] { –stripes-angle: to bottom right; }

See the Pen [Custom Props: Isolated Components](https://codepen.io/smashingmag/pen/agLaGX/) by Miriam Suzanne.

See the Pen Custom Props: Isolated Components by Miriam Suzanne.

Selectors and Parameters

I often wish I could use data-attributes to set a variable — a feature supported by the CSS3 attr() specification, but not yet implemented in any browsers (see the resources tab for linked issues on each browser). That would allow us to more closely associate a selector with a particular parameter:

<div data-stripes=”30deg”>…</div>

/* Part of the CSS3 spec, but not yet supported */
/* attr( , ) */
[data-stripes] {
–stripes-angle: attr(data-stripes angle, to right);
}

In the meantime, we can achieve something similar by using the style attribute:

See the Pen [Custom Props: Style Selectors](https://codepen.io/smashingmag/pen/PrJdBG/) by Miriam Suzanne.

See the Pen Custom Props: Style Selectors by Miriam Suzanne.

<div style=”–stripes-angle: 30deg”>…</div>

/* The `*=` atttribute selector will match a string anywhere in the attribute */
[style*=’–stripes-angle’] {
/* Only define the function where we want to call it */
–stripes: linear-gradient(…);
}

This approach is most useful when we want to include other properties in addition to the parameter being set. For example, setting a grid area could also add padding and background:

[style*=’–grid-area’] {
background-color: white;
grid-area: var(–grid-area, auto / 1 / auto / -1);
padding: 1em;
}

Conclusion

When we start to put all these pieces together, it becomes clear that custom properties go far beyond the common variable use-cases we’re familiar with. We’re not only able to store values, and scope them to the cascade — but we can use them to manipulate the cascade in new ways, and create smarter components directly in CSS.

This calls for us to re-think many of the tools we’ve relied on in the past — from naming conventions like SMACSS and BEM, to “scoped” styles and CSS-in-JS. Many of those tools help work around specificity, or manage dynamic styles in another language — use-cases that we can now address directly with custom properties. Dynamic styles that we’ve often calculated in JS, can now be handled by passing raw data into the CSS.

At first, these changes may be seen as “added complexity” — since we’re not used to seeing logic inside CSS. And, as with all code, over-engineering can be a real danger. But I’d argue that in many cases, we can use this power not to add complexity, but to move complexity out of third-party tools and conventions, back into the core language of web design, and (more importantly) back into the browser. If our styles require calculation, that calculation ought to live inside our CSS.

All of these ideas can be taken much further. Custom properties are just starting to see wider adoption, and we’ve only begun to scratch the surface of what’s possible. I’m excited to see where this goes, and what else people come up with. Have fun!

Further Reading

“It’s Time To Start Using CSS Custom Properties,” Serg Hospodarets
“A Strategy Guide to CSS Custom Properties,” Michael Riethmuller

Smashing Editorial
(dm, il)

Better Search UX Through Microcopy

Original Source: https://www.smashingmagazine.com/2019/06/better-search-ux-microcopy/

Better Search UX Through Microcopy

Better Search UX Through Microcopy

Andrew Millen

2019-06-28T12:30:59+02:00
2019-06-28T21:35:50+00:00

It’s hard to overstate the importance of web search. Searching is as old as the Internet itself, and by some measures, even older. A well-designed search benefits both you and your users; it increases conversions, reduces bounce rates, and improves the user experience.

Search is especially important on large scale sites and e-commerce experiences, where the majority of revenue comes from search-driven sessions. Studies show that up to 50% of users go straight to the internal search bar of a website, and that 15% outright prefer using the search function to browsing the hierarchical menu. This means that for all the love and care that goes into determining the information architecture of a site, just as much has to go into designing the search experience.

Complicating the problem is the fact that users’ search skills are flimsy at best, and incompetent at worst. Getting good results from a search engine often requires multiple attempts and reformulations, which users rarely do. And as search technology improves over time, users are increasingly likely to accept the results of a search as the answer to their question, even if their query was flawed. Users who favor searches tend to move quickly, scanning the page for that familiar-looking rectangle, and bouncing quickly when they don’t find what they’re looking for.

Communicating with those users “at speed” is a tricky job that requires a specialized tool: microcopy. The name ‘microcopy’ belies its own importance. It may be small, but big successes often hinge on it. It’s a place where voice can shine through, where good impressions are made, and where utility and branding intersect. With that in mind, let’s dive into the many ways that microcopy and contextualization can vastly improve a search experience.

Placing And Labeling Your Search

In accordance with Jakob’s Law, your first instinct when designing a search bar should be to put a rectangular box in the upper right or upper left corner. You should add a label or A11y-friendly placeholder text, and include a submit button that says “Search.”

Hiding the search bar behind a link, forgoing placeholder text, or opting for magnifying glass icon CTA instead of plain text are all valid design decisions in the right context. Just make sure you’re not abstracting the function of the search bar unnecessarily because searching already has a higher interaction cost than browsing.

Every barrier, however inconsequential you may find it as a designer, risks negatively affecting the UX and your bottom line. If there’s a risk your users may confuse the magnifying glass icon for a “zoom” button, you should mitigate that.

Placeholder Text

Placeholder text is a great place to enhance the experience. It can be informational, it can be a place for brand expression, and it can nudge wavering users in the right direction. Anytime I see a search bar that just says “Search,” I see a missed opportunity.

So what’s a better approach? It varies from site to site. First, familiarize yourself with your business goals, your brand, and your users’ existing habits. Then, consider how you can be the most helpful.

Nudge The User

A suggestive approach can reduce the user’s anxiety. Clue your users into the fact that they can search in multiple ways, especially if they may not be familiar with your full range of products or services. ASOS suggests searching for inspiration in addition to products and brands:

The search bar on the ASOS website

(Image source: ASOS) (Large preview)

Be Informative

Tell the user exactly what they’ll be getting when they hit submit. On Shutterstock, a site wholly devoted to the search of a massive photo archive, this placeholder text cleverly doubles as a tagline when paired with the logo:

The search bar on the Shutterstock website

(Image source: Shutterstock) (Large preview)

Reinforce The Brand

Home Depot’s search bar doesn’t lead the user, but instead presents a helpful, personal tone which I’m sure is in line with their brand voice guidelines. This is probably the best approach considering the size of their product catalog:

Home Depot’s search bar

(Image source: The Home Depot) (Large preview)

Using Search Logs To Your Advantage

If you’re not sure the best way to optimize your placeholder text, a good place to start is your search log database. Learning how to break down these results can be incredibly valuable when formulating helpful content design. You’ll be able to see first-hand the vocabulary people use to search your site, and more importantly, the gaps between what you offer and what your users are looking for.

Suggested, Related, And Recent Searches

During the search process, your copy should offer as much help along the way as possible without being overbearing. That includes everything from an obvious “Cancel” or “Clear” button to logging each user’s recent searches for surfacing later. When choosing the right microcopy to accompany these features, add a dash of brown sauce.

Autosuggestions

Users who use the search bar are doing so because they’re looking for something specific, which makes autosuggestions a valuable (and increasingly expected) tool. Specificity, in this case, may be as focused as “Women’s gray shoe size 9M” or as open-ended as “Sandwich shops near me.”

Autosuggestions also reduce the risk of returning bad results, alleviate the mental effort on the user, and present an opportunity to surface your most popular products.

Chewy

(Image source: Chewy) (Large preview)

Often these don’t require additional context or copy at all, but can just be listed below the search bar as the user types, as shown in the example above.

Related Searches

Showing related searches on the results page is another way to help guide users without getting in the way. A common pattern is providing a few clickable keywords related to the original query above the results. A little copy that states “Other users searched for” is a good way to incorporate social proof into the search experience.

Recent Searches

If your technology allows it, saving and resurfacing recent searches is another way to helpfully reduce the memory load on the user. Make sure you add context with copy, but it can be as straightforward as this:

The search bar on the Macy’s website

(Image source: Macy’s) (Large preview)

Handling Results

There are a two pieces of copy that I’d consider required when displaying search results:

The query itself.
If the search bar is highly visible, it can be displayed here. You can also create an H1 that states “Results for {{terms}}.”
The number of results.
If the results are paginated, you might also include the number of pages.

The search bar on the REI Co-op website

(Image source: REI Co-op) (Large preview)

No Results

Whether through their own error not, users will inevitably encounter a “no results” page at some point. Luckily, there are ways to handle this gracefully; in fact, with the right approach, this dead end can actually be a great opportunity for content discovery.

First of all, don’t expect your users to refine their search if they get no results — at least not without a UI that encourages it. Users are reluctant to reformulate their query and have trouble when trying to. They’re more likely to engage with whatever information they’re presented with and take it from there, or abandon the task entirely. (When was the last time you clicked through to the second page of Google search results?)

That said, it’s easy to see how a little copywriting and contextualization can improve the experience. Nielsen Norman Group has a comprehensive guide on how to handle No Results SERPs, with the gist being:

Make it obvious there are no results.
It’s easy to get cute and accidentally bury the lede. It’s also tempting to intentionally hide the “no results” messaging to obfuscate the error entirely. Either way, don’t trick the user.
Offer paths forward.
Suggest ways to refine the search query (such as checking your spelling), and also provide links to popular content or products that have the highest likelihood of connecting with the user.
Strike the right tone.
Use your brand voice, but don’t run the risk of exacerbating the situation with humor that might be ill-received by a frustrated user.

Also, bear in mind that empty SERPs may arise because a user mistakenly submitted without entering any query at all. You should have a content plan for this scenario as well rather than returning all items in the database, for example.

Wrapping Up

Writing a good search experience comes down to thoughtfulness. As designers, we’ve probably used and created hundreds of different web search experiences, so we breeze through the process. But when we consider every small step of the process (every microinteraction and every edge case), the minor changes we make can have a major impact on the experience. Next time you find yourself reaching for a visual solution to a search problem, consider using your words instead.

Further Reading on SmashingMag:

How To Run A Content-Planning Workshop
How Copywriting Can Benefit From User Research
Designing The Words: Why Copy Is A Design Issue
How To Deal With Redundant, Out-Of-Date And Trivial Content ROT

Smashing Editorial
(dm, yk, il)

Comparing Popular WordPress Form Plugins

Original Source: http://feedproxy.google.com/~r/1stwebdesigner/~3/1V5_aLd2sSg/

There are a lot of WordPress form plugins out there. And we mean a lot. If you’ve found yourself lost in a sea of forms, we’re here to rescue you with this comparison of the six most popular, general-purpose form plugins.

These are Gravity Forms, Contact Form 7, WPForms (Lite), Ninja Forms (Free), Formidable Forms (Free), and Caldera Forms (Free).

We’ll help you get much closer to making a decision by collecting the top features of these popular plugins here – so you don’t have to go sifting through their sites yourself.

Price

Contact Form 7 is the only plugin in this list that is fully free, but WPForms, Ninja Forms, Formidable Forms, and Caldera Forms all have a lite version. Of these free versions, Caldera Forms contains the most advanced features like conditional logic and multi-page.

Here’s a breakdown of the minimum to maximum prices for each premium plugin:

Formidable Forms: $99/year – $449/year.
Gravity Forms: $59/year – $259/year.
WPForms: $79/year – $599/year (not including introductory pricing).
Ninja Forms: $99/year – $499/year.
Caldera Forms: $164/year – $549/year.

Coins

Payment Integrations

Gravity Forms integrates with a variety of payment processors starting at the Pro license including PayPal, Stripe, Authorize.net, and 2Checkout. Caldera also supports numerous processors from the Individual license onward.

WPForms supports PayPal and Stripe at the Pro license. For Ninja Forms, the Personal license supports PayPal and Professional Stripe and Recurly. Formidable Forms’ Business license includes PayPal while Elite nets you Stripe and Authorize.net.

Contact Form 7 contains none by default. However, it’s the only form plugin that enables you to accept payments for free, albeit with third-party addons.

Person swiping a credit card.

Features

All these plugins except Contact Form 7 use a drag and drop live interface, and are responsive by default. You can use plugins and CSS to make CF7 responsive or have a different interface than the markup it uses to generate forms. All also come with some form of anti-spam protection.

Conditional logic, multi-page, and file uploading are among the most wanted features in a form builder.

You can find them in the base plans of every plugin – except Caldera Forms, which provides them in the lite version instead. Contact Form 7 includes only file uploading by default but – you know the drill – third-party plugins can add these extra features.

Conditional Fields for Contact Form 7

As for customization, Gravity Forms comes with 30+ form fields and plenty of options to configure. Contact Form 7 has various tags you can include, like text, email, URL, and checkbox input. WPForms offers pre-built templates as well as various helpful fields and addons that include more form types.

Ninja Forms also offers 30+ field types and templates to base your forms off of as well, plus plenty of fine-tuning options. The Personal plan includes extra layouts and styles to customize with.

Formidable Forms includes flexible layout design and a visual styling tool that lets you change colors and appearance on the spot. There are lots of custom fields as well. And Caldera Forms is built to match your theme styling, and there are dozens of field types to work with.

Out of these, Ninja Forms and Formidable forms include the most visual styling options, while WPForms, Gravity Forms, and Ninja Forms win in flexibility with many field and form types to choose form.

Final Comparison

Now that you’ve got the basics, let’s do a quick summary of these six form builders.

Gravity Forms is geared for businesses and professionals. It has a ton of useful integrations and is cheaply priced.
Contact Form 7 was made for individuals who need a no-frills form plugin, now. You’ll need to use third-party plugins to get the most out of it.
WPForms is designed for an all-around audience, beginners and advanced. It’s the most balanced of these with a good number of features and integrations. Simple but powerful.
Ninja Forms is defined by the sheer amount of addons available for it. Purchasing plans are centered around those addons – but its free version makes a decent simple form builder even without them.
Formidable Forms is great for developers as well as general users. It’s powerful, cheap, and devs will love using its API to extend it.
And Caldera Forms is a great one for beginners and businesses both who need an easy-to-set-up plugin. It has the most expensive entry price, but this is balanced by the advanced features available in the free version.

Armed with this knowledge, you should be able to choose a form plugin that perfectly suits your needs. We hope this helped you find what you were looking for – now get out there and start building your first form!


U.S. Women's National Soccer Team Web Design Concept

Original Source: http://feedproxy.google.com/~r/abduzeedo/~3/P26HUg6B0es/us-womens-national-soccer-team-web-design-concept

U.S. Women’s National Soccer Team Web Design Concept
U.S. Women's National Soccer Team Web Design Concept

AoiroStudioJun 07, 2019

Oliver Gareis has shared with us through our Facebook, a cool web design concept for U.S. Women’s National Soccer Team. Oliver has worked on projects like the web design for the Batman V Superman: Dawn of Justice movie. He has this great ability at adjusting text, layout, and imagery with style to enhance our desktop experience. For U.S. Women’s National Soccer concept, I just love how his design is empowering women through big bold fonts, enforcing colours and at the same time paying tribute to the flag. I wish to see more of responsive design in the near future, a suggestion!

I love to watch soccer in any form. When I see the United States Womens National Team site I came up with the idea to give this whole thing a digital rebrand. I love to explore new styles in my free time and try out new things. My goal was, to create a unique sport driven look with a touch of femininity.

More Links

Personal Site
Behance
Web Design & UI/UX

U.S. Women's National Soccer Team Web Design ConceptU.S. Women's National Soccer Team Web Design ConceptU.S. Women's National Soccer Team Web Design ConceptU.S. Women's National Soccer Team Web Design ConceptU.S. Women's National Soccer Team Web Design Concept

Follow Oliver on Behance


Name Your Price for the Hardcore Game Dev Bundle

Original Source: http://feedproxy.google.com/~r/Designrfix/~3/19tCKOForMc/price-hardcore-game-dev-bundle

Being a game developer is hard and challenging. They put so much time and effort into developing an amazing game only for it to fail within a week or two. There are hundreds of new games being released on the mobile platform on almost a daily basis – 20% of which are withdraw as unprofitable […]

The post Name Your Price for the Hardcore Game Dev Bundle appeared first on designrfix.com.

The Benefits of Attending a WordCamp

Original Source: http://feedproxy.google.com/~r/1stwebdesigner/~3/N4neg5AMoNs/

Of all the tools web designers use to make a living, WordPress stands out as unique. And it’s not necessarily because of the software itself (which is excellent, by the way).

No, what really separates WordPress from just about everything else out there is the amazing community built around it. It’s made up of an incredibly diverse group – web professionals, bloggers, business owners and educators (to name just a few). They hail from all over the world and pretty much every background you can imagine.

Among the crown jewels of this community are the many WordCamps held annually. These events have taken place in over 60 countries, spanning 6 continents (sorry, Antarctica – your time will come).

If you haven’t gotten around to attending an event, it’s definitely something to put on your bucket list. There are a number of benefits to doing so, including:

A Low-Cost Day Out

Everyone needs some time out of the office – even if it’s work-related (though WordCamps rarely feel like work). And you can’t get one much more affordable than a WordCamp. Prices are generally kept to around $20 USD per day! How many pro-level conferences can you attend for about the price of dinner at a pizza place?

Speaking of which, you won’t go hungry while you’re there. For that more-than-reasonable price, you’ll often get a meal (typically lunch), while snacks and beverages are also included. Plus, just walking in the door nets you a giveaway item, like a custom T-Shirt.

Prices are generally kept low due to the kindness of sponsors – both corporate and individual. As a bonus, they often attend the conference with their own collection of swag to give away.

Depending on the location of the camp, the largest expense for attendees tends to be travel (and, if necessary, a hotel). However, various organizations may provide grants to those in need of assistance, such as the Kim Parsell Memorial Scholarship.

A jar of pennies spilled on a table.

The Chance to Meet New People

Part of the WordPress community’s strength lies in its ability to attract people from all walks of life. Go to a WordCamp and you’re likely to run into experts and novices alike – not to mention everyone in-between those two skill levels.

And you can’t help but find yourself in at least a few good conversations. This is particularly true between sessions and at meal time, when attendees often congregate in a common area. Therefore, you’ll want to be prepared to answer the question, “How do you use WordPress?”

It’s also worth noting that the atmosphere is generally laid back. There is no corporate stiffness to be found and the dress code is pretty much come-as-you-are.

Overall, people are friendly and willing to chat. But even if you’re a bit shy – not to worry. You’ll find yourself in a place that lets you be you and move at your own pace.

A woman and man speaking at a desk.

Learning Opportunities

As much as anything, WordCamps are about learning. Many camps split their sessions into multiple “tracks”, each one aimed at a specific skill level or use type. For instance, you may find a track for hardcore developers along with others for visual designers, content creators or marketers.

It can be very worthwhile to attend sessions across a variety of tracks. Even if you don’t know a lot about a particular subject, you may be surprised at how much knowledge you can pick up. At the very least, you’ll have a better idea of, say, what React does or how the Gutenberg editor affects design choices.

Not only that, but you might also just discover a new favorite plugin or technique for getting things done. Everyone approaches building a WordPress website differently, and there is a chance to pick up some pointers from both speakers and attendees.

People sitting in a conference session.

Expand Your Reach

Of course, professionals primarily attend conferences to get their names out there, and a WordCamp provides a perfect opportunity to do so. And there are a number of ways to achieve your goal.

Volunteering to speak can be very effective, allowing you to show off your expertise in a particular WordPress-related area. If you’re comfortable giving presentations, this provides you with a room full of people who are eager to learn whatever knowledge you can share. Just know that you must apply to speak ahead of time, as there is often stiff competition for spots.

Even if you aren’t a featured speaker, there are still plenty of chances to network. As mentioned earlier, you’ll have opportunities to connect with other attendees, so make sure to bring lots of business cards! You never know when a casual conversation can lead to a new project.

People shaking hands across a desk.

A Worthwhile Experience

WordCamps provide a fun, affordable and potentially profitable experience. And, no matter your experience or skill level, there is an opportunity both meet new people and advance your career.

Sound interesting? To get started, watch a few of the top presentations from past events. Then, check out the upcoming schedule and register for an event in your neck of the woods.


Creating Grid-to-Fullscreen Animations with Three.js

Original Source: http://feedproxy.google.com/~r/tympanus/~3/k8lhAgcJIAI/

Animations play a big role in how users feels about your website. They convey a lot of the personality and feel of your site. They also help the user navigate new and already known screens with more ease.

In this tutorial we want to look at how to create some interesting grid-to-fullscreen animations on images. The idea is to have a grid of smaller images and when clicking on one, the image enlarges with a special animation to cover the whole screen. We’ll aim for making them accessible, unique and visually appealing. Additionally, we want to show you the steps for making your own.

The building blocks

Before we can start doing all sorts of crazy animations, timing calculations and reality deformation we need to get the basic setup of the effect ready:

Initialize Three.js and the plane we’ll use
Position and scale the plane so it is similar to the item’s image whenever the user clicks an item
Animate the plane so it covers the complete screen

For the sake of not going too crazy with all the effects we can make, we’ll focus on making a flip effect like the one in our first demo.

GridFullscreen_demo1

Initialization

To begin, lets make a basic Three.js setup and add a single 1×1 plane which we’ll re-use for the animation of every grid item. Since only one animation can happen at the time. We can have better performance by only using one plane for all animations.

This simple change is going to allow us to have any number of HTML items without affecting the performance of the animation.

As a side note, in our approach we decided to only use Three.js for the time of the animation. This means all the items are good old HTML.

This allows our code to have a natural fallback for browsers that don’t have WebGL support. And it also makes our effect more accessible.

class GridToFullscreenEffect {

init(){

const segments = 128;
var geometry = new THREE.PlaneBufferGeometry(1, 1, segments, segments);
// We’ll be using the shader material later on 😉
var material = new THREE.ShaderMaterial({
side: THREE.DoubleSide
});
this.mesh = new THREE.Mesh(geometry, material);
this.scene.add(this.mesh);
}
}

Note: We are skipping over the Three.js initialization since it’s pretty basic.

Setting the the plane geometry’s size to be 1×1 simplifies things a little bit. It removes a some of the math involved with calculating the correct scale. Since 1 scaled by any number is always going to return that same number.

Positioning and resizing

Now, we’ll resize and position the plane to match the item’s image. To do this, we’ll need to get the item’s getBoundingClientRect. Then we need to transform its values from pixels to the camera’s view units. After, we need to transform them from relative to the top left, to relative from the center. Summarized:

Map pixel units to camera’s view units
Make the units relative to the center instead of the top left
Make the position’s origin start on the plane’s center, not on the top left
Scale and position the mesh using these new values

class GridToFullscreenEffect {

onGridImageClick(ev,itemIndex){
// getBoundingClientRect gives pixel units relative to the top left of the pge
const rect = ev.target.getBoundingClientRect();
const viewSize = this.getViewSize();

// 1. Transform pixel units to camera’s view units
const widthViewUnit = (rect.width * viewSize.width) / window.innerWidth;
const heightViewUnit = (rect.height * viewSize.height) / window.innerHeight;
let xViewUnit =
(rect.left * viewSize.width) / window.innerWidth;
let yViewUnit =
(rect.top * viewSize.height) / window.innerHeight;

// 2. Make units relative to center instead of the top left.
xViewUnit = xViewUnit – viewSize.width / 2;
yViewUnit = yViewUnit – viewSize.height / 2;

// 3. Make the origin of the plane’s position to be the center instead of top Left.
let x = xViewUnit + widthViewUnit / 2;
let y = -yViewUnit – heightViewUnit / 2;

// 4. Scale and position mesh
const mesh = this.mesh;
// Since the geometry’s size is 1. The scale is equivalent to the size.
mesh.scale.x = widthViewUnit;
mesh.scale.y = heightViewUnit;
mesh.position.x = x;
mesh.position.y = y;

}
}

As a side note, scaling the mesh instead of scaling the geometry is more performant. Scaling the geometry actually changes its internal data which is slow and expensive, while scaling the mesh happens at rendering. This decision will come into play later on, so keep it in mind.

Now, bind this function to each item’s onclick event. Then our plane resizes to match the item’s image.

It’s a very simple concept, yet quite performant in the long run. Now that our plane is ready to go when clicked, lets make it cover the screen.

Basic animation

First, lets initialize the few uniforms:

uProgress – Progress of the animation
uMeshScale – Scale of the mesh
uMeshPosition – Mesh’s position from the center
uViewSize – Size of the camera’s view

We’ll also create the base for our shaders.

class GridToFullscreenEffect {
constructor(container, items){
this.uniforms = {
uProgress: new THREE.Uniform(0),
uMeshScale: new THREE.Uniform(new THREE.Vector2(1, 1)),
uMeshPosition: new THREE.Uniform(new THREE.Vector2(0, 0)),
uViewSize: new THREE.Uniform(new THREE.Vector2(1, 1)),
}
}
init(){

const viewSize = this.getViewSize();
this.uniforms.uViewSize.x = viewSize.width;
this.uniforms.uViewSize.y = viewSize.height;
var material = new THREE.ShaderMaterial({
uniform: this.uniforms,
vertexShader: vertexShader,
fragmentShader: fragmentShader,
side: THREE.DoubleSide
});


}

}
const vertexShader = `
uniform float uProgress;
uniform vec2 uMeshScale;
uniform vec2 uMeshPosition;
uniform vec2 uViewSize;

void main(){
vec3 pos = position.xyz;
gl_Position = projectionMatrix * modelViewMatrix * vec4(pos,1.);
}
`;
const fragmentShader = `
void main(){
gl_FragColor = vec4(vec3(0.2),1.);
}
`;

We need to update uMeshScale and uMeshPositon uniforms whenever we click an item.

class GridToFullscreenEffect {

onGridImageClick(ev,itemIndex){

// Divide by scale because on the fragment shader we need values before the scale
this.uniforms.uMeshPosition.value.x = x / widthViewUnit;
this.uniforms.uMeshPosition.value.y = y / heightViewUnit;

this.uniforms.uMeshScale.value.x = widthViewUnit;
this.uniforms.uMeshScale.value.y = heightViewUnit;
}
}

Since we scaled the mesh and not the geometry, on the vertex shader our vertices still represent a 1×1 square in the center of the scene. But it ends up rendered in another position and with a different size because of the mesh. As a consequence of this optimization, we need to use “down-scaled” values in the vertex shaders. With that out of the way, lets make the effect happen in our vertex Shader:

Calculate the scale needed to match the screen size using our mesh’s scale
Move the vertices by their negative position so they move to the center
Multiply those values by the progress of the effect


const vertexShader = `
uniform float uProgress;
uniform vec2 uPlaneSize;
uniform vec2 uPlanePosition;
uniform vec2 uViewSize;

void main(){
vec3 pos = position.xyz;

// Scale to page view size/page size
vec2 scaleToViewSize = uViewSize / uPlaneSize – 1.;
vec2 scale = vec2(
1. + scaleToViewSize * uProgress
);
pos.xy *= scale;

// Move towards center
pos.y += -uPlanePosition.y * uProgress;
pos.x += -uPlanePosition.x * uProgress;

gl_Position = projectionMatrix * modelViewMatrix * vec4(pos,1.);
}
`;

Now, when we click an item. We are going to:

set our canvas container on top of the items
make the HTML item invisible
tween uProgress between 0 and 1

class GridToFullscreenEffect {

constructor(container,items){

this.itemIndex = -1;
this.animating = false;
this.state = “grid”;
}
toGrid(){
if (this.state === ‘grid’ || this.isAnimating) return;
this.animating = true;
this.tween = TweenLite.to(
this.uniforms.uProgress,1.,
{
value: 0,
onUpdate: this.render.bind(this),
onComplete: () => {
this.isAnimating = false;
this.state = “grid”;
this.container.style.zIndex = “0”;
}
}
);
}
toFullscreen(){
if (this.state === ‘fullscreen’ || this.isAnimating) return;
this.animating = true;
this.container.style.zIndex = “2”;
this.tween = TweenLite.to(
this.uniforms.uProgress,1.,
{
value: 1,
onUpdate: this.render.bind(this),
onComplete: () => {
this.isAnimating = false;
this.state = “fullscreen”;
}
}
);
}

onGridImageClick(ev,itemIndex){

this.itemIndex = itemIndex;
this.toFullscreen();
}
}

We start the tween whenever we click an item. And there you go, our plane goes back and forth no matter which item we choose.

Pretty good, but not too impressive yet.

Now that we have the basic building blocks done, we can start making the cool stuff. For starters, lets go ahead and add timing.

Activation and timing

Scaling the whole plane is a little bit boring. So, lets give it some more flavor by making it scale with different patterns: Top-to-bottom, left-to-right, topLeft-to-bottomRight.

Lets take a look at how those effects behave and figure out what we need to do:

Grid Effects

By observing the effects for a minute, we can notice that the effect is all about timing. Some parts of the plane start later than others.

What we are going to do is to create an “activation” of the effect. We’ll use that activation to determine which vertices are going to start later than others.

Effects with activations

And lets see how that looks like in code:


const vertexShader = `

void main(){
vec3 pos = position.xyz;

// Activation for left-to-right
float activation = uv.x;

float latestStart = 0.5;
float startAt = activation * latestStart;
float vertexProgress = smoothstep(startAt,1.,uProgress);


}
`;

We’ll replace uProgress with vertexprogres for any calculations in the vertex shader.


const vertexShader = `

void main(){

float vertexProgress = smoothstep(startAt,1.,uProgress);

vec2 scaleToViewSize = uViewSize / uMeshScale – 1.;
vec2 scale = vec2(
1. + scaleToViewSize * vertexProgress
);
pos.xy *= scale;

// Move towards center
pos.y += -uMeshPosition.y * vertexProgress;
pos.x += -uMeshPosition.x * vertexProgress;

}
`;

With this little change, our animation is not much more interesting.

Note that the gradients on the demo are there for demonstration purposes. They have nothing to do with the effect itself.

The great thing about these “activation” and “timing” concepts is that they are interchangeable implementations. This allows us to create a ton of variations.

With the activation and timing in place, lets make it more interesting with transformations.

Transformations

If you haven’t noticed, we already know how to make a transformation. We successfully scaled and moved the plane forwards and backwards.

We interpolate or move from one state to another using vertexProgress. Just like we are doing in the scale and movement:


const vertexShader = `

void main(){

// Base state = 1.
// Target state = uScaleToViewSize;
// Interpolation value: vertexProgress
scale = vec2(
1. + uScaleToViewSize * vertexProgress
);

// Base state = pos
// Target state = -uPlaneCenter;
// Interpolation value: vertexProgress
pos.y += -uPlaneCenter.y * vertexProgress;
pos.x += -uPlaneCenter.x * vertexProgress;

}
`

Lets apply this same idea to make a flip transformation:

Base state: the vertex’s current position
Target state: The vertex flipped position
Interpolate with: the vertex progress


const vertexShader = `

void main(){

float vertexProgress = smoothstep(startAt,1.,uProgress);
// Base state: pos.x
// Target state: flippedX
// Interpolation with: vertexProgress
float flippedX = -pos.x;
pos.x = mix(pos.x,flippedX, vertexProgress);
// Put vertices that are closer to its target in front.
pos.z += vertexProgress;

}
`;

Note that, because this flip sometimes puts vertices on top of each other we need to bring some of them slightly to the front to make it look correctly.

Combining these flips with different activations, these are some of the variations we came up with:

If you pay close attention to the flip you’ll notice it also flips the color/image backwards. To fix this issue we have to flip the UVs along with the position.

And there we have it! We’ve not only created an interesting and exciting flip effect, but also made sure that using this structure we can discover all kinds of effects by changing one or more of the pieces.

In fact, we created the effects seen in our demos using the configurations as part of our creative process.

There is so much more to explore! And we would love to see what you can come up with.

Here are the most interesting variations we came up with:

Different timing creation:

GridFullscreen_demo2

Activation based on mouse position, and deformation with noise:

GridFullscreen_demo4

Distance deformation and mouse position activation:

GridFullscreen_demo5

We hope you enjoyed this tutorial and find it helpful!

Creating Grid-to-Fullscreen Animations with Three.js was written by Daniel Velasquez and published on Codrops.

Inspirational Websites Roundup #5

Original Source: http://feedproxy.google.com/~r/tympanus/~3/11yp2voExpE/

Another wonderful month has passed and the level of web design goodness leaves nothing to be desired: bold typography and artistic details are the expressive means of many. Creative uniqueness is wanted more than ever these days and its reflected in details like custom cursors and distinctive WebGL-powered distortion animations.

We hope you enjoy this month’s collection and get inspired!

Nesta

Nesta

Lusion

Lusion

Martin Ehrlich

MartinEhrlich

PICTURESTART

PICTURESTART

marini

marini

Stimmt

Stimmt

Eva García

EvaGarcia

Hôtel Particulier

HotelParticulier

PAM Studio

PAMStudio

Union

Union

Nike Circular Design Guide – https://www.nikecirculardesign.com/

NikeCircularDesignGuide

Antler

Antler

nanameinc

NanameInc

Orkestra

Orkestra

The Avener

TheAvener

makespace

makespace

LARGO Inc.

LARGOInc.

Rise

Rise

Oropress

Oropress

Kuwait Case Landing

KuwaitCaseLanding

1MD

last

Inspirational Websites Roundup #5 was written by Mary Lou and published on Codrops.

How to Find a Marketplace to Sell Your Designs

Original Source: http://feedproxy.google.com/~r/1stwebdesigner/~3/LE91ulWwzf8/

Once you have finished your batch of logos, website design, or whatever creative work you made, you need a marketplace to sell it on. There are a vast number of websites out there for you to choose from.

Selling your designs is a very easy way to make some extra money and to expand your brand. Whether you are an illustrator, 3D artist or logo maker, there is a demand for your creative work.

There is no longer a need to build your own website to sell designs. Now, it is easier than ever to list your work on ecommerce websites to help you reach thousands (if not millions) of people. This article will help you find the one that best suits your needs.

Creative Market

Screen from Creative Market

“Empowering creators to make a living doing what they love” is a phrase that Creative Market uses to describe what they offer and this holds very true. Creative Market has a network of about 5.9 million potential customers that could be interested in purchasing your work.

This marketplace is used to sell graphics, WordPress themes, stock photos, and many other digital goods. There are many success stories from sellers using Creative Market to sell their goods and making a lot of money doing so. Stories such as Nicky Laatz, a South African shop owner, who has earned more than $1,000,000 selling her work on Creative Market.

Envato Elements

Screen from Envato Elements

Envato Elements is a digital marketplace that allows creators to sell multiple digital goods such as graphics, fonts, WordPress themes, web templates and photos – along with many more digital items.

The company believes in supporting independent designers and that when the community succeeds, the company succeeds. With this belief they share an even 50% of the net revenue with their designers and sellers. This marketplace is driven exclusively by the community of designers who sell their work with them. Envato Elements is a great way to get paid for your creative work.

DesignCuts

Screen from DesignCuts

DesignCuts is a digital marketplace that is driven by the community. They are very selective in who they allow to sell on their marketplace. Taking a visit to their website, you will see the quote “We’re very exclusive and work with only the best designers in the world, curating the highest quality marketplace around.”

This means it is tough to become a seller on their marketplace. But once you do, you will be part of a small group who has access to a large share of potential customers.

The Hungry JPEG

Screen from The Hungry JPEG

The Hungry JPEG began in late 2014 as a website to help designers and crafters navigate the design world. By mid-2015, they launched a shop to give designers a way to make money from their craft.

They offer a wide range of products, from handmade goods to website templates. If you choose to sell on The Hungry JPEG, you will earn 70% of every sale you make – one of the highest numbers of all the websites on this list.

Also, they do not ask for an exclusivity deal – meaning you can list your products on their website and any other websites of your choosing. They also offer an automated product delivery system so your items are always selling, even when you are away.

YouWorkForThem

Screen from YouWorkForThem

YouWorkForThem has been around since 2001 and is one of the oldest online marketplaces. They are privately owned and run by a group of designers who know what is best for the designer.

They are used by many major brands such as Nike, Coca-Cola, Whole Foods Market, Starbucks, Amazon, Samsung and many others. YouWorkForThem splits the profits 50/50 with all the designers who sell fonts and stock art. On top of that, they will market your designs on their social media outlets, like Facebook and Twitter, that have a combined audience of nearly 80,000 people.

Etsy

Screen from Etsy

Etsy is one of the largest global marketplaces around. With a concentration on handmade goods, jewelry, and clothing, you can also find digital goods such as website designs.

They are also one of the easiest places to sell your work, but this ease and large user base also creates more competition. Etsy does offer affordable ways to list your work with prices as low as $0.20. With the many tools that Etsy provides, it is very possible to become a successful seller on their website.

Society6

Screen from Society6

Society6 is very similar to Etsy in that it focuses on selling handmade crafts and goods. Their market mostly consists of artwork that goes on products like mugs, phone cases, and t-shirts. This is the place to get your work in front of thousands of people and a network that grows every day.

Template Monster

Screen from Template Monster

Template Monster has been in business since 2002 and from the get-go they changed the way websites are built. They specialize in offering web templates and other related digital goods.

You’ll find WordPress themes and plugins, CMS templates, fonts, and illustrations along with many more digital products to sell and buy. Every month they add nearly 400 new products in all the categories mentioned above.

They also offer 24/7 customer support for sellers and buyers, making it easy to handle any problems you may come across when using their marketplace.

Big Cartel

Screen from Big Cartel

Big Cartel has been around for 14 years and in that time, they have helped artists sell over $2.5 billion in creative work. They enable sellers to create their own store with many customizable features to make the experience as personal as possible.

The freedom they allow you to have with selling your work is everything a designer could want from a marketplace.

The Power of Community

One of the common threads of each of the marketplaces above is their reliance on a community. The strength of these virtual places, and the work they produce, is what keeps them going. The stronger the community, the bigger potential audience you’ll find.

In that way, deciding where to sell your own work is just as much about deciding which community is the best fit as it is about profits. Fortunately, there are a lot of high-quality options for just about every designer!