How to Pick the Perfect Website Template

Original Source: http://feedproxy.google.com/~r/Designrfix/~3/FGM-vjf3tTA/how-to-pick-the-perfect-website-template

When you think of building a new site or rebranding an existing one, you almost immediately think of website templates! And that’s when you would usually fall into the rabbit hole. People like to debate their website template choices forever, instead of focusing on their marketing funnel, optimizing their marketing campaigns, or doing other cool […]

The post How to Pick the Perfect Website Template appeared first on designrfix.com.

CSS Preprocessors Compared: Sass vs. LESS

Original Source: https://www.hongkiat.com/blog/sass-vs-less/

There are popuplar CSS Pre-processors LESS and Sass. CSS Preprocessor primarily intends to make authoring CSS more dynamic, organized and productive by bringing several programming features into the…

Visit hongkiat.com for full content.

Adobe XD vs. Sketch vs. Figma – Comparing Top UI Design Tools of 2019

Original Source: http://feedproxy.google.com/~r/1stwebdesigner/~3/GJmCAvXucSo/

Among the biggest developments of interest to web designers in 2019 was the explosion of UI design tools. These apps signal a transition in how we create modern user interfaces. It might be that the days of creating PSD mockups in Photoshop are coming to a close.

Not convinced? Both Sketch and Figma have developed loyal followings over the past few years. But perhaps the biggest development is that Adobe, the design software behemoth, jumped into the game with its XD product. This shows that the way we work is indeed shifting towards more specialized tools.

With that in mind, let’s take a look at each of these “big three” applications. We’ll cover some core features as well as other factors that may influence which one is the best fit for your needs.

Your Web Designer Toolbox
Unlimited Downloads: 500,000+ Web Templates, Icon Sets, Themes & Design Assets


DOWNLOAD NOW

What Makes UI Design Tools Unique?

For many years, web designers used the aforementioned Adobe Photoshop to create website mockups. This was preferable to jumping right into code in that it allowed us to build a highly-detailed interface and easily make edits – without having to tear apart HTML, CSS and the like.

While that can still be an effective workflow, this new breed of applications has features that are specific to web design. UI elements such as navigation and buttons are interactive – you can see hover effects or click through to other pages.

In addition, the interfaces built with a UI design app are often responsive. This means that you can see how they work at different viewports. You no longer need to build out an entirely separate PSD file for phones, tablets and desktop devices.

And there are a ton of premade UI kits and templates available, providing a head start on the design process.

In essence, you’re no longer creating a static screen, but a fully-immersive prototype.

Now, let’s look at the apps!

A design system displayed on a screen.

Sketch

The first of these newfangled tools to hit the market, Sketch was initially released back in 2010. This gave the app a head start over the others in this roundup. Thus, it also means there are a ton of resources available.

There is a library of various extensions that bring new capabilities and enhance workflow. Functionality can range from tweaking various design elements to tying in with stock photography services for easier imports.

Among its top features, you’ll find:

Vector image editing;
Responsive designs via Smart Layouts;
Support for variable fonts;
Collaboration with colleagues and clients;
Easily add text and image-based data to your demo;
Sketch Cloud service for sharing your creations;
Libraries for sharing resources (symbols, images, text, styles) across documents;
The ability to create and use templates;
A massive number of available plugins;

Sketch is a desktop app that offers a free 30-day trial, but otherwise costs $99 for a commercial license. Yearly renewals are available at a discounted price.

One big caveat here is that Sketch is only available for macOS. If you’re using Windows or Linux, you won’t be able to join in the fun.

The Sketch home page.

Figma

First released in 2016, Figma is a browser-based application that touts a collaborative approach to design. The advantage here is that you can easily access it on the go, regardless of your operating system.

Plus, when you share projects with others, you’re doing so with a live link. This means that you won’t have to first export to a PDF or other image. What they’re seeing is exactly what you’ve created.

In addition, Figma has been built to support real-time collaboration. Team members can communicate with each other and manage their own project tasks. The included version history allows you to roll back changes, if needed.

Beyond that, you’ll find:

The ability to create consistent styles and apply them across projects;
Copy CSS directly from design files;
A library of searchable assets;
User permissions;
Create animated, interactive prototypes;
Auto Layout feature for responsive designs;
A plugin library, and the ability to create your own plugins;

Figma has a free plan that allows for 3 projects, 2 editors and a 30-day version history. Full-featured commercial plans start at $12 per month (billed annually).

The Figma home page.

Adobe XD

Now, to the new-ish kid on the block. Adobe XD, which was released out of beta back in October 2017, is aimed at designers who want to create websites, mobile apps or even games. It sports a built-in system for collaboration, called “Coediting”, and the ability for clients and colleagues to provide feedback.

Like its competitors, XD enables you to reuse design components again and again. You can also edit a component once and push it to all instances, allowing for better consistency in your design.

Perhaps the biggest plus here is the fact that Adobe XD plays nicely with other Adobe apps. You can, for instance, open and edit images in Photoshop directly from XD (just right-click the image to open it). Any changes you make to the image will automatically be reflected in XD as well. It also imports files from Adobe Illustrator, Photoshop and even Sketch.

Other features worth exploring include:

States allow you to edit design components based on user interactions, such as hover or click;
Easily replicate design elements;
Adobe Fonts integration;
Create interactions and triggers for your prototypes;
Preview mobile apps on real devices via a companion app;
Document history allows you to roll back to previous versions;
Developer-friendly assets like CSS, colors, downloadable assets;
Extensions that bolster functionality and tie in with third-party services;

Adobe XD is subscription-based software. It requires either a full Creative Cloud membership or, you can choose to subscribe to XD by itself for $9.99 per month. If you want to give it a try first, there is a free XD Starter Plan that will let you experiment with some limitations. You can run the application on macOS or Windows.

The Adobe XD home page.

Making the Right Choice

Each of these tools has their own compelling set of features. In that way, it’s hard to say that you’ll go wrong with any of them.

But, to narrow down your options, think about how and where you plan to use the app. For example, if you are a Windows user, you won’t be able to use Sketch. If you prefer something browser-based and/or use Linux, then Figma is your choice. If you’re a Mac user who wants something with a lot of template and plugin choices, Sketch is the winner. Loyal Adobe customers will love the interoperability of XD.

Otherwise, you’ll find a number of similarities. Each app has at least some ability for collaboration. They all create vector graphics and offer asset libraries. All are adept at creating a design system. Plus, they are all extensible to one degree or another.

Regardless of what direction you go, you can be sure of one thing. You’ll be on the cutting edge of web design.


92% Off: Get the How to Start a Podcast Bundle for Only $19

Original Source: http://feedproxy.google.com/~r/Designrfix/~3/vSBdbn8V1ZE/89-off-get-the-how-to-start-a-podcast-bundle-for-only-29

So you’ve been listening to podcasts, and realized how popular they have become. Now, you are toying with the idea of starting a podcast. The problem is that, there is a reluctant voice inside your head asking, “Can I really do this? Where do I start? Would someone even listen to my podcast?” Don’t fret. […]

The post 92% Off: Get the How to Start a Podcast Bundle for Only $19 appeared first on designrfix.com.

How to Fix Slow WiFi Connection

Original Source: https://www.hongkiat.com/blog/fixing-slow-wifi/

Slow WiFi speed can be really confusing, rather downright annoying, as there is no single answer to fix it. There are numerous reasons why your WiFi may be working on a speed slower than intended. It…

Visit hongkiat.com for full content.

How To Derive More Value From Web Design And Digital Marketing

Original Source: http://feedproxy.google.com/~r/Designrfix/~3/rStPfWoyZQw/how-to-derive-more-value-from-web-design-and-digital-marketing

The process of marketing has changed a lot in recent years. The traditional form of marketing has been replaced by modern technology. Digital marketing and the SEO Agency have made a new form of marketing possible. This type of marketing strategy not only helps to increase sales but also helps to make a lot of changes in […]

The post How To Derive More Value From Web Design And Digital Marketing appeared first on designrfix.com.

Exciting New Tools for Designers, December 2019

Original Source: https://www.webdesignerdepot.com/2019/12/exciting-new-tools-for-designers-december-2019/

As you are shopping this month for others, why not find a few goodies for yourself? Our roundup of new tools and resources is packed with usable items. And most are free, so there’s no shame in trying out something for yourself. Here’s what’s new for designers this month.

CSS Background Generator

CSS Background Generator gives you the tools – and code – to create an interesting animated background for digital projects. Demo 1 uses a fun web design trend with circular blobs with adjustments for color, size, and speed. Once you get the background set up in a way that works for you, show the code and copy it to your projects. Thanks go to Vincent Will for making a tool that functional and easy to use.

CameraBag Pro

CameraBag Pro just reinvented itself with a new release and features, making it a robust choice for photo editing. The Mac app is packed with editing tools and intuitive adjustments and custom presets (this might be one of the best features since you can instantly preview each before applying it). The tool works for photos and videos with styles that work for both types of images and batch processing tools (watermarks, resizing, and cropping). This is a robust image editing tool that makes quick work of adjusting images. This is a premium app, but one of the least expensive photo/video editing tools out there.

CodersRank

CodersRank creates a 360-degree coder profile based on the public and private data you hold on various coding sites. It creates visual charts that you can use to show off your credentials to potential clients or employers (or figure out what you know in relation to others in the industry). The site also includes learning tools and a job board.

Advent of Code 2019

Advent of Code is a seasonally-appropriate Advent calendar of programming puzzles for a variety of skill sets and skill levels that can be solved in any programming language. Use them as a speed contest, interview prep, company training, university coursework, practice problems, or to challenge each other. There’s even a leaderboard to help you keep up with others.

Pantone Color of the Year: Classic Blue

Pantone’s Color of the Year for 2020 is 19-4052 Classic Blue. It’s a hue that’s probably a staple in many of your projects. Here’s how Pantone describes it: “Instilling calm, confidence, and connection, this enduring blue hue highlights our desire for a dependable and stable foundation on which to build as we cross the threshold into a new era.” This is one of the times that the color of the year has featured a color that is such a common one. The just released color guide includes swatches and tools in this classic color for 2020.

Wooof

Wooof is just for fun. Instead of spending time looking for cat videos in your downtime, you can spend it looking at the “internet’s biggest collection of open source dog pictures.” You can browse, save favorites and even look at the source code and API. Be prepared to get lost in this rabbit hole.

Realistic 3D Photo Cards

Realistic 3D Photo Cards is a pen by Jouan Marcel that uses hover effects and Vue.js to create cool cards that animate and move in a space with depth on hover. The motion is simple and realistic; you’ll want to fork it.

JetOctopus

JetOctopus is a tool to help you navigate technical SEO. It’s a SaaS crawler and log analyzer that helps you find website problems and prioritize solutions to improve your online presence.

The Svelte Handbook

The Svelte Handbook is a starting point for anyone who wants to learn about this newer web framework for building apps. Author Flavio Copes says: “The ideal reader of the book has zero knowledge of Svelte, has maybe used Vue or React, but is looking for something more, or a new approach to things.” And the guide is 100 percent free. So, get reading.

Universal Color Convertor

Universal Color Convertor is a Mac app that converts colors from HEX/RGB/HSL to other formats and code snippets (CSS, Swift, Java, C#, and Dart).

Slack Cleaner

Slack Cleaner can clean all the unused and space-eating files in your Slack account. It makes it easy to find and delete unwanted files with bulk delete functionality.

Terms and Conditions Generator

Terms and Conditions Generator helps create a professional and customized document that’s been designed by an international legal team. It works in eight languages and includes more than 100 clauses to work with.

CSS Scan

CSS Scan is a browser extension that lets you copy the CSS of an element on any website. It’s taking website inspection to the next level and works on pretty much any website, regardless of what it’s built on. The best part is that it even works with animation code by visualizing keyframe CSS without having to search through source code.

Botfront

Botfront is an open-source tool to build chatbots on top of the Rasa library. Design and implement conversations with a single step. You can run it on your laptop or servers. Plus, there’s plenty of documentation to guide you along.

StackShare API

StackShare API, a tool to get insight into the backend technologies a company uses, is still in beta and has a lot of potential application. (API scraping tools seem to be growing in popularity by the day.) Use it to build better custom profiles, generate leads, and learn about industry trends.

Webiny

Webiny is a serverless app form builder that works for creating simple and complex forms. Use it to create custom forms and validators, track revisions to forms, use the integrated ReCAPTCHA, integrate other apps, and manage submissions. Plus, everything works in an easy drag and drop interface.

Kampsite

Kampsite helps you get feedback from customers and website owners so you can make adjustments that they want with your product or design. Once a log starts, it’s easy to share ideas, upvote popular requests, and engage with users. The tool installs with just a couple of clicks and can help you create beter web experiences.

GooFonts

GooFonts is a tool that tags Google fonts for easy search using keywords, variants, and subsets. What’s cool about this project is that it can take some of the hassle out of finding the right Google Fonts in a quick and easy way. It just takes a couple clicks to return results that have the look you want with examples.

Reborn Display

Reborn Display is a vibrant handwriting style display typeface. The style is readable and just a little bit funky. It includes upper- and lowercase letters and ligatures.

Snowballs

Snowballs is perfect for a December roundup with a holiday theme. Each character includes snowflakes around the design and fun swashes and tails for end letters. It includes upper-and lowercase letters and numbers.

Snow Kei

Snow Kei is another winter-themed typeface with snowflakes in the letter shapes. It is a fun option for holiday-themed projects. The display font includes 156 characters.

Source

p img {display:inline-block; margin-right:10px;}
.alignleft {float:left;}
p.showcase {clear:both;}
body#browserfriendly p, body#podcast p, div#emailbody p{margin:0;}

Brand Illustration Systems: Drawing A Strong Visual Identity

Original Source: https://www.smashingmagazine.com/2019/12/brand-illustration-systems-visual-identity/

Brand Illustration Systems: Drawing A Strong Visual Identity

Brand Illustration Systems: Drawing A Strong Visual Identity

Yihui Liu

2019-12-09T12:30:00+00:00
2019-12-09T17:09:29+00:00

In the flood of online content, companies live or die by their brand image. A brand image has to express the company’s message and connect with users, who should instantly recognize it across different media, even away from the company’s website and marketing content. A strong brand image is like an anchor, helping ensure user attachment and fix value associations.

Brand image is typically built up from different visual elements — logos, color palette, a particular font. Alongside these, illustrations are another powerful means of visual communication which are more and more in demand for online UI.

Why? Because illustrations introduce narrative elements to visual content and allow for subtler emotions or more complex situations to be expressed. Including human figures make ideas active and accessible, often in a light-hearted or whimsical way. Illustrations turn away from realism and let you build the world as the brand sees it.

This is an important piece in the larger puzzle of online campaigns. Digital design, using vectors, favors clean, bold images which translate well into distinctive branding illustrations. Rather than single-use designs, these online illustrations are being used as part of comprehensive visual systems. Images in an illustration system share a unifying mood or style, which makes them identifiable with the brand’s wider image and message, even as they represent different aspects of a product or service.

Illustration systems increase the range and depth of messages a company communicates visually about itself, from mission statements to practical product support, while strengthening brand image.

Design Process

So how should you go about designing an effective brand illustration system? I take you through my design process, with examples from the recent overhaul we undertook at Spacebase.

Research The Brand

First thing’s first — know the brand you’ll be designing for. This might sound obvious but don’t underestimate the work involved. Even if you think you already have a working knowledge, it’s worth investing time to refresh or deepen your understanding of the brand.

Dig into the culture behind the company and its products or services. What is their principal message, what forms do their existing visual identity take, and what is the direction the company wants to grow in?

Investigating this thoroughly at the beginning will save you headaches and dead-ends later on.

Understand Stakeholder Needs

As well as doing your own research, you’ll need to speak to the stakeholder. This connection is crucial to the success of your design — so involve them early and keep them updated with the process.

Get answers to key questions about the design: where will the illustrations appear and what do they need to express? What kind of situations and emotions might they play on? What are the technical parameters you need to work within?

At this stage, the stakeholder might not be very clear about what they want. Nonetheless, you should listen carefully to their input and consider their expectations in relation to the goals of the business and their wider brand image.

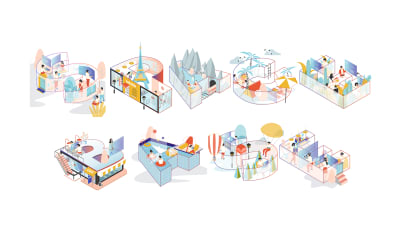
At Spacebase, the aim was to make the online booking platform more approachable and human. I thought deeply about the relationship between meeting rooms and the people who use them. We wanted to capture the brand message of breaking out of regular workspaces, into new and exciting ones, in a smooth, convenient, supportive way. The designs had to come across as friendly, modern, and simple.

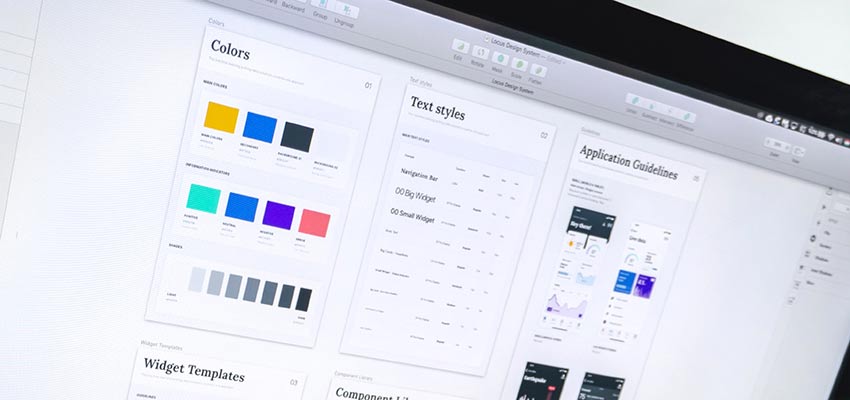
Organize Inspiration

A moodboard is essential for getting to grips with the input you receive and organizing your ideas. Collect images from competitors or companies in the field with similar qualities to your intended goal and then compile these into a resource. Looking at what inspires you can be a guide to the overall tone you want to achieve and suggest the way to a first iteration. This is also useful material to show the stakeholders, as it gives them a sense of the direction the illustrations will take before the work of creating concepts begins.

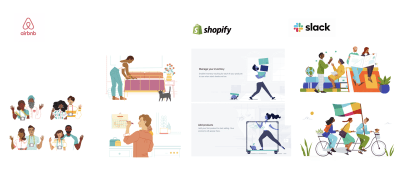
Some of the brand illustrations which inspired me. (Large preview)

For the Spacebase design, I was particularly inspired by the Airbnb, IBM, and Shopify illustrations. The simple design of people and spaces really stood out for me, and I was interested in how the muted color palettes keep the illustrations focused, without overwhelming the pictorial elements. They produce an impression of calm, warmth and inclusivity.

Concept Creation

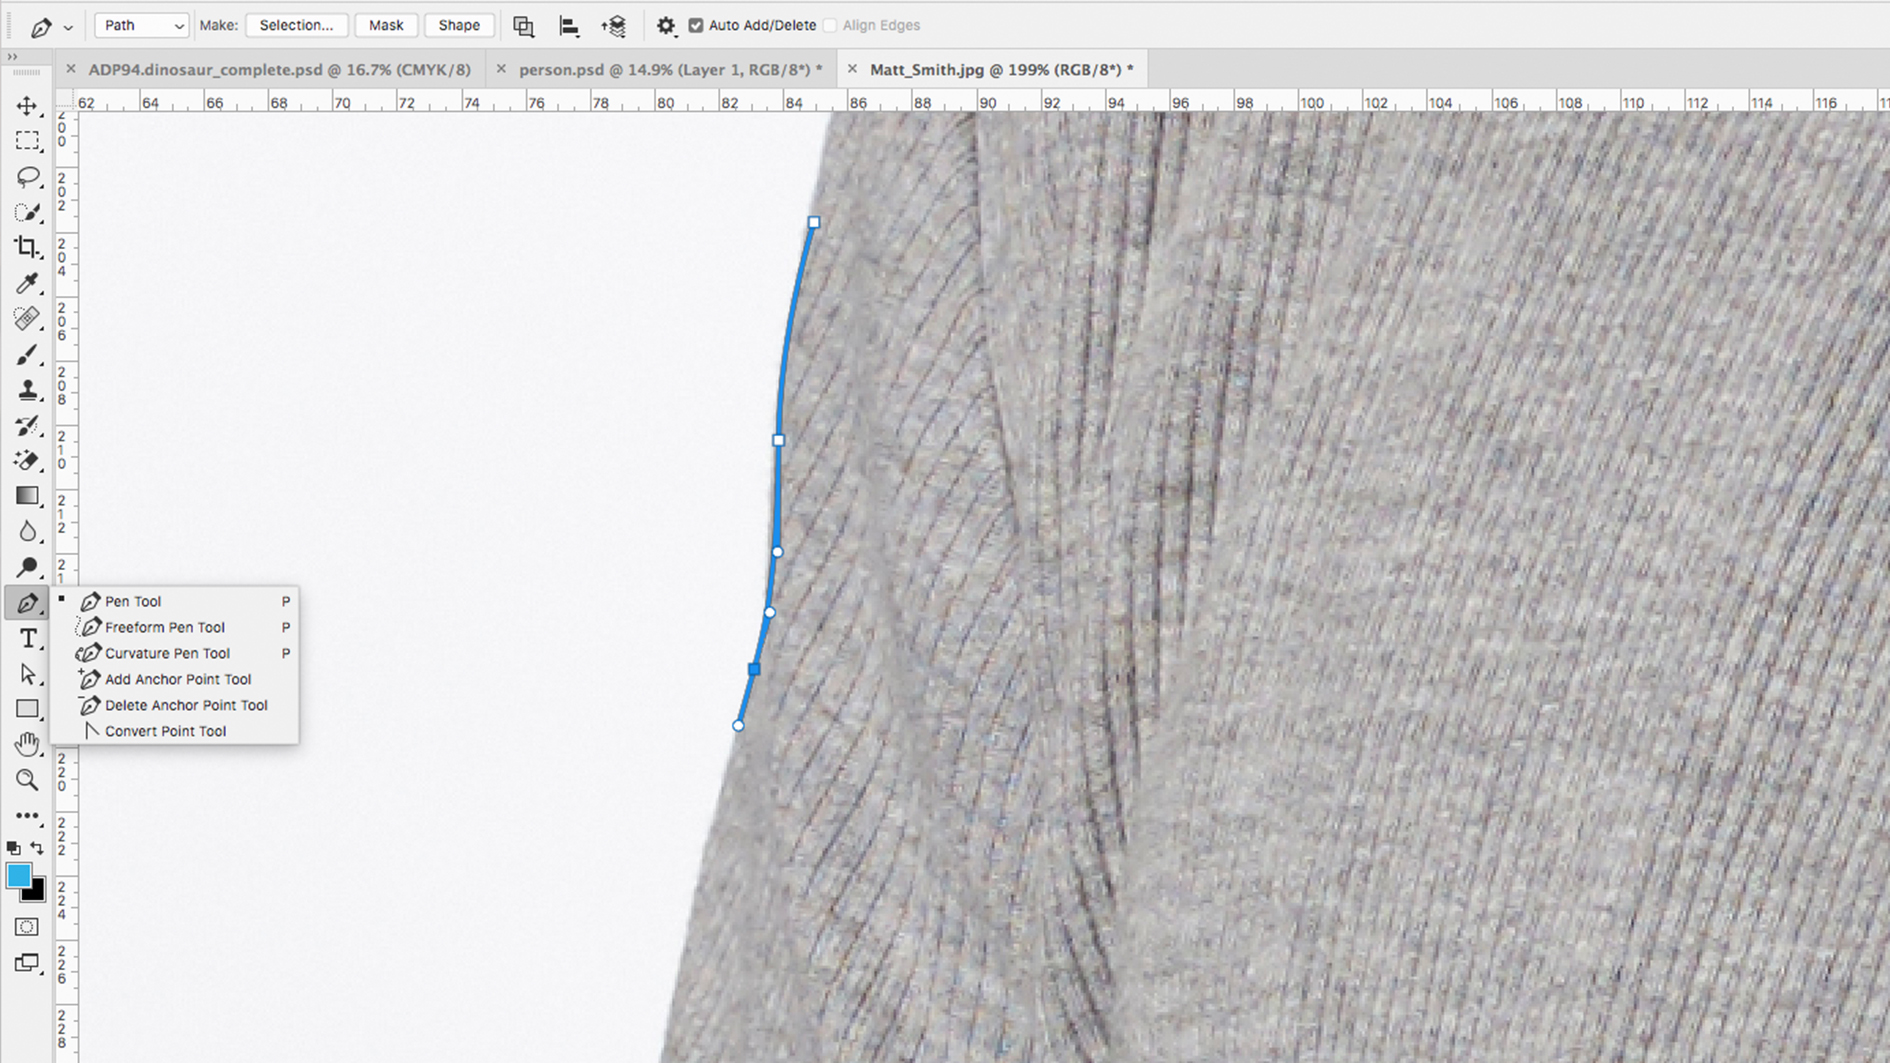
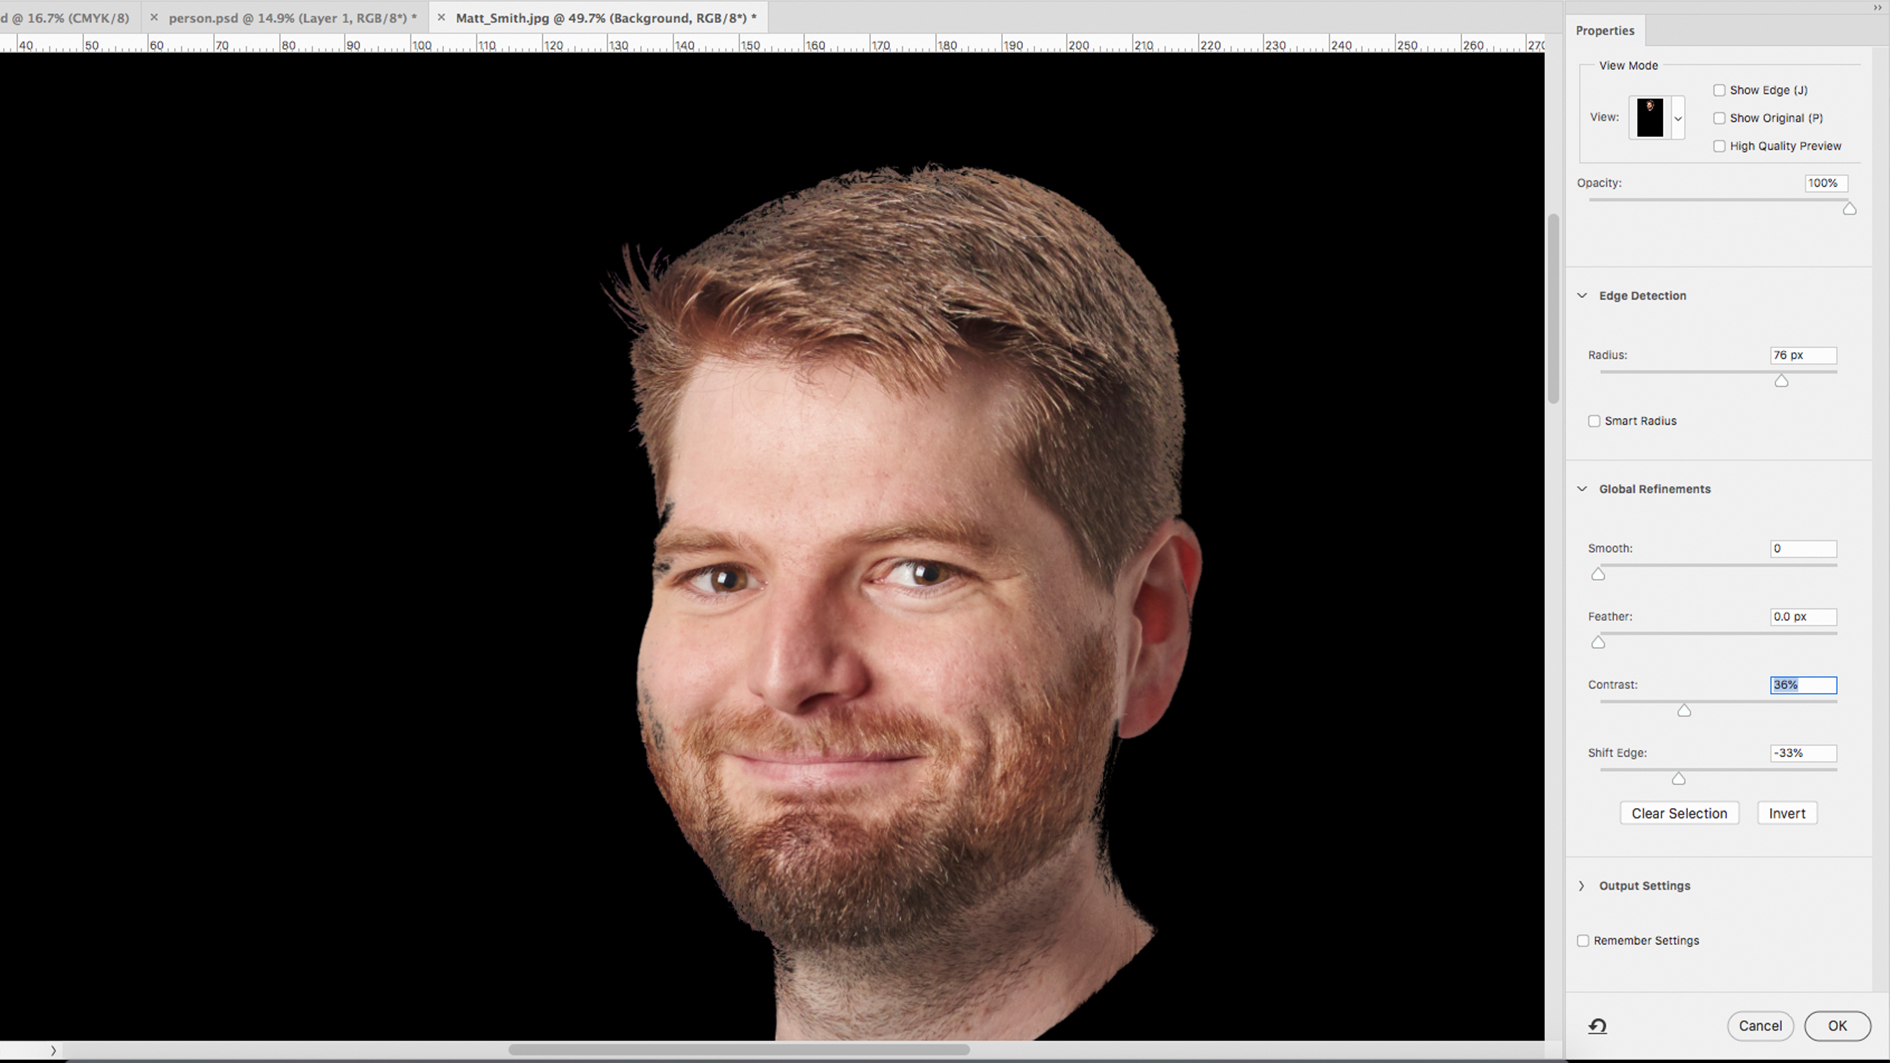
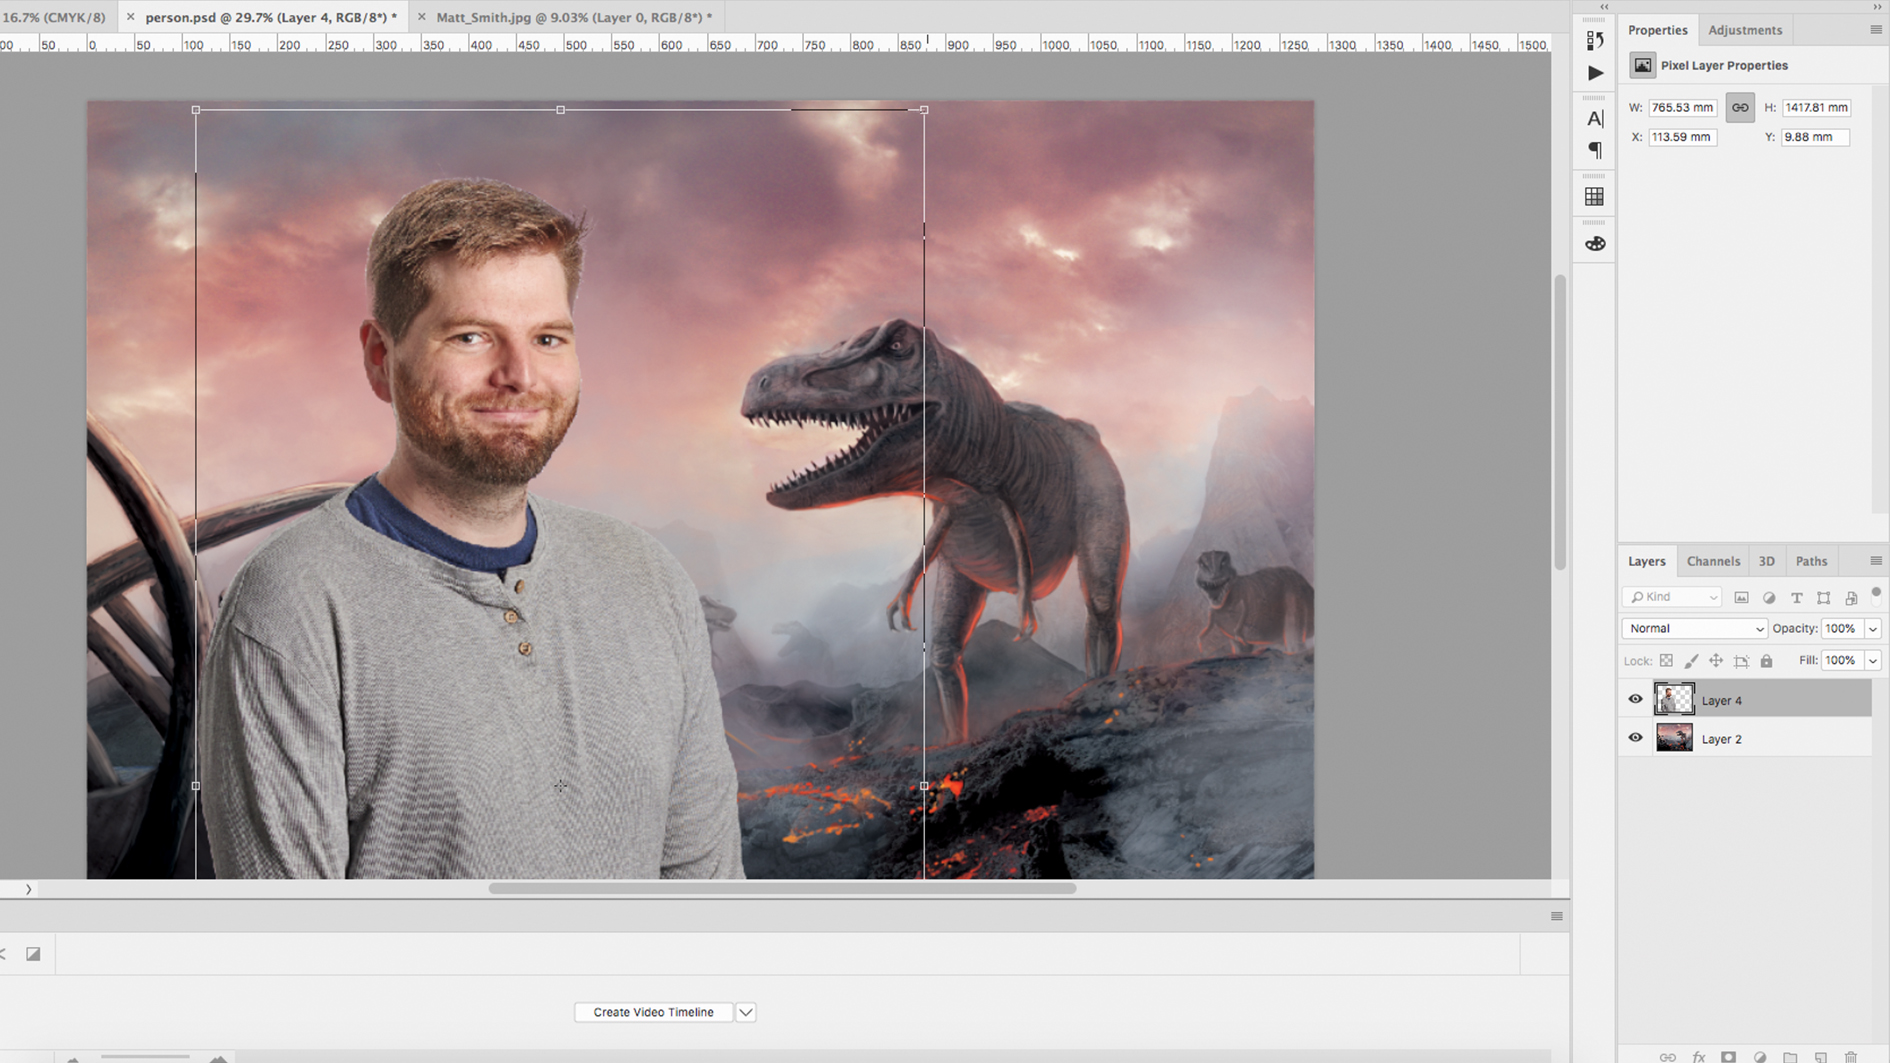
After researching and moodboarding, I start sketching on Adobe Illustrator. Sometimes I use a Wacom tablet but mainly I stick to my mouse with the Pen tool. I use shapes to create a basic structure, and use the Pen tool to add detail and enhance the basic outline.

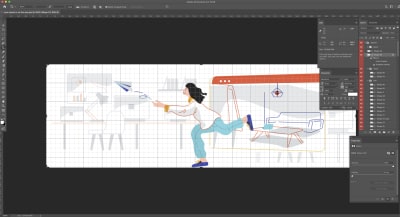
Drawing onscreen. (Large preview)

Bear in mind that the images you design should cohere to form a uniform system, not form standalone scenes. So even if this is the first iteration — aim to give the illustrations a distinctive flavor which you will be able to replicate across different designs in the future. This might not come at first but feel your way towards an internal logic for the branding illustrations and aim to be consistent with this in your decisions.

With the Spacebase illustrations, we focused on human characters and color scheme as ways to keep the images in line with other visual branding elements.

The evolution of the email banner for booking confirmations. (Large preview)

I started drawing the human characters with basic outlines, to get a feel for the emotions they would represent and how they would inhabit interior spaces. I wanted flowing lines to give them dynamic profiles and suggest movement. I also wanted to avoid anything that looked too heavy — lightweight and friendly were keywords. Diversity was also important to me, as Spacebase is an international company, and I always want viewers of illustrations to see themselves.

Alongside the human figures, I wanted the objects and environments to have a distinct style — abstract, futuristic and design-forward. We wanted to show interiors which are bright, beautiful, involving the users in the spatial dynamic, and with objects that suggest an idealized professional working environment. At the same time, these were not to distract attention. Spacebase is all about inspiring meeting rooms but their brand is more about the people who use these spaces. This took many iterations to get just right.

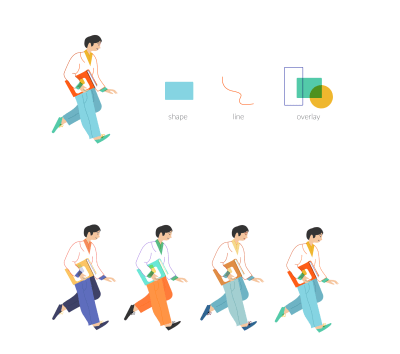
Exploring different lines and color palettes. (Large preview)

After the sketches had been refined, I thought about a color scheme. Colors are powerful and evoke instant reactions — so it was important to me not to overwhelm the illustrations. I wanted subtle shades to enhance and complement the scenes. The color scheme should also reflect the brand’s personality and match their other visual elements. For the Spacebase color scheme, it was important to break from monochrome and stay away from the drab colors normally associated with meeting rooms. Their main branding color is orange so I balanced this with cooler pastel tones: purple, sky blue, grey, and mustard yellow.

Feedback

After the first iteration, get all the feedback you can.

Clearly, you need to speak to the main stakeholder for their take on your design. But also try to seek out the opinion of users or colleagues, if you have any — especially people who don’t work in design. Their responses can guide you toward the next steps you should take to improve the illustrations. Design for real target users, rather than imagined needs.

Overall I prefer to hear about people’s frustrations overhearing their praise. Accolades are nice but not terribly useful. Getting to know the pain points of users (or something that does not make sense to them visually), indicates where to focus your attention. Even if they don’t agree with your own ideas, the stakeholders and their users must love the design. Good design is in the eye of the user.

One of the illustrations I struggled with most at Spacebase was the banner for cancellation emails. Customers receive these either when they have canceled their own booking or when Spacebase has had to cancel it.

Nobody likes bad news, so I wanted the design to share their disappointment and suggest sympathy and understanding. Early versions were too heavy, though. Colleagues said it felt like the end of the world, that some drastic judgment had been passed. It took a long time (and many iterations) to move in a different direction.

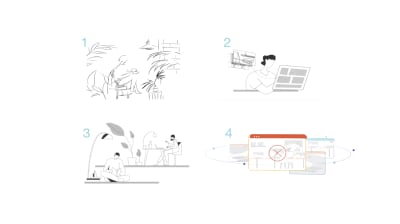
The design for booking cancellation took many iterations. (Large preview)

In the end, we removed the human figures altogether. This was a way to avoid the illustration becoming too emotionally charged and give it a more neutral feel. The latest iteration minimizes the drama — it acknowledges an issue through semi-abstract representations of screens but also points to a future beyond the cancellation.

Reference Library

As you create your illustrations, it’s useful to build up a library of the different elements you have already used. This means you can refer back to them in the future and make sure you keep the style and feel consistent across different illustrations. Keeping your illustrations coherent is key to the overall effectiveness of your system in the long-term.

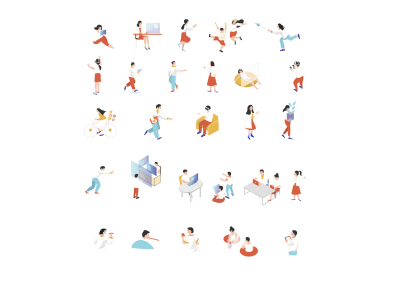
Image library for human figures. (Large preview)

Image library for objects. (Large preview)

Repeat

Be prepared to go through this process many times.

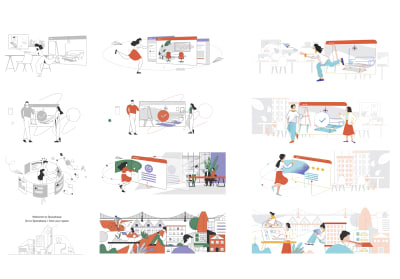
We went through many stages to get to the final iterations. (Large preview)

Constant iteration is the most important part of producing a successful visual identity. Keep creating new versions, obtaining feedback, and drafting new iterations. Everything is a prototype and you have to stay open to tweaks in order to make your branding as relatable to users as possible. Keep stakeholders updated and involved and be ready for unexpected turns — design is also a journey and each step gets you closer to an exceptional result.

As long as you immerse yourself in research and feedback, you’ll be heading in the right direction. That’s what I find most rewarding about design — I am motivated by the ongoing process and when I feel like I’m constantly improving upon things, I am happy to be doing what I do.

The Spacebase branding illustrations have helped consolidate brand identity. (Large preview)

Smashing Editorial
(cc, yk, il)

Pantone Announces its Color of 2020

Original Source: https://www.webdesignerdepot.com/2019/12/pantone-announces-its-color-of-2020/

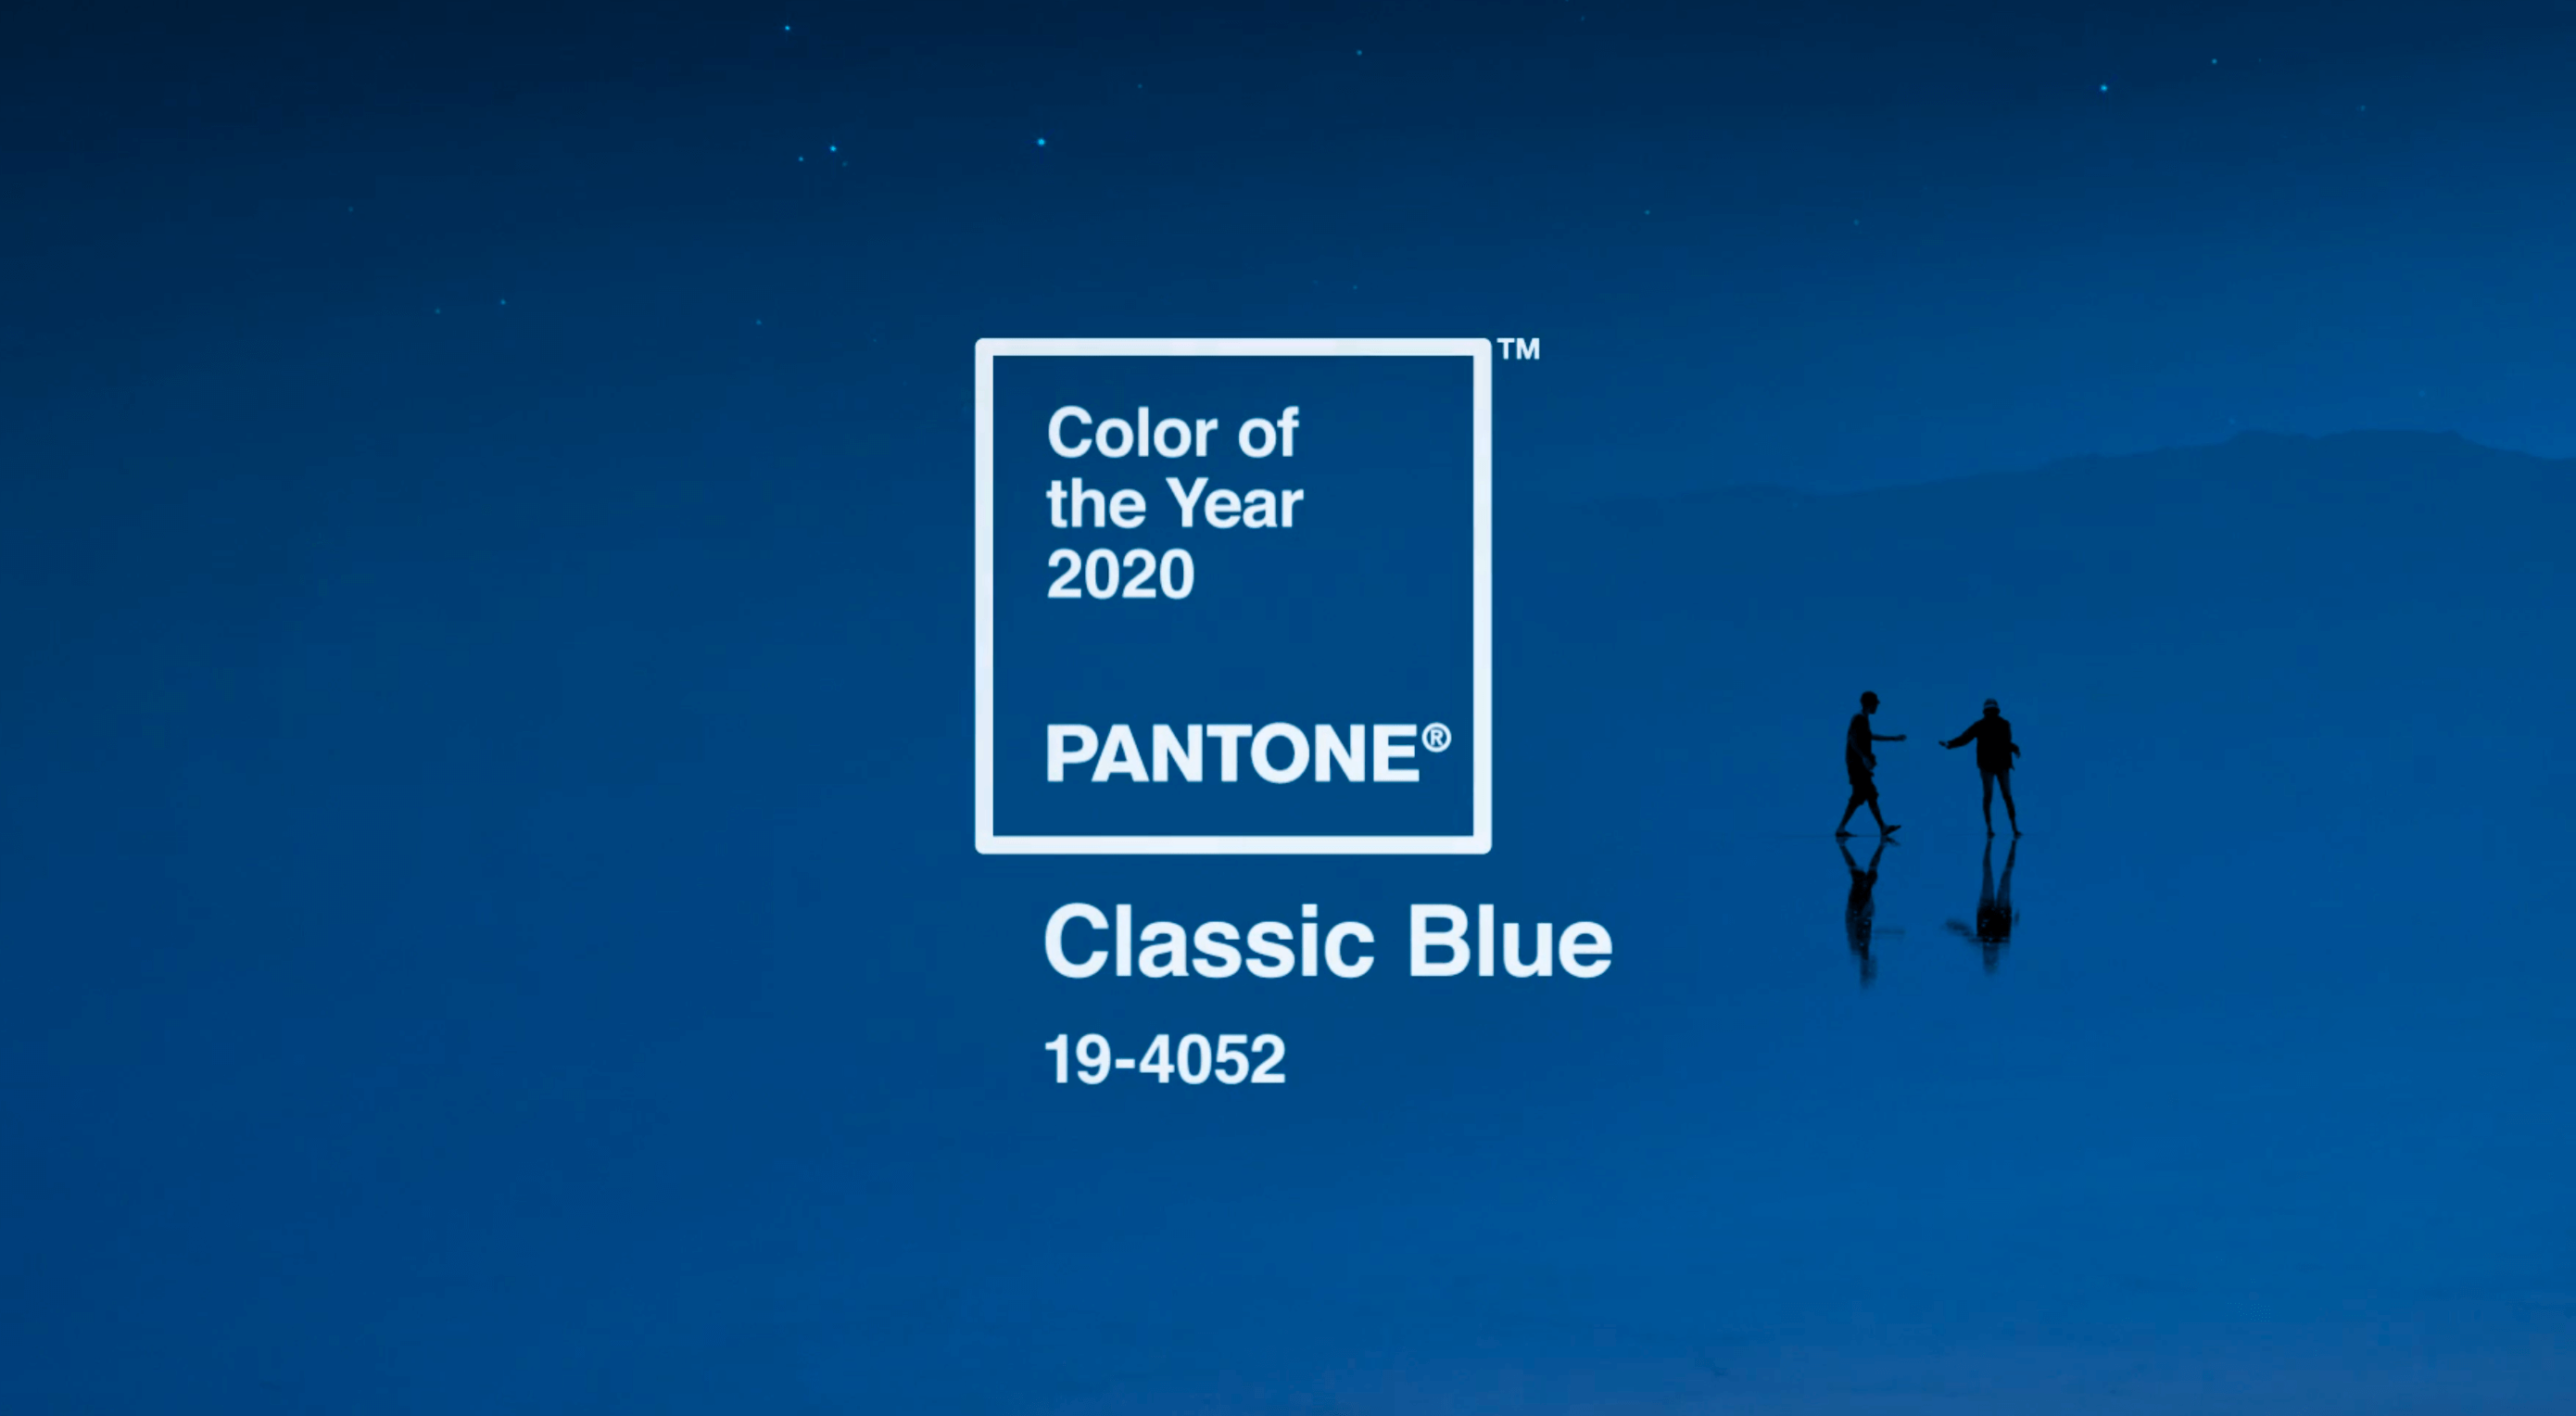
Each year, at this time, Pantone nominates a color — or colors, in the case of 2016 — to represent humanity’s hopes and aspirations for the coming year.

At least, that is what its PR department sends out. In reality, it’s a rather obvious — if highly effective — marketing gimmick to keep the print-design company relevant to design news year-on-year. It’s an arbitrary bit of self-promotion, that does an excellent job of reinforcing Pantone’s position as an authority on color.

This year, Pantone has selected Pantone 19-4052, or “Classic Blue” to give it its colloquial name. It’s described by Pantone as: “Instilling calm, confidence, and connection, this enduring blue hue highlights our desire for a dependable and stable foundation on which to build as we cross the threshold into a new era.”

Critically speaking, it’s one of the most mis-judged decisions in the short history of this promotion, and significantly mis-reads the zeitgeist.

At a time when the climate is approaching — or may have passed — irreversible breakdown; when global political debate is moving out of our institutions and onto the streets; when the baby-boomer generation is slowly losing its grip on the reins, and millennials are realizing they’ve reached middle-age; Classic Blue is a color that harks back to a time when we hid our head in the sand and pretended everything was fine. It’s the color of the pre-2008 crash, the color of Facebook pre-privacy scandal, the brand color of your parents’ bank. Classic Blue is about as 2020 as Helvetica.

(There’s only one color that effectively represents 2020, and that’s Cyberpunk Pink, a neon hue that is both retro and forward-looking, cross-cultural, irreverent, and even better in dark mode.)

Source

p img {display:inline-block; margin-right:10px;}
.alignleft {float:left;}
p.showcase {clear:both;}
body#browserfriendly p, body#podcast p, div#emailbody p{margin:0;}

How to Photoshop someone into a picture

Original Source: http://feedproxy.google.com/~r/CreativeBloq/~3/M1BtMjpYIDM/how-to-photoshop-someone-into-a-picture

Why might you want to learn how to Photoshop someone into a picture? Assembling your friends for a photo can be an uphill struggle and there’s no guarantee you’ll fit everyone in – there’s always one straggler, standing awkwardly just outside the frame. 

This beginner’s tutorial will guide you through the process of taking a person from one image and adding them to another. While directed specifically toward adding people, many of the techniques used in this tutorial can be used in any other compositing work. Get Adobe Creative Cloud to follow this tutorial and explore other projects in Photoshop.

If this isn't quite what you're after, or you'd like something more advanced, see our comprehensive list of Photoshop tutorials.

01. Find your image

Person on white background

Ideally your person would be on a plain background to make cutting out much easier

When picking your two images, it’s important to consider matching perspective and angles, ensuring that any inserted image has the best chance of looking natural and in situ. Try to mimic the resolution and lighting conditions of the original image, since tiny differences can immediately spoil the credibility of a composition.

When cutting a person out from their background, it is preferable to have a sharp edge around your subject. If a background is clean enough, such as a plain, block colour, you can often get away with using the Magic Eraser tool for a quick cutout.

This involves cycling through the eraser tools by clicking and holding on the icon in the toolbar or pressing Shift + E, until you get to the Magic Eraser. With this tool selected, click on unwanted areas of the image to remove. If it is a blank white background, it should usually disappear in one click. This is destructive and permanent, so it is worth duplicating the layer or backing the image up.

02. Use the Pen tool 

Draw around the body using the Pen tool. Either draw exact curves in as you go or add them in later

The most accurate way to cut out an object in Photoshop is by drawing a path with the Pen tool. Select the Pen tool in the toolbar or with the shortcut P, then make the first point on your path by clicking onto the canvas, somewhere on the edge of your subject. Continue clicking around the whole body, until you connect the final point with the first (ignore the head and hair for now, just roughly draw around it).

As you click, hold down the mouse to drag out bezier handles and draw curves. You can add these to anchor points later with the Convert Point tool or edit existing ones with the Direct Selection tool. Hold the alt key as you click to change just one handle independent of the other. You can save this path in the Paths panel or select it by right clicking and pressing Make Selection.

03. Focus on the hair

Select and Mask in Photoshop

Experiment with the controls in ‘Select and Mask’ until you are left with just the head and hair

The Pen tool is excellent for hard, sharp lines, but unsuitable for anything that has rougher edges, such as hair or fabric. Each designer has their own ‘tried and tested’ trick for dealing with this, including any combination of masks, brushes and alpha channels. But the quickest and most effective method is Select and Mask (previously known as Refine Edge).

Use the Quick Selection tool to roughly select the head and hair of your subject, using the square brackets keys to change the size of your brush. Then click on the Select and Mask button in the taskbar to refine your selection. It is then a matter of trial and improvement, experimenting with Radius, Contrast and Shift Edge until you have removed as much of the background as possible. You can then use this selection to either mask out or delete the background until you have removed as much of the background as possible and the hair looks natural. 

Confirm the selection and then either press the mask button in the layers tab or reverse the selection (right click and Select Inverse) and delete. You can combine this with the Pen tool by performing each process on a separate layer and merging the layers later on (selecting the layers and right clicking in the layers panel).

04. Copy person into your image

Pasting into in Photoshop

Use the Free Transform tool to reposition your person on the image. You may have to flip them if they are facing the wrong direction

Having cut out your subject with the Pen tool and Select and Mask, flatten any layers, then copy and paste into the other document. Position your person into the picture where they look most natural, without breaking any perspective or proportions. Use Edit > Free Transform to resize and rotate your layer. You may need to mask any areas that are meant to be behind foreground objects. You can use the Pen tool for this, selecting your area before pressing the mask button.

05. Consider lighting

Adjustment layers in Photoshop

Position your adjustment layer above a layer, then hold down alt as you click to adjust just that layer

Simulating the lighting conditions of the original image will help your subject really inhabit the world of the image. The easiest way to do this is by adding shadows and editing colour balance. Simple shadows can be added by painting black onto a new layer with a feathered brush. You can then use the opacity of this layer to control the weight of the shadows. Alternatively you can use the Burn tool to darken the areas of the image that need more shadow, though it is worth duplicating the layer first so you don’t make permanent changes. 

Normally you would adjust the colour balance by clicking on the adjustment layer button in the Layers panel, then selecting which adjustment you want, however this would affect every layer below it in the composition. To make sure an adjustment layer only works on the layer you want, position it above the active layer, then alt click between the layers. You can duplicate adjustments by clicking on the layer and pressing Command + J.

06. How to remove someone from a photo

Content Aware Fill in Photoshop

Content Aware Fill can be unpredictable, especially if the background is complex

Removing a person is a lot easier than adding them. Photoshop has the perfect tool for this exact situation – Content Aware Fill. The success of this largely depends on the rest of the image and how complicated it is. In an ideal world you would make your selection with the Pen or Lasso tool, then go to Edit > Fill and select Content Aware fill. This would then redraw the selected area, making an educated guess from the rest of the information in the image. In reality this can be a little hit and miss, so it is sometimes easier to do the hard work yourself.

There are a few options for this – the Patch tool, the Healing Brush or the Clone Stamp tool, though the latter gives you the greatest control. Select the Clone Stamp tool and alt click to select the area you want to clone from. Then paint onto the layer, keeping a soft brush and a low flow. Again it is worth duplicating the layer so you have something to reference back to.

Read more:

How to flip a layer in PhotoshopHow to make a meme in PhotoshopThe best alternatives to Photoshop