The controversial new BBC logo really isn't that controversial
Original Source: http://feedproxy.google.com/~r/CreativeBloq/~3/pVYQ5lO5KPg/bbc-logo-controversy
Why the online furore is off the mark.
Original Source: http://feedproxy.google.com/~r/CreativeBloq/~3/pVYQ5lO5KPg/bbc-logo-controversy
Why the online furore is off the mark.
Original Source: http://feedproxy.google.com/~r/abduzeedo/~3/_Z7Qvg-BPsE/ocean-blues-photography
OCEAN BLUES Photography

abduzeedo07.01.21
‘OCEAN BLUES’ is a fine art photography series by visual artist and landscape photographer Jan Erik Waider. All photos were taken during calm days on the Drake Passage on a voyage with the sailing ship Bark Europa from the Antarctic Peninsula back to Ushuaia.
— Calm days on the Drake Passage
Credits
Fine Art Photography by Northlandscapes” Jan Erik Waider for more information check out
Photography Website
Image Licensing
Fine Art for Interior Designers
Purchase Fine Art Prints
Also make sure to connect with Erik on Instagram, Facebook, Twitter or LinkedIn
And if you are a photographers, Erik has some quite awesome and useful Lightroom Presets for Dark & Dramatic Landscape Photography
Original Source: https://www.webdesignerdepot.com/2021/06/20-best-new-fonts-june-2021/
 Welcome to a new series of articles, in which we round up the best new fonts released from some of the top designers on the Web.
In this inaugural edition, the collection includes fonts released or expanded over the last few months. Many of the fonts have free weights available. If you use any of them in your work, be sure to let us know!
Cedar
Cedar is a unique angular serif built by wrapping vector shapes around calligraphic structures. It has its roots in woodblock printing but creates a very modern aesthetic.

Tome Sans
Tome Sans is a very usable business-like type family of ten weights, plus italics. It features some awesome ligatures that you don’t often find in a sans-serif.

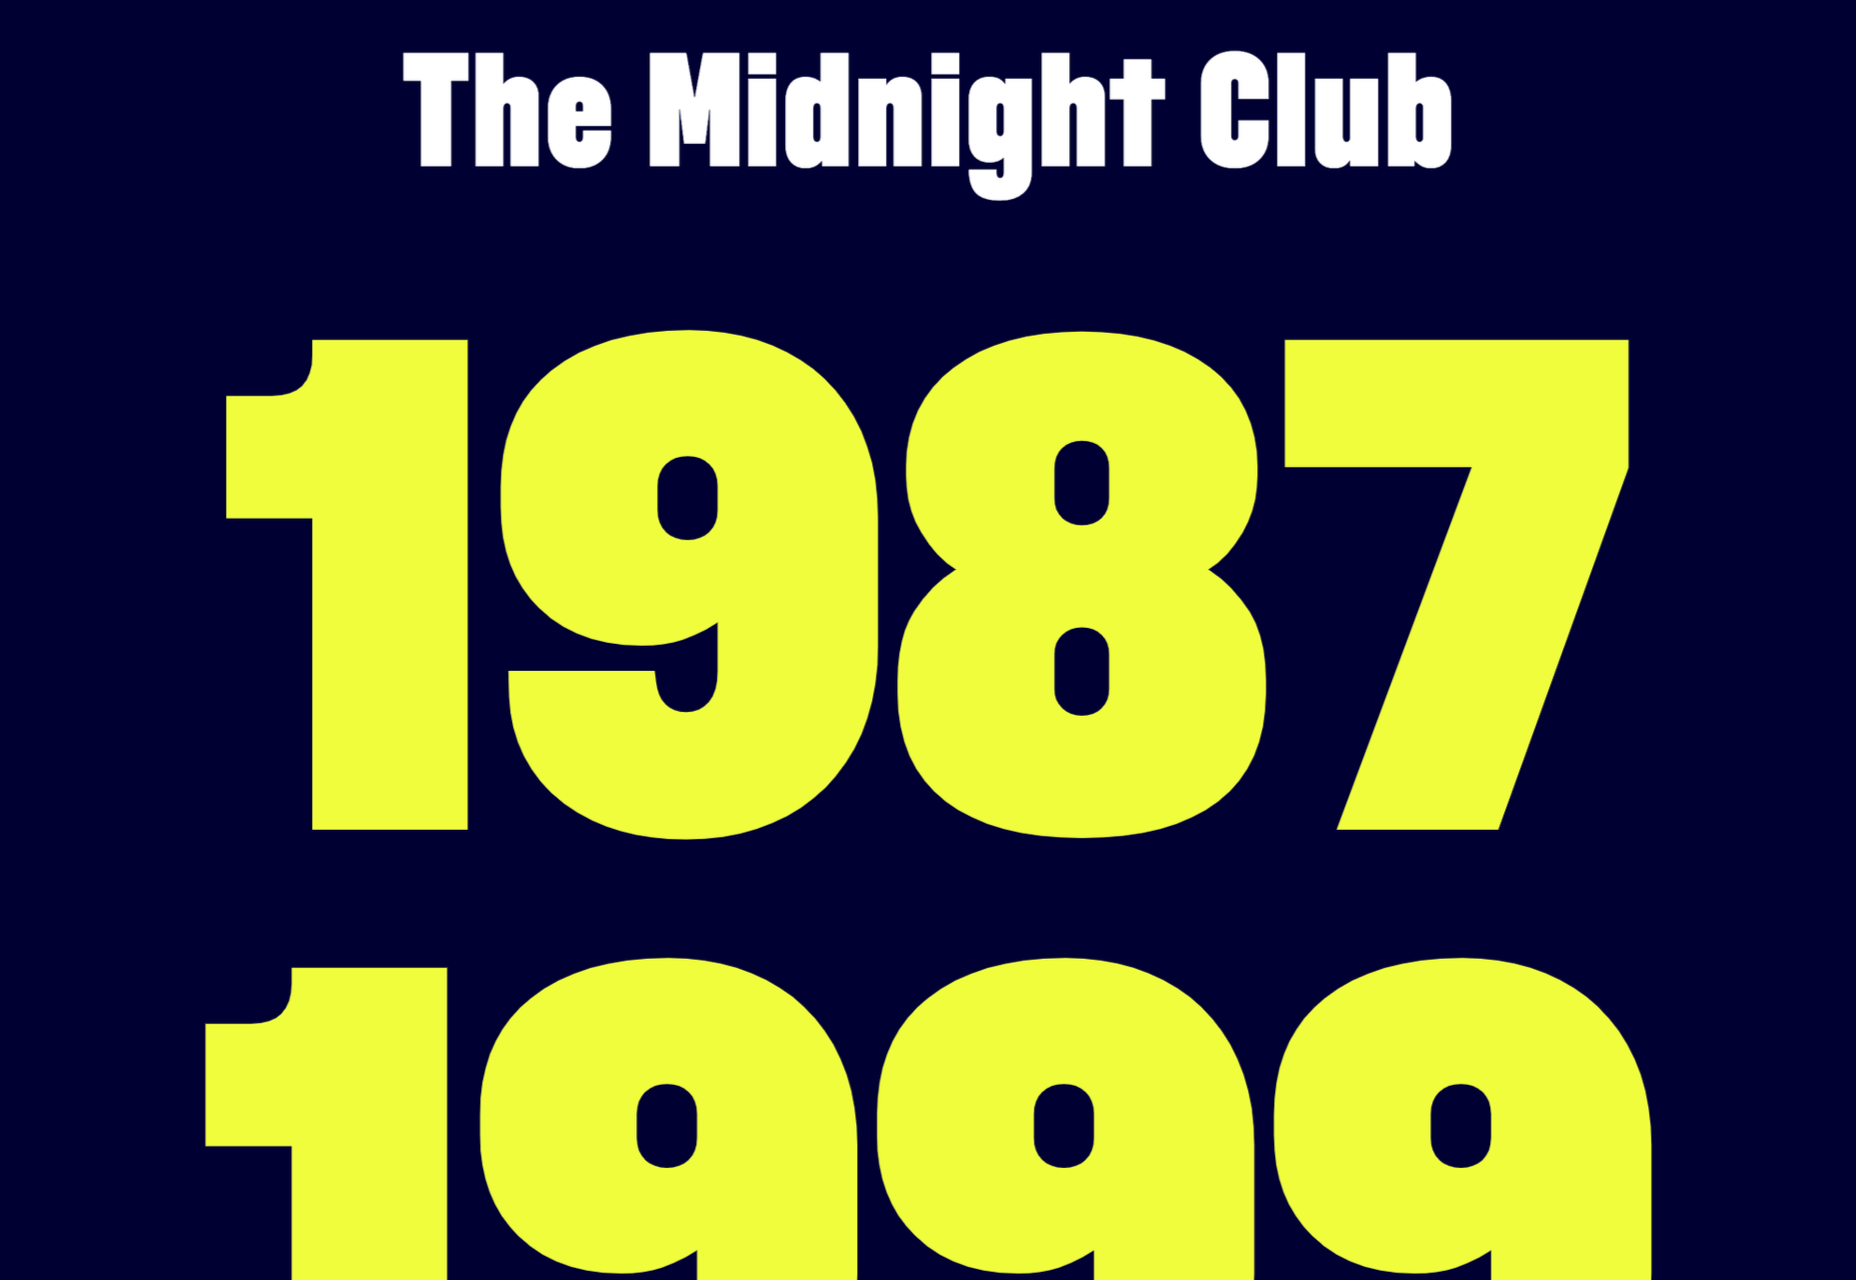
Midnight Sans
Midnight Sans is a chunky sans serif, suitable for display sizes. There’s a rounded variation for added warmth and dozens of OpenType features. It’s a good alternative to Impact.
Nouvelle Grotesk
Nouvelle Grotesk is a workhorse sans serif that you’ll come back to all the time. The humanist forms are a little more considered for digital usage than Akzidenz Grotesk or Helvetica.

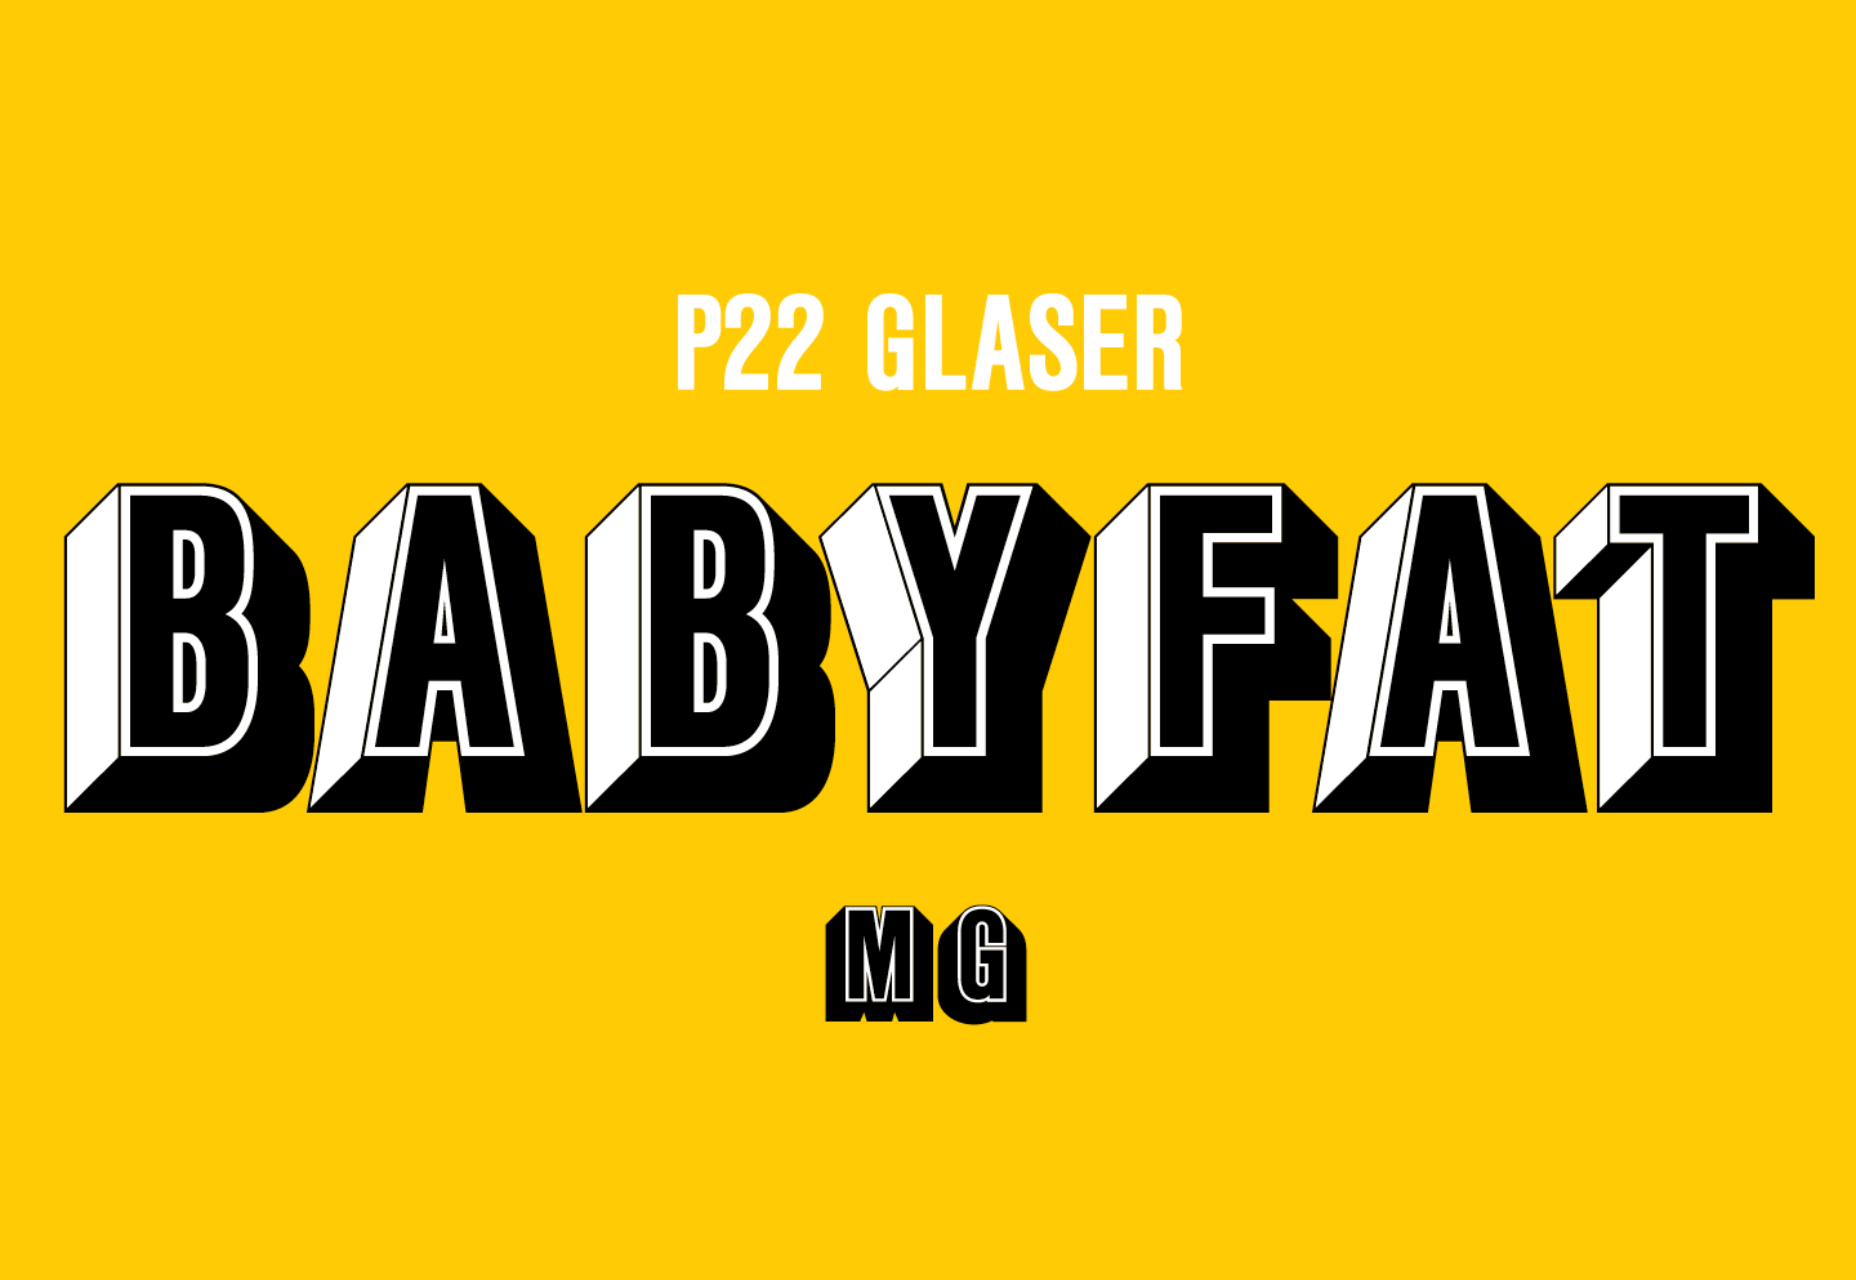
Glaser Babyfat
Glaser Babyfat is the first typeface designed by the late, great Milton Glaser. It has been released posthumously by P22 alongside three other fonts based on Glaser’s designs.
Kristal
Kristal is a flexible and highly readable serif, suitable for large blocks of text in small sizes. It has some beautiful details, including a selection of ligatures and a fine set of italics.

Lightbox 21
Lightbox 21 is a redesigned version of Lightbox; the original made use of the golden ratio for its geometry, the redesign completely abandons that resulting in a more readable typeface.

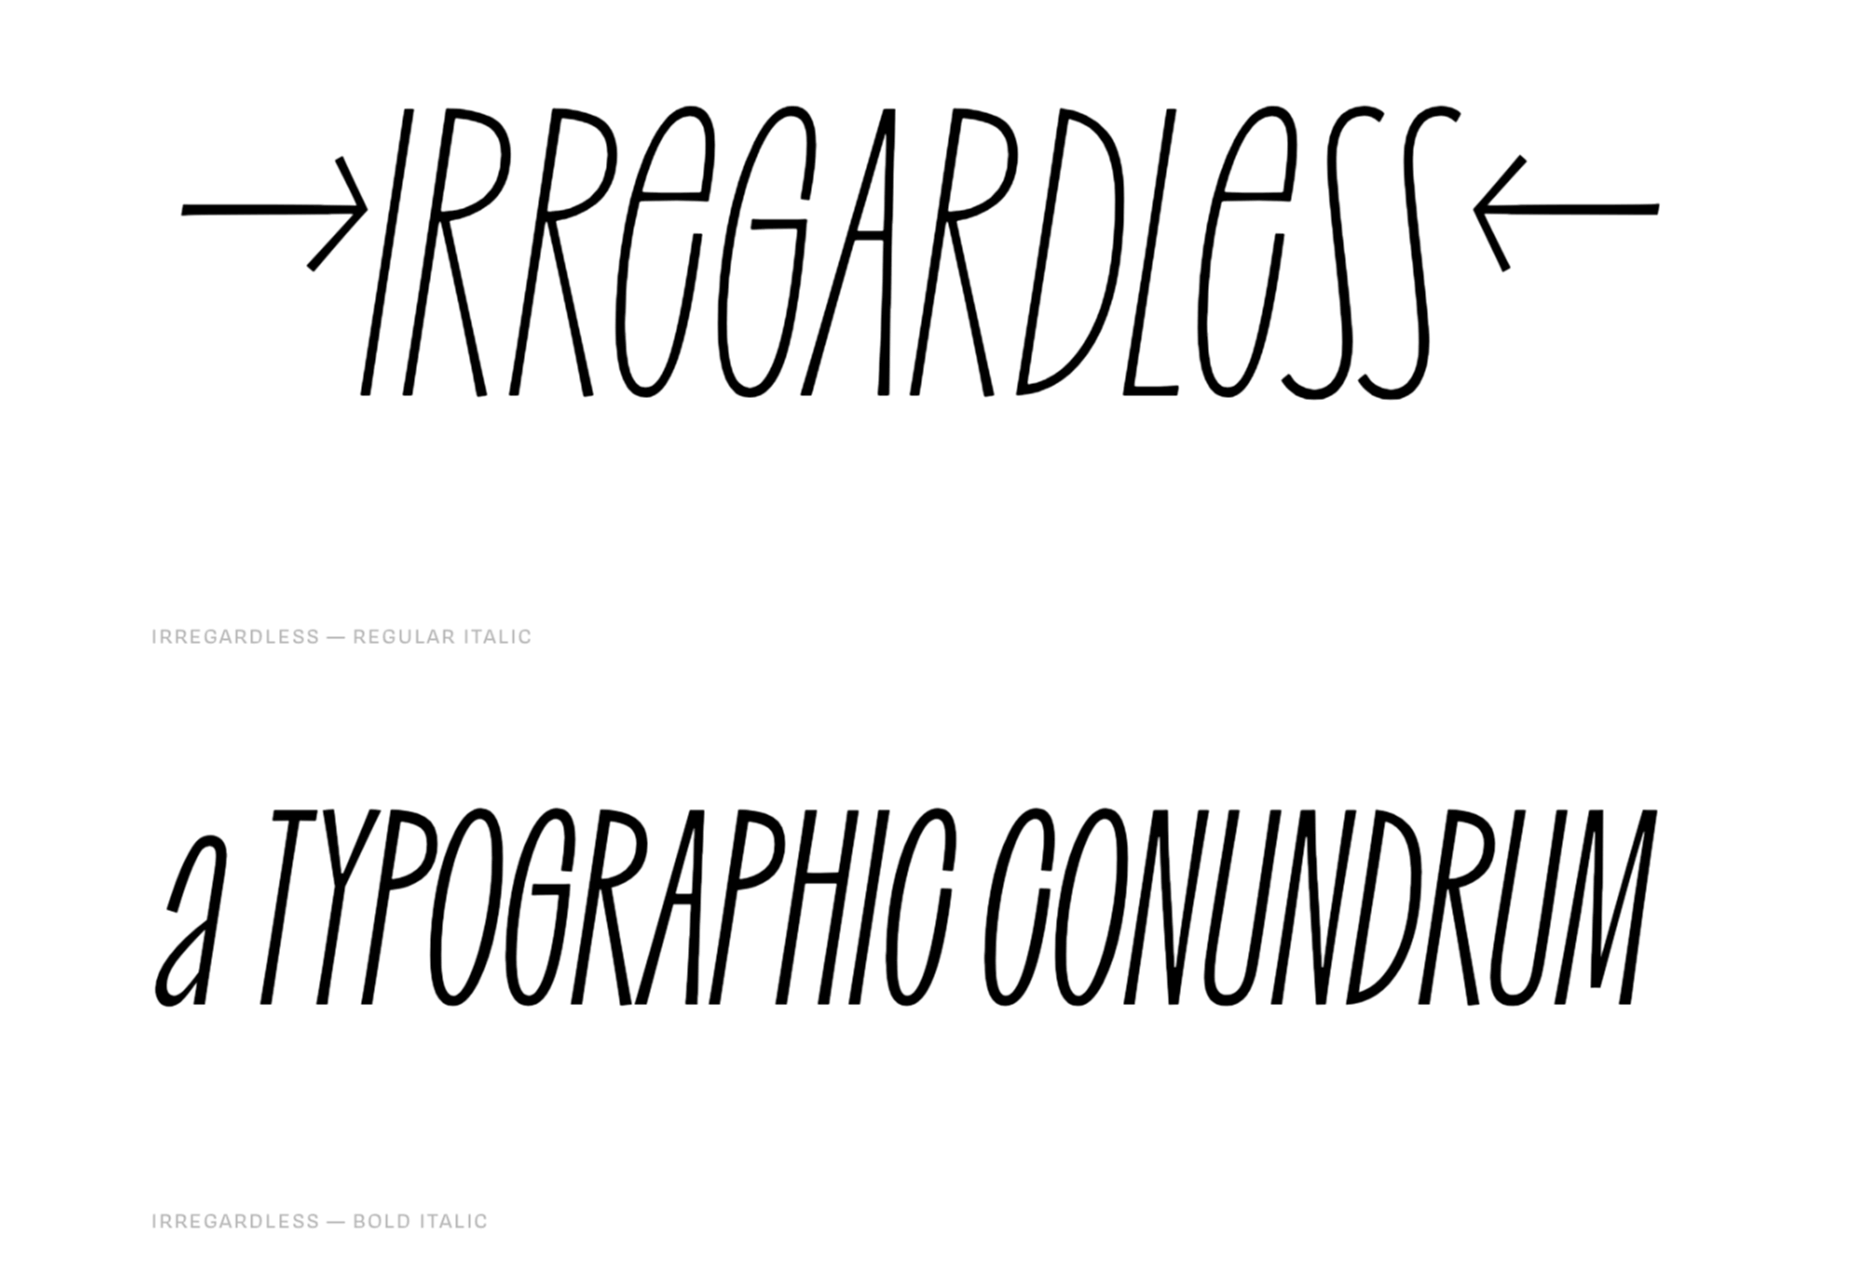
Irregardless
Irregardless is a tall sans serif with organic shapes that feels almost like lettering. Unusually for this style of typeface it has upper and lowercase letters. It’s perfect for a retro design.
Futura Now
Futura Now is Monotype’s redrawn version of Paul Renner’s classic Futura. As well as being massaged for screens and expanded to cover more languages, it’s also now available as a variable font.

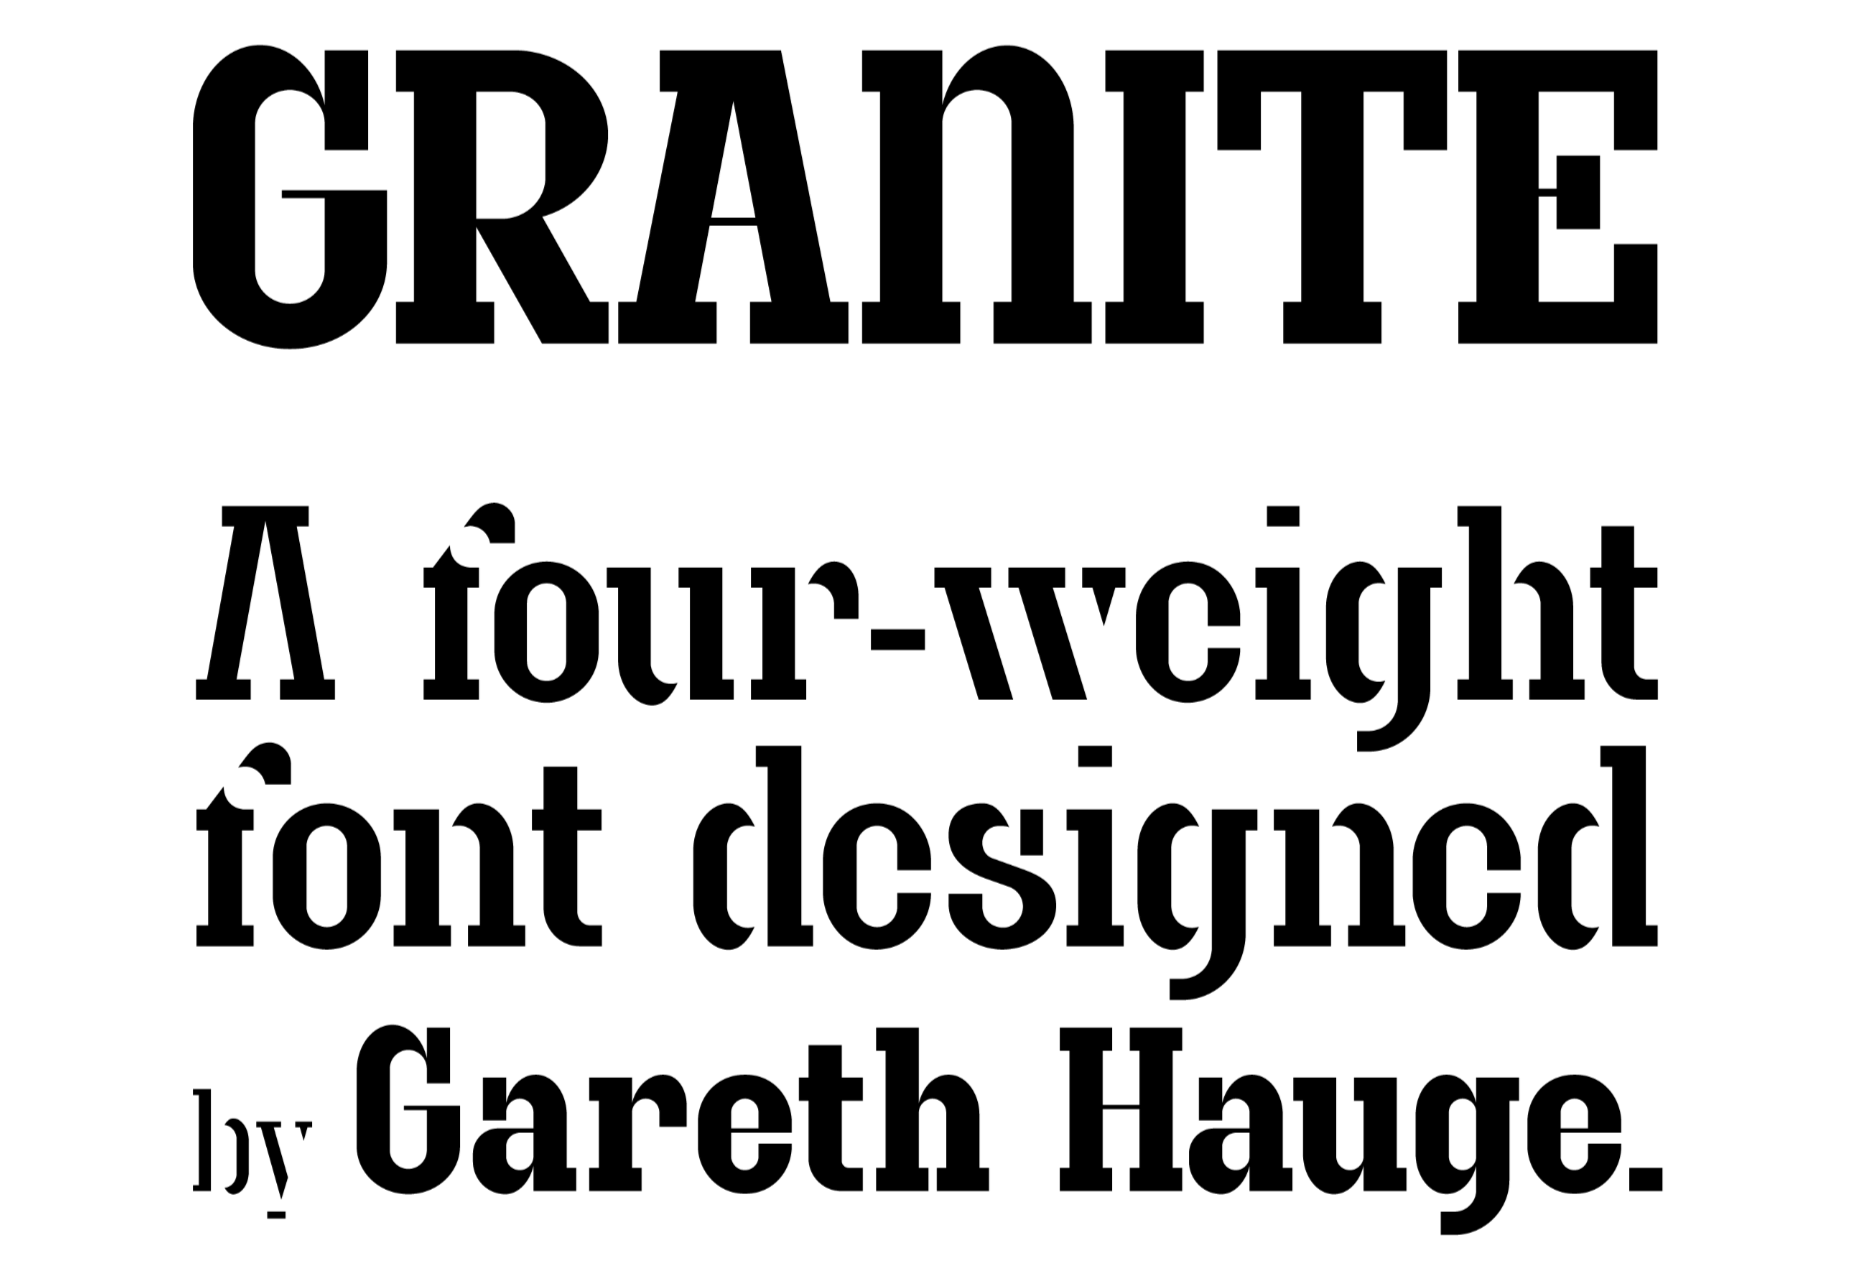
Granite
Granite is a slab serif with high-contrast strokes, giving it the feeling of an Old West woodblock font. There’s a stencil alternate set that adds to the rustic aesthetic.
Magnet
Magnet is a sans-serif with heaps of character. There is a condensed headline variation that’s perfect for display purposes, but the real standout feature is the quirky ear on the lowercase g.
Bowdon
Bowdon is a warm serif in the Bodoni tradition. The contrast between serif and stroke creates a sense of luxury. It’s available in three weights: regular, narrow, and wide.

Euclid Mono
Euclid Mono is an attempt to design a monospaced font that doesn’t fit the traditional mold. The extended shapes create a dance-like composition with plenty of movement.
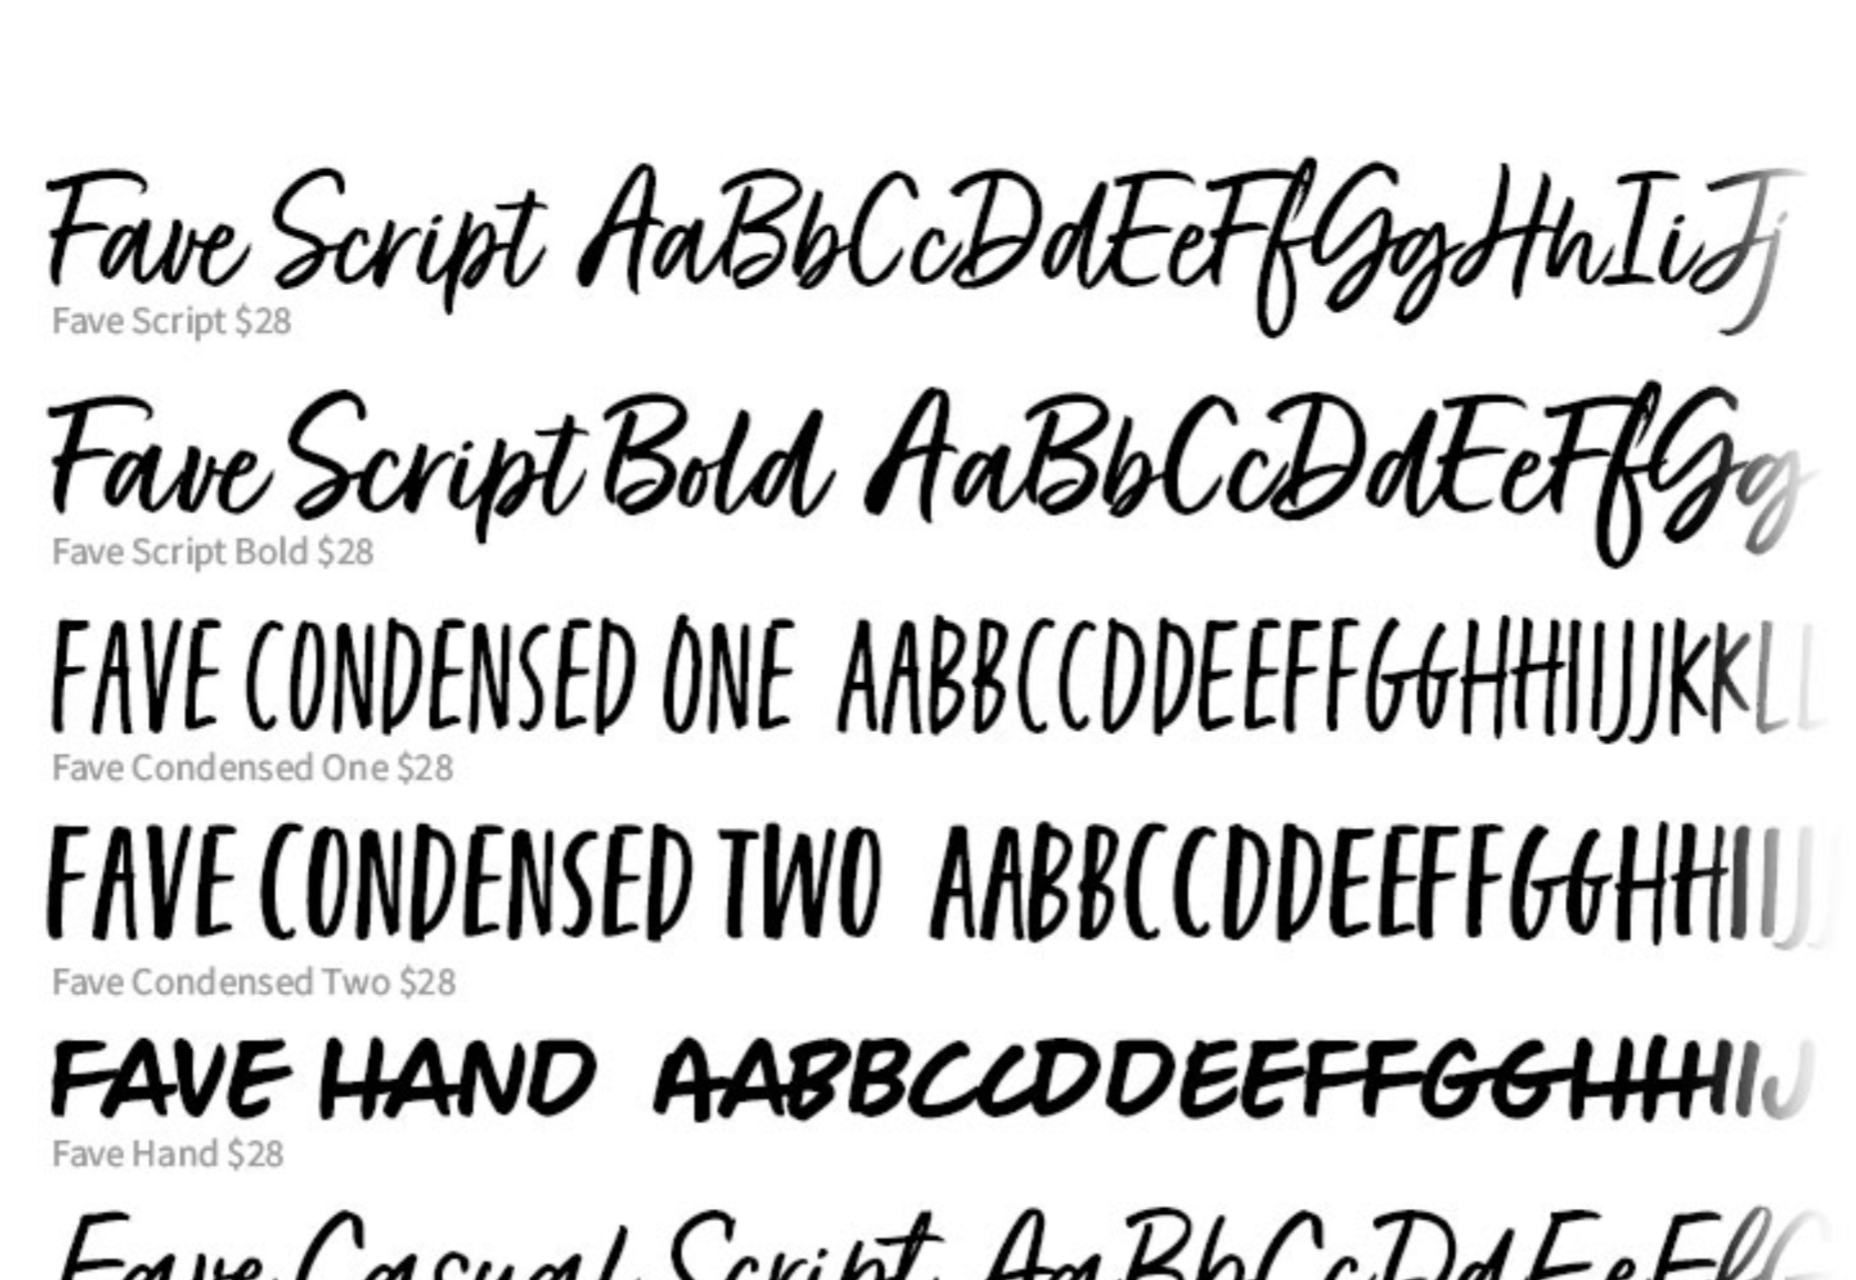
Fave Set
Fave Set is a collection of marker pen scripts that are always handy to have in your toolbox. There are ten fonts included in total, with condensed and extra casual styles adding to the number.
Saison
Saison is a wonderfully energetic outline font. It only works as a display option, but it’s perfect for editorial work or even branding.
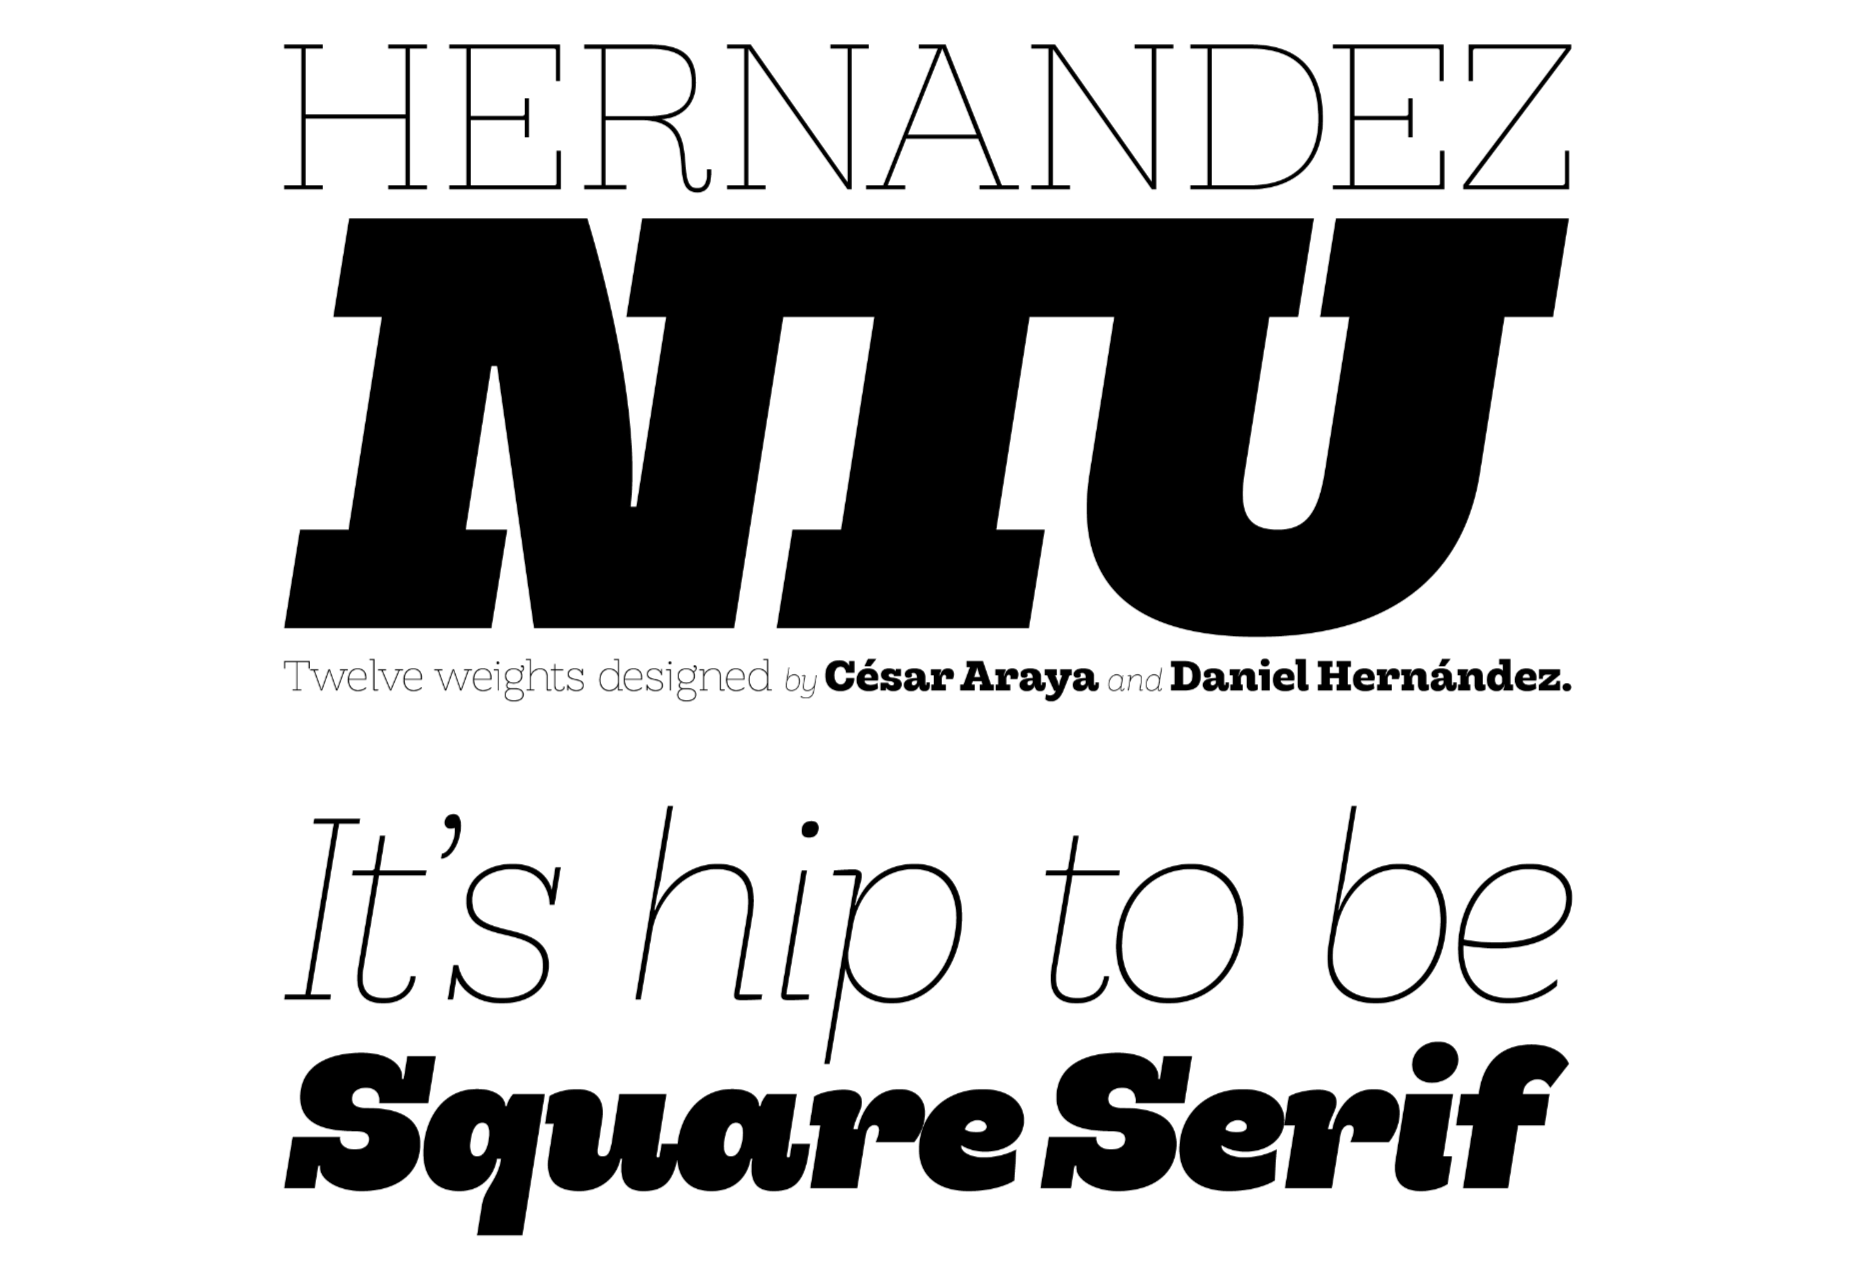
Hernandez Niu
Hernandez Niu is a slab serif that takes lots of character from its exaggerated ink traps in weightier sizes.
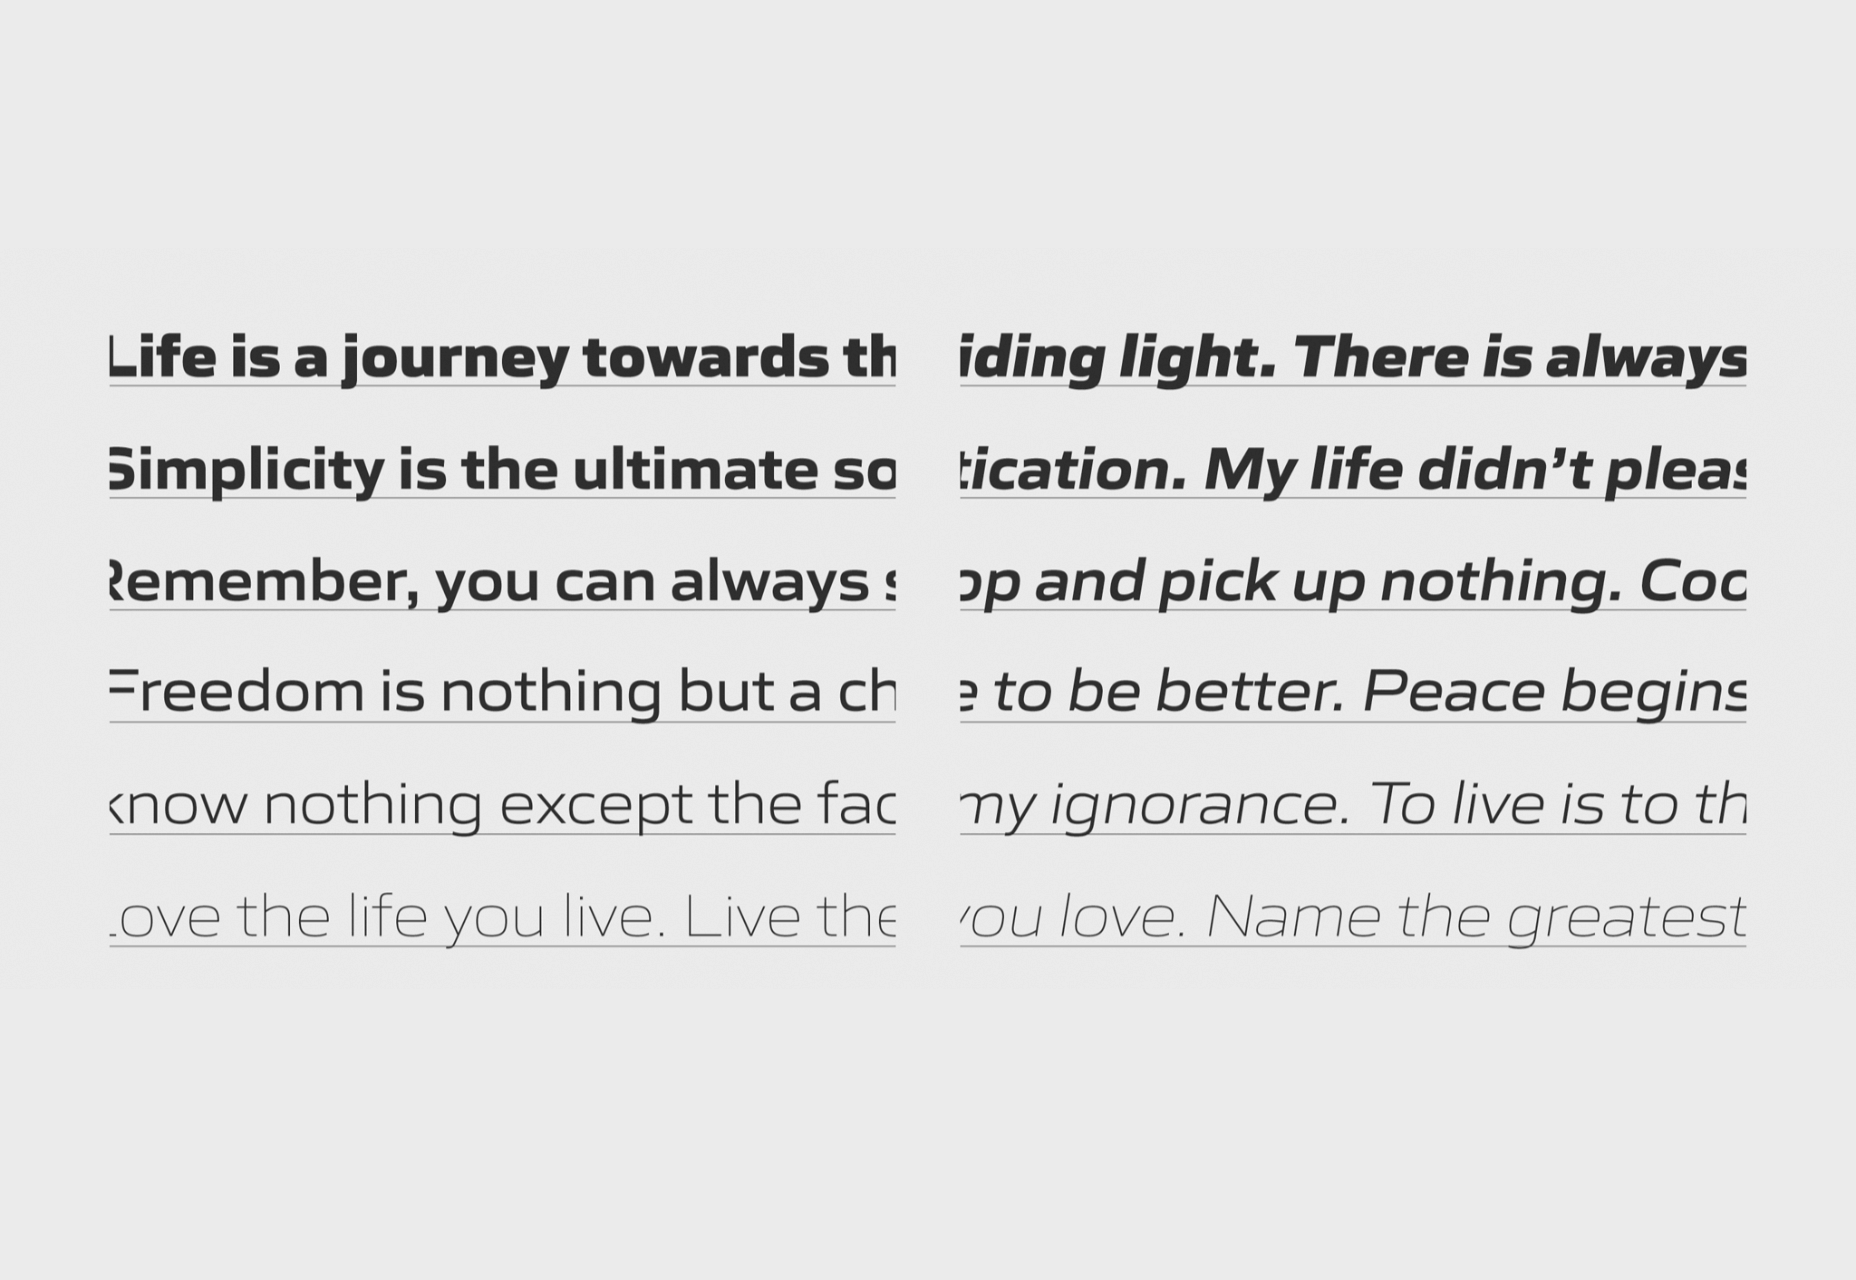
Gomme Sans
Gomme Sans is a typeface with 12 weights. The extended style creates a modern feel, and it’s suitable for display or short to medium amounts of text.
Dobb
Dobb is an Arabic typeface designed to offer a playful and expressive option for pairing with illustrations. It has a graphic novel feel in extended text blocks.

Hatch
Hatch is a slab serif that has drawn inspiration from reverse stress typefaces of the nineteenth century. It has some quirky details that make it distinctly modern and a beautiful italic.
Sculpin
Sculpin is a sans serif with sharp strokes and corners, inspired by the sharp edges of tools like chisels. It comes in five weights with matching italics, and there is a variable font available.

Source
p img {display:inline-block; margin-right:10px;}
.alignleft {float:left;}
p.showcase {clear:both;}
body#browserfriendly p, body#podcast p, div#emailbody p{margin:0;}
The post 20 Best New Fonts, June 2021 first appeared on Webdesigner Depot.
Original Source: https://www.webdesignerdepot.com/2021/06/i-love-typography-launches-font-store/
 There is no shortage of places to buy fonts online, but the quality of what is on offer is variable, and the way of searching catalogs has remained largely unchanged since the first stores appeared decades ago.
I Love Typography — a popular source of news about typography and type design since 2007 — has stepped into the marketplace, starting by inviting some of the world’s top designers to contribute to its new store, resulting in 40 foundries joining the project and 15 new type families available at launch.
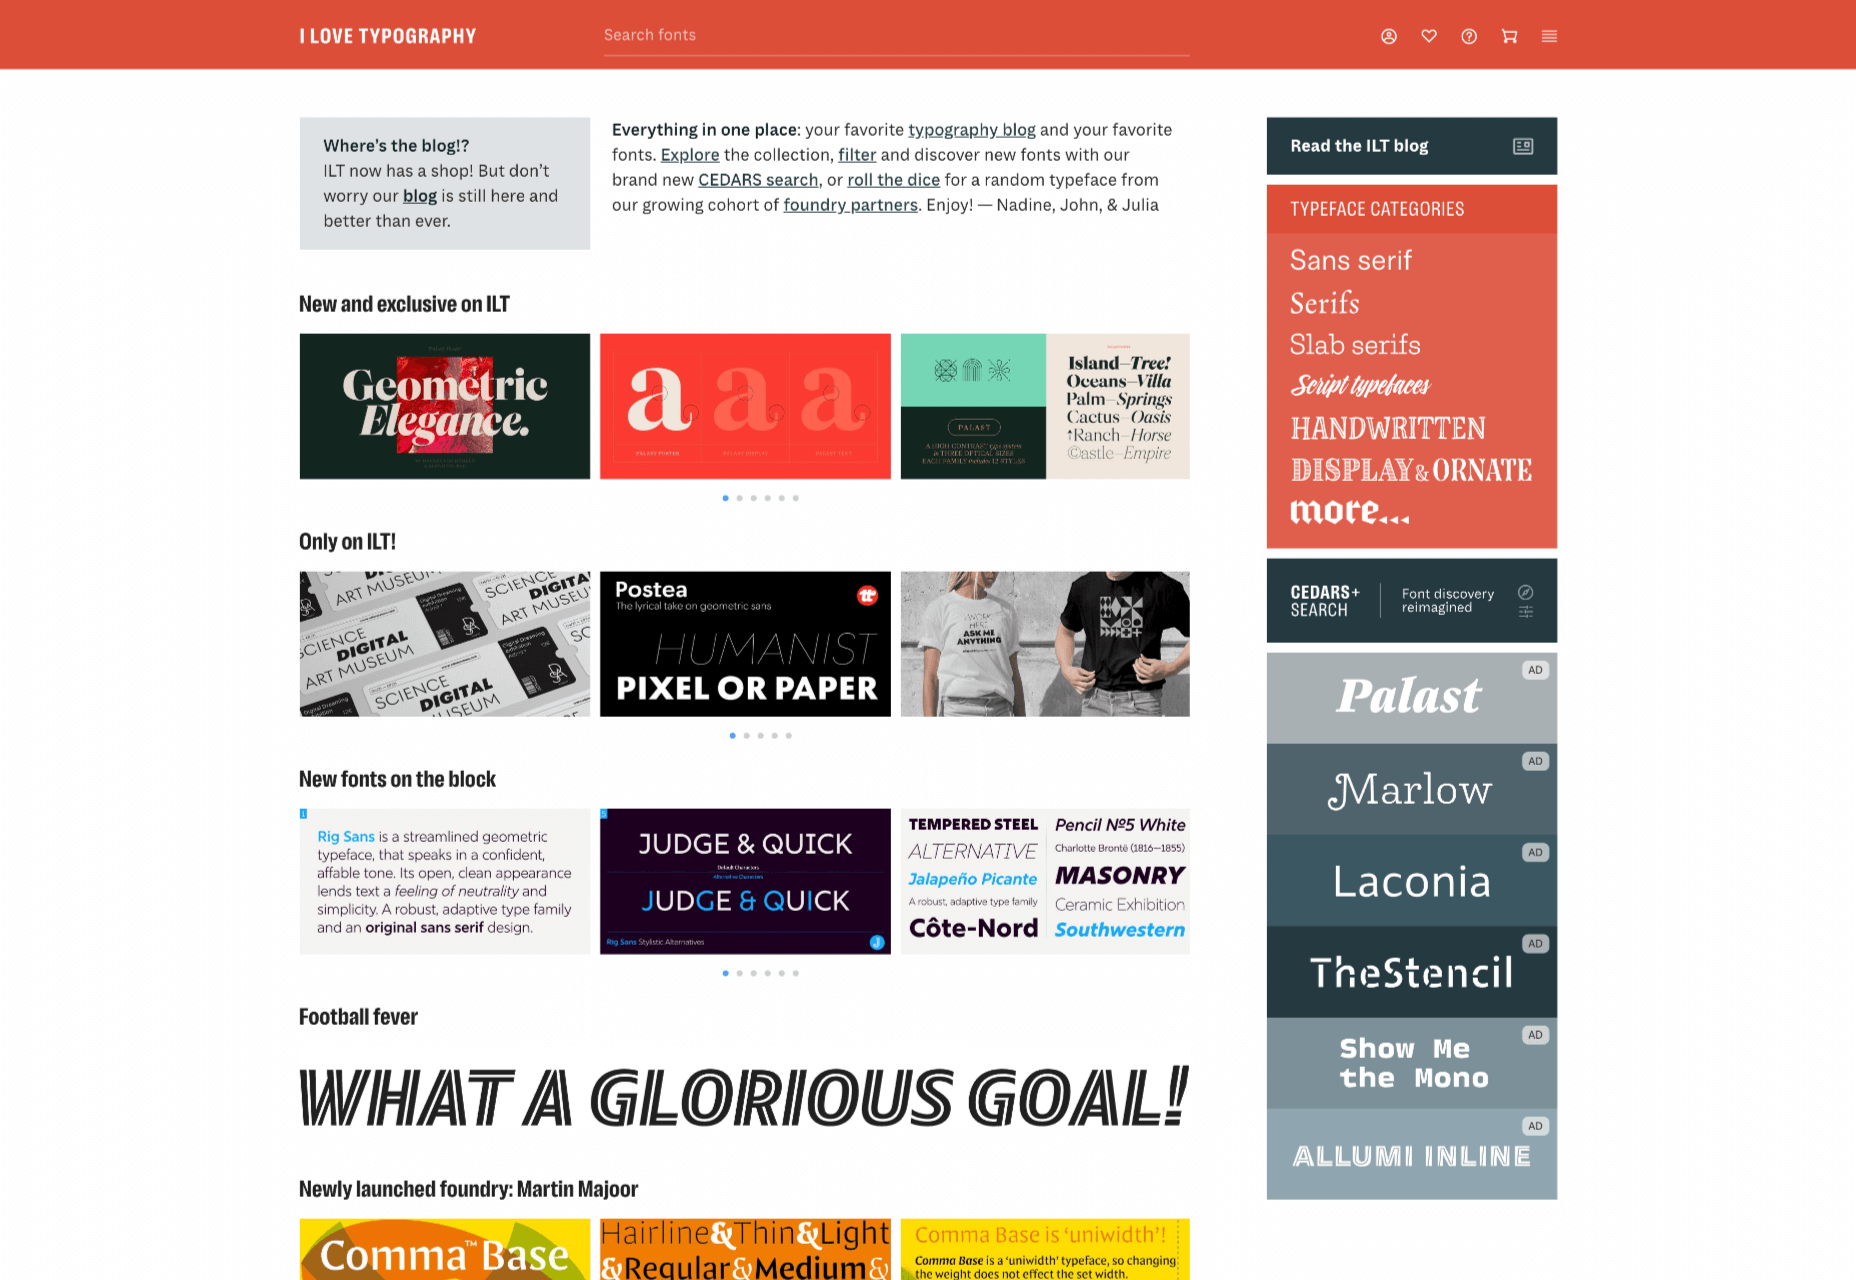
ILT’s boldest move is to step away from the traditionally shallow type categories and attempt to devise a system that drills down into the nuances of type design, all to aid discovery.
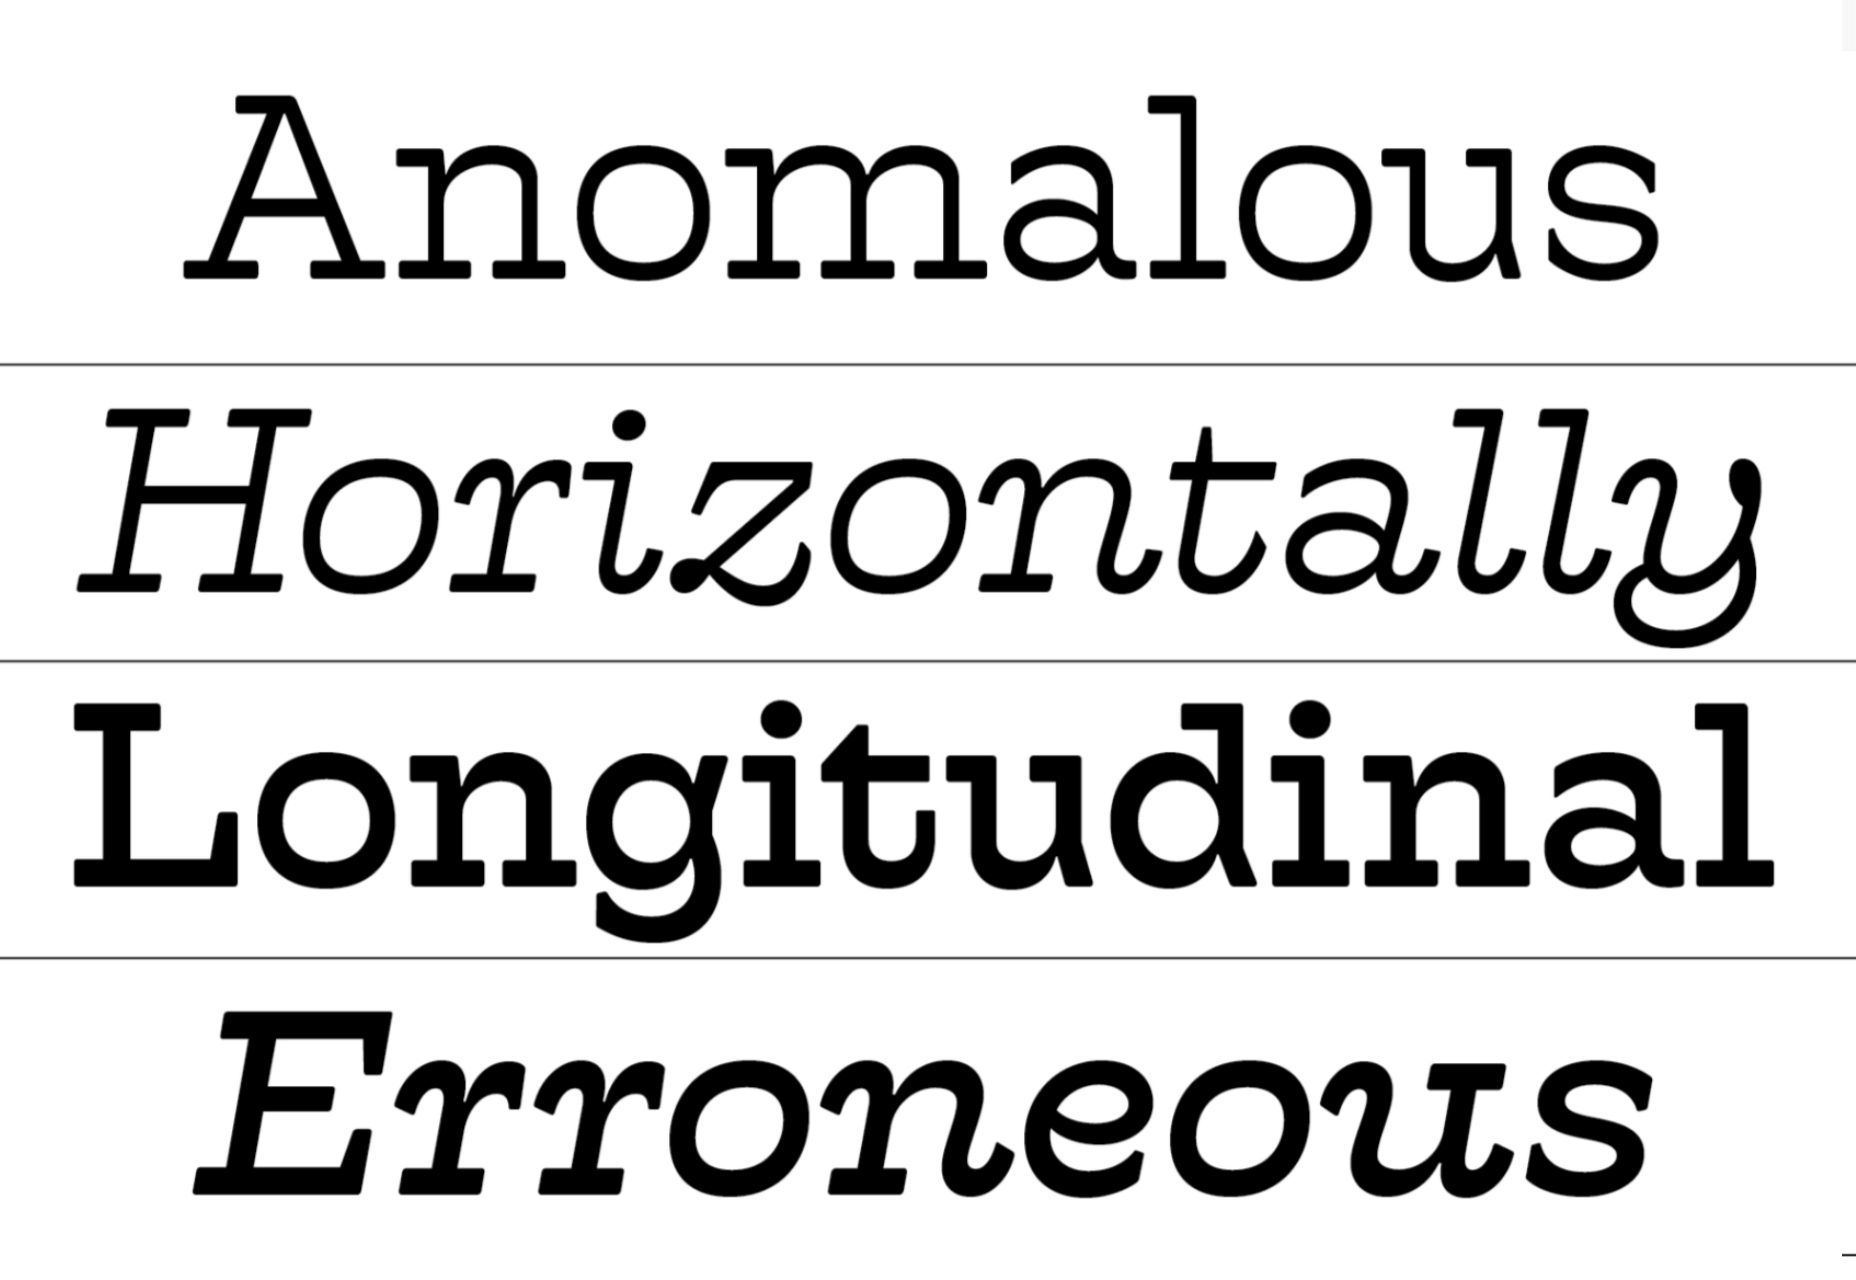
The approach is named CEDARS+, which is a method of describing the formal characteristics of a (mainly Latin) typeface based on the characteristics of the marks if made by a writing tool such as a pen or chisel.
CEDARS+ can be broken down as follows:
Contrast: the difference between the thickest and the thinnest strokes in a character. Permissible values range from ‘none’ through ‘medium’ to ‘extreme.’
Energy: the visual energy in the letterform. Values range from ‘calm’ to ‘lively’ and ‘very high.’
Details: with several sub-categories, details is a catch-all category that covers aspects such as how strokes end and intersect.
Axis: the angle at which the tool would be held to create the form. Axis uses degrees, with 90 degrees being a vertical axis.
Rhythm: covers both the tightness or looseness of letters varying from ‘very tight’ to ‘very loose, and the difference in width between the narrow and wide letters varying from ‘highly regular’ to ‘highly irregular.’
Structure: another catch-all category that covers the structure of loops with values such as ‘triangular’ and ‘oval,’ and the general construction, which can be ‘formal,’ ‘cursive,’ ‘organic,’ ‘layered,’ ‘stencil,’ or ‘modular.’
+: the plus covers several characteristics that don’t fit neatly into an acronym, including the shape of crossbars, and single or double storey ‘a’s and ‘g’s.
With a way to browse font families that is based on the feel of the design, rather than popularity (or alphabetical order!) ILT hopes to expose lesser-known designs and designers, and to encourage more creative typography on the web.
Source
p img {display:inline-block; margin-right:10px;}
.alignleft {float:left;}
p.showcase {clear:both;}
body#browserfriendly p, body#podcast p, div#emailbody p{margin:0;}
The post I Love Typography Launches Font Store first appeared on Webdesigner Depot.
Original Source: https://smashingmagazine.com/2021/06/web-workers-2021/
I’m weary of always comparing the web to so-called “native” platforms like Android and iOS. The web is streaming, meaning it has none of the resources locally available when you open an app for the first time. This is such a fundamental difference, that many architectural choices from native platforms don’t easily apply to the web — if at all.
But regardless of where you look, multithreading is used everywhere. iOS empowers developers to easily parallelize code using Grand Central Dispatch, Android does this via their new, unified task scheduler WorkManager and game engines like Unity have job systems. The reason for any of these platforms to not only support multithreading, but making it as easy as possible is always the same: Ensure your app feels great.
In this article I’ll outline my mental model why multithreading is important on the web, I’ll give you an introduction to the primitives that we as developers have at our disposal, and I’ll talk a bit about architectures that make it easy to adopt multithreading, even incrementally.
The Problem Of Unpredictable Performance
The goal is to keep your app smooth and responsive. Smooth means having a steady and sufficiently high frame rate. Responsive means that the UI responds to user interactions with minimal delay. Both of these are key factors in making your app feel polished and high-quality.
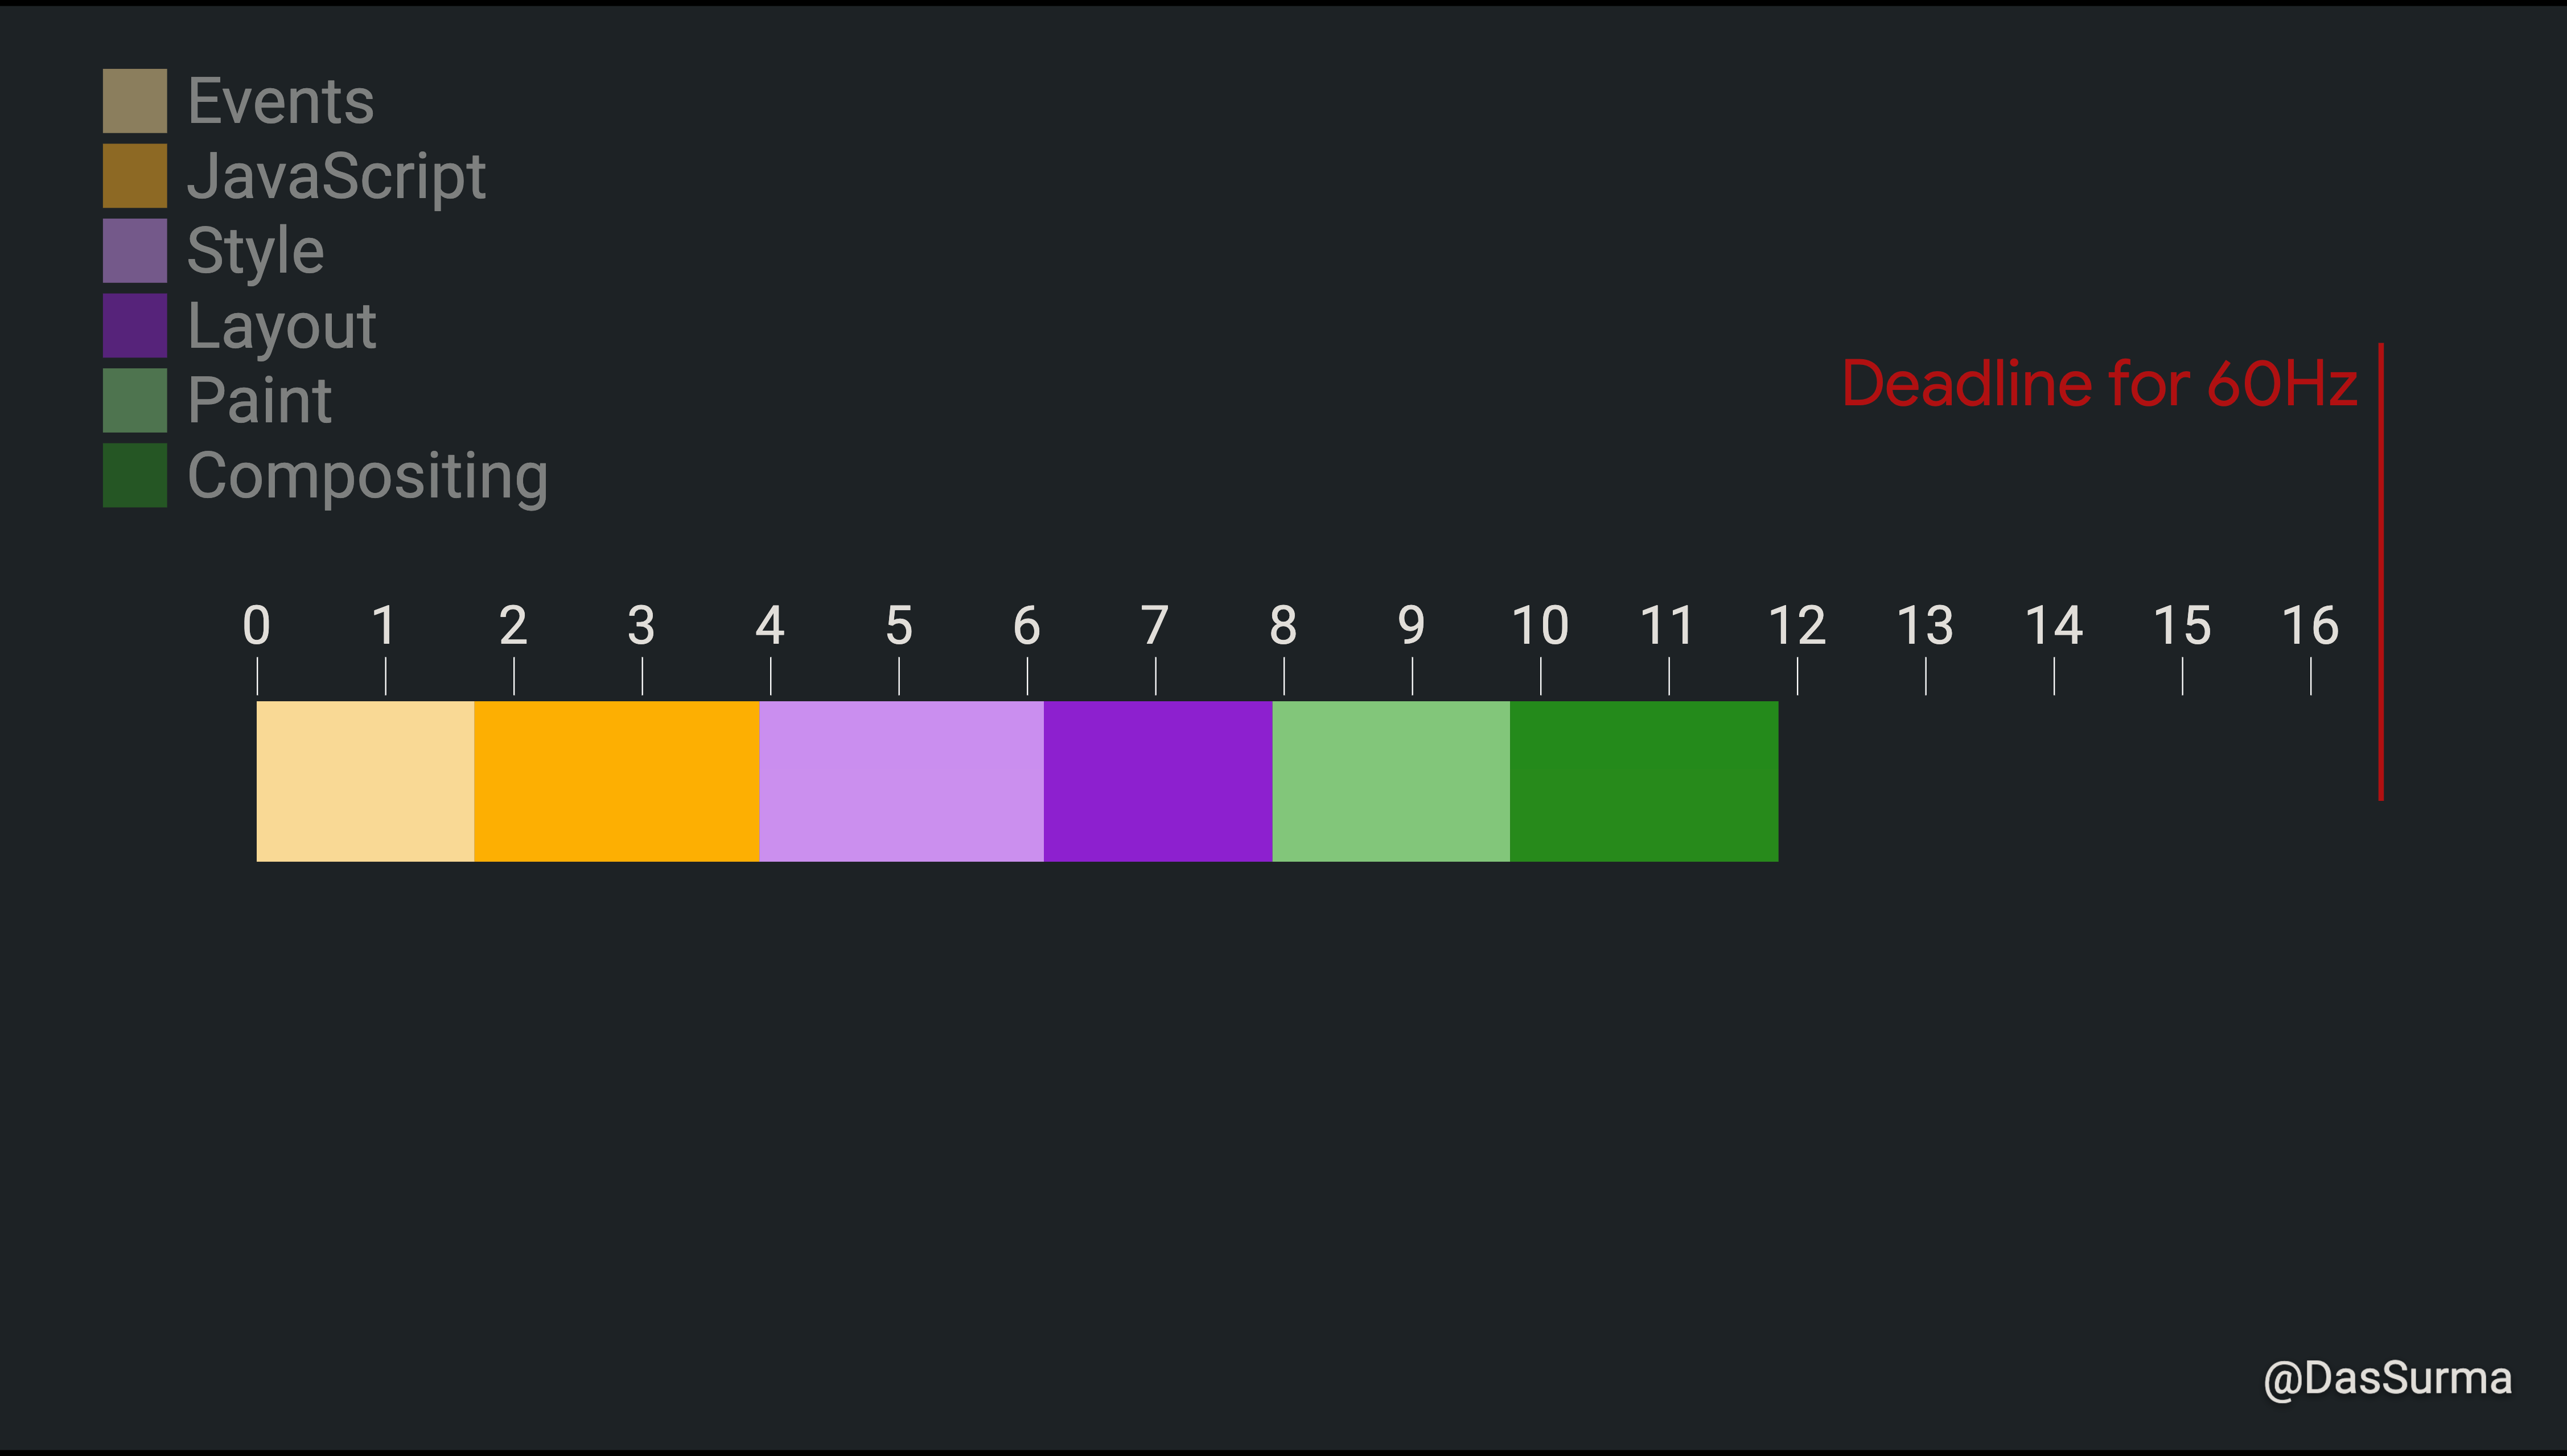
According to RAIL, being responsive means reacting to a user’s action in under 100ms, and being smooth means shipping a stable 60 frames per second (fps) when anything on the screen is moving. Consequently, we as developers have 1000ms/60 = 16.6ms to produce each frame, which is also called the “frame budget”.
I say “we”, but it’s really the browser that has 16.6ms to do everything required to render a frame. Us developers are only directly responsible for one part of the workload that the browser has to deal with. That work consists of (but is not limited to):
Detecting which element the user may or may not have tapped;
firing the corresponding events;
running associated JavaScript event handlers;
calculating styles;
doing layout;
painting layers;
and compositing those layers into the final image the user sees on screen;
(and more …)
Quite a lot of work.
At the same time, we have a widening performance gap. The top-tier flagship phones are getting faster with every new generation that’s released. Low-end phones on the other hand are getting cheaper, making the mobile internet accessible to demographics that previously maybe couldn’t afford it. In terms for performance, these phones have plateaued at the performance of a 2012 iPhone.
Applications built for the Web are expected to run on devices that fall anywhere on this broad performance spectrum. How long your piece of JavaScript takes to finish depends on how fast the device is that your code is running on. Not only that, but the duration of the other browser tasks like layout and paint are also affected by the device’s performance characteristics. What takes 0.5ms on a modern iPhone might take 10ms on a Nokia 2. The performance of the user’s device is completely unpredictable.
Note: RAIL has been a guiding framework for 6 years now. It’s important to note that 60fps is really a placeholder value for whatever the native refresh rate of the user’s display is. For example, some of the newer pixel phones have a 90Hz screen and the iPad Pro has a 120Hz screen, reducing the frame budget to 11.1ms and 8.3ms respectively.
To complicate things further, there is no good way to determine the refresh rate of the device that your app is running on apart from measuring the amount of time that elapses between requestAnimationFrame() callbacks.*
JavaScript
JavaScript was designed to run in lock-step with the browser’s main rendering loop. Pretty much every web app out there relies on this model. The drawback of that design is that a small amount of slow JavaScript code can prevent the browser’s rendering loop from continuing. They are in lockstep: if one doesn’t finish, the other can’t continue. To allow longer-running tasks to be integrated into JavaScript, an asynchronicity model was established on the basis of callbacks and later promises.
To keep your app smooth, you need to make sure that your JavaScript code combined with the other tasks the browser has to do (styles, layout, paint,…) doesn’t add up to a duration longer than the device’s frame budget. To keep your app responsive, you need to make sure that any given event handler doesn’t take longer than 100ms in order for it to show a change on the device’s screen. Achieving this on your own device during development can be hard, but achieving this on every device your app could possibly run on can seem impossible.
The usual advice here is to “chunk your code” or its sibling phrasing “yield to the browser”. The underlying principle is the same: To give the browser a chance to ship the next frame you break up the work your code is doing into smaller chunks, and pass control back to the browser to allow it to do work in-between those chunks.
There are multiple ways to yield to the browser, and none of them are great. A recently-proposed task scheduler API aims to expose this functionality directly. However, even if we had an API for yielding like await yieldToBrowser() (or something of the sort), the technique itself is flawed: To make sure you don’t blow through your frame budget, you need to do work in small enough chunks that your code yields at least once every frame.
At the same time, code that yields too often can cause the overhead of scheduling tasks to become a net-negative influence on your app’s overall performance. Now combine that with the unpredictable performance of devices, and we have to arrive at the conclusion that there is no correct chunk size that fits all devices. This is especially problematic when trying to “chunk” UI work, since yielding to the browser can render partially complete interfaces that increase the total cost of layout and paint.
Web Workers
There is a way to break from running in lock-step with the browser’s rendering thread. We can move some of our code to a different thread. Once in a different thread, we can block at our heart’s desire with long-running JavaScript, without the complexity and cost of chunking and yielding, and the rendering thread won’t even be aware of it. The primitive to do that on the web is called a web worker. A web worker can be constructed by passing in the path to a separate JavaScript file that will be loaded and run in this newly created thread:
const worker = new Worker(“./worker.js”);
Before we get more into that, it’s important to note that Web Workers, Service Workers and Worklets are similar, but ultimately different things for different purposes:
In this article, I am exclusively talking about WebWorkers (often just “Worker” for short). A worker is an isolated JavaScript scope running in a separate thread. It is spawned (and owned) by a page.
A ServiceWorker is a short-lived, isolated JavaScript scope running in a separate thread, functioning as a proxy for every network request originating from pages of the same origin. First and foremost, this allows you to implement arbitrarily complex caching behavior, but it has also been extended to let you tap into long-running background fetches, push notifications, and other functionality that requires code to run without an associated page. It is a lot like a Web Worker, but with a specific purpose and additional constraints.
A Worklet is an isolated JavaScript scope with a severely limited API that may or may not run on a separate thread. The point of worklets is that browsers can move worklets around between threads. AudioWorklet, CSS Painting API and Animation Worklet are examples of Worklets.
A SharedWorker is a special Web Worker, in that multiple tabs or windows of the same origin can reference the same SharedWorker. The API is pretty much impossible to polyfill and has only ever been implemented in Blink, so I won’t be paying any attention to it in this article.
As JavaScript was designed to run in lock-step with the browser, many of the APIs exposed to JavaScript are not thread-safe, as there was no concurrency to deal with. For a data structure to be thread-safe means that it can be accessed and manipulated by multiple threads in parallel without its state being corrupted.
This is usually achieved by mutexes which lock out other threads while one thread is doing manipulations. Not having to deal with locks allows browsers and JavaScript engines to make a lot of optimizations to run your code faster. On the other hand, it forces a worker to run in a completely isolated JavaScript scope, since any form of data sharing would result in problems due to the lack of thread-safety.
While Workers are the “thread” primitive of the web, they are very different from the threads you might be used to from C++, Java & co. The biggest difference is that the required isolation means workers don’t have access to any variables or code from the page that created them or vice versa. The only way to exchange data is through message-passing via an API called postMessage, which will copy the message payload and trigger a message event on the receiving end. This also means that Workers don’t have access to the DOM, making UI updates from a worker impossible — at least without significant effort (like AMP’s worker-dom).

Support for Web Workers is nearly universal, considering that even IE10 supported them. Their usage, on the other hand, is still relatively low, and I think to a large extent that is due to the unusual ergonomics of Workers.
JavaScript’s Concurrency Models
Any app that wants to make use of Workers has to adapt its architecture to accommodate the requirements of Workers. JavaScript actually supports two very different concurrency models often grouped under the term “Off-Main-Thread Architecture”. Both use Workers, but in very different ways and each bringing their own set of tradeoffs. Any given app usually ends somewhere in between these two extremes.
Concurrency Model #1: Actors
My personal preference is to think of Workers like Actors, as they are described in the Actor Model. The Actor Model’s most popular incarnation is probably in the programming language Erlang. Each actor may or may not run on a separate thread and fully owns the data it is operating on. No other thread can access it, making rendering synchronization mechanisms like mutexes unnecessary. Actors can only send messages to each other and react to the messages they receive.
As an example, I often think of the main thread as the actor that owns the DOM and consequently all the UI. It is responsible for updating the UI and capturing input events. Another factor could be in charge of the app’s state. The DOM actor converts low-level input events into app-level semantic events and sends them to the state actor. The state actor changes the state object according to the event it has received, potentially using a state machine or even involving other actors. Once the state object is updated, it sends a copy of the updated state object to the DOM actor. The DOM actor now updates the DOM according to the new state object. Paul Lewis and I once explored actor-centric app architecture at Chrome Dev Summit 2018.
Of course, this model doesn’t come without its problems. For example, every message you send needs to be copied. How long that takes not only depends on the size of the message but also on the device the app is running on. In my experience, postMessage is usually “fast enough”, but there are certain scenarios where it isn’t. Another problem is to strike the balance between moving code to a worker to free up the main thread, while at the same time having to pay the cost of communication overhead and the worker being busy with running other code before it can respond to your message. If done without care, workers can negatively affect UI responsiveness.
The messages you can send via postMessage are quite complex. The underlying algorithm (called “structured clone”) can handle circular data structures and even Map and Set. It cannot handle functions or classes, however, as code can’t be shared across scopes in JavaScript. Somewhat irritatingly, trying to postMessage a function will throw an error, while a class will just be silently converted to a plain JavaScript object, losing the methods in the process (the details behind this make sense but would blow the scope of this article).
Additionally, postMessage is a fire-and-forget messaging mechanism with no built-in understanding of request and response. If you want to employ a request/response mechanism (and in my experience most app architectures inevitably lead you there), you’ll have to build it yourself. That’s why I wrote Comlink, which is a library that uses an RPC protocol under the hood to make it seem like the objects from a worker are accessible from the main thread and vice versa. When using Comlink, you don’t have to deal with postMessage at all. The only artifact is that due to the asynchronous nature of postMessage, functions don’t return their result, but a promise for it instead. In my opinion, this gives you the best of the Actor Model and Shared Memory Concurrency.

Comlink is not magic, it still has to use postMessage for the RPC protocol. If your app ends up being one of the rarer cases where postMessage is a bottleneck, it’s useful to know that ArrayBuffers can be transferred. Transferring an ArrayBuffer is near-instant and involves a proper transferral of ownership: The sending JavaScript scope loses access to the data in the process. I used this trick when I was experimenting with running the physics simulations of a WebVR app off the main thread.
Concurrency Model #2: Shared Memory
As I mentioned above, the traditional approach to threading is based on shared memory. This approach isn’t viable in JavaScript as pretty much all APIs have been built with the assumption that there is no concurrent access to objects. Changing that now would either break the web or incur a significant performance cost because of the synchronization that is now necessary. Instead, the concept of shared memory has been limited to one dedicated type: SharedArrayBuffer (or SAB for short).
A SAB, like an ArrayBuffer, is a linear chunk of memory that can be manipulated using Typed Arrays or DataViews. If a SAB is sent via postMessage, the other end does not receive a copy of the data, but a handle to the exact same memory chunk. Every change done by one thread is visible to all other threads. To allow you to build your own mutexes and other concurrent data structures, Atomics provide all sorts of utilities for atomic operations or thread-safe waiting mechanisms.
The drawbacks of this approach come in multiple flavors. First and foremost, it is just a chunk of memory. It is a very low-level primitive, giving you lots of flexibility and power at the cost of increased engineering efforts and maintenance. You also have no direct way of working on your familiar JavaScript objects and arrays. It’s just a series of bytes.
As an experimental way to improve ergonomics here, I wrote a library called buffer-backed-object that synthesizes JavaScript objects that persist their values to an underlying buffer. Alternatively, WebAssembly makes use of Workers and SharedArrayBuffers to support the threading model of C++ and other languages. I’d say WebAssembly currently offers the best experience for shared-memory concurrency, but also requires you to leave a lot of the benefits (and comfort) of JavaScript behind and buy into another language and (usually) bigger binaries produced.
Case-Study: PROXX
In 2019, my team and I published PROXX, a web-based Minesweeper clone that was specifically targeting feature phones. Feature phones have a small resolution, usually no touch interface, an underpowered CPU, and no proper GPU to speak of. Despite all these limitations, they are increasingly popular as they are sold for an incredibly low price and they include a full-fledged web browser. This opens up the mobile web to demographics that previously couldn’t afford it.

To make sure that the game was responsive and smooth even on these phones, we embraced an Actor-like architecture. The main thread is responsible for rendering the DOM (via preact and, if available, WebGL) and capturing UI events. The entire app state and game logic is running in a worker which determines whether you just stepped on a mine black hole and, if not, how much of the game board to reveal. The game logic even sends intermediate results to the UI thread to give the user a continuous visual update.

The Future
I like the Actor Model. But the ergonomics of concurrent JavaScript are not great overall. A lot of tooling was built and library code was written to make it better, but in the end JavaScript The Language needs to do better here. Some engineers at TC39 have taken a liking to this topic and are trying to figure out how JavaScript can support both concurrency models better. Multiple proposals are being evaluated, from allowing code to be postMessage’d, to having objects be shared across threads to higher-level, scheduler-like APIs as they are common on native platforms.
None of them have reached a significant stage in the standardization process just yet, so I won’t spend time on them here. If you are curious, keep an eye out on the TC39 proposals and see what the next generation of JavaScript holds.
Summary
Workers are a key tool to keep the main thread responsive and smooth by preventing any accidentally long-running code from blocking the browser to render. Due to the inherent asynchronous nature of communicating with a worker, the adoption of workers requires some architectural adjustments in your web app, but as a pay off you will have an easier time supporting the massive spectrum of devices that the web is accessed from.
You should make sure to adopt an architecture that lets you move code around easily so you can measure the performance impact of off-main-thread architecture. The ergonomics of web workers have a bit of a learning curve but the most complicated parts can be abstracted away with libraries like Comlink.
Further Resources
“The Main Thread Is Overworked And Underpaid,” Surma, Chrome Dev Summit 2019 (Video)
“Green Energy Efficient Progressive Web Apps,” David, Microsoft DevBlogs
“Case Study: Moving A Three.js-Based WebXR App Off-Main-Thread,” Surma
“When Should You Be Using Workers?,” Surma
“Is postMessage Slow?,” Surma
“Comlink,” GoogleChromeLabs
“web-worker,” npm
FAQ
There are some questions and thoughts that are raised quite often, so I wanted to preempt them and record my answer here.
Isn’t postMessage slow?
My core advice in all matters of performance is: Measure first! Nothing is slow (or fast) until you measure. In my experience, however, postMessage is usually “fast enough”. As a rule of thumb: If JSON.stringify(messagePayload) is under 10KB, you are at virtually no risk of creating a long frame, even on the slowest of phones. If postMessage does indeed end up being a bottleneck in your app, consider the following techniques:
Breaking your work into smaller pieces so that you can send smaller messages.
If the message is a state object of which only small parts have changed, send patches (diffs) instead of the whole object.
If you send a lot of messages, it can also be beneficial to batch multiple messages into one.
As a last resort, you can try switching to a numerical representation of your message and transferring an ArrayBuffers instead of sending an object-based message.
Which of these techniques is the right one depends on the context and can only be answered by measuring and isolating the bottleneck.
I want DOM access from the Worker.
This one I get a lot. In most scenarios, however, that just moves the problem. You are at risk of effectively creating a 2nd main thread, with all the same problems, just in a different thread. Making the DOM safe to access from multiple threads would require adding locks which would introduce a slowdown to DOM operations. This would probably hurt a lot of existing web apps.
Additionally, the lock-step model has benefits. It gives the browser a clear signal at what time the DOM is in a valid state that can be rendered to the screen. In a multi-threaded DOM world, that signal would be lost and we’d have to deal with partial renders or other artifacts.
I really dislike having to put code in a separate file for Workers.
I agree. There are proposals being evaluated in TC39 to inline a module into another module without all the trip-wires that Data URLs and Blob URLs have. These proposals would also allow you to create a worker without the need for a separate file. So while I don’t have a satisfying solution right now, a future iteration of JavaScript will most certainly remove this requirement.
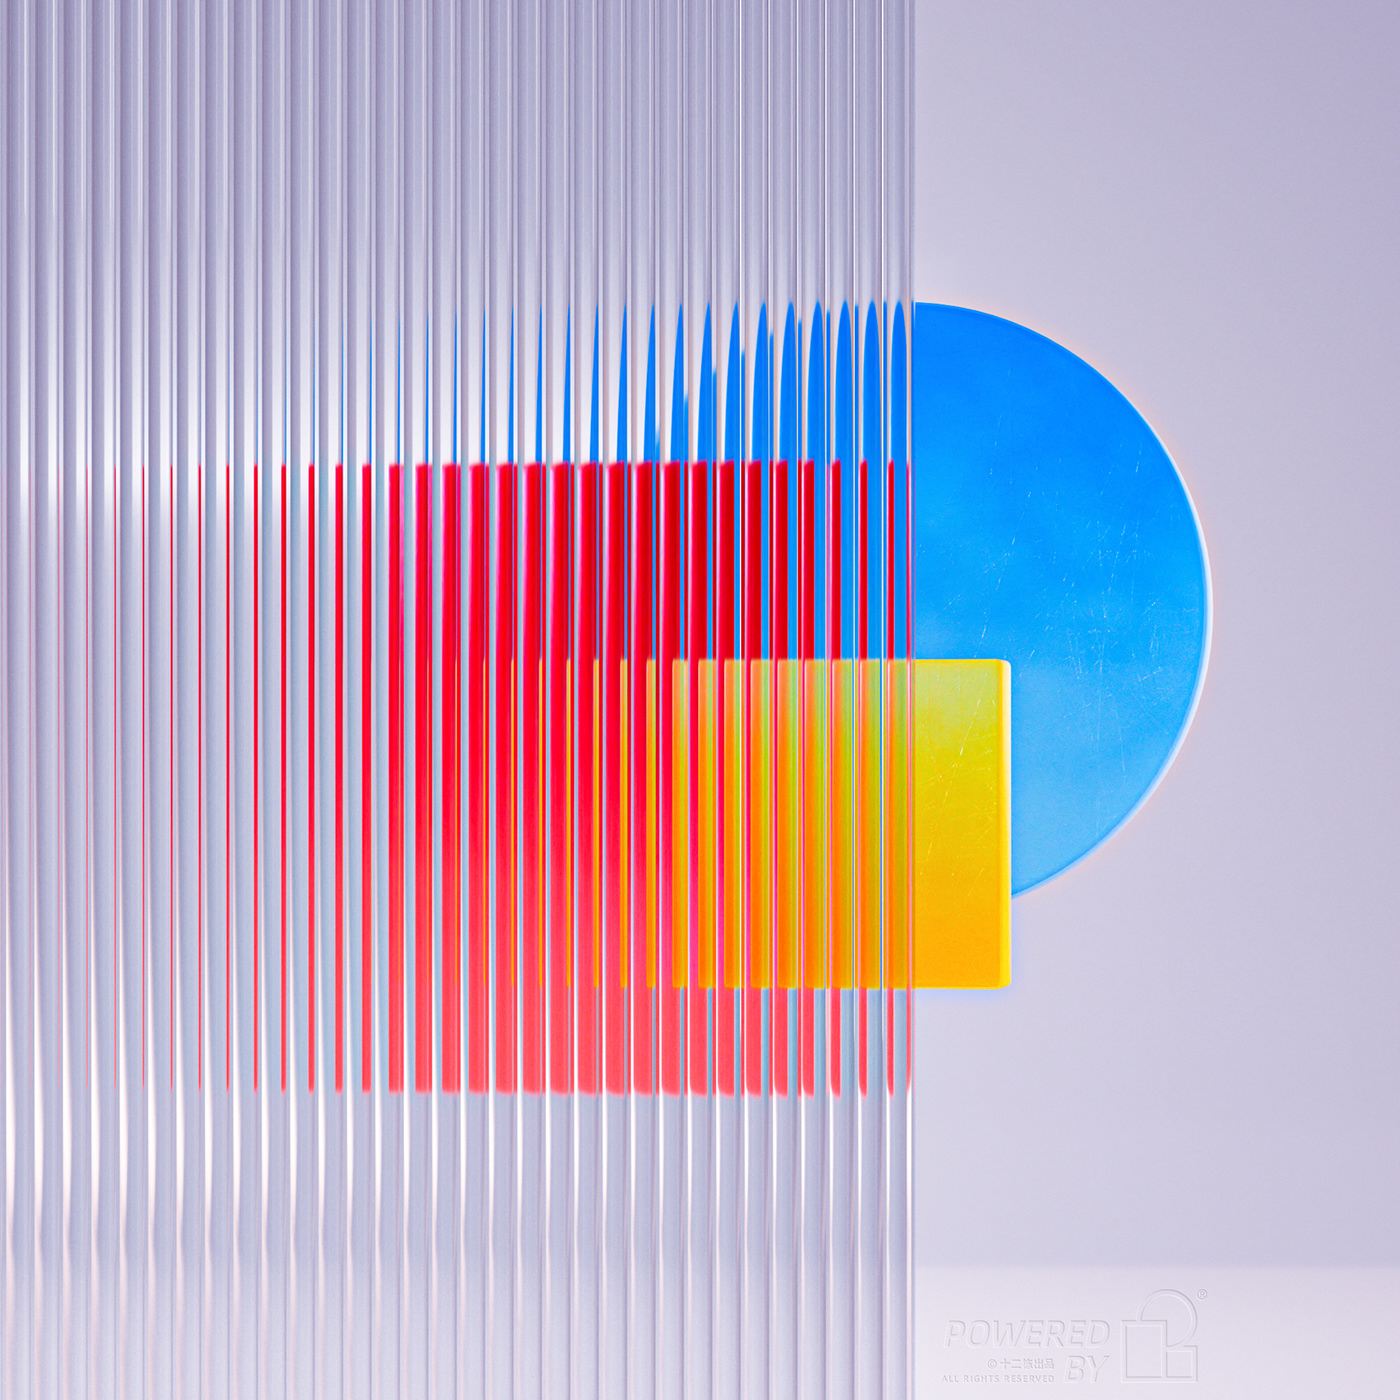
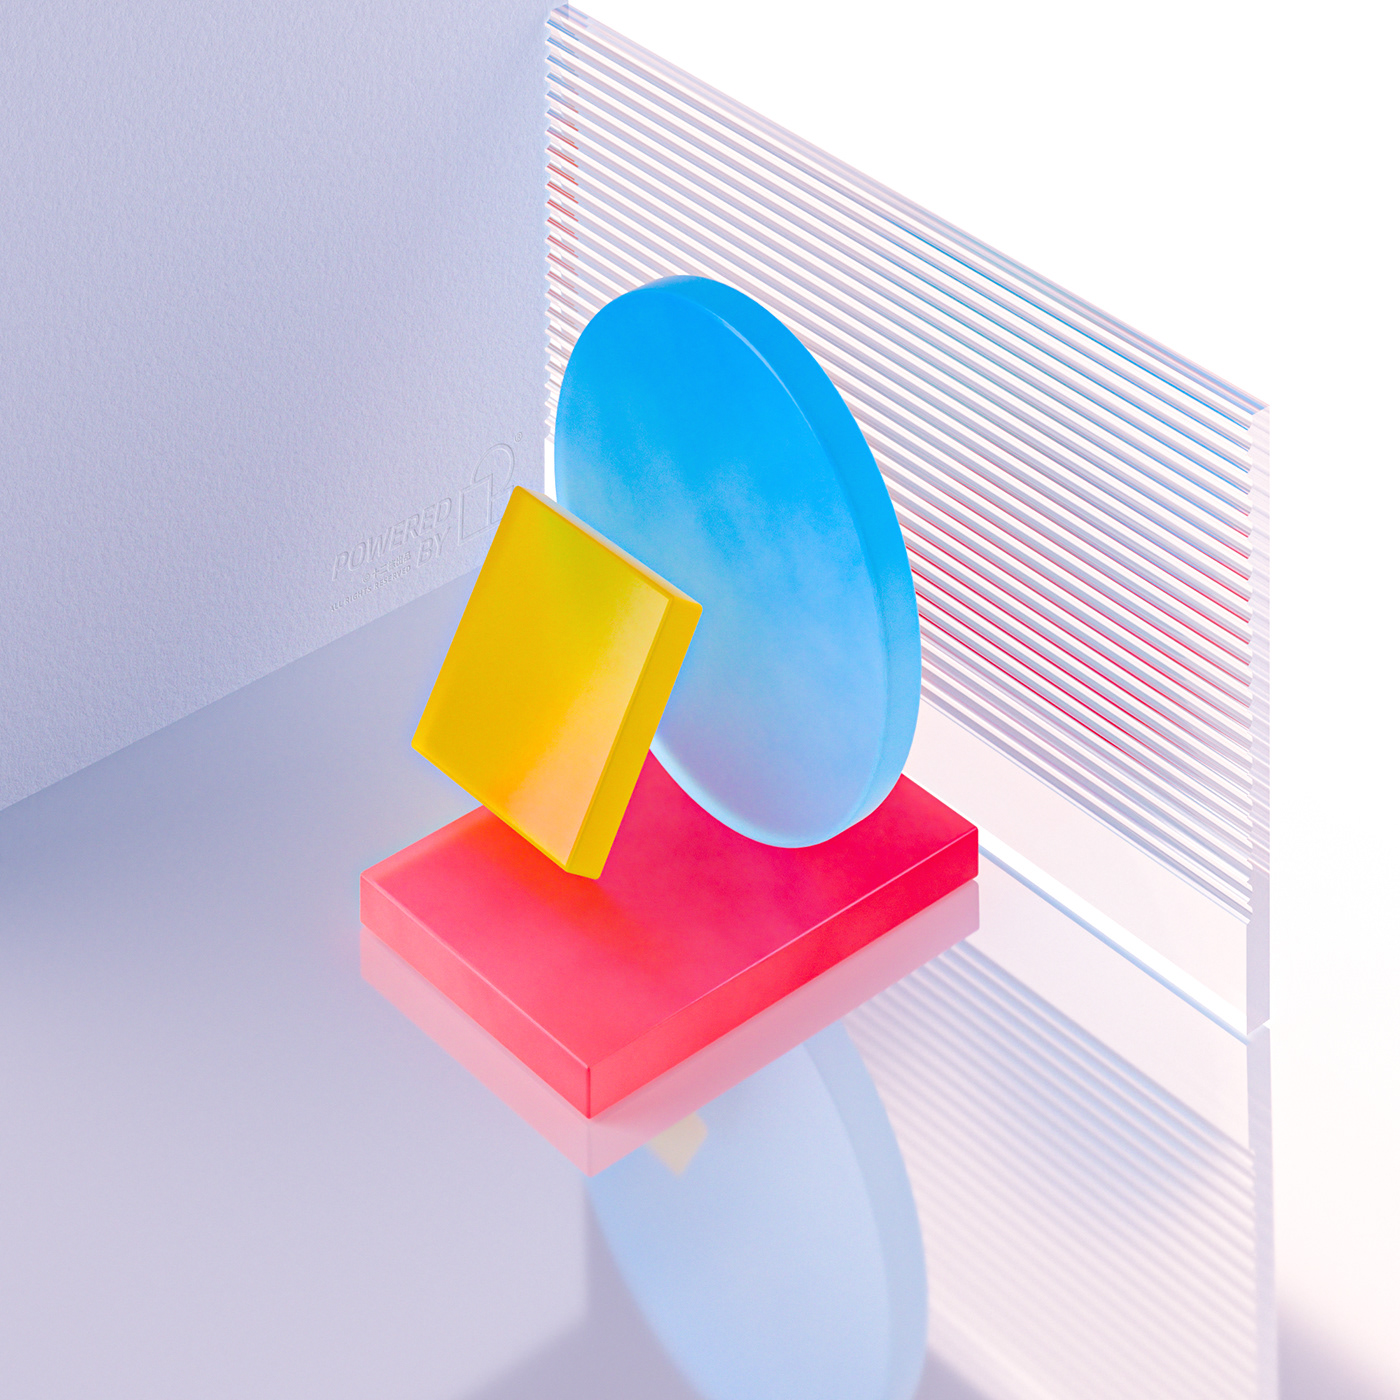
Original Source: http://feedproxy.google.com/~r/abduzeedo/~3/-1kbS1sdvKQ/playing-glass-refraction-3d
Playing with Glass Refraction in 3D

abduzeedo06.30.21
Yuklung Young shared a quite beautiful 3D project using Maxon Cinema 4D and Octane Render. The idea was quite simple but the execution was flawless. Basically it’s a set of explorations of glass refraction of basic forms (circles and squares) in primary colors. For some reason I love this type of experimentation and especially how it looks.
For more information make sure to check out Yuklung Young on
Behance
Instagram
Original Source: https://www.webdesignerdepot.com/2021/06/7-best-browsers-for-developers-in-2021/
 With the widespread acceptance of web standards, and the resulting deprecation of browser prefixes, there has been a noticeable change in the browser market. Where once browser manufacturers would try to lure users in with promises of feature support, now the focus is on privacy, speed, and developer tools.
When it comes to web development, you should really be testing on every browser and device you can lay your hands on; you’re probably already doing so using an app like LambdaTest, or BrowserStack.
When quality assurance testing, you probably work by market share: starting with Safari on mobile, Chrome on desktop, and working your way down to Opera and (if you’re a glutton for punishment) Yandax; naturally, when testing, it’s the largest number of users that concerns us the most.
But before you reach the QA stage, there are a number of browsers designed to assist development. Browsers that offer tools, especially for front-end developers, that assist with code and speed up development. Here are the best browsers for web development in 2021:
1. LT Browser
LT Browser is an app for web developers from LambdaTest. Like many of the apps in this class, it offers side-by-side comparisons of a site in different viewports. Additionally, LT Browser has a number of features that make it stand out.
As well as previewing web pages, LT Browser offers developer tools to rival Chrome, which is handy if you want to see how changes across different devices affect your Lighthouse scores. LT Browser also supports hot-reloading, which means when you make a change to your code, you don’t have to hit ‘refresh,’ the viewports simply reload — it’s surprising how much of a time-saver that simple addition is.
LT Browser free to use.

2. Firefox Developer
The best conventional browser for web development in 2021 is the developer edition of Mozilla’s Firefox.
The standard edition of Firefox is an excellent browser, packed with features, and privacy-focused. The developer edition adds to this with a suite of tools aimed at developers. The CSS and JavaScript debugging tools are superb, and the Grid tools are unparalleled for coding layouts with CSS Grid.
Firefox Developer is free to download.

3. Polypane
Polypane is one of the new generation of web browsers that are firmly intended as development aids rather than browsers. Polypane allows you to compare different viewports and platforms by placing them side by side. Interactions like scrolling are synced.
Polypane takes a step further than many browser apps in this class by showing social media previews. It even has a suite of accessibility tools, including some handy color blindness simulators.
Polypane has a 14-day free trial, and plans start at $8/month.

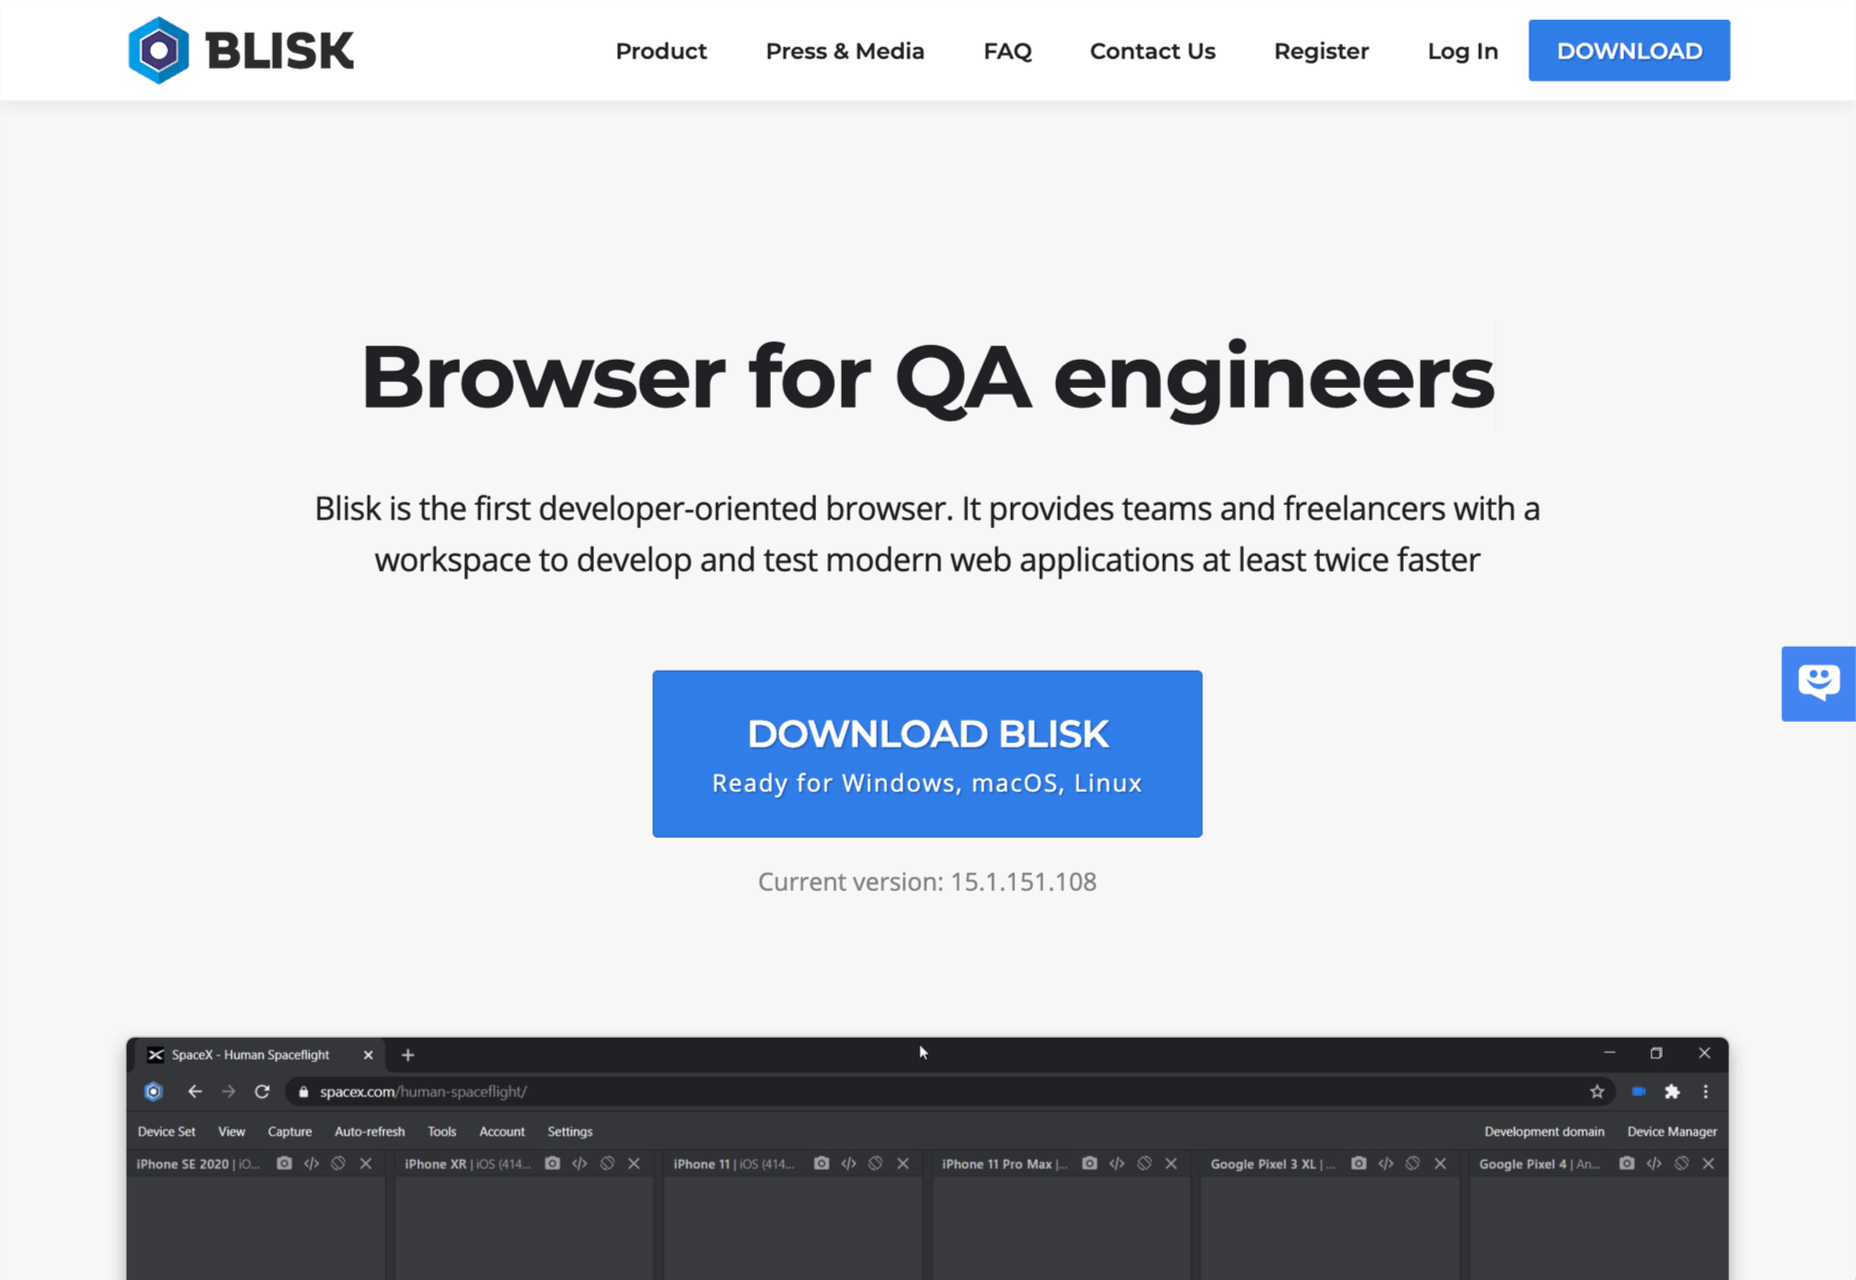
4. Blisk
Blisk is another browser for developers that allows you to line up a collection of viewports in a single app. URL and scrolling are synced, making testing interactions and animations effortless.
Blisk is awesome fun to play with and delivers a great preview of a responsive design. But be warned, synced viewports can be addictive, and it’s easy to line up browsers and become hypnotized by the synchronized movement; you’ll need a very large screen to get the most out of Blisk.
Blisk plans start at $9.99/month.
5. Sizzy
Sizzy is another app that allows you to view multiple viewports at once. It also has synchronized interactions, and like many competing apps, Sizzy allows you to screenshot different views.
Sizzy also includes a very clever synchronized inspect tool, so you can focus on individual elements across different viewports. It’s an excellent option for debugging, particularly if you’re digging into someone else’s code.
Sizzy has a 14-day free trial, and paid plans start at $7.15/month.

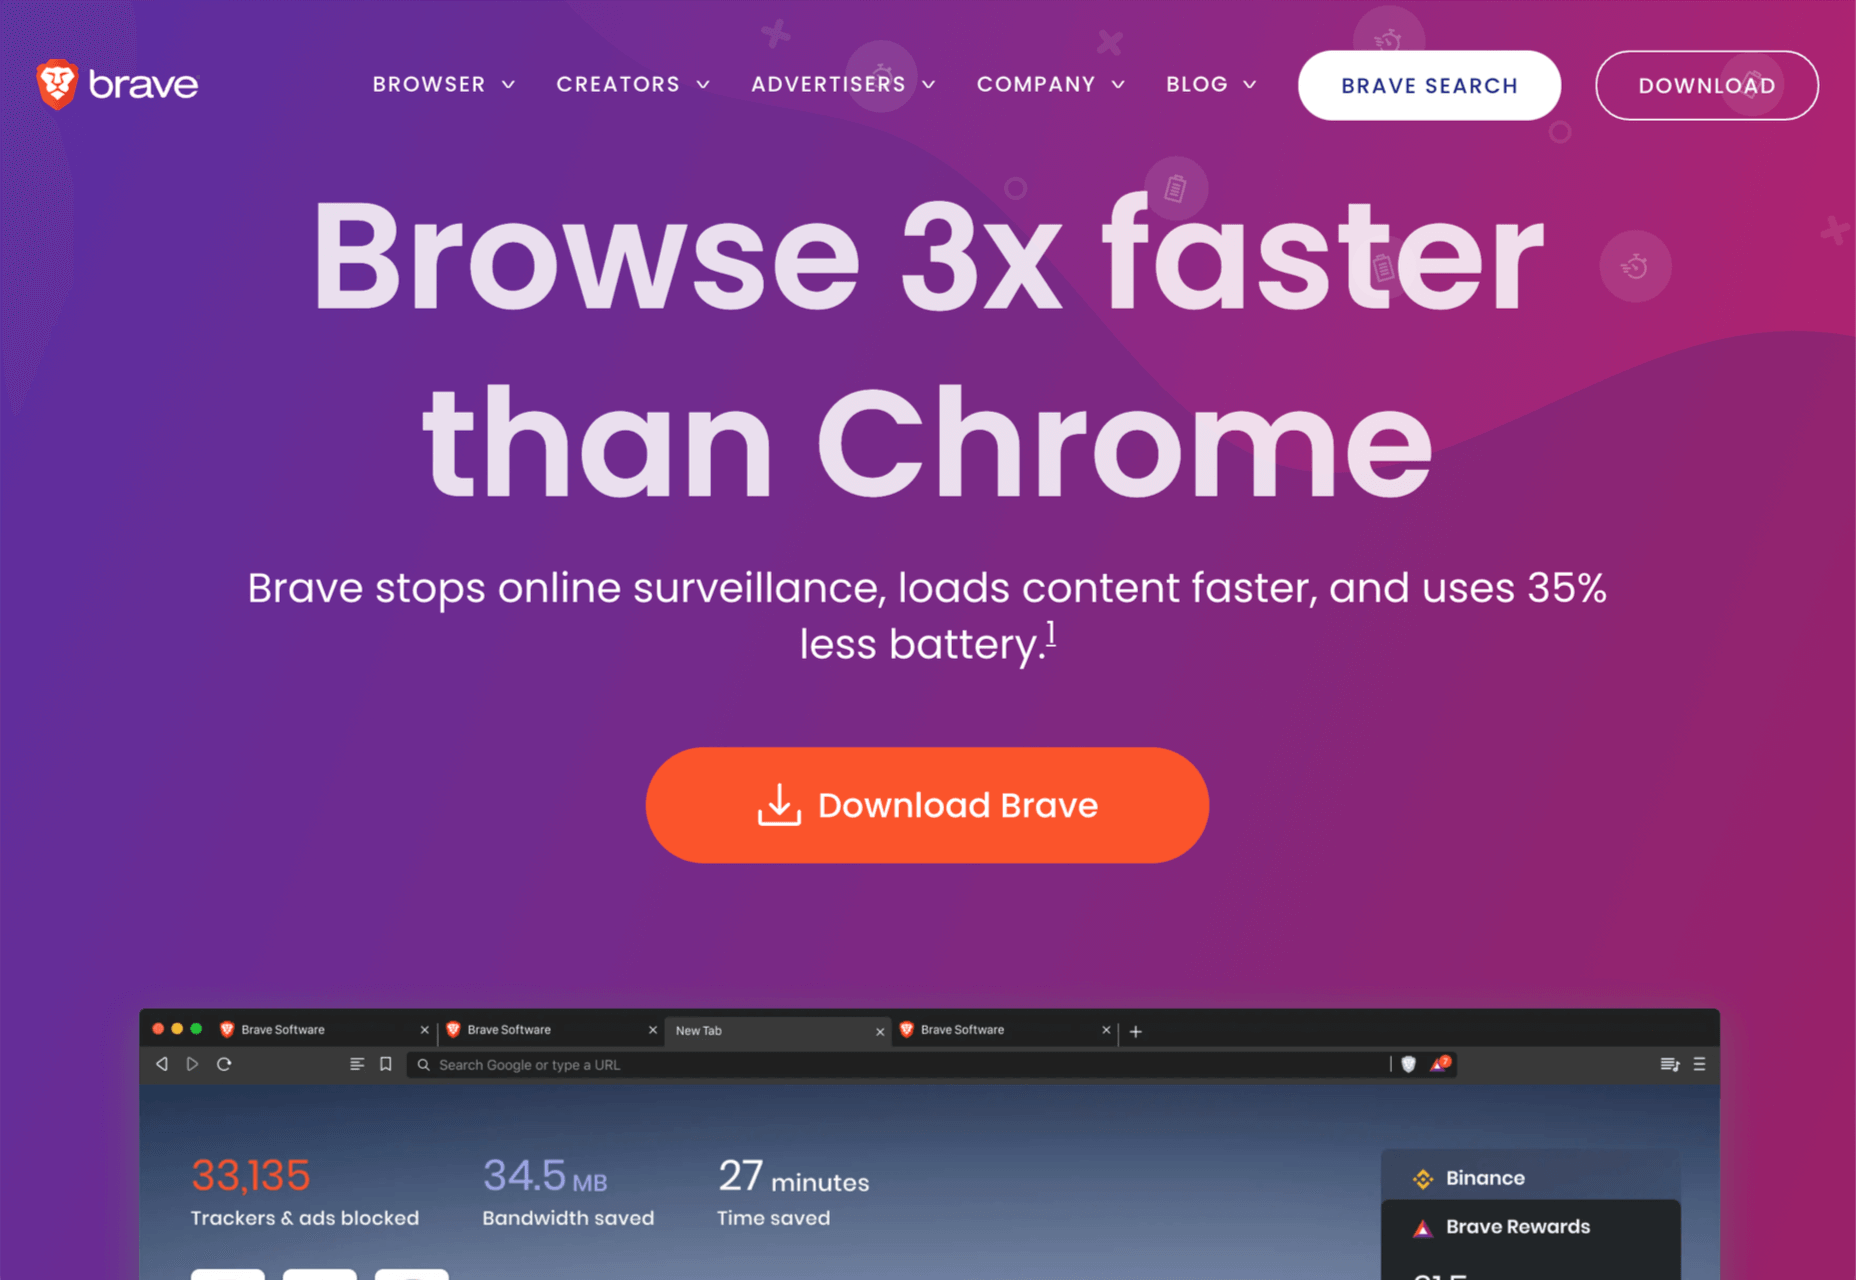
6. Brave
Brave is a privacy-focused browser that runs up to three times faster than Chrome. If you’re someone who balks at rendering speeds on most sites, Brave could be for you.
Brave’s main benefit for developers is that it supports Chrome extensions while maintaining privacy — it can even access the Web using Tor if simple privacy mode isn’t enough for you. There are hundreds of useful Chrome extensions, and if you avoid Chrome due to privacy concerns, then Brave solves your problem.
Brave is also pioneering a new system for monetizing site revenue, allowing viewers to tip sites, and soon, to control how advertising revenue is distributed.
Brave is free to download.
7. Chrome
Boring it may be, but Chrome is still the world’s most popular browser from the US to mainland China. Where once sites were “best viewed in IE,” Chrome is now the Web’s default.
No matter the site you’re designing, it has to work well in Chrome, and no simulator is as good as the real thing.
In addition to being the benchmark for page rendering, Chrome developer tools are the simplest way to access your Lighthouse scores, which helps you track down issues that may be holding you back in Google’s search results.
Chrome is free to download.

Source
p img {display:inline-block; margin-right:10px;}
.alignleft {float:left;}
p.showcase {clear:both;}
body#browserfriendly p, body#podcast p, div#emailbody p{margin:0;}
The post 7 Best Browsers for Developers in 2021 first appeared on Webdesigner Depot.
Original Source: https://www.webdesignerdepot.com/2021/06/poll-are-you-excited-by-windows-11/
 It’s only been a few days since Microsoft officially followed Apple past the $2 Trillion valuation mark, and having done so it appears to be mimicking more of its long-term rival’s approach with hardware cut-offs and a macOS-style GUI refresh.
Hardware Shock
The first surprise for fans of Windows is that there is a Windows 11; the push for Windows 10 adoption was widely expected to all but eliminate numbered versions; creating a landscape in which there were numerous, regular minor updates. The arrival of Windows 11 later in 2021 kills off that idea.
Once Windows users come to terms with the fact that their (for the most part) reluctant upgrade to Windows 10 was short-lived, they’re going to have to come to terms with the fact that their hardware is probably about to be bricked by Microsoft.
Okay, so “bricked” is an exaggeration. But if you’re one of the many Mac users who were tempted over to the other side by the lure of the very desirable — and very expensive — Surface Studio 2, you’ll be understandably put out to discover that it is deemed too out-of-date to be supported by Windows 11.
The only hardware that Microsoft will officially support are those machines with AMD Ryzen 2000 processors, or better; you’ll also need at least a 2nd generation EPYC chipset. For those who cannot afford, or cannot stomach, purchasing new hardware this year, there is some respite to be found in the fact that you may be able to run Windows 11, you just won’t be officially supported and you’ll have to put up with regular compatibility warnings. You can check your hardware’s compatibility here.
It’s an unexpected departure for Microsoft, whose USP has until now been that — unlike macOS — Windows is hardware-agnostic, and the box you run Windows on is a personal preference.
macOS Style GUI
If however, you’re one of the lucky few who can download Windows 11, you’ll be confronted with a very macOS-style GUI. The whole environment has had a subtle refresh, with rounding happening throughout the design, resulting in a visually smoother, more Mac-like user experience.
The most obvious change is that the start button has been relocated to the center of the screen, making the process of using it considerably closer to macOS’ dock.
Windows 11 also includes a redesigned set of icons, which thankfully retain much of Windows’ current aesthetic.
Tablet mode has been removed in favor of a fullscreen option which indicates that Microsoft expects a greater blurring of the lines between traditional desktop machines, and touchscreen devices in future.
Source
p img {display:inline-block; margin-right:10px;}
.alignleft {float:left;}
p.showcase {clear:both;}
body#browserfriendly p, body#podcast p, div#emailbody p{margin:0;}
The post Poll: Are You Excited by Windows 11? first appeared on Webdesigner Depot.