How to add texture to your pastels with primers
Original Source: http://feedproxy.google.com/~r/CreativeBloq/~3/OURdJ5XFMkU/add-texture-to-your-pastels-with-primers
Using pastel primers to create surfaces for your art means you can build a more textured surface to work on than paper, which holds more layers of pastel. Primers also allow you to vary that texture, helping you to add interest and even to add drama to your pastel artworks.
For me, the most exciting thing about them is the way that I can create an underpainting to work over, which gets my paintings off to a lively start, and takes away that 'fear of the blank canvas'.
By underpainting first, you combine drawing and painting skills even more than before, and inject a mixed media feel into your work. This can lead to unexpected developments and unplanned outcomes, keeping the experience fresh and exciting. So read on to breathe life into your pastel work.
01. Choose a pastel primer
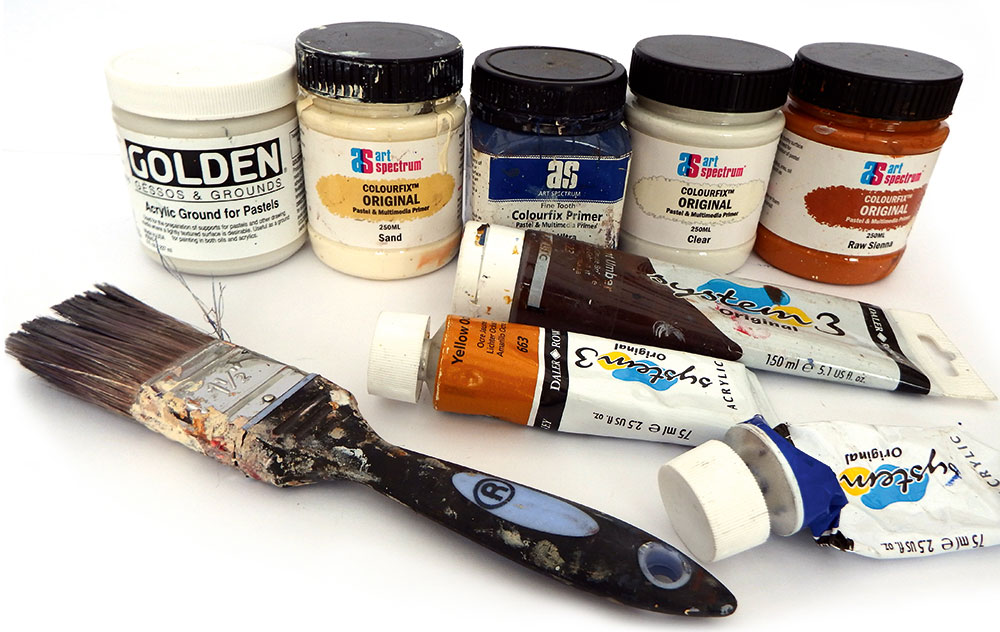
It’s easiest to buy your primers ready-made
Many artists prepare their own textured grounds, using various mixtures of gesso, pumice, or grit and acrylic primers, but it is easier to buy them already prepared. I like the Art Spectrum Colourfix range, which has 20 colours, plus a clear version. They can be brushed or rolled on, and thinned with water to adjust the texture.
02. Mix two colours for a tailored tone
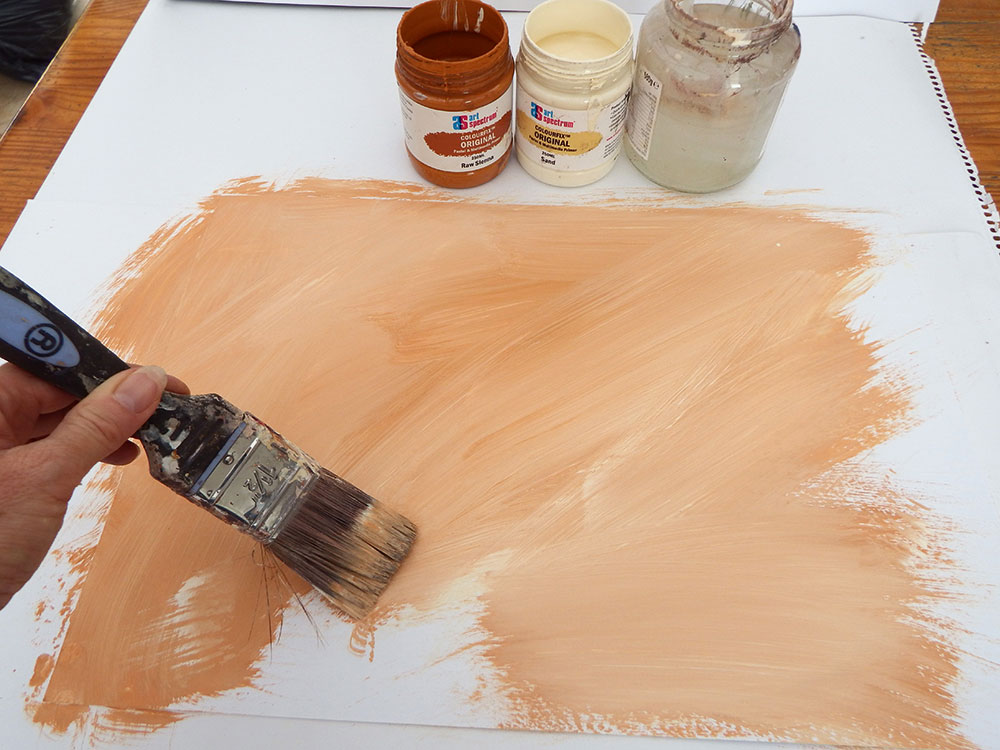
Use a cheap decorator’s brush with a bit of water to apply your primer
Loosely mixing Raw Sienna and Sand Colourfix Primer with a cheap decorator's brush gives a lovely soft base colour for portraits. Using mount card as the base, use a little water on the same brush to brush the primer on. Speed really is essential in this process, as the primers dry extremely quickly. Remember that the more water you use, the less texture you'll have.

Primer gives your an excellent base colour for portraits
When painting Nathaniel, I build up many layers, using Unison Soft Pastels, Conté crayons and pastel pencils. You can use a pencil eraser to rub out, and even add water to your pastel work. A pastel primed surface is a strong and forgiving surface.
03. Create texture with Golden Acrylic Ground
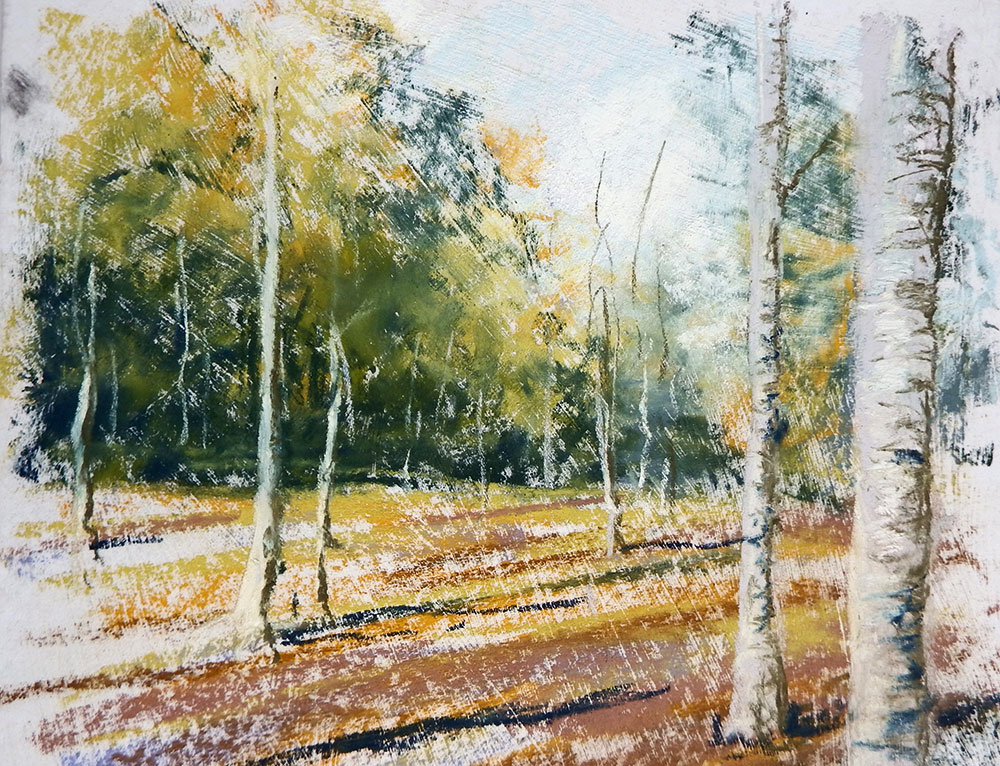
A layer of Golden Acrylic Ground is great for adding texture
This quick sketch of birch trees was done over a layer of Golden Acrylic Ground for Pastels. This product has no colour, so you need to add your own, or underpaint the first layer with acrylic paints, for example. I like the way that on this piece, the rough brushstrokes show through.
04. Create bright surfaces
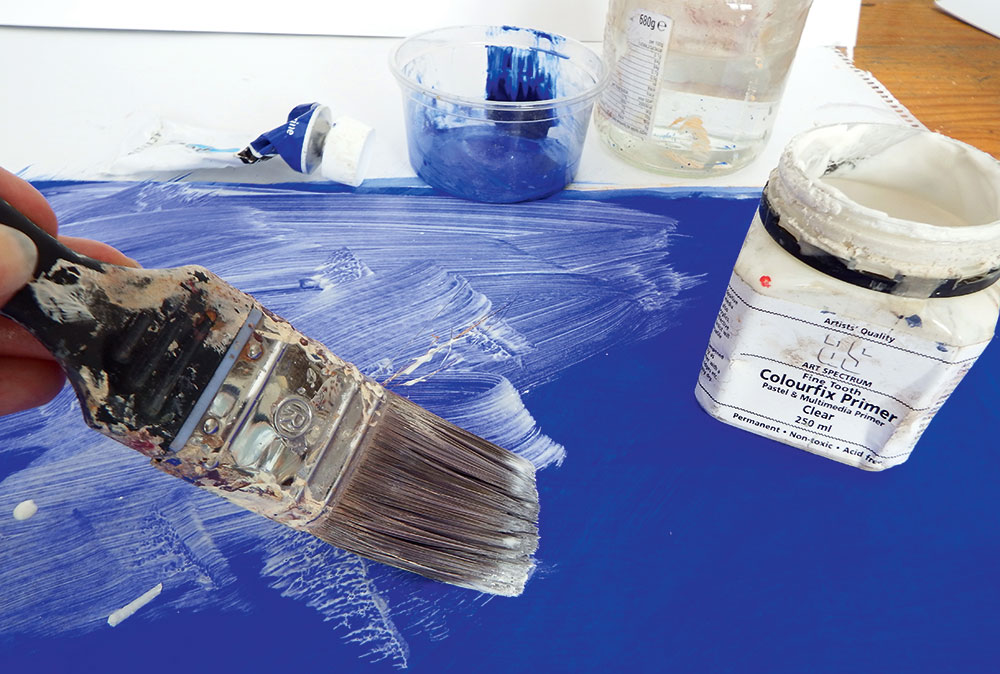
Coat layers of acrylic with Clear Colourfix Primer for a bright background
When I want a bright surface to work on, I paint two or three layers of acrylic paint – in this case, System 3 Acrylic in Ultramarine. When dry, I coat with Clear Colourfix Primer, which looks milky as you paint it on, but dries transparent. This clear primer can be painted over many other types of paint or surface, so is also great for collage.
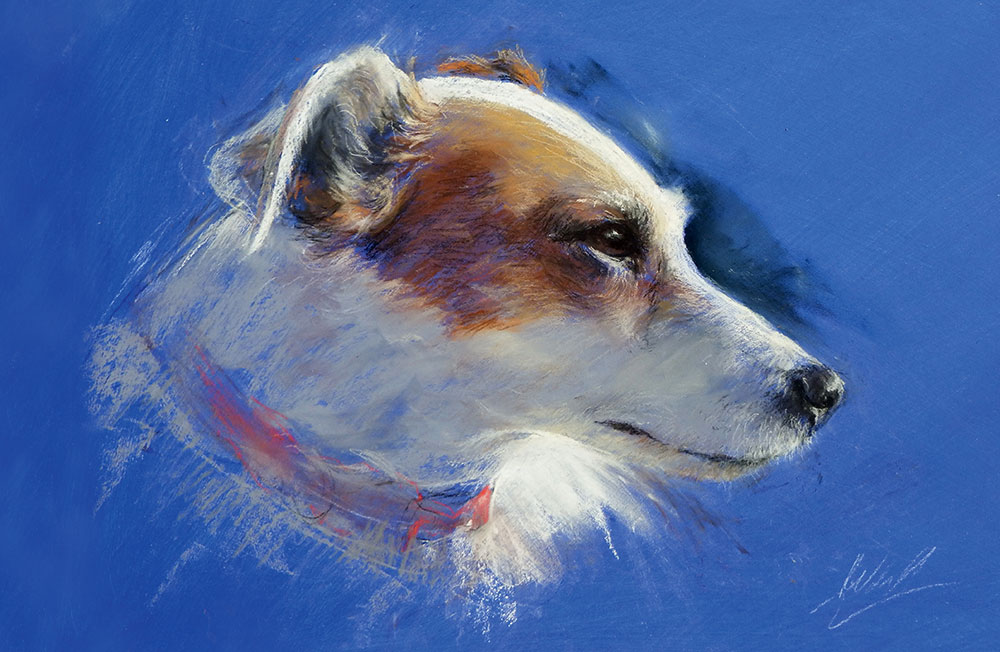
A blue background can make your foreground colours really pop
It can liven up your work to use background colours that are unexpected. I like the way that blues are part of the shadow colours for white animals, they also look good behind black, and make browns and oranges (a complementary colour for blue) jump off the page. Remember that you don't have to 'colour it all in' – create a feeling of space by leaving some areas unpainted.
05. Tint primers with acrylics
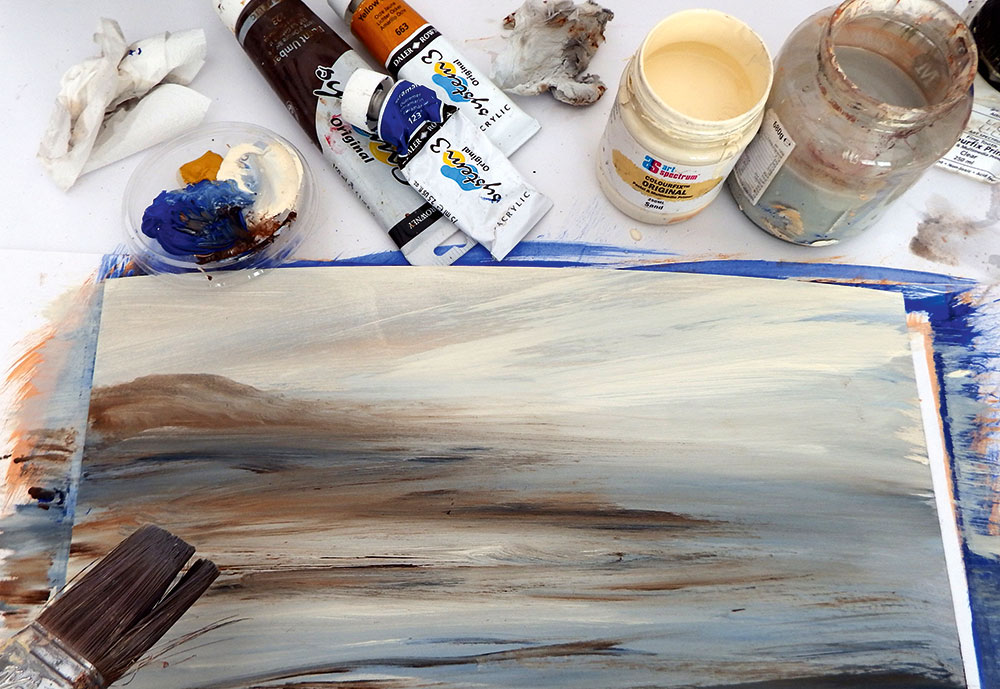
The more colour you add to your primer, the less texture you’ll get
Pastel primers can be tinted with any water-based paint or ink. Keep in mind that the more paint you use, the less texture you will have to work with when applying pastel. You can let the primer dry and then wash colour over it to retain texture. In this base for a seascape, I loosely paint Yellow Ochre and Burnt Umber acrylics and primer together.
06. Treat primers as paint
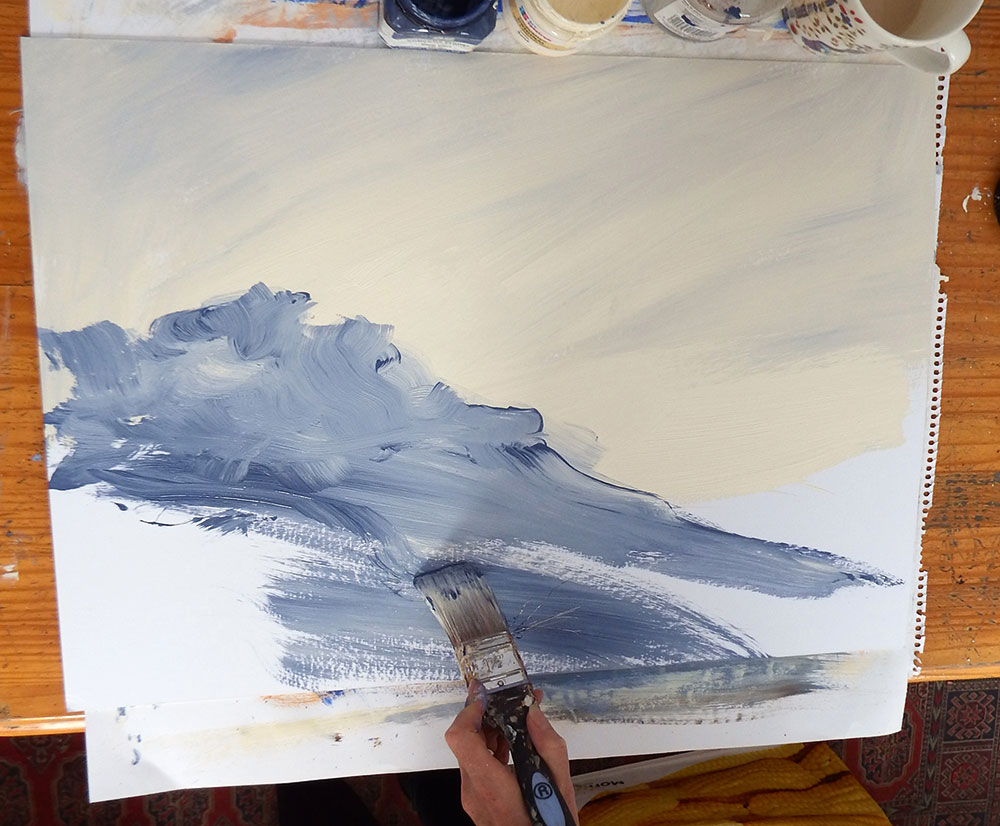
Paint in a base with Colourfix Primers Sand and Deep Ultra
To create the feeling of a windswept day up on the high moor in this piece, I loosely paint a base using Colourfix Primers Deep Ultra and sand, treating them like paint and using my cheap decorator's brush.
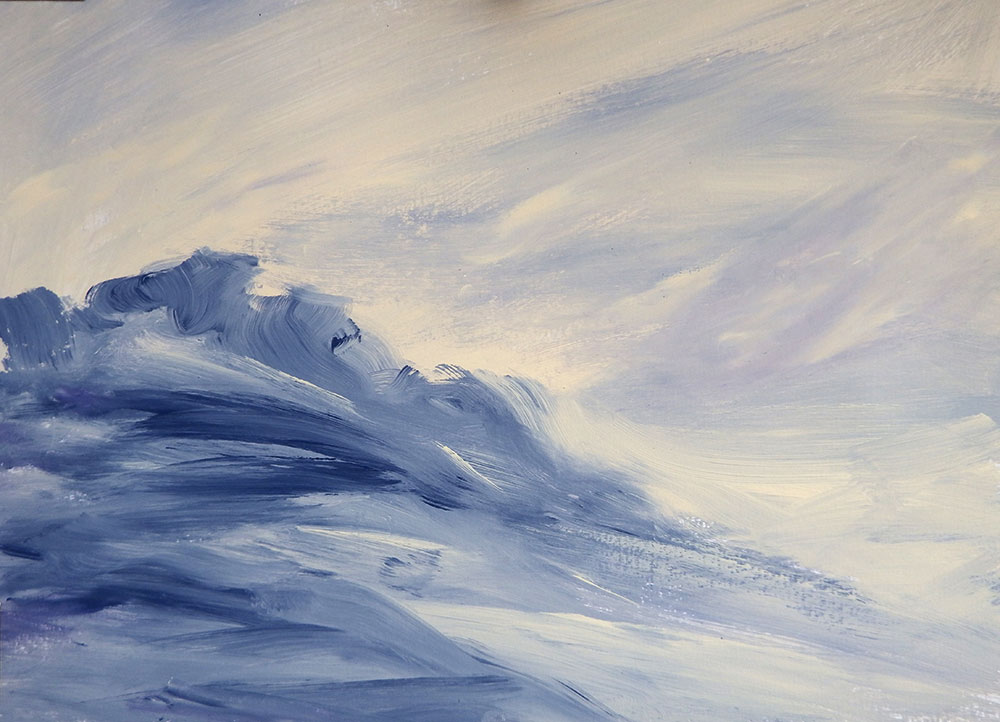
Don’t hang about!
The finished underpainting dries in about 20 minutes, so I have to work quickly and cannot dwell on detail or worry about strokes.
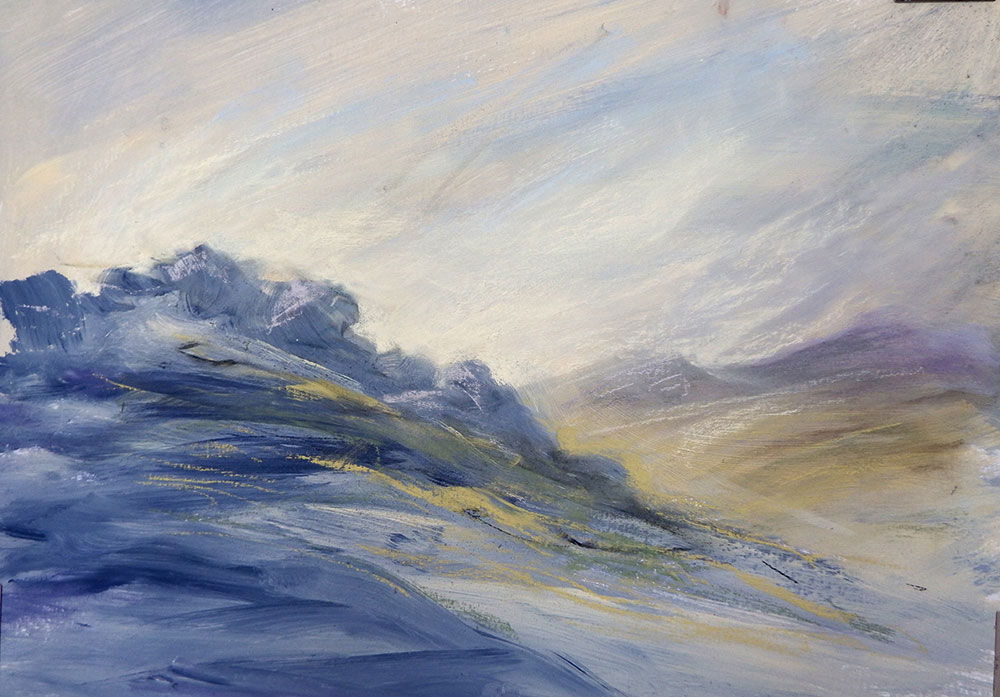
Make sure that some of your underpainting shows through
Once the underpaint is dry, I work into the piece in some areas with Unison soft pastels, limiting my palette, and making sure that I leave areas of the underpainting showing. It is easy to get carried away and cover it all up, but that would lose a lot of the life and energy.
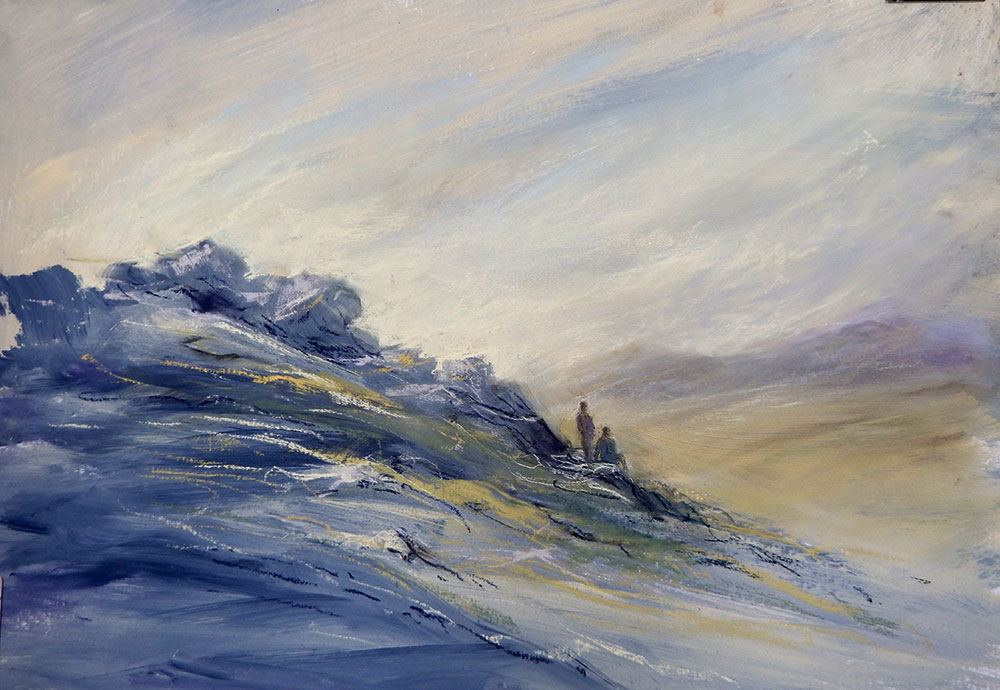
Be careful not to overdo it
I add more definition to the rocks, by creating sharper edges and using strong lights and darks. By adding figures, I create a sense of scale to the piece. I want the painting to have a light, sketchy feel, so I am stopping at this point. They say that paintings are never finished, they just stop in interesting places.
07. Use shades of primer to add depth
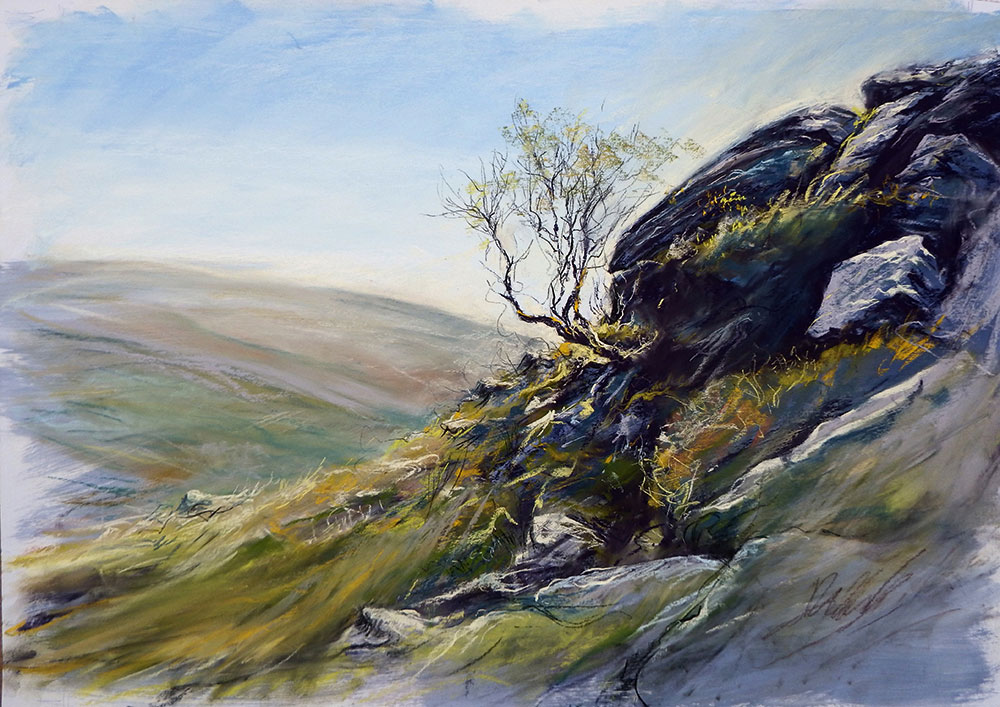
Here, different shades of primer add depth to the finished painting
This painting, Deep Roots, is a much larger pastel, worked over pastel primers as in the previous example, but with more depth and definition. I paint a dark blue under the rocks to emphasise their strength and weight, and cream under the sky to create contrast. In the bottom right-hand corner, I leave the brushstrokes of primer showing.
This article was originally published in issue 12 of Paint & Draw, the magazine offering tips and inspiration for artists everywhere. Buy it here.
Related articles:
How to master colour theoryDrawing techniques: 7 fundamentals of pencil drawingHow to make your own canvas boards

Leave a Reply
Want to join the discussion?Feel free to contribute!