Case Study: Isabel Moranta Portfolio — 2024

Original Source: https://tympanus.net/codrops/2024/12/05/case-study-isabel-moranta-portfolio-2024/

This case study captures the journey of crafting a personal portfolio—an exploration of bold design, creative freedom, and the beauty of designing for oneself.

Creating An Effective Multistep Form For Better User Experience

Original Source: https://smashingmagazine.com/2024/12/creating-effective-multistep-form-better-user-experience/

For a multistep form, planning involves structuring questions logically across steps, grouping similar questions, and minimizing the number of steps and the amount of required information for each step. Whatever makes each step focused and manageable is what should be aimed for.

In this tutorial, we will create a multistep form for a job application. Here are the details we are going to be requesting from the applicant at each step:

Personal Information
Collects applicant’s name, email, and phone number.
Work Experience
Collects the applicant’s most recent company, job title, and years of experience.
Skills & Qualifications
The applicant lists their skills and selects their highest degree.
Review & Submit
This step is not going to collect any information. Instead, it provides an opportunity for the applicant to go back and review the information entered in the previous steps of the form before submitting it.

You can think of structuring these questions as a digital way of getting to know somebody. You can’t meet someone for the first time and ask them about their work experience without first asking for their name.

Based on the steps we have above, this is what the body of our HTML with our form should look like. First, the main <form> element:

<form id=”jobApplicationForm”>
<!– Step 1: Personal Information –>
<!– Step 2: Work Experience –>
<!– Step 3: Skills & Qualifications –>
<!– Step 4: Review & Submit –>
</form>

Step 1 is for filling in personal information, like the applicant’s name, email address, and phone number:

<form id=”jobApplicationForm”>
<!– Step 1: Personal Information –>
<fieldset class=”step” id=”step-1″>
<legend id=”step1Label”>Step 1: Personal Information</legend>
<label for=”name”>Full Name</label>
<input type=”text” id=”name” name=”name” required />
<label for=”email”>Email Address</label>
<input type=”email” id=”email” name=”email” required />
<label for=”phone”>Phone Number</label>
<input type=”tel” id=”phone” name=”phone” required />
</fieldset>

<!– Step 2: Work Experience –>
<!– Step 3: Skills & Qualifications –>
<!– Step 4: Review & Submit –>
</form>

Once the applicant completes the first step, we’ll navigate them to Step 2, focusing on their work experience so that we can collect information like their most recent company, job title, and years of experience. We’ll tack on a new <fieldset> with those inputs:

<form id=”jobApplicationForm”>
<!– Step 1: Personal Information –>

<!– Step 2: Work Experience –>
<fieldset class=”step” id=”step-2″ hidden>
<legend id=”step2Label”>Step 2: Work Experience</legend>
<label for=”company”>Most Recent Company</label>
<input type=”text” id=”company” name=”company” required />
<label for=”jobTitle”>Job Title</label>
<input type=”text” id=”jobTitle” name=”jobTitle” required />
<label for=”yearsExperience”>Years of Experience</label>
<input
type=”number”
id=”yearsExperience”
name=”yearsExperience”
min=”0″
required
/>
</fieldset>

<!– Step 3: Skills & Qualifications –>
<!– Step 4: Review & Submit –>
</form>

Step 3 is all about the applicant listing their skills and qualifications for the job they’re applying for:

<form id=”jobApplicationForm”>
<!– Step 1: Personal Information –>
<!– Step 2: Work Experience –>

<!– Step 3: Skills & Qualifications –>
<fieldset class=”step” id=”step-3″ hidden>
<legend id=”step3Label”>Step 3: Skills & Qualifications</legend>
<label for=”skills”>Skill(s)</label>
<textarea id=”skills” name=”skills” rows=”4″ required></textarea>
<label for=”highestDegree”>Degree Obtained (Highest)</label>
<select id=”highestDegree” name=”highestDegree” required>
<option value=””>Select Degree</option>
<option value=”highschool”>High School Diploma</option>
<option value=”bachelor”>Bachelor’s Degree</option>
<option value=”master”>Master’s Degree</option>
<option value=”phd”>Ph.D.</option>
</select>
</fieldset>
<!– Step 4: Review & Submit –>
<fieldset class=”step” id=”step-4″ hidden>
<legend id=”step4Label”>Step 4: Review & Submit</legend>
<p>Review your information before submitting the application.</p>
<button type=”submit”>Submit Application</button>
</fieldset>
</form>

And, finally, we’ll allow the applicant to review their information before submitting it:

<form id=”jobApplicationForm”>
<!– Step 1: Personal Information –>
<!– Step 2: Work Experience –>
<!– Step 3: Skills & Qualifications –>

<!– Step 4: Review & Submit –>
<fieldset class=”step” id=”step-4″ hidden>
<legend id=”step4Label”>Step 4: Review & Submit</legend>
<p>Review your information before submitting the application.</p>
<button type=”submit”>Submit Application</button>
</fieldset>
</form>

Notice: We’ve added a hidden attribute to every fieldset element but the first one. This ensures that the user sees only the first step. Once they are done with the first step, they can proceed to fill out their work experience on the second step by clicking a navigational button. We’ll add this button later on.

Adding Styles

To keep things focused, we’re not going to be emphasizing the styles in this tutorial. What we’ll do to keep things simple is leverage the Simple.css style framework to get the form in good shape for the rest of the tutorial.

If you’re following along, we can include Simple’s styles in the document <head>:

<link rel=”stylesheet” href=”https://cdn.simplecss.org/simple.min.css” />

And from there, go ahead and create a style.css file with the following styles that I’ve folded up.

<details>
<summary>View CSS</summary>
body {
min-height: 100vh;
display: flex;
align-items: center;
justify-content: center;
}
main {
padding: 0 30px;
}
h1 {
font-size: 1.8rem;
text-align: center;
}
.stepper {
display: flex;
justify-content: flex-end;
padding-right: 10px;
}
form {
box-shadow: 0px 0px 6px 2px rgba(0, 0, 0, 0.2);
padding: 12px;
}
input,
textarea,
select {
outline: none;
}
input:valid,
textarea:valid,
select:valid,
input:focus:valid,
textarea:focus:valid,
select:focus:valid {
border-color: green;
}
input:focus:invalid,
textarea:focus:invalid,
select:focus:invalid {
border: 1px solid red;
}
</details>

Form Navigation And Validation

An easy way to ruin the user experience for a multi-step form is to wait until the user gets to the last step in the form before letting them know of any error they made along the way. Each step of the form should be validated for errors before moving on to the next step, and descriptive error messages should be displayed to enable users to understand what is wrong and how to fix it.

Now, the only part of our form that is visible is the first step. To complete the form, users need to be able to navigate to the other steps. We are going to use several buttons to pull this off. The first step is going to have a Next button. The second and third steps are going to have both a Previous and a Next button, and the fourth step is going to have a Previous and a Submit button.

<form id=”jobApplicationForm”>
<!– Step 1: Personal Information –>
<fieldset>
<!– … –>
<button type=”button” class=”next” onclick=”nextStep()”>Next</button>
</fieldset>

<!– Step 2: Work Experience –>
<fieldset>
<!– … –>
<button type=”button” class=”previous” onclick=”previousStep()”>Previous</button>
<button type=”button” class=”next” onclick=”nextStep()”>Next</button>
</fieldset>

<!– Step 3: Skills & Qualifications –>
<fieldset>
<!– … –>
<button type=”button” class=”previous” onclick=”previousStep()”>Previous</button>
<button type=”button” class=”next” onclick=”nextStep()”>Next</button>
</fieldset>

<!– Step 4: Review & Submit –>
<fieldset>
<!– … –>
<button type=”button” class=”previous” onclick=”previousStep()”>Previous</button>
<button type=”submit”>Submit Application</button>
</fieldset>
</form>

Notice: We’ve added onclick attributes to the Previous and Next buttons to link them to their respective JavaScript functions: previousStep() and nextStep().

The “Next” Button

The nextStep() function is linked to the Next button. Whenever the user clicks the Next button, the nextStep() function will first check to ensure that all the fields for whatever step the user is on have been filled out correctly before moving on to the next step. If the fields haven’t been filled correctly, it displays some error messages, letting the user know that they’ve done something wrong and informing them what to do to make the errors go away.

Before we go into the implementation of the nextStep function, there are certain variables we need to define because they will be needed in the function. First, we need the input fields from the DOM so we can run checks on them to make sure they are valid.

// Step 1 fields
const name = document.getElementById(“name”);
const email = document.getElementById(“email”);
const phone = document.getElementById(“phone”);

// Step 2 fields
const company = document.getElementById(“company”);
const jobTitle = document.getElementById(“jobTitle”);
const yearsExperience = document.getElementById(“yearsExperience”);

// Step 3 fields
const skills = document.getElementById(“skills”);
const highestDegree = document.getElementById(“highestDegree”);

Then, we’re going to need an array to store our error messages.

let errorMsgs = [];

Also, we would need an element in the DOM where we can insert those error messages after they’ve been generated. This element should be placed in the HTML just below the last fieldset closing tag:

<div id=”errorMessages” style=”color: rgb(253, 67, 67)”></div>

Add the above div to the JavaScript code using the following line:

const errorMessagesDiv = document.getElementById(“errorMessages”);

And finally, we need a variable to keep track of the current step.

let currentStep = 1;

Now that we have all our variables in place, here’s the implementation of the nextstep() function:

function nextStep() {
errorMsgs = [];
errorMessagesDiv.innerText = “”;

switch (currentStep) {
case 1:
addValidationErrors(name, email, phone);
validateStep(errorMsgs);
break;

case 2:
addValidationErrors(company, jobTitle, yearsExperience);
validateStep(errorMsgs);
break;

case 3:
addValidationErrors(skills, highestDegree);
validateStep(errorMsgs);
break;
}
}

The moment the Next button is pressed, our code first checks which step the user is currently on, and based on this information, it validates the data for that specific step by calling the addValidationErrors() function. If there are errors, we display them. Then, the form calls the validateStep() function to verify that there are no errors before moving on to the next step. If there are errors, it prevents the user from going on to the next step.

Whenever the nextStep() function runs, the error messages are cleared first to avoid appending errors from a different step to existing errors or re-adding existing error messages when the addValidationErrors function runs. The addValidationErrors function is called for each step using the fields for that step as arguments.

Here’s how the addValidationErrors function is implemented:

function addValidationErrors(fieldOne, fieldTwo, fieldThree = undefined) {
if (!fieldOne.checkValidity()) {
const label = document.querySelector(label[for=”${fieldOne.id}”]);
errorMsgs.push(Please Enter A Valid ${label.textContent});
}

if (!fieldTwo.checkValidity()) {
const label = document.querySelector(label[for=”${fieldTwo.id}”]);
errorMsgs.push(Please Enter A Valid ${label.textContent});
}

if (fieldThree && !fieldThree.checkValidity()) {
const label = document.querySelector(label[for=”${fieldThree.id}”]);
errorMsgs.push(Please Enter A Valid ${label.textContent});
}

if (errorMsgs.length > 0) {
errorMessagesDiv.innerText = errorMsgs.join(“n”);
}
}

This is how the validateStep() function is defined:

function validateStep(errorMsgs) {
if (errorMsgs.length === 0) {
showStep(currentStep + 1);
}
}

The validateStep() function checks for errors. If there are none, it proceeds to the next step with the help of the showStep() function.

function showStep(step) {
steps.forEach((el, index) => {
el.hidden = index + 1 !== step;
});
currentStep = step;
}

The showStep() function requires the four fieldsets in the DOM. Add the following line to the top of the JavaScript code to make the fieldsets available:

const steps = document.querySelectorAll(“.step”);

What the showStep() function does is to go through all the fieldsets in our form and hide whatever fieldset is not equal to the one we’re navigating to. Then, it updates the currentStep variable to be equal to the step we’re navigating to.

The “Previous” Button

The previousStep() function is linked to the Previous button. Whenever the previous button is clicked, similarly to the nextStep function, the error messages are also cleared from the page, and navigation is also handled by the showStep function.

function previousStep() {
errorMessagesDiv.innerText = “”;
showStep(currentStep – 1);
}

Whenever the showStep() function is called with “currentStep – 1” as an argument (as in this case), we go back to the previous step, while moving to the next step happens by calling the showStep() function with “currentStep + 1″ as an argument (as in the case of the validateStep() function).

Improving User Experience With Visual Cues

One other way of improving the user experience for a multi-step form, is by integrating visual cues, things that will give users feedback on the process they are on. These things can include a progress indicator or a stepper to help the user know the exact step they are on.

Integrating A Stepper

To integrate a stepper into our form (sort of like this one from Material Design), the first thing we need to do is add it to the HTML just below the opening <form> tag.

<form id=”jobApplicationForm”>
<div class=”stepper”>
<span><span class=”currentStep”>1</span>/4</span>
</div>
<!– … –>
</form>

Next, we need to query the part of the stepper that will represent the current step. This is the span tag with the class name of currentStep.

const currentStepDiv = document.querySelector(“.currentStep”);

Now, we need to update the stepper value whenever the previous or next buttons are clicked. To do this, we need to update the showStep() function by appending the following line to it:

currentStepDiv.innerText = currentStep;

This line is added to the showStep() function because the showStep() function is responsible for navigating between steps and updating the currentStep variable. So, whenever the currentStep variable is updated, the currentStepDiv should also be updated to reflect that change.

Storing And Retrieving User Data

One major way we can improve the form’s user experience is by storing user data in the browser. Multistep forms are usually long and require users to enter a lot of information about themselves. Imagine a user filling out 95% of a form, then accidentally hitting the F5 button on their keyboard and losing all their progress. That would be a really bad experience for the user.

Using localStorage, we can store user information as soon as it is entered and retrieve it as soon as the DOM content is loaded, so users can always continue filling out their forms from wherever they left off. To add this feature to our forms, we can begin by saving the user’s information as soon as it is typed. This can be achieved using the input event.

Before adding the input event listener, get the form element from the DOM:

const form = document.getElementById(“jobApplicationForm”);

Now we can add the input event listener:

// Save data on each input event
form.addEventListener(“input”, () => {
const formData = {
name: document.getElementById(“name”).value,
email: document.getElementById(“email”).value,
phone: document.getElementById(“phone”).value,
company: document.getElementById(“company”).value,
jobTitle: document.getElementById(“jobTitle”).value,
yearsExperience: document.getElementById(“yearsExperience”).value,
skills: document.getElementById(“skills”).value,
highestDegree: document.getElementById(“highestDegree”).value,
};
localStorage.setItem(“formData”, JSON.stringify(formData));
});

Next, we need to add some code to help us retrieve the user data once the DOM content is loaded.

window.addEventListener(“DOMContentLoaded”, () => {
const savedData = JSON.parse(localStorage.getItem(“formData”));
if (savedData) {
document.getElementById(“name”).value = savedData.name || “”;
document.getElementById(“email”).value = savedData.email || “”;
document.getElementById(“phone”).value = savedData.phone || “”;
document.getElementById(“company”).value = savedData.company || “”;
document.getElementById(“jobTitle”).value = savedData.jobTitle || “”;
document.getElementById(“yearsExperience”).value = savedData.yearsExperience || “”;
document.getElementById(“skills”).value = savedData.skills || “”;
document.getElementById(“highestDegree”).value = savedData.highestDegree || “”;
}
});

Lastly, it is good practice to remove data from localStorage as soon as it is no longer needed:

// Clear data on form submit
form.addEventListener(‘submit’, () => {
// Clear localStorage once the form is submitted
localStorage.removeItem(‘formData’);
});

Adding The Current Step Value To localStorage

If the user accidentally closes their browser, they should be able to return to wherever they left off. This means that the current step value also has to be saved in localStorage.

To save this value, append the following line to the showStep() function:

localStorage.setItem(“storedStep”, currentStep);

Now we can retrieve the current step value and return users to wherever they left off whenever the DOM content loads. Add the following code to the DOMContentLoaded handler to do so:

const storedStep = localStorage.getItem(“storedStep”);

if (storedStep) {
const storedStepInt = parseInt(storedStep);
steps.forEach((el, index) => {
el.hidden = index + 1 !== storedStepInt;
});
currentStep = storedStepInt;
currentStepDiv.innerText = currentStep;
}

Also, do not forget to clear the current step value from localStorage when the form is submitted.

localStorage.removeItem(“storedStep”);

The above line should be added to the submit handler.

Wrapping Up

Creating multi-step forms can help improve user experience for complex data entry. By carefully planning out steps, implementing form validation at each step, and temporarily storing user data in the browser, you make it easier for users to complete long forms.

For the full implementation of this multi-step form, you can access the complete code on GitHub.

I'm expecting record-low prices on MacBooks this Black Friday

Original Source: https://www.creativebloq.com/news/best-black-friday-macbook-deals-2021

There are already discounts of up to $700 available, so this Black Friday could have some previously unseen MacBook bargains.

Bundle Up And Save On Smashing Books And Workshops

Original Source: https://smashingmagazine.com/2024/12/bundle-up-and-save/

Earlier this month, we wrapped up our SmashingConfs 2024, and one subject that kept coming up over and over again — among attendees, between speakers, and even within the staff — was “what would we like to get better at next year?”

It seems like everyone has a different answer, but one thing is for sure: Smashing can help you with that. 😉

Save 30% on Books and Workshops (3+ items)

Good news for people who love a good value for a friendly price: until Thursday, 5 December, you can save 30% off three or more books and eBooks, 30% off three or more workshops, or get the entire Smashing eBook library for $75. This is a perfect time to set yourself up for a year of learning in 2025.

Build Your Own Bundle!

Our hardcover books are our editorial flagships. They deliver in-depth knowledge and expertise shared by experts from the industry. No fluff or theory, only practical tips and insights you can apply to your work right away.

No matter if you want to complete your existing Smashing book collection or start one from scratch, you can now pick and mix your favorite books and eBooks from our Smashing Books line-up to create a bundle tailored to your needs. Or take a look at our bundle recommendations below for some inspiration.

Browse all Smashing Books →

Save 30% with 3 or more books. No ifs or buts!

Until Thursday, 5 December, the 30% book discount will automatically apply to your cart once you add three or more items. Please note that the discount can’t be combined with other discounts.

Once you’ve decided which books should go into your bundle, we’ll pack everything up safely and send the parcel right to your doorstep from our warehouse in Germany. Shipping is free worldwide. Check delivery times.

Book Bundle Recommendations

We know decisions can be hard, that’s why we collected some ideas for themed book bundles to make the choice at least a bit easier. These bundles are perfect if you want to enhance your skills in one particular field.

You can click on each book title to jump to the details and add the book to your cart. The discount will be applied during checkout.

Front-End Bundle

Save 30% on the complete bundle.
Regular price (hardcover + PDF, ePUB, Kindle versions): $146.25
Bundle price: $102.38

Front-End Bundle dives deep into the challenges front-end developers face in their work every day — whether it’s performance, TypeScript and Image Optimization. You’ll learn practical strategies to make your workflow more efficient, but also gain precious insights into how teams at Instagram, Shopify, Netflix, eBay, Figma, Spotify tackle common challenges and frustrations.

Success at Scale by Addy Osmani
TypeScript in 50 Lessons by Stefan Baumgartner
Image Optimization by Addy Osmani

Design Best Practices Bundle

Save 30% on the complete bundle.
Regular price (hardcover + PDF, ePUB, Kindle versions): $146.25
Bundle price: $102.38

Design Best Practices Bundle is all about creating respectful, engaging experiences that put your users’ well-being and privacy first. The practical and tactical tips help you encourage users to act — without employing dark patterns and manipulative techniques — and grow a sustainable digital business that becomes more profitable as a result.

Click! How to Encourage Clicks Without Shady Tricks by Paul Boag
Understanding Privacy by Heather Burns
The Ethical Design Handbook by Trine Falbe, Martin Michael Frederiksen, and Kim Andersen

Interface Design Bundle

Save 30% on the complete bundle.
Regular price (hardcover + PDF, ePUB, Kindle versions): $144.00
Bundle price: $100.80

A lot of websites these days look rather generic. Our Interface Design Bundle will make you think outside the box, exploring how you can create compelling, effective user experiences, with clear intent and purpose — for both desktop and mobile.

Touch Design for Mobile Interfaces by Steven Hoober
Art Direction for the Web by Andy Clarke
Smart Interface Design Patterns Checklist Cards by Vitaly Friedman

Big Design Bundle

Save 30% on the complete bundle.
Regular price (hardcover + PDF, ePUB, Kindle versions): $292.50
Bundle price: $204.75

The Big Design Bundle shines a light on the fine little details that go into building cohesive, human-centered experiences. Covering everything from design systems to form design patterns, mobile design to UX, and data privacy to ethical design, it provides you with a solid foundation for designing products that stand out from the crowd.

Click! How to Encourage Clicks Without Shady Tricks by Paul Boag
The Ethical Design Handbook by Trine Falbe, Martin Michael Frederiksen, and Kim Andersen
Design Systems by Alla Kholmatova
Form Design Patterns by Adam Silver
Touch Design for Mobile Interfaces by Steven Hoober
Understanding Privacy by Heather Burns

Special Deal For eBook Lovers

Get all eBooks for $75. You’re more of an eBook kind of person? The bundle-up discounts do apply to eBooks, too, of course. Or take a look at our Smashing Library to save even more: It includes 68 eBooks (including all our latest releases) for $75 (PDF, ePUB, and Kindle formats). Perfect to keep all your favorite books close when you’re on the go.

Bundle Up On Online Workshops: 30% Off On 3+ Workshops

Ready to dig even deeper? Whether you want to explore design patterns for AI interfaces, learn how to plan a design system, or master the art of storytelling, our online workshops are a friendly way to boost your skills online and learn practical, actionable insights from experts, live.

To prepare for the challenges that 2025 might have in store for you, you can now bundle up 3 or more online workshops and save 30% on the total price with code BUNDLEUP. Please note that the discount can’t be combined with other discounts. Take a look at all our upcoming workshops and start your smashing learning journey this winter.

Custom Bundles To Fit Your Needs!

Do you need a custom bundle? At Smashing, we would love to know how we can help you and your team make the best of 2025. Let’s think big!

We’d be happy to craft custom bundles that work for you:

Group discounts on large teams for Smashing Membership,
Bulk discounts on books or other learning materials for education or non-profit groups,
Door prize packages for meetups and events,
…any other possibilities for your team, your office, your career path. Let us know via contact form!

We are always looking for new ways to support our community. Please contact us if you’d like us to craft a custom bundle for your needs, or if you have any questions at all. Let’s have a great year!

Community Matters ❤️

Producing a book or a workshop takes quite a bit of time, and we couldn’t pull it off without the support of our wonderful community. A huge shout-out to Smashing Members for their kind, ongoing support. 👏 Happy learning, everyone!

How to Create Print on Demand Designs in 2025

Original Source: https://ecommerce-platforms.com/articles/how-to-create-print-on-demand-designs

The growing popularity of print on demand offers a flexible way to sell custom-designed products without the risks of holding inventory.

However, the key to success lies in creating designs that appeal to your audience and drive sales. Whether you’re a beginner or looking to refine your strategy, this comprehensive guide will walk you through how to create print on demand designs step by step.

What Is Print on Demand?

Print on demand (POD) is a business model that allows you to sell custom products without needing to keep inventory. Products are only created after a customer places an order, which means lower upfront costs and reduced risks compared to traditional retail.

Popular products include:

T-shirts

Hoodies

Mugs

Tote bags

Phone cases

This model is perfect for creative entrepreneurs, as it enables them to monetize their designs with minimal barriers to entry. Using platforms like Printful or Printify, you can upload your designs and let them handle the printing, packaging, and shipping.

The best part? You can focus on design and marketing instead of worrying about inventory management. However, the success of your business depends largely on the quality of your designs, which are the main selling point for customers.

Why Design Matters for Print on Demand

Design is the foundation of success in POD. When customers browse online marketplaces, they often make purchasing decisions based on the visual appeal of a product.

For example:

A simple yet clever quote on a T-shirt can resonate with fitness enthusiasts.

Minimalist, geometric designs are often favored for home decor.

Designs also create an emotional connection. Customers want products that express their identity, hobbies, or sense of humor. This is why knowing your audience is crucial before you even start designing.

Your design also contributes to branding. Even if you’re selling on platforms like Etsy or Amazon, a unique design style can make your store memorable. Over time, consistent design quality can establish customer trust and repeat business.

Steps to Create Print on Demand Designs

Step 1: Choose the Right Niche

A niche is a specific audience or category that your products target. Choosing a niche helps you focus your designs and connect with a particular group of buyers.

How to Identify a Niche:

Explore Trends: Use tools like Google Trends or Pinterest to discover popular ideas. For instance, search for terms like “funny dog T-shirts” or “plant lover mugs.”

Look at Competitors: Browse successful Etsy shops or Amazon bestsellers to see what sells.

Target Your Interests: If you’re passionate about fitness, pets, or travel, focus on those topics.

Examples of Successful Niches:

Fitness enthusiasts: Motivational quotes or workout humor.

Pet owners: Illustrations or funny phrases related to dogs, cats, or other pets.

Pop culture fans: Designs inspired by TV shows, movies, or memes.

Focusing on a niche simplifies your marketing strategy and improves your chances of attracting loyal customers.

Step 2: Research Your Target Audience

Understanding your audience helps you create designs they will love. Here’s how to research effectively:

Use Surveys

Ask friends, family, or followers about their preferences. Social media polls on Instagram or Twitter work well for gathering insights.

Study Competitor Reviews

Look at the reviews on popular products in your niche. Pay attention to what customers praise or criticize.

Observe Social Media Trends

Join Facebook groups or Reddit forums related to your niche. Notice the memes, quotes, or graphics people share.

When you know your audience, you can design with their tastes and values in mind, which increases the likelihood of success.

Step 3: Use the Best Design Tools

Creating print on demand designs requires the right tools. Whether you’re a beginner or a professional, there are tools to match your skill level.

Beginner-Friendly Tools

Canva: Canva is intuitive and has a wide variety of templates. It’s great for text-based designs or adding graphics.

Printful’s Design Maker: This tool integrates seamlessly with their POD services. It includes a pattern generator and text editor.

Printify’s Mockup Generator: Along with mockups, it lets you create simple designs directly on products.

Advanced Tools for Professionals

Adobe Illustrator: Perfect for creating detailed vector graphics. You can scale designs to any size without losing quality.

Affinity Designer: A more affordable option for professional designs with powerful features.

Which Tool Should You Choose?

If you’re new, Canva or Printful’s Design Maker are great starting points. As your skills improve, consider upgrading to Adobe Illustrator or Affinity Designer for more creative control.

Step 4: Develop Your Design Concept

Before creating your design, brainstorm ideas and test their appeal.

Where to Find Inspiration

Pinterest: Search for terms like “minimalist T-shirt designs” or “funny mug quotes.”

Etsy: Browse popular listings in your niche.

Instagram: Explore hashtags related to your audience, like #CatLovers or #FitnessQuotes.

How to Test Your Concepts

Sketch your ideas or use a digital tool to create rough drafts.

Share your concepts with friends or followers for feedback.

Use A/B testing on social media to see which designs resonate most.

By planning your concept in advance, you can avoid wasted time on designs that won’t sell.

Step 5: Create the Design

Now it’s time to turn your concept into a finished product.

Key Design Tips

Resolution: Always create files at 300 DPI (dots per inch) for clear, print-quality results.

File Format: Use PNG files with transparent backgrounds to make them ready for printing.

Typography: Choose clean, bold fonts that are easy to read.

Color Choices: Use contrasting colors to make designs stand out.

Consider the Product Dimensions

Each product has specific size requirements. A mug design might be small and centered, while a T-shirt design should fit across the chest area.

Platforms like Printful and Printify provide templates for each product, making it easier to align your design perfectly.

Best Practices for Print on Demand Designs

Different products require unique design strategies:

T-Shirts: Minimalist designs with bold graphics or funny quotes sell best. Avoid designs that are too complex or crowded.

Mugs: Keep it simple with one or two elements. Text should be easily readable.

Posters: Focus on detailed illustrations or motivational phrases with clean fonts.

Avoid these common mistakes:

Using low-resolution images that appear blurry.

Overloading your design with too many elements or colors.

Ignoring feedback from your audience.

Mockups: Bringing Your Designs to Life

Mockups show customers how your design will look on the final product.

Tools like Placeit or Printify’s Mockup Generator let you create realistic product images. These are especially useful for marketing on Etsy, Amazon, or Shopify.

Mockups give buyers confidence in their purchase and help you stand out in competitive marketplaces.

A/B Testing Your Designs

A/B testing is a simple way to find the best-performing designs.

How to Test

Create two versions of a design with small differences (e.g., font style or color).

Share them on Instagram or Pinterest and track likes, comments, or clicks.

Use the winning design for your final product.

Testing ensures you focus on designs that will resonate with your audience and boost sales.

Scaling and Promoting Your Designs

Marketing Your Print on Demand Products

Marketing is essential to drive traffic to your print on demand busdiness.

Organic Strategies

Social Media: Post your designs on Instagram, TikTok, or Pinterest. Use trending hashtags like #PrintOnDemand or #CustomTShirts.

SEO: Optimize your product titles and descriptions for search engines. For example, use keywords like “Funny Dog T-Shirt for Pet Lovers.”

Paid Strategies

Facebook Ads: Target specific audiences based on their interests and behaviors.

Google Shopping Ads: Show your products directly in search results.

Marketing consistently will help your products gain visibility and attract more buyers.

Scaling Your Print on Demand Business

As your business grows, expand into new niches or product categories.

Automation

Use automation tools to handle repetitive tasks, like syncing new designs to your store. Printful and Printify offer integrations with platforms like Shopify and Etsy.

Outsourcing

Consider hiring freelance designers to help with new designs while you focus on scaling your store.

Scaling effectively requires reinvesting profits into marketing and continually improving your designs.

Frequently Asked Questions (FAQs)

What Skills Do I Need to Create Designs?

You don’t need to be a professional designer. Tools like Canva and Printful’s Design Maker make it easy for beginners.

Can I Use Pre-Made Templates?

Yes, but ensure you customize them to make your designs unique and avoid copyright issues.

How Do I Price My Products?

Factor in production costs, platform fees, and your desired profit margin. Look at competitor pricing to stay competitive.

The post How to Create Print on Demand Designs in 2025 appeared first on Ecommerce Platforms.

Dreaming Of Miracles (December 2024 Wallpapers Edition)

Original Source: https://smashingmagazine.com/2024/11/desktop-wallpaper-calendars-december-2024/

As the year is coming to a close, many of us feel rushed, meeting deadlines, finishing off projects, or preparing for the upcoming holiday season. So how about some beautiful, wintery desktop wallpapers to sweeten up the month and get you in the mood for December — and the holidays, if you’re celebrating?

More than thirteen years ago, we started our monthly wallpapers series here at Smashing Magazine. It’s the perfect opportunity to put your creative skills to the test but also to find just the right wallpaper to accompany you through the new month. This month is no exception, of course, so following our cozy little tradition, we have a new collection of December wallpapers for you to choose from. All of them were created with love by artists and designers from across the globe and can be downloaded for free.

A huge thank you to everyone who tickled their creativity and shared their designs with us. This post wouldn’t exist without you. ❤️ Happy December!

You can click on every image to see a larger preview.
We respect and carefully consider the ideas and motivation behind each and every artist’s work. This is why we give all artists the full freedom to explore their creativity and express emotions and experience through their works. This is also why the themes of the wallpapers weren’t anyhow influenced by us but rather designed from scratch by the artists themselves.
Submit your wallpaper design! 👩‍🎨
Feeling inspired? We are always looking for creative talent and would love to feature your desktop wallpaper in one of our upcoming posts. We can’t wait to see what you’ll come up with!

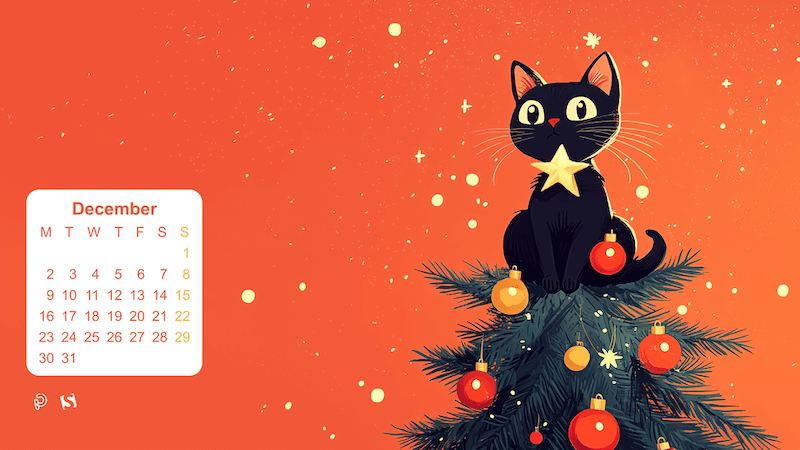
Paws-itively Festive!

“This holiday season, even our furry friends are getting in the spirit! Our mischievous little tree-topper has found the purr-fect perch to keep an eye on all the festivities. May your days be merry, bright, and filled with joyful surprises just like this one!” — Designed by PopArt Studio from Serbia.
preview
with calendar: 320×480, 640×480, 800×480, 800×600, 1024×768, 1024×1024, 1152×864, 1280×720, 1280×800, 1280×960, 1280×1024, 1400×1050, 1440×900, 1600×1200, 1680×1050, 1680×1200, 1920×1080, 1920×1200, 1920×1440, 2560×1440
without calendar: 320×480, 640×480, 800×480, 800×600, 1024×768, 1024×1024, 1152×864, 1280×720, 1280×800, 1280×960, 1280×1024, 1400×1050, 1440×900, 1600×1200, 1680×1050, 1680×1200, 1920×1080, 1920×1200, 1920×1440, 2560×1440

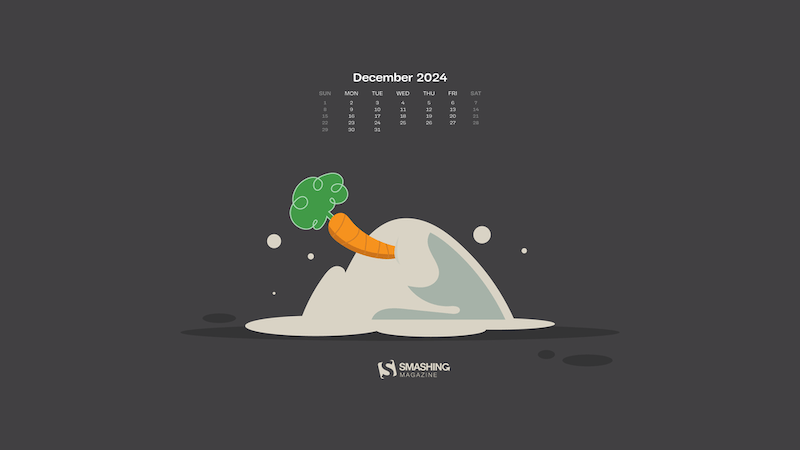
Merry Christmmm…

Designed by Ricardo Gimenes from Spain.
preview
with calendar: 640×480, 800×480, 800×600, 1024×768, 1024×1024, 1152×864, 1280×720, 1280×800, 1280×960, 1280×1024, 1366×768, 1400×1050, 1440×900, 1600×1200, 1680×1050, 1680×1200, 1920×1080, 1920×1200, 1920×1440, 2560×1440, 3840×2160
without calendar: 640×480, 800×480, 800×600, 1024×768, 1024×1024, 1152×864, 1280×720, 1280×800, 1280×960, 1280×1024, 1366×768, 1400×1050, 1440×900, 1600×1200, 1680×1050, 1680×1200, 1920×1080, 1920×1200, 1920×1440, 2560×1440, 3840×2160

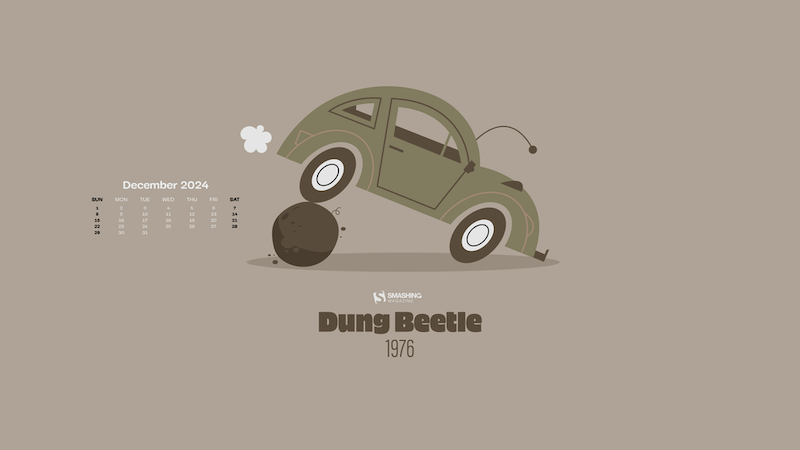
Dung Beetle

Designed by Ricardo Gimenes from Spain.
preview
with calendar: 640×480, 800×480, 800×600, 1024×768, 1024×1024, 1152×864, 1280×720, 1280×800, 1280×960, 1280×1024, 1366×768, 1400×1050, 1440×900, 1600×1200, 1680×1050, 1680×1200, 1920×1080, 1920×1200, 1920×1440, 2560×1440, 3840×2160
without calendar: 640×480, 800×480, 800×600, 1024×768, 1024×1024, 1152×864, 1280×720, 1280×800, 1280×960, 1280×1024, 1366×768, 1400×1050, 1440×900, 1600×1200, 1680×1050, 1680×1200, 1920×1080, 1920×1200, 1920×1440, 2560×1440, 3840×2160

Dear Moon, Merry Christmas

Designed by Vlad Gerasimov from Georgia.

preview
without calendar: 800×480, 800×600, 1024×600, 1024×768, 1152×864, 1280×720, 1280×800, 1280×960, 1280×1024, 1366×768, 1400×1050, 1440×900, 1440×960, 1600×900, 1600×1200, 1680×1050, 1680×1200, 1920×1080, 1920×1200, 1920×1440, 2560×1440, 2560×1600, 2880×1800, 3072×1920, 3840×2160, 5120×2880

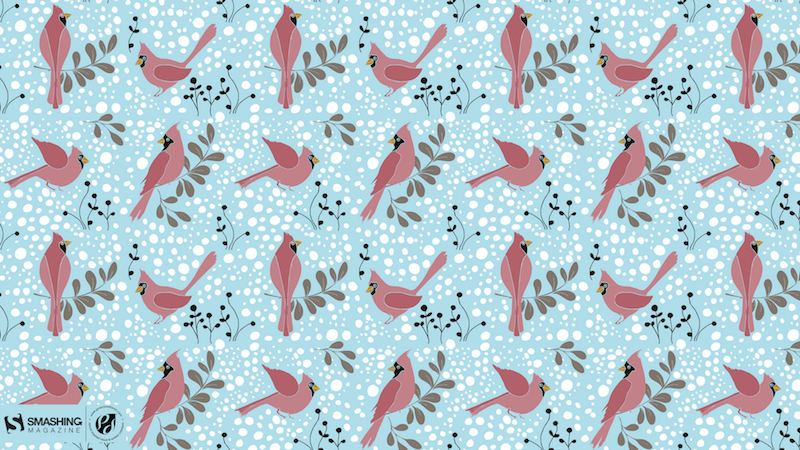
Cardinals In Snowfall

“During Christmas season, in the cold, colorless days of winter, Cardinal birds are seen as symbols of faith and warmth. In the part of America I live in, there is snowfall every December. While the snow is falling, I can see gorgeous Cardinals flying in and out of my patio. The intriguing color palette of the bright red of the Cardinals, the white of the flurries and the brown/black of dry twigs and fallen leaves on the snow-laden ground fascinates me a lot, and inspired me to create this quaint and sweet, hand-illustrated surface pattern design as I wait for the snowfall in my town!” — Designed by Gyaneshwari Dave from the United States.
preview
without calendar: 640×960, 768×1024, 1280×720, 1280×1024, 1366×768, 1920×1080, 2560×1440

The House On The River Drina

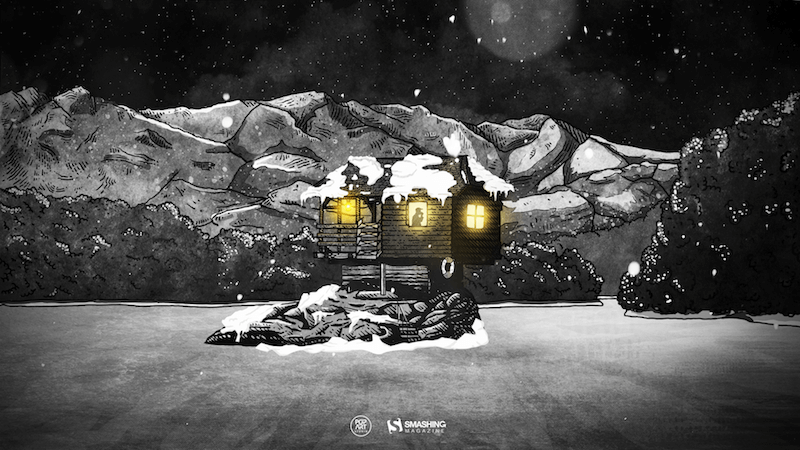
“Since we often yearn for a peaceful and quiet place to work, we have found inspiration in the famous house on the River Drina in Bajina Bašta, Serbia. Wouldn’t it be great being in nature, away from civilization, swaying in the wind and listening to the waves of the river smashing your house, having no neighbors to bother you? Not sure about the Internet, though…” — Designed by PopArt Studio from Serbia.
preview
without calendar: 640×480, 800×600, 1024×1024, 1152×864, 1280×720, 1280×960, 1280×1024, 1366×768, 1400×1050, 1440×900, 1600×1200, 1680×1200, 1920×1080, 1920×1200, 1920×1440, 2560×1440

Enchanted Blizzard

“A seemingly forgotten world under the shade of winter glaze hides a moment where architecture meets fashion and change encounters steadiness.” — Designed by Ana Masnikosa from Belgrade, Serbia.

preview
without calendar: 320×480, 640×480, 800×480, 800×600, 1024×768, 1024×1024, 1152×864, 1280×720, 1280×800, 1280×960, 1280×1024, 1400×1050, 1440×900, 1600×1200, 1680×1050, 1680×1200, 1920×1080, 1920×1200, 1920×1440, 2560×1440

Christmas Cookies

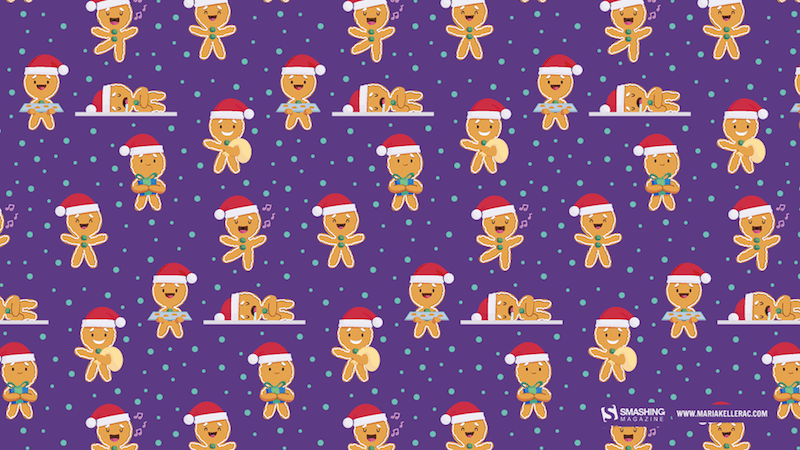
“Christmas is coming and a great way to share our love is by baking cookies.” — Designed by Maria Keller from Mexico.
preview
without calendar: 320×480, 640×480, 640×1136, 750×1334, 800×480, 800×600, 1024×768, 1024×1024, 1152×864, 1242×2208, 1280×720, 1280×800, 1280×960, 1280×1024, 1366×768, 1400×1050, 1440×900, 1600×1200, 1680×1050, 1680×1200, 1920×1080, 1920×1200, 1920×1440, 2560×1440, 2880×1800

Sweet Snowy Tenderness

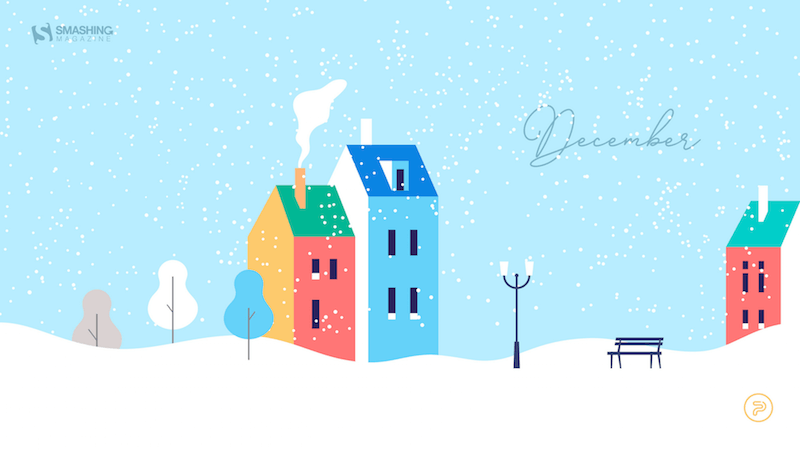
“You know that warm feeling when you get to spend cold winter days in a snug, homey, relaxed atmosphere? Oh, yes, we love it, too! It is the sentiment we set our hearts on for the holiday season, and this sweet snowy tenderness is for all of us who adore watching the snowfall from our windows. Isn’t it romantic?” — Designed by PopArt Studio from Serbia.
preview
without calendar: 320×480, 640×480, 800×480, 800×600, 1024×768, 1024×1024, 1152×864, 1280×720, 1280×800, 1280×960, 1280×1024, 1366×768, 1400×1050, 1440×900, 1600×1200, 1680×1050, 1680×1200, 1920×1080, 1920×1200, 1920×1440, 2560×1440

Getting Hygge

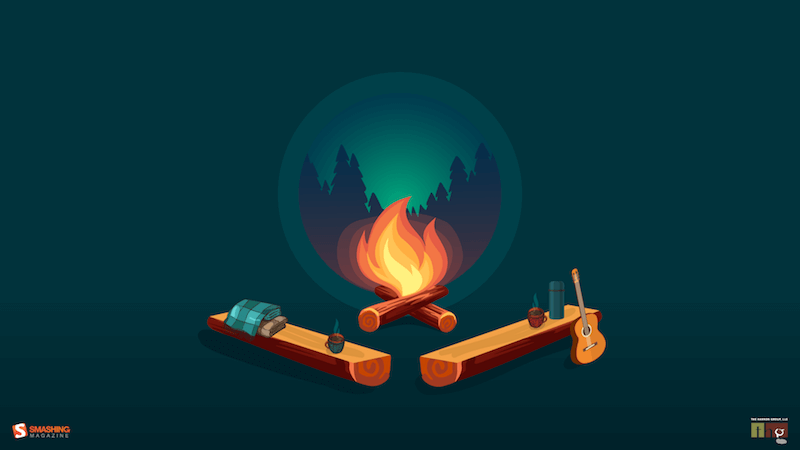
“There’s no more special time for a fire than in the winter. Cozy blankets, warm beverages, and good company can make all the difference when the sun goes down. We’re all looking forward to generating some hygge this winter, so snuggle up and make some memories.” — Designed by The Hannon Group from Washington D.C.
preview
without calendar: 320×480, 640×480, 800×600, 1024×768, 1280×960, 1440×900, 1600×1200, 1680×1050, 1680×1200, 1920×1080, 1920×1440, 2560×1440

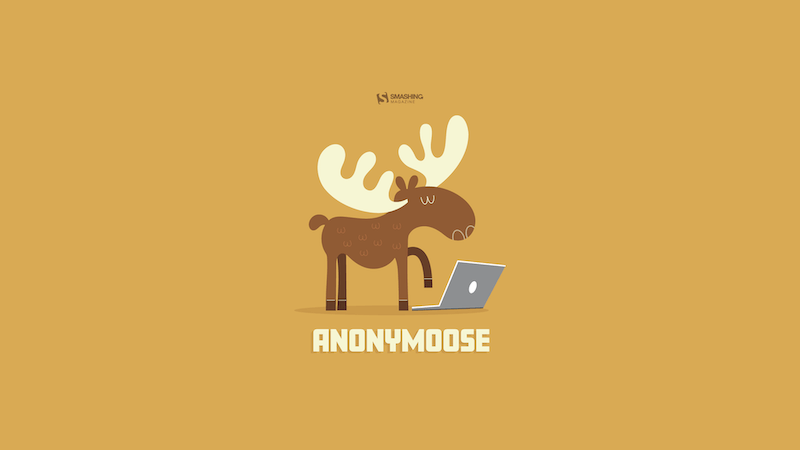
Anonymoose

Designed by Ricardo Gimenes from Spain.
preview
without calendar: 640×480, 800×480, 800×600, 1024×768, 1024×1024, 1152×864, 1280×720, 1280×800, 1280×960, 1280×1024, 1366×768, 1400×1050, 1440×900, 1600×1200, 1680×1050, 1680×1200, 1920×1080, 1920×1200, 1920×1440, 2560×1440, 3840×2160

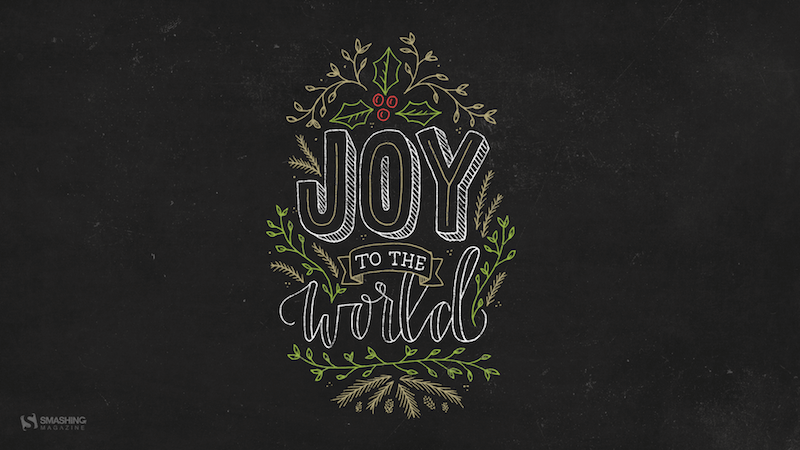
Joy To The World

“Joy to the world, all the boys and girls now, joy to the fishes in the deep blue sea, joy to you and me.” — Designed by Morgan Newnham from Boulder, Colorado.
preview
without calendar: 320×480, 640×480, 800×480, 800×600, 1024×768, 1024×1024, 1152×864, 1280×720, 1280×800, 1280×960, 1280×1024, 1400×1050, 1440×900, 1600×1200, 1680×1050, 1680×1200, 1920×1080, 1920×1200, 1920×1440, 2560×1440

King Of Pop

Designed by Ricardo Gimenes from Spain.

preview
without calendar: 640×480, 800×480, 800×600, 1024×768, 1024×1024, 1152×864, 1280×720, 1280×800, 1280×960, 1280×1024, 1366×768, 1400×1050, 1440×900, 1600×1200, 1680×1050, 1680×1200, 1920×1080, 1920×1200, 1920×1440, 2560×1440, 3840×2160

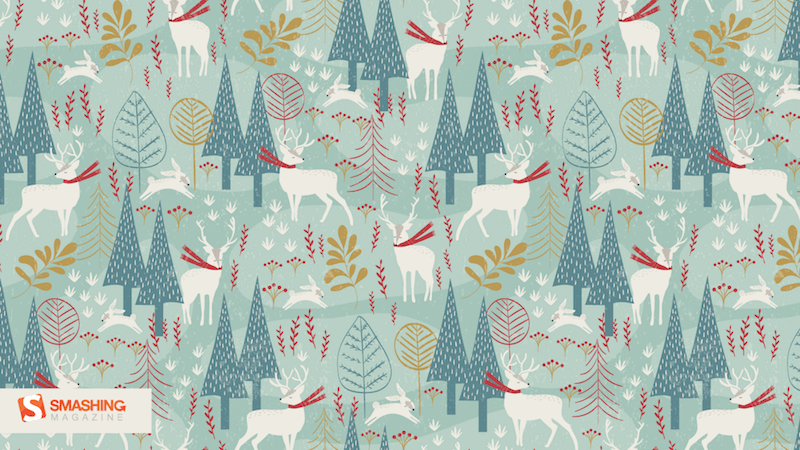
Christmas Woodland

Designed by Mel Armstrong from Australia.
preview
without calendar: 320×480, 640×480, 800×480, 800×600, 1024×768, 1024×1024, 1152×864, 1280×720, 1280×800, 1280×960, 1280×1024, 1366×768, 1400×1050, 1440×900, 1600×1200, 1680×1050, 1680×1200, 1920×1080, 1920×1200, 1920×1440, 2560×1440

Catch Your Perfect Snowflake

“This time of year, people tend to dream big and expect miracles. Let your dreams come true!” Designed by Igor Izhik from Canada.

preview
without calendar: 800×480, 800×600, 1024×768, 1024×1024, 1152×864, 1280×720, 1280×800, 1280×960, 1280×1024, 1400×1050, 1440×900, 1600×1200, 1680×1050, 1680×1200, 1920×1080, 1920×1200, 1920×1440, 2560×1440, 2560×1600

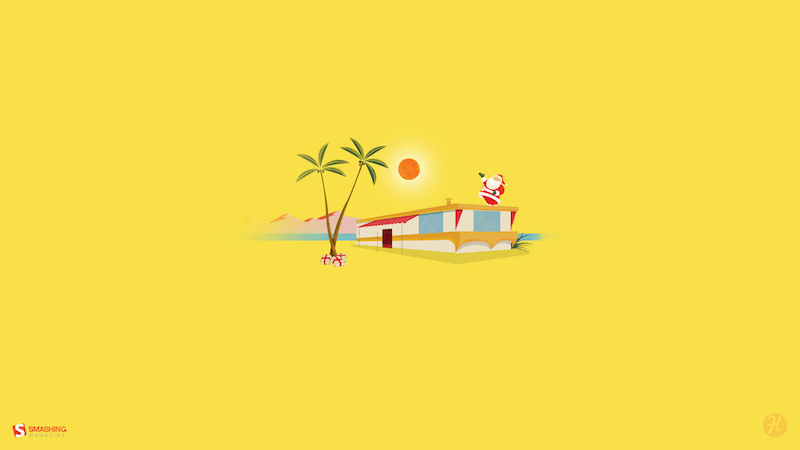
Trailer Santa

“A mid-century modern Christmas scene outside the norm of snowflakes and winter landscapes.” Designed by Houndstooth from the United States.
preview
without calendar: 1024×1024, 1280×800, 1280×1024, 1440×900, 1680×1050, 2560×1440

Silver Winter

Designed by Violeta Dabija from Moldova.

preview
without calendar: 1024×768, 1280×800, 1440×900, 1680×1050, 1920×1200, 2560×1440

Gifts Lover

Designed by Elise Vanoorbeek from Belgium.

preview
without calendar: 800×480, 800×600, 1024×768, 1024×1024, 1152×864, 1280×800, 1280×960, 1280×1024, 1366×768, 1400×1050, 1440×900, 1600×1200, 1680×1050, 1680×1200, 1920×1080, 1920×1200, 1920×1440, 2560×1440

On To The Next One

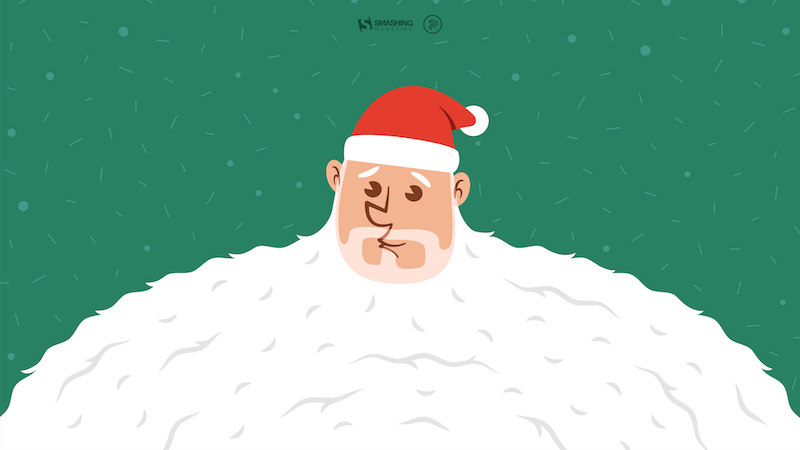
“Endings intertwined with new beginnings, challenges we rose to and the ones we weren’t up to, dreams fulfilled and opportunities missed. The year we say goodbye to leaves a bitter-sweet taste, but we’re thankful for the lessons, friendships, and experiences it gave us. We look forward to seeing what the new year has in store, but, whatever comes, we will welcome it with a smile, vigor, and zeal.” — Designed by PopArt Studio from Serbia.
preview
without calendar: 320×480, 640×480, 800×480, 800×600, 1024×768, 1024×1024, 1152×864, 1280×720, 1280×800, 1280×960, 1280×1024, 1366×768, 1400×1050, 1440×900, 1600×1200, 1680×1050, 1680×1200, 1920×1080, 1920×1200, 1920×1440, 2560×1440

The Matterhorn

“Christmas is always such a magical time of year so we created this wallpaper to blend the majestry of the mountains with a little bit of magic.” — Designed by Dominic Leonard from the United Kingdom.

preview
without calendar: 320×480, 800×600, 1024×768, 1280×720, 1400×1050, 1680×1200, 1920×1080, 1920×1200, 1920×1440, 2560×1440

Ninja Santa

Designed by Elise Vanoorbeek from Belgium.

preview
without calendar: 1280×1024, 1366×768, 1400×1050, 1440×900, 1600×1200, 1680×1050, 1680×1200, 1920×1080, 1920×1440, 2560×1440

It’s In The Little Things

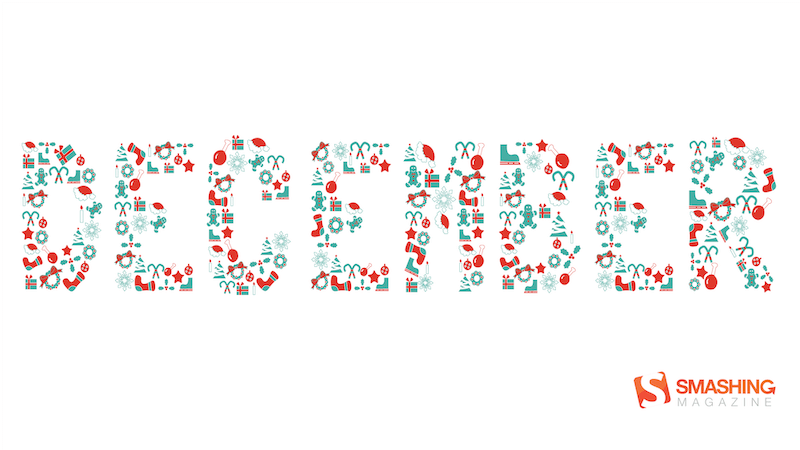
Designed by Thaïs Lenglez from Belgium.
preview
without calendar: 640×480, 800×600, 1024×768, 1280×1024, 1440×900, 1600×1200, 1680×1050, 1920×1080, 1920×1200, 2560×1440

Ice Flowers

“I took some photos during a very frosty and cold week before Christmas.” Designed by Anca Varsandan from Romania.

preview
without calendar: 1024×768, 1280×800, 1440×900, 1680×1050, 1920×1200

Surprise

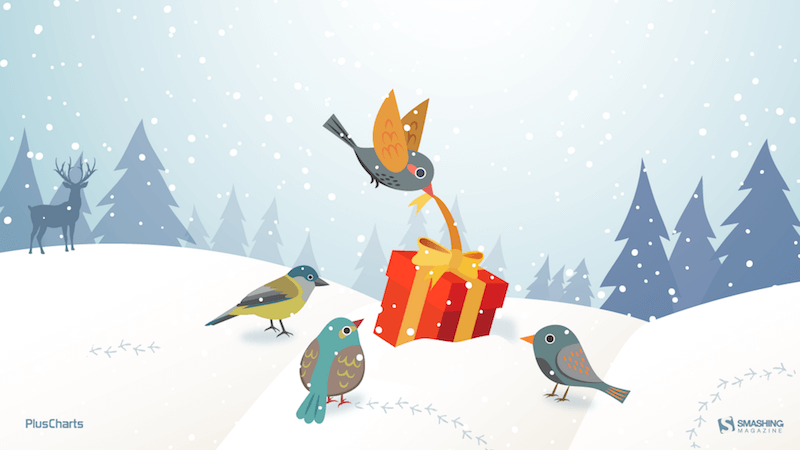
“Surprise is the greatest gift which life can grant us.” — Designed by PlusCharts from India.
preview
without calendar: 360×640, 1024×768, 1280×720, 1280×800, 1280×960, 1280×1024, 1366×768, 1400×1050, 1440×900, 1600×900, 1680×1200, 1920×1080

Season’s Greetings From Australia

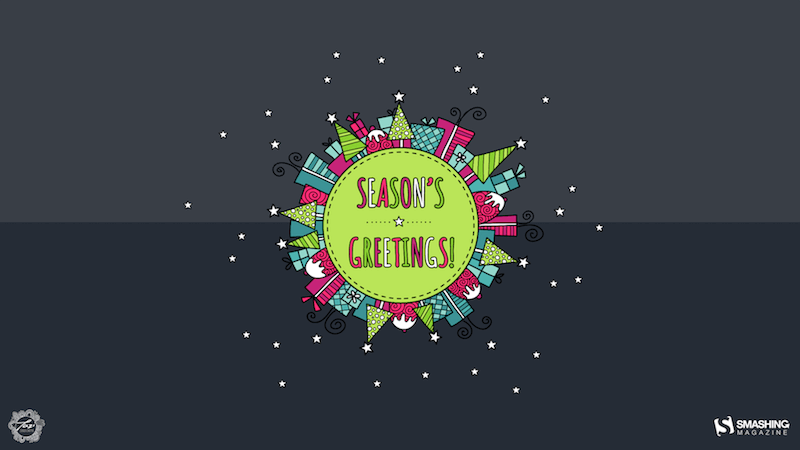
Designed by Tazi Designs from Australia.
preview
without calendar: 320×480, 640×480, 800×600, 1024×768, 1152×864, 1280×720, 1280×960, 1600×1200, 1920×1080, 1920×1440, 2560×1440

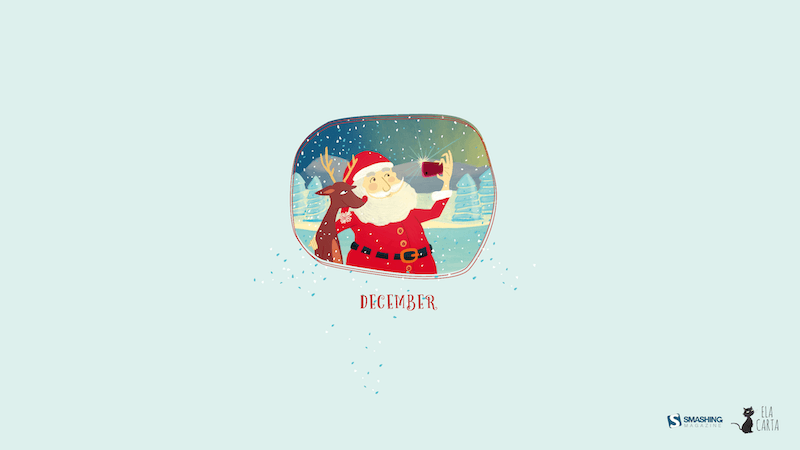
Christmas Selfie

Designed by Emanuela Carta from Italy.
preview
without calendar: 320×480, 800×600, 1280×800, 1280×1024, 1440×900, 1680×1050, 2560×1440

Winter Wonderland

“‘Winter is the time for comfort, for good food and warmth, for the touch of a friendly hand and for a talk beside the fire: it is the time for home.’ (Edith Sitwell) — Designed by Dipanjan Karmakar from India.

preview
without calendar: 1280×720, 1280×800, 1280×960, 1280×1024, 1366×768, 1400×1050, 1440×900, 1600×1200, 1680×1050, 1680×1200, 1920×1080, 1920×1440, 2560×1440

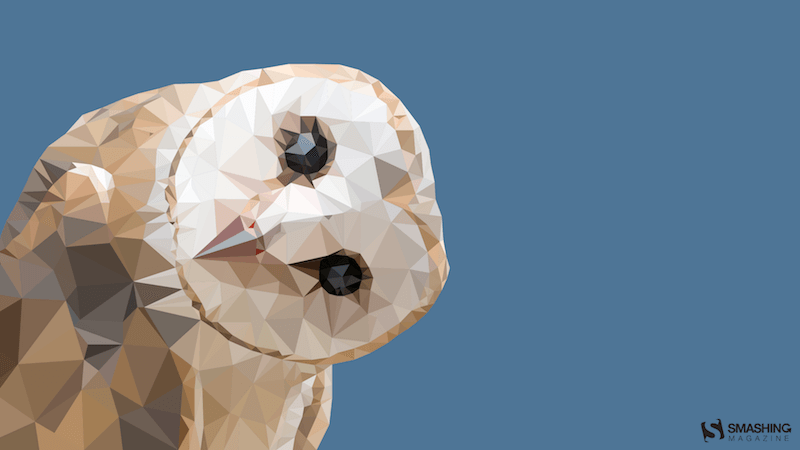
Winter Morning

“Early walks in the fields when the owls still sit on the fences and stare funny at you.” — Designed by Bo Dockx from Belgium.
preview
without calendar: 320×480, 640×480, 800×480, 800×600, 1024×768, 1024×1024, 1152×864, 1280×720, 1280×800, 1280×960, 1280×1024, 1366×768, 1400×1050, 1440×900, 1600×1200, 1680×1050, 1920×1080, 1920×1200, 1920×1440, 2560×1440

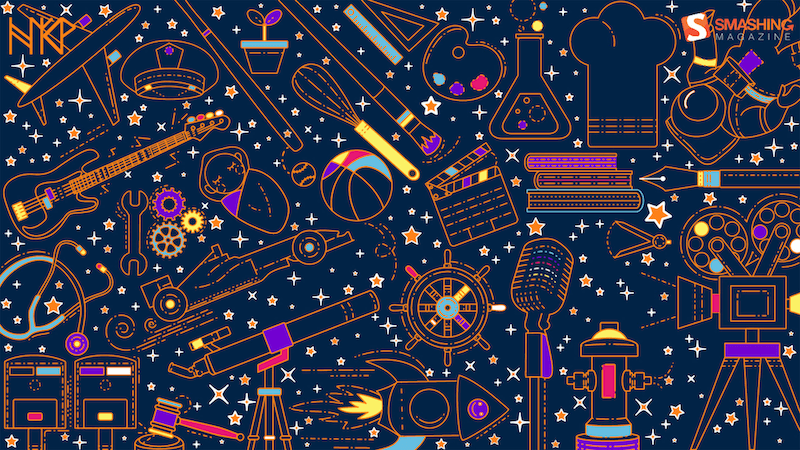
Dream What You Want To Do

“The year will end, hope the last month, you can do what you want to do, seize the time, cherish yourself, expect next year we will be better!” — Designed by Hong Zi-Qing from Taiwan.
preview
without calendar: 1024×768, 1152×864, 1280×720, 1280×960, 1366×768, 1400×1050, 1530×900, 1600×1200, 1920×1080, 1920×1440, 2560×1440

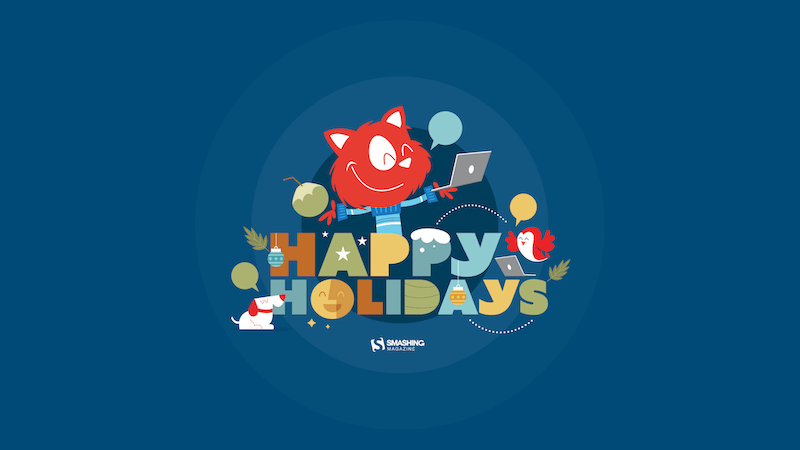
Happy Holidays

Designed by Ricardo Gimenes from Spain.
preview
without calendar: 640×480, 800×480, 800×600, 1024×768, 1024×1024, 1152×864, 1280×720, 1280×800, 1280×960, 1280×1024, 1366×768, 1400×1050, 1440×900, 1600×1200, 1680×1050, 1680×1200, 1920×1080, 1920×1200, 1920×1440, 2560×1440, 3840×2160

10 Security Gadgets That’ll Make You Feel Safer at Home

Original Source: https://www.hongkiat.com/blog/home-security-gadgets/

Keeping your home secure doesn’t have to be overwhelming. With modern security gadgets, you can add practical and straightforward protection to your space. From smart cameras to advanced doorbells, these tools are designed to help you monitor your home and improve your safety with minimal effort.

In this post, we’ll explore 10 security gadgets that offer reliable solutions for protecting your home. Whether you’re interested in video doorbells, indoor cameras, or complete systems, there’s an option that can meet your needs and help you stay in control of your home’s safety.

Eufy S220 Video Doorbell

$199.99

Want to see who’s at your door clearly? This video doorbell offers 2K video quality and secures your data with AES-256 encryption.

Local storage removes the need for ongoing cloud subscription costs, while compatibility with Google Assistant and Amazon Alexa adds convenience.

Get from Eufy

Ezviz C6 Smart Home Pan and Tilt Camera

£69.99

If you’re looking for a camera that keeps up with the action, the Ezviz C6 is a solid choice. It uses AI-powered motion detection to notify you about important movements and even tracks objects with automatic zoom.

With options for local and cloud storage, you have flexibility in how you manage your footage. A privacy shutter enhances security when the camera isn’t in use.

Get from Ezviz

Amazon Blink Mini Indoor Security Camera

$17.99

A compact security option for your home, the Blink Mini delivers 1080p HD video along with motion detection alerts and two-way audio for simple communication.

Designed to fit discreetly in any room, it allows footage storage in the cloud or on a USB drive via the Blink Sync Module 2.

Get from Amazon

Ring Stick Up Cam
Ring Stick Up Cam

$54.99

Stay connected to your home with the Ring Stick Up Cam, which records in 1080p HD and sends motion alerts straight to your phone. A two-way talk feature makes interacting with visitors easy.

You can use this camera indoors or outdoors, and it offers multiple power options: plug-in, battery, or solar panel.

Get from Ring

EufyCam 2C
EufyCam 2C

$129.99

Designed to keep costs low without sacrificing quality, the EufyCam 2C captures 1080p video and uses person detection to minimize false alerts. It’s built to withstand the outdoors with an IP67 rating.

Subscription-free local storage helps you save costs, and the built-in spotlight improves visibility in dimly lit conditions.

Get from Amazon

Arlo Essential Spotlight Camera

$99.99

For those who want clear nighttime visuals, the Arlo Essential Spotlight Camera offers 1080p video and a built-in spotlight for better clarity. Color night vision ensures you don’t miss details even in the dark.

Being wire-free, it’s simple to install anywhere. Motion alerts are sent directly to your phone, and smart home compatibility includes Alexa and Google Assistant.

Get from Arlo

Neos SmartCam
Neos SmartCam

$35.39

Keep an eye on your home without breaking the bank. The Neos SmartCam provides 1080p HD video with night vision, making it reliable even in low-light settings. Motion and audio detection alerts go straight to your phone.

Compact and discreet, the camera offers 14 days of free cloud storage for recordings, making it a practical choice for home use.

Get from Amazon

SimpliSafe Home Security System

$84.00

Securing your home shouldn’t be complicated, and the SimpliSafe system makes it easy. It lets you customize your setup with devices like entry sensors and cameras, and installation doesn’t require professional help.

Offering 24/7 monitoring, the system integrates seamlessly with Alexa and Google Assistant. You can choose from various plans to suit your needs.

Get from Simplisafe

Nest Protect Smoke and Carbon Monoxide Detector

$149.00

Smoke and carbon monoxide detection you can rely on. Nest Protect keeps you informed with alerts sent to your phone and voice notifications explaining the problem and its location.

Automatic self-checks ensure that the device remains operational, so you don’t have to worry about regular manual testing.

Get from Google Store

Aqara U200 Smart Lock

$199.99

Upgrading your existing lock has never been easier. The Aqara U200 lets you control your lock with a phone app while keeping your traditional key as a backup.

Smart home compatibility allows for remote monitoring and access. Installation is straightforward and doesn’t involve replacing the entire lock mechanism.

Get from PIQO

The post 10 Security Gadgets That’ll Make You Feel Safer at Home appeared first on Hongkiat.