Crows, Ghosts, And Autumn Bliss (October 2024 Wallpapers Edition)
Original Source: https://smashingmagazine.com/2024/09/desktop-wallpaper-calendars-october-2024/
The leaves are shining in the most beautiful colors and pumpkins are taking over the front porches. It’s time to welcome the spookiest of all months: October! To get your desktop ready for fall and the upcoming Halloween season, artists and designers from across the globe once again got their ideas flowing and designed inspiring wallpapers for you to indulge in.
The wallpapers in this post come in versions with and without a calendar for October 2024 and can be downloaded for free. And since so many beautiful and unique designs evolve around our little wallpapers challenge every month (we’ve been running it for more than 13 years already, can you believe it?!), we also added some timeless October treasures from our wallpapers archives to the collection. Maybe you’ll spot one of your almost-forgotten favorites in here, too?
A huge thank you to everyone who shared their wallpapers with us this month — this post wouldn’t exist without you. Happy October!
You can click on every image to see a larger preview,
We respect and carefully consider the ideas and motivation behind each and every artist’s work. This is why we give all artists the full freedom to explore their creativity and express emotions and experience through their works. This is also why the themes of the wallpapers weren’t anyhow influenced by us but rather designed from scratch by the artists themselves.
Submit a wallpaper!
Did you know that you could get featured in our next wallpapers post, too? We are always looking for creative talent.
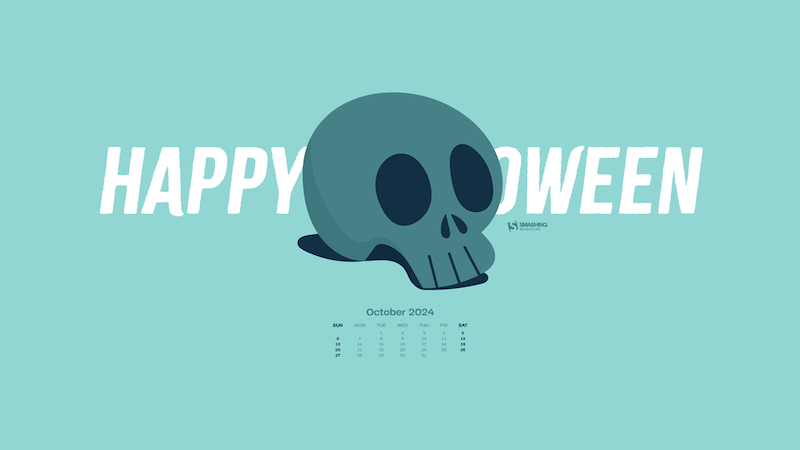
Happy Halloween
Designed by Ricardo Gimenes from Spain.
preview
with calendar: 640×480, 800×480, 800×600, 1024×768, 1024×1024, 1152×864, 1280×720, 1280×800, 1280×960, 1280×1024, 1366×768, 1400×1050, 1440×900, 1600×1200, 1680×1050, 1680×1200, 1920×1080, 1920×1200, 1920×1440, 2560×1440, 3840×2160
without calendar: 640×480, 800×480, 800×600, 1024×768, 1024×1024, 1152×864, 1280×720, 1280×800, 1280×960, 1280×1024, 1366×768, 1400×1050, 1440×900, 1600×1200, 1680×1050, 1680×1200, 1920×1080, 1920×1200, 1920×1440, 2560×1440, 3840×2160
Reptile Awareness Day
“Let’s celebrate reptiles and raise awareness of their vital role in ecosystems. Many species face threats, so let’s learn, appreciate, and protect these incredible creatures and their habitats!” — Designed by PopArt Studio from Serbia.
preview
with calendar: 320×480, 640×480, 800×480, 800×600, 1024×768, 1024×1024, 1152×864, 1280×720, 1280×800, 1280×960, 1280×1024, 1400×1050, 1440×900, 1600×1200, 1680×1050, 1680×1200, 1920×1080, 1920×1200, 1920×1440, 2560×1440
without calendar: 320×480, 640×480, 800×480, 800×600, 1024×768, 1024×1024, 1152×864, 1280×720, 1280×800, 1280×960, 1280×1024, 1400×1050, 1440×900, 1600×1200, 1680×1050, 1680×1200, 1920×1080, 1920×1200, 1920×1440, 2560×1440
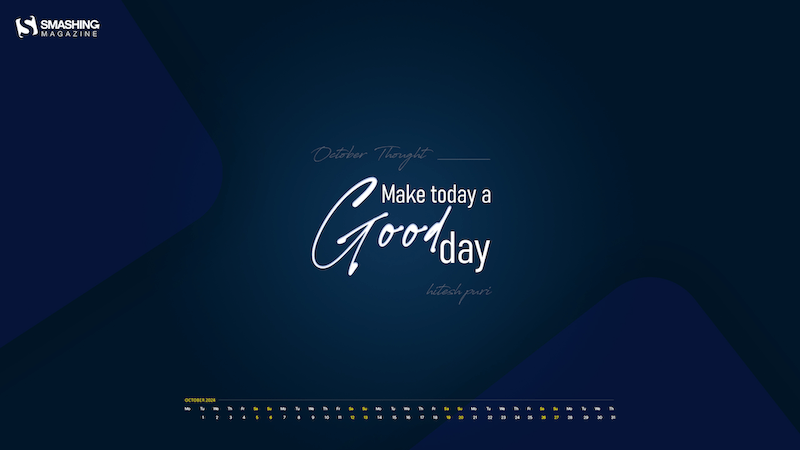
Make Today A Good Day
“‘Make today a good day’ is a simple yet powerful reminder to take control of the present moment. It emphasizes that our attitude and actions shape our experience, encouraging positivity and purpose. Each day brings new opportunities, and by choosing to make it good, we invite growth, joy, and fulfilment into our lives.” — Designed by Hitesh Puri from Delhi, India.
preview
with calendar: 1280×720, 1280×800, 1280×960, 1280×1024, 1400×1050, 1440×900, 1600×1200, 1680×1050, 1680×1200, 1920×1080, 1920×1200, 1920×1440, 2560×1440
without calendar: 1280×720, 1280×800, 1280×960, 1280×1024, 1400×1050, 1440×900, 1600×1200, 1680×1050, 1680×1200, 1920×1080, 1920×1200, 1920×1440, 2560×1440
The Dungeon Master
Designed by Ricardo Gimenes from Spain.

preview
with calendar: 640×480, 800×480, 800×600, 1024×768, 1024×1024, 1152×864, 1280×720, 1280×800, 1280×960, 1280×1024, 1366×768, 1400×1050, 1440×900, 1600×1200, 1680×1050, 1680×1200, 1920×1080, 1920×1200, 1920×1440, 2560×1440, 3840×2160
without calendar: 640×480, 800×480, 800×600, 1024×768, 1024×1024, 1152×864, 1280×720, 1280×800, 1280×960, 1280×1024, 1366×768, 1400×1050, 1440×900, 1600×1200, 1680×1050, 1680×1200, 1920×1080, 1920×1200, 1920×1440, 2560×1440, 3840×2160
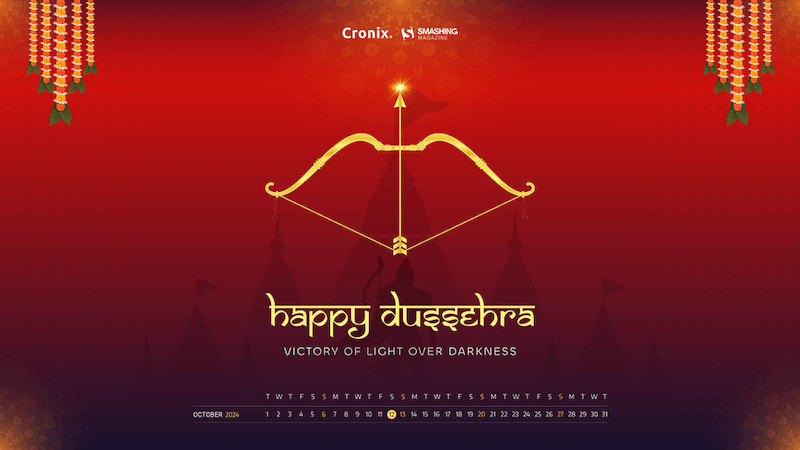
Happy Dussehra
“I was inspired by Dussehra’s rich symbolism and cultural significance while creating this design. The festival celebrates the triumph of good over evil. The bow and arrow become the central focus, while the bold red background, golden accents, and the temple’s silhouette add a sense of grandeur and spirituality.” — Designed by Cronix from the United States.
preview
with calendar: 800×480, 800×600, 1024×600, 1024×768, 1152×864, 1280×720, 1280×800, 1280×960, 1280×1024, 1366×768, 1400×1050, 1440×900, 1440×960, 1600×900, 1600×1200, 1680×1050, 1680×1200, 1920×1080, 1920×1200, 1920×1440, 2560×1440, 2560×1600, 2880×1800, 3072×1920, 3840×2160, 5120×2880
without calendar: 800×480, 800×600, 1024×600, 1024×768, 1152×864, 1280×720, 1280×800, 1280×960, 1280×1024, 1366×768, 1400×1050, 1440×900, 1440×960, 1600×900, 1600×1200, 1680×1050, 1680×1200, 1920×1080, 1920×1200, 1920×1440, 2560×1440, 2560×1600, 2880×1800, 3072×1920, 3840×2160, 5120×2880
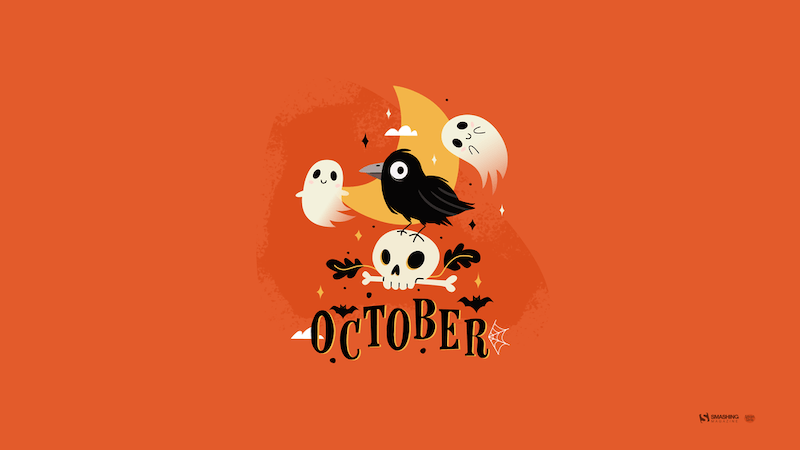
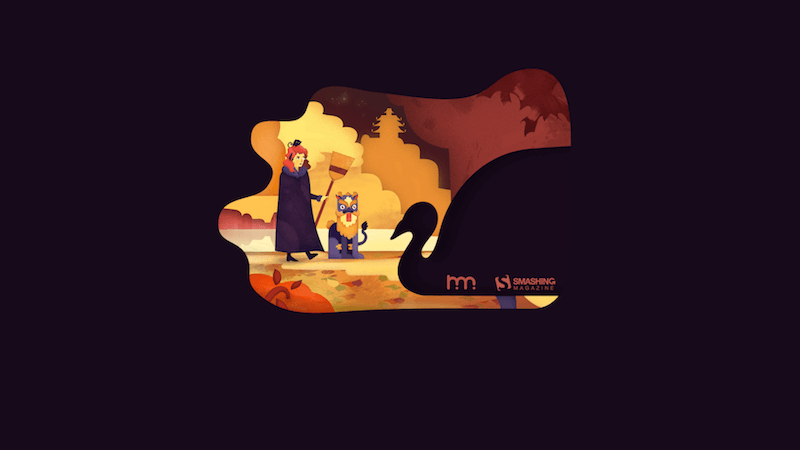
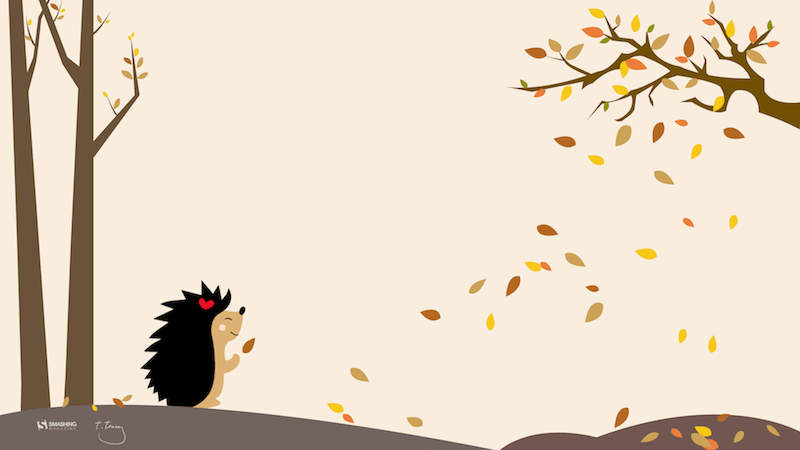
The Crow And The Ghosts
“If my heart were a season, it would be autumn.” — Designed by Lívia Lénárt from Hungary.
preview
without calendar: 320×480, 1024×1024, 1280×1024, 1600×1200, 1680×1200, 1920×1080, 1920×1200, 1920×1440, 2560×1440, 3840×2160
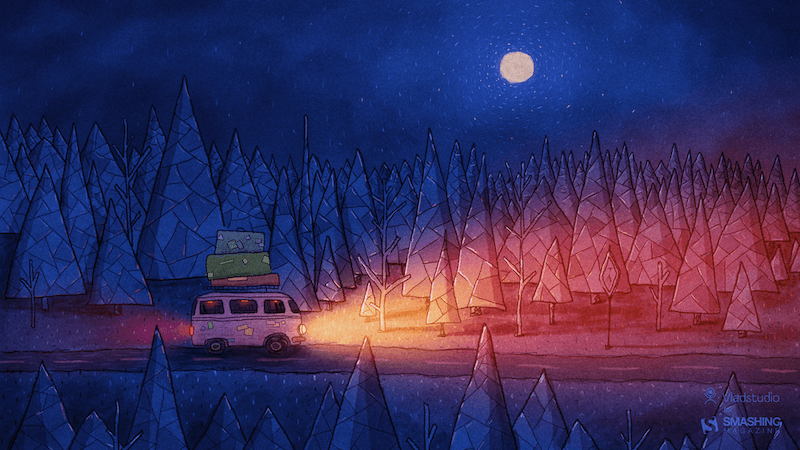
The Night Drive
Designed by Vlad Gerasimov from Georgia.
preview
without calendar: 800×480, 800×600, 1024×600, 1024×768, 1152×864, 1280×720, 1280×800, 1280×960, 1280×1024, 1366×768, 1440×900, 1440×960, 1400×1050, 1600×900, 1600×1200, 1680×1050, 1680×1200, 1920×1080, 1920×1200, 1920×1440, 2560×1440, 2560×1600, 2880×1800, 3072×1920, 3840×2160, 5120×2880
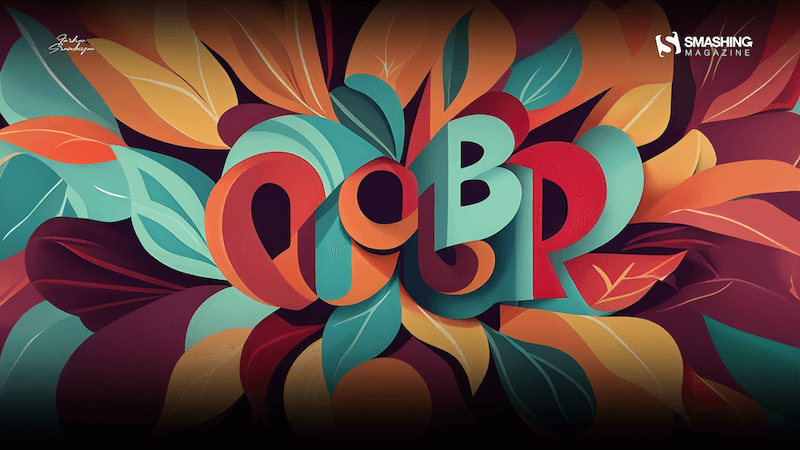
Autumn’s Splendor
“The transition to autumn brings forth a rich visual tapestry of warm colors and falling leaves, making it a natural choice for a wallpaper theme.” — Designed by Farhan Srambiyan from India.
preview
without calendar: 1280×960, 1280×1024, 1400×1050, 1440×900, 1600×1200, 1680×1050, 1680×1200, 1920×1080, 1920×1200, 1920×1440, 2560×1440
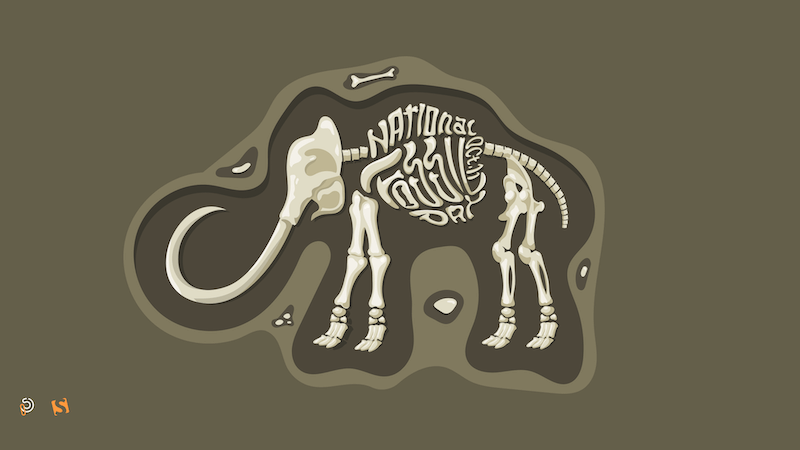
National Fossil Day
“Join us in commemorating National Fossil Day, a day dedicated to honoring the wonders of Earth’s prehistoric past. On this special day, we invite you to step back in time and explore the remarkable world of fossils. These ancient remnants of life on our planet offer a glimpse into the evolution of life, from the tiniest microorganisms to the towering giants that once roamed the Earth.” — Designed by PopArt Studio from Serbia.
preview
without calendar: 320×480, 640×480, 800×480, 800×600, 1024×768, 1024×1024, 1152×864, 1280×720, 1280×800, 1280×960, 1280×1024, 1400×1050, 1440×900, 1600×1200, 1680×1050, 1680×1200, 1920×1080, 1920×1200, 1920×1440, 2560×1440
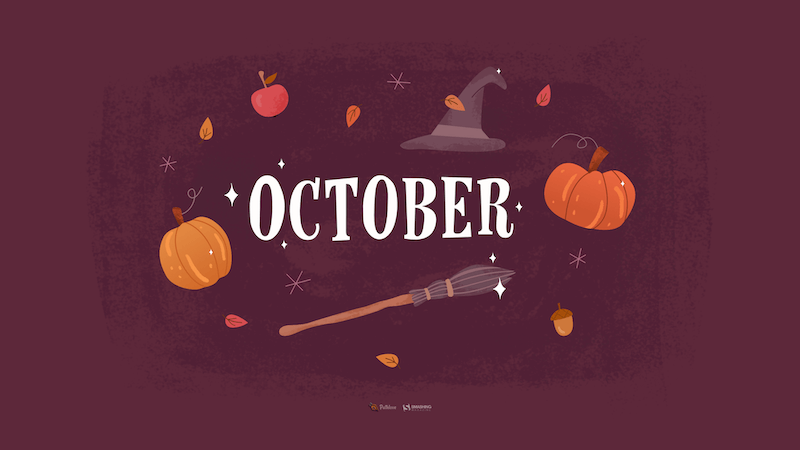
Magical October
“‘I’m so glad I live in a world where there are Octobers.’ (L. M. Montgomery, Anne of Green Gables)” — Designed by Lívi Lénárt from Hungary.
preview
without calendar: 320×480, 640×480, 1024×768, 1024×1024, 1280×1024, 1400×1050, 1680×1200, 1920×1080, 1920×1200, 2560×1440
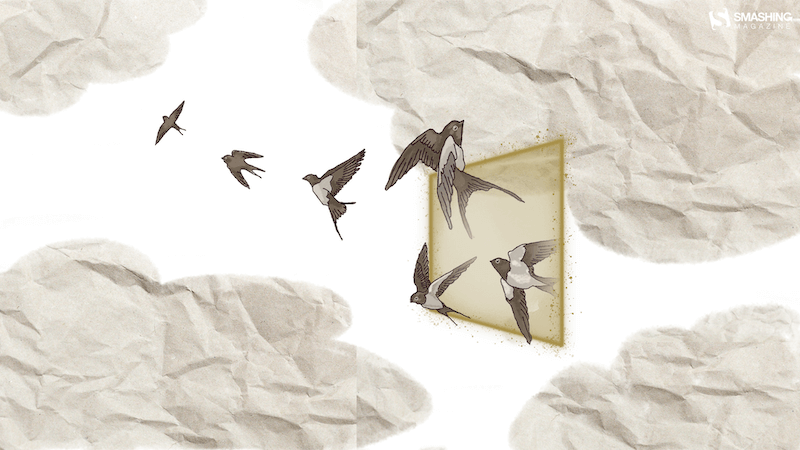
Bird Migration Portal
“October is a significant month for me because it is when my favorite type of bird travels south. For that reason I have chosen to write about the swallow. When I was young, I had a bird’s nest not so far from my room window. I watched the birds almost every day; because those swallows always left their nests in October. As a child, I dreamt that they all flew together to a nicer place, where they were not so cold.” — Designed by Eline Claeys from Belgium.
preview
without calendar: 1280×1024, 1440×900, 1600×1200, 1680×1050, 1680×1200, 1920×1080, 1920×1200, 1920×1440, 2560×1440
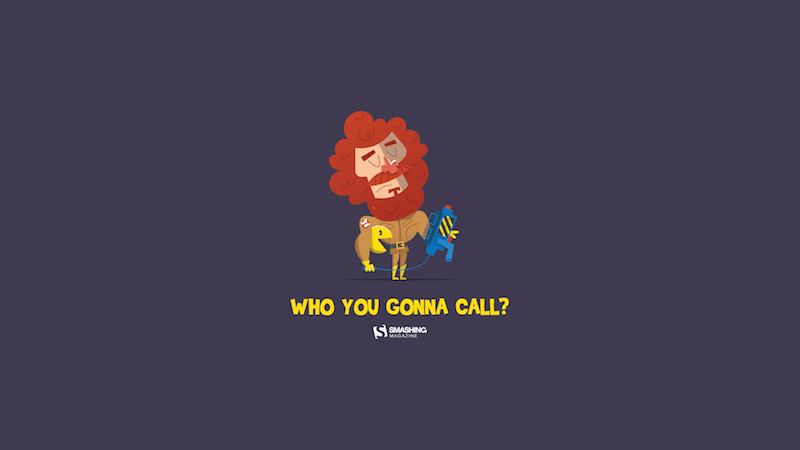
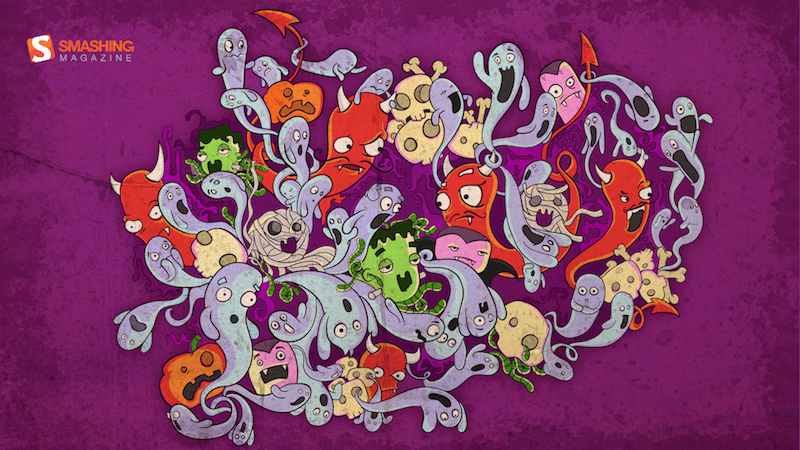
Ghostbusters
Designed by Ricardo Gimenes from Spain.
preview
without calendar: 320×480, 640×480, 800×480, 800×600, 1024×768, 1024×1024, 1152×864, 1280×720, 1280×800, 1280×960, 1280×1024, 1366×768, 1400×1050, 1440×900, 1600×1200, 1680×1050, 1680×1200, 1920×1080, 1920×1200, 1920×1440, 2560×1440
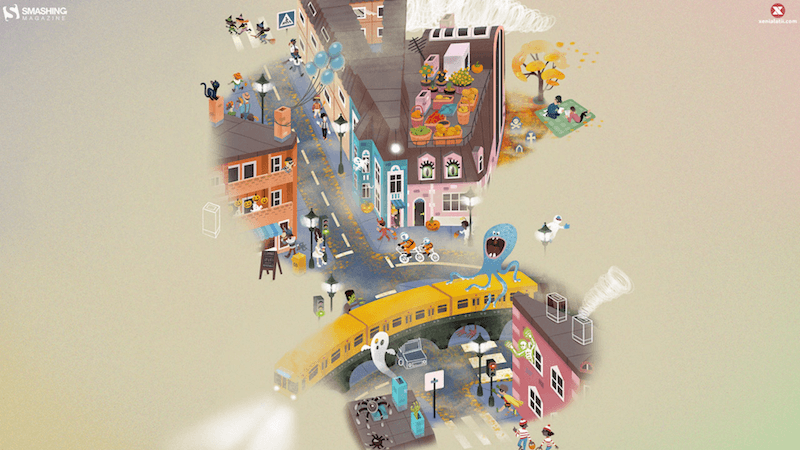
Spooky Town
Designed by Xenia Latii from Germany.
preview
without calendar: 320×480, 640×480, 800×480, 800×600, 1024×768, 1152×864, 1280×720, 1280×800, 1280×960, 1280×1024, 1366×768, 1400×1050, 1440×900, 1600×1200, 1680×1050, 1680×1200, 1920×1080, 1920×1200, 1920×1440, 2560×1440
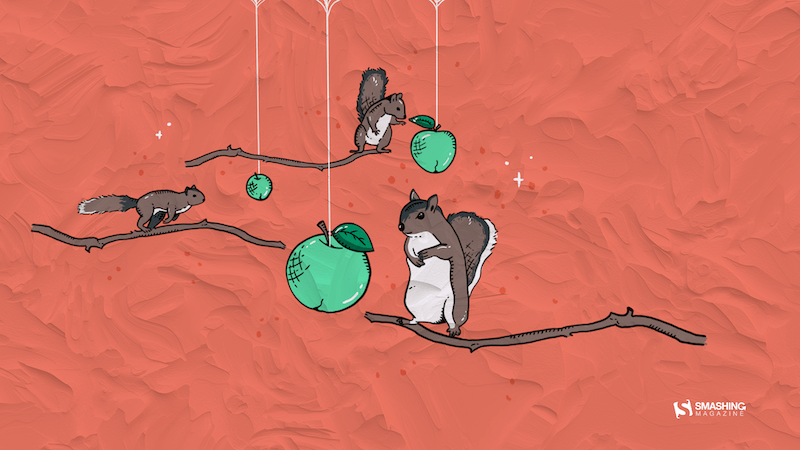
Hello Autumn
“Did you know that squirrels don’t just eat nuts? They really like to eat fruit, too. Since apples are the seasonal fruit of October, I decided to combine both things into a beautiful image.” — Designed by Erin Troch from Belgium.
preview
without calendar: 320×480, 800×480, 1024×1024, 1280×800, 1366×768, 1600×1200, 1680×1050, 1680×1200, 1920×1440, 2560×1440
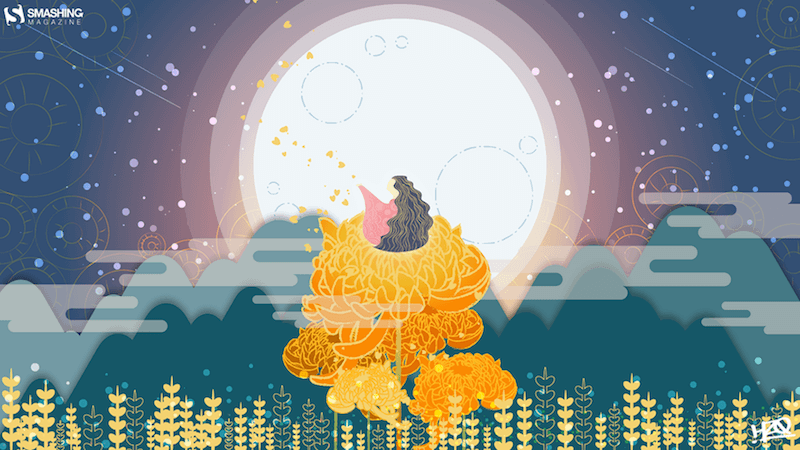
Hanlu
“The term ‘Hanlu’ literally translates as ‘Cold Dew.’ The cold dew brings brisk mornings and evenings. Eventually the briskness will turn cold, as winter is coming soon. And chrysanthemum is the iconic flower of Cold Dew.” — Designed by Hong, ZI-Qing from Taiwan.
preview
without calendar: 640×480, 800×600, 1024×768, 1080×1920, 1152×864, 1280×720, 1280×960, 1366×768, 1400×1050, 1600×1200, 1920×1080, 1920×1440, 2560×1440
Discovering The Universe
“Autumn is the best moment for discovering the universe. I am looking for a new galaxy or maybe… a UFO!” — Designed by Verónica Valenzuela from Spain.
preview
without calendar: 800×480, 1024×768, 1152×864, 1280×800, 1280×960, 1440×900, 1680×1200, 1920×1080, 2560×1440
King Of The Pirates
Designed by Ricardo Gimenes from Spain.

preview
without calendar: 640×480, 800×480, 800×600, 1024×768, 1024×1024, 1152×864, 1280×720, 1280×960, 1280×1024, 1366×768, 1400×1050, 1440×900, 1600×1200, 1680×1050, 1920×1080, 1920×1200, 1920×1440, 2560×1440, 3840×2160
Goddess Makosh
“At the end of the kolodar, as everything begins to ripen, the village sets out to harvesting. Together with the farmers goes Makosh, the Goddess of fields and crops, ensuring a prosperous harvest. What she gave her life and health all year round is now mature and rich, thus, as a sign of gratitude, the girls bring her bread and wine. The beautiful game of the goddess makes the hard harvest easier, while the song of the farmer permeates the field.” — Designed by PopArt Studio from Serbia.
preview
without calendar: 320×480, 640×480, 800×480, 800×600, 1024×768, 1024×1024, 1152×864, 1280×720, 1280×800, 1280×960, 1280×1024, 1366×768, 1400×1050, 1440×900, 1600×1200, 1680×1050, 1680×1200, 1920×1080, 1920×1200, 1920×1440, 2560×1440
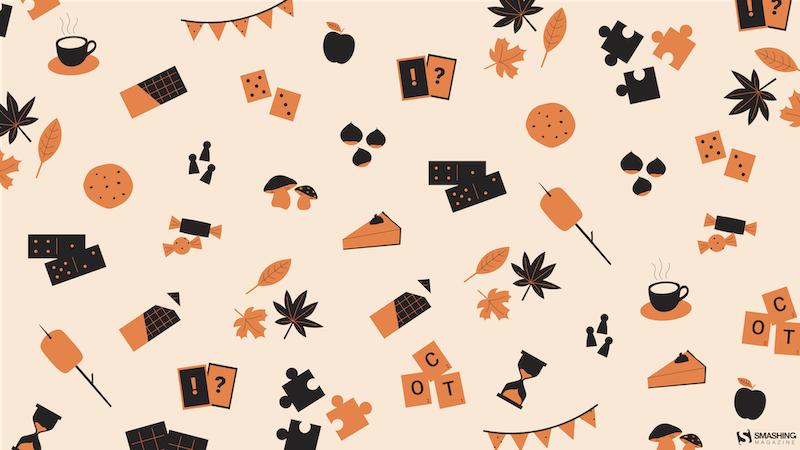
Game Night And Hot Chocolate
“To me, October is all about cozy evenings with hot chocolate, freshly baked cookies, and a game night with friends or family.” — Designed by Lieselot Geirnaert from Belgium.
preview
without calendar: 320×480, 1024×1024, 1280×1024, 2560×1440
Strange October Journey
“October makes the leaves fall to cover the land with lovely auburn colors and brings out all types of weird with them.” — Designed by Mi Ni Studio from Serbia.
preview
without calendar: 320×480, 640×480, 800×480, 800×600, 1024×768, 1024×1024, 1152×864, 1280×720, 1280×800, 1280×960, 1280×1024, 1400×1050, 1440×900, 1600×1200, 1680×1050, 1680×1200, 1920×1080, 1920×1200, 1920×1440, 2560×1440
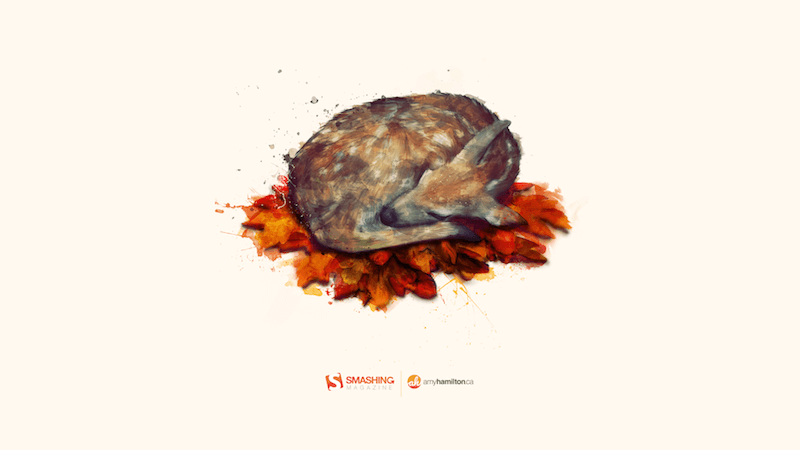
Autumn Deer
Designed by Amy Hamilton from Canada.
preview
without calendar: 1024×768, 1280×720, 1280×800, 1280×960, 1280×1024, 1400×1050, 1440×900, 1600×1200, 1680×1050, 1920×1080, 1920×1200, 2048×1536, 2560×1440, 2880×1800
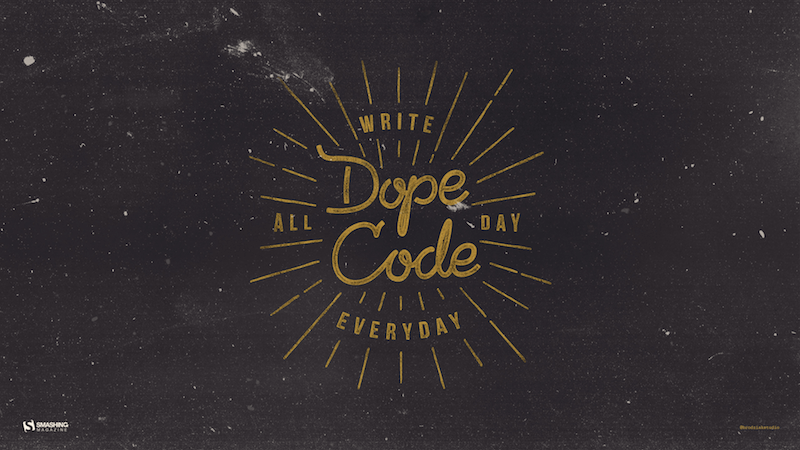
Dope Code
“October is the month when the weather in Poland starts to get colder, and it gets very rainy, too. You can’t always spend your free time outside, so it’s the perfect opportunity to get some hot coffee and work on your next cool web project!” — Designed by Robert Brodziak from Poland.
preview
without calendar: 1024×768, 1024×1024, 1152×864, 1280×720, 1280×800, 1280×960, 1280×1024, 1400×1050, 1440×900, 1600×1200, 1680×1050, 1680×1200, 1920×1080, 1920×1200, 1920×1440, 2560×1440
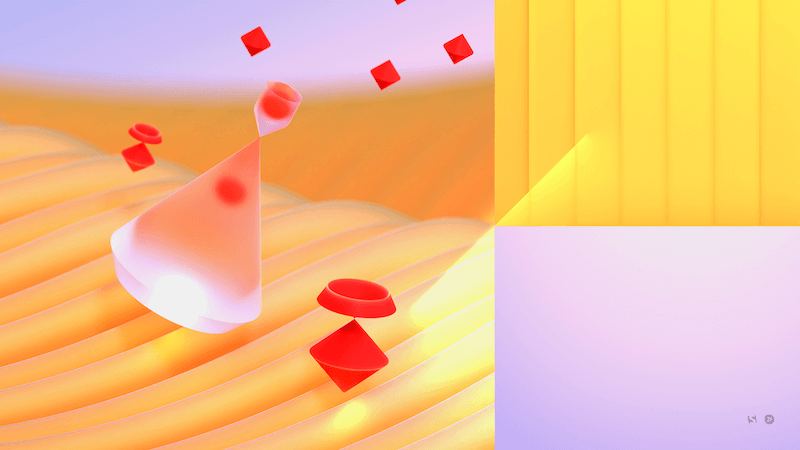
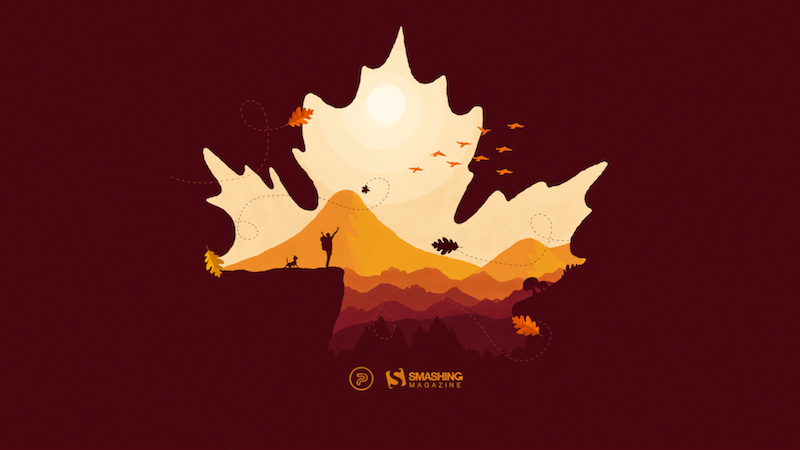
Transitions
“To me, October is a transitional month. We gradually slide from summer to autumn. That’s why I chose to use a lot of gradients. I also wanted to work with simple shapes, because I think of October as the ‘back to nature/back to basics month’.” — Designed by Jelle Denturck from Belgium.
![]()
preview
without calendar: 1600×1200, 1680×1050, 1680×1200, 1920×1080, 1920×1200, 1920×1440, 2560×1440, 2880×1800
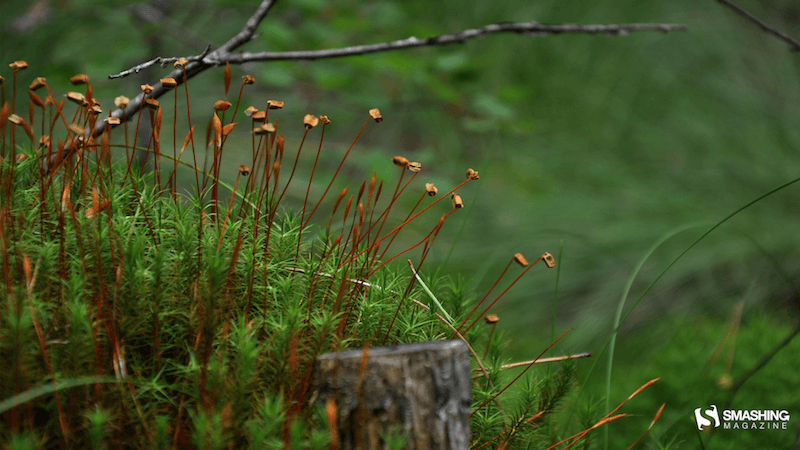
Autumn In The Forest
“Autumn is a wonderful time to go for walks in the forest!” — Designed by Hilda Rytteke from Sweden.
preview
without calendar: 1280×800, 1280×1024, 1440×900, 1680×1050, 1920×1080, 1920×1200, 2560×1440
Shades Of Gold
“We are about to experience the magical imagery of nature, with all the yellows, ochers, oranges, and reds coming our way this fall. With all the subtle sunrises and the burning sunsets before us, we feel so joyful that we are going to shout it out to the world from the top of the mountains.” — Designed by PopArt Studio from Serbia.
preview
without calendar: 320×480, 640×480, 800×480, 800×600, 1024×768, 1024×1024, 1152×864, 1280×720, 1280×800, 1280×960, 1280×1024, 1366×768, 1400×1050, 1440×900, 1600×1200, 1680×1050, 1680×1200, 1920×1080, 1920×1200, 1920×1440, 2560×1440
Happy Fall!
“Fall is my favorite season!” — Designed by Thuy Truong from the United States.
preview
without calendar: 320×480, 640×480, 800×600, 1024×768, 1152×864, 1280×720, 1280×800, 1366×768, 1440×900, 1680×1050, 1680×1200, 1920×1080, 1920×1200, 1920×1440, 2560×1440
Ghostober
Designed by Ricardo Delgado from Mexico City.
preview
without calendar: 1024×768, 1024×1024, 1280×800, 1280×1024, 2560×1440
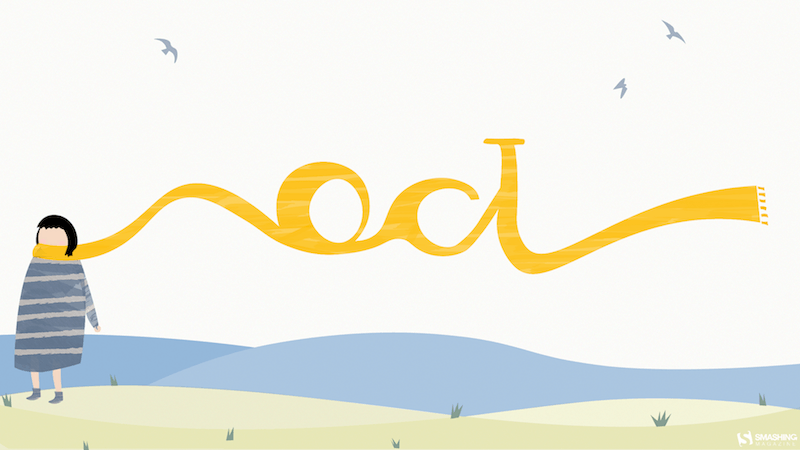
First Scarf And The Beach
“When I was little, my parents always took me and my sister for a walk at the beach in Nieuwpoort. We didn’t really do those beach walks in the summer but always when the sky started to turn gray and the days became colder. My sister and I always took out our warmest scarfs and played in the sand while my parents walked behind us. I really loved those Saturday or Sunday mornings where we were all together. I think October (when it’s not raining) is the perfect month to go to the beach for ‘uitwaaien’ (to blow out), to walk in the wind and take a break and clear your head, relieve the stress or forget one’s problems.” — Designed by Gwen Bogaert from Belgium.
preview
without calendar: 320×480, 1280×1024, 2560×1440, 2880×1800
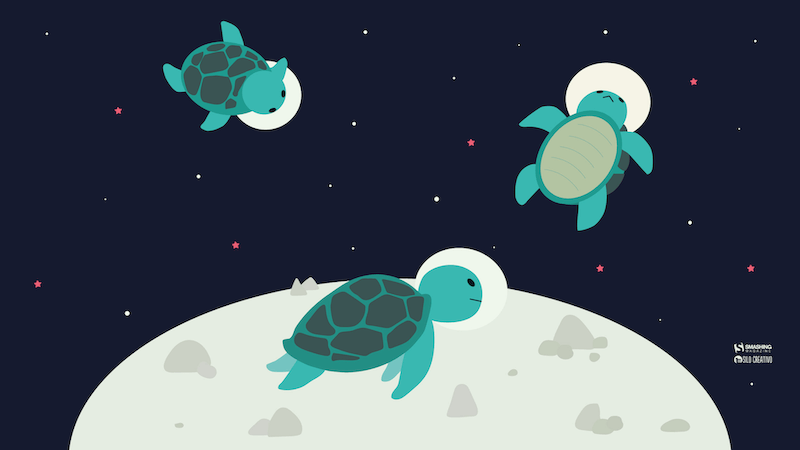
Turtles In Space
“Finished September, with October comes the month of routines. This year we share it with turtles that explore space.” — Designed by Veronica Valenzuela from Spain.
preview
without calendar: 640×480, 800×480, 1024×768, 1280×720, 1280×800, 1440×900, 1600×1200, 1920×1080, 1920×1440, 2560×1440
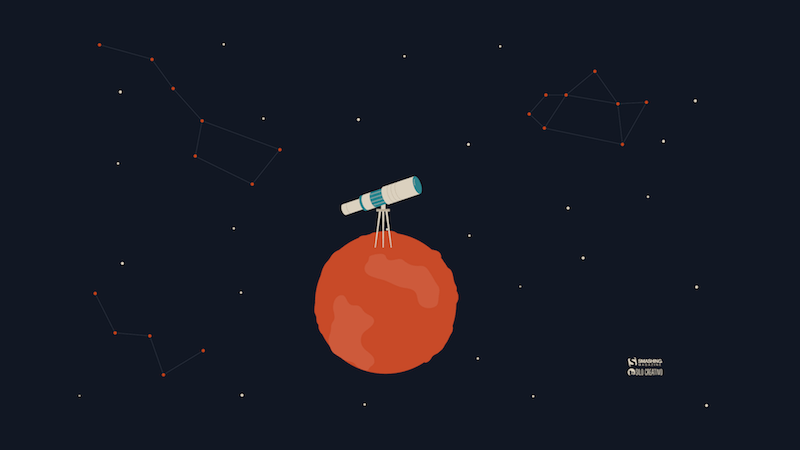
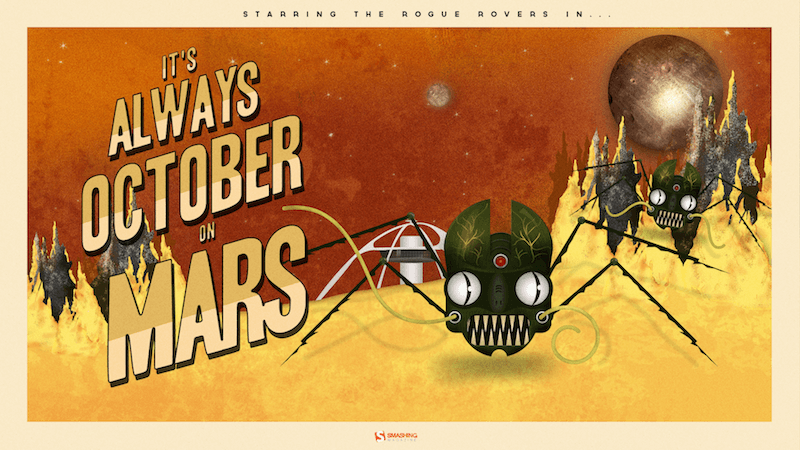
Roger That Rogue Rover
“The story is a mash-up of retro science fiction and zombie infection. What would happen if a Mars rover came into contact with an unknown Martian material and got infected with a virus? What if it reversed its intended purpose of research and exploration? Instead choosing a life of chaos and evil. What if they all ran rogue on Mars? Would humans ever dare to voyage to the red planet?” Designed by Frank Candamil from the United States.
preview
without calendar: 1024×768, 1024×1024, 1280×800, 1680×1050, 1920×1080, 1920×1200, 2560×1440
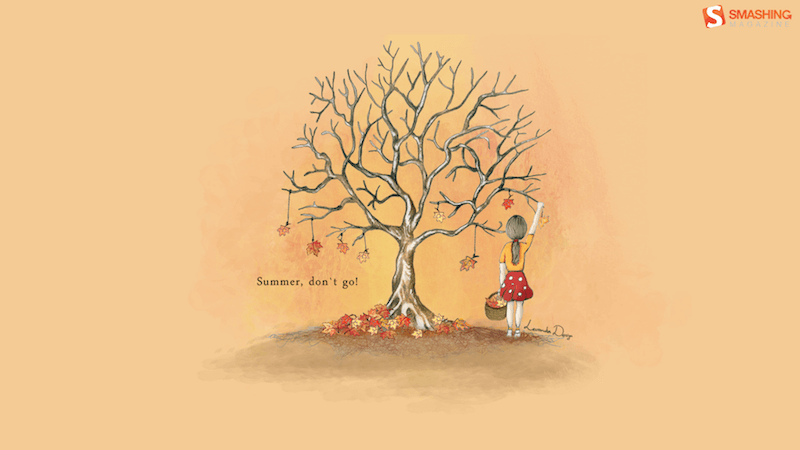
Summer, Don’t Go!
“It would be nice if we could bring summer back, wouldn’t it?” — Designed by Terezija Katona from Serbia.
preview
without calendar: 320×480, 640×480, 800×480, 800×600, 1024×768, 1024×1024, 1152×864, 1280×720, 1280×800, 1280×960, 1280×1024, 1400×1050, 1440×900, 1600×1200, 1680×1050, 1680×1200, 1920×1080, 1920×1200, 1920×1440, 2650×1440
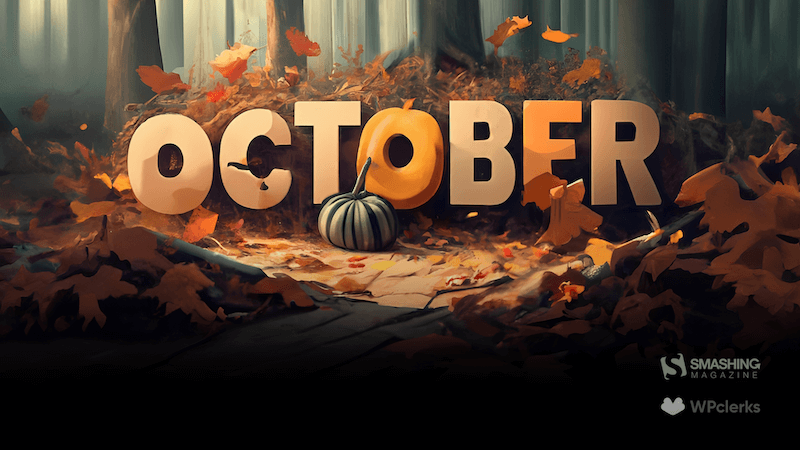
Embracing Autumn’s Beauty
“We were inspired by the breathtaking beauty of autumn, with its colorful foliage and the symbolic pumpkin, which epitomizes the season. Incorporating typography allows us to blend aesthetics and functionality, making the calendar not only visually appealing but also useful.” — Designed by WPclerks from India.
preview
without calendar: 1280×960, 1280×1024, 1400×1050, 1440×900, 1600×1200, 1680×1050, 1680×1200, 1920×1080, 1920×1200, 1920×1440, 2560×1440
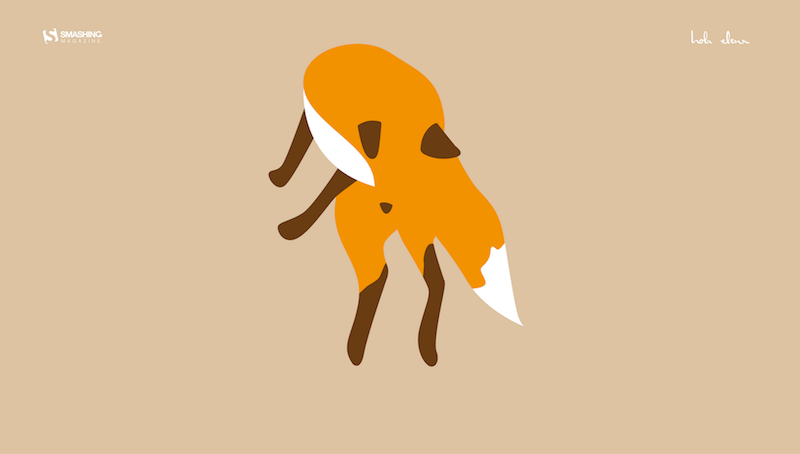
A Positive Fall
“October is the month when fall truly begins, and many people feel tired and depressed in this season. The jumping fox wants you to be happy! Also, foxes always have reminded me of fall because of their beautiful fur colors.” — Designed by Elena Sanchez from Spain.
preview
without calendar: 320×480, 640×480, 800×480, 800×600, 1024×768, 1024×1024, 1152×864, 1280×720, 1280×800, 1280×960, 1280×1024, 1400×1050, 1440×900, 1600×1200, 1680×1050, 1680×1200, 1920×1080, 1920×1200, 1920×1440, 2560×1440