Original Source: https://www.sitepoint.com/ip2location-next-js-divert-traffic/?utm_source=rss
This article was created in partnership with IP2Location. Thank you for supporting the partners who make SitePoint possible.
In a world where online commerce has become the norm, we need to build websites that are faster, user friendly and more secure than ever. In this article, you’ll learn how to set up a Node.js powered website that’s capable of directing traffic to relevant landing pages based on a visitor’s country. You’ll also learn how to block anonymous traffic (e.g. Tor) in order to eliminate risks coming from such networks.
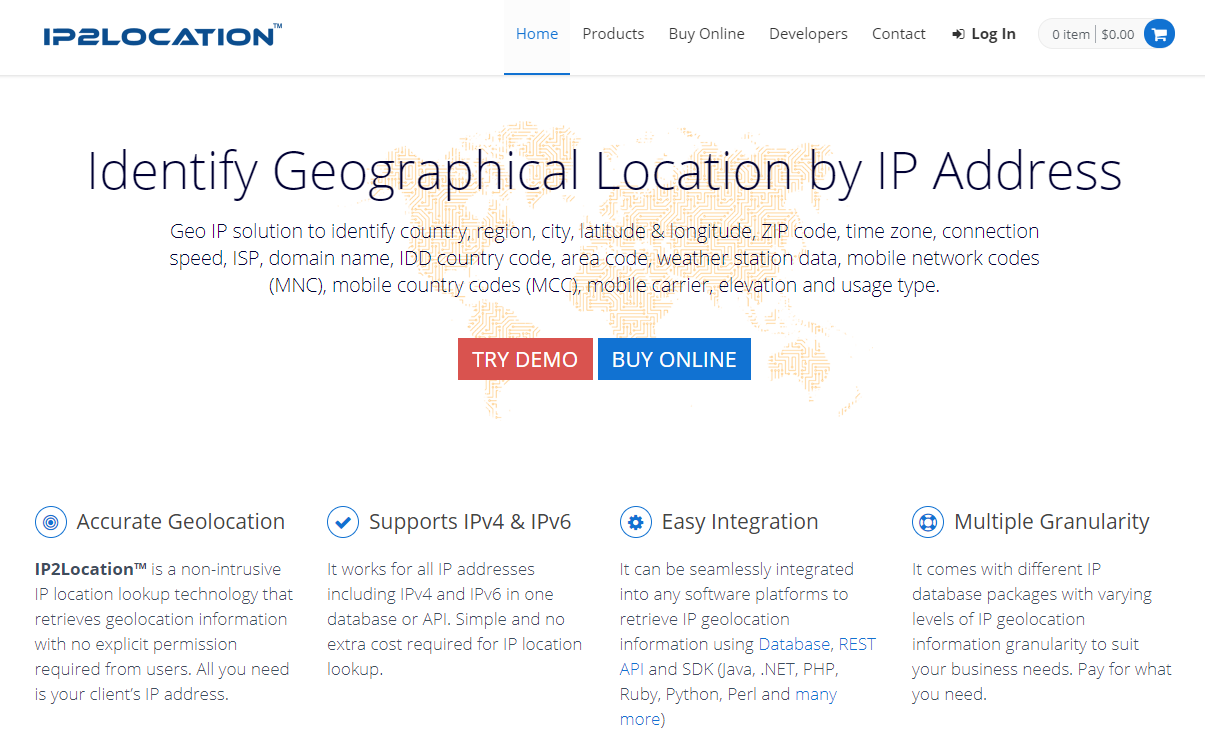
In order to implement these features, we’ll be using the IP2Proxy web service provided by IP2Location, a Geo IP solutions provider. The web service is a REST API that accepts an IP address and responds with geolocation data in JSON format.
Here are some of the fields that we’ll receive:
countryName
cityName
isProxy
proxyType
etc.
We’ll use Next.js to build a website containing the following landing pages:
Home Page: API fetching and redirection will trigger from this page
Landing Page: supported countries will see the product page in their local currency
Unavailable Page: other countries will see this page with an option to join a waiting list
Abuse Page: visitors using Tor networks will be taken to this page
Now that you’re aware of the project plan, let’s see what you need to get started.
Prerequisites
On your machine, I would highly recommend the following:
Latest LTS version of Node.js (v12)
Yarn
An older version of Node.js will do, but the most recent LTS (long-term support) version contains performance and debugging improvements in the area of async code, which we’ll be dealing with. Yarn isn’t necessary, but you’ll benefit from its faster performance if you use it.
I’m also going to assume you have a good foundation in:
React
React Hooks
As mentioned earlier, we’ll be using Next.js to build our website. If you’re new to it, you can follow their official interactive tutorial to quickly get up to speed.
IP2Location + Next.js Project Walkthrough
Project Setup
To set up the project, simply launch the terminal and navigate to your workspace. Execute the following command:
npx create-next-app
Feel free to give your app any name. I’ve called mine next-ip2location-example. After installation is complete, navigate to the project’s root and execute yarn dev. This will launch the Node.js dev server. If you open your browser and navigate to localhost:3000, you should see a page with the header “Welcome to Next.js”. This should confirm that we have a working app that runs without errors. Stop the app and install the following dependencies:
yarn add yarn add next-compose-plugins dotenv-load next-env @zeit/next-css bulma isomorphic-unfetch
We’ll be using Bulma CSS framework to add out-of-the-box styling for our site. Since we’ll be connecting to an API service, we’ll set up an .env file to store our API key. Do note that this file should not be stored in a repository. Next create the file next.config.js. at the root of the project and add the following code:
const withPlugins = require(‘next-compose-plugins’)
const css = require(‘@zeit/next-css’)
const nextEnv = require(‘next-env’)
const dotenvLoad = require(‘dotenv-load’)
dotenvLoad()
module.exports = withPlugins([
nextEnv(),
[css]
])
The above configuration allows our application to read the .env file and load values. Do note that the keys will need to have the prefix NEXT_SERVER_ in order to be loaded in the server environment. Visit the next-env package page for more information. We’ll set the API key in the next section. The above configuration also gives our Next.js app the capability to pre-process CSS code via the zeit/next-css package. This will allow us to use Bulma CSS framework in our application. Do note we’ll need import Bulma CSS code into our Next.js application. I’ll soon show you where to do this.
Obtaining API Key for the I2Proxy Web Service
As mentioned earlier, we’ll need to convert a visitor’s IP address into information we can use to redirect or block traffic. Simply head to the following link and sign up for a free trial key:
IP2Proxy Detection Web Service
Once you sign up, you’ll receive the free API key via email. Create an .env file and place it at the root of your project folder. Copy your API key to the file as follows:
NEXT_SERVER_IP2PROXY_API=<place API key here>
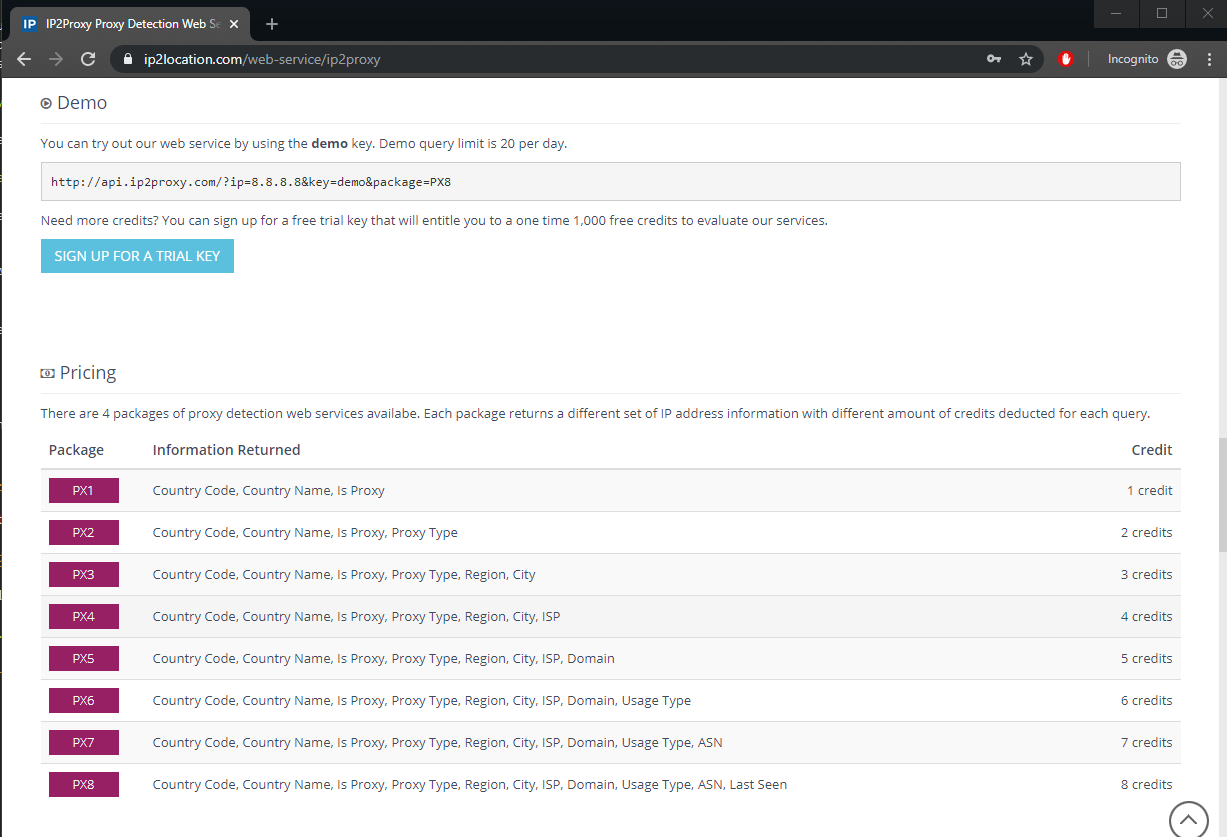
This free key will give you 1,000 free credits. At a minimum, we’ll need the following fields for our application to function:
countryName
proxyType
If you look at the pricing section on the IP2Proxy page, you’ll note that the PX2 package will give us the required response. This means each query will costs us two credits. Below is a sample of how the URL should be constructed:
http://api.ip2proxy.com/?ip=8.8.8.8&key=demo&package=PX2
You can also submit the URL query without the IP. The service will use the IP address of the machine that sent the request. We can also use the PX8 package to get all the available fields such as isp and domain in the top-most package of the IP2Proxy Detection Web Service.
http://api.ip2proxy.com/?key=demo&package=PX8
In the next section, we’ll build a simple state management system for storing the proxy data which will be shared among all site pages.
Building Context API in Next.js
Create the file context/proxy-context and insert the following code:
import React, {
useState,
useEffect,
useRef,
createContext
} from ‘react’
export const ProxyContext = createContext()
export const ProxyContextProvider = (props) => {
const initialState = {
ipAddress: ‘0.0.0.0’,
countryName: ‘Nowhere’,
isProxy: false,
proxyType: ”
}
// Declare shareable proxy state
const [proxy, setProxy] = useState(initialState)
const prev = useRef()
// Read and Write Proxy State to Local Storage
useEffect(() => {
if (proxy.countryName == ‘Nowhere’) {
const localState = JSON.parse(localStorage.getItem(‘ip2proxy’))
if (localState) {
console.info(‘reading local storage’)
prev.current = localState.ipAddress
setProxy(localState)
}
} else if (prev.current !== proxy.ipAddress) {
console.info(‘writing local storage’)
localStorage.setItem(‘ip2proxy’, JSON.stringify(proxy))
}
}, [proxy])
return(
<ProxyContext.Provider value={[ipLocation, setProxy]}>
{props.children}
</ProxyContext.Provider>
)
}
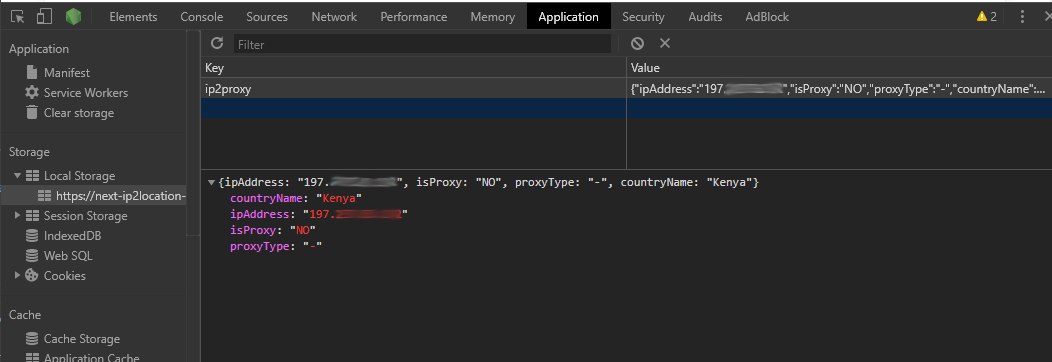
Basically, we’re declaring a sharable state called proxy that will store data retrieved from the IP2Proxy web service. The API fetch query will be implemented in pages/index.js. The information will be used to redirect visitors to the relevant pages. If the visitor tries to refresh the page, the saved state will be lost. To prevent this from happening, we’re going to use the useEffect() hook to persist state in the browser’s local storage. When a user refreshes a particular landing page, the proxy state will be retrieved from the local storage, so there’s no need to perform the query again. Here’s a quick sneak peek of Chrome’s local storage in action:
Tip: In case you run into problems further down this tutorial, clearing local storage can help resolve some issues.
Displaying Proxy Information
Create the file components/proxy-view.js and add the following code:
import React, { useContext } from ‘react’
import { ProxyContext } from ‘../context/proxy-context’
const style = {
padding: 12
}
const ProxyView = () => {
const [proxy] = useContext(ProxyContext)
const { ipAddress, countryName, isProxy, proxyType } = proxy
return (
<div className=”box center” style={style}>
<div className=”content”>
<ul>
<li>IP Address : {ipAddress} </li>
<li>Country : {countryName} </li>
<li>Proxy : {isProxy} </li>
<li>Proxy Type: {proxyType} </li>
</ul>
</div>
</div>
)
}
export default ProxyView
This is simply a display component that we’ll place at the end of each page. We’re only creating this to confirm that our fetch logic and application’s state is working as expected. You should note that the line const [proxy] = useContext(ProxyContext) won’t run until we’ve declared our Context Provider at the root of our application. Let’s do that now in the next section.
Implementing Context API Provider in Next.js App
Create the file pages/_app.js and add the following code:
import React from ‘react’
import App from ‘next/app’
import ‘bulma/css/bulma.css’
import { ProxyContextProvider } from ‘../context/proxy-context’
export default class MyApp extends App {
render() {
const { Component, pageProps } = this.props
return (
<ProxyContextProvider>
<Component {…pageProps} />
</ProxyContextProvider>
)
}
}
The _app.js file is the root component of our Next.js application where we can share global state with the rest of the site pages and child components. Note that this is also where we’re importing CSS for the Bulma framework we installed earlier. With that set up, let’s now build a layout that we’ll use for all our site pages.
The post How to Divert Traffic Using IP2Location in a Next.js Website appeared first on SitePoint.