Collective #571

Original Source: http://feedproxy.google.com/~r/tympanus/~3/F55jaj7OXKA/

WOTW

Inspirational Website of the Week: Esperanto

A fantastic interactive design that celebrates an exciting journey. Our pick this week.

Get inspired

C571_css

CSS: An Art, a Science, a Nightmare (Everything You Should Know)

In this excellent guide, Tania Rascia covers the practical parts of CSS that are important on a daily basis.

Read it

Divi

Our Sponsor
Work with the Powerful Divi Theme Builder

Learn how you can enjoy complete control over your entire website with the new and powerful Divi Theme Builder.

Check it out

C571_csslayout

CSS Layout

A fantastic collection of popular layouts and patterns made with CSS. Made by Phuoc Nguyen.

Check it out

C571_adventcode

Advent of Code 2019

Advent of Code is an Advent calendar of small programming puzzles for a variety of skill sets and skill levels that can be solved in any programming language you like.

Check it out

C571_subgrid

Use CSS Subgrid to layout full-width content stripes in an article template

Learn how to augment a Grid-infused article layout that allows for certain sections of content to break out into full-width areas.

Read it

An Introduction to Variable Fonts

An Introduction to Variable Fonts

An excellent guide to variable fonts by Jason Pamental.

Read it

C571_music

Music and Web Design

Brad Frost’s interesting thoughts on the parallels between Music and Web Design.

Read it

C571_aom

Web Components and the Accessibility Object model (AOM)

Léonie Watson writes about the AOM, an experimental JavaScript API that proposes several new features intended to solve existing accessibility use cases.

Read it

C571_drum

DrumBot

Play real-time music with a machine learning drummer that drums based on your melody. Read more about it in this article.

Check it out

C571_binary

Binary Music Player

A musical player, with a binary twist. Built by Tim Holman using Tone.JS.

Check it out

C571_posdcast

Smashing Podcast Episode 4 With Heydon Pickering: What Are Inclusive Components?

Drew McLellan talks to Smashing author Heydon Pickering about Inclusive Components.

Check it out

C571_StateofUX

The State of UX in 2020

An insightful list of what to expect for User Experience (UX) Design in the next year.

Check it out

C571_boxshadows

Make a smooth shadow, friend

A smooth shadow generator inspired by Tobias Ahlin’s article. By Philipp Brumm.

Check it out

C571_darkmaterials

Re-creating the ‘His Dark Materials’ Logo in CSS

Michelle Barker re-creates an interesting typographic logo with CSS.

Read it

C571_ff71

Firefox 71: A year-end arrival

A plethora of new developer tools features including the web socket message inspector, console multi-line editor mode and more are coming in the new Firefox version.

Check it out

C571_sweater

Holiday CSSweater Generator

A great CSS pattern generator with a geeky Christmas theme. By Adam Kuhn.

Check it out

C571_hippo

Interactive Hippo Button

A fun button that looks like a hungry Hippo. By Mariusz Dabrowski. Check out the written and video tutorial.

Check it out

C571_demosroundup

From Our Blog
Awesome Demos Roundup #11

A hand-picked collection of fantastic web experiments from the past weeks.

Check it out

C571_keys

Piano keyboard

An awesome Codevember demo by Ricardo Oliva Alonso.

Check it out

C571_motionpath

From Our Blog
Motion Paths – Past, Present and Future | Codrops

An article by Cassie Evans that explores a few ways of moving an element along a path, including the upcoming CSS motion path module and the newly released GSAP3.

Read it

Collective #571 was written by Pedro Botelho and published on Codrops.

The Ultimate Collection of Free Texture Downloads

Original Source: http://feedproxy.google.com/~r/1stwebdesigner/~3/hDIhS7_uMck/

Every designer could use some high-quality textures for their projects. You can use them as backgrounds, overlays, or just to make your graphics a little more interesting. And they look great in posters, banners, or even as part of a website.

But free, high quality textures can be hard to come by. That’s why we’ve put together this huge collection of texture downloads, free for use by any designer. Some require an email subscription to download, but that’s all.

Altogether there are nearly 300 textures and brushes here, sorted into three categories: nature and materials, abstract, and brushes.

Your Designer Toolbox
Unlimited Downloads: 500,000+ Web Templates, Icon Sets, Themes & Design Assets


DOWNLOAD NOW

Nature and Materials

These photorealistic textures draw from nature, as well as man-made materials like brick and plastic. You’ll find woods, stones, paper, and dirt that make great natural backgrounds or overlays.

7 Plywood Textures

Example of 7 Plywood Textures

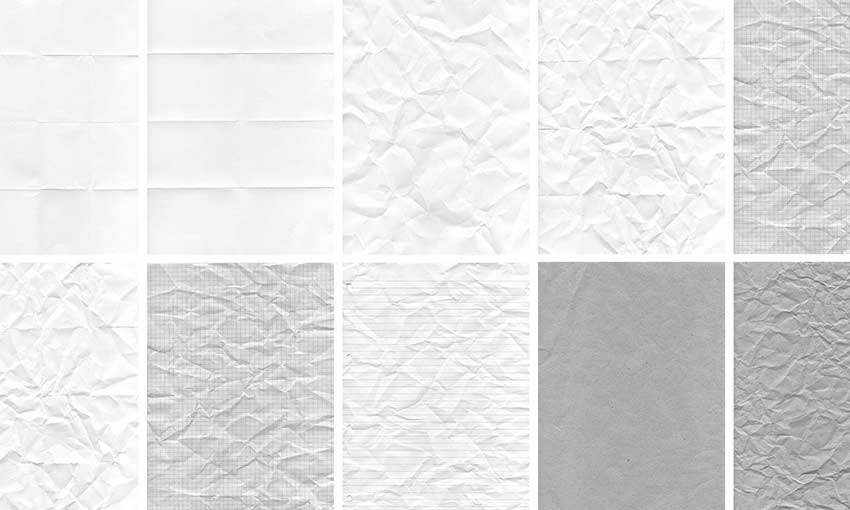
Crumpled Paper Textures Set

Example of Crumpled Paper Textures Set

5 Stone Wall Textures Vol.2

Example of 5 Stone Wall Textures Vol.2

24 Free Dirt Textures

Example of 24 Free Dirt Textures

Brick Wall Textures Vol.2

Example of Brick Wall Textures Vol.2

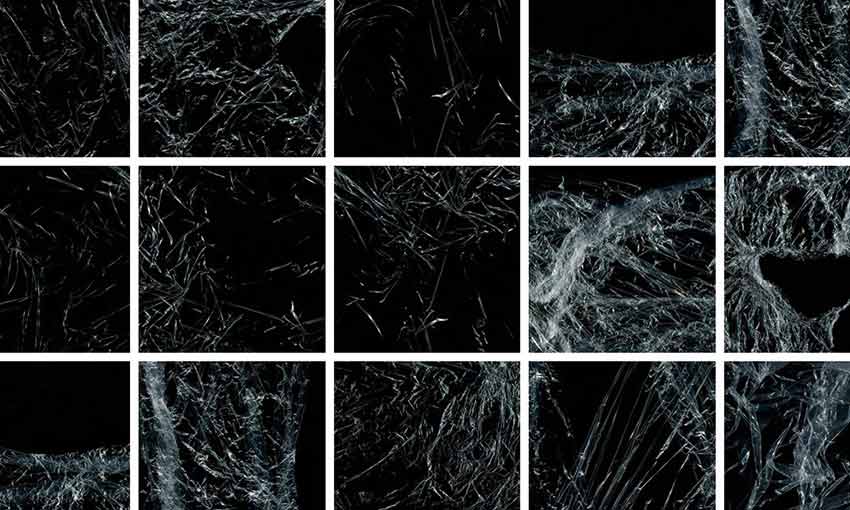
Plastic Transparent Textures

Example of Plastic Transparent Textures

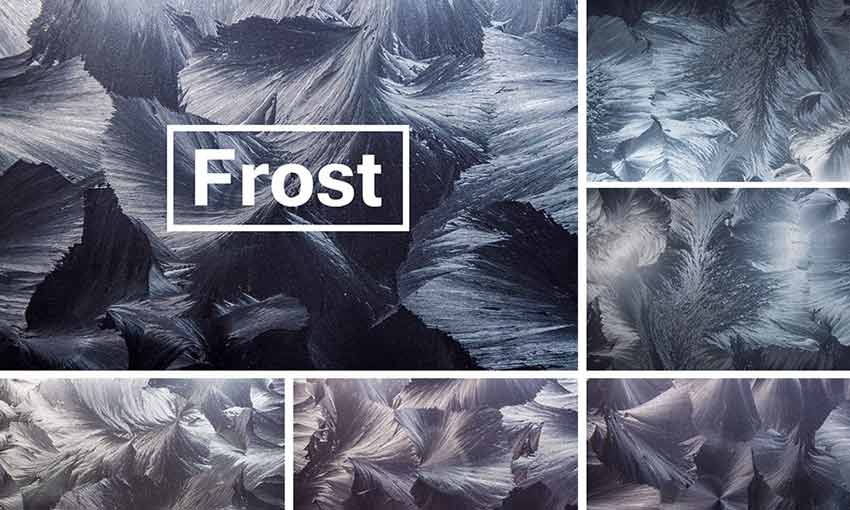
Arctic Frost Textures

Example of Arctic Frost Textures

6 Weathered Textures Vol.1

Example of 6 Weathered Textures Vol.1

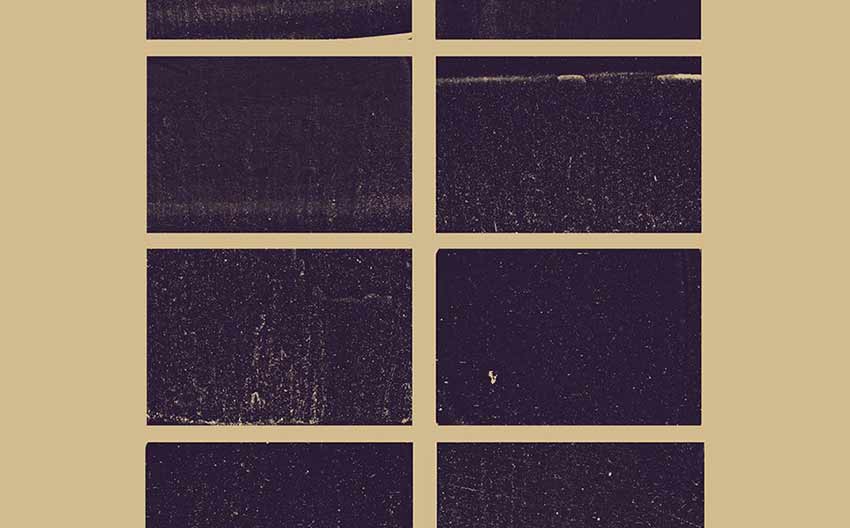
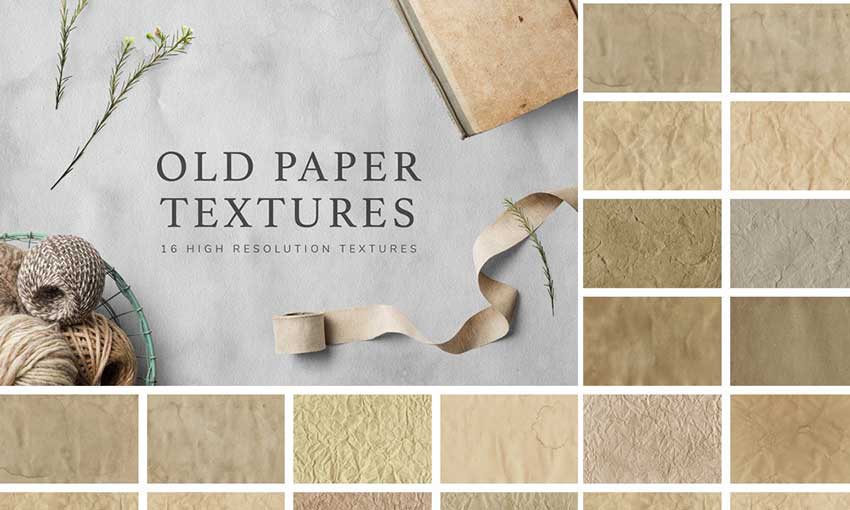
Vintage Paper Textures Set

Example of Vintage Paper Textures Set

Abstract

Rather than drawing from nature, these textures are more abstract and random. They make great background textures for websites and posters, or pretty overlays for objects. You’ll find noise, splatters, foil, and watercolors mixed in here.

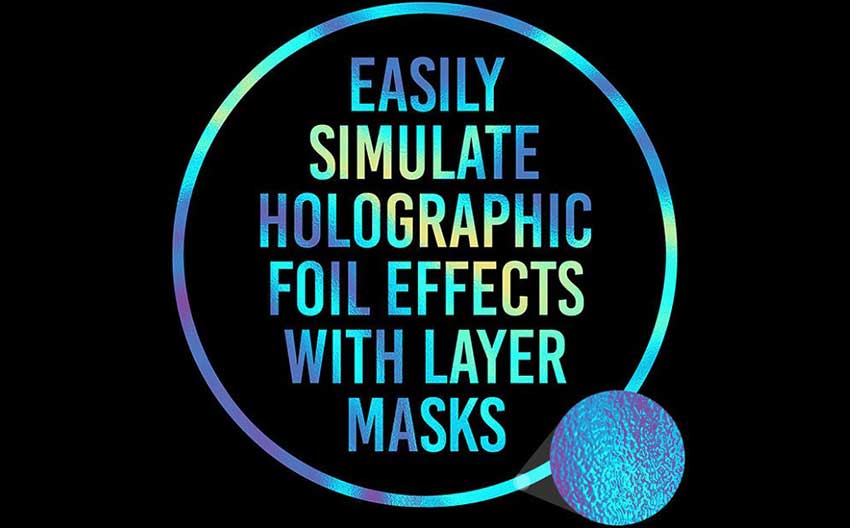
10 Free Textures To Simulate Holographic Foil Print Effects

Example of 10 Free Textures To Simulate Holographic Foil Print Effects

Dust & Noise Overlay Textures

Example of Dust & Noise Overlay Textures

Free Ink Stamp Texturizer Smart PSD for Adobe Photoshop

Example of Free Ink Stamp Texturizer Smart PSD for Adobe Photoshop

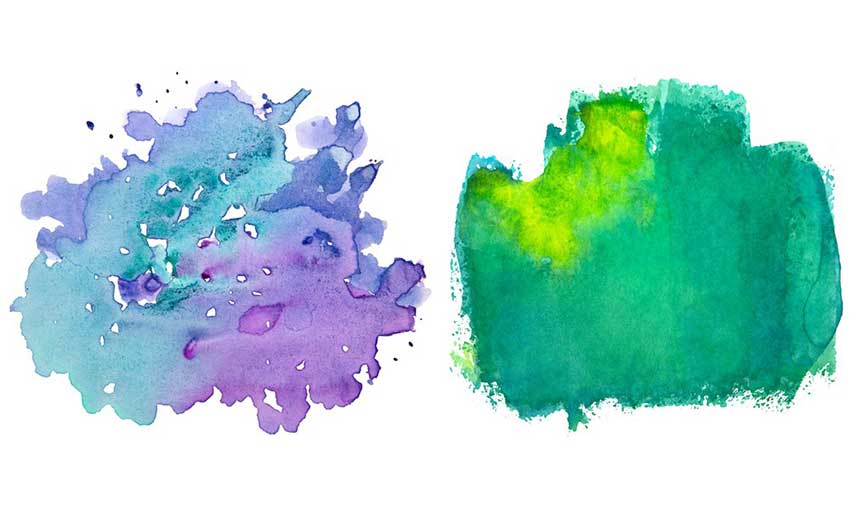
6 Watercolor Textures Vol.2

Example of 6 Watercolor Textures Vol.2

Rose Gold Foil Textures

Example of Rose Gold Foil Textures

25 Free Speckle Textures

Example of 25 Free Speckle Textures

Voyager Textures Background Set

Example of Voyager Textures Background Set

Brushes

Last but not least we have textured brushes. These make it super easy to add shading, splatters, or grain to any image; just use the brush to draw it on, and add a little realism to your graphics.

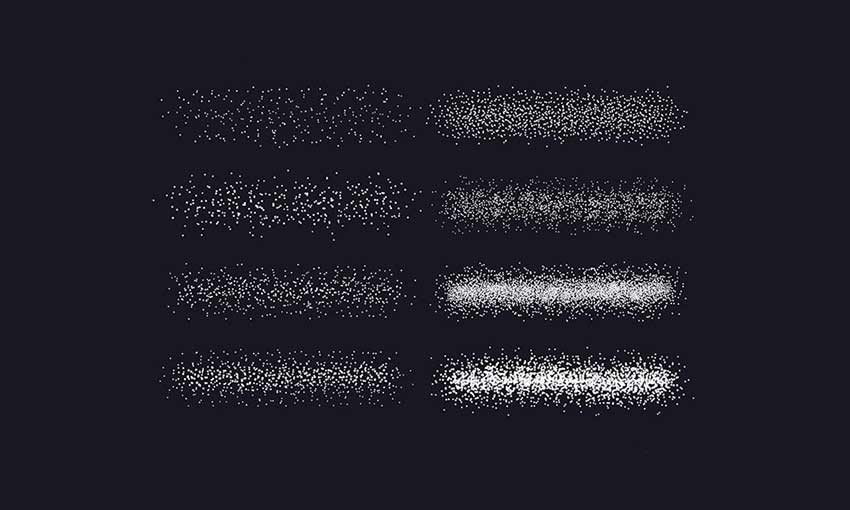
Stipple Shading Brushes for Adobe Photoshop

Example of Stipple Shading Brushes for Adobe Photoshop

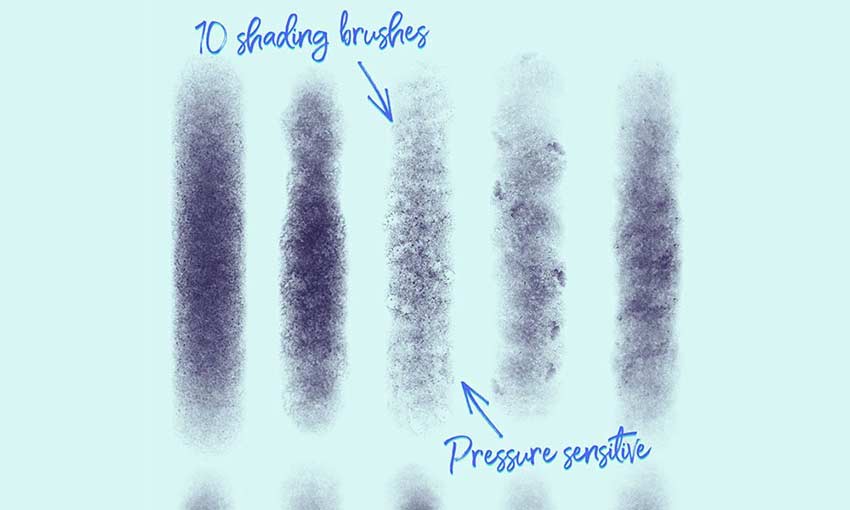
10 Free Grain Shader Brushes for Adobe Photoshop

Example of 10 Free Grain Shader Brushes for Adobe Photoshop

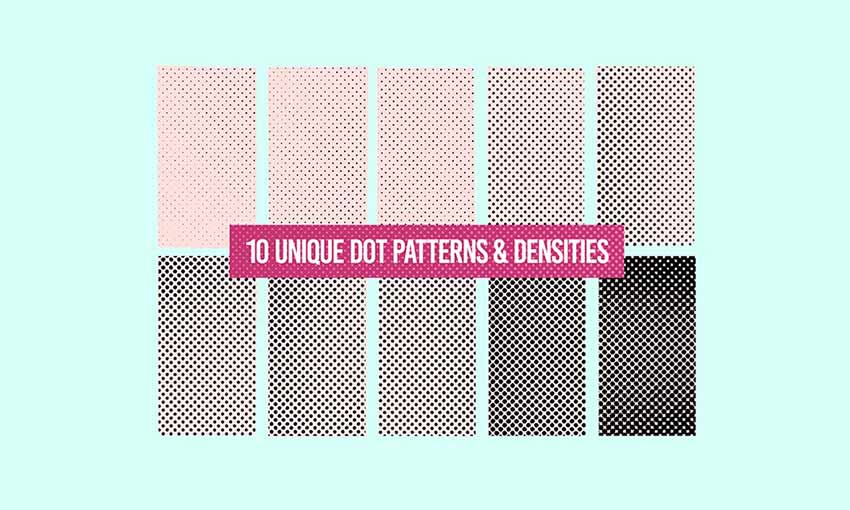
10 Free Halftone Texture Brushes for Adobe Photoshop

Example of 10 Free Halftone Texture Brushes for Adobe Photoshop

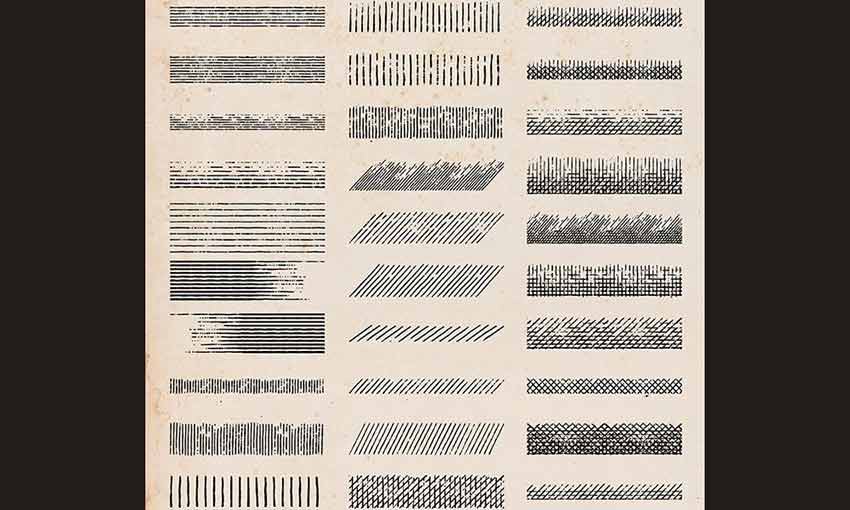
30 Free Vintage Shading Brushes for Adobe Illustrator

Example of 30 Free Vintage Shading Brushes for Adobe Illustrator

14 Free Subtle Grunge Texture Brushes for Adobe Photoshop

Example of 14 Free Subtle Grunge Texture Brushes for Adobe Photoshop

10 Free Ink Splatter Photoshop Brushes and PNG Textures

Example of 10 Free Ink Splatter Photoshop Brushes and PNG Textures

15 Free Grit & Grain Texture Brushes for Adobe Photoshop

Example of 15 Free Grit & Grain Texture Brushes for Adobe Photoshop

Beautiful High-Resolution Textures

Whether you’re using a brush to carefully draw realistic grain on an image, adding a pretty foil overlay to an object, or downloading a futuristic texture to use as a background, there’s something for every designer here.

Most of these are totally free for use, but make sure to check the licenses before you include any of these in a commercial project. Once you have the go-ahead, go crazy using these gorgeous high-res textures in your web and graphic designs.


3 Essential Design Trends, December 2019

Original Source: https://www.webdesignerdepot.com/2019/12/3-essential-design-trends-december-2019/

This month’s collection of design trends is a gift to behold. Each of the trends are highly usable options that are versatile, giving you plenty of room to play and make them your own. That’s the best kind of trend, right?

Here’s what’s trending in design this month.

Whimsical Illustrations

It seems like whimsical illustrations are practically everywhere. Fun drawings that can be anything from line-style illustrations to full-color pieces of art are popping up in all kinds of projects – even for brands, companies, of business types that you might not expect. Whimsical illustrations are trending for a number of reasons:

They create just the right feel for a project that doesn’t need to be heavy;
You can design the main imagery to be whatever you want;
They provide a source of delight for users;
Every project using illustrations looks a little different, creating a custom design;
The proliferation of illustration kits has made creating this style easier than ever.

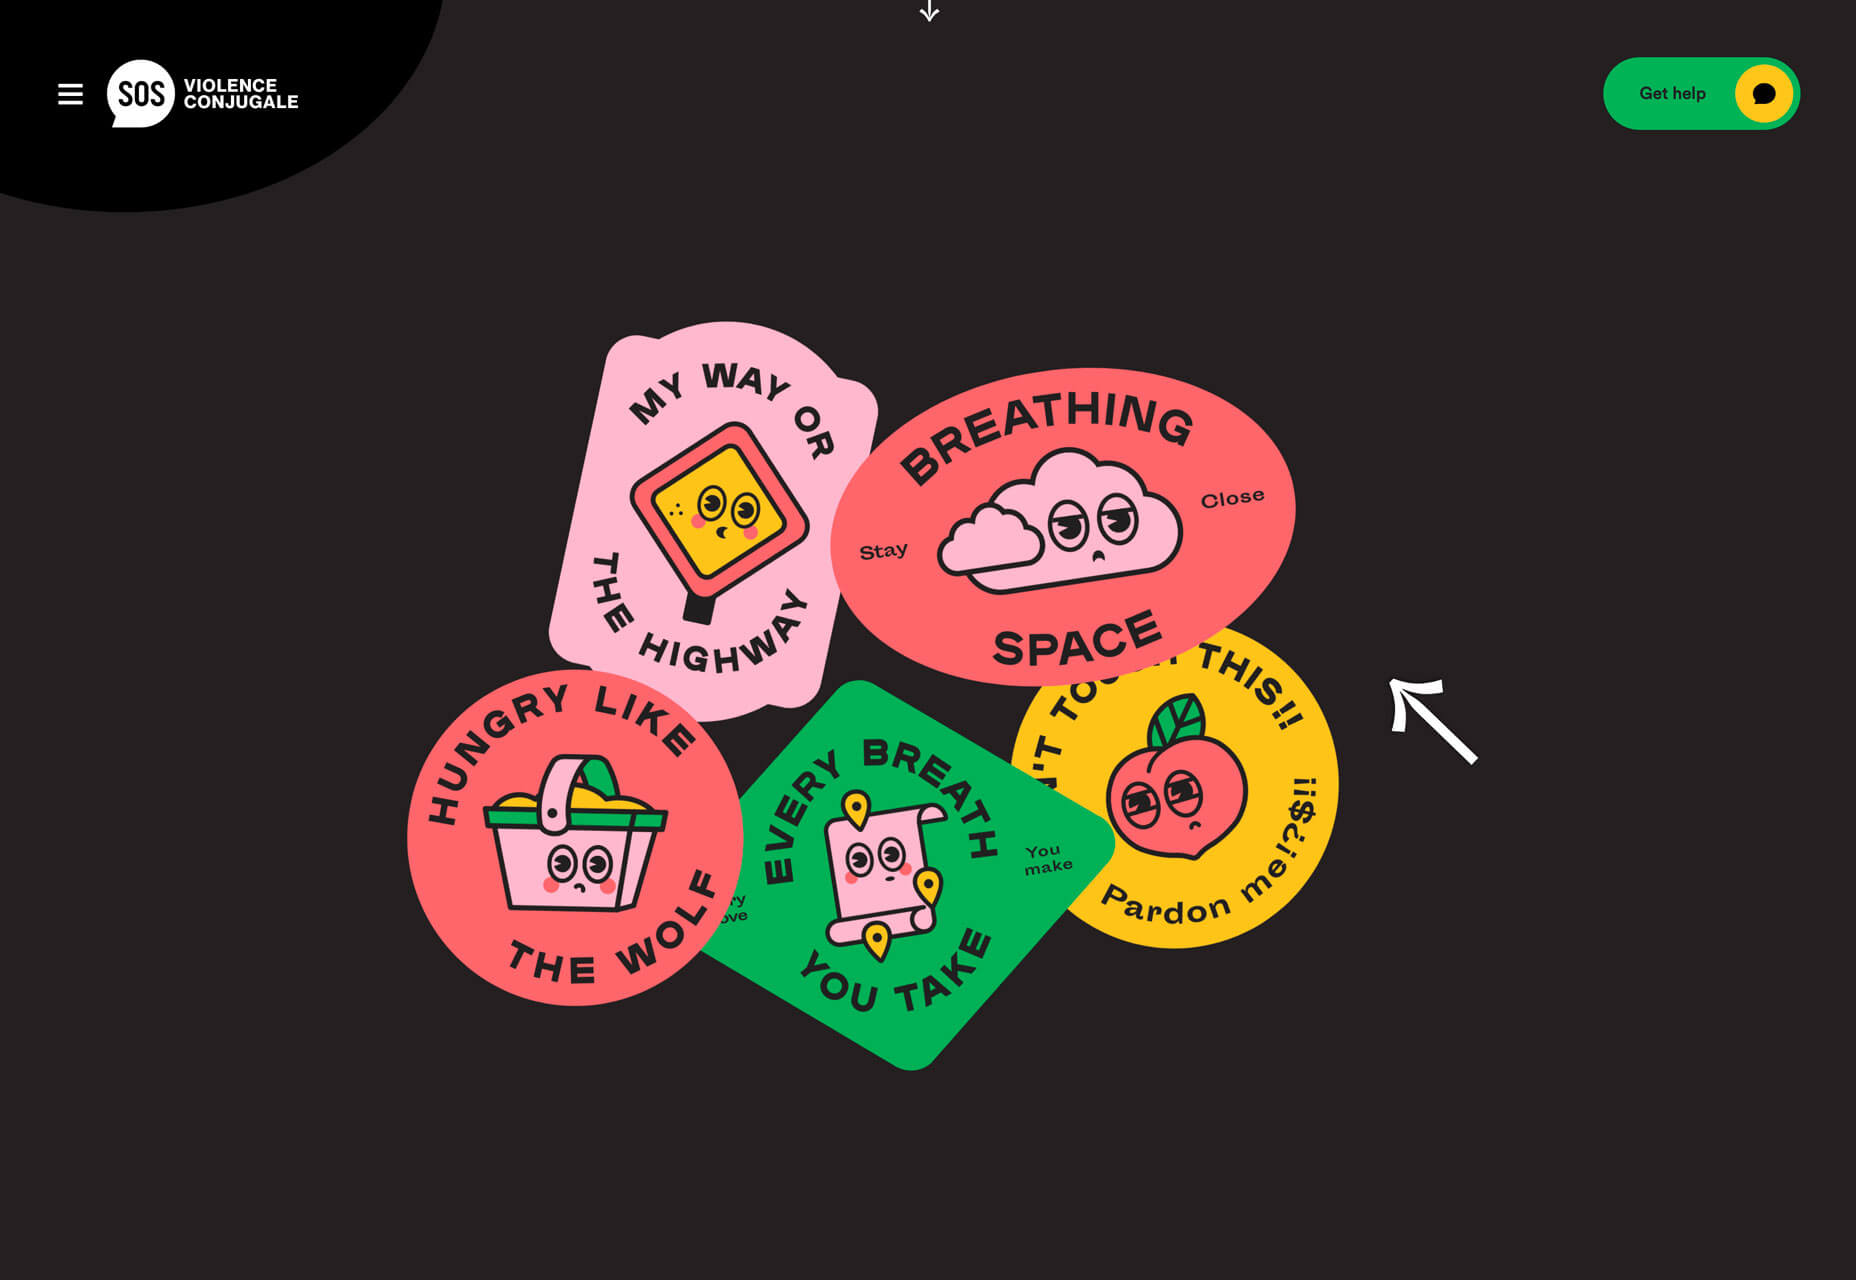
The thing that might be best about using whimsical illustrations is the personality they bring to a project. The right illustrated element – or series of elements – can emotionally tie users to the project while setting a scene. The possibilities are almost endless. Illustrations don’t have to apply only to lighthearted projects, even though “whimsical” might imply it. The illustrations for Violence Conjugale feature a sense of whimsy for a serious topic, and it works. (Maybe we all need a little more whimsy in our life?)

Black and Blue

It’s a classic color combination that’s making a big return to projects – black and blue palettes.

The contrast of a dark background and blue accents is eye-appealing and creates a harmonious and pleasing visual aesthetic. The projects below use this color trend in different ways, all with the same cool result.

Arm Yourself uses a black background with a black and white illustration to make bright blue lettering and accents pop off the screen. Color draws users into the interactive part of the homepage design with a drag to the bullseye instruction.

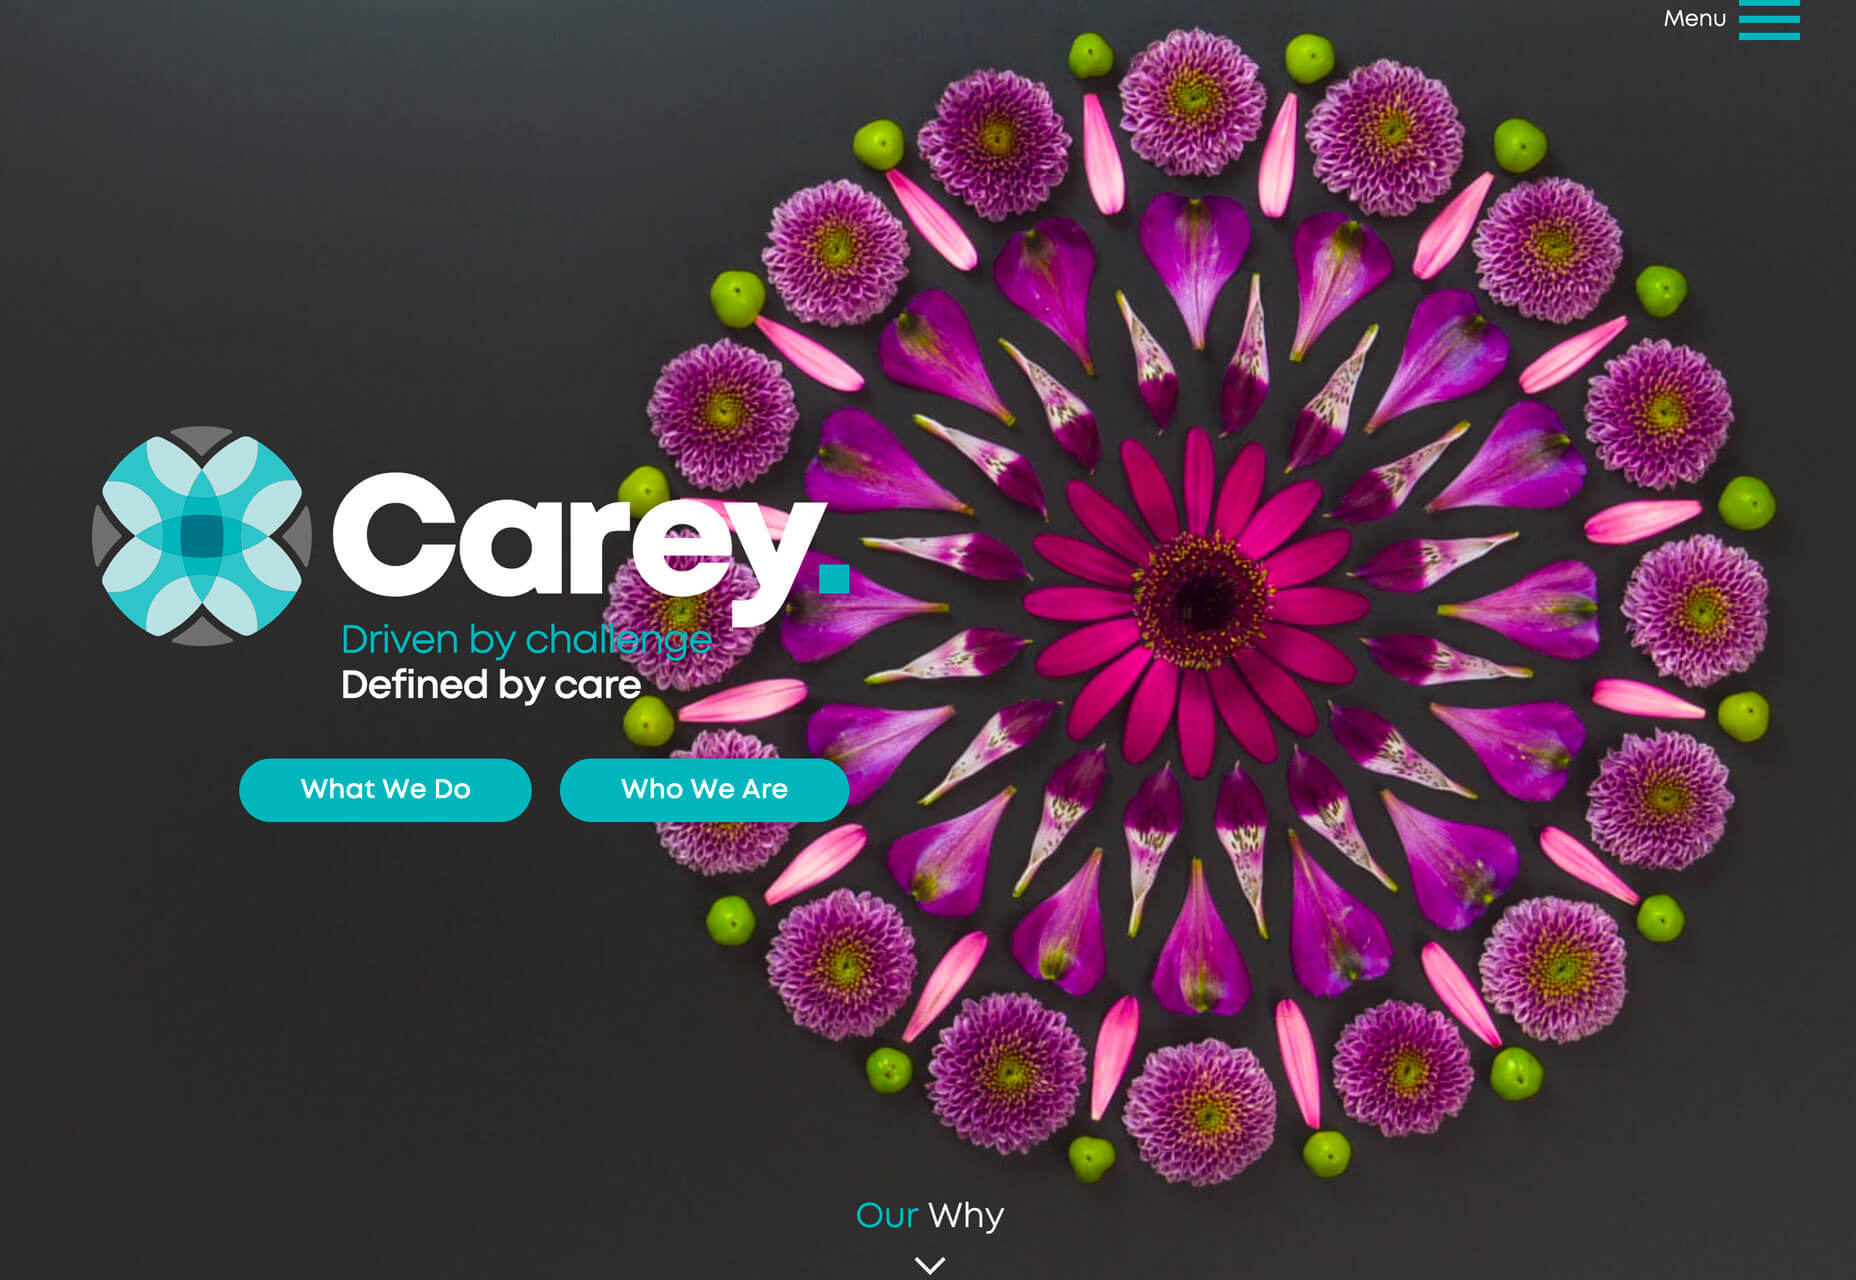
Carey uses a lighter, more teal blue on a charcoal black background for a lighter feel. The blue color pulls from the logo and brand mark with buttons that have a lot of contrast from the background and brighter elements in the design. The blue continues on the scroll with bold text on a fully black background, showing the versatility of this color choice.

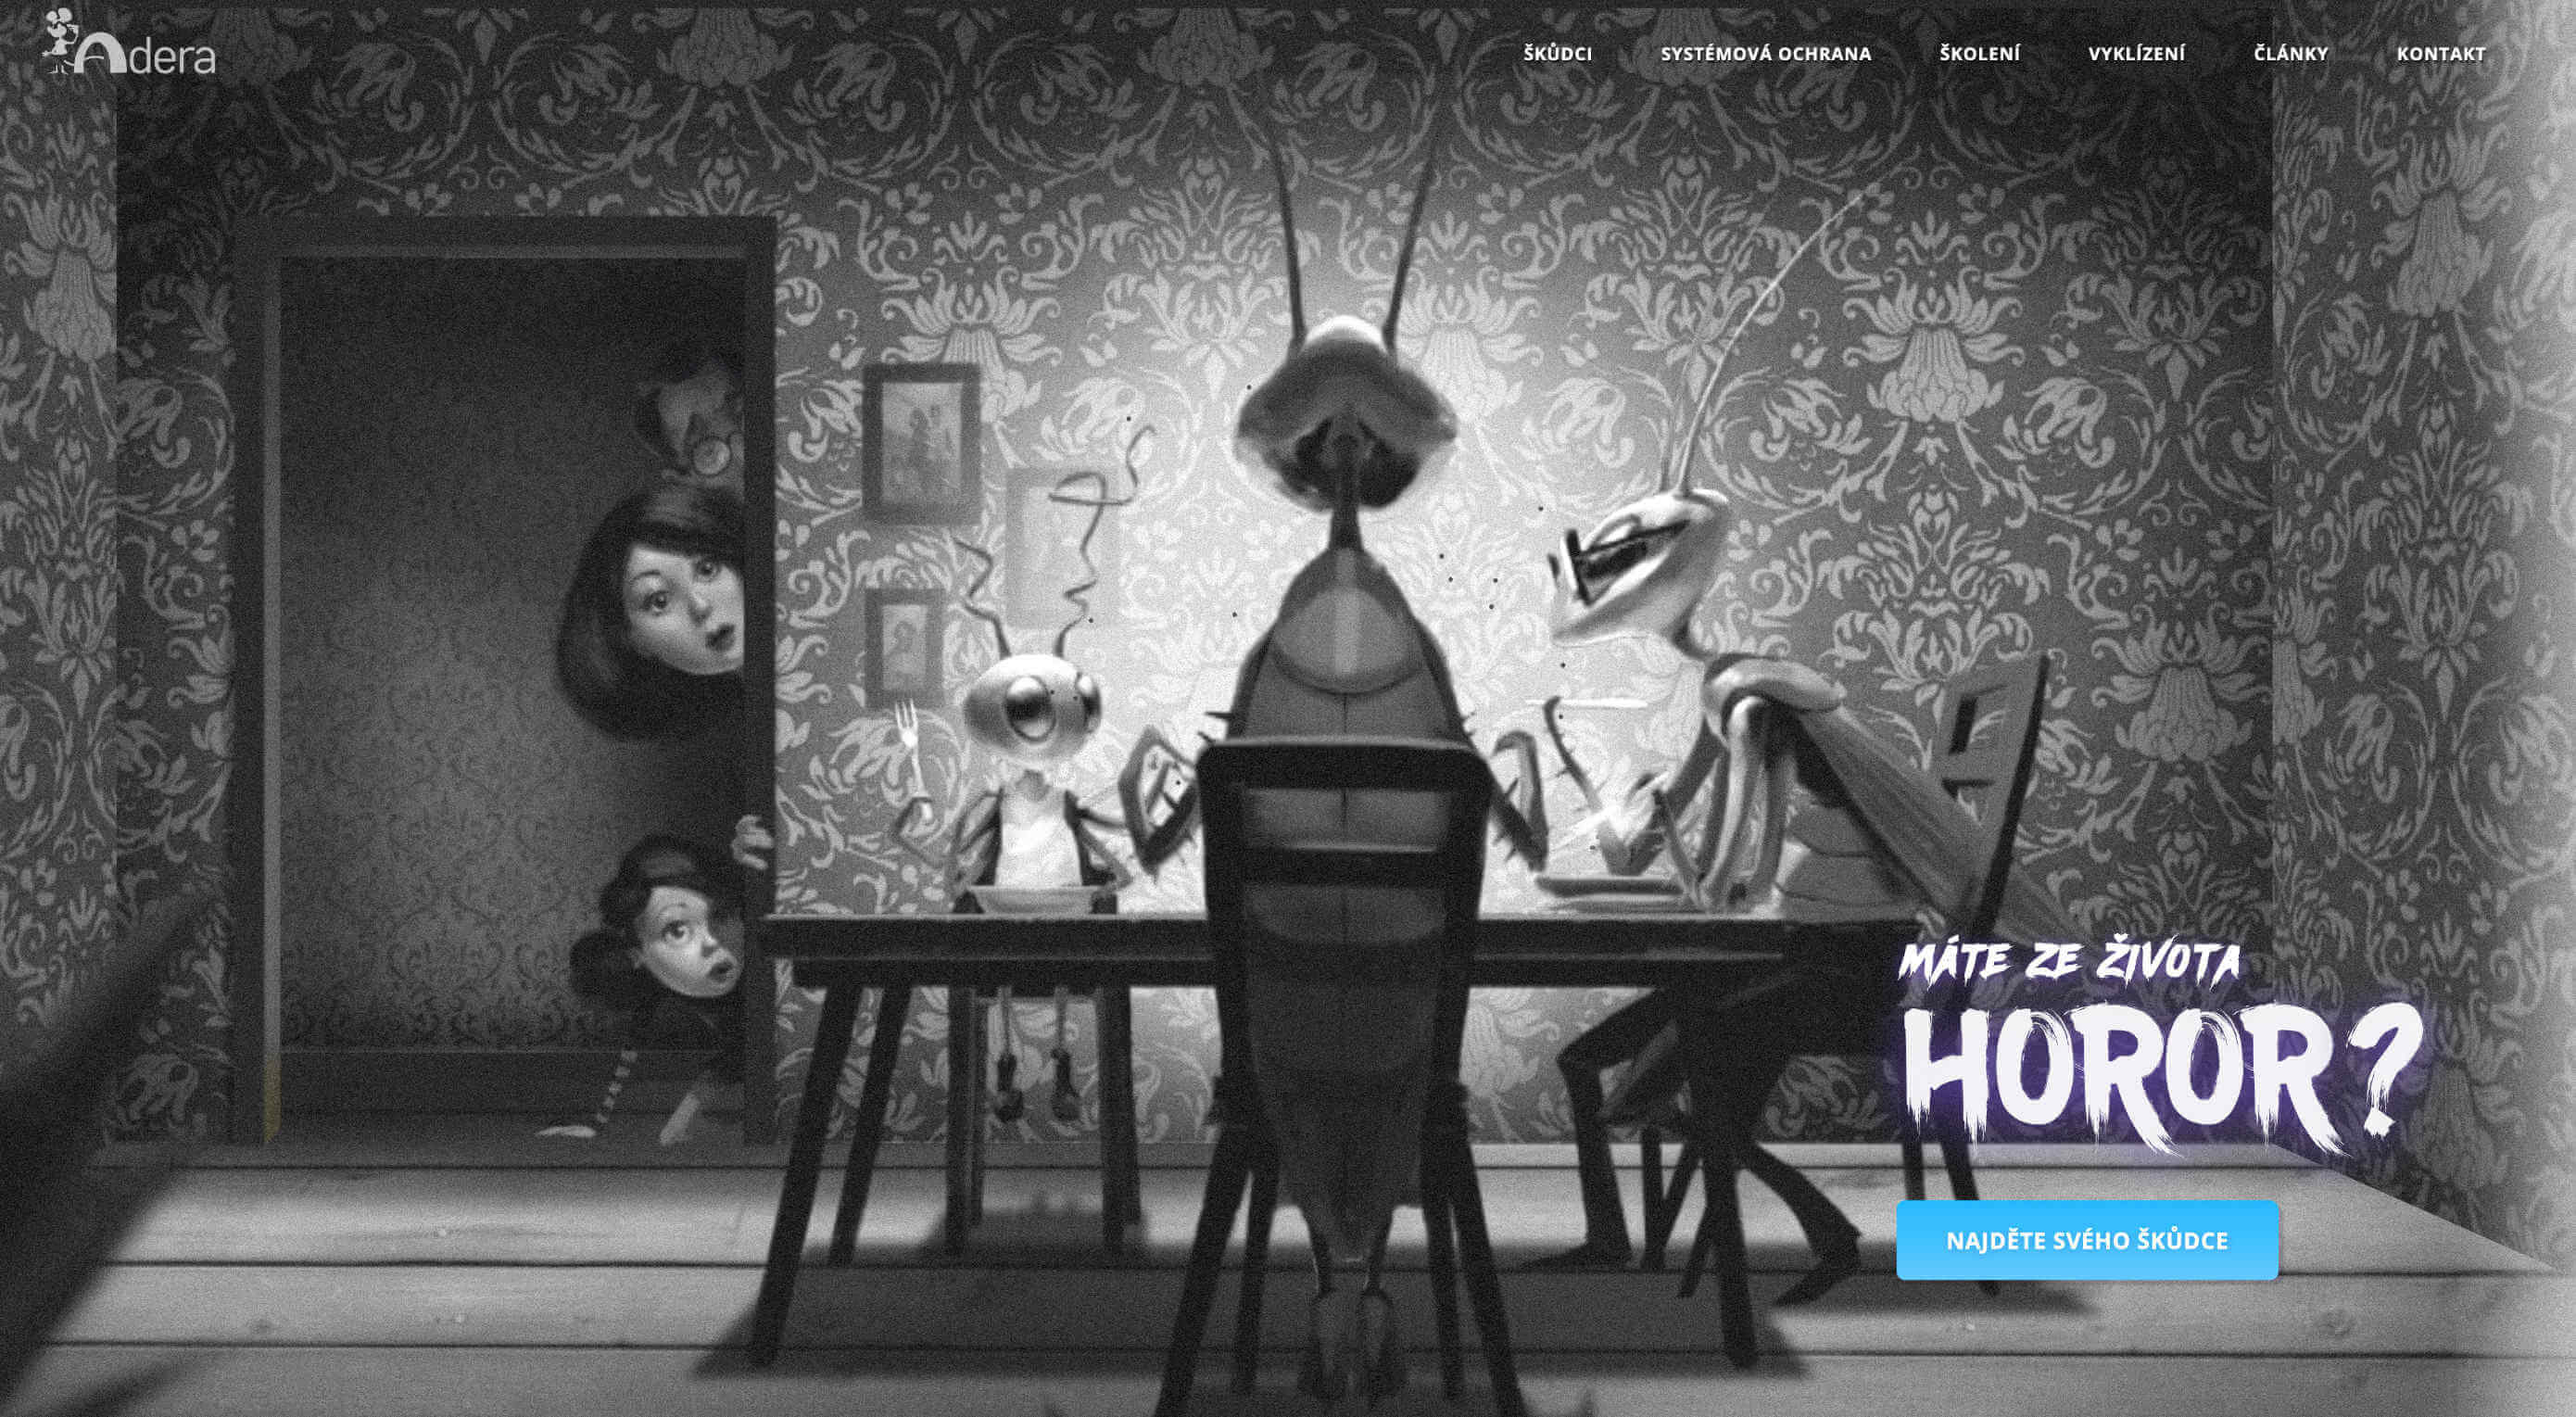
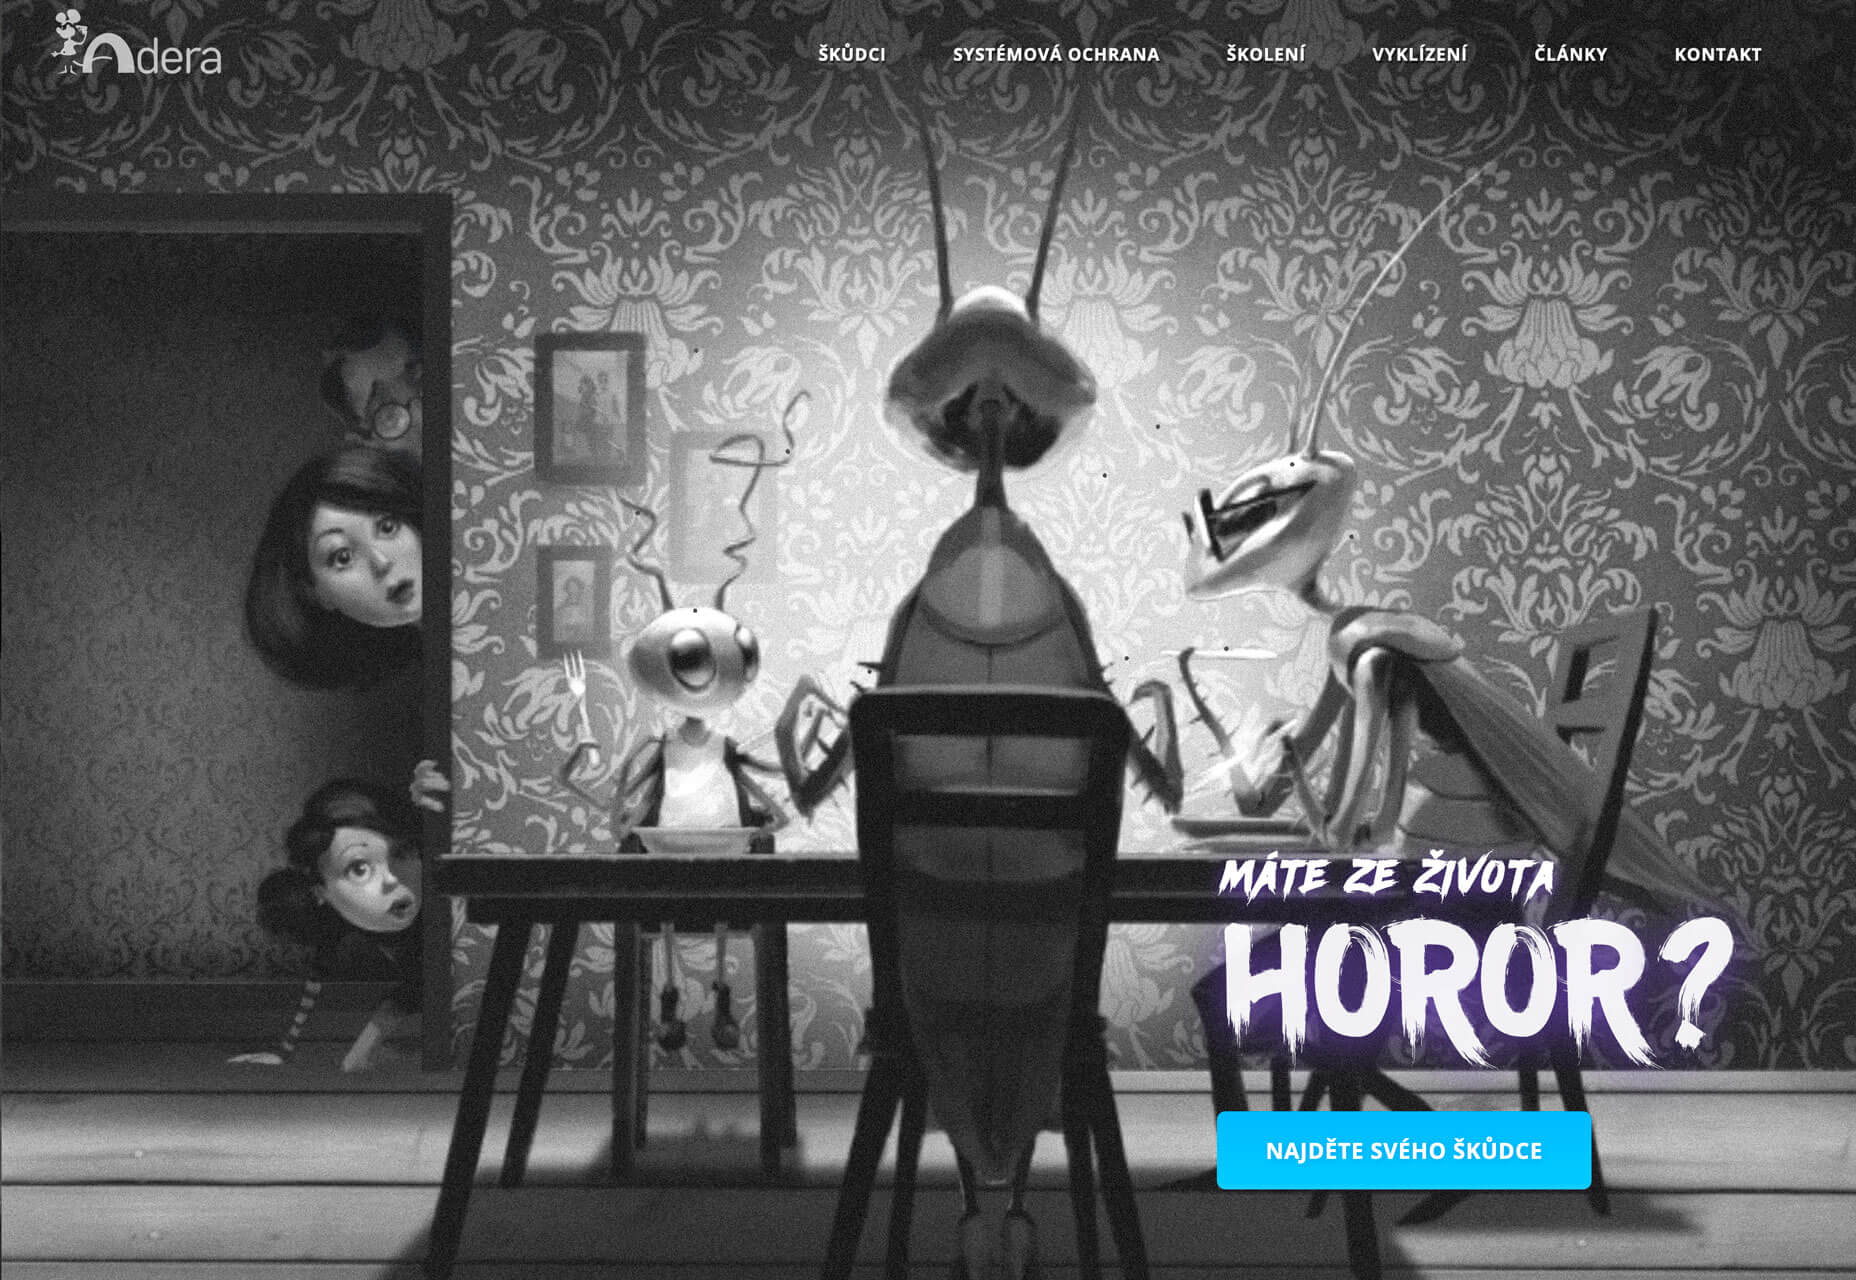
Adera uses a simple blue button on a black and white image to create contrast and draw the eye to the active part of the design. The color palette flips on the scroll to a blue background with darker elements on top. Contrast is a vital factor here, helping dictate user flow and how to digest and interact with information on the screen.

Anything-But-Flat Scroll Transitions

Disclaimer: I am totally in love with this trend and can’t get enough of it.

Anything-but-flat scroll transitions is a versatile design trend that’s visually interesting and contributes to usability. (It’s a win-win!) This trend is exemplified by a transition element between “screens” or “scrolls” with a visual that isn’t just a box or flat line. Think of how most parallax designs or screen-based vertical viewpoints advance from one box to another. With this trend the transition is more fluid. The examples below do this in different ways:

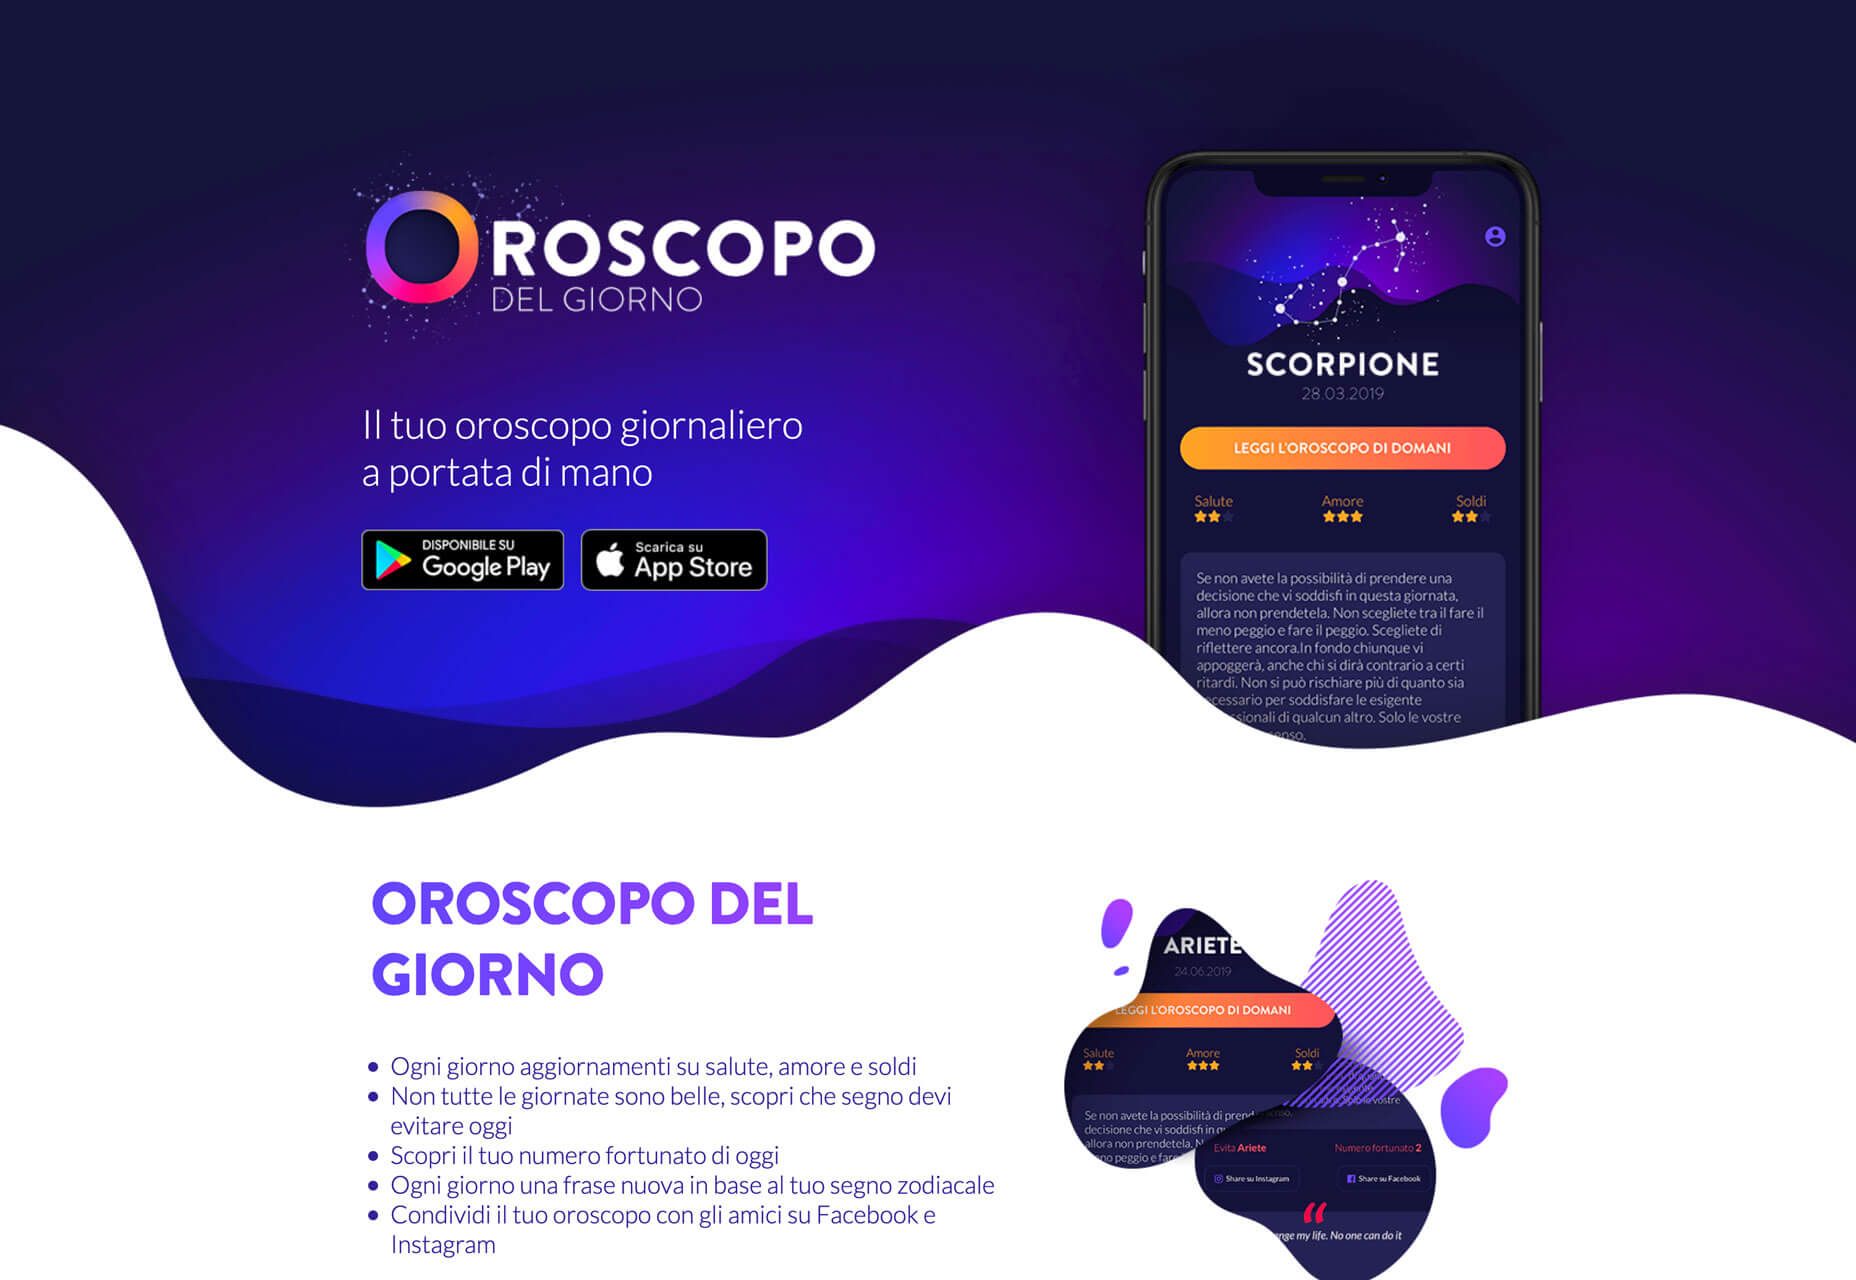
Oroscopo takes advantage of the blobs trend that’s been popular all year with blob elements that create waves between content elements. Contrast between light and dark backgrounds magnify this effect, while other blog shapes create visual consistency.

MAHA Agriculture Microfinance uses a simple line between scroll elements but it’s got a texture to it that makes it just a little more visually interesting that having a flat line between the hero image area at the top and the secondary content block.

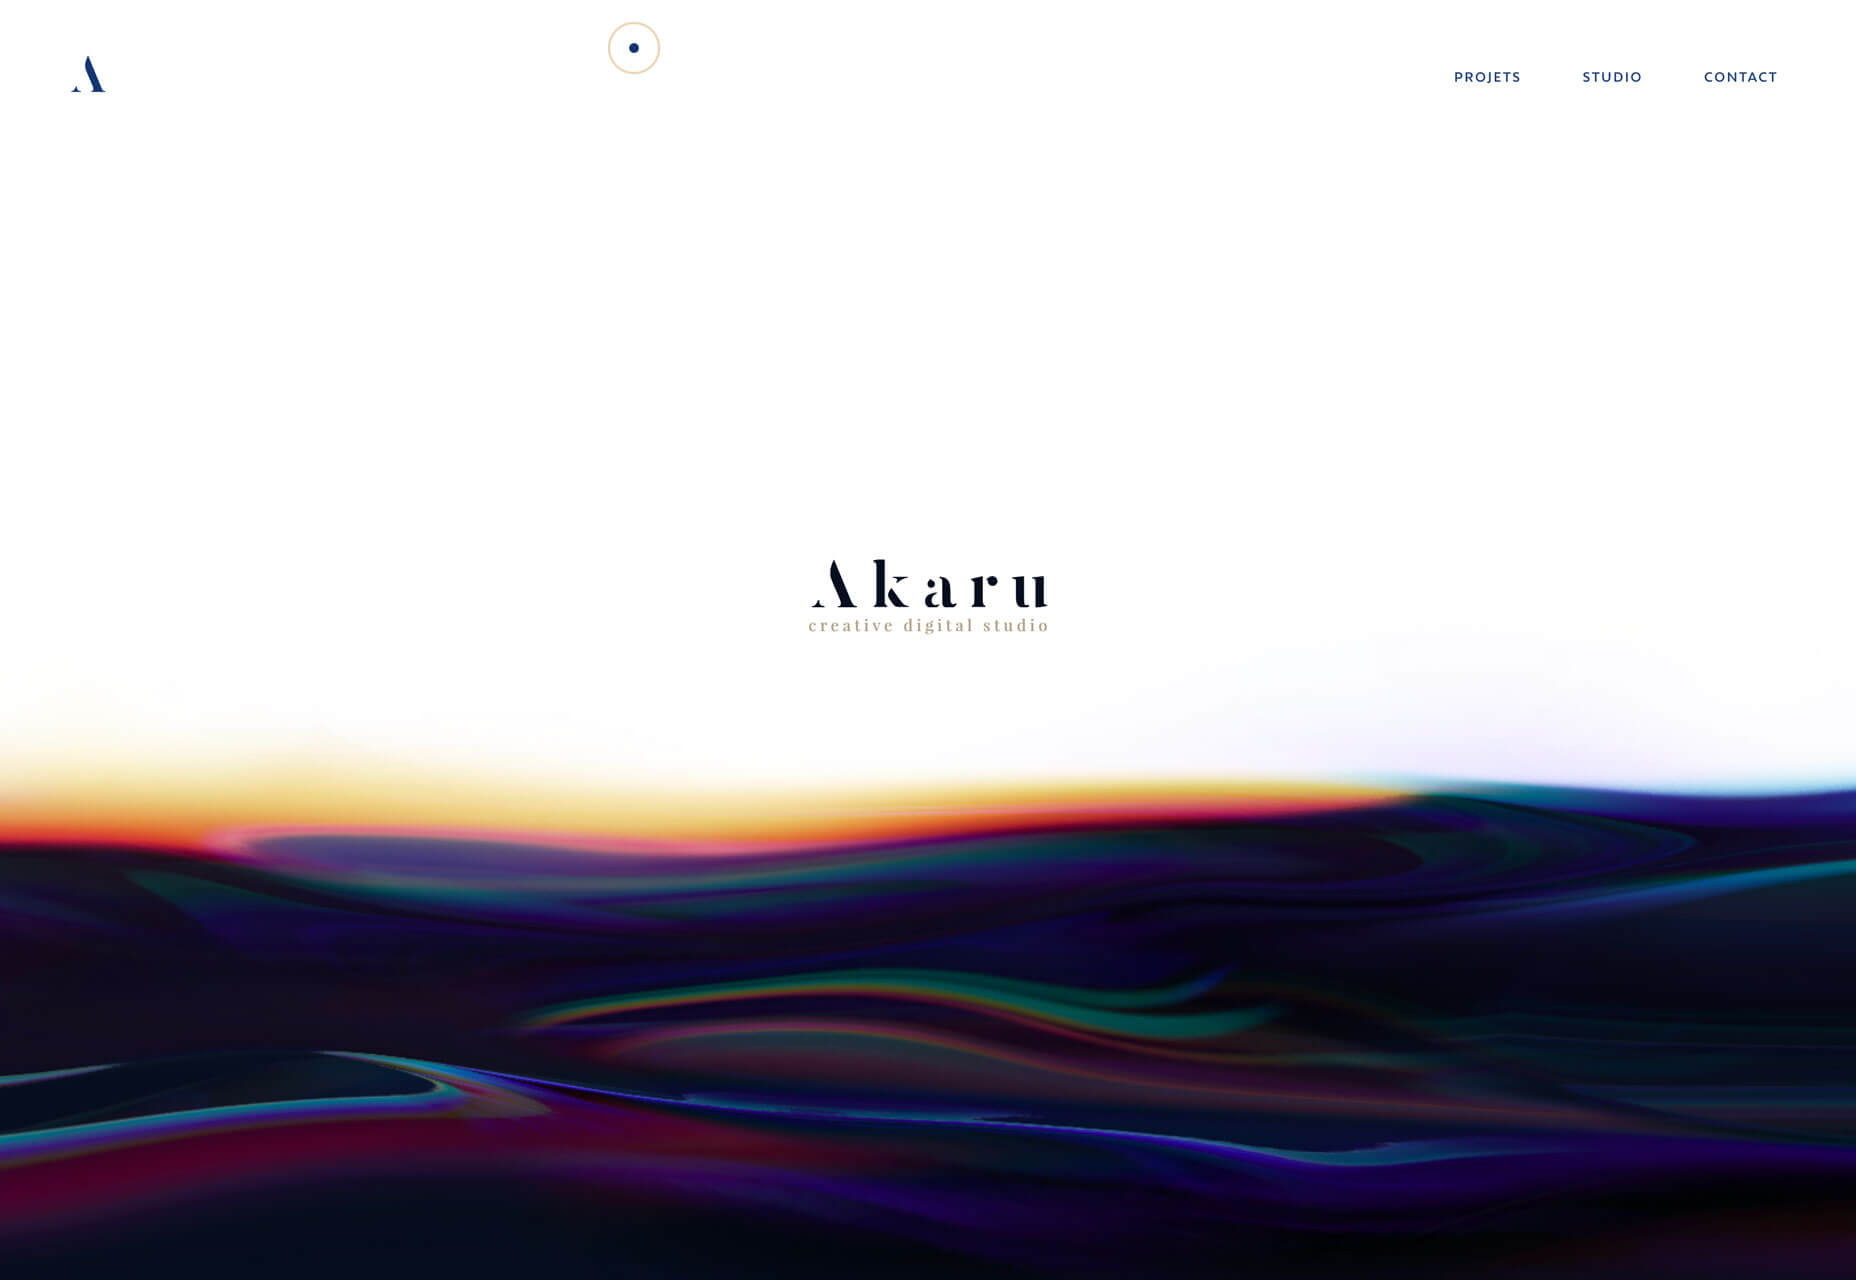
Akaru uses a pretty amazing animated fluid design to offset the branding in the center of the screen. The animation carries into the background of the content below the scroll. (You’ll want to scroll all the way to the bottom of this one to see the transition from the dark animation back to white.) The effect is stunning.

Here’s why this trend works so beautifully: The fluid transition is somewhat disruptive because the user doesn’t expect this visual and seeing the edge of a transitional element encourages scrolling. Whether the user scrolls to see how the transition changes or to preview more content is irrelevant as long as the interaction happens. It’s brilliant and beautiful, especially on desktop screens.

Conclusion

The best design trends are versatile enough that you can use them in new projects or incorporate them into websites that are already live for a little refresh.

A custom illustration can add extra interest to a hero area or page within your website, a tweak to the color palette can create a brilliant black and blue combination, or a neat transition can help users engage with the scroll.

If you want to spice up a project, these trends fit the bill for sure.

Source

p img {display:inline-block; margin-right:10px;}
.alignleft {float:left;}
p.showcase {clear:both;}
body#browserfriendly p, body#podcast p, div#emailbody p{margin:0;}

Motion Paths – Past, Present and Future

Original Source: http://feedproxy.google.com/~r/tympanus/~3/NVxaS65ELcc/

Making animations that “feel right” can be tricky.

When I’m stuck, I find Disney’s 12 principles of animation useful. They’re from the book ‘The Illusion of Life’ and although the book was written about hand-drawn character animation, a lot of the principles are relevant for animation on the web.

The 7th principle of animation is about arcs:

Most natural action tends to follow an arched trajectory, and animation should adhere to this principle by following implied “arcs” for greater realism.

In other words, animating along a curved path can make movement feel more realistic.

Straight lines are what browsers do best though. When we animate an element from one place to another using a translation the browser doesn’t take realism into account. It’ll always take the fastest and most efficient route.

This is where motion paths can come in handy. Motion paths give us the ability to move an element along a predefined path. They’re great for creating trajectories to animate along.

Use the toggle to see the paths.

See the Pen Alien Abduction- toggle by Cassie Evans (@cassie-codes) on CodePen.default

As well as being useful, they’re quite a lot of fun to play around with.

See the Pen Loop by Cassie Evans (@cassie-codes) on CodePen.default

So, how do you animate along a motion path?

I use GreenSock (GSAP) for most of my SVG animation and I made these demos using the newly released GSAP 3 and their MotionPathPlugin. So, if you want to skip to that bit, go ahead!

Otherwise let’s take a little journey through the past, present and future of motion path animation.

(Did someone say CSS motion paths?)

First, a little setup tip.

Make sure to keep the path and element you’re animating in the same SVG and co-ordinate space, otherwise things get a bit messy.

<svg xmlns=”http://www.w3.org/2000/svg” viewBox=”0 0 1300 800″>
<path class=”path” d=”M1345.7 2.6l2.4-4.4″/>
<g class=”rocket”>

</g>
</svg>
SMIL

If you google “SVG motion path animation”, you’re going to get a lot of hits talking about SMIL.

SMIL was the original proposed method for SVG animation. It included the ability to animate along a path using the <animatemotion> element.

It’s nice and declarative and currently the browser support is surprisingly good, covering all modern browsers except Edge and Opera Mini.

But, and this is a big but, the future of SMIL is uncertain, and has been for a while.

It was deprecated by Chrome a few years back and although they’ve now suspended that deprecation, implementations still vary and there’s no clear path towards cross-browser support.

Although it’s fun to play around with, SMIL isn’t very future-proof, so I’m only going to touch on it.

In order to animate along a path with the animateMotion element, you reference the path you want to animate along using path=”…” and define the element you want to animate using xlink:href=”#…”:

<animateMotion
path=”M20.2…”
xlink:href=”#rocket”
dur=”10s”
rotate=”auto”

/>

See the Pen loop SMIL by Cassie Evans (@cassie-codes) on CodePen.default

With SMIL effectively out of the picture, browser vendors are now focused on supporting modern alternatives like the CSS Motion Path Module.

CSS Motion Path Module
Attention: As of the time of writing, the examples in this section are experimental and best viewed in Chrome.

You can check out which features your browser supports in the demo below.

See the Pen Browser Support – CSS motion path module by Cassie Evans (@cassie-codes) on CodePen.default

If you’ve got all green smiley faces, you’re good to go. But you may have a sad face for offset-anchor. This is because this property is currently still experimental. It’s behind a flag in Chrome, meaning it’s not turned on by default.

You can choose to enable it by going to this URL in Chrome:

chrome://flags/#enable-experimental-web-platform-features

and enabling experimental web platform features.

This module is joint work by the SVG and CSS working groups, so unlike SMIL, we’ll be able to use CSS motion paths to animate both, HTML and SVG DOM elements. I love a CSS-only solution, so although it’s not ready to use in production (yet), this is pretty exciting stuff.

The motion path module consists of five properties:

offset (shorthand property for the following)
offset-path
offset-distance
offset-anchor
offset-rotate

offset-path

offset-path defines the path that we can place our element on. There are a few proposed values but path() seems to be the only one supported right now.

.rocket {
offset-path: path(‘M1345.7 2.6l2.4-4.4’);
}

path() takes a path string with SVG coordinate syntax, which may look scary, but you don’t have to write this out. You can create a path in a graphics editing program and copy and paste it in.

offset-distance

offset-distance specifies the position along an offset-path for an element to be placed. This can be either in pixels or as a percentage of the length of the path.

See the Pen Rocket – CSS motion path – offset-distance by Cassie Evans (@cassie-codes) on CodePen.default

offset-anchor

By default the element’s top left corner will be aligned with the path, but we can change this with offset-anchor.
offset-anchor behaves a lot like transform-origin. In fact if set to auto, it’s given the same value as the element’s transform-origin, so we can optionally use transform-origin for the same results.

Like transform-origin it accepts a position with x and y values, either as a percentage or a keyword like bottom or left.

Have a play with the values:

See the Pen Rocket – CSS motion path – offset anchor by Cassie Evans (@cassie-codes) on CodePen.default

offset-rotate

offset-rotate defines the direction the element faces on the path.

By default it’s set to auto and will rotate with the path. You can pass in an optional second value in degrees in order to tweak the direction of this rotation.

See the Pen Rocket – CSS motion path – offset-rotate – auto deg by Cassie Evans (@cassie-codes) on CodePen.default

If you want your element to face the same direction throughout, and not rotate with the path, you can leave out auto and pass in a value in degrees.

See the Pen Rocket – CSS motion path – offset-rotate – deg by Cassie Evans (@cassie-codes) on CodePen.default

These properties were renamed from motion to offset since this spec was proposed. This is because alone, these properties just provide another way to set the position and rotation of absolutely positioned elements. But we can create motion by using them in conjunction with CSS animations and transitions.

.rocket {
offset-path: path(‘M20.2…’);
offset-anchor: 50% 50%;
offset-rotate: auto;
/* if offset anchor isn’t supported we can use transform-origin instead */
transform-origin: 50% 50%;
animation: move 8s forwards linear;
transform-box: fill-box;
}

@keyframes move {
from {
offset-distance: 0%;
}
to {
offset-distance: 100%;
}
}

See the Pen Rocket – CSS motion path by Cassie Evans (@cassie-codes) on CodePen.default

Attention: SVG transform-origin quirks.

In this demo, I’m using a relatively new CSS property, transform-box.

This is to avoid a browser quirk that’s caught me out a few times. When calculating transforms and transform-origin, some browsers use the element’s bounding box as the reference box and others use the SVG viewbox.

If you set the value to fill-box the objects bounding box is used as the reference box.

And if you set the value to view-box the nearest SVG viewbox is used as the reference box.

You can see what happens to the center of rotation when we change it here:

See the Pen Rocket – CSS motion path – transform-box by Cassie Evans (@cassie-codes) on CodePen.default

GreenSock Animation Platform (GSAP)

While we wait for the CSS solution to be more widely implemented we’re in a bit of a motion path limbo. Thankfully there’s some JavaScript animation libraries that are bridging this gap.

I usually use GreenSock for SVG animation for a few reasons.

There are some cross browser quirks with SVG, especially with how transforms are handled. The folks at GreenSock go above and beyond to handle these inconsistencies.

Animation can also be a bit fiddly, especially when it comes to fine-tuning timings and chaining different animations together. GreenSock gives you a lot of control and makes creating complex animations fun.

They also provide some plugins that are great for SVG animation like DrawSVG, MorphSVG and MotionPathPlugin.

They’re all free to experiment with on Codepen, but some of the plugins are behind a membership fee. MotionPathPlugin is one of the free ones, and part of the new GSAP 3 release.

MotionPathPlugin gives you the ability to turn an SVG path into a motion path, or specify your own path manually. You can then animate SVG or DOM elements along that path, even if those elements are in a completely different coordinate space.

Here’s a demo with the necessary libraries added to start you off.

In order to use a plugin we have to register it, like this:

gsap.registerPlugin(MotionPathPlugin);

Then we can start animating. This is what a tween using the simplified GSAP 3 syntax looks like:

gsap.to(“.rocket”, {
motionPath: …
duration: 5,
});

The name ‘tween’ comes from the world of hand-drawn animation, too.

Tweening is the process of generating intermediate frames between two images to give the appearance that the first image evolves smoothly into the second image.

That’s pretty much what a GSAP tween does. You feed in the element you want to animate, the duration, and the properties you want to target and the tween will figure out the in-between states.

The motionPath attribute can be used shorthand, and passed a path:

gsap.to(“.rocket”, {
motionPath: “#path”,
duration: 5,
});

Or, if we want more control over the settings we can pass it an object of options:

gsap.to(“.rocket”, {
motionPath: {
path: “#path”,
align: “#path”,
autoRotate: true,
},
duration: 5,
});

See the Pen Rocket – GSAP motion path by Cassie Evans (@cassie-codes) on CodePen.default

Here are some of the properties we can control.

path

This defines the motion path we’re animating along, we can reference a path that exists in the document by using a selector,

motionPath: {
path: “#path”,
}

a string that contains SVG path data,

motionPath: {
path: ‘M125.7 655a9.4 9.4…’,
}

an object containing an array of x and y co-ordinates to move between,

motionPath: {
path: [{x: 100, y: 100}, {x: 300, y: 20}]
}

or a variable referring to one of these options:

const myPath = ‘M125.7 655a9.4 9.4…’

motionPath: {
path: myPath,
}
align

We can use this to align the element to the path, or other elements in the document by passing in a selector:

motionPath: {
path: “#path”,
align: “#path”
}

We can also align the element to itself if we want the animation to start from the element’s current position.

motionPath: {
path: “#path”,
align: “self”
}

In the next demo, the purple rocket is aligned to self and the green rocket is aligned to the path.

align: “self” is like moving the path to the element, rather than the element to the path.

See the Pen Rocket – GSAP motion path – align by Cassie Evans (@cassie-codes) on CodePen.default

By default, the element’s top left corner will be the center of rotation and alignment. In order to align the element accurately on the path you’ll need to set the element’s center of rotation, like this:

gsap.set(“.rocket”, {
xPercent: -50,
yPercent: -50,
transformOrigin: “50% 50%”
});
autoRotate

This is how we get our element to rotate along with the curvature of the path:

motionPath: {
path: “#path”,
align: “#path”
autoRotate: true,
}

We can also provide a number value. This will rotate along with the path, but maintain that angle relative to the path.

motionPath: {
path: “#path”,
align: “#path”
autoRotate: 90,
}
start & end

These properties let us define where on the path the motion should begin and end.

By default, it starts at 0 and ends at 1, but we can provide any decimal number:

motionPath: {
path: “#path”,
align: “#path”
autoRotate: true,
start: 0.25,
end: 0.75,
}

If you want the element to go backwards along the path, you can provide negative numbers.

See the Pen Rocket – GSAP motion path – align by Cassie Evans (@cassie-codes) on CodePen.default

immediateRender

If your element is starting off at a different position in the document and you want it to align with the path you might notice a jump as it moves from its position to the path.

See the Pen Rocket – GSAP motion path – align by Cassie Evans (@cassie-codes) on CodePen.default

You can fix force it to render immediately upon instantiation by adding immediateRender:true to the tween.

// animate the rocket along the path
gsap.to(“.rocket”, {
motionPath: {
path: “#path”,
align: “#path”,
autoRotate: true,
},
duration: 5,
ease: “power1.inOut”,
immediateRender: true,
});
MotionPathHelper

Another super cool feature of the GSAP 3 release is the MotionPathHelper.

It enables you to edit paths directly in the browser! I found this really helpful, as I’m always going back and forth between the browser and my graphics editor.

Give it a go in the demo below. When you’re done, click “copy motion path” to copy the SVG path data to your clipboard. Paste the new path data into the d=”” attribute in the SVG code to update your path.

There are instructions on how to edit the path in the GSAP docs.

See the Pen Rocket – GSAP motion path – helper by Cassie Evans (@cassie-codes) on CodePen.default

GreenSock is a ton of fun to play around with!

There are a bunch of other features and plugins that when paired with motion path animation can be used to create really cool effects.

In this demo, DrawSVG is progressively showing the text path as some staggered elements animate along the path using MotionPathPlugin:

See the Pen Squiggle text animation by Cassie Evans (@cassie-codes) on CodePen.default

If you’ve had fun with these examples and want to explore GreenSock some more, Christina Gorton has written The New Features of GSAP 3 providing a practical overview.

GreenSock also have a great getting started guide.

Happy animating!

Motion Paths – Past, Present and Future was written by Cassie Evans and published on Codrops.

10 Awesome Cyber Monday Deals That You Should Check Out (Up to 94% Off)

Original Source: https://www.webdesignerdepot.com/2019/12/10-awesome-cyber-monday-deals-that-you-should-check-out-up-to-94-off/

It’s that time of the year again. If you skipped Black Friday there’s still Cyber Monday.

And there are tools and resources out there that you’ll find only once a year at this great price. We’ve gathered the best of them in this article.

Bookmarking this page isn’t a solution. Don’t let a slow decision ruin your chance of getting these products or resources at a discounted rate. Act fast and don’t let them slip by.

1. Brizy Cloud Website Builder

In addition to the Cyber Monday savings you could realize, Brizy has lots of free stuff to offer as well, including the website builder itself. This premium product enables designers to create multipage websites fast, easily, and efficiently. Thanks to the 150+ customizable layouts and more than 700 design blocks that come with the package, coding is not necessary.

There is a small catch. You should sign up for a free account to be able to save what you build. You have full control over what you build and how your websites and those of your clients will appear on responsive devices.

Where does the Cyber Monday deal come in? Aside from the Free Forever plan, there are two annual paid plans (Personal and Studio). These are very affordable plans that have much more to offer than the free plan and can be yours at a 40% discount if you order 2 December or 3 December. You might check out Brizy before that date to see if a paid plan is the preferred choice for you. Use discount code CM40OFF.
2. Smart Slider 3 Pro

Smart Slider Pro 3 features a free plan and three paid plans (Single Domain, Business, and Unlimited). Give it a test drive for free. Yes, you can demo it for free. And if you like it, you can buy one of the paid plans at a discount until December 3.

Smart Slider 3 Free allows you to build beautiful responsive sliders. The paid plans provide additional special effects such as parallax animation and the popular Ken Burns effect.

You won’t get bogged down with extraneous features you have no use for. There are two different editing modes (content and canvas) to work with. In the content mode the slide acts as a page builder, in the canvas mode you can work with layers unobstructed.

Features include 180+ sample sliders (one click installation), a layer animation builder, and an astonishing array of animations and special effects. Any of the pro plans can be yours at a Cyber Monday discount of 40%. Use code SAVE4019.

3. Paymo

Paymo is a work management software application teams can use to plan their workflow, track time, and invoice clients. Having all these functions managed by a single app ensures that everything is kept in sync. Project managers will know exactly how much time (including billable hours) is spent on each task, making it easy to send accurate reports and charge clients correctly and fairly.

Paymo integrates with Adobe to allow you to track work time directly on Photoshop, InDesign, Illustrator, and Premier.

Live, up-to-date reports can be generated for sharing with team members and project stakeholders. Paymo also helps team management with task planning, tracking expenses, performing leave management tasks, and more. Other important features include Gantt charting, Kanban Boards, and a resource scheduler.

Upon subscribing, use code GVX233 for a 30% Paymo discount.

4. TheGem – Creative Multi-Purpose High-Performance WordPress Theme

TheGem is a bold and beautiful WordPress theme that is regarded by many, including its 40K satisfied customers, as featuring the most complete designer’s toolkit of any theme on the market. WPBakery ensures easy and intuitive front-end page editing, plus more than 90 pre-built complete websites, installable with one click, allows you to get off to a quick start.

Premade templates and design elements are easily combinable. This premier theme is yours at a 50% discount Cyber Monday.

5. Beaver Builder

Beaver Builder is drag and drop website building plugin that enables you to separate page building from your theme, giving you total control over your content. Beaver Builder works with any theme, and you can even switch themes without any loss of content. 30+ landing pages come with the package, no coding is necessary, and Beaver Builder is SEO friendly and mobile responsive. No discount code is required. The 25% discount is automatically applied during checkout from Black Friday through Cyber Monday.

6. Kalium

Kalium is a superior choice for beginners and advanced WordPress users alike. It is easy to use and easy to maintain, it includes several of the most popular WordPress plugins, and it supports all the better known ones. This creative multipurpose theme is an award winning top seller. It’s trusted by 30,000+ clients and provides top customer support.

Normally selling for $60, Kalium can be yours Cyber Monday for $30; a 50% discount and a great deal.

7. Mobirise Website Builder

Mobirise is an offline website building app for Windows and Mac that features an extremely easy to use interface. It’s mobile friendly, it’s free for both commercial and non-profit use, and you can build fast, responsive, Google-friendly websites in minutes. Mobirise’s Website Builder Kit, normally priced at $2,654, features all premium themes, 200+ blocks, and 66 Mobirise themes and extensions.

On Monday you can purchase this all-in-one Kit for $149, a whopping 94% discount!

8. Simple Author Box

The Simple Author Box plugin’s features give you the ability to add guest authors and multiple authors to your posts, add links to author’s social networks, and select specific post types where you want your author box to show up. Simple Author Box is Gutenberg block compatible.

Although a free version is available, signing up for a subscription plan is recommended. The Cyber Monday offer of a 30% discount on all lifetime licenses is valid until 4 December.

9. MyThemeShop

This is for the designer who wants to be able to choose among a huge variety of premium themes, domain licenses, plugins, and memberships in conversion tracking, user behavior, and social media platform tool usage and more.

For Cyber Monday, MyThemeShop’s annual fee is discounted to $99.47. This Cyber Monday special is valid from 1 December to 7 December.

10. WordLift

As you write content, WordLift is busy adding semantic markups to feed to search engine crawlers with the intent of helping you reach a broader audience. This semantic SEO tool uses natural language processing, analyzes content, and transforms any text into machine-friendly content.

A quality SEO tool like WordLift makes a great investment as it produces greatly superior results as compared to attempting to create SEO friendly content on your own. Cyber Monday features a 50% discount on your first subscription.

Conclusion

Cyber Monday will fall on the 2nd of December you can witness some of the biggest online deals of the year on tech-related items. Many of these deals are available in physical stores as well. However, online shopping is generally much more convenient, especially if all you have to do is confirm your order and perhaps press “Download”. As far as comparisons with Black Friday are concerned, Cyber Monday discounts are at least as large, and often larger.


[– This is a sponsored post on behalf of BeTheme –]

Source

p img {display:inline-block; margin-right:10px;}
.alignleft {float:left;}
p.showcase {clear:both;}
body#browserfriendly p, body#podcast p, div#emailbody p{margin:0;}

Wacom Cyber Monday 2019: New deals just added!

Original Source: http://feedproxy.google.com/~r/CreativeBloq/~3/9m0UcSMh1Y8/wacom-black-friday-and-cyber-monday-deals

Hoping to pick up a hot deal in the Wacom Cyber Monday sale? Read on… In this article, we'll be bringing you the best Wacom Cyber Monday deals as soon as they go live. Wacom has long ruled the roost then it comes to graphics tablets, and the holiday sales are a great time to tick one up for a bargain price. Scroll down to check out the biggest savings available right now. 

The holiday offers kicked off early this year, but as usual the biggest deals have been saved for Black Friday and Cyber Monday themselves. The event is almost over, but there's still time to snag a good Cyber Monday Wacom deal if you're quick.

If you've been on the hunt for a bargain Wacom product then you'll know that it's not always easy to find a decent discount. That's not to say there aren't great deals to be had, you just need to know where to look and when to hit the Buy button. This time of year offers up probably one of the best chances you'll get at making a worthy saving on one of Wacom's popular products, and we've curated the strongest offers in this article for you to browse. 

Not sure which Wacom is the best choice for you? Check out our guide to the best drawing tablets for more information to help you make your selection. Alternatively, if you're thinking about buying one of Apple's tablets, see our iPad Black Friday deals hub.

Browse all Wacom Cyber Monday deals

There are many retailers offering Wacom Cyber Monday deals. If you'd rather check out the offers yourself, use the following links. If not, scroll down to read our curated list of the best deals available in the US and UK.

Amazon: Discounts on Wacom run up to 41%Walmart: Great deals across tablets including accessoriesBest Buy: Plenty of deals that include Creative Cloud subscriptions Park Cameras: Some tidy discounts on tabletsB&H: Save on the Wacom Cintiq Pro

The Cintiq family has expanded in the last 12 months, so we're seeing older models for a reduced price. Check out today's best deals below.

Wacom Cintiq Cyber Monday deals: US
Wacom Cintiq Cyber Monday deals: UK

The Cintiq Pro has some fantastic top-of-the-range tablets, and we've seen some fantastic discounts so far. Check out today's offers below.

Wacom Cintiq Pro Cyber Monday deals: US
Wacom Cintiq Pro Cyber Monday deals: UK

The Wacom Intuos family sits at the lower end of the company's price range, but that doesn't mean there aren't discounts. Acting as Wacom's perfect jumping on point for digital artists, a Wacom Intuos Black Friday discount would be a smart way for more creatives to get to grips with its products. Below are all the best Wacom Intuos Black Friday deals.

Wacom Intuos Cyber Monday deals: US
Wacom Intuos Cyber Monday deals: UK

Last year the Intuos Pro range enjoying a reduced price to celebrate Wacom's 35th anniversary, and this year we're already seeing discounts. See below for the hottest prices on these capable creative tablets.

Wacom Intuos Pro Cyber Monday deals: US
Wacom Intuos Pro Cyber Monday deals: UK
Wacom Bamboo deals: UK
Wacom Cyber Monday: What happened last year?

Last year, the Wacom Intuos Pro Black Friday and Cyber Monday discounts proved to be the most popular offer, so it makes sense for Wacom to attempt to repeat this success. However, we're also keeping out eyes out for any Wacom Cintiq Pro Black Friday discounts. Other items that flew off the digital shelves include the Bamboo Slate and the accompanying Bamboo Sketch, so be sure to keep these in mind over the shopping season too.

Wacom Black Friday and Cyber Monday: product predictions 

Based on last year's trading, we can make a number of predictions around the kind of Wacom Black Friday and Cyber Monday discounts we'll see in 2019. We've separated them into products below to make it easier to find the kind of device you're looking for, what savings you could potentially make, as well as any good deals available right now. 

If you see a Wacom tablet you like at a price to suit your budget, be sure to buy it quickly. The best Wacom Black Friday deals usually go fast, especially because graphics tablets discounts are some of the most hotly anticipated offers around Black Friday and Cyber Monday.

How to get the best Wacom Black Friday and Cyber Monday deals

If you're on the lookout for a Wacom Black Friday deal, be sure to bookmark this page. We're updating this page live with the best offers on Wacom products. Another good place to keep an eye on is the Wacom Store itself, which is sure to promote its biggest discounts. Of course, other online retailers such as Amazon, Best Buy and John Lewis will also be getting in on the action with their own deals.

Remember, getting a Wacom tablet with add-ons is a great way to save even more money, and refurbished models can be another way to bring the price down even further.


94% Off: Get the Complete Facebook Ads Course: Beginner to Advance for Only $11

Original Source: http://feedproxy.google.com/~r/Designrfix/~3/Kv5jDXJskJA/complete-facebook-ads-course-deal

There are billions of people who use Facebook on a daily basis. Many of them check their accounts several times a day. Placing a highly targeted ads on the platform can help you reach your target audience. It is a tremendous way to increase traffic and exposure for your business, generate leads and sales, and […]

The post 94% Off: Get the Complete Facebook Ads Course: Beginner to Advance for Only $11 appeared first on designrfix.com.