The Best jQuery Plugins & Effects That Are Still Useful in 2019

Original Source: http://feedproxy.google.com/~r/1stwebdesigner/~3/2O6PzBMEYFE/

If you’re coding with JavaScript, jQuery should be one of the first things you install. The lightweight JavaScript library optimizes and simplifies core features like Ajax handling, animation, event handling, and HTML document transversal – in other words, it makes working with JavaScript a lot easier.

Many developers have released plugins built on the jQuery framework for free. These can add key features and effects to your website, including autocomplete, file upload, or image zooming.

Ready to install cool effects and awesome jQuery plugins? Here are some of the best libraries you’re sure to love.

Your Web Designer Toolbox
Unlimited Downloads: 500,000+ Web Templates, Icon Sets, Themes & Design Assets


DOWNLOAD NOW

fancybox

Example of fancybox

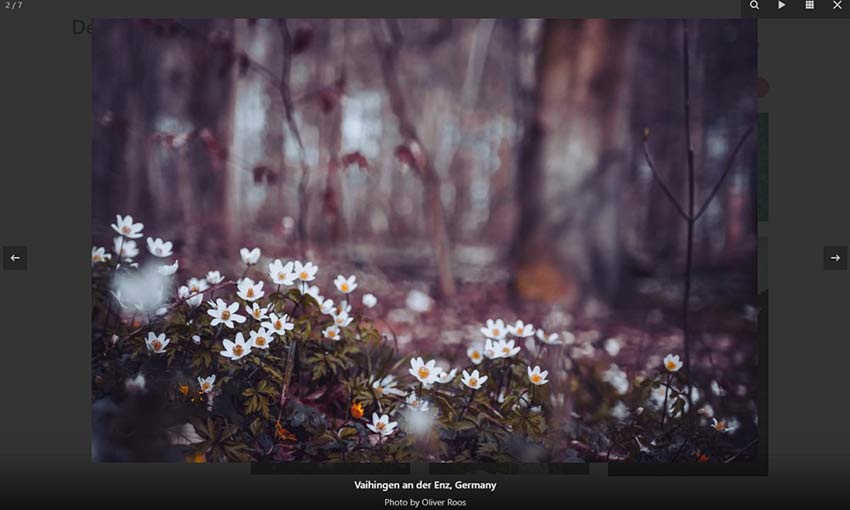
This lightbox plugin can display various types of media in a beautiful darkened popup. Besides images and videos, it also accepts custom content like Google Maps and can resize to fit them. Plus, it’s easily extensible with a little CSS and JavaScript knowledge. It’s free to use in open source projects, or commercially with a license.

jQuery File Upload

Example of jQuery File Upload

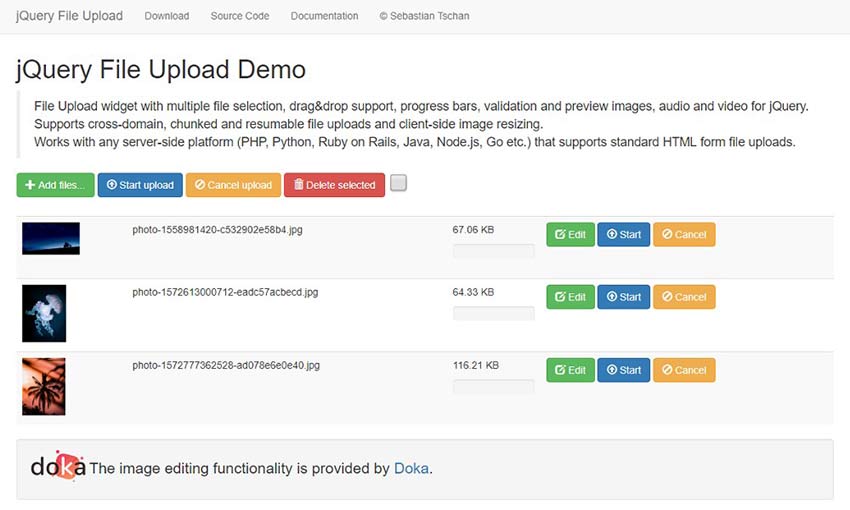
If you need to add file upload functionality to your site, this little widget has everything. You can upload any type of file with unlimited file size, and even drop them right into the browser.

fullPage.js

Example of fullPage.js

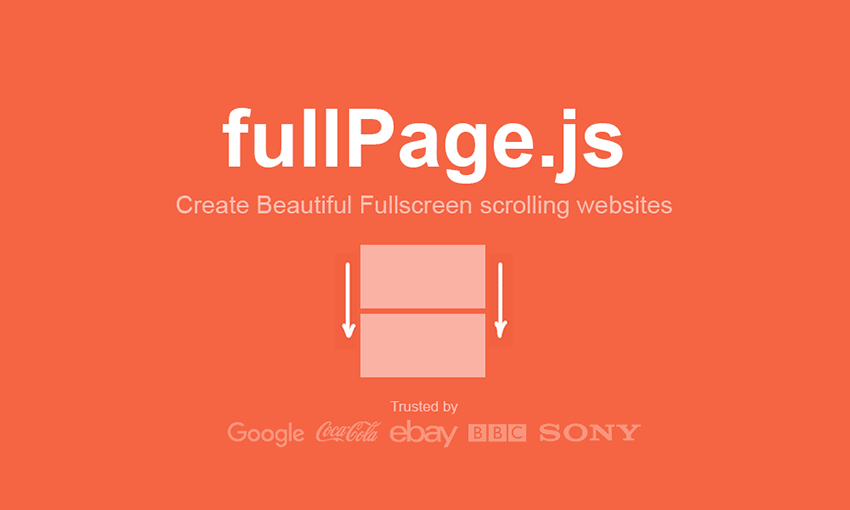
Looking for a quick and easy way to create a one-page, scrolling, full-screen website? All the tutorials are here to help you get this library set up and working, with in-depth explanations for every option. Open source projects can use it for free.

Tiny Slider

Example of Tiny Slider

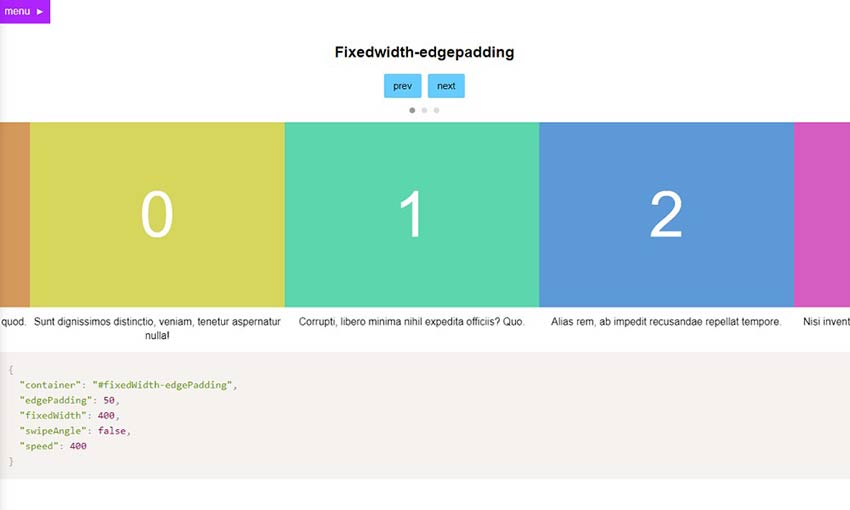
This library may be called Tiny Slider, but it includes dozens of demos, each with its own unique functionality. Fixed widget, vertical, even lazy loading sliders; test out each demo until you find the one you want.

Select2

Example of Select2

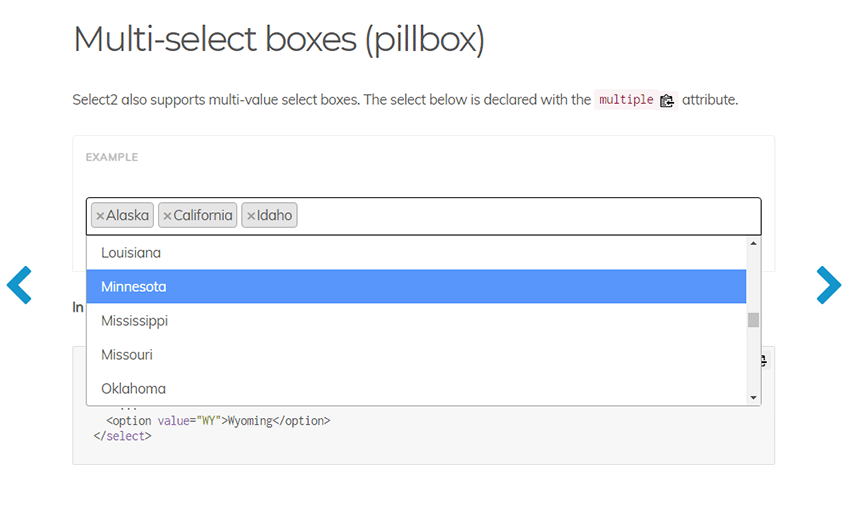
Is the default HTML select box not doing it for you? Select2 implements an easily customizable, extremely extensible dropdown select box including pages and pages of helpful documentation.

Ajax AutoComplete for jQuery

Example of Ajax AutoComplete for jQuery

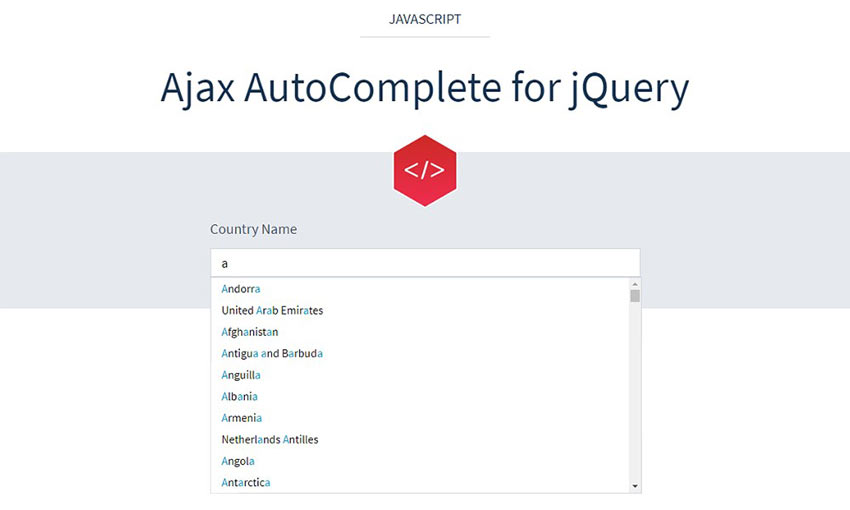
If you need to add an autocompleting text box to your website, this lightweight file is the way to go. It takes up practically no space, yet provides advanced autocomplete functionality.

Flotcharts

Example of Flotcharts

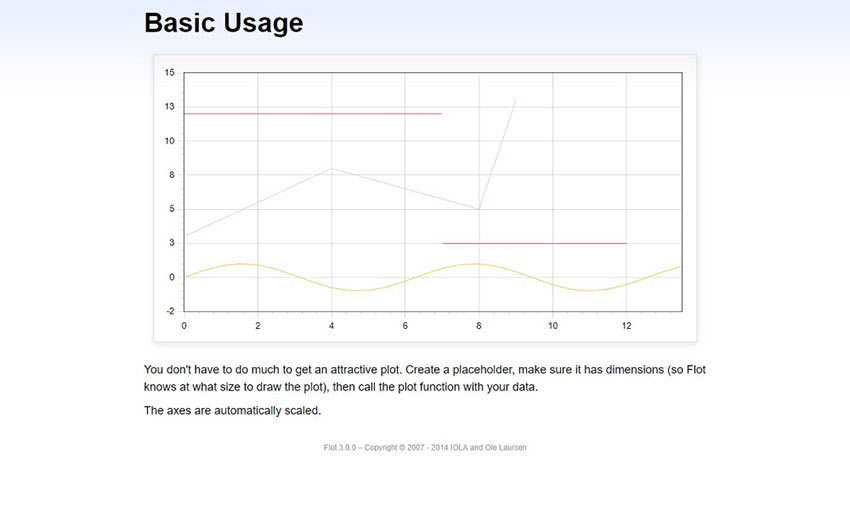
This is more than just a simple chart plugin. While it’s easy to use thanks to the API documentation, it also comes with advanced functionality like real-time plotting and beautiful aesthetics.

pickadate.js

Example of pickadate.js

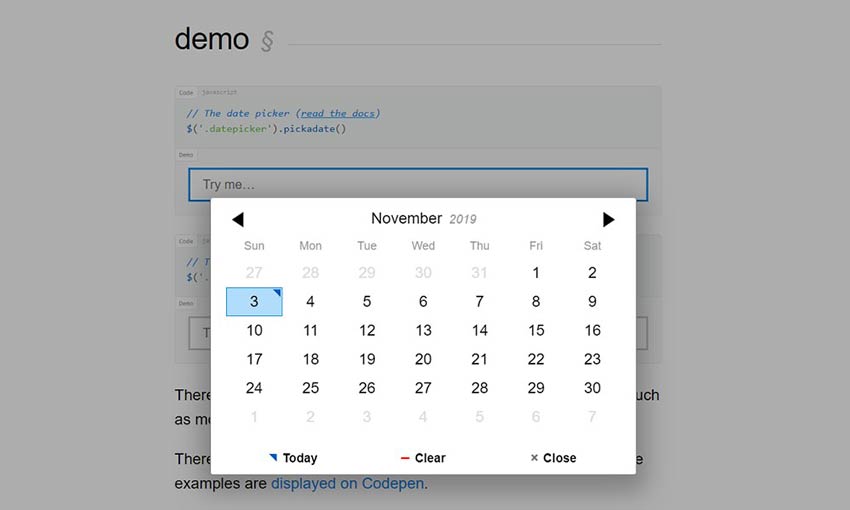
Responsive and customizable, pickadate.js makes creating a date or time selection box as easy as installing this lightweight plugin. Check out the API documentation to customize it even further.

jQuery Zoom

Example of jQuery Zoom

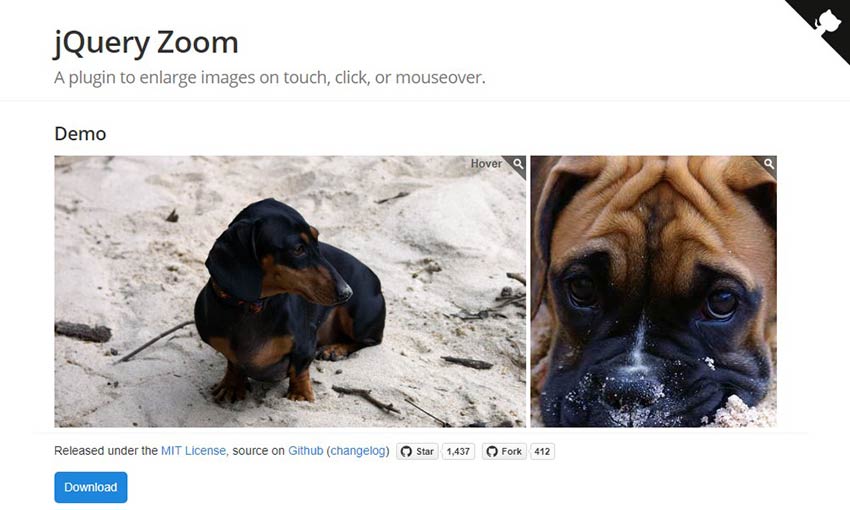
Image zooming is no longer a hassle with this jQuery plugin. Install the files and assign it to an image, then hover or click to zoom in. It’s easy as that.

SortableJS

Example of SortableJS

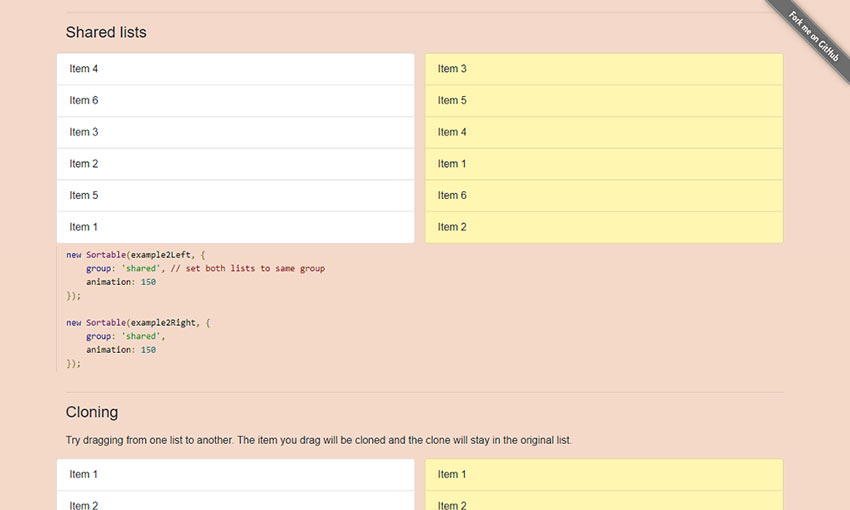
Sortable lists made easy. Drag and drop to reorder lists you define, with features like cloning, multi-list, or image grids included. For a simple concept, this is a pretty complex library.

jQuery Knob

Example of jQuery Knob

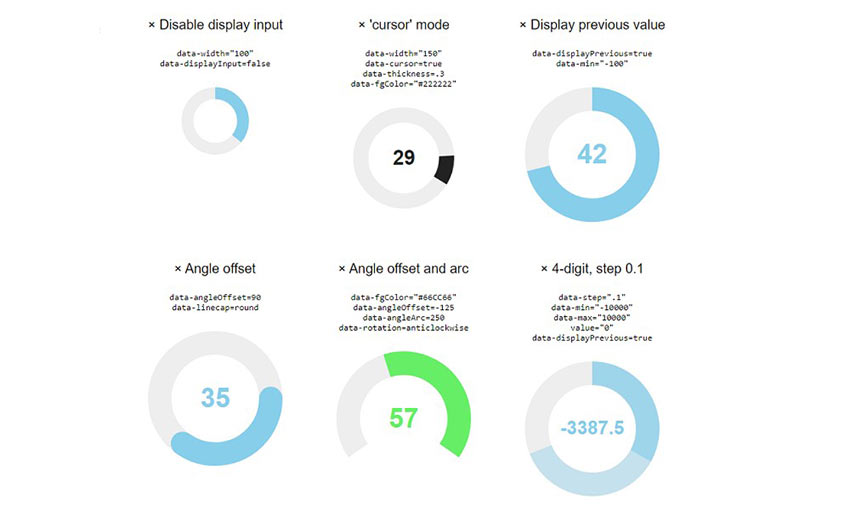
Compatible with mouse, keyboard, and mobile controls, these draggable dials will work on almost any platform. There are all kinds of dials built in that turn and count in various ways.

iCheck

Example of iCheck

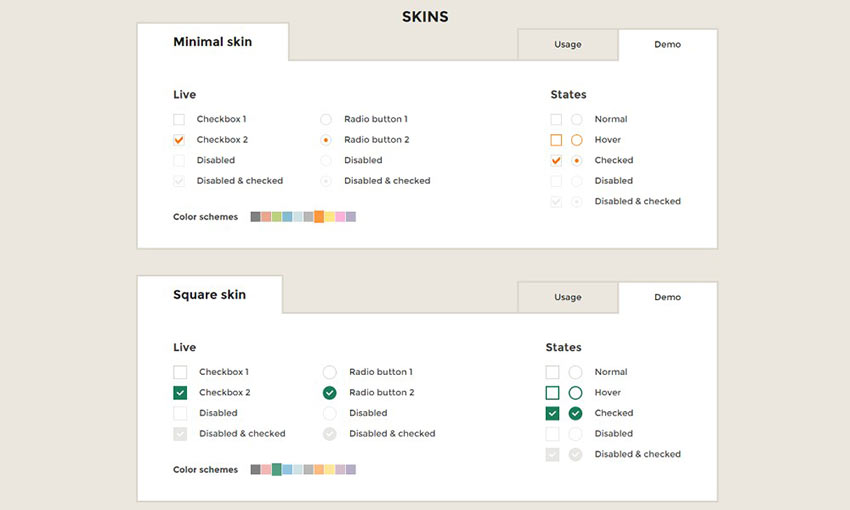
Light, accessible, and supported on most devices and browsers, iCheck is perfect if you need to implement checkboxes or radio buttons. It comes with 6 beautiful skins built in which you can easily customize with CSS.

DataTables

Example of DataTables

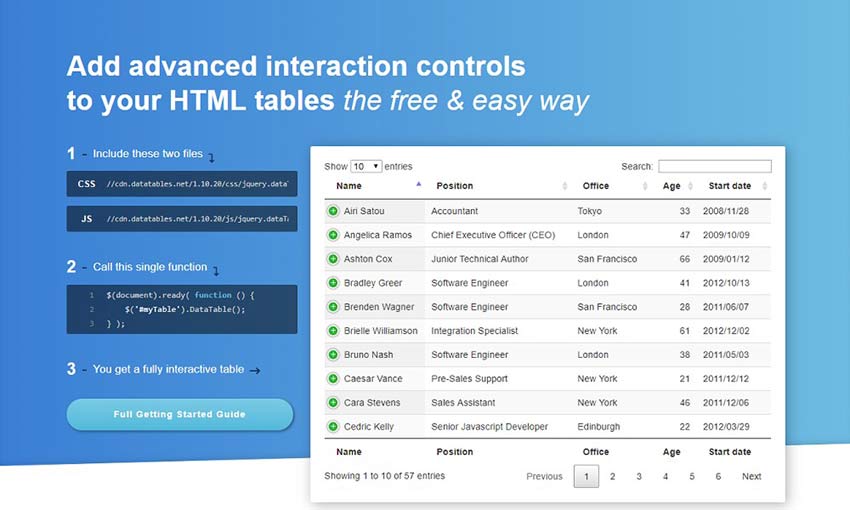
Tables are never easy to deal with, but DataTables makes it a total breeze. Just load it up and put in a single function, and you’ll instantly generate a table on your site. Then you can add pages, search, sorting, and more. Plus, it supports both themes and extensions.

Save Time with jQuery Plugins

With web development, there’s no reason to reinvent the wheel. These jQuery plugins and effects have already done all the work for you. All you need to do is paste some code in, and you’ll be able to enhance your site with shiny new features.

Most of these plugins are totally free to use. Implement them into your sites and extend them for your own designs, and shave off what could have been days of programming work.


How to Apply Instagram Filters on Web Images

Original Source: https://www.hongkiat.com/blog/instagram-filters-on-web-images/

Many love using Instagram and the filters that come with the app, to make their photos more interesting and beautiful. So far though, the use of these filters are restricted to use inside the app….

Visit hongkiat.com for full content.

11 Portable Batteries for Your MacBook — Best of

Original Source: https://www.hongkiat.com/blog/macbook-portable-battery/

If you love working in a cafe or library — like me — or a co-working space with fewer power outlets, you require extra juice for your MacBook. Why? Although MacBook Pro promises “10…

Visit hongkiat.com for full content.

Face Detection and Recognition with Keras

Original Source: https://www.sitepoint.com/keras-face-detection-recognition/?utm_source=rss

Face Detection and Recognition with Keras

If you’re a regular user of Google Photos, you may have noticed how the application automatically extracts and groups faces of people from the photos that you back up to the cloud.

Face Recognition in the Google Photos web applicationFace Recognition in the Google Photos web application

A photo application such as Google’s achieves this through the detection of faces of humans (and pets too!) in your photos and by then grouping similar faces together. Detection and then classification of faces in images is a common task in deep learning with neural networks.

In the first step of this tutorial, we’ll use a pre-trained MTCNN model in Keras to detect faces in images. Once we’ve extracted the faces from an image, we’ll compute a similarity score between these faces to find if they belong to the same person.

Prerequisites

Before you start with detecting and recognizing faces, you need to set up your development environment. First, you need to “read” images through Python before doing any processing on them. We’ll use the plotting library matplotlib to read and manipulate images. Install the latest version through the installer pip:

pip3 install matplotlib

To use any implementation of a CNN algorithm, you need to install keras. Download and install the latest version using the command below:

pip3 install keras

The algorithm that we’ll use for face detection is MTCNN (Multi-Task Convoluted Neural Networks), based on the paper Joint Face Detection and Alignment using Multi-task Cascaded Convolutional Networks (Zhang et al., 2016). An implementation of the MTCNN algorithm for TensorFlow in Python3.4 is available as a package. Run the following command to install the package through pip:

pip3 install mtcnn

To compare faces after extracting them from images, we’ll use the VGGFace2 algorithm developed by the Visual Geometry Group at the University of Oxford. A TensorFlow-based Keras implementation of the VGG algorithm is available as a package for you to install:

pip3 install keras_vggface

While you may feel the need to build and train your own model, you’d need a huge training dataset and vast processing power. Since this tutorial focuses on the utility of these models, it uses existing, trained models by experts in the field.

Now that you’ve successfully installed the prerequisites, let’s jump right into the tutorial!

Step 1: Face Detection with the MTCNN Model

The objectives in this step are as follows:

retrieve images hosted externally to a local server
read images through matplotlib’s imread() function
detect and explore faces through the MTCNN algorithm
extract faces from an image.

1.1 Store External Images

You may often be doing an analysis from images hosted on external servers. For this example, we’ll use two images of Lee Iacocca, the father of the Mustang, hosted on the BBC and The Detroit News sites.

To temporarily store the images locally for our analysis, we’ll retrieve each from its URL and write it to a local file. Let’s define a function store_image for this purpose:

import urllib.request

def store_image(url, local_file_name):
with urllib.request.urlopen(url) as resource:
with open(local_file_name, ‘wb’) as f:
f.write(resource.read())

You can now simply call the function with the URL and the local file in which you’d like to store the image:

store_image(‘https://ichef.bbci.co.uk/news/320/cpsprodpb/5944/production/_107725822_55fd57ad-c509-4335-a7d2-bcc86e32be72.jpg’,
‘iacocca_1.jpg’)
store_image(‘https://www.gannett-cdn.com/presto/2019/07/03/PDTN/205798e7-9555-4245-99e1-fd300c50ce85-AP_080910055617.jpg?width=540&height=&fit=bounds&auto=webp’,
‘iacocca_2.jpg’)

After successfully retrieving the images, let’s detect faces in them.

1.2 Detect Faces in an Image

For this purpose, we’ll make two imports — matplotlib for reading images, and mtcnn for detecting faces within the images:

from matplotlib import pyplot as plt
from mtcnn.mtcnn import MTCNN

Use the imread() function to read an image:

image = plt.imread(‘iacocca_1.jpg’)

Next, initialize an MTCNN() object into the detector variable and use the .detect_faces() method to detect the faces in an image. Let’s see what it returns:

detector = MTCNN()

faces = detector.detect_faces(image)
for face in faces:
print(face)

For every face, a Python dictionary is returned, which contains three keys. The box key contains the boundary of the face within the image. It has four values: x- and y- coordinates of the top left vertex, width, and height of the rectangle containing the face. The other keys are confidence and keypoints. The keypoints key contains a dictionary containing the features of a face that were detected, along with their coordinates:

{‘box’: [160, 40, 35, 44], ‘confidence’: 0.9999798536300659, ‘keypoints’: {‘left_eye’: (172, 57), ‘right_eye’: (188, 57), ‘nose’: (182, 64), ‘mouth_left’: (173, 73), ‘mouth_right’: (187, 73)}}

1.3 Highlight Faces in an Image

Now that we’ve successfully detected a face, let’s draw a rectangle over it to highlight the face within the image to verify if the detection was correct.

To draw a rectangle, import the Rectangle object from matplotlib.patches:

from matplotlib.patches import Rectangle

Let’s define a function highlight_faces to first display the image and then draw rectangles over faces that were detected. First, read the image through imread() and plot it through imshow(). For each face that was detected, draw a rectangle using the Rectangle() class.

Finally, display the image and the rectangles using the .show() method. If you’re using Jupyter notebooks, you may use the %matplotlib inline magic command to show plots inline:

def highlight_faces(image_path, faces):
# display image
image = plt.imread(image_path)
plt.imshow(image)

ax = plt.gca()

# for each face, draw a rectangle based on coordinates
for face in faces:
x, y, width, height = face[‘box’]
face_border = Rectangle((x, y), width, height,
fill=False, color=’red’)
ax.add_patch(face_border)
plt.show()

Let’s now display the image and the detected face using the highlight_faces() function:

highlight_faces(‘iacocca_1.jpg’, faces)

Detected face in an image of Lee Iacocca
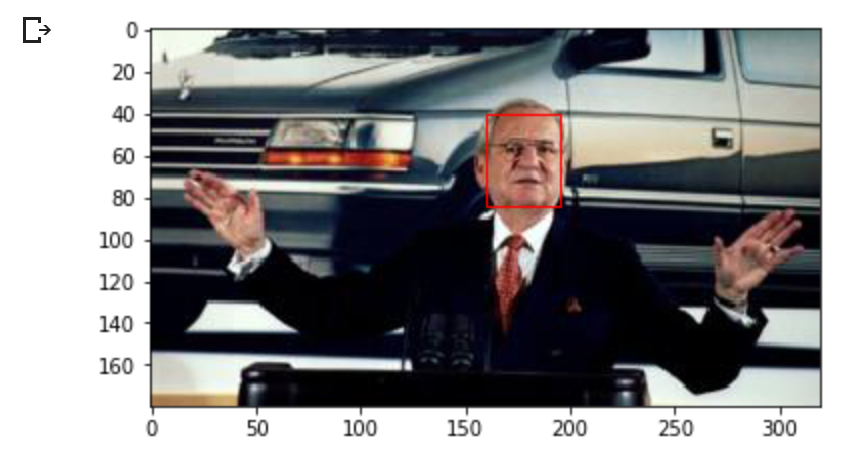
Detected face in an image of Lee Iacocca. Source: BBC
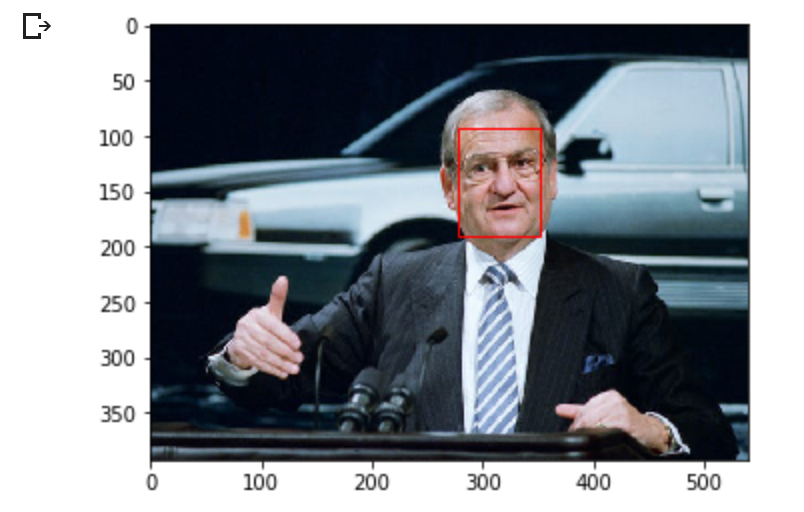
Let’s display the second image and the face(s) detected in it:

image = plt.imread(‘iacocca_2.jpg’)
faces = detector.detect_faces(image)

highlight_faces(‘iacocca_2.jpg’, faces)

The Detroit NewsThe Detroit News

In these two images, you can see that the MTCNN algorithm correctly detects faces. Let’s now extract this face from the image to perform further analysis on it.

1.4 Extract Face for Further Analysis

At this point, you know the coordinates of the faces from the detector. Extracting the faces is a fairly easy task using list indices. However, the VGGFace2 algorithm that we use needs the faces to be resized to 224 x 224 pixels. We’ll use the PIL library to resize the images.

The function extract_face_from_image() extracts all faces from an image:

from numpy import asarray
from PIL import Image

def extract_face_from_image(image_path, required_size=(224, 224)):
# load image and detect faces
image = plt.imread(image_path)
detector = MTCNN()
faces = detector.detect_faces(image)

face_images = []

for face in faces:
# extract the bounding box from the requested face
x1, y1, width, height = face[‘box’]
x2, y2 = x1 + width, y1 + height

# extract the face
face_boundary = image[y1:y2, x1:x2]

# resize pixels to the model size
face_image = Image.fromarray(face_boundary)
face_image = face_image.resize(required_size)
face_array = asarray(face_image)
face_images.append(face_array)

return face_images

extracted_face = extract_face_from_image(‘iacocca_1.jpg’)

# Display the first face from the extracted faces
plt.imshow(extracted_face[0])
plt.show()

Here is how the extracted face looks from the first image.

Extracted and resized face from first imageExtracted and resized face from first image

The post Face Detection and Recognition with Keras appeared first on SitePoint.

How Your Website’s Design Can Build or Break Your SEO

Original Source: http://feedproxy.google.com/~r/Designrfix/~3/ynZP1hpWsBQ/how-your-websites-design-can-build-or-break-your-seo

The success of your business’s online marketing presence can be achieved through your website’s design. Before starting to design a better website for your business, you must understand the significance of web design and how it can build or break your SEO. Web design can have a great impact on your SEO, as both are […]

The post How Your Website’s Design Can Build or Break Your SEO appeared first on designrfix.com.

React Native End-to-end Testing and Automation with Detox

Original Source: https://www.sitepoint.com/detox-react-native-testing-automation/?utm_source=rss

Introducing Detox, a React Native End-to-end Testing and Automation Framework

Detox is an end-to-end testing and automation framework that runs on a device or a simulator, just like an actual end user.

Software development demands fast responses to user and/or market needs. This fast development cycle can result (sooner or later) in parts of a project being broken, especially when the project grows so large. Developers get overwhelmed with all the technical complexities of the project, and even the business people start to find it hard to keep track of all scenarios the product caters for.

In this scenario, there’s a need for software to keep on top of the project and allow us to deploy with confidence. But why end-to-end testing? Aren’t unit testing and integration testing enough? And why bother with the complexity that comes with end-to-end testing?

First of all, the complexity issue has been tackled by most of the end-to-end frameworks, to the extent that some tools (whether free, paid or limited) allow us to record the test as a user, then replay it and generate the necessary code. Of course, that doesn’t cover the full range of scenarios that you’d be able to address programmatically, but it’s still a very handy feature.

Want to learn React Native from the ground up? This article is an extract from our Premium library. Get an entire collection of React Native books covering fundamentals, projects, tips and tools & more with SitePoint Premium. Join now for just $9/month.

End-to-end Integration and Unit Testing

End-to-end testing versus integration testing versus unit testing: I always find the word “versus” drives people to take camps — as if it’s a war between good and evil. That drives us to take camps instead of learning from each other and understanding the why instead of the how. The examples are countless: Angular versus React, React versus Angular versus Vue, and even more, React versus Angular versus Vue versus Svelte. Each camp trash talks the other.

jQuery made me a better developer by taking advantage of the facade pattern $('') to tame the wild DOM beast and keep my mind on the task at hand. Angular made me a better developer by taking advantage of componentizing the reusable parts into directives that can be composed (v1). React made me a better developer by taking advantage of functional programming, immutability, identity reference comparison, and the level of composability that I don’t find in other frameworks. Vue made me a better developer by taking advantage of reactive programming and the push model. I could go on and on, but I’m just trying to demonstrate the point that we need to concentrate more on the why: why this tool was created in the first place, what problems it solves, and whether there are other ways of solving the same problems.

As You Go Up, You Gain More Confidence

end-to-end testing graph that demonstrates the benefit of end-to-end testing and the confidence it brings

As you go more on the spectrum of simulating the user journey, you have to do more work to simulate the user interaction with the product. But on the other hand, you get the most confidence because you’re testing the real product that the user interacts with. So, you catch all the issues—whether it’s a styling issue that could cause a whole section or a whole interaction process to be invisible or non interactive, a content issue, a UI issue, an API issue, a server issue, or a database issue. You get all of this covered, which gives you the most confidence.

Why Detox?

We discussed the benefit of end-to-end testing to begin with and its value in providing the most confidence when deploying new features or fixing issues. But why Detox in particular? At the time of writing, it’s the most popular library for end-to-end testing in React Native and the one that has the most active community. On top of that, it’s the one React Native recommends in its documentation.

The Detox testing philosophy is “gray-box testing”. Gray-box testing is testing where the framework knows about the internals of the product it’s testing.In other words, it knows it’s in React Native and knows how to start up the application as a child of the Detox process and how to reload it if needed after each test. So each test result is independent of the others.

Prerequisites

macOS High Sierra 10.13 or above
Xcode 10.1 or above

Homebrew:

/usr/bin/ruby -e "$(curl -fsSL https://raw.githubusercontent.com/Homebrew/install/master/install)"

Node 8.3.0 or above:

brew update && brew install node

Apple Simulator Utilities: brew tap wix/brew and brew install applesimutils

Detox CLI 10.0.7 or above:

npm install -g detox-cli

See the Result in Action

First, let’s clone a very interesting open-source React Native project for the sake of learning, then add Detox to it:

git clone https://github.com/ahmedam55/movie-swiper-detox-testing.git
cd movie-swiper-detox-testing
npm install
react-native run-ios

Create an account on The Movie DB website to be able to test all the application scenarios. Then add your username and password in .env file with usernamePlaceholder and passwordPlaceholder respectively:

isTesting=true
username=usernamePlaceholder
password=passwordPlaceholder

After that, you can now run the tests:

detox test

Note that I had to fork this repo from the original one as there were a lot of breaking changes between detox-cli, detox, and the project libraries. Use the following steps as a basis for what to do:

Migrate it completely to latest React Native project.
Update all the libraries to fix issues faced by Detox when testing.
Toggle animations and infinite timers if the environment is testing.
Add the test suite package.

Setup for New Projects
Add Detox to Our Dependencies

Go to your project’s root directory and add Detox:

npm install detox –save-dev

Configure Detox

Open the package.json file and add the following right after the project name config. Be sure to replace movieSwiper in the iOS config with the name of your app. Here we’re telling Detox where to find the binary app and the command to build it. (This is optional. We can always execute react-native run-ios instead.) Also choose which type of simulator: ios.simulator, ios.none, android.emulator, or android.attached. And choose which device to test on:

{
"name": "movie-swiper-detox-testing",

// add these:
"detox": {
"configurations": {
"ios.sim.debug": {
"binaryPath": "ios/build/movieSwiper/Build/Products/Debug-iphonesimulator/movieSwiper.app",
"build": "xcodebuild -project ios/movieSwiper.xcodeproj -scheme movieSwiper -configuration Debug -sdk iphonesimulator -derivedDataPath ios/build",
"type": "ios.simulator",
"name": "iPhone 7 Plus"
}
}
}
}

Here’s a breakdown of what the config above does:

Execute react-native run-ios to create the binary app.
Search for the binary app at the root of the project: find . -name "*.app".
Put the result in the build directory.

Before firing up the test suite, make sure the device name you specified is available (for example, iPhone 7). You can do that from the terminal by executing the following:

xcrun simctl list

Here’s what it looks like:

device-list

Now that weve added Detox to our project and told it which simulator to start the application with, we need a test runner to manage the assertions and the reporting—whether it’s on the terminal or otherwise.

Detox supports both Jest and Mocha. We’ll go with Jest, as it has bigger community and bigger feature set. In addition to that, it supports parallel test execution, which could be handy to speed up the end-to-end tests as they grow in number.

Adding Jest to Dev Dependencies

Execute the following to install Jest:

npm install jest jest-cli –save-dev

The post React Native End-to-end Testing and Automation with Detox appeared first on SitePoint.

8 Git Cheat Sheets and Commands You Should Know

Original Source: http://feedproxy.google.com/~r/1stwebdesigner/~3/31l9LJRj1ic/

Every developer, especially those working on a team, likely knows about Git. The wildly popular version control system enables you to snapshot instances of your project as you code, so you can roll back or share your work with others at any time and more easily collaborate with other devs.

The problem is, Git can be very difficult to learn and is far more complex than you might expect. It’s all but essential for a modern developer, though, so you’ll just have to bear it. Luckily, there are many guides and cheat sheets out there that can make your life much easier, whether you’re brand new to Git or even a seasoned dev who just needs a few touch-ups. Here are a few of the best Git resources.

git – the simple guide

Example from git - the simple guide

Brand new to Git and in way over your head? This super simple guide condenses all the hard stuff into a few paragraphs for each concept. If you’ve got no idea where to begin, start here and work your way up.

gittutorial

Example from gittutorial

This tutorial is still intended for beginners, but it goes a bit more in depth than the simple guide above. It’s still fairly easy to understand and provides plenty of example code to work with. Also check out this site’s command reference guide.

GitSheet

Example from GitSheet

This one-page website gets right to it, listing all the most important commands with a button to copy to your clipboard. It’s super simple and that’s the point. Exactly everything you need is here and nothing more.

Git Cheat Sheet – a Collection of the Most Useful Commands

Example from Git Cheat Sheet - a Collection of the Most Useful Commands

These crucial commands are the core of the system, so make sure you memorize them. This article also explains the terms you’ll need to learn to understand Git, so it’s a good place to start for beginners. There are quite a few useful commands here.

10 Git Commands You Should Know

Example from 10 Git Commands You Should Know

There are a lot of Git commands, and it’s easy to forget about the miscellaneous – but still useful – ones. This article guides you through 10 of them and their flags, so you can fill in any cracks in your Git knowledge.

Git Cheatsheet

Example from Git Cheatsheet

If you’re a visual learner, you might like this sheet. Hover each directory to see a description of it, then click to show its related commands and hover to get their definitions. You can click a command again to pin its definition on the bottom, too. Try it out if the simple lists of commands don’t work well for you.

Lesser Known Git Commands

Example from Lesser Known Git Commands

It’s important to master the most important Git commands, but there are many lesser known ones that you shouldn’t overlook. This article highlights a few of them. Take notes so you’re not missing out on any obscure but helpful functionality.

Git Explorer

Example from Git Explorer

Here’s a fancy tool that works like a troubleshooter for when you can’t think of the right command. Just use the dropdowns to select what you want to do, like configure color or add an alias, and the program outputs the command with an easily copiable link, plus a few helpful notes when necessary.

Mastering Git Commands

Git may not be easy to learn all on your own, but the hundreds of online resources can do wonders for helping you master it. Cheat sheets give you quick access to commonly used commands, so you can use them until you have them memorized.

Choose one that best suits your learning style, and start experimenting with Git. With a little help, you’ll get the hang of it quick.

UNLIMITED DOWNLOADS: Email, admin, landing page & website templates

DOWNLOAD NOW


Beautiful Industrial Design for KUR!O Modular Shelving System

Original Source: http://feedproxy.google.com/~r/abduzeedo/~3/nc8FXFPvgKk/beautiful-industrial-design-kuro-modular-shelving-system

Beautiful Industrial Design for KUR!O Modular Shelving System

abduzeedoNov 06, 2019

Markus Hofko shared an amazing industrial design project for a modular shelving system called KUR!O. The product is still in development but the idea is quite simple, you can create different configurations with a limited amount of pieces and that’s the beauty of the whole thing, the simplicity and beautiful colors. Take a look below and let us know what you think. 

For more information about the KUR!O modular shelving system check out https://von-morgen.de

Industrial Design


20 Freshest Web Designs, November 2019

Original Source: https://www.webdesignerdepot.com/2019/11/20-freshest-web-designs-november-2019/

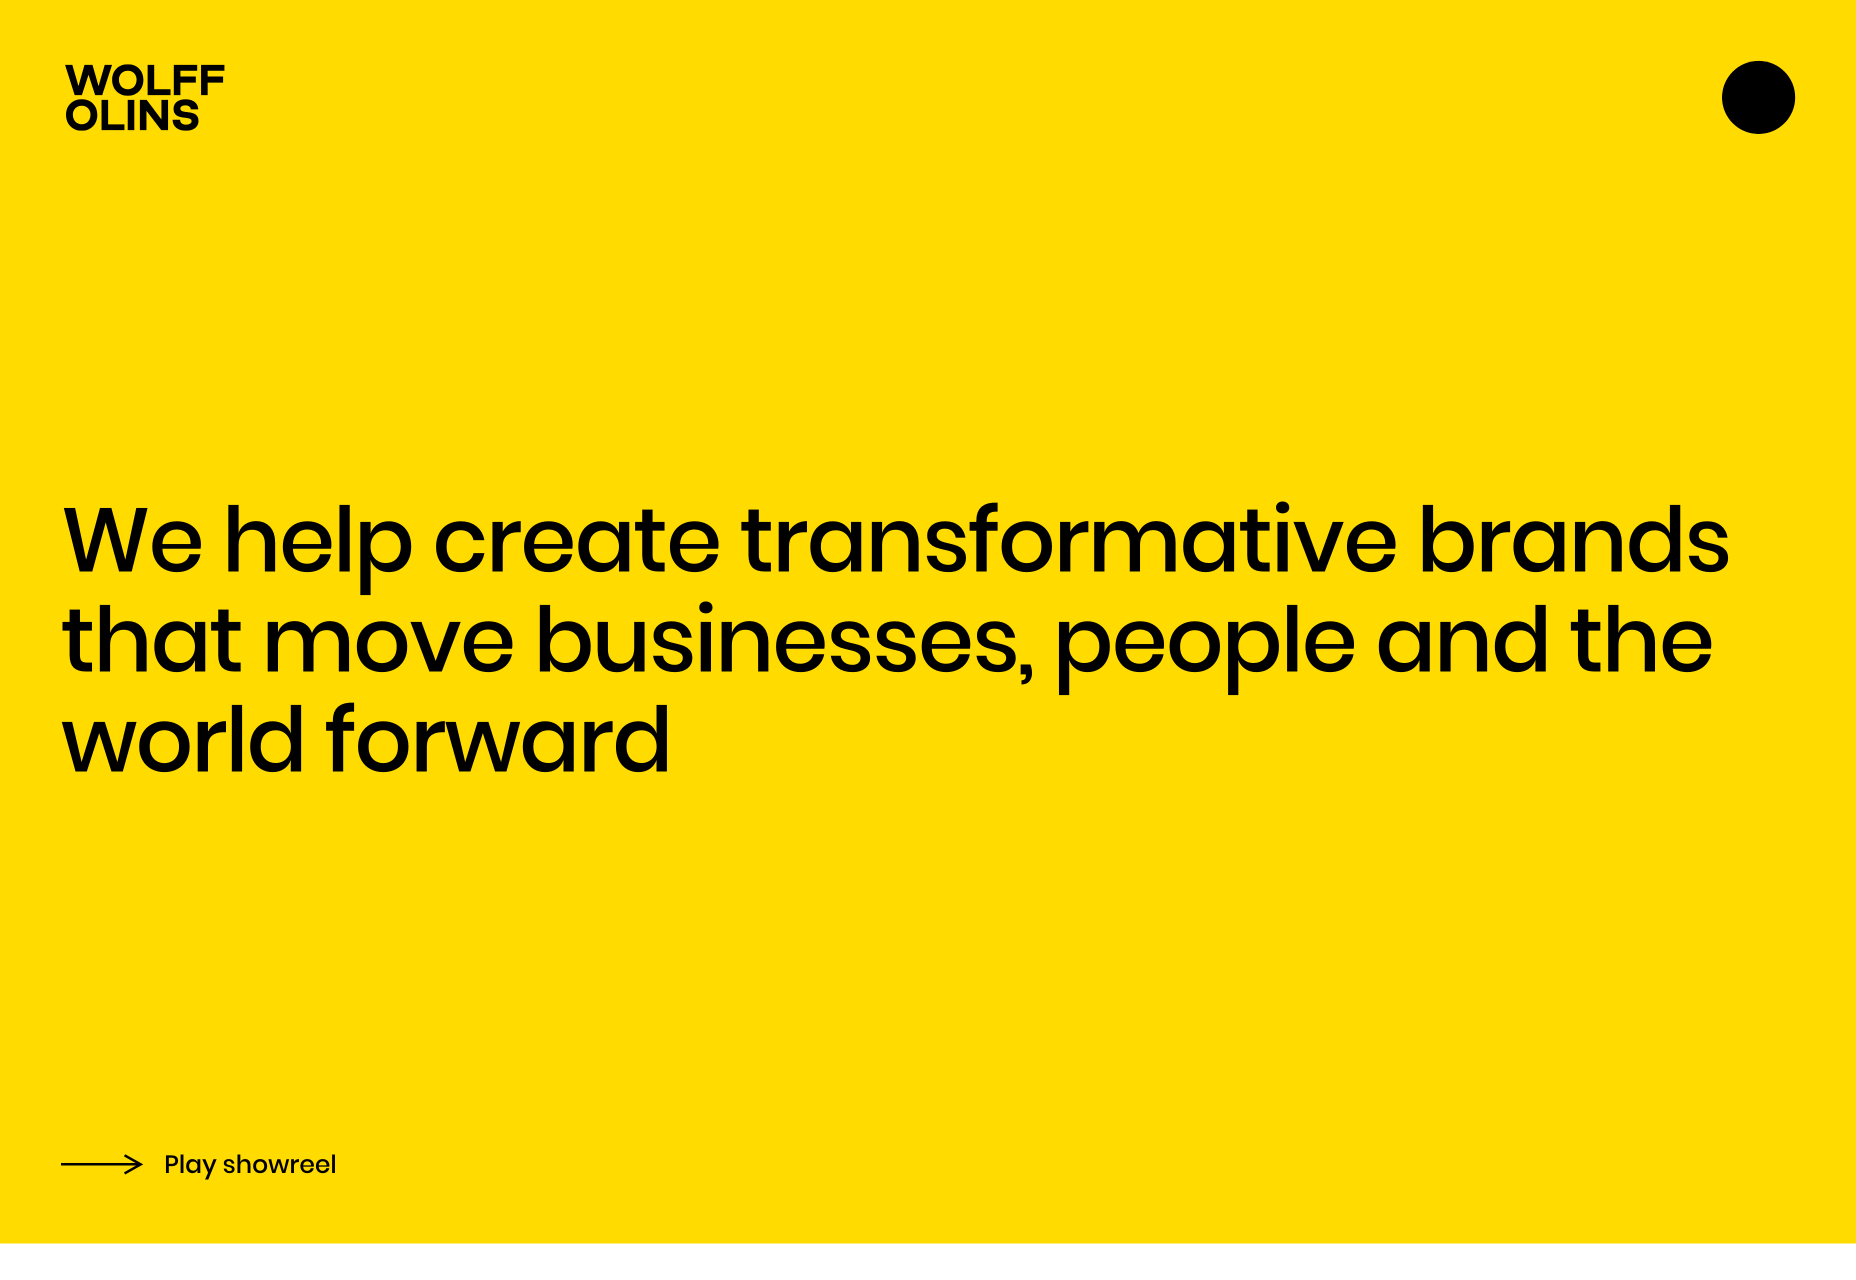
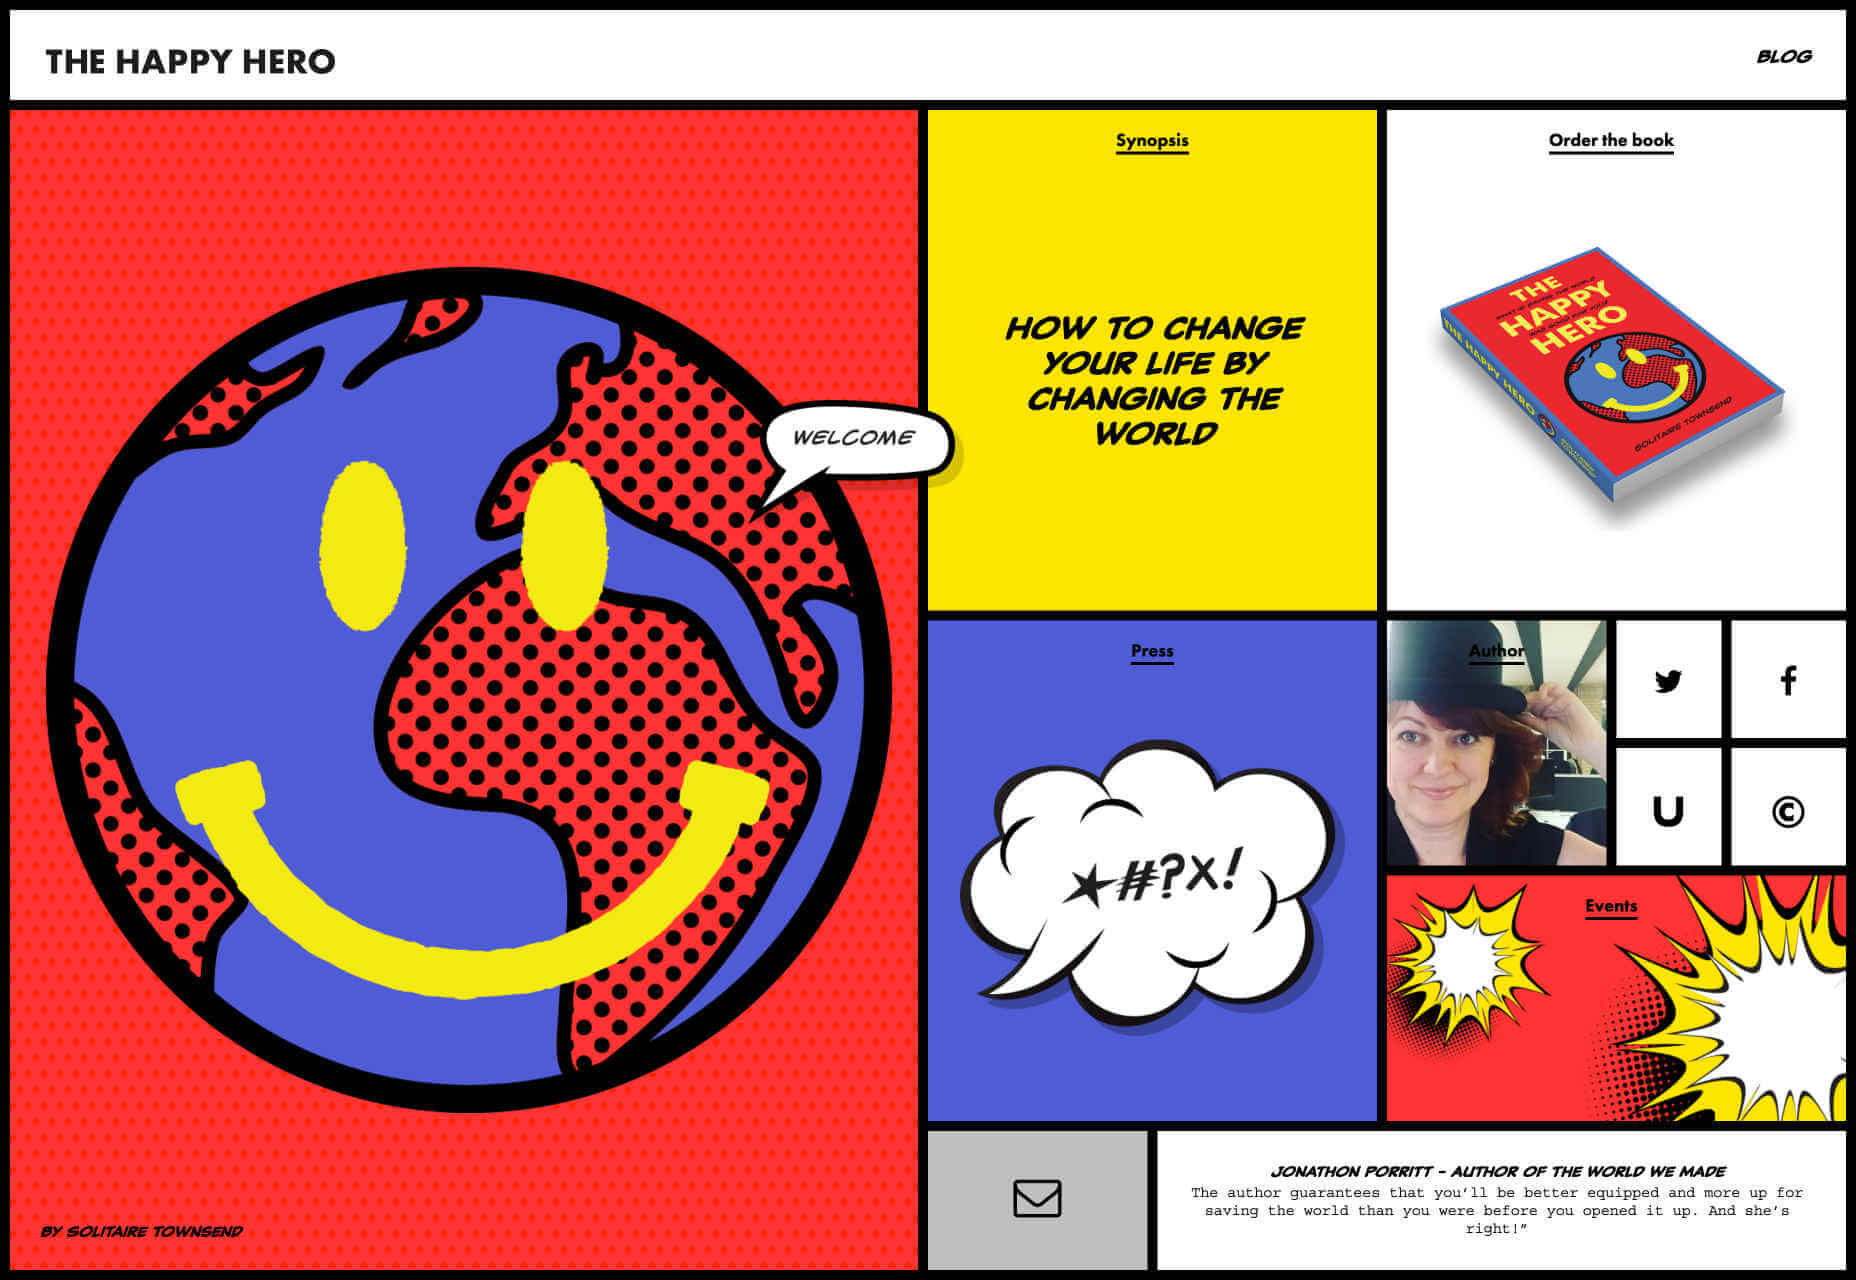
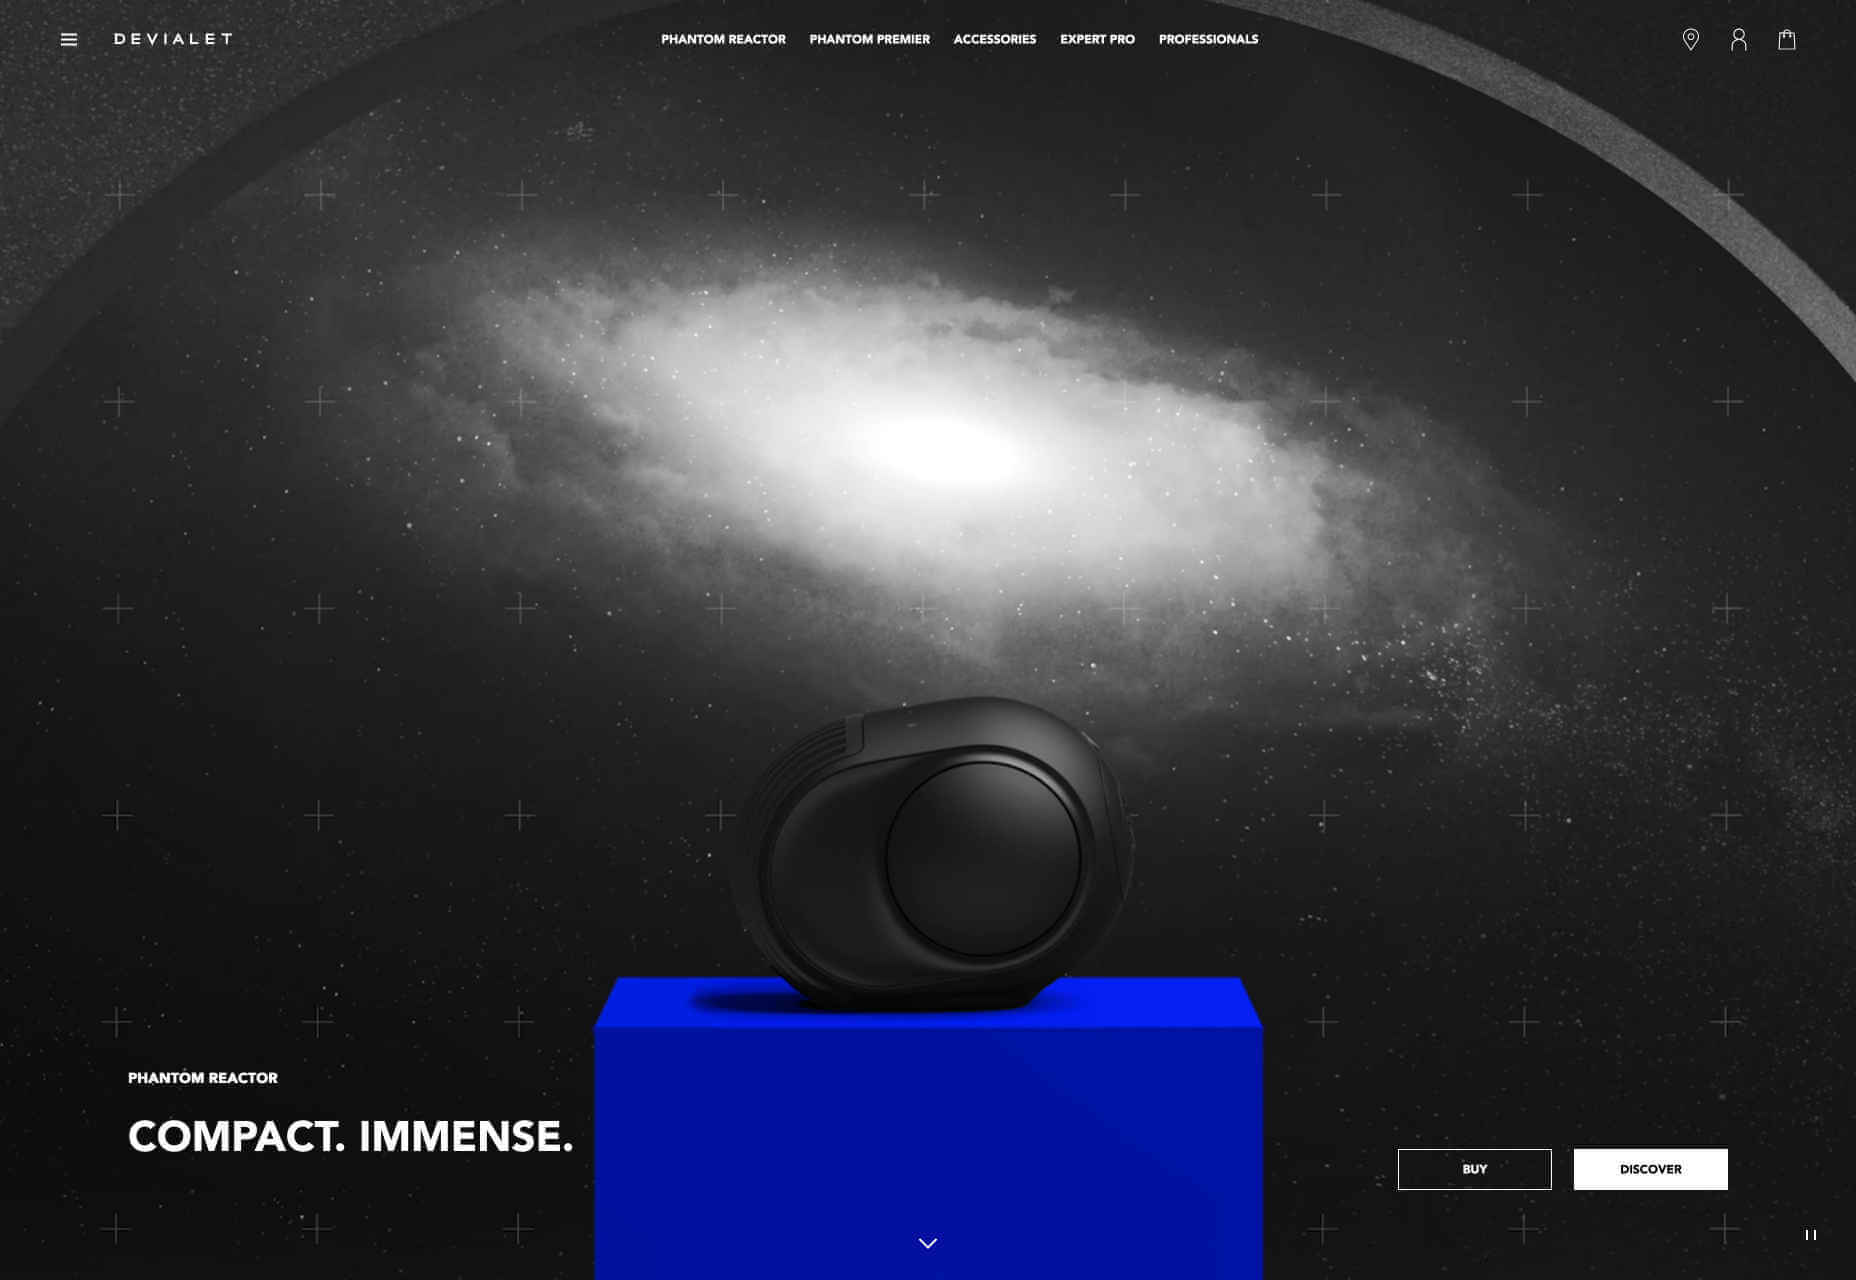
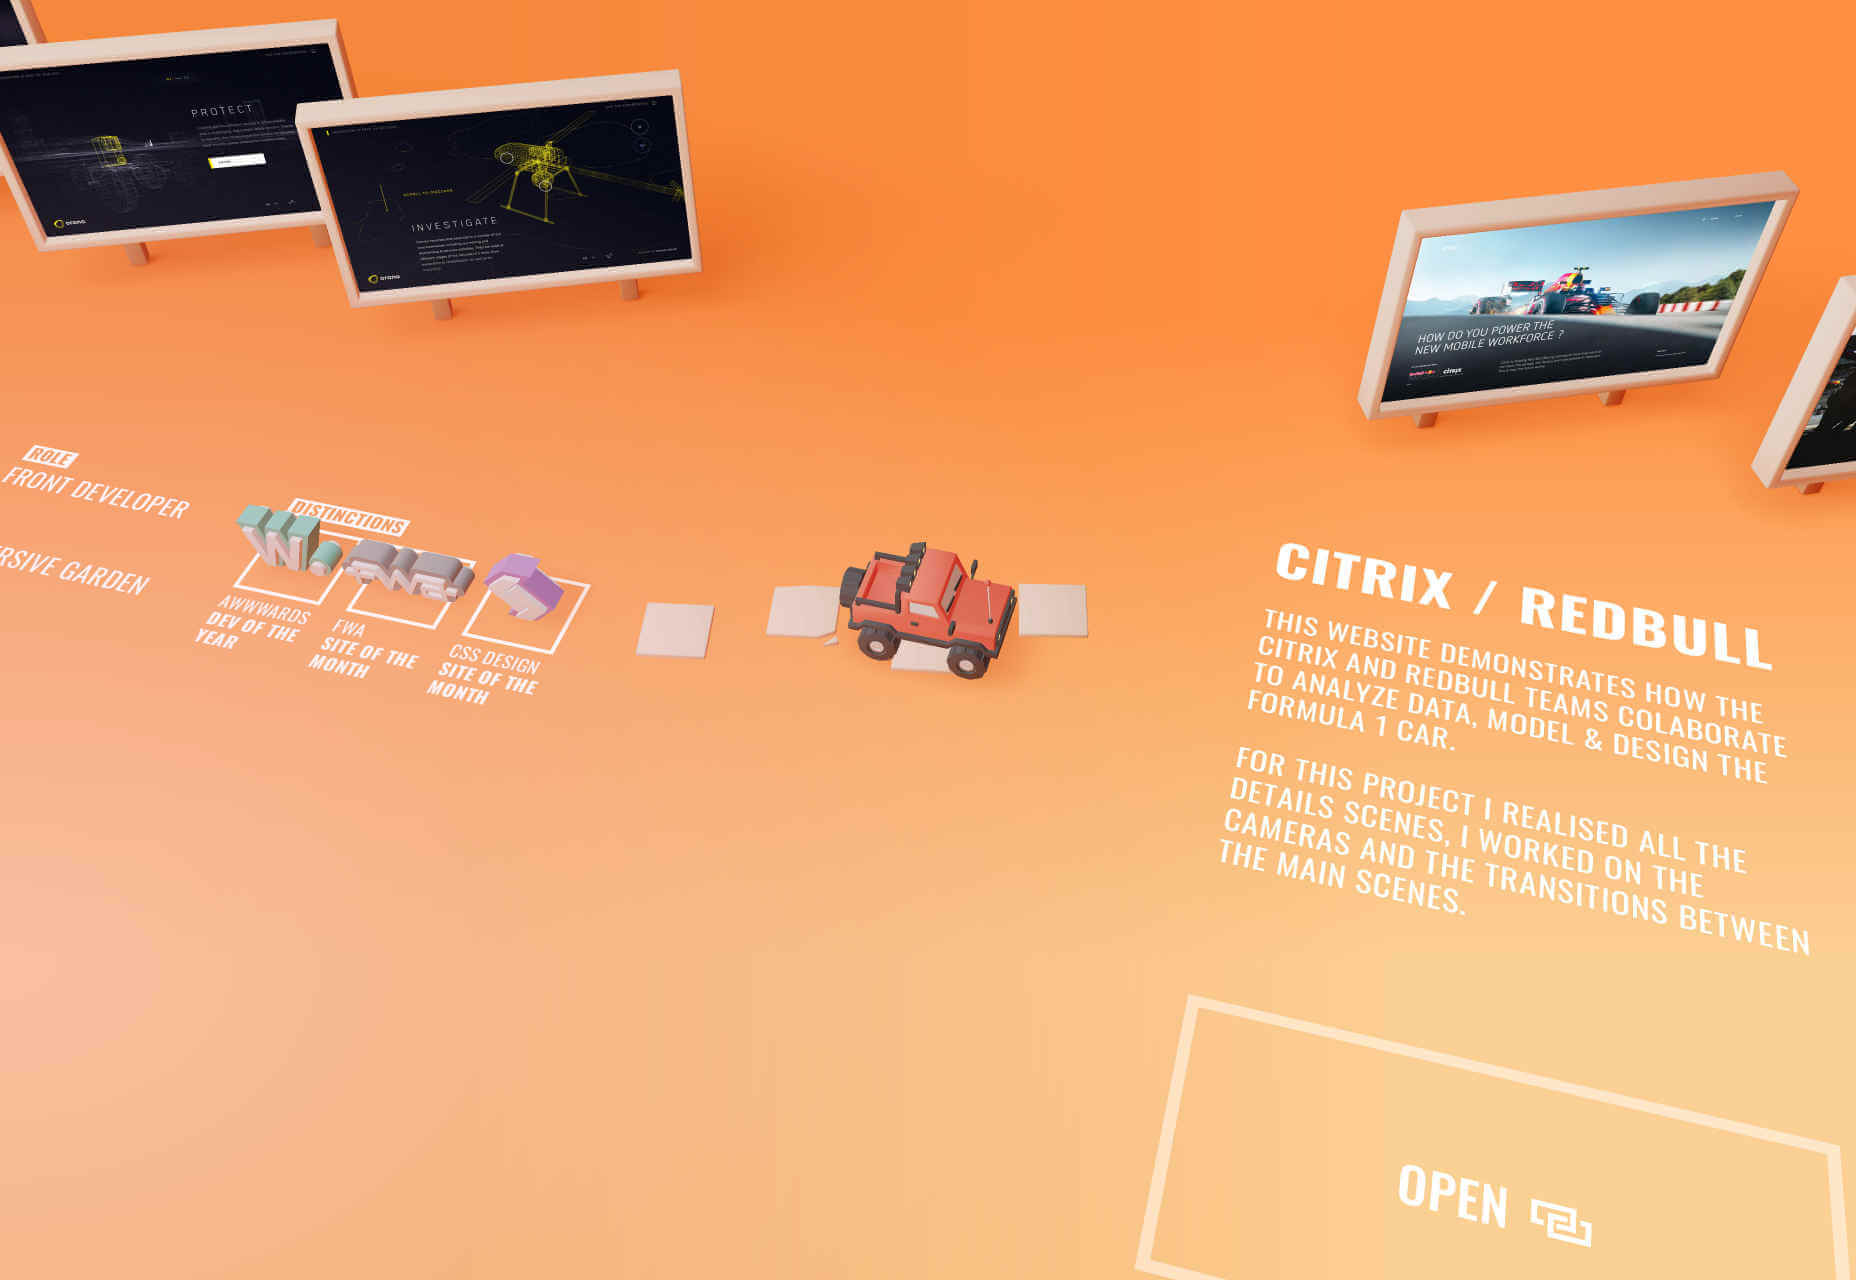
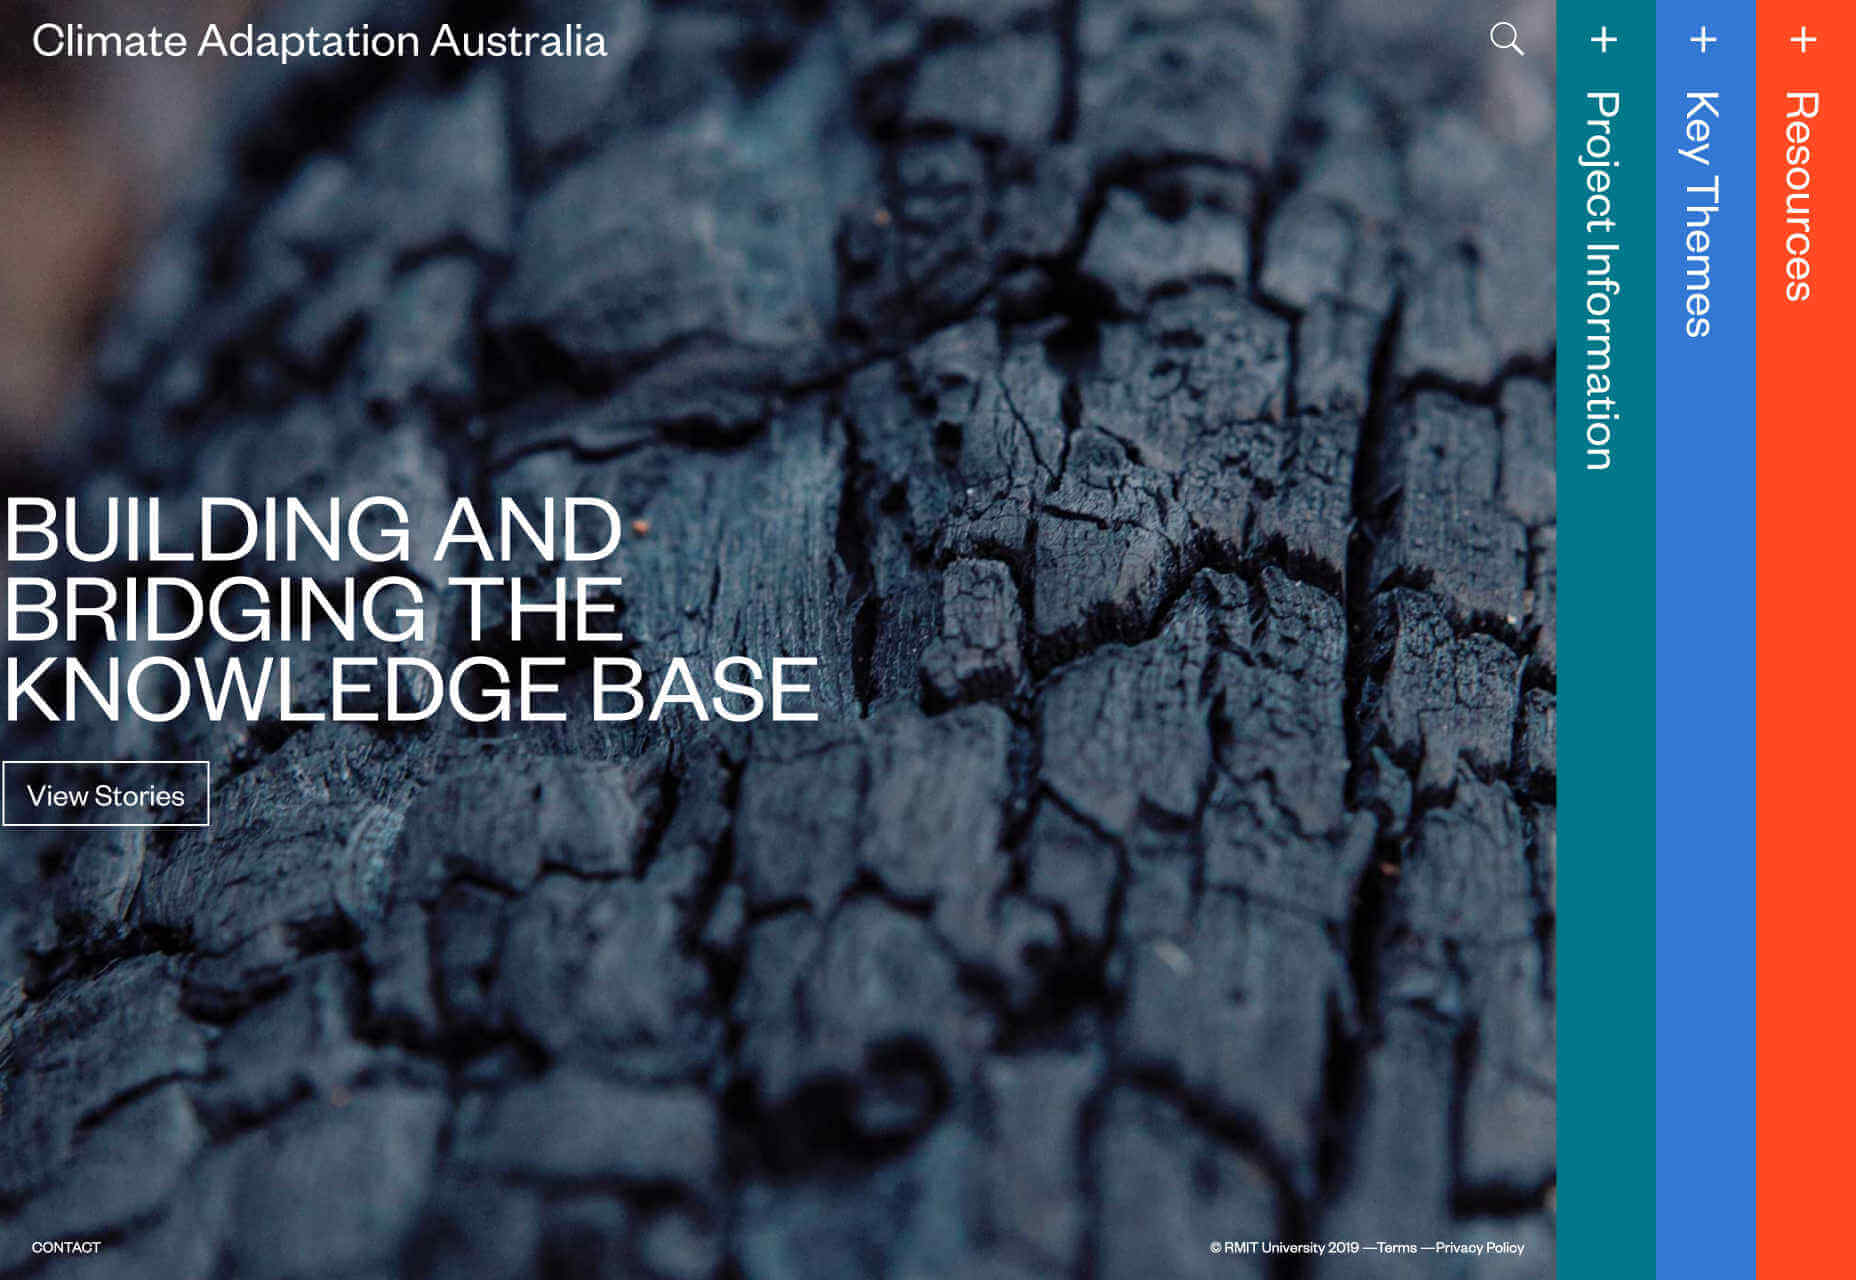
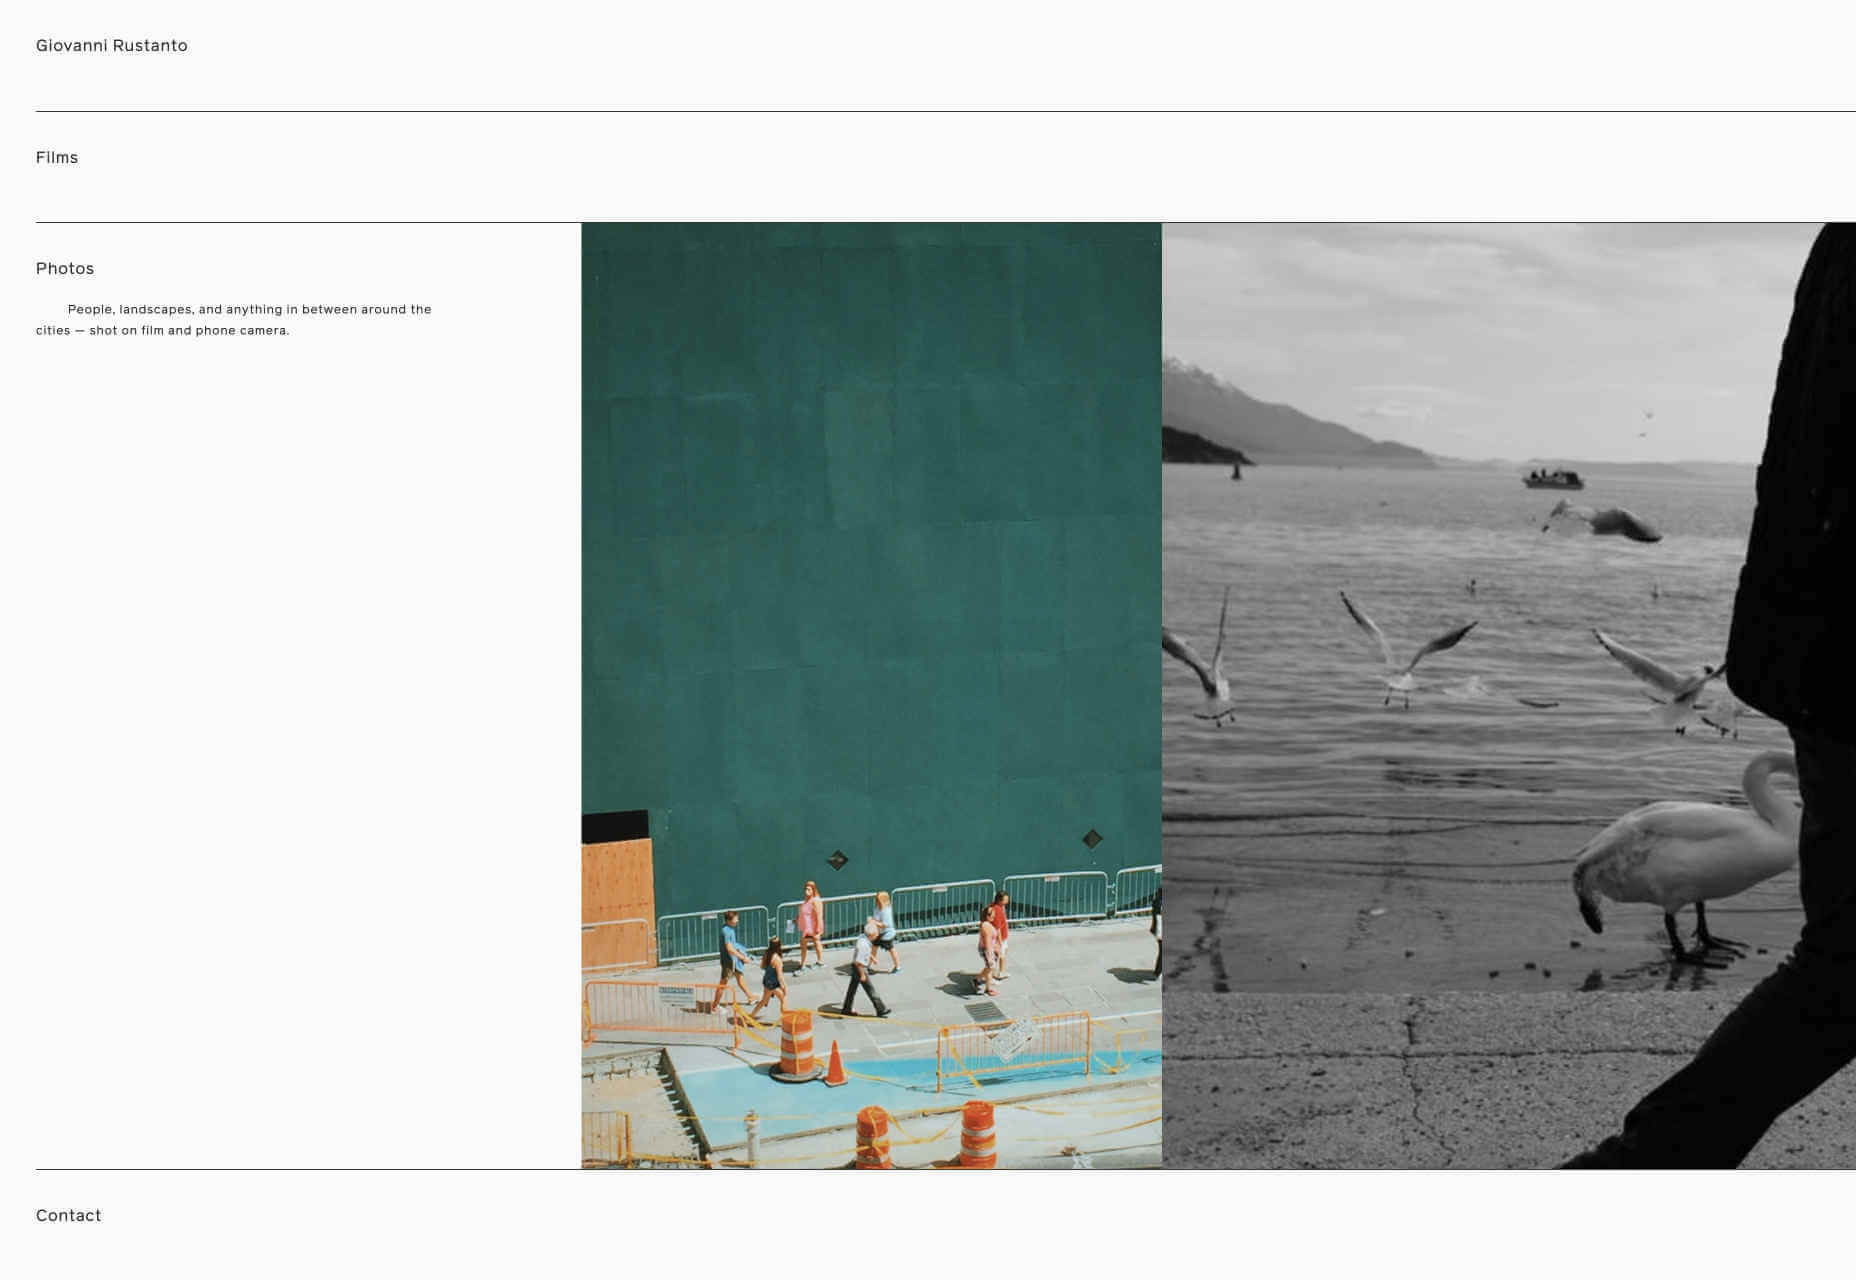
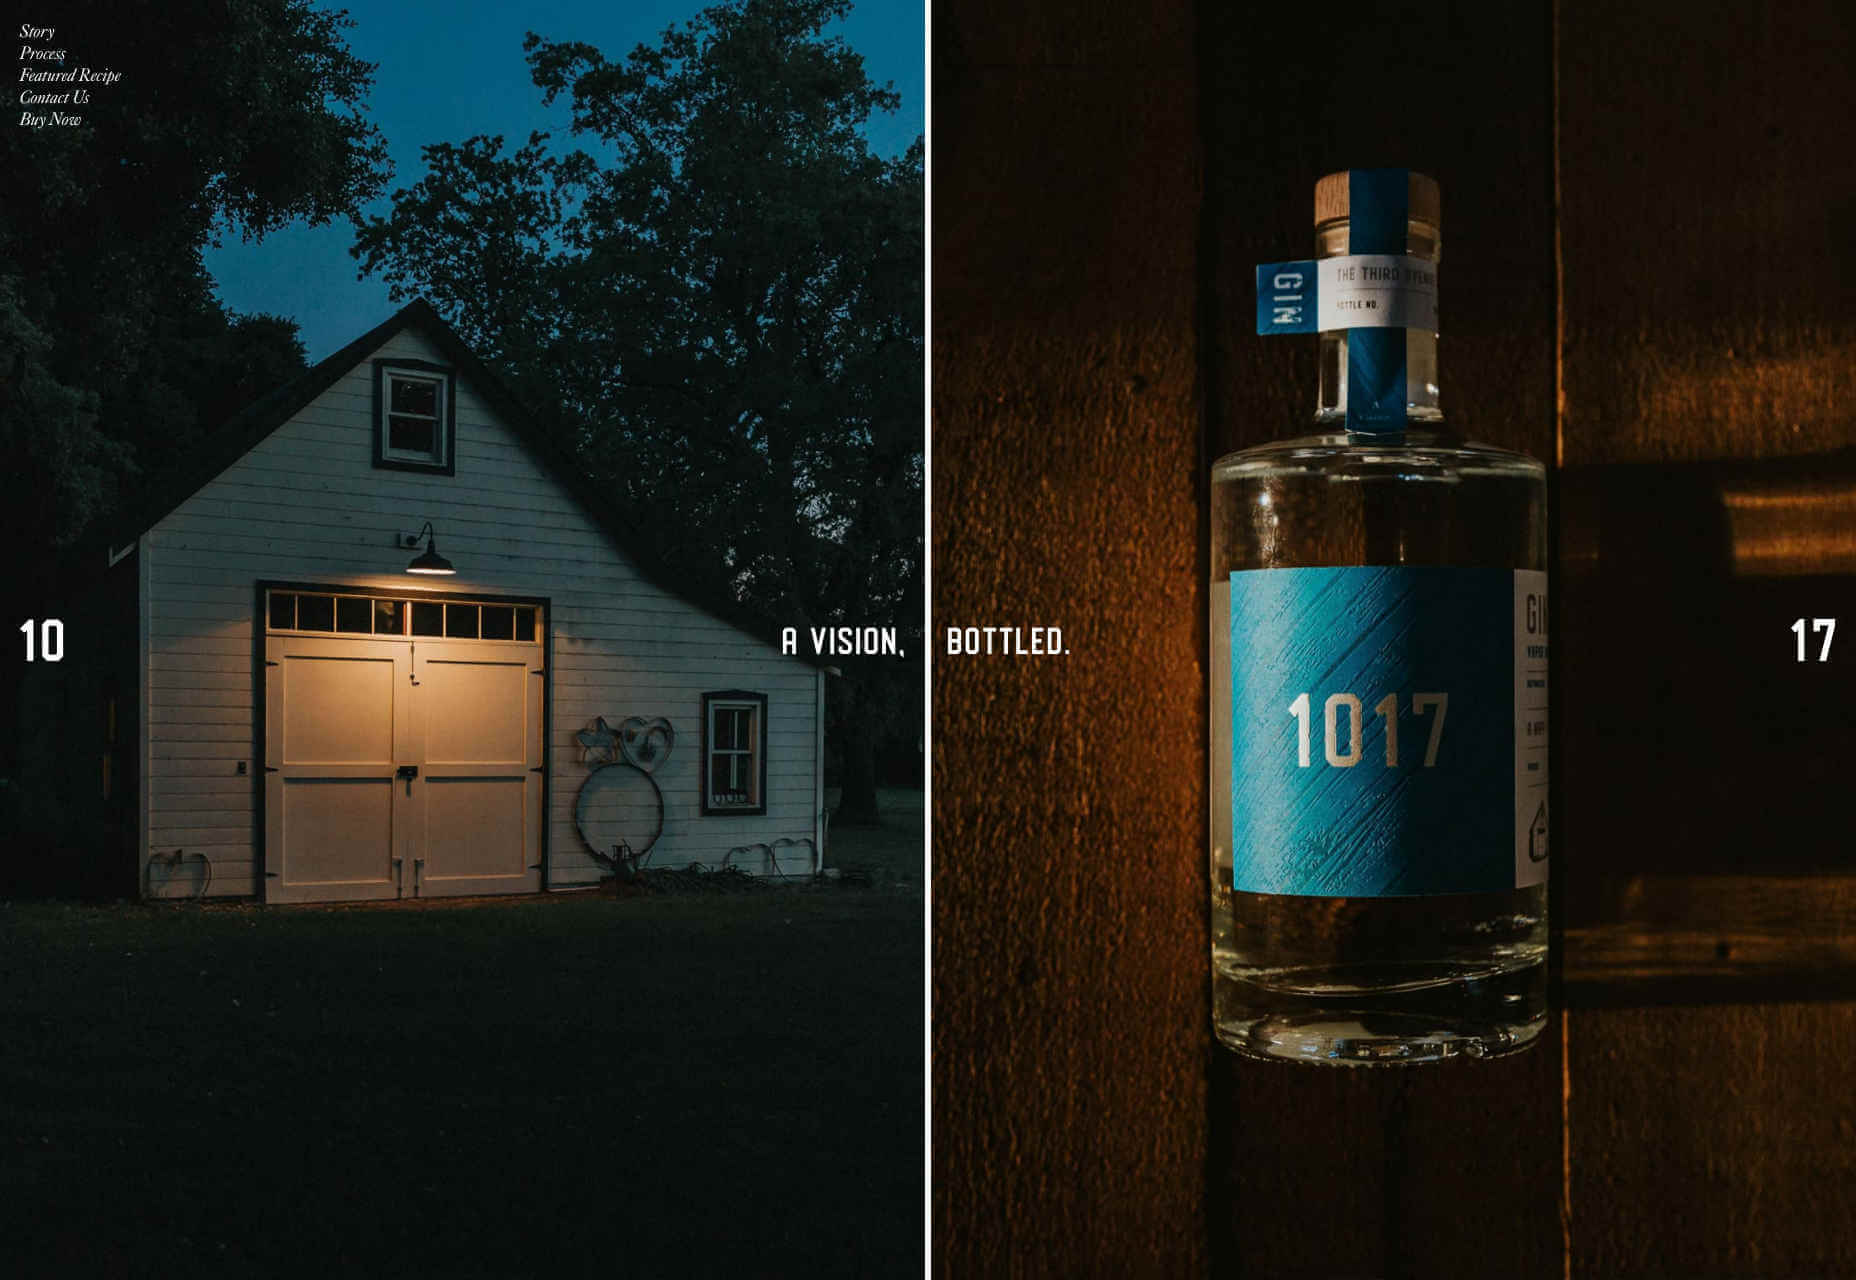
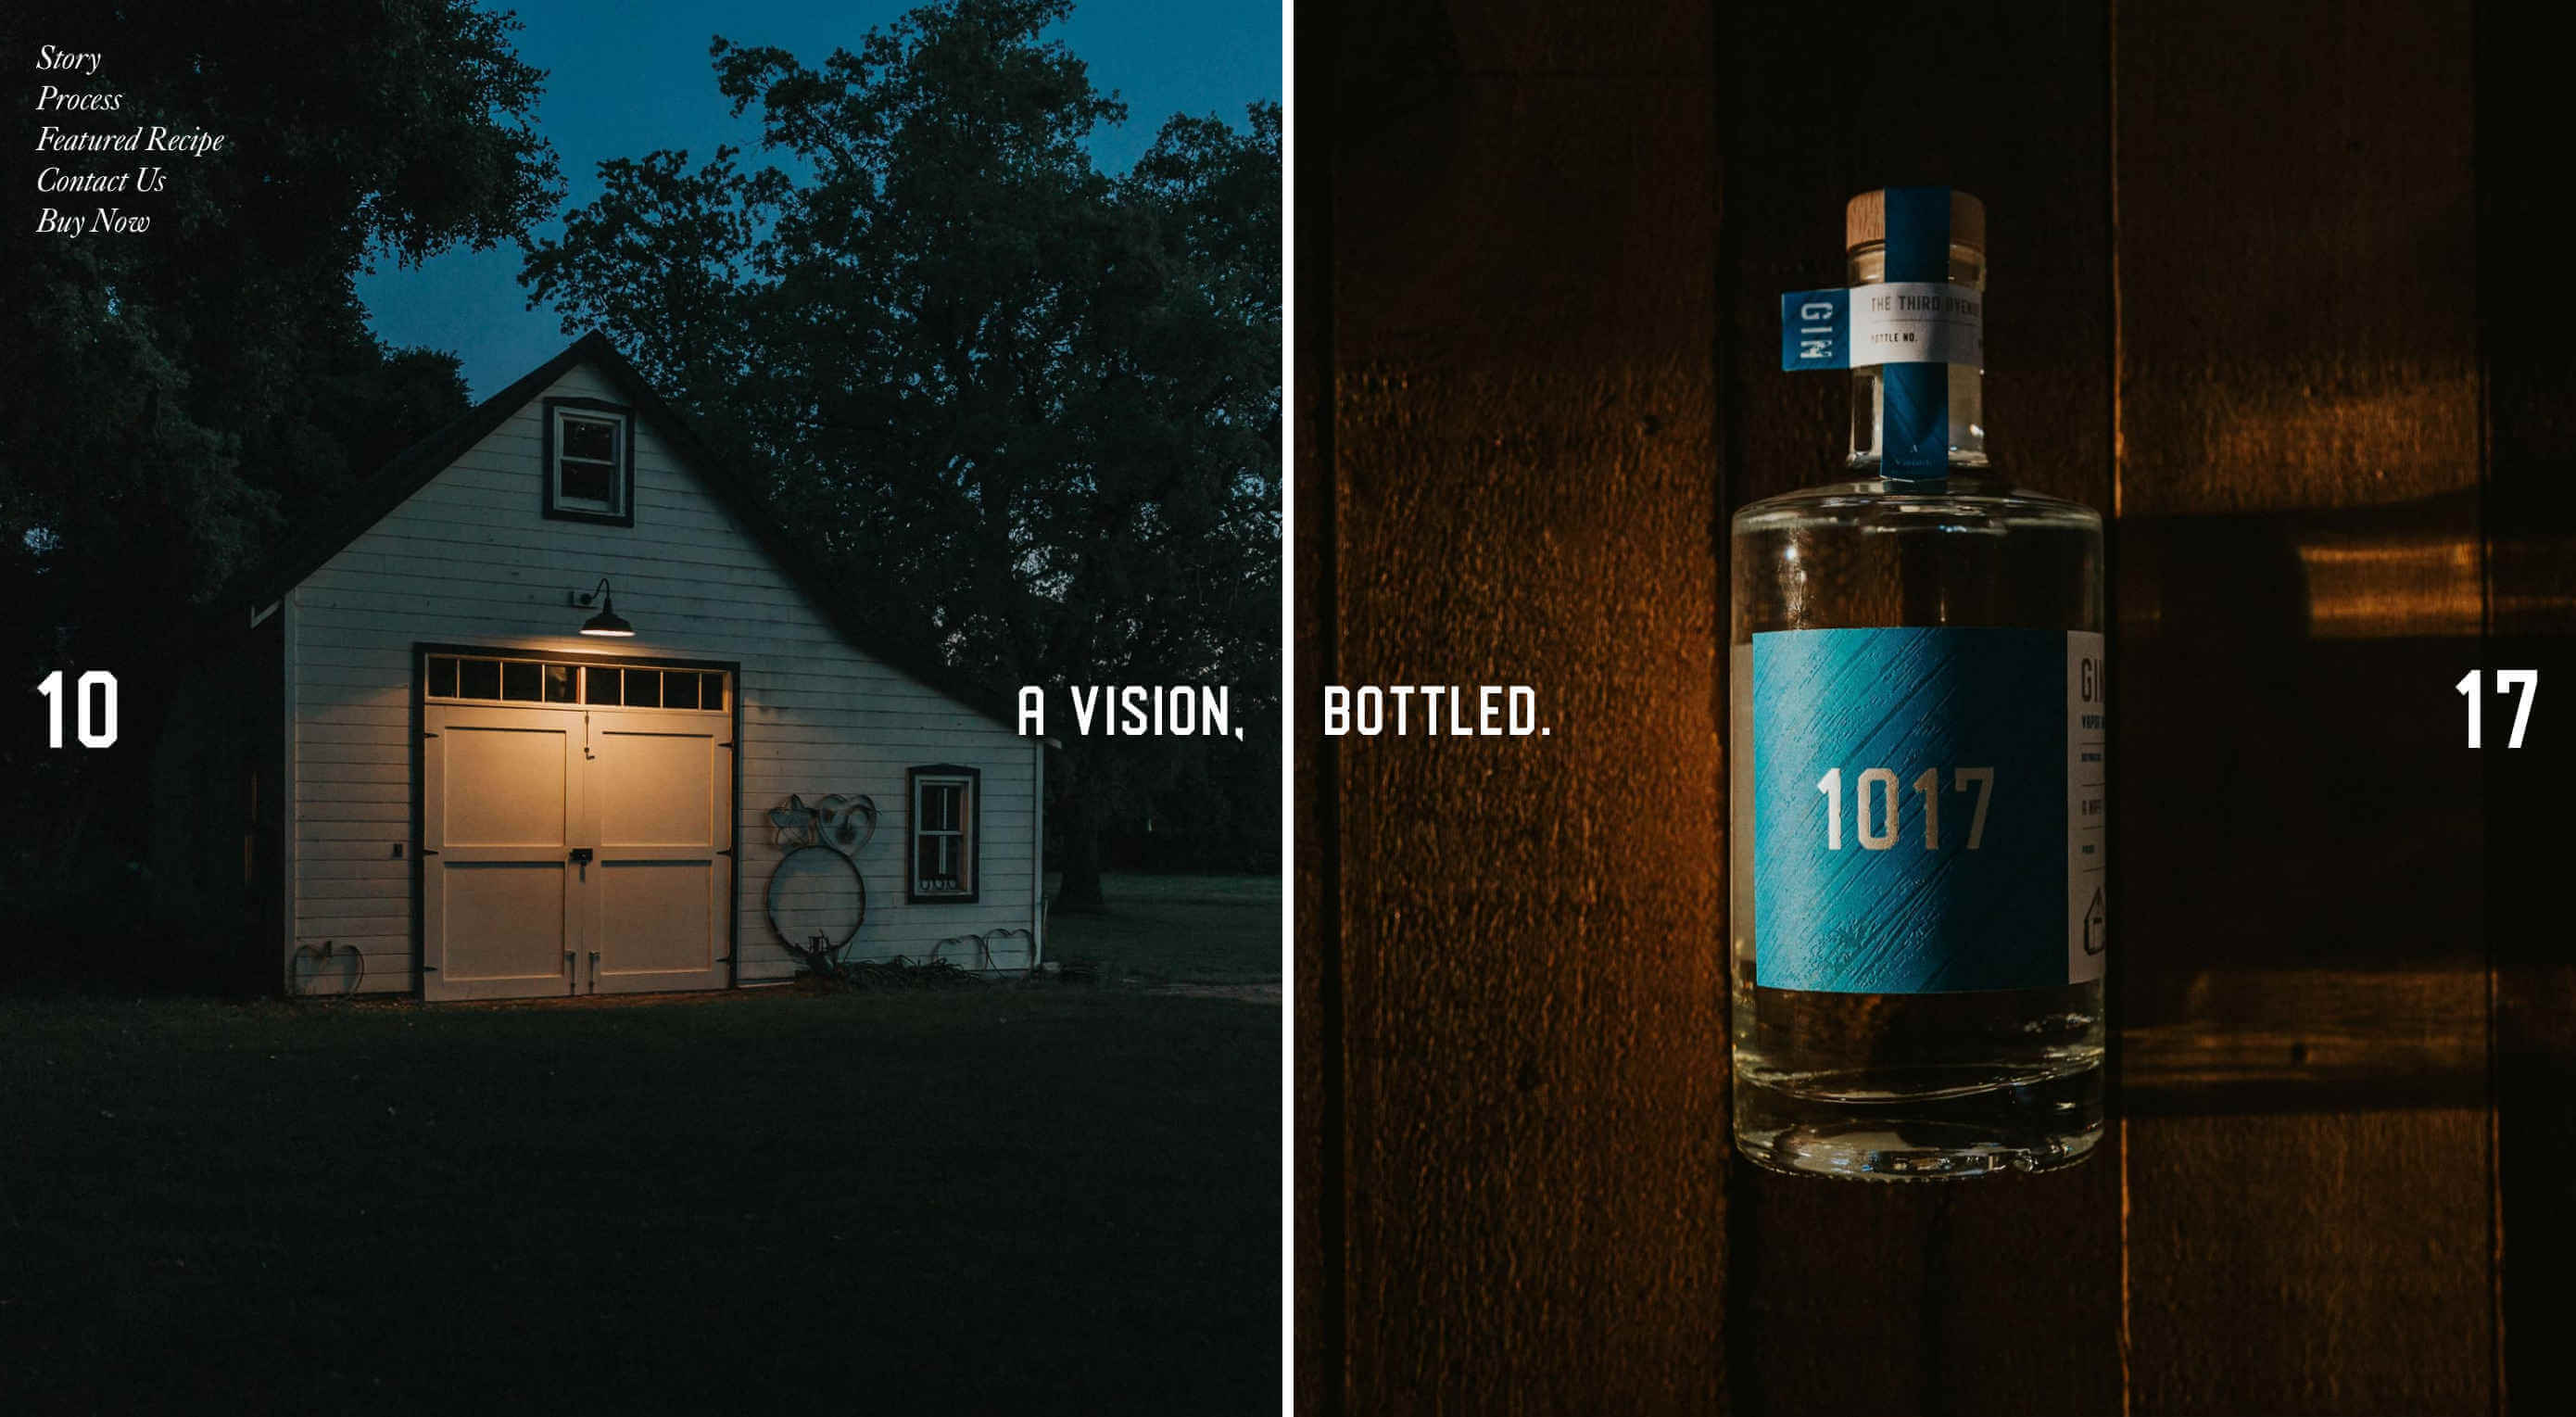
In this month’s collection we’re seeing some minor trends, like the return of sliders, over-sized text, and liquid effects. But the biggest thing of note is a brand new trend: brutalist typography and layouts, made more appealing by soft, feminine color palettes. Enjoy!

Wolff Olins

Globally renowned agency Wolff Olins’ new site is engagingly simple, but when a company like this embraces a trend, you know it’s got staying power. Edge-to-edge text, and a brutalist approach softened with color, are both evident.

Universal Sans

Universal Sans is a variable font with a pretty awesome site that allows you to adapt the font for your own purposes. For many of us it’s as close as we’ll get to designing a typeface. Once you’re happy you can even buy your customized font.

Warner Music Norway

Warner Music Norway embraces a traditional slider to highlight some of the artists it represents. It works because there’s no text to read, you either recognize the musician or you don’t. Scroll a little and you’ll find on-trend brutalism.

Ackee

Ackee is self-hosted analytics software. Its site opts for a bold typeface for headings, and makes use of some beautifully illustrated palms to introduce brand colors. The subtle animation does an excellent job of illustrating how the product works.

Redscout

Redscout’s logo is big and bold, and stretches across the screen. It stays fixed in place as an outline as you scroll, before getting bold again when you reach the bottom of the page. The black text on white, and the overlapping grid is classic brutalism.

Low Intervention

Low Intervention embraces several of the current trends, most notably the liquid effect, and brutalism toned down by the use of a sophisticated color palette. Brutalism is still the dominant theme, with edge-to-edge content, and little whitespace.

Marble

Marble’s purpose is to bring together art and science to tackle some of the problems faced by children around the world. Its delightful site features maze-like text, with dozens of marbles rolling around referencing both problem solving, and play.

Hypergram

Never let it be said that you can’t make the logo bigger. Hypergram’s logo takes up the entire page, obscuring the portfolio. The changing background color is a nice effect, and offsets the work in the slideshow perfectly.

Vahur Kubja

Vahur Kubja’s site is one of the first sites we’ve seen to adopt the latest design trend: it’s relentlessly brutalist in all but one respect, the color scheme is a sophisticated minimalist palette of green, peach, and pink.

Mutha

Mutha’s site is big, brash, and bold. With heavy black text. Not the style you’d expect of a skincare company — which would typically be light, gentle, and unassuming. Which is exactly why this brutalist site stands out.

The Happy Hero

If you’re a big fan of this year’s brutalist trend, then you’ll love this micro-site for The Happy Hero, a self-help book about positivity. The site’s adopted brutalism and then subverted it, drawing inspiration from both Pop Art and De Stijl.

Devialet

Most people browse the web with the sound off, which presents a challenge to companies selling audio products. Devialet solves the problem brilliantly, with a swirling galaxy creating the impression of depth, range, and power.

Bruno Simon

What can you say about Bruno Simon’s site, other than you have to play it to understand it. Drive the toy truck around the site, knocking over awards and breaking the scenery. It’s not practical, but it’s fun, and a great showcase for his skills.

Readymag

Readymag is a browser-based design tool for creating simple sites. Its landing page features oversized typography, which is impactful, and fairly daring for a company of this type. They’re laying their cards on the table right away.

Climate Adaptation Australia

Alongside the nice, bold menu system, Climate Adaption Australia features one of the very few effective sliders you’ll see. Sliders have largely been discredited as a design pattern with poor user experience, but in this case it works.

Giovanni Rustanto

If brutalism is too much for you, you can let out a sigh of relief with this one. Giovanni Rustanto’s site is elegantly minimal in both visuals, and interaction. The pleasing burst of terracotta right at the end adds some much needed flavor to the color palette.

1017 Gin

1017 Gin’s site is a high-class mix of glossy magazine layout, and coffee-table book. The one-pager is understated, with just a nod to trends with undersized images. The way the page splits when you click buy, is lovely, because it’s unexpected.

Sedilia

Sedilia is a minimalish site, that exudes comfort, simplicity, and style. The product photography is great, but it’s the framing that makes the difference. The site also features excellent typography and an unusual choice of font (it’s GT Zirkon).

Gyro

Gyro is another site that features over-sized typography, and again it’s the company logo. Move your cursor and it explodes in an interesting 3D effect. Gyro also has all the hallmarks of brutalism, tempered by a lovely color palette.

Dorian Lods

Dorian Lods’ site is another example of the trend common among developers at present: a liquid effect. This is a particularly standout version, not least thanks to the way it integrates into the rest of the site, as a device, not a crutch.

Source

p img {display:inline-block; margin-right:10px;}
.alignleft {float:left;}
p.showcase {clear:both;}
body#browserfriendly p, body#podcast p, div#emailbody p{margin:0;}

Adobe Illustrator on the iPad is on its way

Original Source: http://feedproxy.google.com/~r/CreativeBloq/~3/ldEacFWS9yM/illustrator-ipad

Adobe has announced that Illustrator on the iPad is in the works. While this dedicated tablet version is still in its early stages, it’s very exciting news for designers. The tool is currently in exclusive private beta (read on to find out how to sign up for early access), and there’s no confirmation of when the first market version will be released, although it won't be this year. 

The announcement was made at Adobe MAX 2019, where we were treated to an early preview of the tool, It forms part of a welcome shift in focus from Adobe to improving its iPad tools – we have just heard that the first version of Photoshop on the iPad has finally been released, and Adobe also recently added dedicated iPad painting and drawing app Adobe Fresco to its suite of creative tools. 

Will Illustrator for the iPad be joining our ranking of the best iPad apps for designers? Well, the preview certainly looks impressive. We don’t know too much right now (we'll be updating this article over the course of the conference as we get more information), but what we do know is that Adobe is that the tool will be rebuilt from the ground up to take advantage of touch capabilities and the possibilities offered by the Apple Pencil.

If you've been holding out for a iPad Black Friday deal but you've been on the fence, this could be the incentive you need to click 'add to basket'. And if you're thinking of purchasing Creative Cloud, you may also want to keep an eye on our Adobe Black Friday deals page.

What features will Illustrator on the iPad have?

The tool is still in its early stages, there are some key features being worked on that we can be fairly confident will appear in the launch version. To start with, Adobe promises seamless connection across devices, with no loss of detail. So you’ll be able to pick up your desktop Illustrator design and work on it on your iPad while you’re out and about, saving your changes to the cloud.

Adobe is working on how to use the iPad camera and Apple Pencil to open up new possibilities

Adobe also says the tool will be powerful and precise, so you’ll be able to use it to create complete illustrations, from start to finish. However, the first version of Photoshop on iPad is not a complete version, so we expect this full-fat iPad version of Illustrator might also take a while to materialise.

Illustrator on iPad will make the most of the possibilities offered by tablets specifically. Adobe is working on how to incorporate features such as the integrated iPad camera and Apple Pencil to open up new design possibilities. For example, you might be able to take a photo of a hand-drawn sketch, and use Illustrator on iPad to turn it into vector shapes. We’re interested to see how this concept shapes up.

Sign up for private beta

A dedicated tablet version of the software is overdue, and Adobe promises a tool that brings the precision and versatility of the desktop experience to the iPad. Adobe is working with the global Illustrator community to develop the tool. It’s currently running an exclusive private beta, which you can sign up to here. Read more on the official Adobe blog.

Relates articles:

The best Adobe Illustrator plugins 2019Illustrator tutorials to sharpen your skillsThe best alternatives to Photoshop