Getting Started with React: A Beginner’s Guide
Original Source: https://www.sitepoint.com/getting-started-react-beginners-guide/
In this guide, I’ll show you the fundamental concepts of React by taking you through a practical, step-by-step tutorial on how to create a simple Message App using React. I’ll assume you have no previous knowledge of React. However, you’ll need at least to be familiar with modern JavaScript and NodeJS.
React is a remarkable JavaScript library that’s taken the development community by storm. In a nutshell, it’s made it easier for developers to build interactive user interfaces for web, mobile and desktop platforms. One of its best features is its freedom from the problematic bugs inherent in MVC frameworks, where inconsistent views is a recurring problem for big projects. Today, thousands of companies worldwide are using React, including big names such as Netflix and AirBnB. React has become immensely popular, such that a number of apps have been ported to React — including WhatsApp, Instagram and Dropbox.
Prerequisites
As mentioned, you need some experience in the following areas:
functional JavaScript
object-oriented JavaScript
ES6 JavaScript Syntax
On your machine, you’ll need:
a NodeJS environment
a Yarn setup (optional)
If you’d like to take a look first at the completed project that’s been used in this guide, you can access it via GitHub.
[affiliate-section title=”Recommended Courses”][affiliate-card title=”The Best Way to Learn React for Beginners” affiliatename=”Wes Bos” text=”A step-by-step training course to get you building real world React.js + Firebase apps and website components in a couple of afternoons. Use coupon code ‘SITEPOINT’ at checkout to get 25% off.” url=”https://ReactForBeginners.com/friend/SITEPOINT” imageurl=”https://dab1nmslvvntp.cloudfront.net/wp-content/uploads/2017/07/1501203893wesbos.jpg”][/affiliate-section]
What is React?
React is a JavaScript library for building UI components. Unlike more complete frameworks such as Angular or Vue, React deals only with the view layer. Hence, you’ll need additional libraries to handle things such as data flow, routing, authentication etc. In this guide, we’ll focus on what React can do.
Building a React project involves creating one or more React components that can interact with each other. A React component is simply a JavaScript class that requires the render function to be declared. The render function simply outputs HTML code, which is implemented using either JSX or JavaScript code. A React component may also require additional functions for handling data, actions and lifecyle events.
React components can further be categorized into containers/stateful components and stateless components. A stateless component’s work is simply to display data that it receives from its parent React component. It can also receive events and inputs, which it passes up to its parent to handle. A React container or stateful component does the work of rendering one or more child components. It fetches data from external sources and feeds it to its child components. It also receives inputs and events from them in order to initiate actions.
Understanding the React DOM
Before we get to coding, you need to be aware that React uses a Virtual DOM to handle page rendering. If you’re familiar with jQuery, you know that it can directly manipulate a web page via the HTML DOM. In a lot of use cases, this direct interaction poses little to no problems. However, for certain cases, such as the running of a highly interactive, real-time web application, performance often takes a huge hit.
To counter this, the concept of the Virtual DOM was invented, and is currently being applied by many modern UI frameworks including React. Unlike the HTML DOM, the Virtual DOM is much easier to manipulate, and is capable of handling numerous operations in milliseconds without affecting page performance. React periodically compares the Virtual DOM and the HTML DOM. It then computes a diff, which it applies to the HTML DOM to make it match the Virtual DOM. This way, React does its best to ensure your application is rendered at a consistent 60 frames per second, meaning that users experience little or no lag.
Enough chitchat! Let’s get our hands dirty …
Start a Blank React Project
As per the prerequisites, I assume you already have a NodeJS environment setup. Let’s first install or update npm to the latest version.
$ npm i -g npm
Next, we’re going to install a tool, Create React App, that will allow us to create our first React project:
$ npm i -g create-react-app
Navigate to your project’s root directory and create a new React project using the tool we just installed:
$ create-react-app message-app
…
Success! Created message-app at /home/mike/Projects/github/message-app
Inside that directory, you can run several commands:
yarn start
Starts the development server.
yarn build
Bundles the app into static files for production.
yarn test
Starts the test runner.
yarn eject
Removes this tool and copies build dependencies, configuration files
and scripts into the app directory. If you do this, you can’t go back!
We suggest that you begin by typing:
cd message-app
yarn start
Happy hacking!
Depending on the speed of your internet connection, this might take a while to complete if this is your first time running the create-react-app command. A bunch of packages gets installed along the way, which are needed to set up a convenient development environment — including a web server, compiler and testing tools.
Navigate to the newly created message-app folder and open the package.json file.
{
“name”: “message-app”,
“version”: “0.1.0”,
“private”: true,
“dependencies”: {
“react”: “^15.6.1”,
“react-dom”: “^15.6.1”,
“react-scripts”: “1.0.12”
},
“scripts”: {
“start”: “react-scripts start”,
“build”: “react-scripts build”,
“test”: “react-scripts test –env=jsdom”,
“eject”: “react-scripts eject”
}
}
Surprise! You expected to see a list of all those packages listed as dependencies, didn’t you? Create React App is an amazing tool that works behind the scenes. It creates a clear separation between your actual code and the development environment. You don’t need to manually install Webpack to configure your project. Create React App has already done it for you, using the most common options.
Let’s do a quick test run to ensure our new project has no errors:
$ yarn start
Starting development server…
Compiled successfully!
You can now view message-app in the browser.
Local: http://localhost:3000/
On Your Network: http://10.0.2.15:3000/
Note that the development build is not optimized.
To create a production build, use yarn build.
If you don’t have Yarn, just substitute with npm like this: npm start. For the rest of the article, use npm in place of yarn if you haven’t installed it.
Your default browser should launch automatically, and you should get a screen like this:
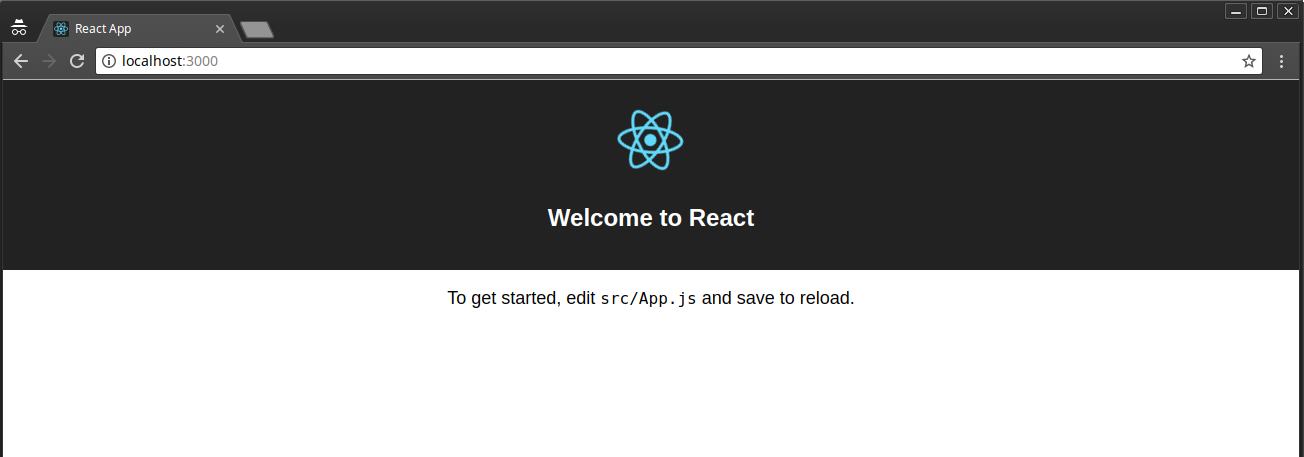
One thing to note is that Create React App supports hot reloading. This means any changes we make on the code will cause the browser to automatically refresh. For now, let’s first stop the development server by pressing Ctrl + C. This step isn’t necessary, I’m just showing you how to kill the development server. Once the server has stopped, delete everything in the src folder. We’ll create all the code from scratch so that you can understand everything inside the src folder.
Introducing JSX Syntax
Inside the src folder, create an index.js file and place the following code in it:
import React from ‘react’;
import ReactDOM from ‘react-dom’;
ReactDOM.render(<h1>Hello World</h1>, document.getElementById(‘root’));
Start the development server again using yarn start or npm start. Your browser should display the following content:
This is the most basic “Hello World” React example. The index.js file is the root of your project where React components will be rendered. Let me explain how the code works:
Line 1: React package is imported to handle JSX processing
Line 2: ReactDOM package is imported to render React components.
Line 4: Call to render function
<h1>Hello World</h1>: a JSX element
document.getElementById(‘root’): HTML container
The HTML container is located in public/index.html file. On line 28, you should see <div id=”root”></div>. This is known as the root DOM because everything inside it will be managed by the React DOM.
JSX (JavaScript XML) is a syntax expression that allows JavaScript to use tags such as <div>, <h1>, <p>, <form>, and <a>. It does look a lot like HTML, but there are some key differences. For example, you can’t use a class attribute, since it’s a JavaScript keyword. Instead, className is used in its place. Also, events such as onclick are spelled onClick in JSX. Let’s now modify our Hello World code:
const element = <div>Hello World</div>;
ReactDOM.render(element, document.getElementById(‘root’));
I’ve moved out the JSX code into a variable named element. I’ve also replaced the h1 tags with div. For JSX to work, you need to wrap your elements inside a single parent tag. This is necessary for JSX to work. Take a look at the following example:
const element = <span>Hello,</span> <span>Jane</span;
The above code won’t work. You’ll get a syntax error telling you must enclose adjacent JSX elements in an enclosing tag. Basically, this is how you should enclose your elements:
const element = <div>
<span>Hello, </span>
<span>Jane</span>
</div>;
How about evaluating JavaScript expressions in JSX? Simple, just use curly braces like this:
const name = “Jane”;
const element = <p>Hello, {name}</p>
… or like this:
const user = {
firstName: “Jane”,
lastName: “Doe”
}
const element = <p>Hello, {user.firstName} {user.lastName}</p>
Update your code and confirm that the browser is displaying “Hello, Jane Doe”. Try out other examples such as { 5 + 2 }. Now that you’ve got the basics of working with JSX, let’s go ahead and create a React component.
Continue reading %Getting Started with React: A Beginner’s Guide%


Leave a Reply
Want to join the discussion?Feel free to contribute!